# MetaMask Support — Full Content Index
> Complete English content of all MetaMask support articles.
> Auto-generated — do not edit by hand. Edit source articles in docs/ instead.
---
# How to create a new MetaMask wallet
URL: https://support.metamask.io/start/creating-a-new-wallet/
> Learn how to create a new MetaMask wallet securely: set a strong password, back up your Secret Recovery Phrase, and begin self-custody.
#### Create a new MetaMask wallet | Step-by-step guide
When you install a new instance of MetaMask, you’ll be asked if you want to create a new wallet, or if you have an existing wallet. For information on using an existing wallet, read [here](/start/use-an-existing-wallet/).
To create a new wallet, select ‘Create a new wallet’.
You’ll then be asked whether you want to access and secure your wallet using a Secret Recovery Phrase (SRP), or by a social account like Google, Apple, or Telegram (Extension only). If you choose to secure your wallet using Google, Apple, or Telegram, these credentials AND your password will both be used to unlock your wallet and you need to have access to both in order to access your wallet.
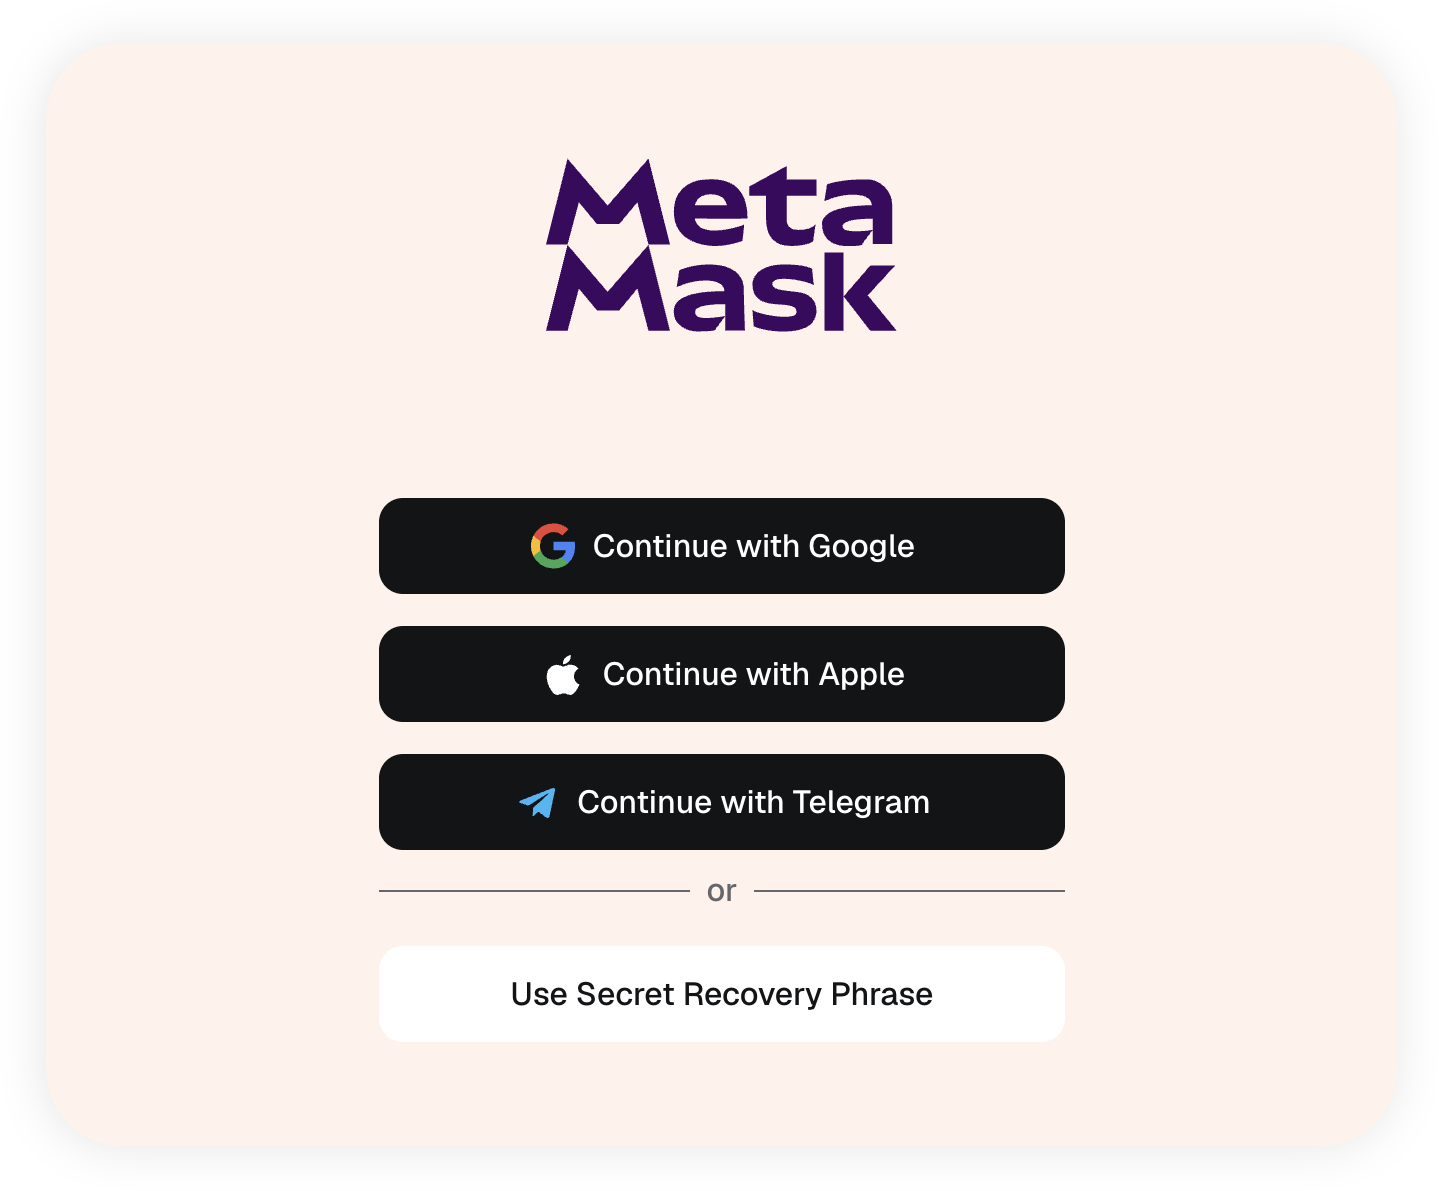
So what’s the difference?
- **SRP**: The traditional self-custody method of getting set up with a 12-word phrase you store securely offline that only you have access to.
- **Social login**: Linking a social profile like Google, Apple, or Telegram to your MetaMask, and setting a password to create new wallets quickly and conveniently.
### Accessing via Secret Recovery Phrase {#accessing-via-secret-recovery-phrase}
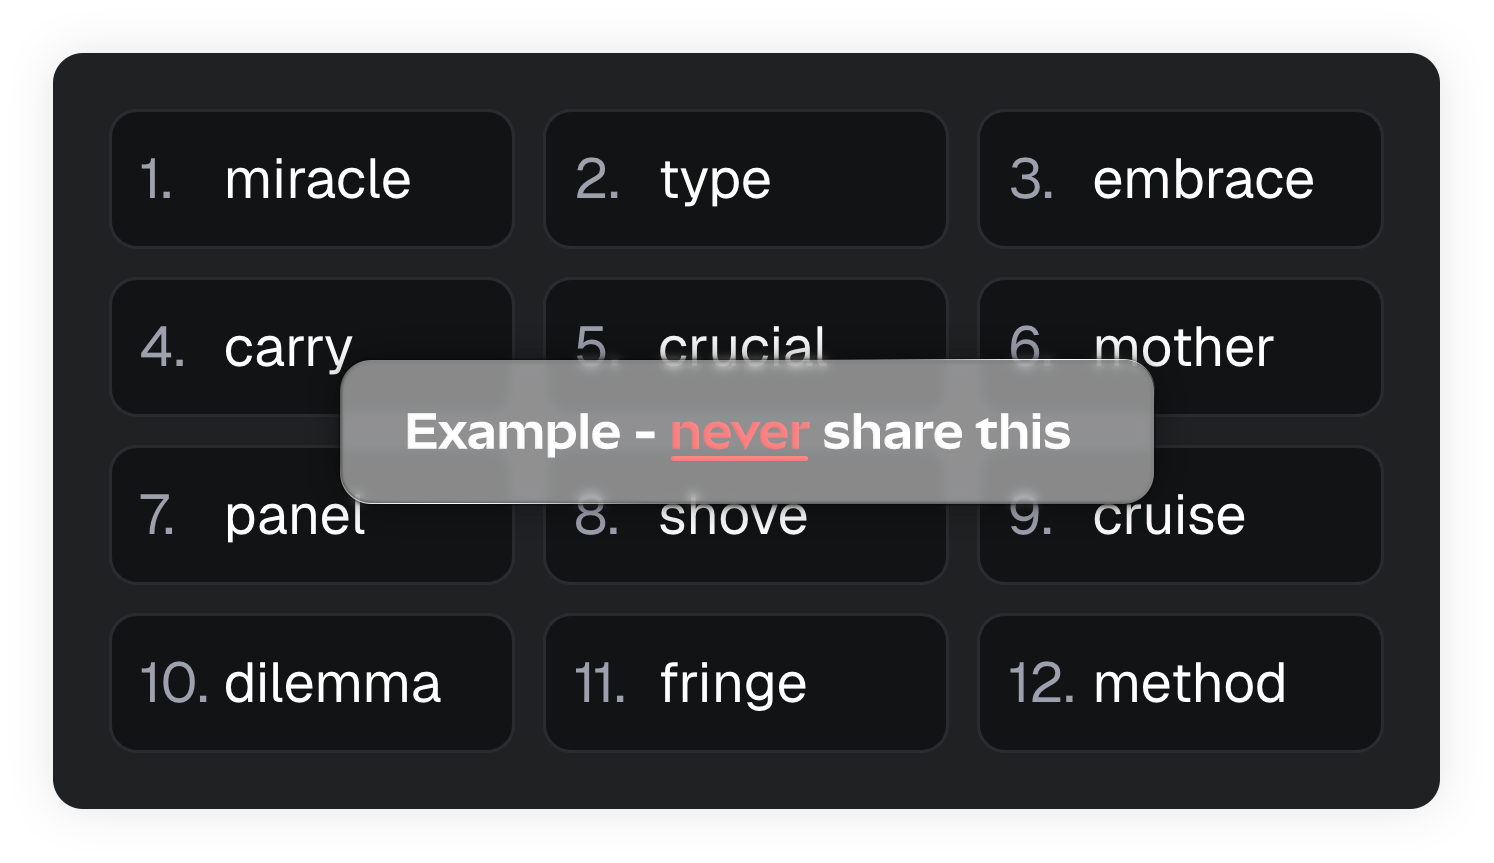
A Secret Recovery Phrase is a unique phrase that proves you are the owner of a wallet. **Whoever has the SRP has full control over the assets in a given wallet.** If you choose to secure your wallet using an SRP, you will be the only one with access to this SRP, and it is your sole responsibility to secure it (read more about this principle, self-custody, [here](/start/metamask-is-a-self-custodial-wallet)).
Creating a new SRP in MetaMask will generate an English phrase. Make sure to copy this phrase down in its original English language, and do not translate it into another language.
:::info[What if I lose my SRP?]
If you lose your SRP, or someone else gains access to it, MetaMask **cannot recover your wallet**, and you will lose control of all of those assets. This is why it is extremely important to deliberately store your SRP in a secure location.
:::
Quick tips on securing an SRP:
- Store your SRP in a secure, offline location that only you have access to.
- Do NOT use online services, such as cloud services or password managers, to store your SRP. Any location connected to the internet can be (and if we’re being appropriately paranoid, will be) hacked.
- Get creative. Nobody can tell you where the best place to store your SRP is: that depends on your individual circumstances.
With a secure SRP, you’ll be able to access or recover your wallet on any instance of MetaMask.
### Accessing via Google, Apple, or Telegram {#accessing-via-google-or-apple}
You can also create a new wallet by linking your login to a social account, such as Google, Apple, or Telegram.
Note: Telegram login requires the **Telegram app version 12.5 or later**, installed and signed in on your device.
If you choose this 'social login' option, you will select a Google, Apple, or Telegram account to connect, and set a secure password for MetaMask. You don't need to custody a Secret Recovery Phrase (SRP) with this option. Once you have set up your login, you will be able to log into or reset your wallet on any device, by logging in with your linked social account and the password.
:::info[What if I lose my password?]
If you lose your password or someone else gains access to it, you will not be able to access your wallet through this method and MetaMask cannot restore your wallet. **Keep your password safe, it cannot be recovered for you like other social login methods.**
:::
#### Quick tips for choosing a password: {#quick-tips-for-choosing-a-password}
- We strongly recommend using a password manager or other computer system to generate a password. Passwords generated by computers are much more secure than any you think of yourself.
- Do NOT repeat any passwords. Choose a brand new password that you’ve never used before, and won’t use again.
- Do NOT store your password on any unencrypted document, note, or in any sort of cloud account or storage.
:::info[What about a password manager?]
While password managers are super convenient and great for ***generating*** strong passwords, there is a risk of your password manager being hacked. If your password manager is compromised, all of your passwords will be compromised, and you could lose your funds. It's up to you to decide your risk tolerance.
For more information, check out [this](https://www.theverge.com/2023/9/7/23862658/lastpass-security-breach-crypto-heists-hackers) article on the LastPass hack.
:::
Once you have created your password, you can start using MetaMask. This password is synced across devices that you have logged into with the same Google/Apple/Telegram account.
Remember: your account will still have an SRP, and we strongly recommend you secure it. See [here](/configure/wallet/how-to-reveal-your-secret-recovery-phrase/) to show how to reveal your SRP. This is the only way to access your wallet if you lose your password or get locked out of your Google/Apple/Telegram account.
:::note
Any new wallets you create or import from this instance of MetaMask **will also be connected to the social account and password.** They will sync across devices and be restored when you login to a new instance of MetaMask. **Don't import additional wallets after you've set up your social login if you don't want them linked.**
:::
#### Behind the scenes {#behind-the-scenes}
When you connect a Google, Apple, or Telegram account to MetaMask, your wallet still has an SRP that gives you access to your accounts. That’s the nature of a standard crypto wallet like MetaMask. To let you access your wallet without your SRP, MetaMask uses a cryptographic technique called key sharding to safely track your wallet ownership.
To do this, your SRP is securely encrypted and split into five “shards” or parts. These shards are stored across five different nodes, where no one, including MetaMask, can access all of them. **Your Google/Apple/Telegram account AND password are used together to decrypt your SRP.**
### Which should I choose? {#which-should-i-choose}
Choosing between these options depends on your individual circumstances, tolerance for risk, and privacy needs.
If you choose to access and secure your wallet via SRP, you will need to secure the phrase in a physical, secret location. This will be your account’s single point of failure, one that cannot be recovered for you, and you need to treat securing it as the most critically important part of your web3 experience.
If you choose to access and secure your wallet via a social login, you will need to choose and remember a secure password, and keep your social account secure. Your password and social account should be treated as securely as an SRP; if you lose access to your social login, or your password, nobody can recover your MetaMask for you. Hackers may attempt to impersonate your social account’s security to gain access to your account, so you’ll need to stay vigilant.
### FAQs
Can I change my method of wallet login and recovery later?
Users with an existing wallet secured by a social login can always reveal their SRP and save that, but they cannot disconnect their linked social accounts and password.
At this time, existing users cannot add a social login to their existing MetaMask.
If I lose my password, can I still access my wallet?
No. You need both your social login and your password to log into your wallet. However, there are a few unique situations to keep in mind:
- If you lose your password, but have your SRP saved, you can access your wallet. However, accessing your wallet this way will not connect to your Google, Apple, or Telegram account and password. You won’t be able to reset your password or login through your Apple, Google, or Telegram account anymore.
- If you have MetaMask mobile installed, biometrics turned on (i.e., Face ID), and the wallet you want imported, you will be able to log into your wallet and reset your password through biometric authentication.
- If you access your wallet via SRP on Extension, you can set up biometric unlock (i.e., Touch ID) via passkeys to unlock your wallet. See [here](/configure/wallet/passkeys).
I unlocked MetaMask or created a new wallet using Google, Apple, or Telegram. Should I receive a confirmation email?
No, you will not receive a confirmation email from unlocking MetaMask or creating a new MetaMask. Any emails you receive claiming to be from MetaMask are a scam. Read [here](/stay-safe/safety-in-web3/i-received-an-email-claiming-to-be-from-metamask-is-it-legit/) for more information about legit MetaMask emails.
Can I change the Google, Apple, or Telegram account I signed up with?
No, it is not possible to change this account.
What data does MetaMask store for the social login feature?
To make this feature work as intended, MetaMask stores your social authentication identifier from Google, Apple, or Telegram, your hashed email, and login attempt metadata such as browser, operating system, and platform used.
Can I reset my password?
You can reset your password if you are currently logged into MetaMask. If you are logged out, you cannot reset your password. Learn more [here](/configure/wallet/how-can-i-reset-my-password/)
I’ve been locked out of MetaMask after entering an incorrect password too many times. What can I do?
If you’ve entered an incorrect password too many times, you will have to wait a certain amount of time to try again. Make sure to enter your password carefully to avoid longer time delays.
---
# How to install MetaMask
URL: https://support.metamask.io/start/getting-started-with-metamask/
> Learn how to install MetaMask on your browser or mobile app and what MetaMask is.
## What is MetaMask? {#what-is-metamask}
MetaMask is a web browser extension and mobile app that allows you to manage your Ethereum, Solana, Bitcoin, and other blockchain's private keys. By doing so, it serves as a wallet client for ETH and other tokens, and allows you to interact with decentralized applications, or _dapps_. You retain all power over your crypto-identity and funds.
## Install MetaMask {#install-metamask}
Chrome
1. Visit [https://metamask.io/](https://metamask.io/)
2. Hit "Get MetaMask" in the menu bar.
3. Click “Chrome”. You will be directed to the Chrome Web Store.
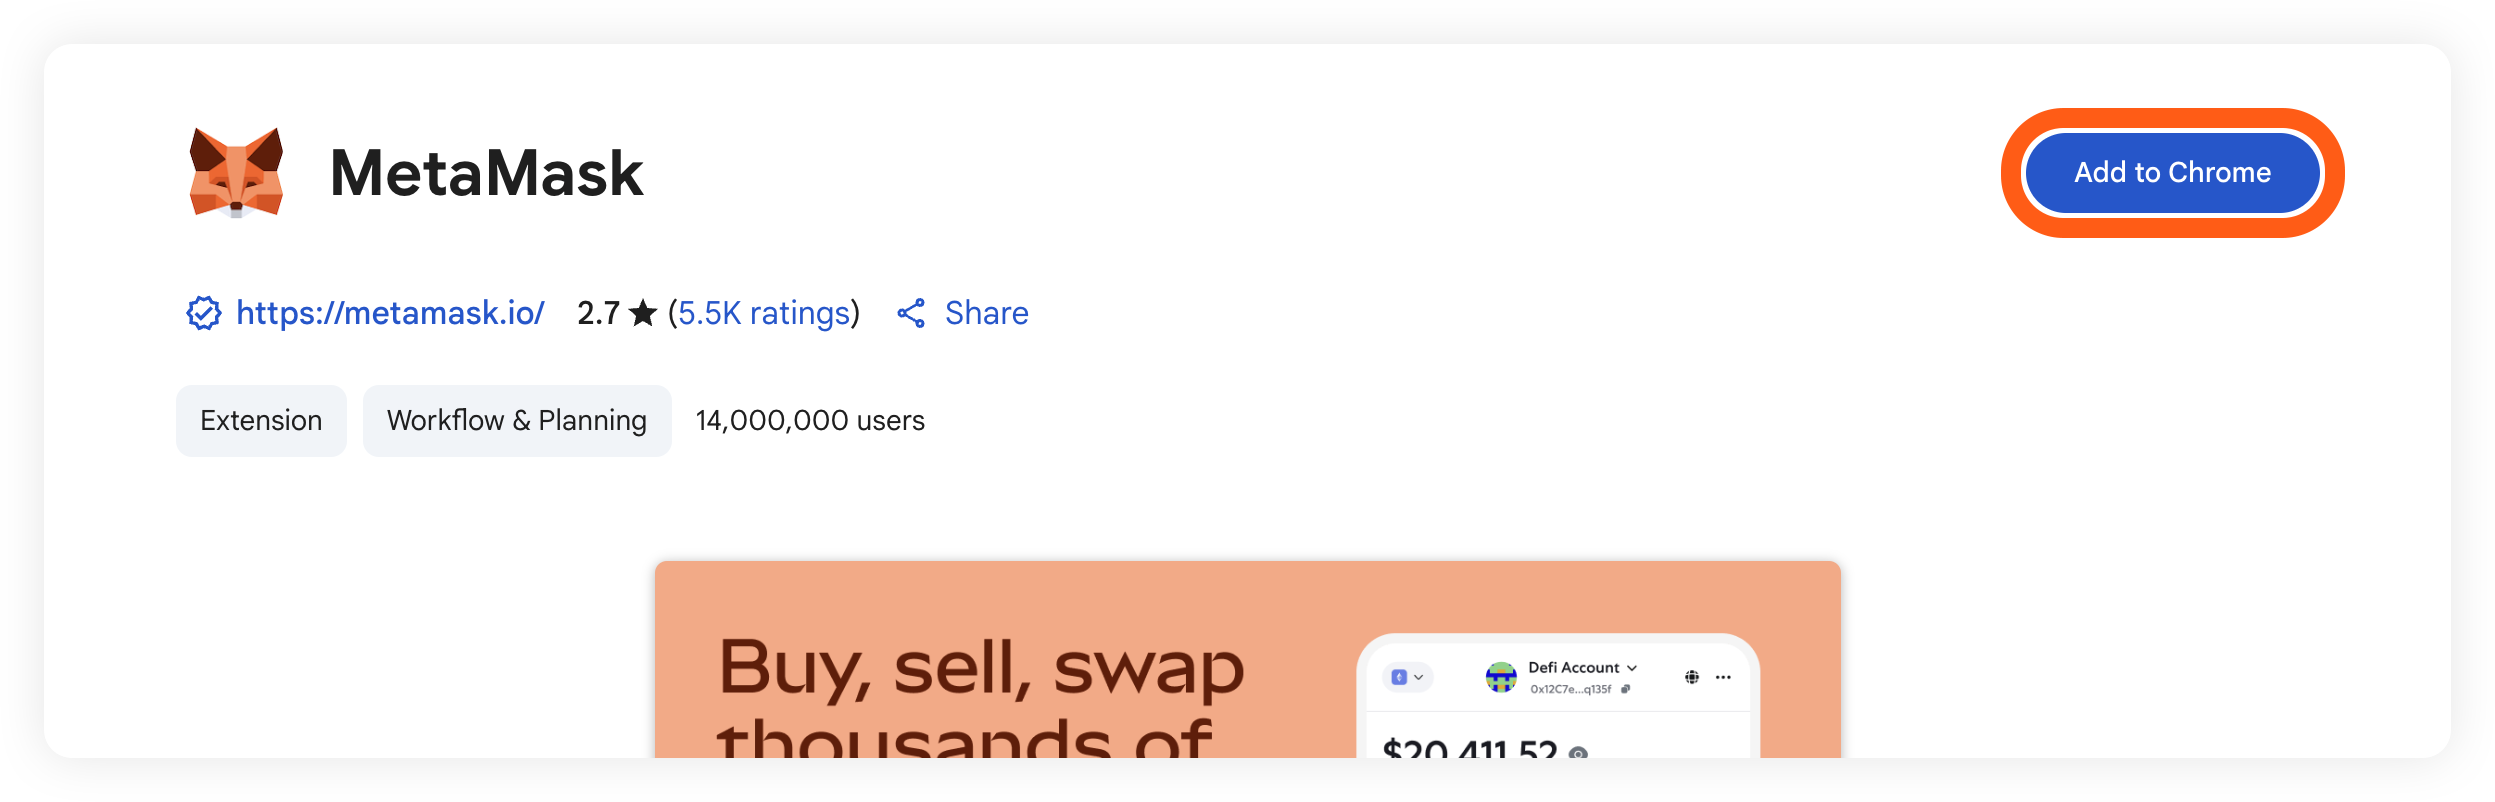
4. Click “Add to Chrome”.
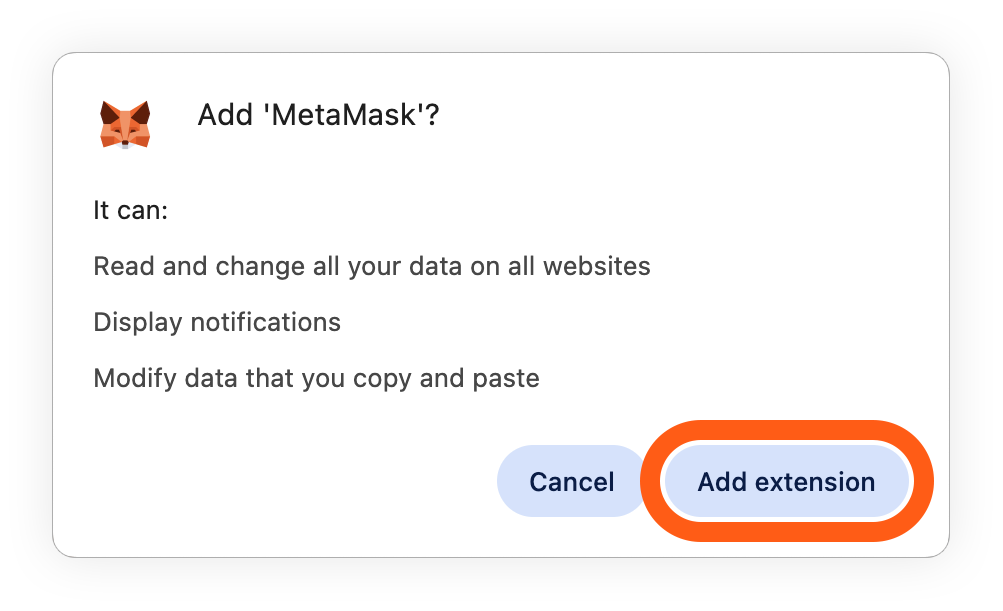
5. On the pop up, click “Add extension”.
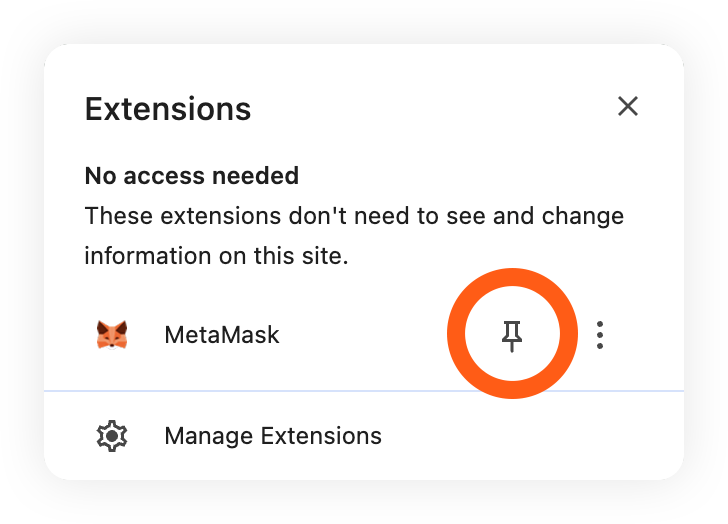
After adding MetaMask Extension, MetaMask will automatically open. You can also make sure it's easily accessible in your toolbar by clicking the jigsaw icon in the top-right of the screen, and hitting the pin icon.
Firefox
1. Visit [https://metamask.io/](https://metamask.io/)
2. Click on "Get MetaMask"

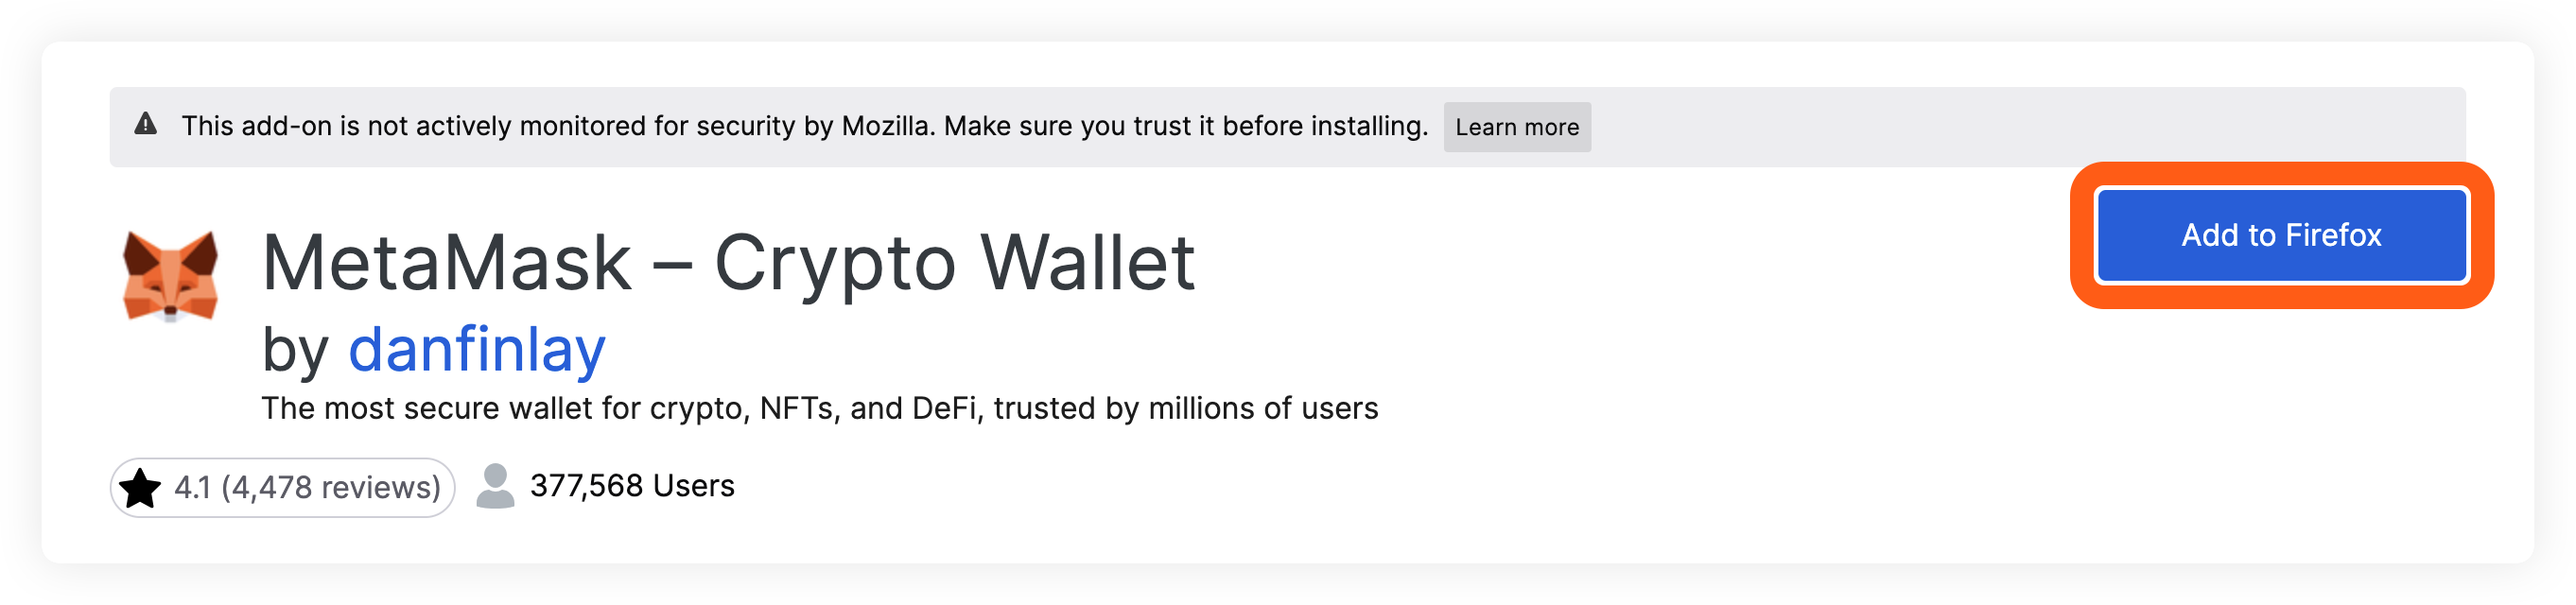
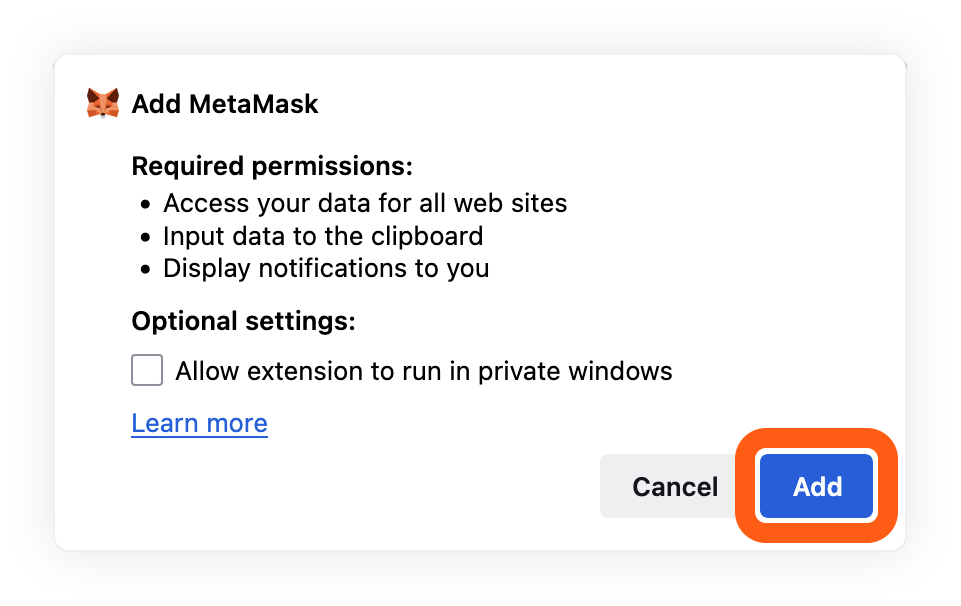
3. In the new window that opens, click on "Add to Firefox"
4. On the pop up, click “Add”
:::note
Don't be alarmed by the fact that the Firefox plugin is listed as being published by "danfinlay" — he's one of the main minds behind MetaMask!
:::
After adding MetaMask Extension, you'll return to your browser page. MetaMask will appear on your browser; click on it to open MetaMask.
Edge
1. Visit [https://metamask.io/](https://metamask.io/)
2. Click on "Get MetaMask".

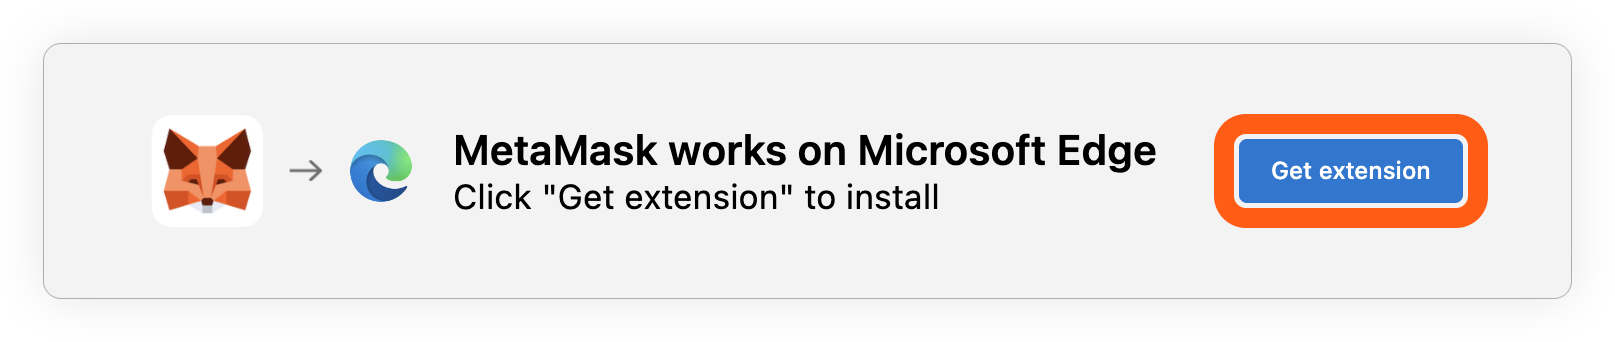
3. In the new window that opens, click "Get extension".
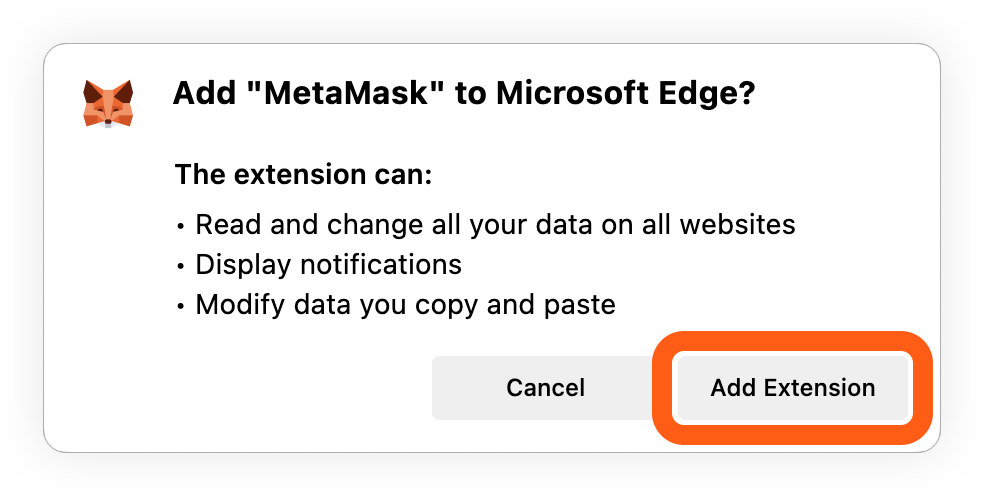
4. On the pop up, click "Add Extension".
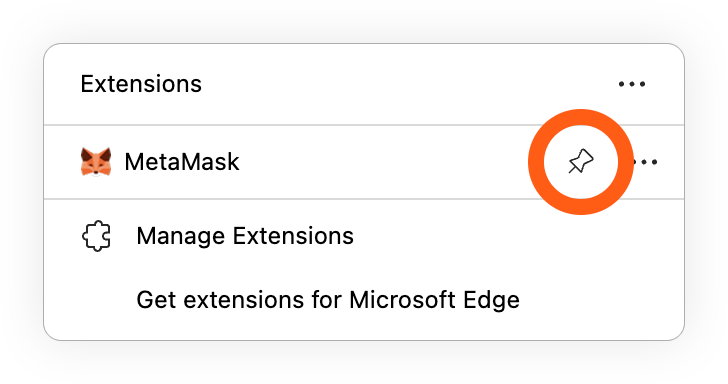
After adding MetaMask Extension, MetaMask will automatically open. You can also make sure it's easily accessible in your toolbar by clicking the jigsaw icon in the top-right of the screen, and hitting the pin icon.
Brave
1. Visit [https://metamask.io/](https://metamask.io/)
2. Click "Get MetaMask".

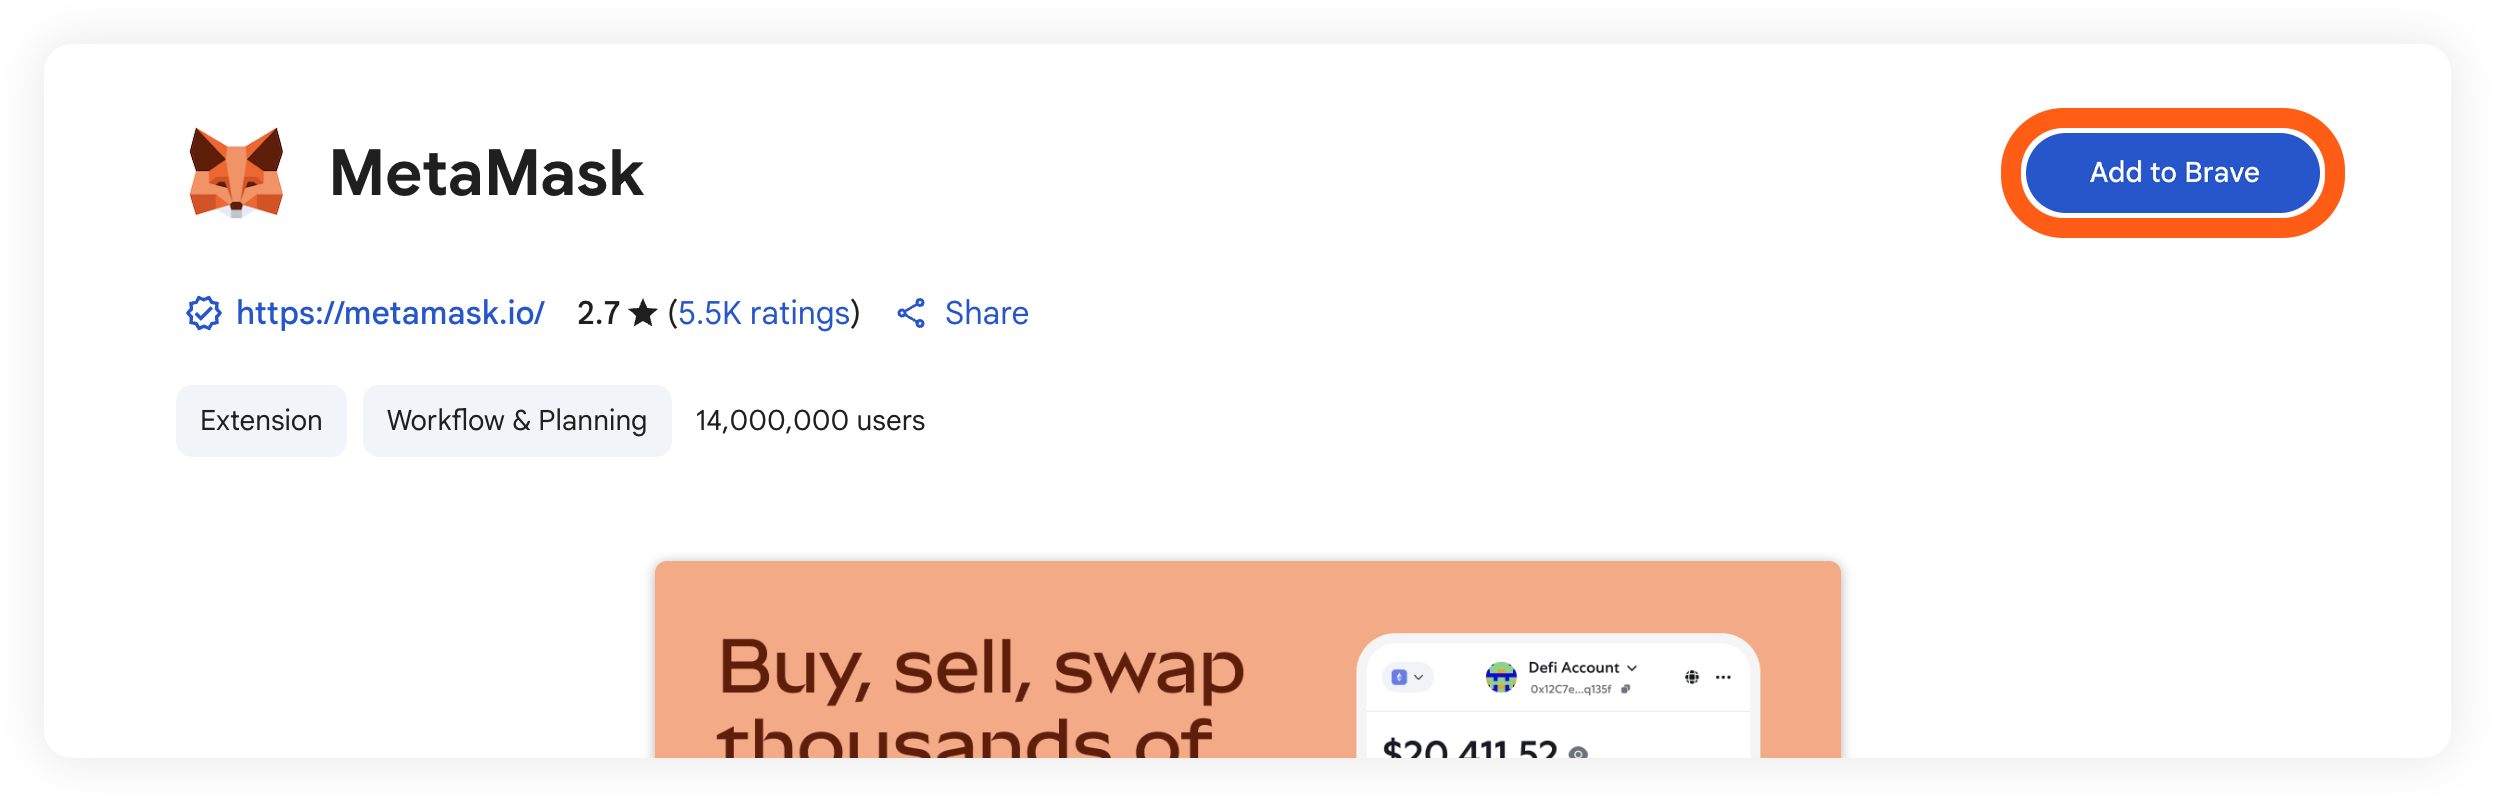
3. In the Chrome Store that opens, click 'Add to Brave'.
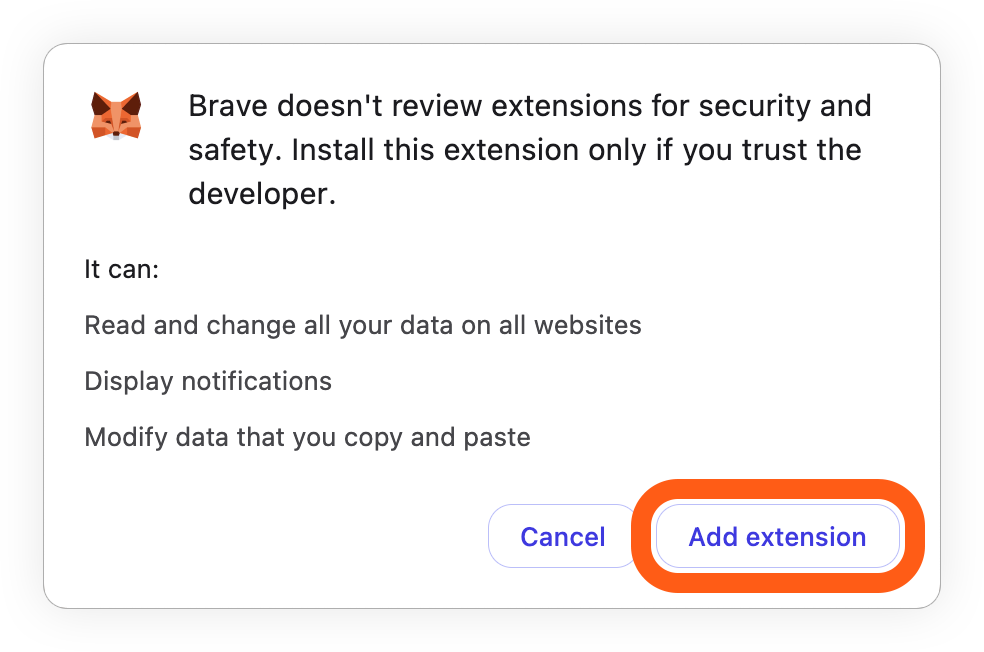
4. In the popup that appears, click 'Add extension'.
After adding MetaMask Extension, you'll return to your browser page. MetaMask will appear on your browser. You may click on it to open MetaMask.
:::note
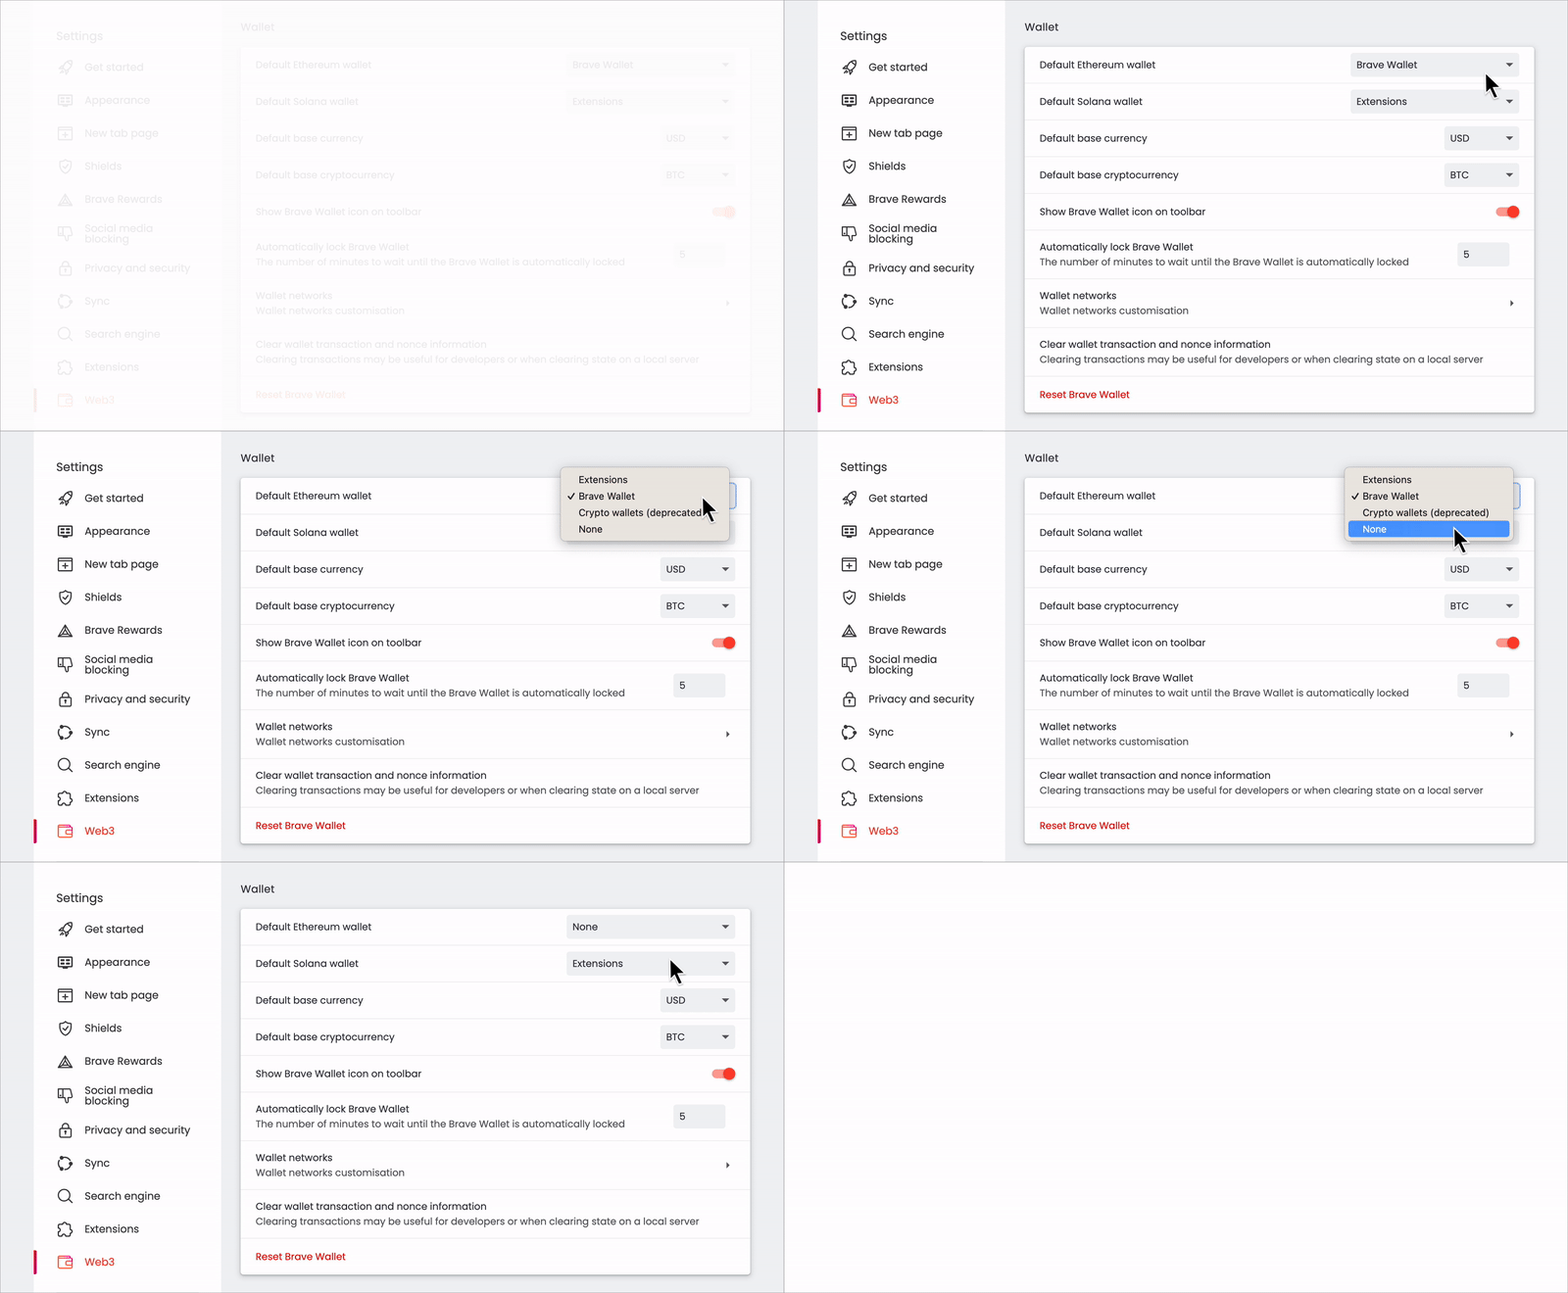
If you encounter issues such as MetaMask showing as not installed (even if it is), you may need to disable Brave's built-in wallet as the default. MetaMask does not work correctly if another browser extension wallet is active.
1. Click the menu icon in the top right and select 'Settings'.
2. Select 'Web3' from the left-hand menu.
3. Change 'Default Ethereum wallet' to 'None'.
4. Restart Brave.
:::
Firstly: **do not download MetaMask from anywhere other than the official app store** appropriate to your device/OS. Cloned versions of MetaMask are out there that are programmed to record your Secret Recovery Phrase as soon as it's generated. To avoid falling victim to these scams, make sure you download the official MetaMask app from the app store on your device, and not from any other source.
iOS
1. Open the App Store and hit the search button in the bottom right. Input MetaMask into the search bar.
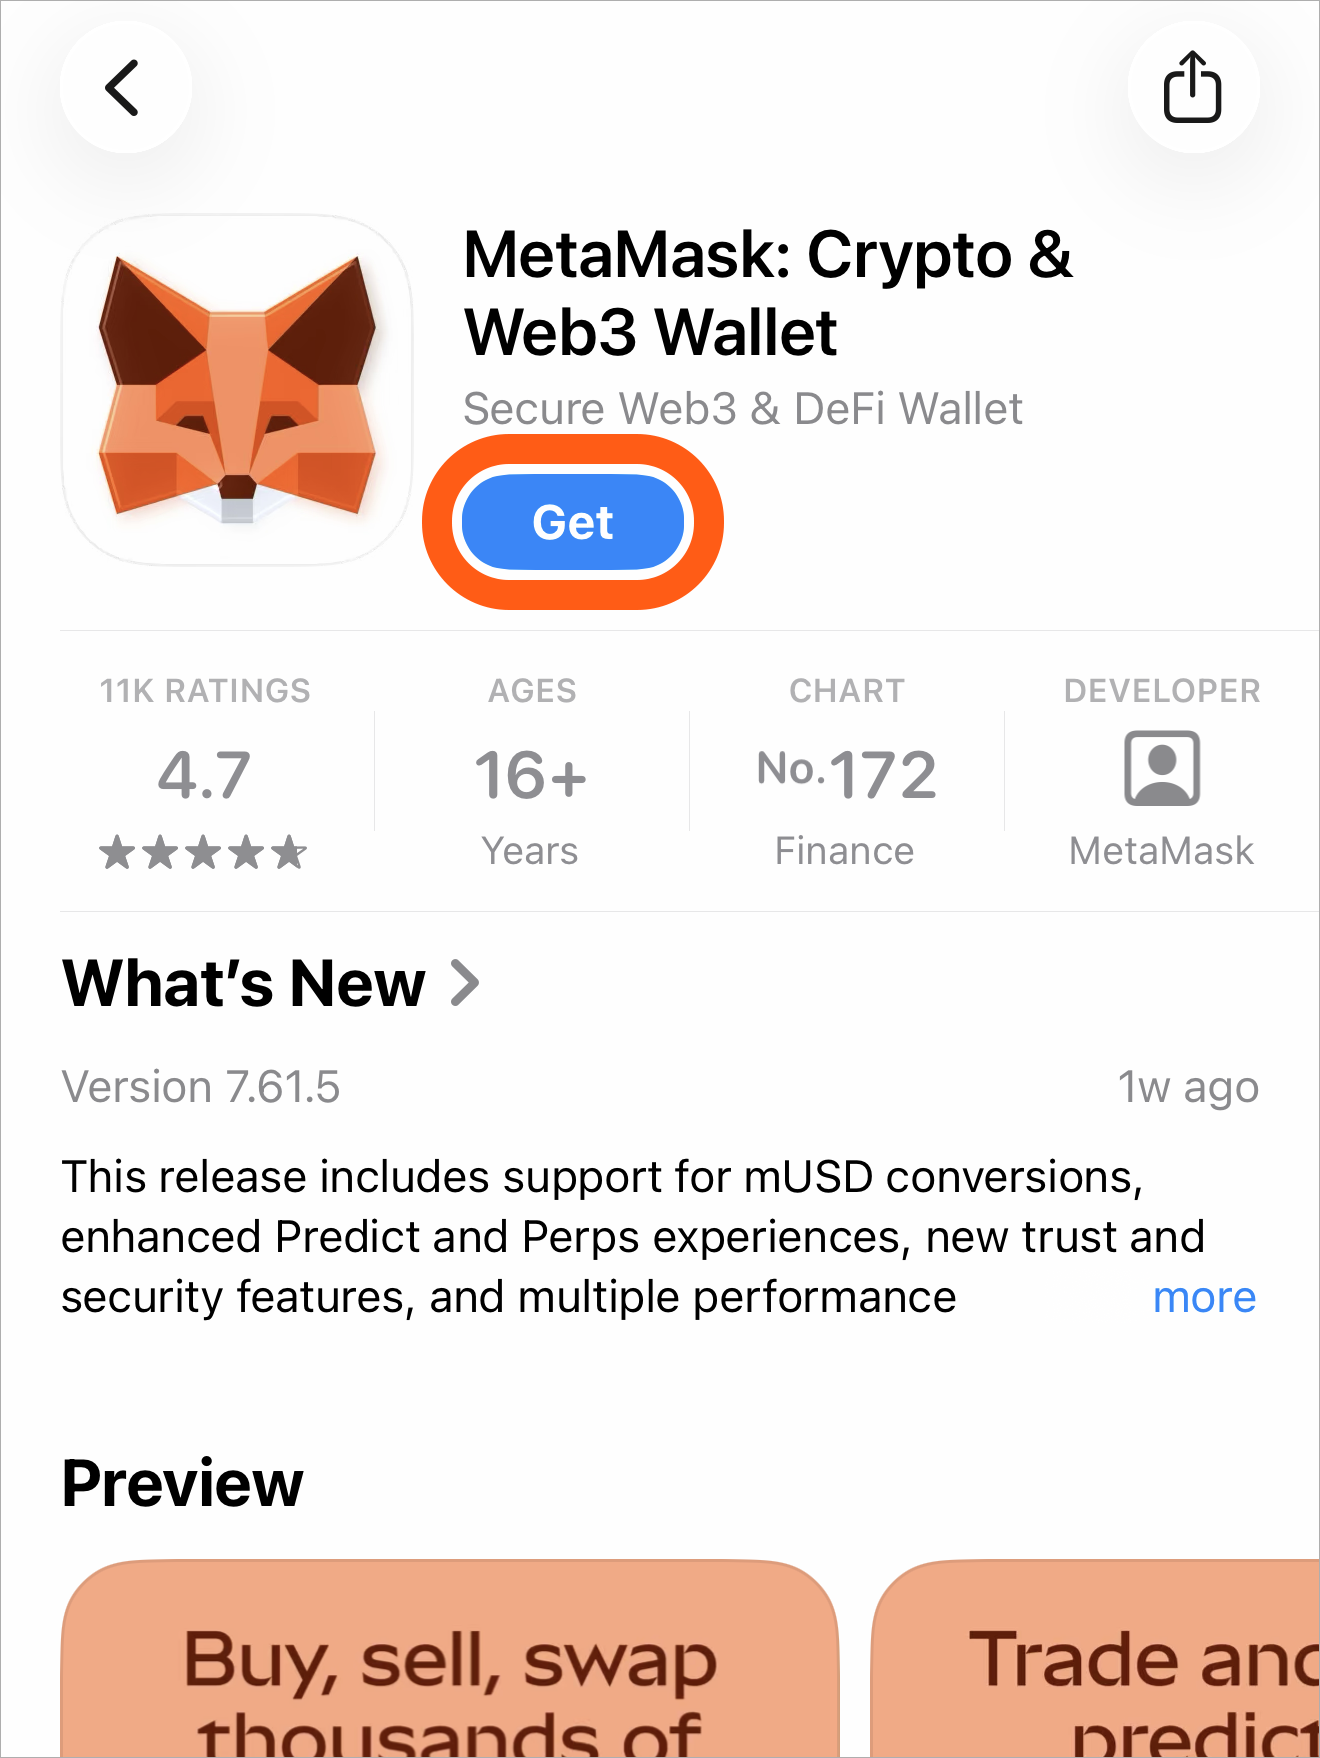
2. Either click 'Get' or tap on the name of the app to see more details. Complete the usual App Store download confirmation process.
3. Once installed, open the app and follow the prompts to create your wallet.
4. Back up your Secret Recovery Phrase somewhere safe and offline!
Android
1. Open the Play Store and search for "MetaMask". **The official MetaMask app looks like the screenshot below. Be VERY CAREFUL that you don't install a fake MetaMask app! Look for the one with 10M+ downloads.**
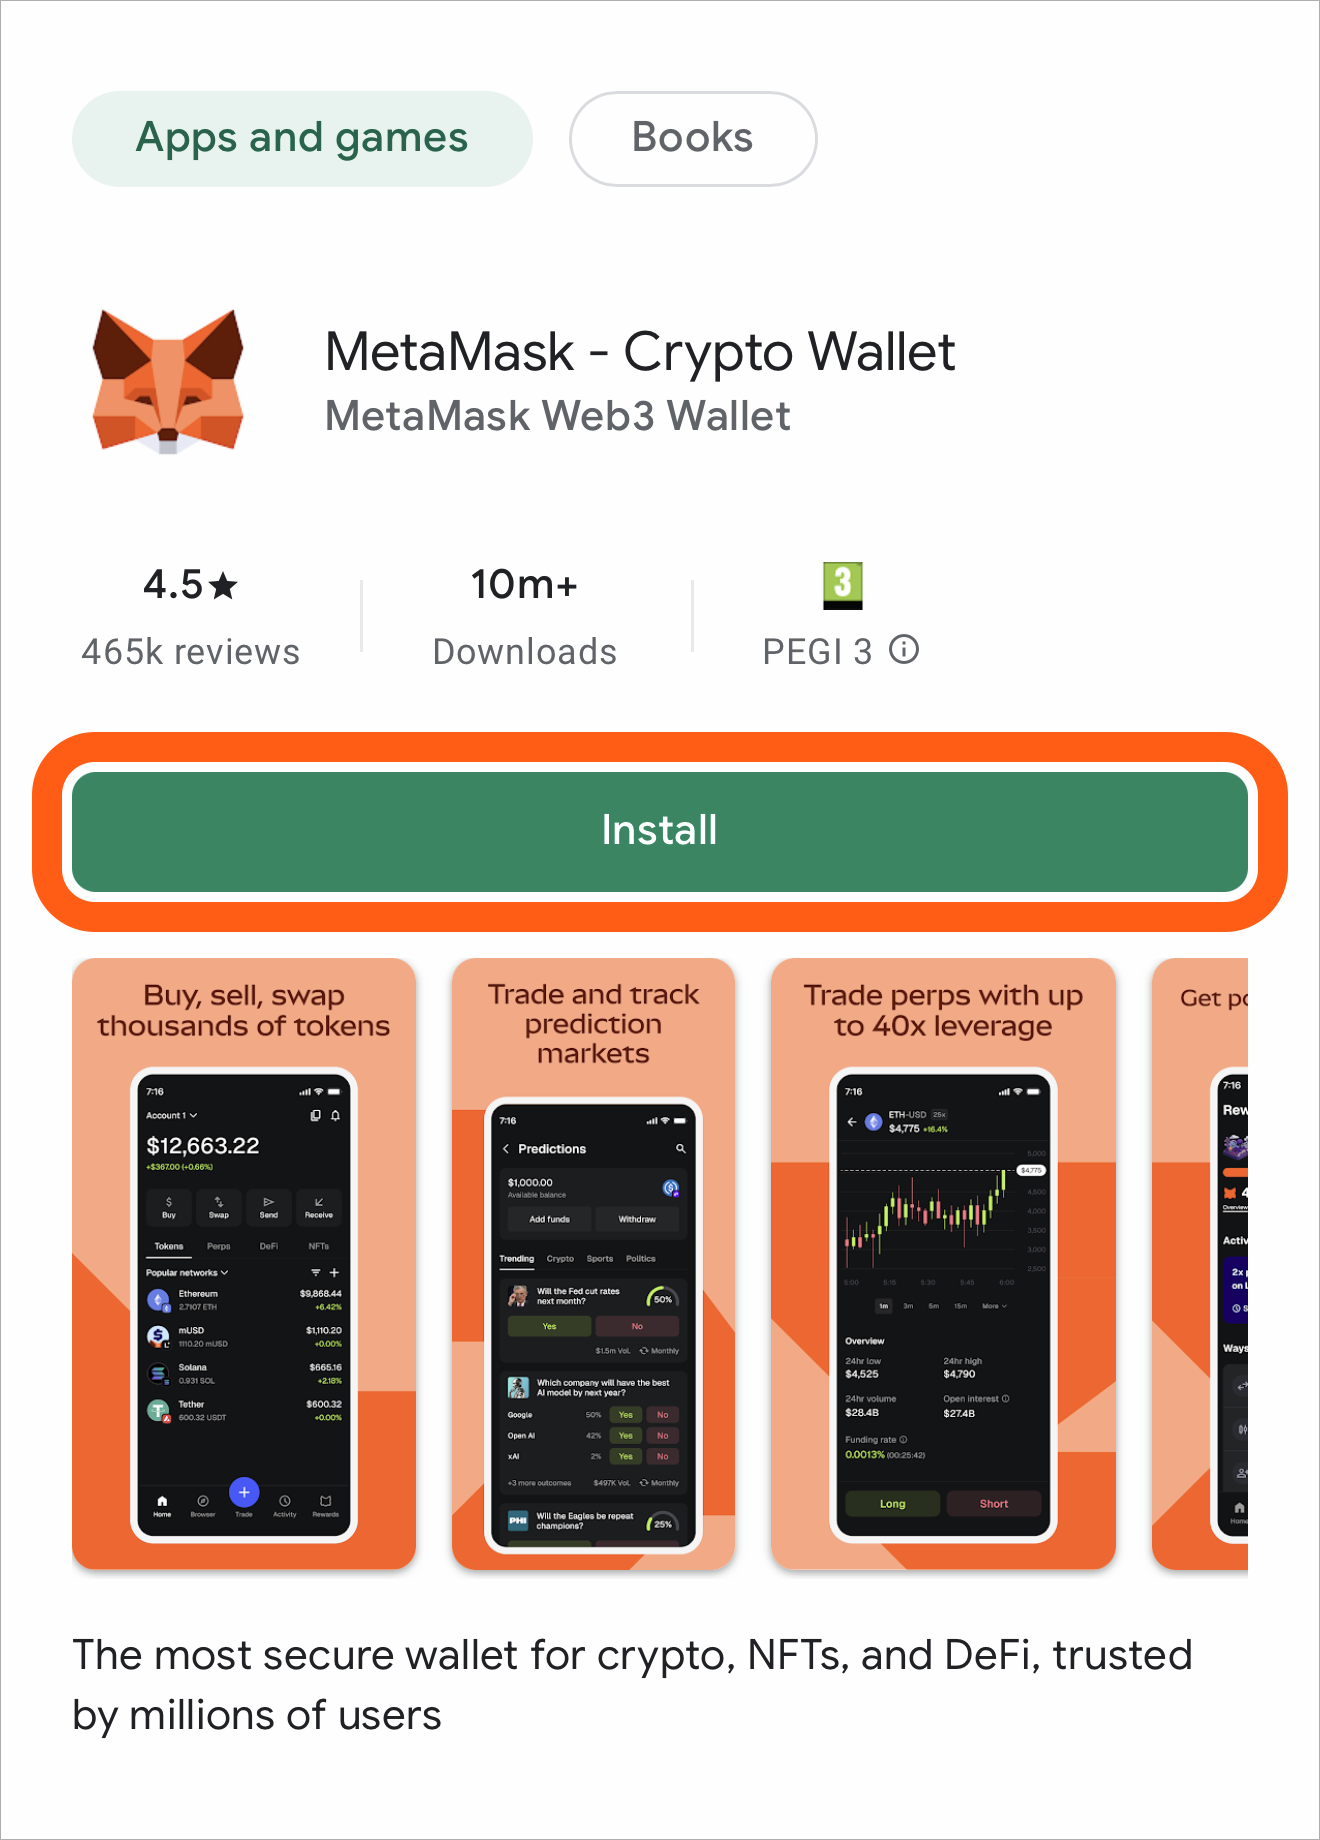
2. Tap 'Install' and wait for the process to finish.
3. Once installed, open the app and follow the prompts to create your wallet.
4. Back up your Secret Recovery Phrase somewhere safe and offline!
Alternatively, you could also access each browser's extension store and search for MetaMask. Whatever you prefer!
Once you have installed MetaMask, you can [create a new wallet](/start/creating-a-new-wallet) or [use an existing wallet](/start/use-an-existing-wallet).
## Can I use MetaMask in my country? {#can-i-use-metamask-in-my-country}
Anyone in any country in the world can use MetaMask.
MetaMask is a self-hosted wallet that interacts with Ethereum and other blockchains through nodes of those networks. [Infura](/more-web3/learn/what-is-infura-and-why-does-metamask-use-it) runs nodes for Ethereum and other popular networks as a service. As a matter of convenience, MetaMask uses Infura nodes by default to read and transact on the Ethereum blockchain.
MetaMask is distributed for free and designed to be customized, so a user can decide to use Ethereum nodes other than those operated by Infura, or nodes relating to entirely different blockchains. It is entirely up to the MetaMask user.
Infura and all other US-based blockchain service providers are required to implement US sanctions. Infura closely monitors changes to US sanctions programs announced by the Office of Foreign Assets Control and narrowly tailors its internal controls to comply with the law. Currently, those regions are Iran, North Korea, Cuba, Syria, and the Crimea, Donetsk, and Luhansk regions of Ukraine.
## Fund your wallet {#fund-your-wallet}
Adding some tokens to your wallet allows you to fully engage in web3. After creating your wallet, you'll see a prompt in the MetaMask extension to fund your wallet.
From there, you can buy crypto with a debit or credit card, receive crypto from another account, or transfer crypto from a CEX. Select the option you'd like to start with; you can always use a different method later.
## Learn more {#learn-more}
[The importance of your SRP and password](/start/user-guide-secret-recovery-phrase-password-and-private-keys)
[User Guide: Swaps](/trade/swap/user-guide-swaps)
[Trade crypto](/trade/)
[MetaMask Card](/trade/metamask-card/)
[mUSD guide](/manage-crypto/tokens/musd/)
---
# Contact MetaMask Support
URL: https://support.metamask.io/start/how-to-contact-metamask-support/
> Learn about the official MetaMask support channels: help articles, community forums, and live chat with support agents.
MetaMask offers three official support methods. Choose the right one for your question for faster help.
:::danger[Warning!]
MetaMask Support will never reach out to you first by direct message or email. MetaMask does not have a phone number. MetaMask will never ask you for your Secret Recovery Phrase; if someone asks for your private wallet details, they are trying to scam you.
:::
Always verify that you are using an official MetaMask support channel:
You are currently reading an article in the MetaMask Help Center. Articles are the best place to start when you have a question; simply use the search function to find articles regarding your issue.
Our knowledge base contains extensive articles for frequently asked questions, troubleshooting, general user guides, and more. Most of your questions can be answered by reading our articles, with translations across 15+ languages, and more to come.
**If you have a hard time finding an answer on your own, our AI-powered smart search is here to help:**
How do I import an existing wallet?
What is a Secret Recovery Phrase?
How do I transfer assets from a centralized exchange to MetaMask?
How do I buy crypto in MetaMask?
What is MetaMask Rewards?
Am I eligible for MetaMask Card?
What is a blockchain?
What is a dapp, and how do I connect/disconnect MetaMask to it?
Is this email actually from MetaMask?
If you try the above methods, and still need help, you can chat with a support agent by starting a conversation.
First, we highly recommend connecting your wallet to start a conversation. Connecting your wallet to MetaMask Support allows our agents to understand more quickly, and more precisely, what issues you are facing. This helps us provide personalized, faster support, while maintaining your security.
When you start a conversation, you'll first talk with Fin, our support bot, to gather more information and provide initial support. Fin is our first layer of support in the live chat. The more information you can provide Fin, the better support you'll get. Provide as much context as possible, and describe your issue as clearly as you can. If Fin can't answer your question, you'll be connected with a support agent once someone is available.
My transaction has failed several times.
I received an error message that I don't understand.
There is an unauthorized transaction in my wallet.
I got locked out of my wallet.
### Tickets
Some support cases might require more time to resolve. If this is the case for you, a ticket will be opened for your issue. You will receive updates on your ticket via an email address you provide, or you can open the chat to view updates.
:::info[Note]
You will only receive emails if you contacted support first, and opened a ticket in our official support chat.
:::
### Talking to a support agent
Be ready to provide as much information as possible when talking to our support agents. You might be asked the following:
- What were you doing right before the error occurred?
- Are you able to repeat the error?
- What are the steps to reproduce the error?
- What networks, blockchains, and dapps were you using?
- What tokens or smart contracts were involved?
- Can you provide your state logs?
- See [how to download state logs](/configure/wallet/how-to-download-state-logs).
- What MetaMask version were you running?
- Click on the menu icon in the top right and then Settings > 'About'.
- What operating system and version, or mobile phone model were you using?
- What browser version were you using?
:::info[Note]
Remember, MetaMask [is a self-custodial wallet](/start/metamask-is-a-self-custodial-wallet). We can't reset your password, we can't reverse transactions, and we can't look up your Secret Recovery Phrase.
:::
---
# How to transfer assets from a centralized exchange to MetaMask
URL: https://support.metamask.io/start/how-to-transfer-assets-from-centralized-exchange/
> Learn how to move your crypto from an exchange like Binance or Coinbase to MetaMask safely.
Do you have funds in a centralized exchange you want to transfer to your MetaMask account? You're in the right place!
:::info[Prerequisites]
- Assets in a centralized exchange
- A MetaMask account
:::
## What is a centralized exchange? {#what-is-a-centralized-exchange}
Centralized exchanges (often shortened to CEXs) can be a convenient place to buy cryptocurrencies and tokens. However, once you purchase your assets, they are often held in a custodial wallet on the exchange. This means that the exchange itself holds the private key for that account address, and therefore has ultimate control over those assets.
If you want to participate more actively in web3, or just want to move your funds for security or peace of mind, you'll need to move the funds off the exchange. A [self-custodial wallet](/start/metamask-is-a-self-custodial-wallet) like MetaMask can be more suitable for these purposes, since you need a self-custodial wallet to manage your digital identity properly. Self-custody means you hold the wallet's private key, and that you are solely responsible for controlling the assets in your wallet.
:::info[Buy crypto through your CEX account]
You can now buy crypto through your CEX account directly in MetaMask Portfolio. For more information, see our guide [here](/manage-crypto/move-crypto/buy/buy-crypto-from-cex-account).
:::
## Transfer CEX assets to MetaMask {#transfer-cex-assets-to-metamask}
### MetaMask Extension and Mobile {#metamask-extension-and-mobile}
To move your funds from a CEX to MetaMask in MetaMask Extension, follow these steps:
1. Visit the platform you want to withdraw from and login.
2. Find the token you would like to transfer and click "send".
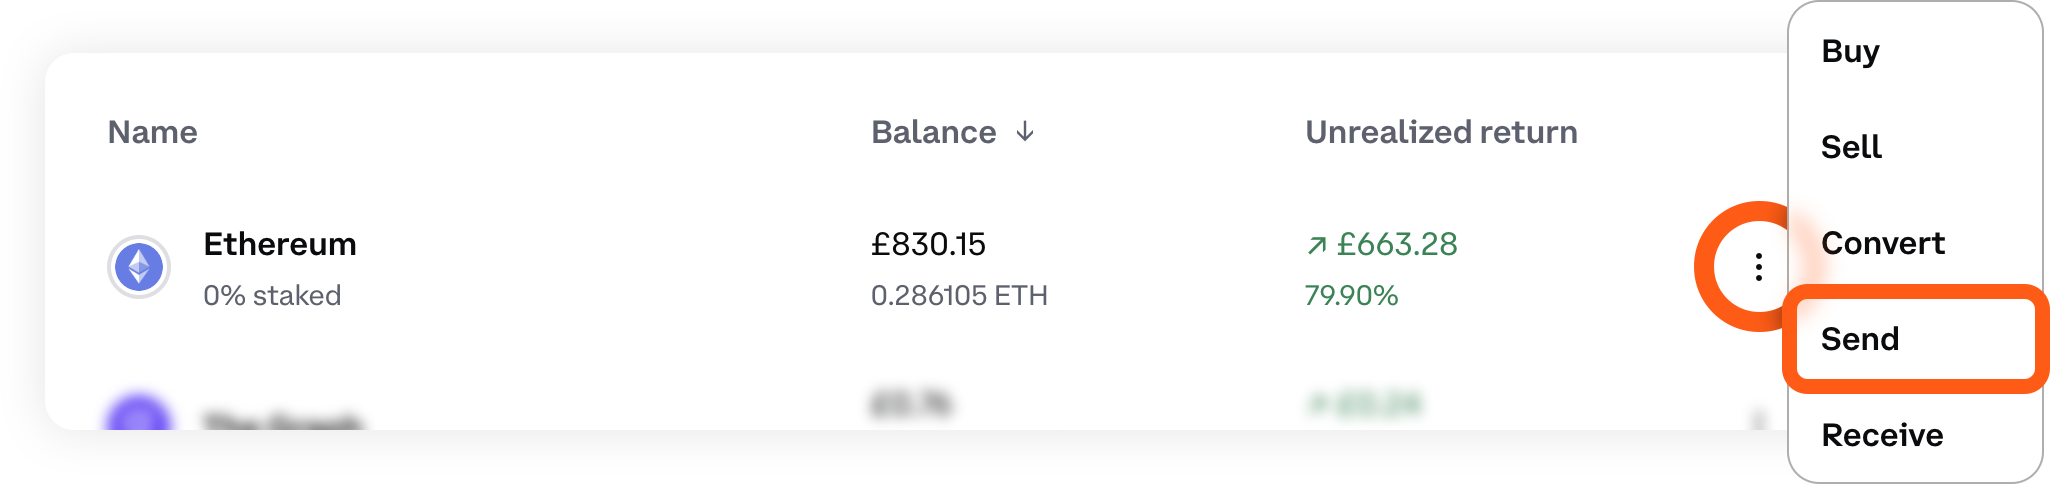
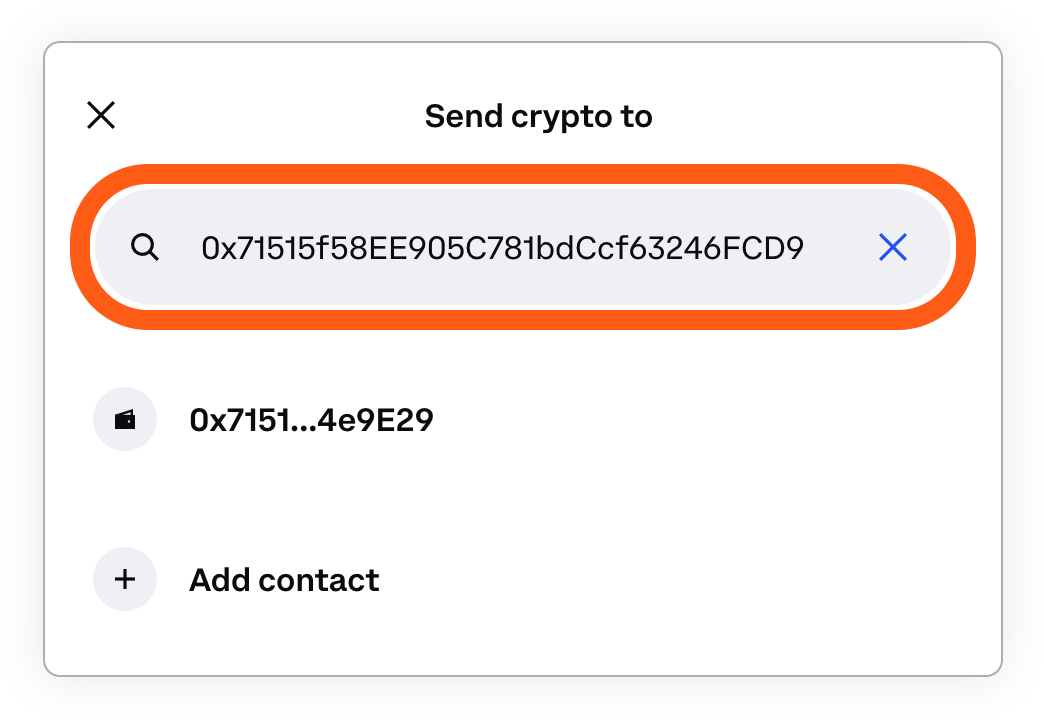
3. Paste your MetaMask [account address](/configure/wallet/how-to-copy-your-metamask-account-public-address-/). Always double check you pasted the full and correct address.
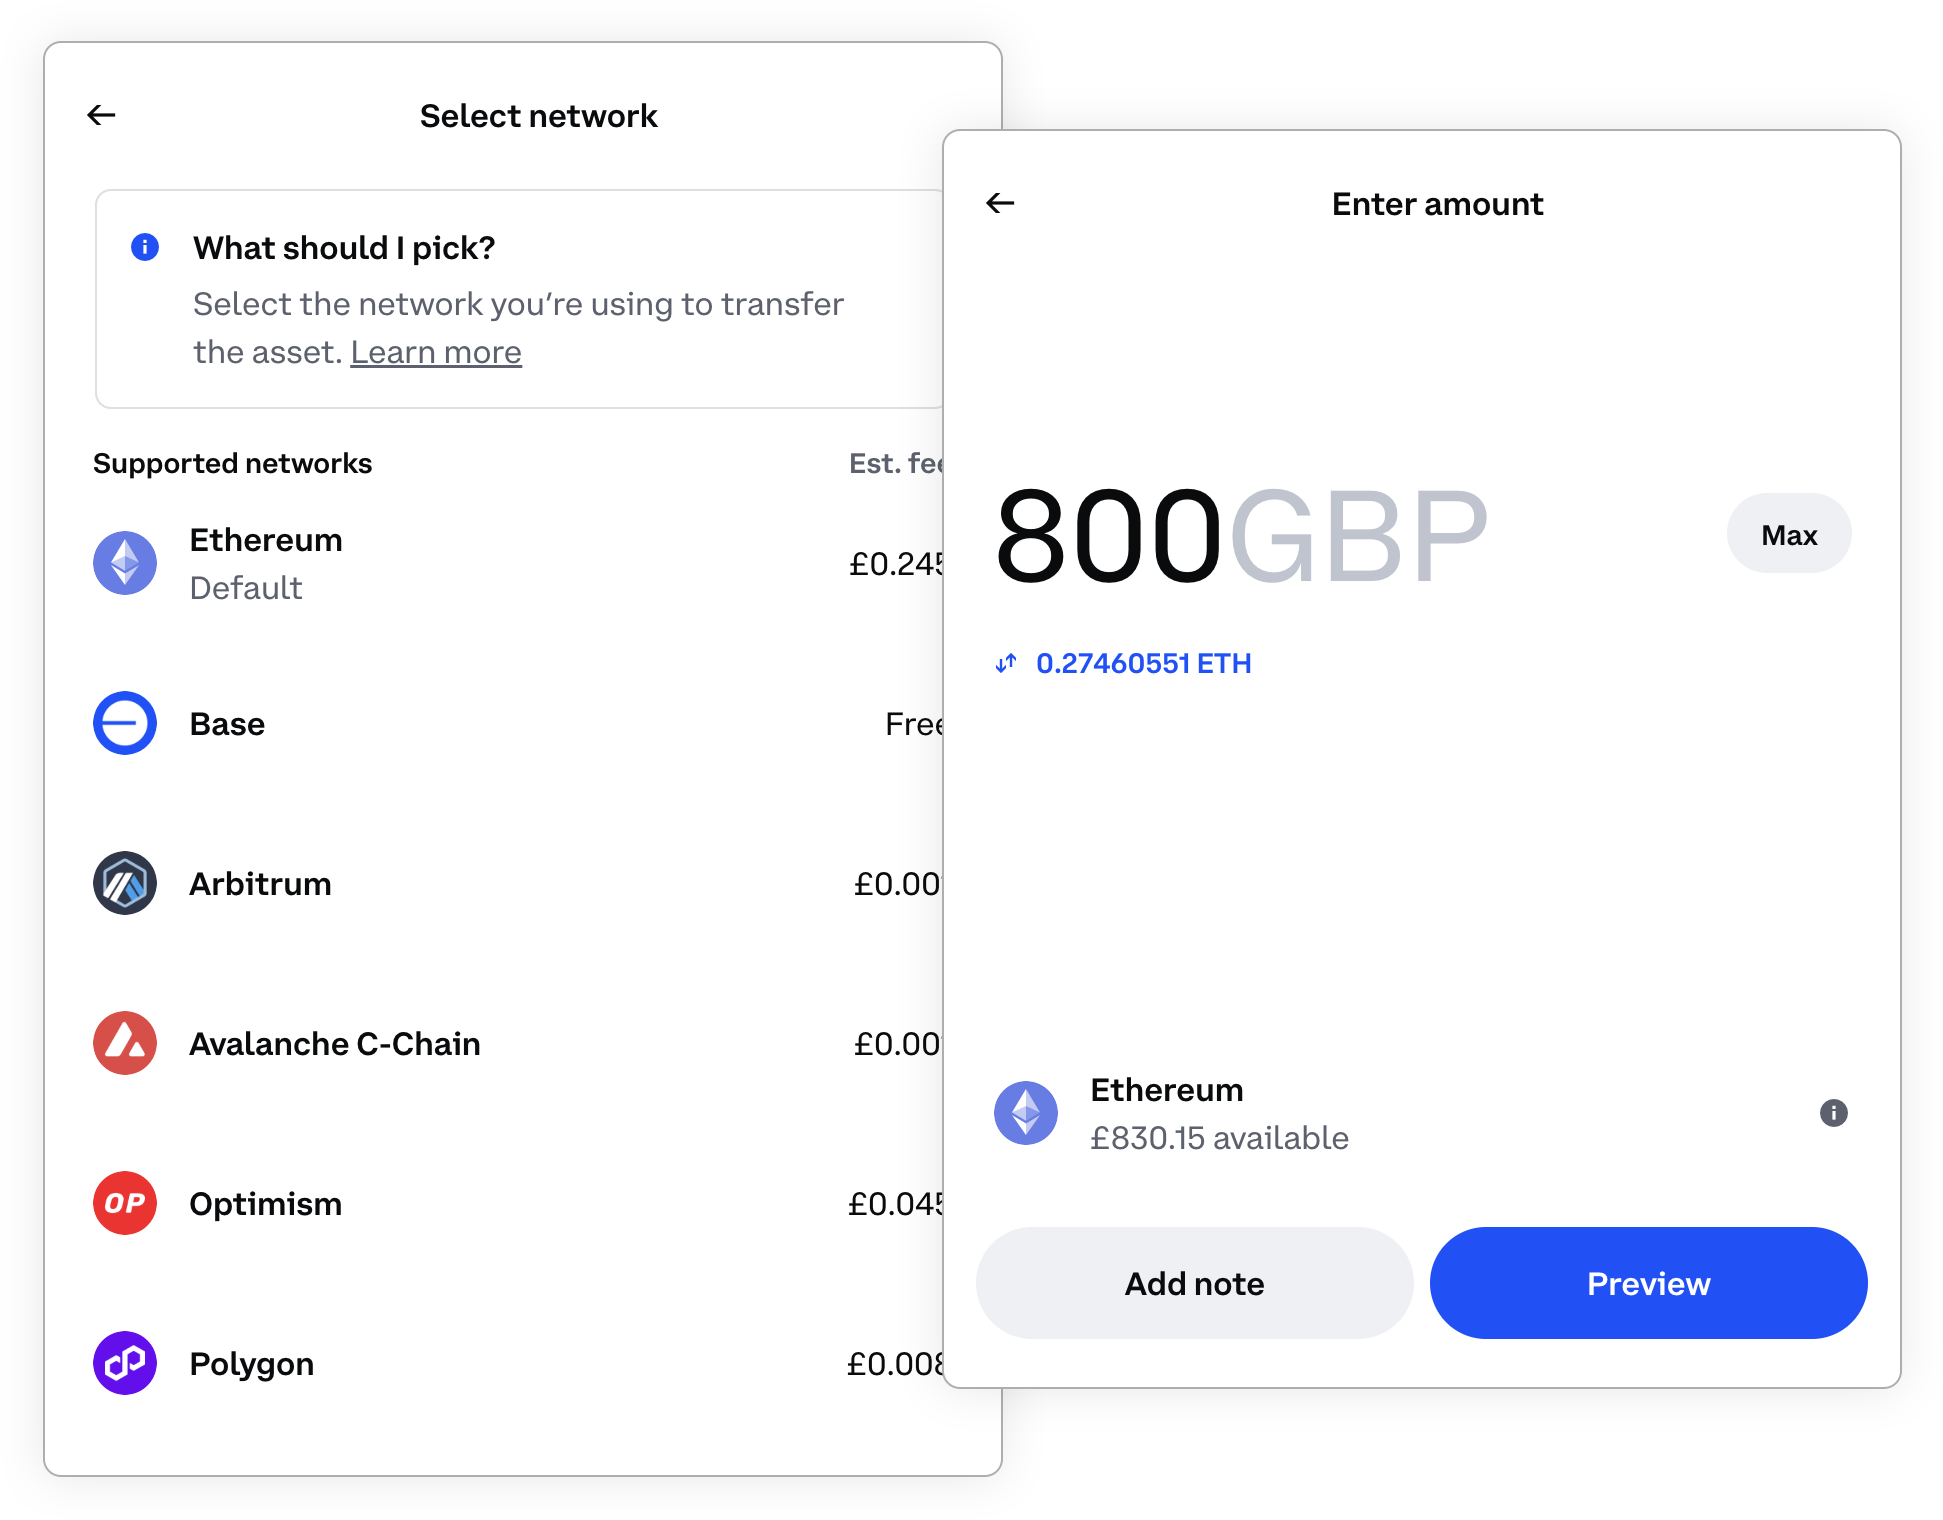
4. Choose the Ethereum (ERC-20) network and enter the amount you would like to withdraw and submit. Make sure you transfer the right assets to the right wallet address and on the right network.
5. Enter your two-factor authentication codes.
6. The transfer could take up to 10 minutes. Check your recent transactions to confirm the status of the withdrawal. It may take longer if the network is busy.
:::info[Self-custody comes with responsibility]
Make sure you understand what [self-custody](/start/metamask-is-a-self-custodial-wallet/) means when you set up a MetaMask wallet.
:::
### MetaMask Portfolio {#metamask-portfolio}
You can transfer assets from a CEX through the 'Transfer' feature in MetaMask Portfolio.
:::info[Supported CEXs]
The MetaMask Portfolio 'Transfer' feature only supports accounts with Binance or Coinbase at this time.
:::
Open [MetaMask Portfolio](https://portfolio.metamask.io) and [connect your MetaMask account](/manage-crypto/portfolio/how-to-connect-your-accounts-to-metamask-portfolio/) if you have not already.
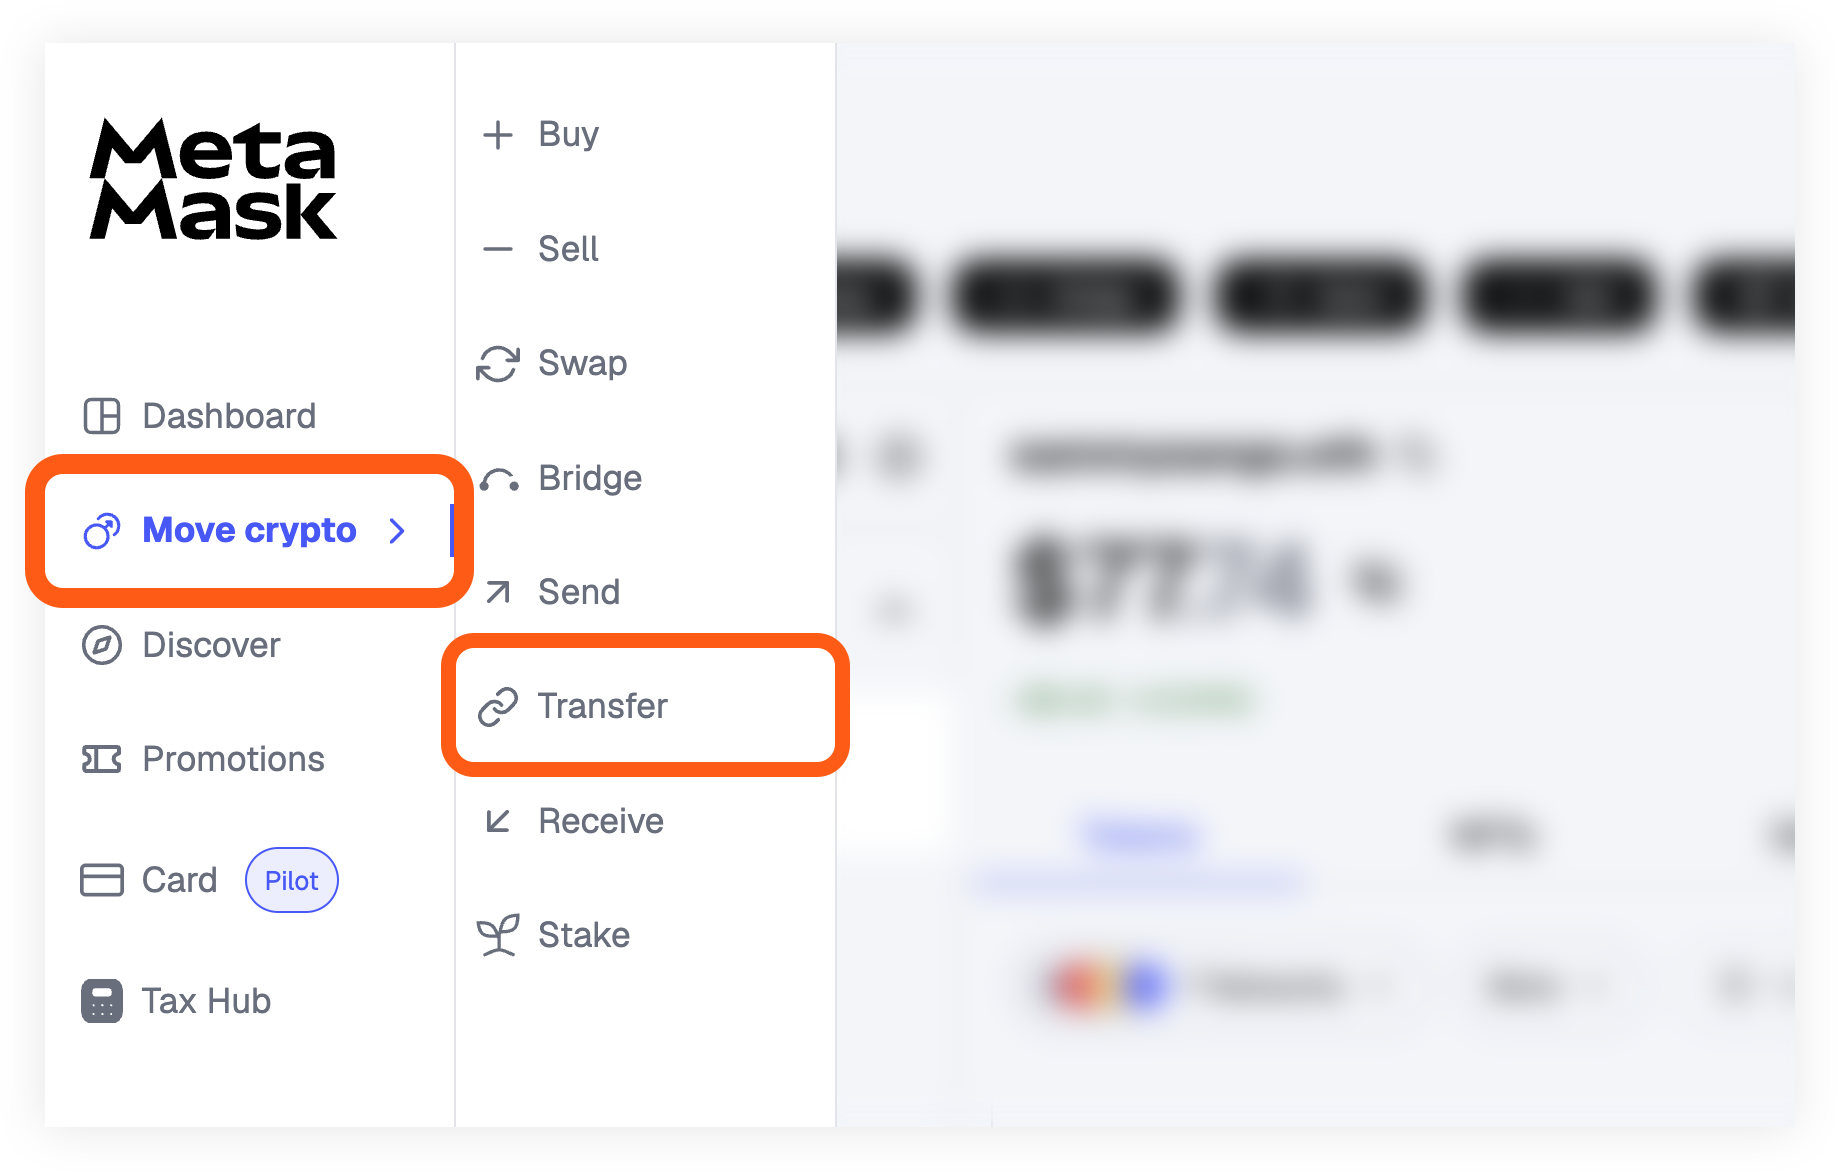
1. In the left-hand menu, select 'Move crypto', and then select 'Transfer'.
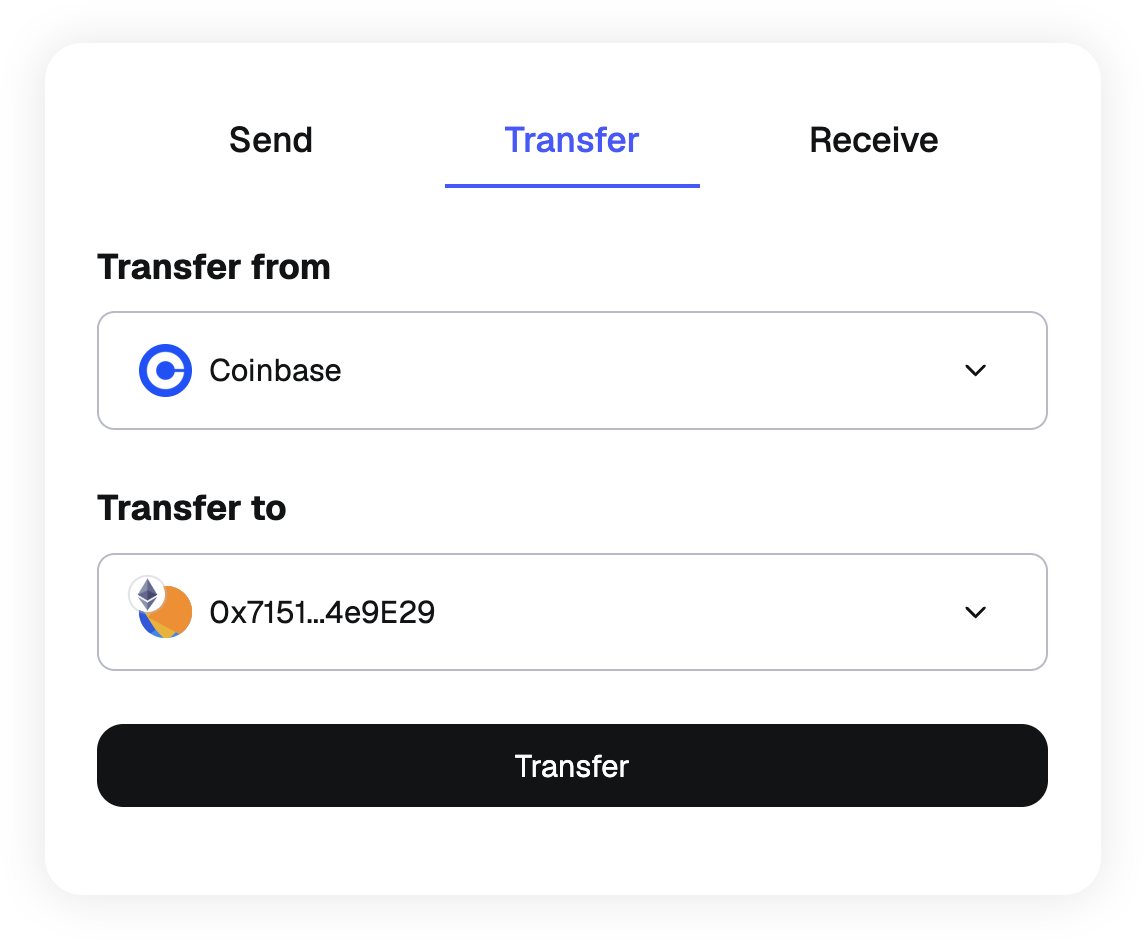
2. Select the exchange from the drop-down menu and the MetaMask account you would like to transfer assets to.
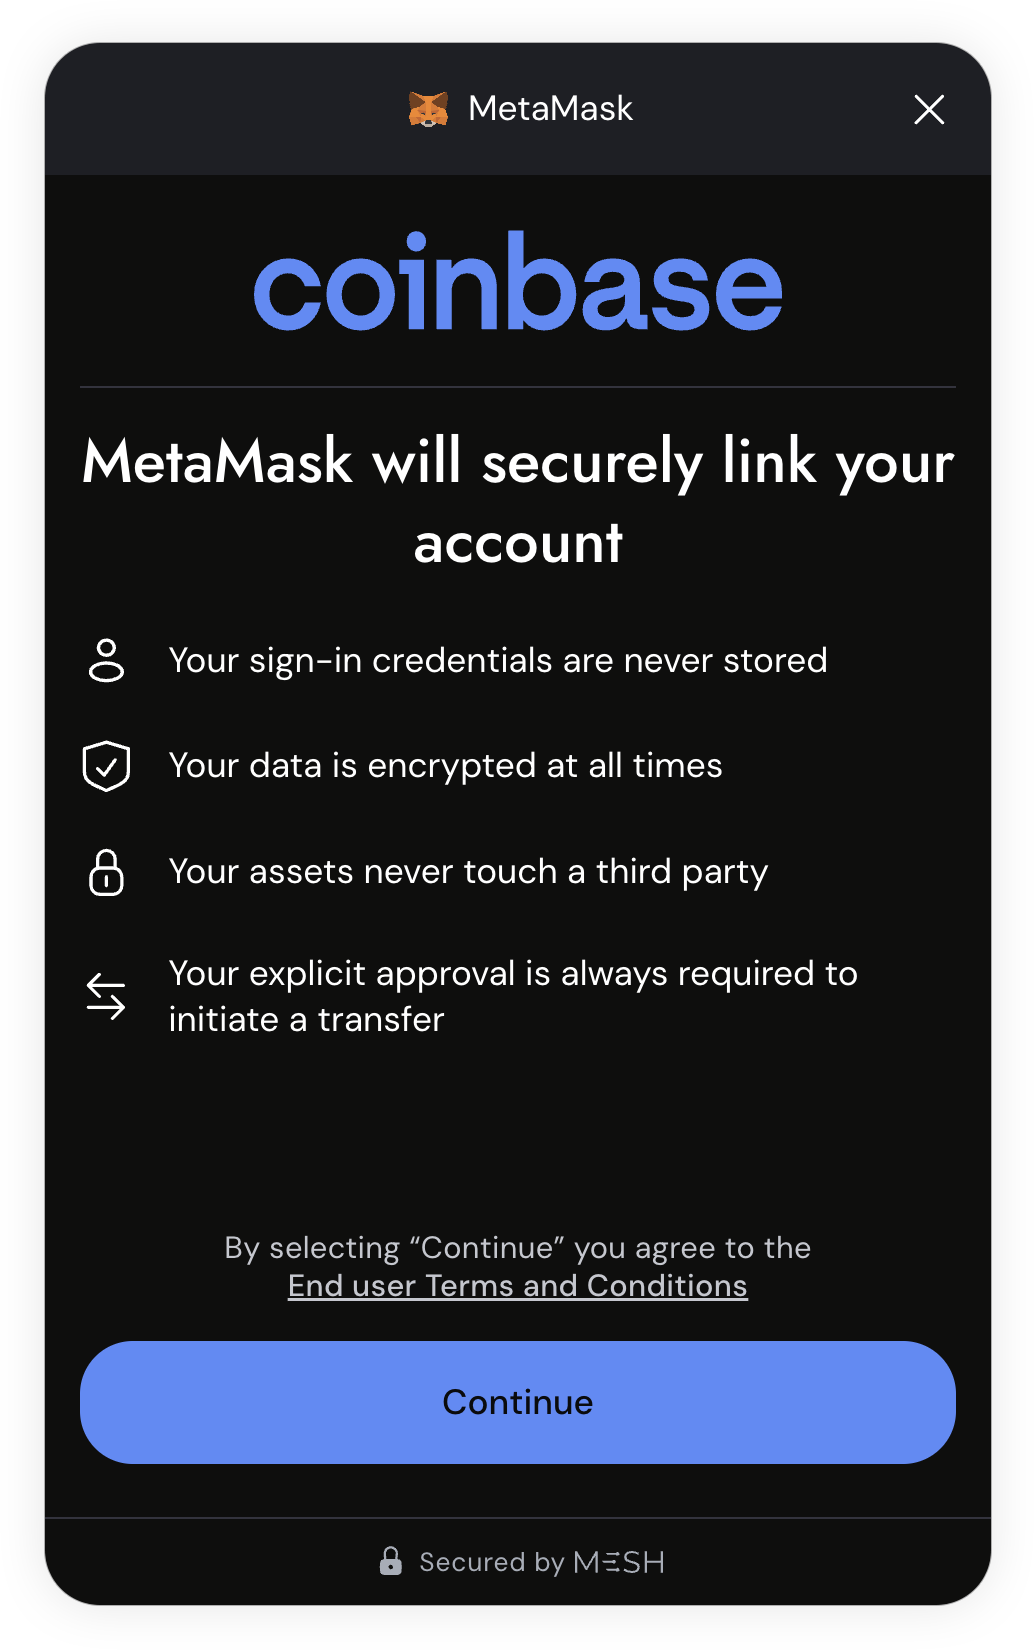
3. You will need to link your account. Continue to the next step to log in to your CEX account to grant MetaMask the permissions it needs to initiate a transfer. Don't worry; this doesn't allow MetaMask any custody over your CEX account! You will likely need to enter a verification code to continue which you can find in your authenticator app _(example: Authenticator, Google, Authy, etc.)_.
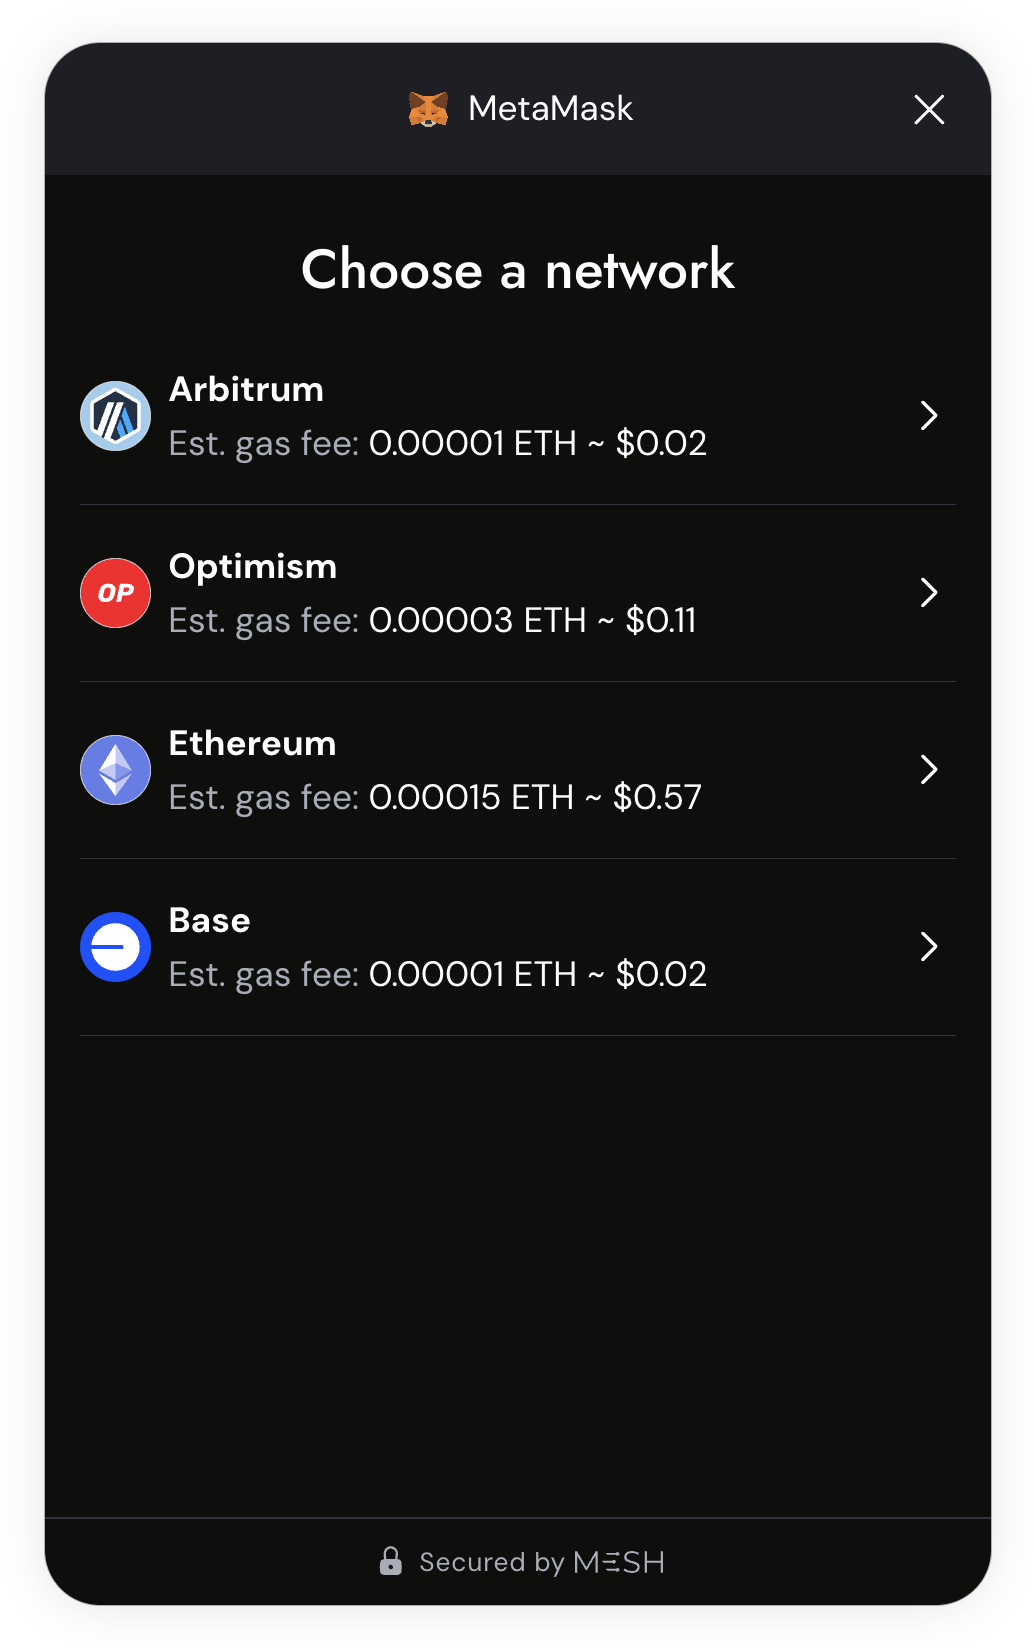
4. Once linked, choose the network you want to use for your transfer.
5. Next, choose the asset you want to transfer out of your CEX account and enter an amount.
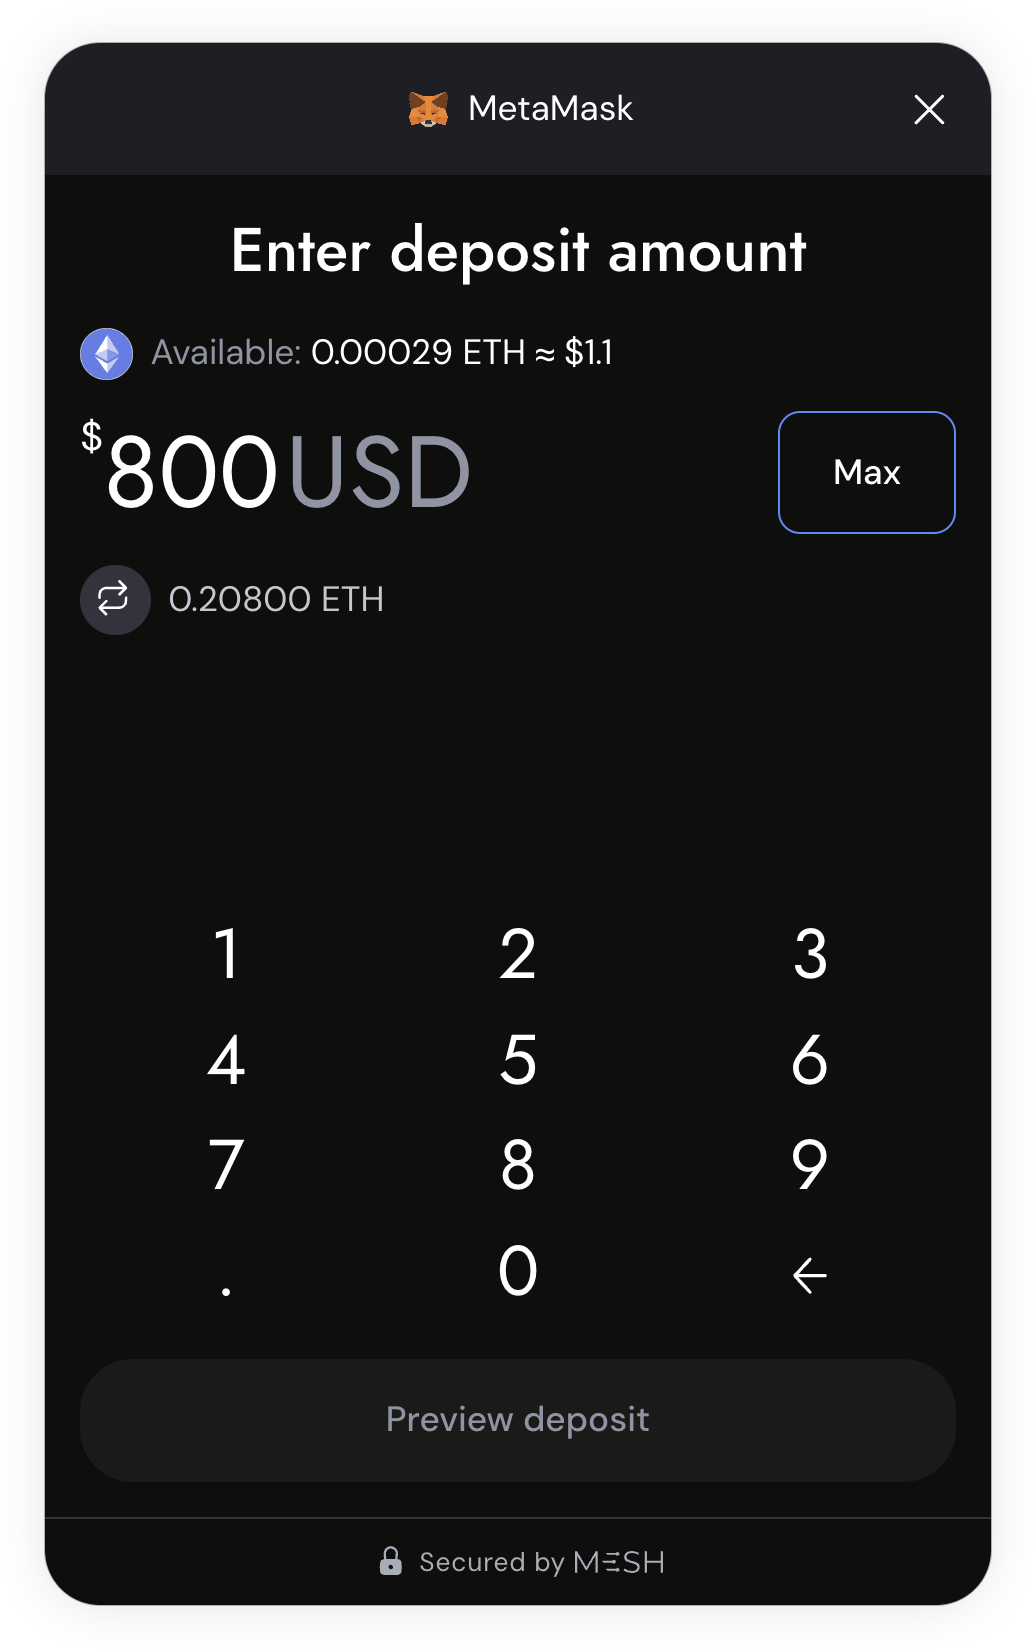
6. Finally, review the details of your transfer, and double-check that you have used the correct account address. You might be asked to confirm the transfer by entering a verification code (from the authenticator app you used earlier).
The transaction might take some time to complete. Once finished, you'll see a confirmation screen with the transaction details and notice the funds in your MetaMask account.
You can use this as a way to fund your MetaMask account(s) in the future. Just come back to the 'Transfer' tab and repeat the process.
---
# What is a self-custodial wallet?
URL: https://support.metamask.io/start/metamask-is-a-self-custodial-wallet/
> MetaMask explained: what self-custody means and why it matters.
MetaMask is a **self-custodial (non-custodial)** crypto wallet, which means you control your own funds and access. In a self-custodial wallet, you hold the master key to unlocking your wallet. There’s no middleman between you and your crypto.
Because of this:
- Only you can access your wallet
- MetaMask cannot recover or control your funds if you lose your SRP or password
**MetaMask cannot access your Secret Recovery Phrases**. Please keep your SRP and password secure. Learn more about the elements that protect your wallet [here](/start/user-guide-secret-recovery-phrase-password-and-private-keys/).
:::info[Is your Google/Apple/Telegram account connected to MetaMask?]
If you've connected your Google, Apple, or Telegram account to MetaMask, your SRP is sharded across five different servers and encrypted. Only the combination of your Google/Apple/Telegram account and your password can decrypt and access your SRP. MetaMask does not have access to your assets.
Remember: MetaMask will **never** ask for your SRP, private keys, or password.
:::
There are a lot of benefits to using a self-custody wallet. For example:
- No institution can manipulate your access to your funds. Ever heard the phrase "not your keys, not your crypto"? Well, this is what it refers to. If you use a custodial wallet, where an organization or third party essentially controls the wallet, and acts according to your instructions, there's very little other than trust preventing the custodian from making off with your funds.
- No merchant you transact with via MetaMask can access more of your personal data than you reveal.
MetaMask wallet is self-managed, so you are fully responsible for keeping your wallet safe, and you are the only one who can access and manage your assets.
**Never ever share your SRP with anyone**. Sharing your SRP with someone would be like handing over the PIN code to your bank card, or the keys to your house. It would give that person the ability to access and transfer all of your funds. The MetaMask team will never ask you for it. If anyone or any website asks you to share it, they're trying to scam you.
---
# How to connect or import an existing wallet in MetaMask
URL: https://support.metamask.io/start/use-an-existing-wallet/
> Learn how to import or connect an existing wallet into MetaMask using a Secret Recovery Phrase, private key, or JSON file. Manage your assets across multiple devices.
If you already have a MetaMask wallet, or want to import an existing wallet, you're in the right place.
### Connect an existing MetaMask wallet via Google, Apple, or Telegram {#use-an-existing-metamask-via-google-or-apple}
If you have connected your Google, Apple, or Telegram account to MetaMask before, you can unlock MetaMask using these credentials, automatically importing all your linked wallets and accounts. If you have not connected a Google, Apple, or Telegram account before, go to the ['Import an existing wallet' section below](/start/use-an-existing-wallet#import-an-existing-wallet).
Once you have MetaMask Extension or Mobile downloaded, accept the Terms of Service, and then click ‘I have an existing wallet’.
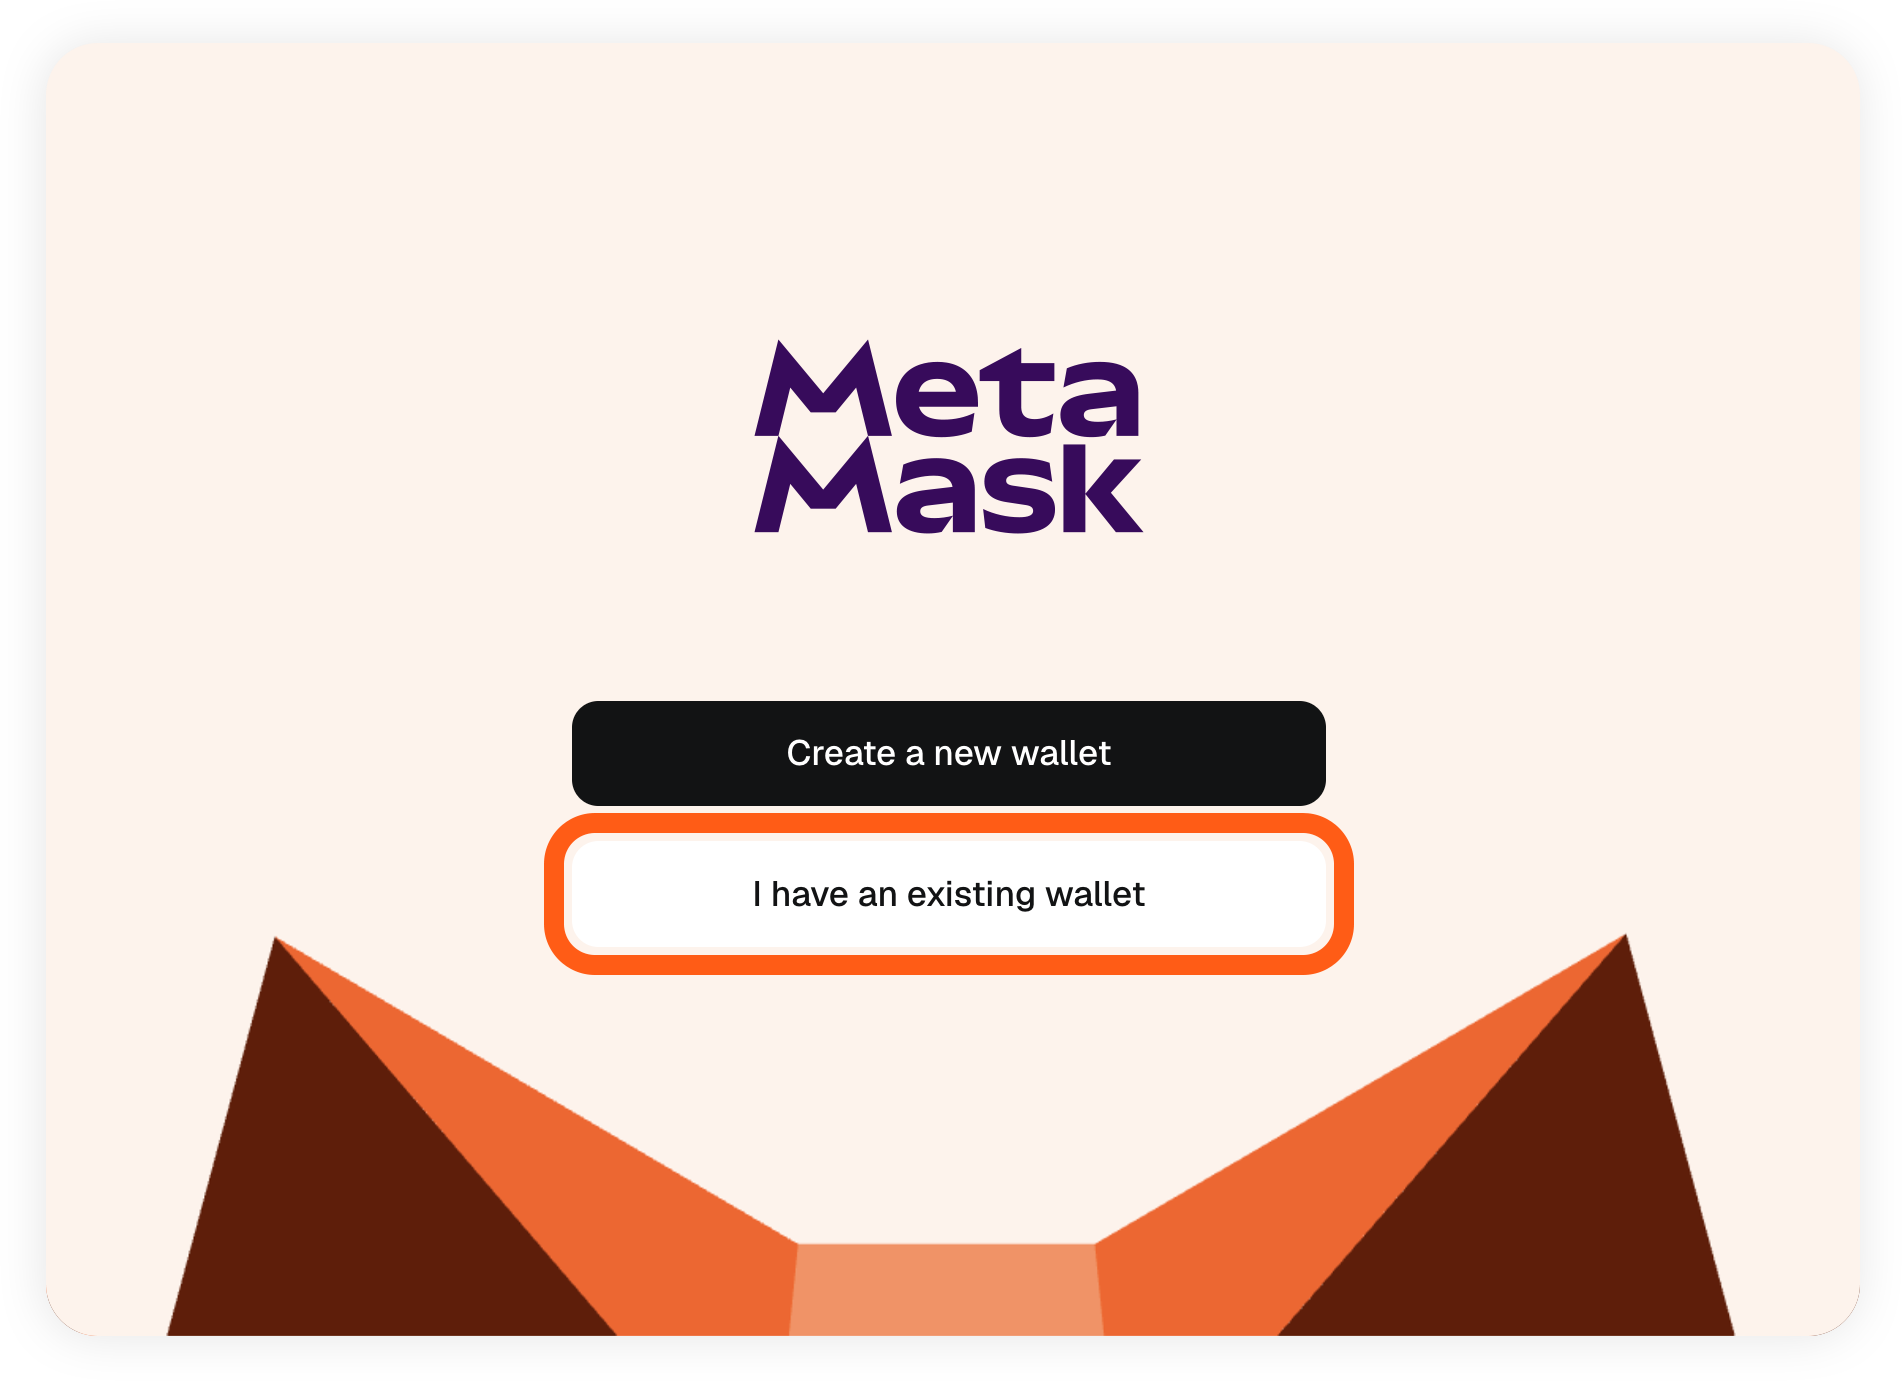
From there, choose the account you have previously used to connect to MetaMask: either Google, Apple, or Telegram. You will be prompted to connect to that account, and then you will enter your MetaMask password.
:::note
If you do not have access to your Google, Apple, or Telegram account, or have lost your MetaMask password, you will not be able to access MetaMask this way. If you have your SRP, you can access your wallet by entering the phrase, but it will not be connected to your Google, Apple, or Telegram account.
:::
### Import an existing wallet {#import-an-existing-wallet}
You can import wallets in two ways:
- **Secret Recovery Phrase:** use an existing Secret Recovery Phrase or seed phrase to import an entire wallet with all its associated accounts.
- **Private key:** use an existing private key to import _one_ account.
:::info[Importing wallets on a Google/Apple/Telegram-enabled MetaMask instance]
If you used Google, Apple, or Telegram to create a MetaMask wallet, importing additional wallets WILL link them to your Google/Apple/Telegram account. If you don't want to link them, restore your wallet in a new instance of MetaMask. Learn more [here.](/configure/wallet/how-to-restore-your-metamask-wallet-from-secret-recovery-phrase/)
If you do want to link your wallets, import following the steps below. Importing wallets on one device will sync them to all other devices with the same Google/Apple/Telegram account.
:::
For this process, you’ll need an individual account’s private key string or wallet’s Secret Recovery Phrase (SRP) that you’re looking to import. Note that importing an SRP will also import **all** of its associated accounts with ETH balances.
If you’re moving your existing MetaMask wallet to a new device, [here’s how to find your SRP](/configure/wallet/how-to-reveal-your-secret-recovery-phrase/) first.
This is a good option if you’re looking to consolidate multiple wallets into one instance for easier management. For more information on managing multiple wallets, refer to this [guide](/more-web3/wallets/how-to-use-multiple-metamask-wallets/).
#### How to export SRPs from other wallets {#how-to-export-srps-from-other-wallets}
If you're switching from another wallet provider, you can export your Secret Recovery Phrase (SRP) and import it into MetaMask to manage your accounts in one place. Your SRP is a 12 or 24-word phrase. Find it in your current wallet's settings or security menu, then follow the steps below to import it into MetaMask.
:::info
Nothing moves on-chain. Your assets stay exactly where they are, you're just changing the app you use to access them.
:::
**Follow your current wallet provider's instructions on how to locate and export your SRP:**
Once you have your SRP ready, follow the steps below to import it into MetaMask.
#### Import using a Secret Recovery Phrase {#import-using-a-secret-recovery-phrase}
This is the easiest way to import multiple Ethereum and Solana wallets to MetaMask and manage them in one place. Make sure you have your 12 or 24-word SRP handy and you’re in a secure place to get started. Imported SRPs must be in English; multilingual SRPs are not supported.
Importing an SRP will also import **all** of its associated accounts with ETH balances (such as SRP B with “Account 1”, “NFT account”, and “DeFi Account”)
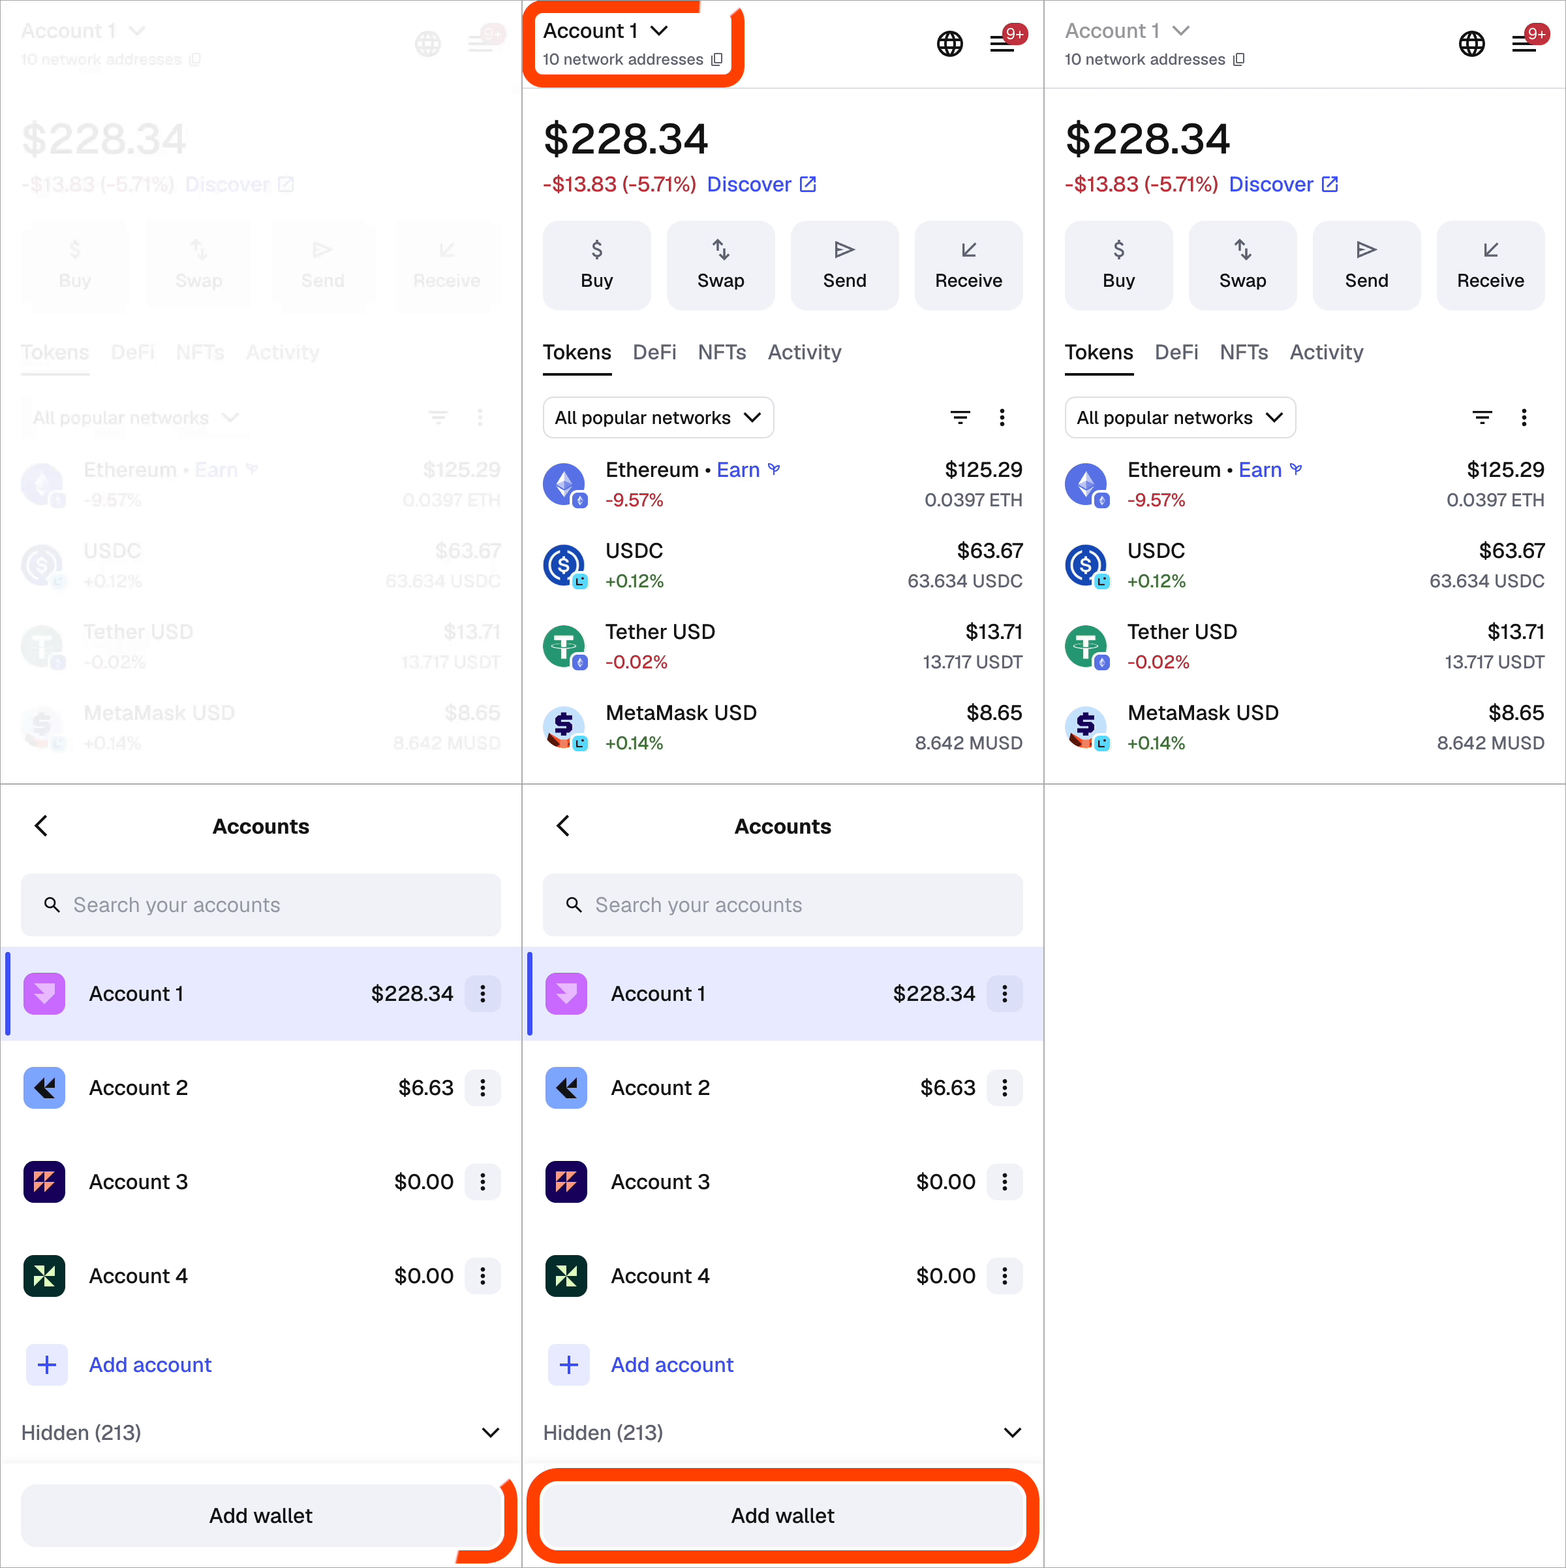
1. Click the account selector at the top of your wallet.
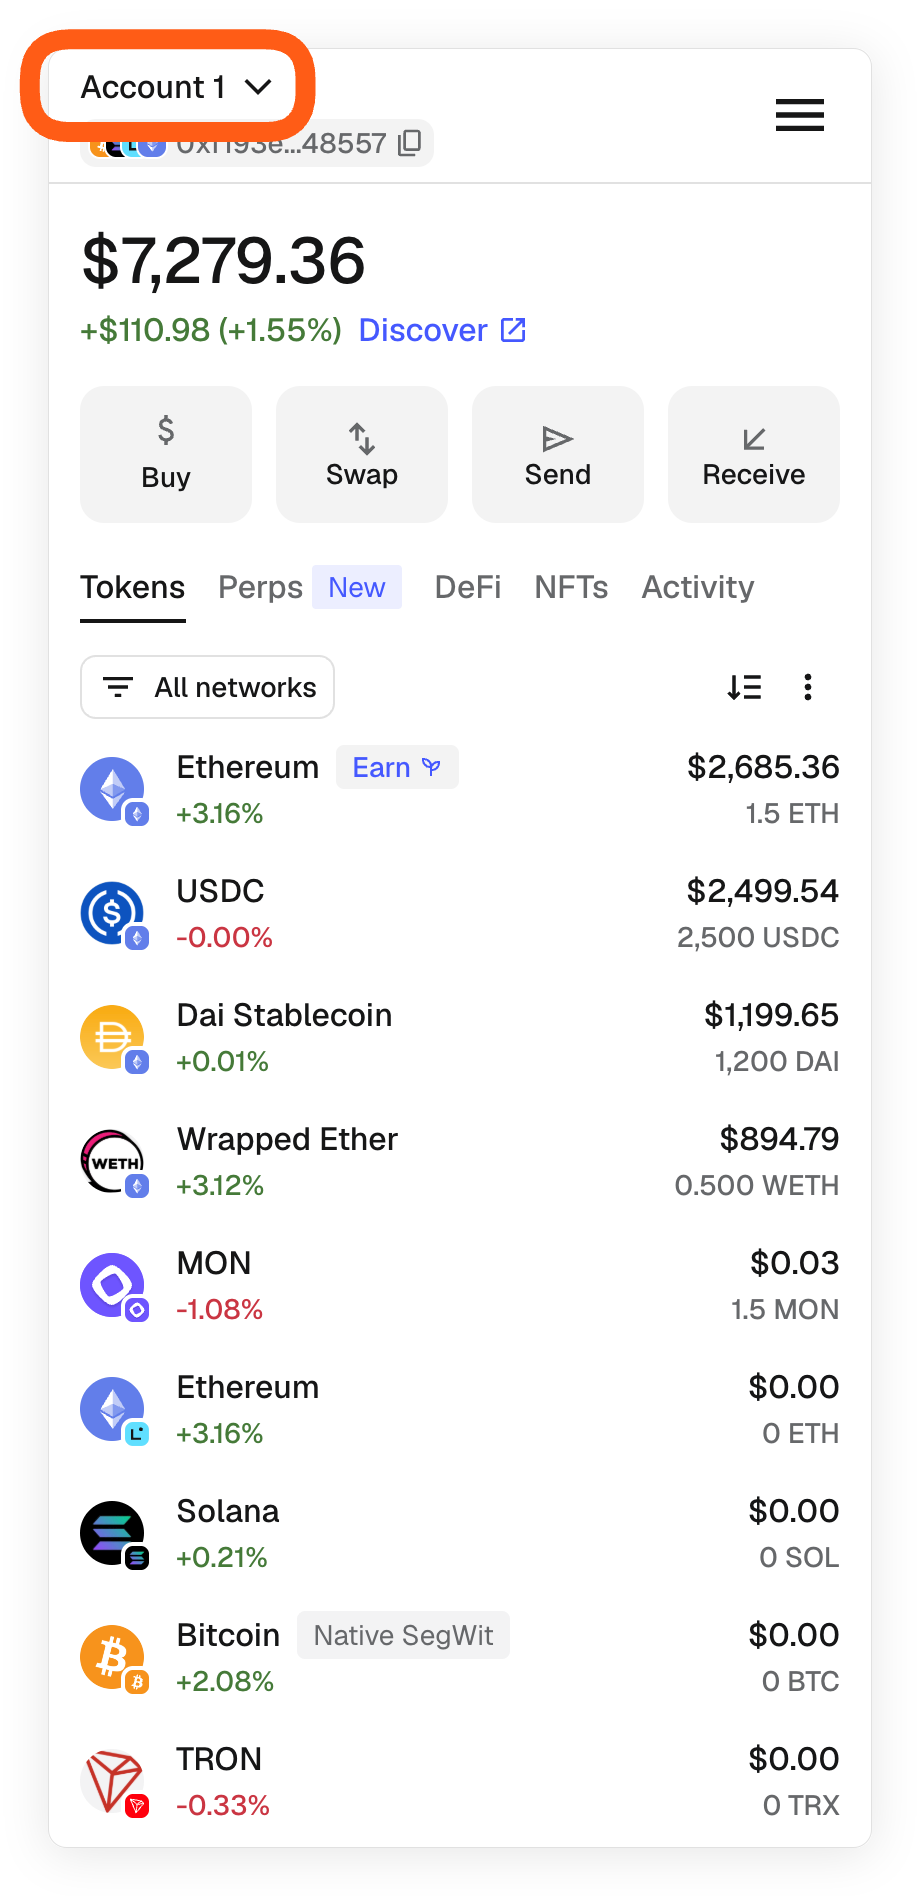
2. Select 'Add wallet' at the bottom of the list.
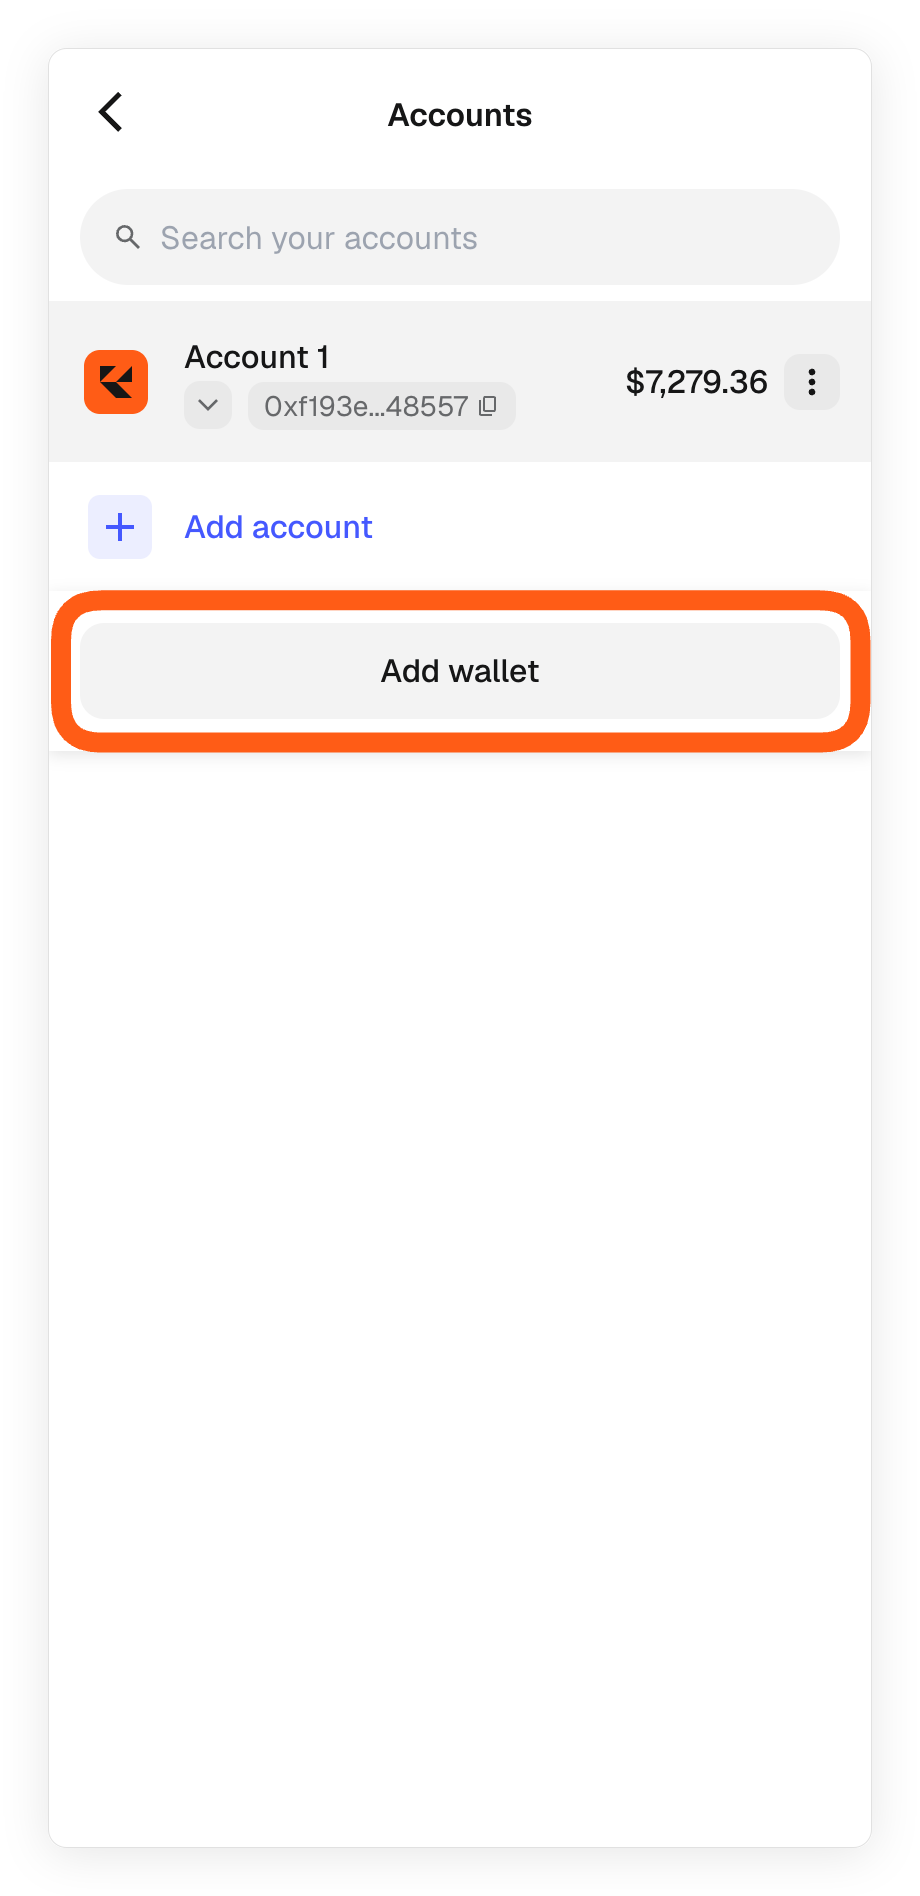
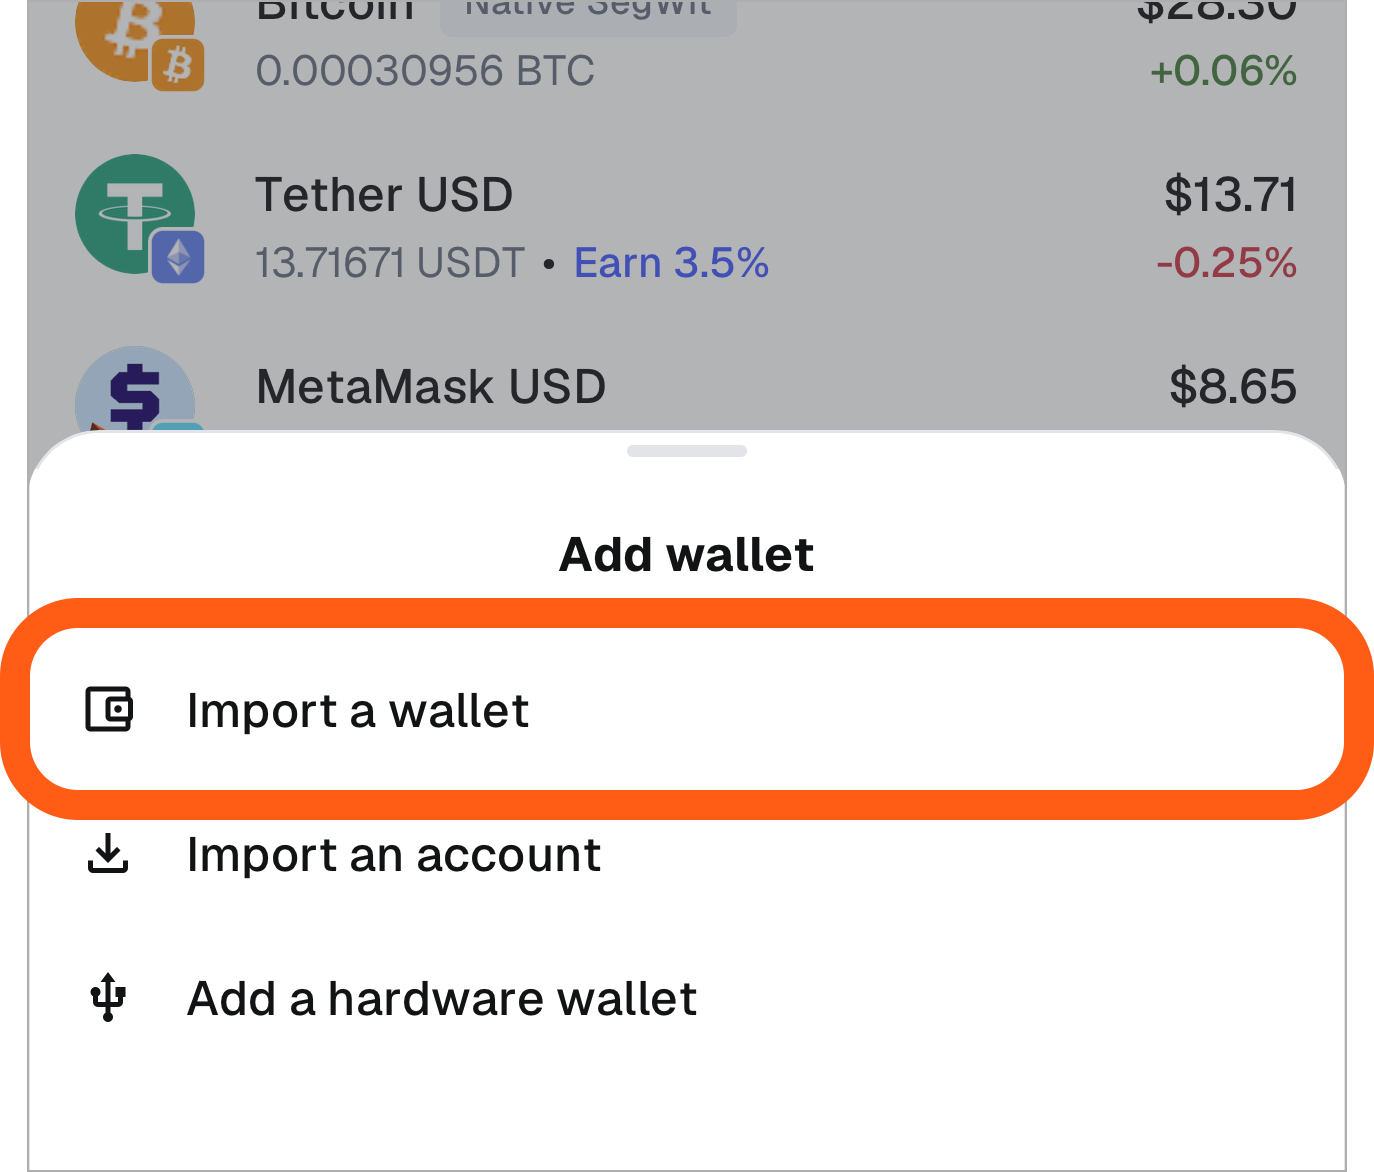
3. On the next page, select 'Import a wallet’.
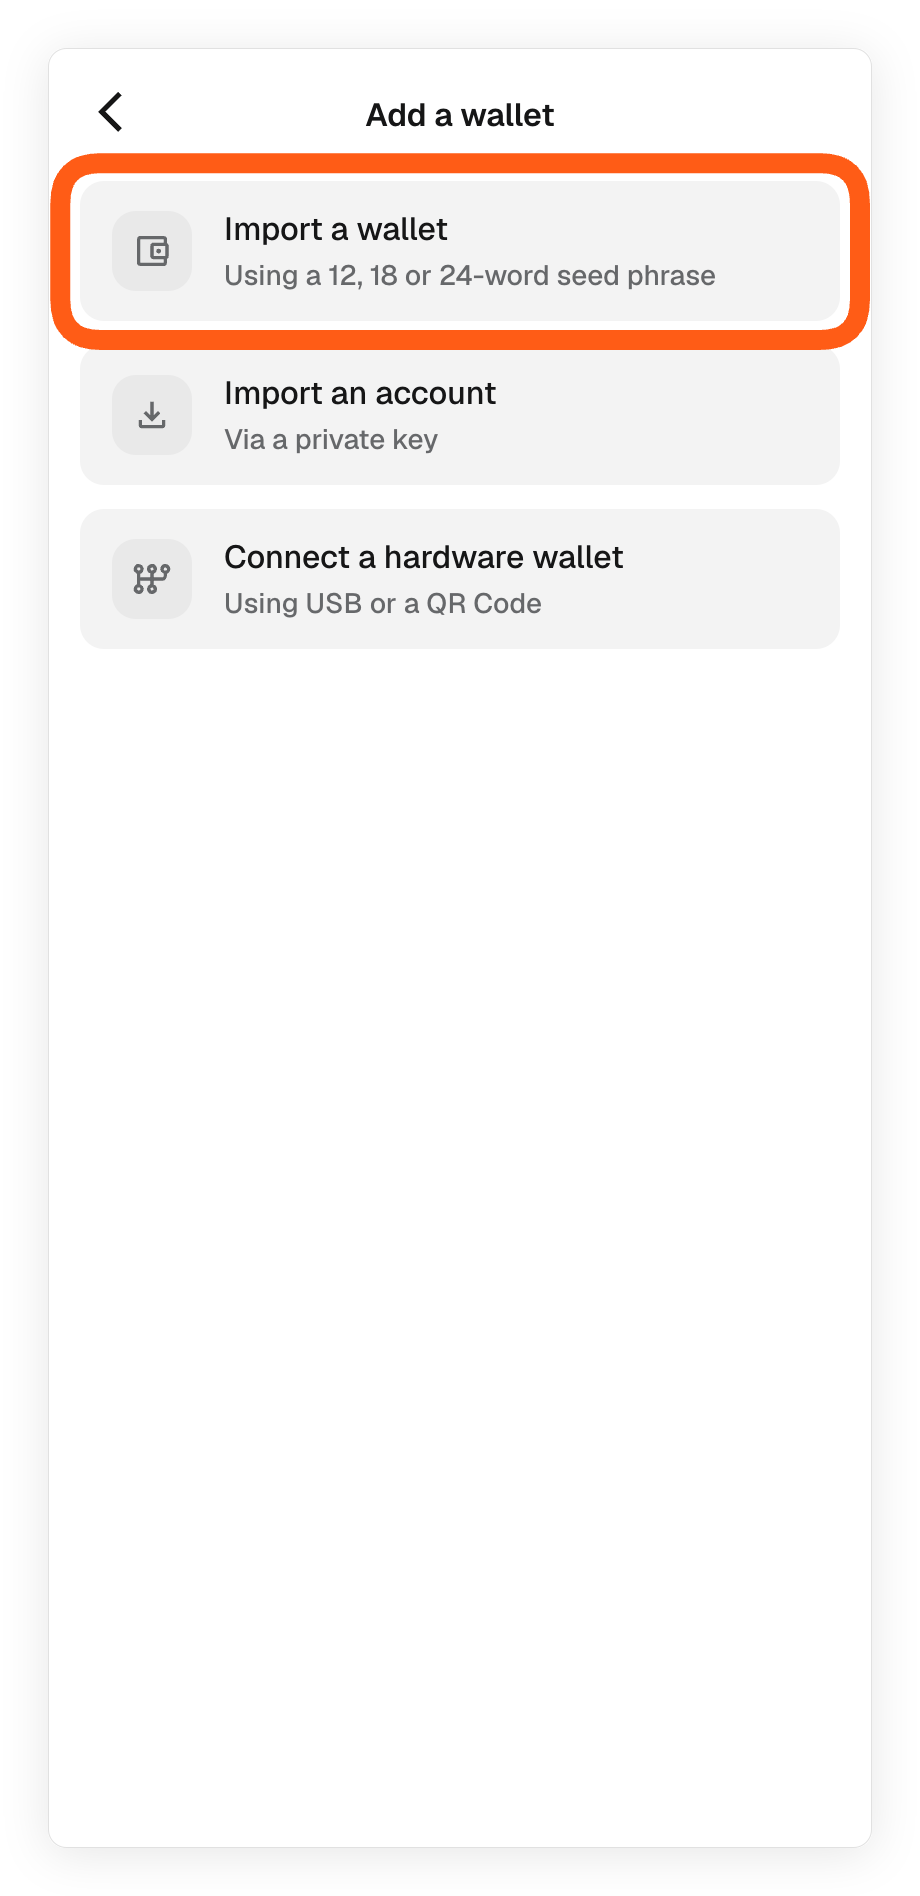
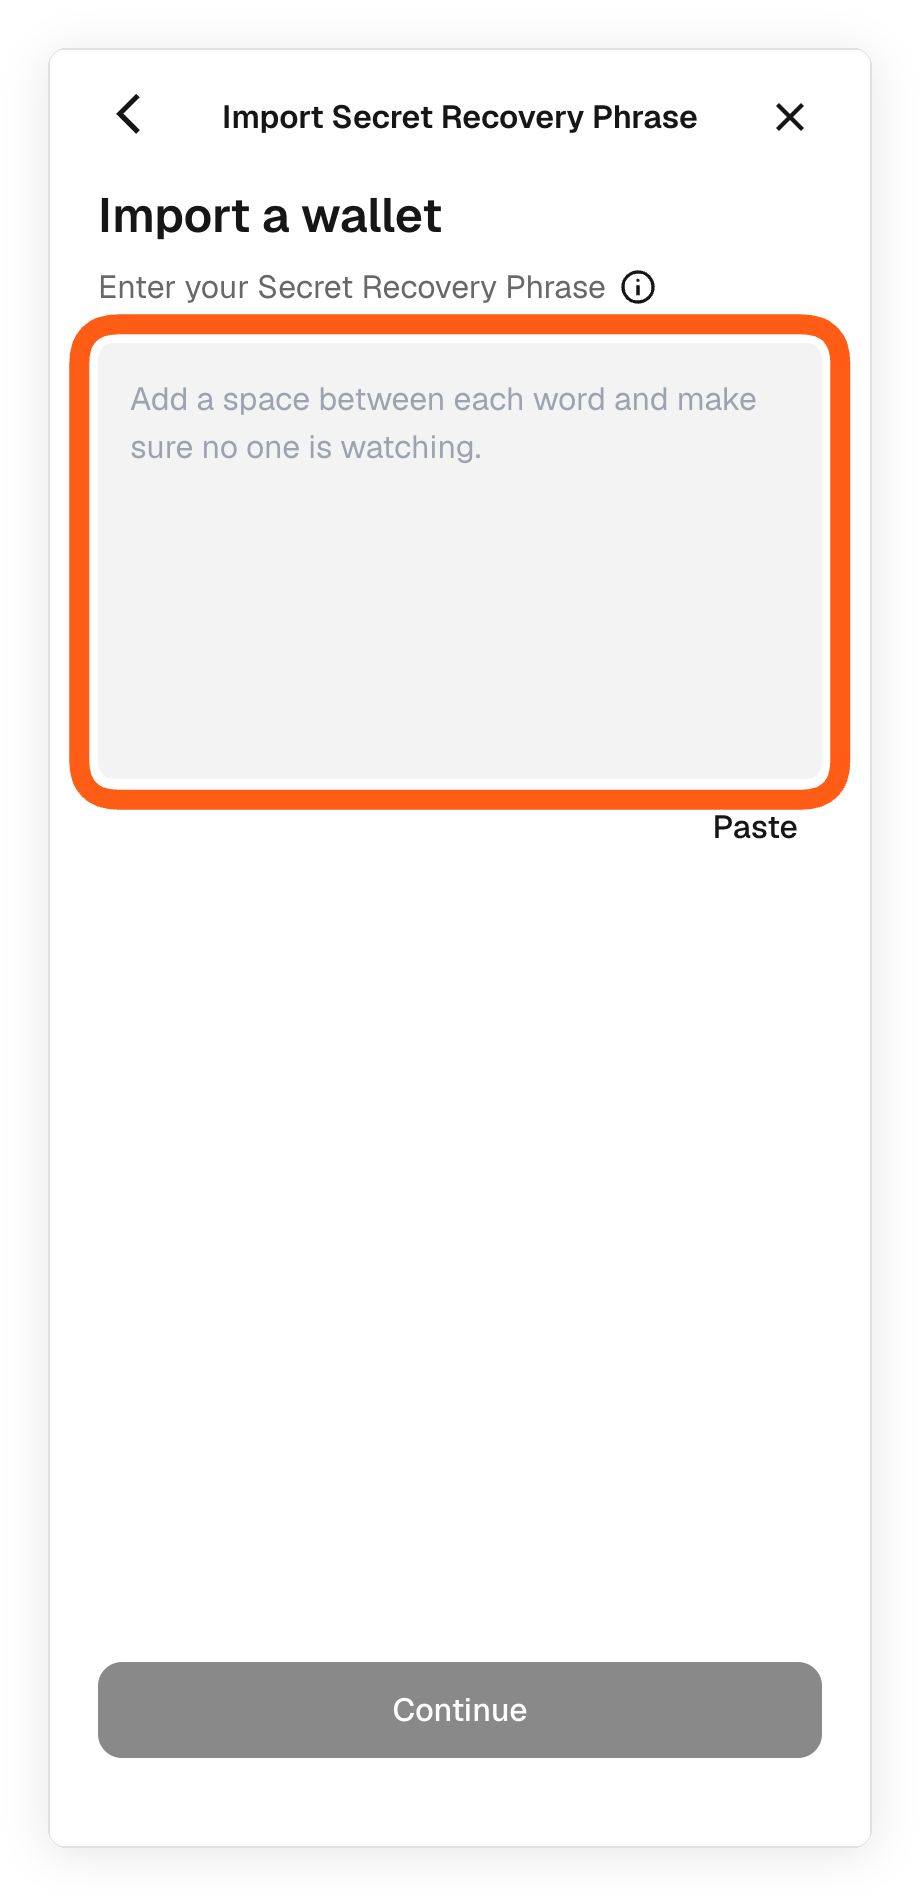
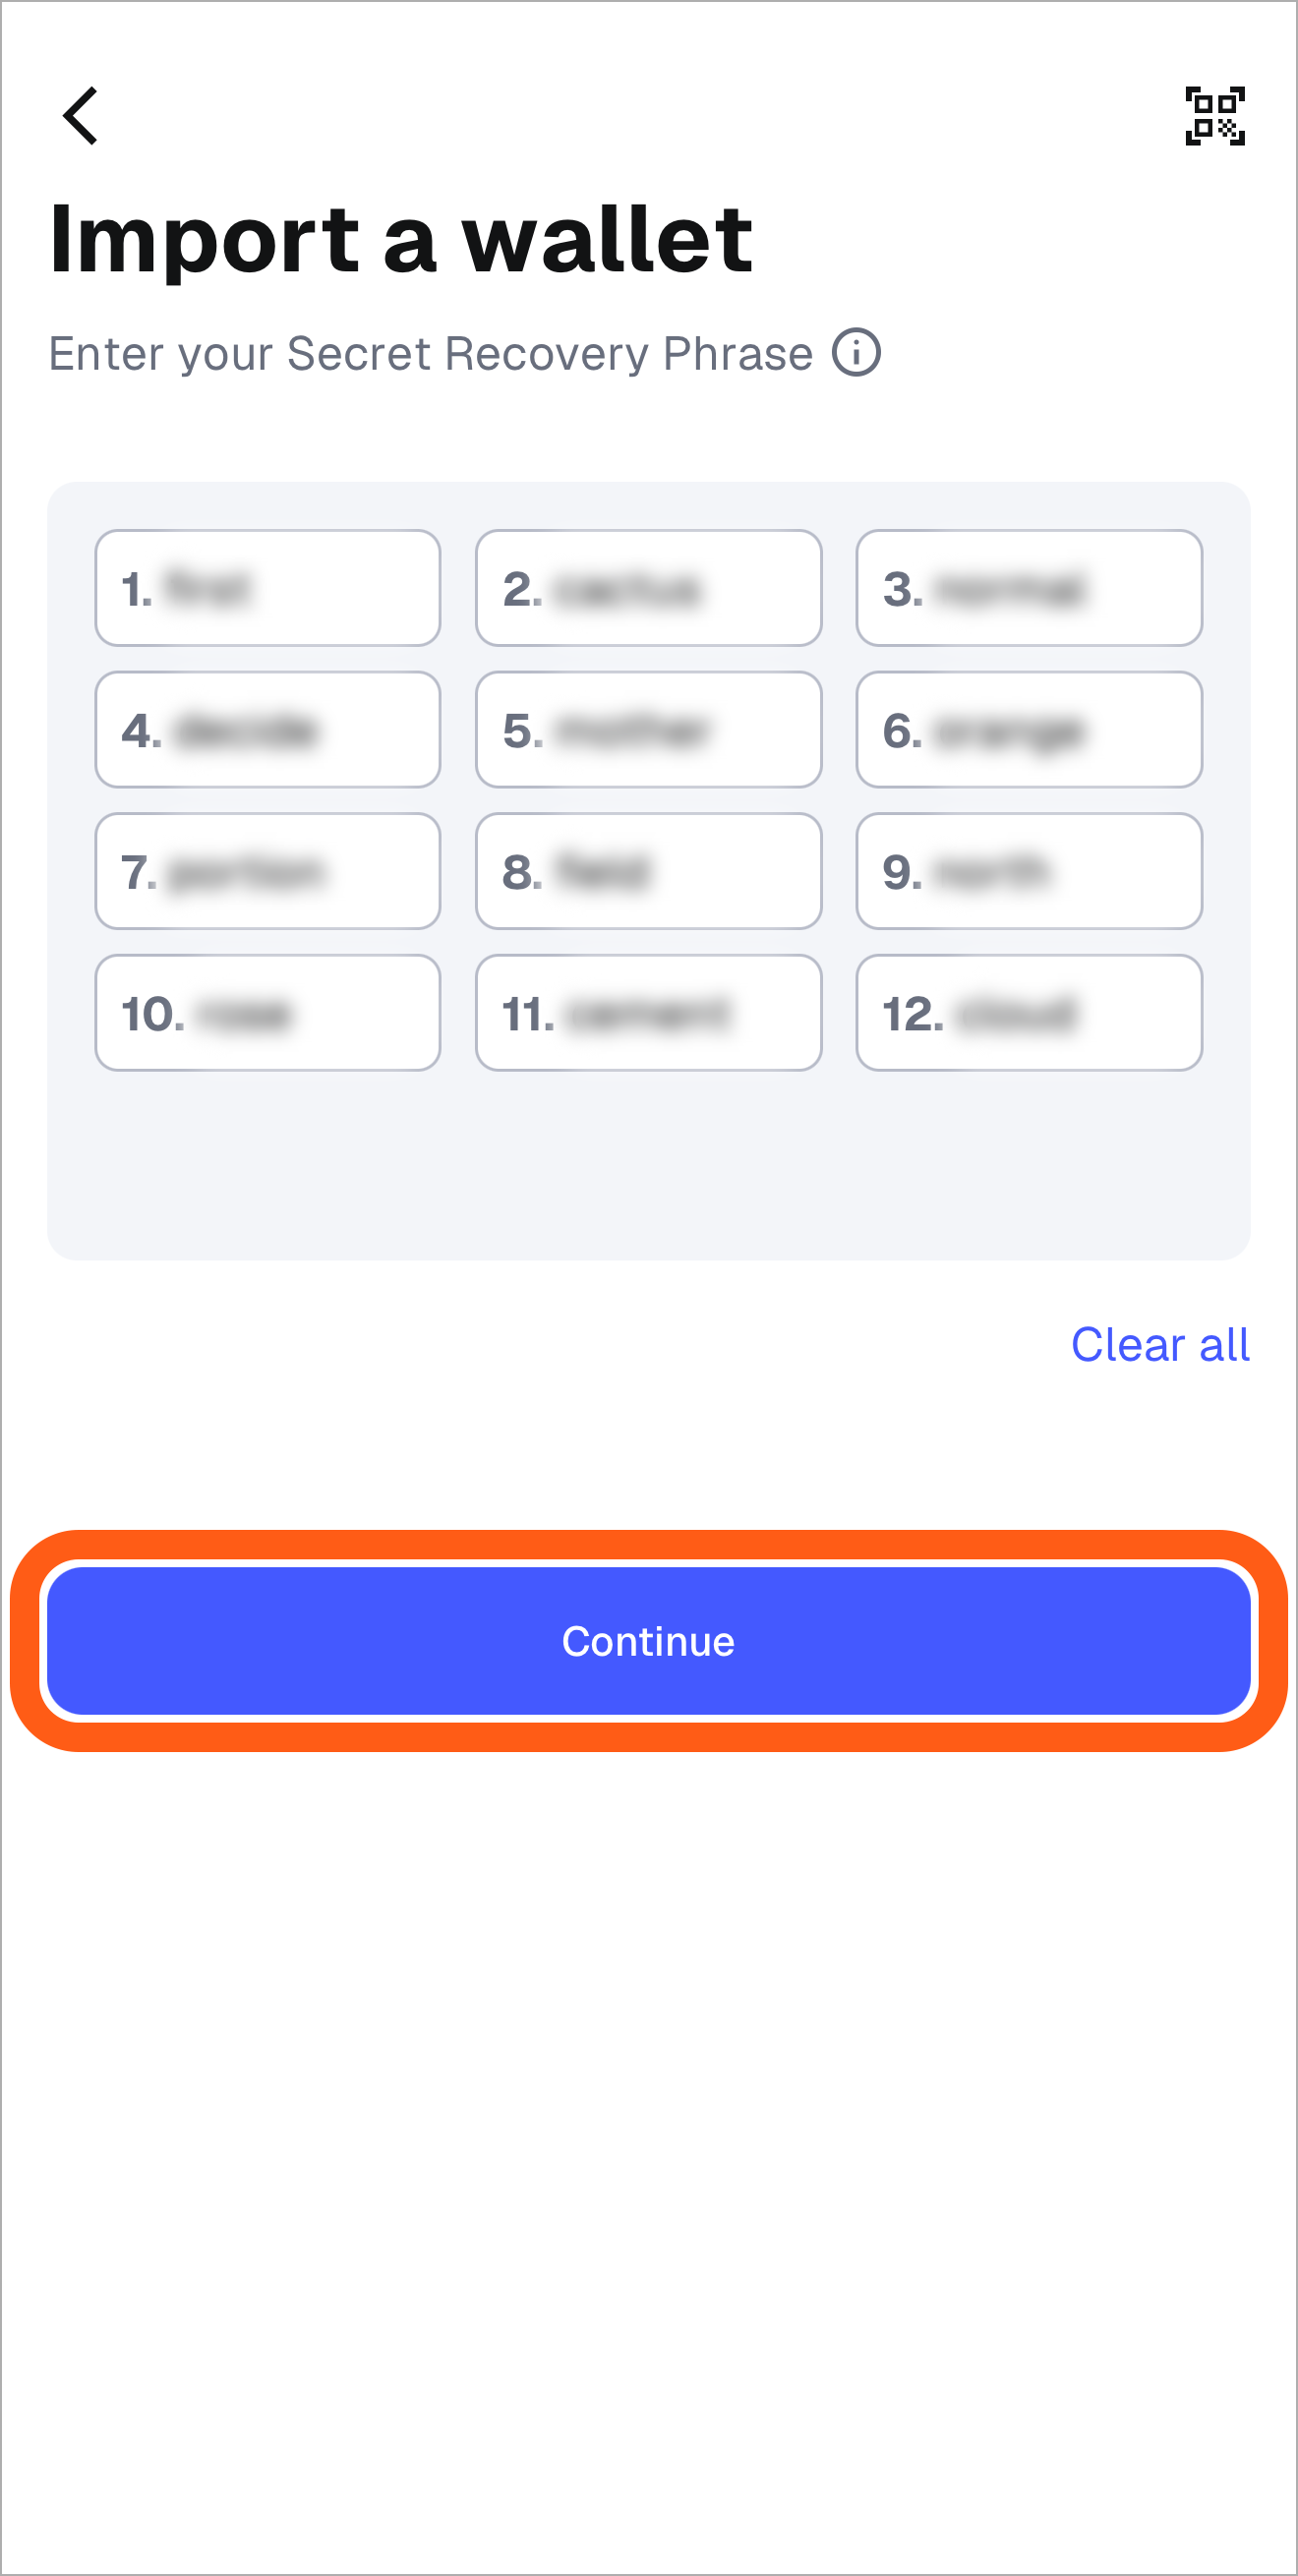
4. Enter your 12 or 24-word SRP and click ‘Continue’ to complete the process.
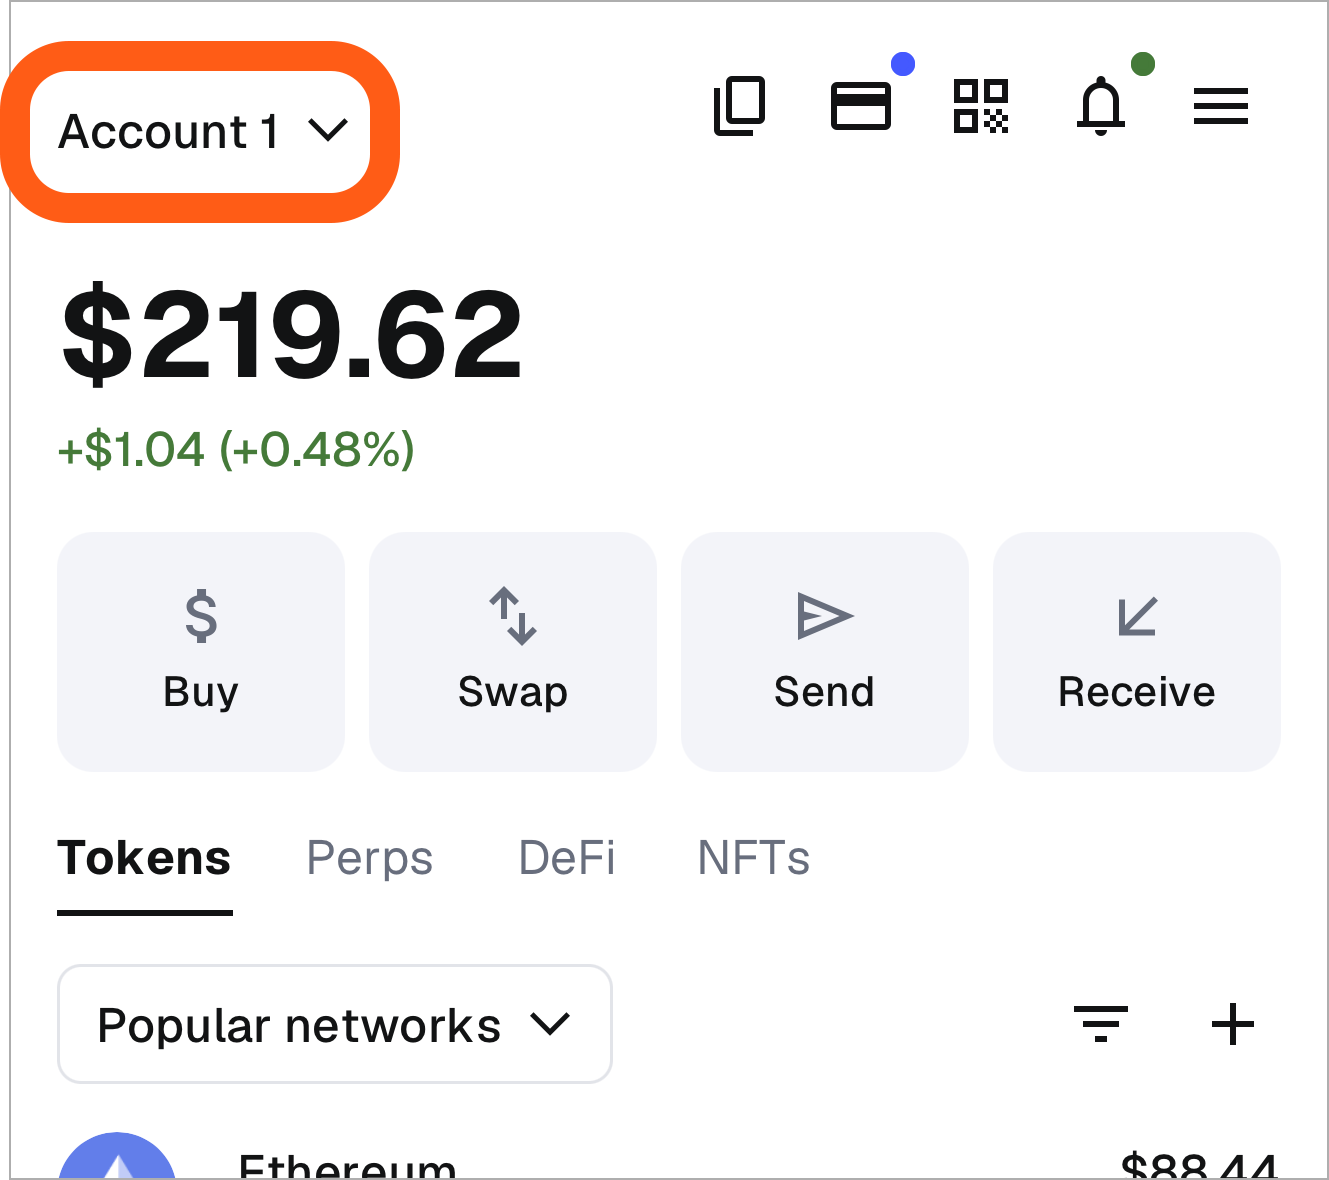
1. From the wallet view, tap the currently selected account to bring up the account selector.
2. Tap 'Add wallet' at the bottom of the menu.
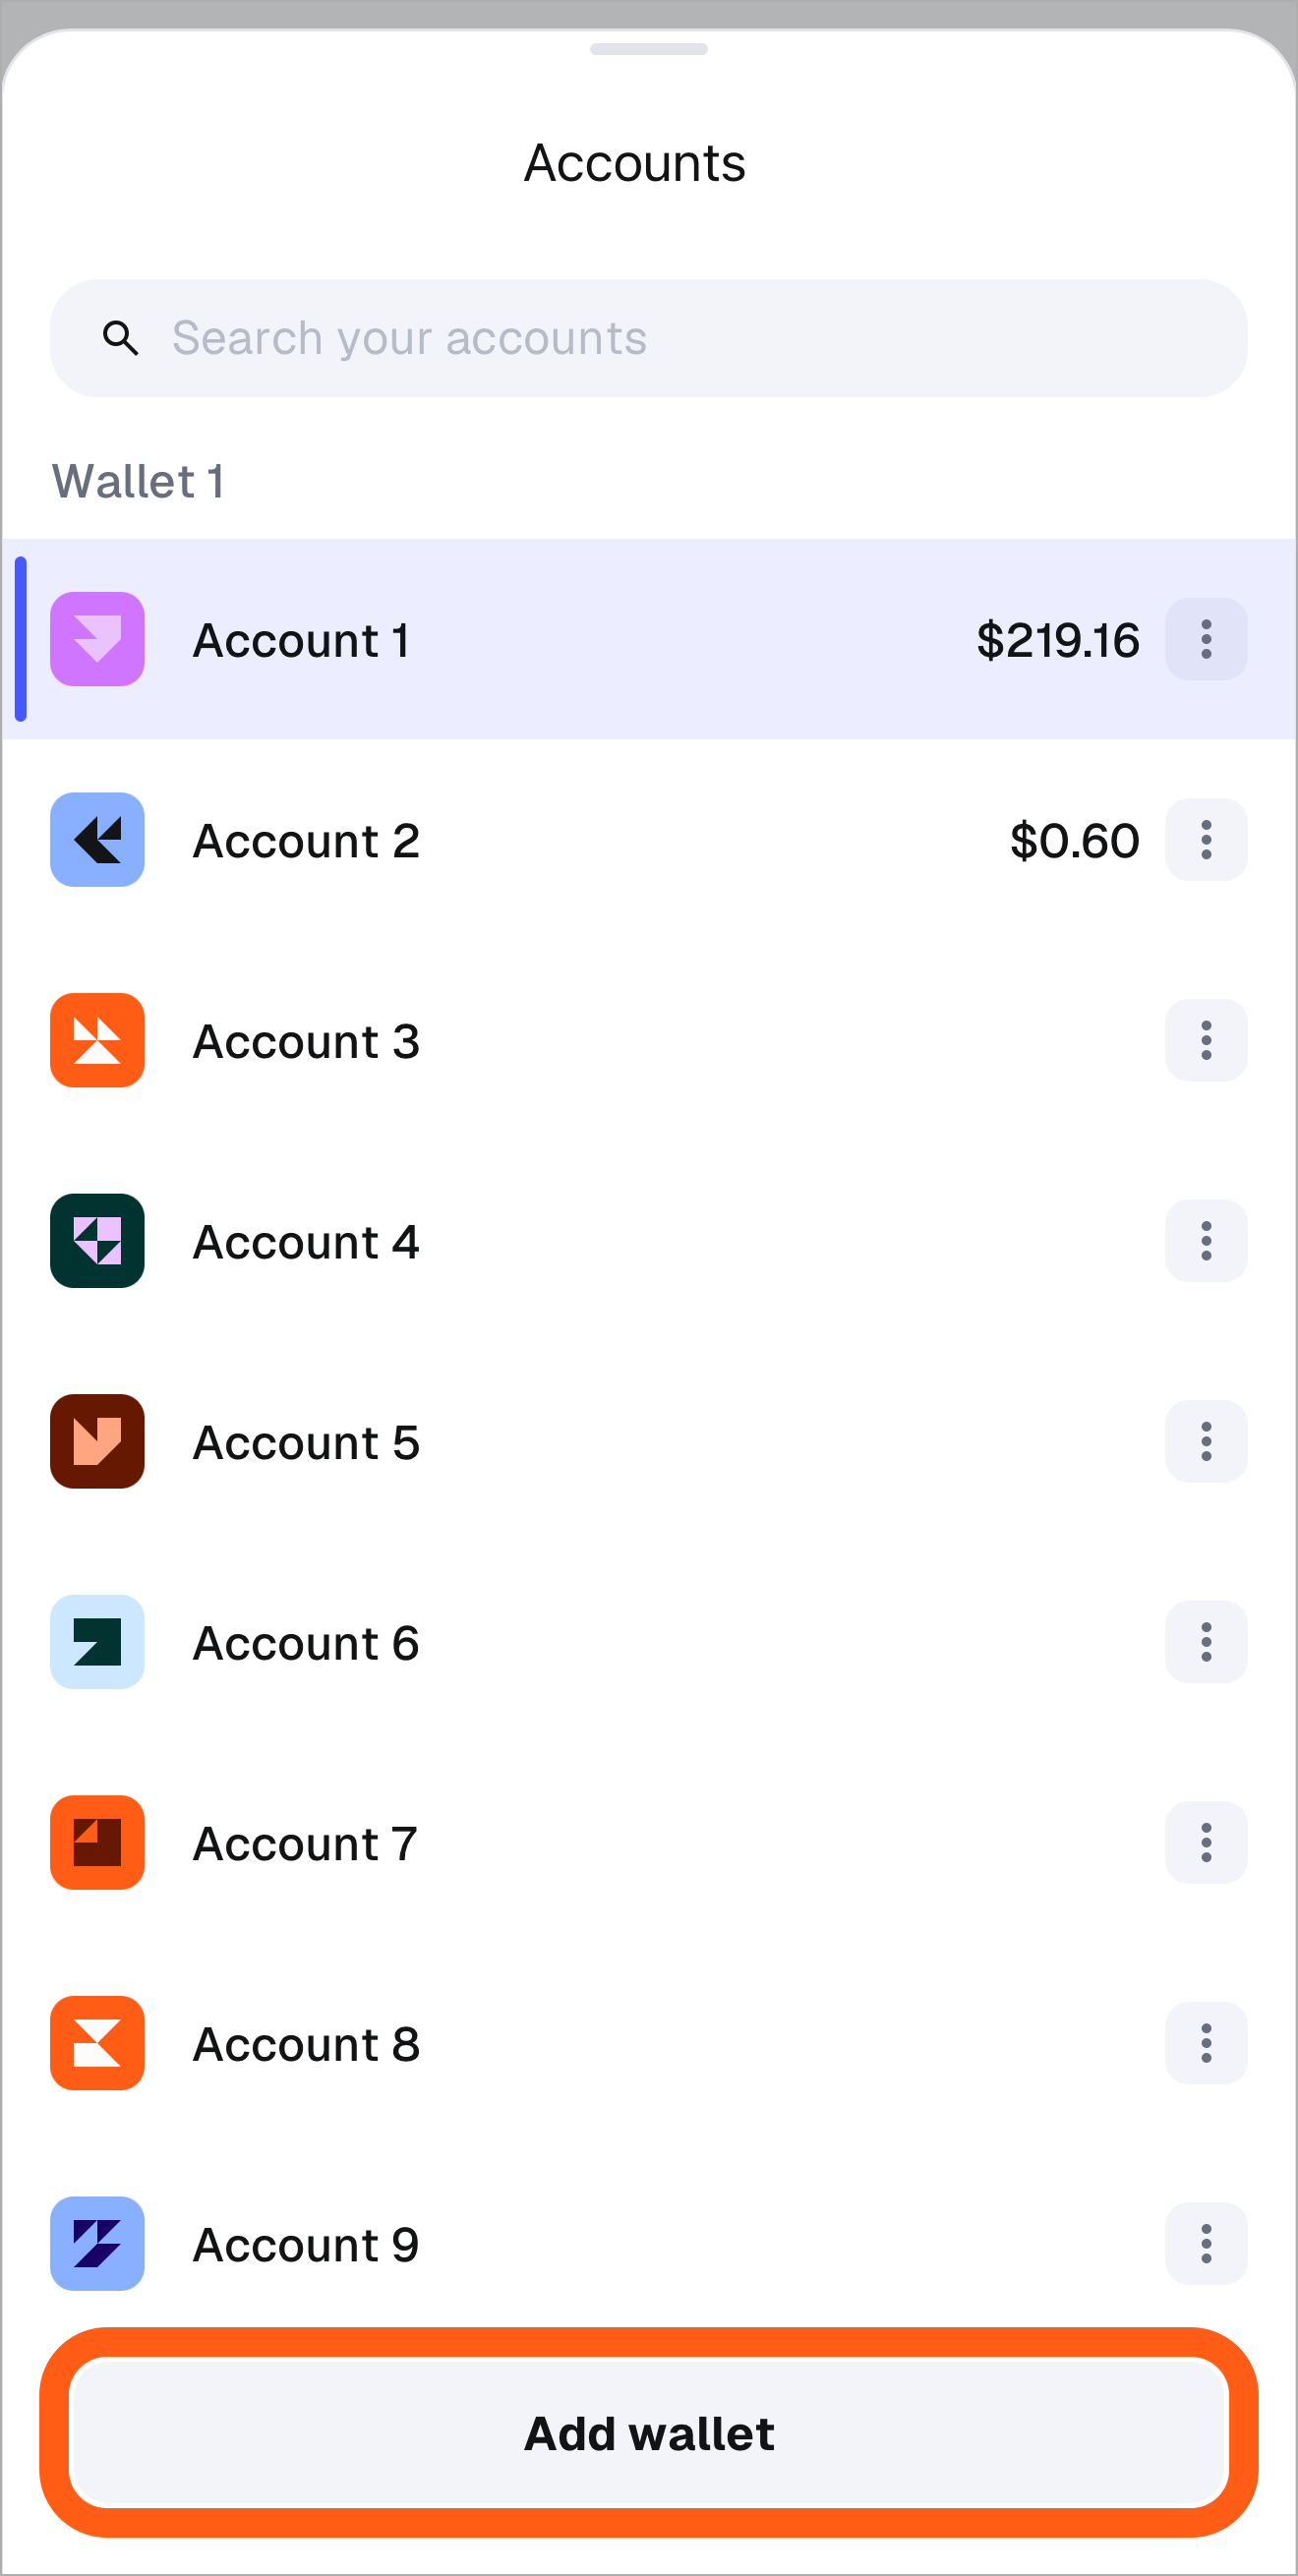
3. Hit 'Import a wallet'.
4. Enter your 12 or 24-word SRP, select accounts to import and tap 'Continue' to complete the process.
#### Import using a private key {#import-using-a-private-key}
For MetaMask accounts, you can [refer to this article](/configure/accounts/how-to-export-an-accounts-private-key/) on exporting an account’s private key. For any other wallet provider, please refer to their documentation on how to locate the private key. Note that importing using a private key will import a single account, not an entire SRP’s set of accounts. If you would like to import an SRP with multiple accounts, refer to the steps above.
:::warning
It's risky to export your private key as you could be vulnerable to [clipboard hacks](/stay-safe/protect-yourself/wallet-and-hardware/clipboard-hacking/). Type in your SRP if that is an option, or proceed with caution.
:::
1. Click the account selector at the top of your wallet.
2. Select 'Add wallet' at the bottom of the list.
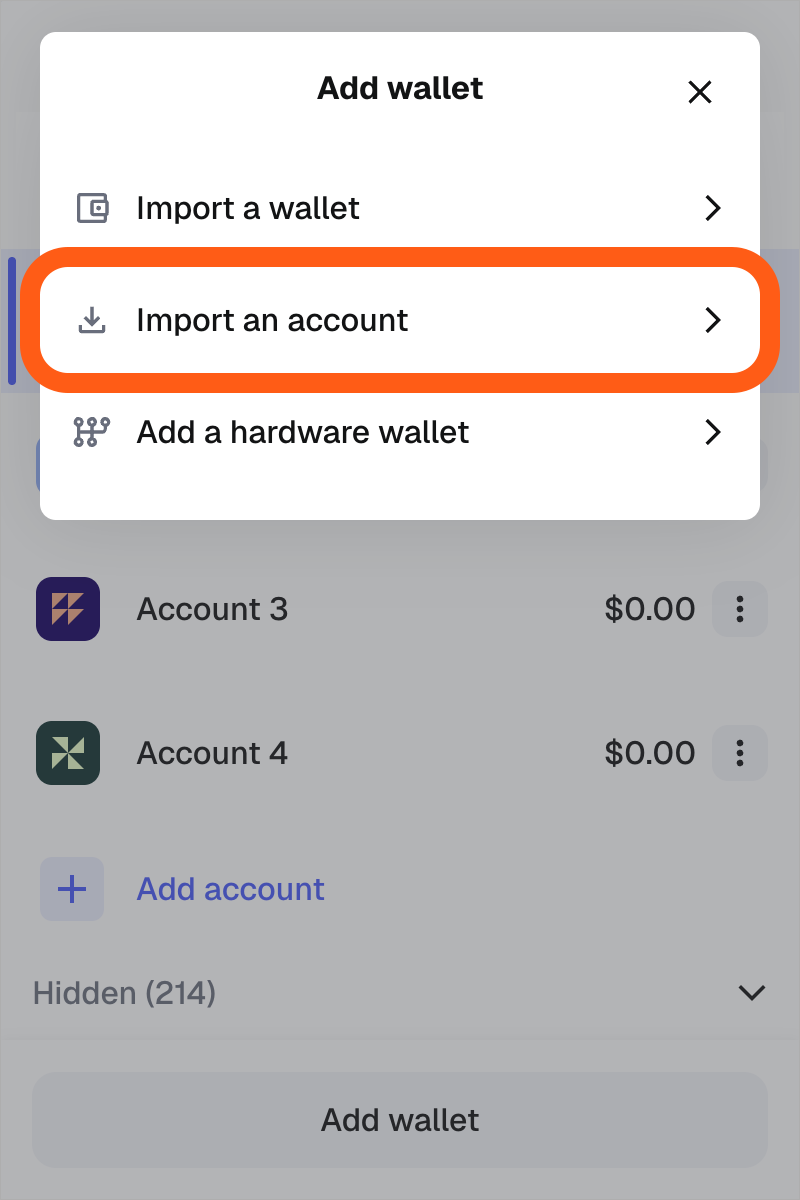
3. On the next page, select 'Import an account’ under the ‘Add wallet’ options.
4. You will be directed to the private key import page. Paste your private key and click 'Import'.
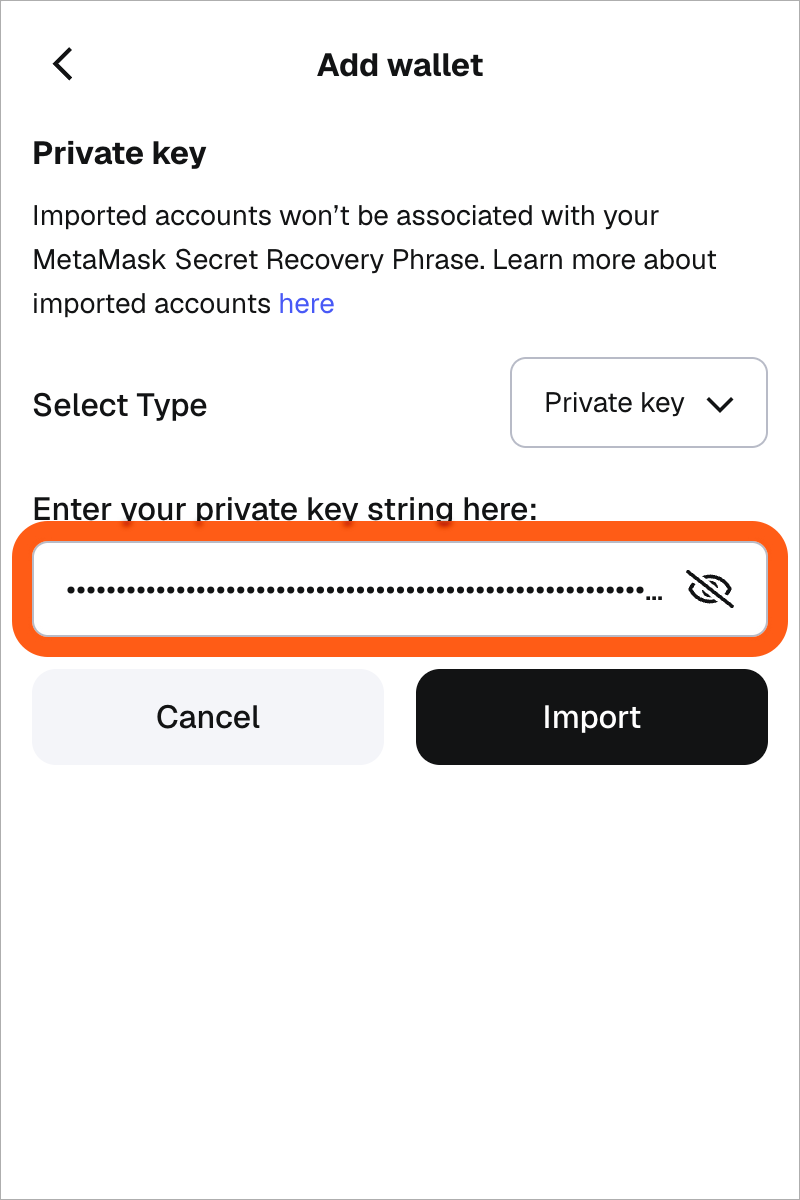
1. From the wallet view, tap the currently selected account to bring up the account selector.

2. Tap 'Add wallet' at the bottom of the menu.

3. Hit 'Import an account'.
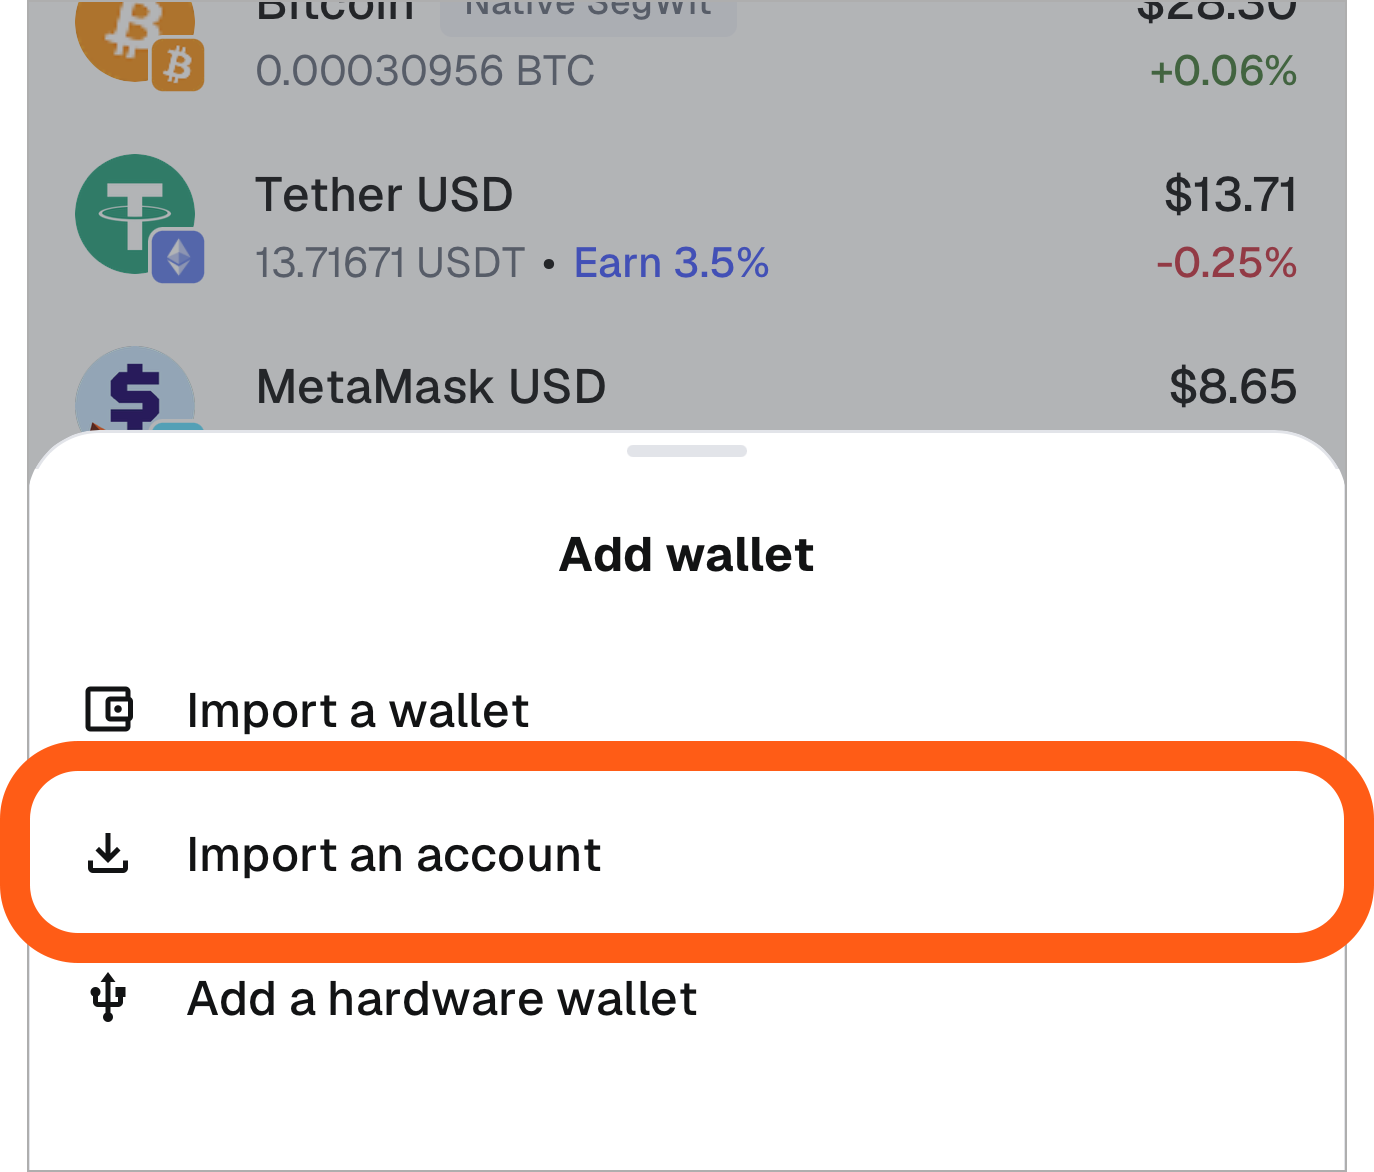
4. On this screen, paste in the private key of the account you want to import, or scan a QR code if supported by the other wallet. Tap 'Import' to complete the process.
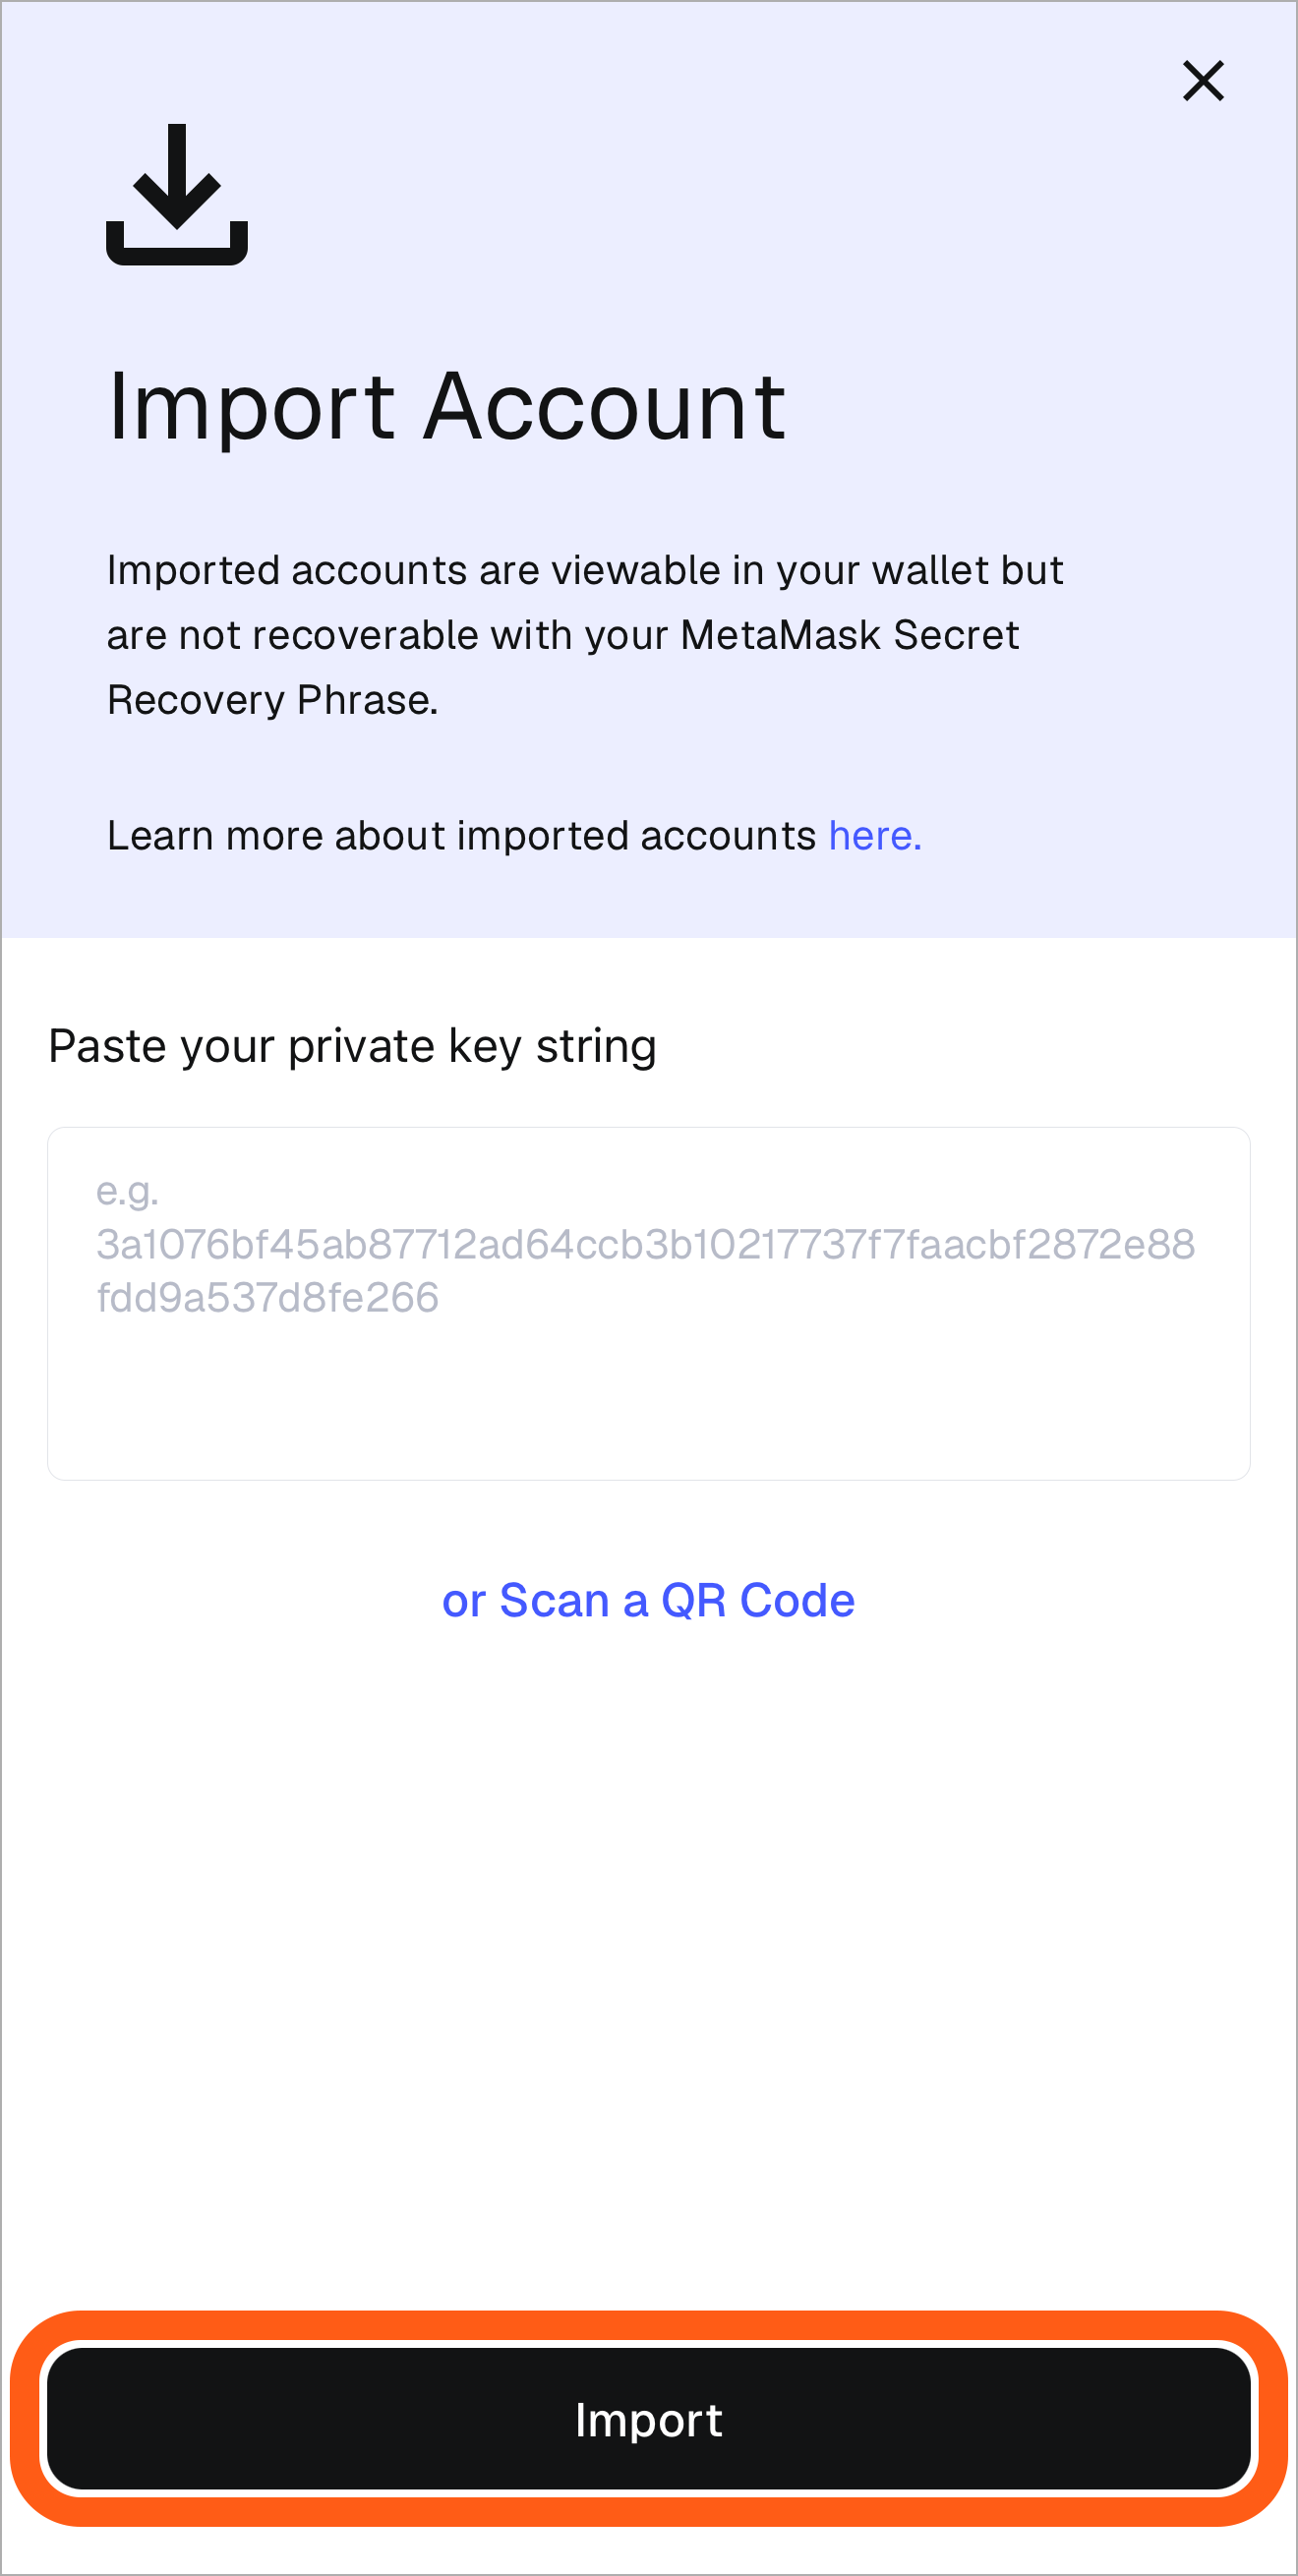
You should now be able to see the newly imported account in the account selector dropdown.
### **FAQs** {#faqs}
What are imported accounts?
Imported accounts are those imported into your wallet using a separate Secret Recovery Phrase (SRP) or private key. They are not derived from your original SRP or Google/Apple/Telegram account when you installed MetaMask.
These accounts will not appear automatically when you [restore](/configure/wallet/how-to-restore-your-metamask-wallet-from-secret-recovery-phrase/) your MetaMask with your Secret Recovery Phrase (example: SRP 1). The data associated with SRP 1 cannot be added or extended to the imported account(s) from SRP 2 in this method. You would need to restore those accounts separately if accessing MetaMask from an SRP.
If you login to a new instance of MetaMask with your Google/Apple/Telegram account and password, any previously imported wallets will also be synced and restored to this instance.
I’ve lost my Secret Recovery Phrase but have the password. How do I import?
If you can still unlock your MetaMask account on a device, great news. [Refer to this guide](/configure/wallet/how-to-reveal-your-secret-recovery-phrase/) to reveal your SRP and make sure you back it up afterwards! For other scenarios, try the steps listed here to [recover your account.](/configure/wallet/how-to-recover-your-secret-recovery-phrase/)
How can I import my private key using a JSON file?
JSON (JavaScript Object Notation) is a file format commonly used to store and share data. For our purposes, it's used to encrypt the private key.
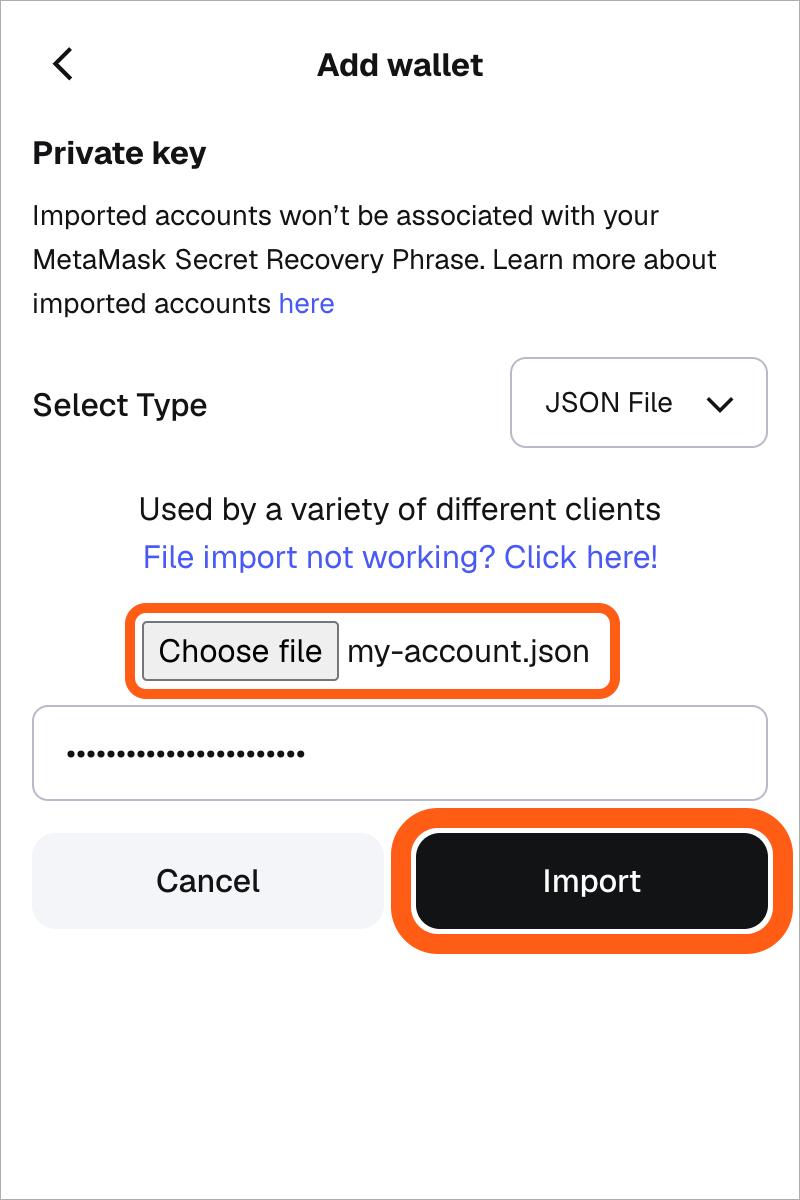
You can use a JSON to import a wallet into MetaMask, but only on Extension. To do so, get the JSON file from your external wallet and follow the steps for Extension above until you get to the import page in step 3. From there:
1. On the private key import page, expand the dropdown from 'Select Type'.
2. Select 'JSON File'.
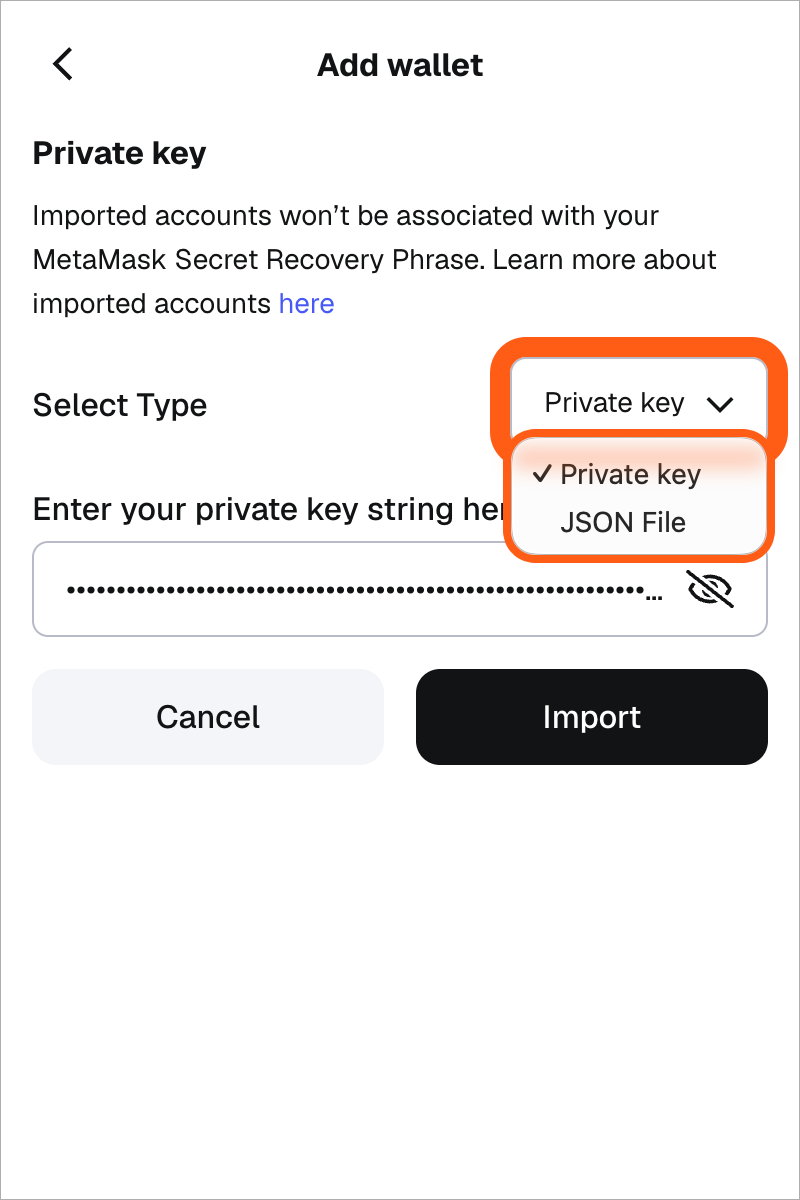
3. Click 'Choose file' and locate the file from your computer.
4. Enter the password that protects your JSON file (not your MetaMask password).
5. Click 'Import'.
What type of accounts can I import?
Currently, you can import any Ethereum (EVM) or Solana account (imported with a private key), and any Ethereum, Solana, or Bitcoin wallet (imported with an SRP).
---
# How to secure your Secret Recovery Phrase and password
URL: https://support.metamask.io/start/user-guide-secret-recovery-phrase-password-and-private-keys/
> Understand the difference between your MetaMask Secret Recovery Phrase, Password, and Private Keys. Learn how they work together and best practices to secure your wallet.
MetaMask uses a different security model than traditional apps. There’s no password or centralized account recovery, you are in full control of your wallet and the assets within it. This guide explains the different elements that protect your wallet so you can keep your assets secure:
- [Secret Recovery Phrase (SRP)](/start/user-guide-secret-recovery-phrase-password-and-private-keys#secret-recovery-phrases)
- [Password](/start/user-guide-secret-recovery-phrase-password-and-private-keys#passwords-and-metamask)
:::info[TL;DR]
Your SRP is the foundation of your wallet; your password’s importance depends on your setup. Read on to dive deeper into each of these components and best practices to secure your wallet.
:::
Remember: MetaMask cannot recover your wallet for you. Your wallet is created using an SRP and your password and/or login method protects access to your wallet per device. If you lose access to your SRP—or the means to access your wallet through Google/Apple/Telegram login—your funds cannot be recovered. This is important to understand when using MetaMask, or any other self-custodial wallet.
## Secret Recovery Phrases {#secret-recovery-phrases}
Your Secret Recovery Phrase (SRP), also known as a seed phrase, is a unique 12-word phrase that is generated when you first set up MetaMask. The accounts that hold your tokens are derived from it. If you ever lose your password, your SRP allows you to recover your wallet and your funds.
- It is the **master key** to your wallet (whoever controls the SRP controls the wallet)
- It is used to generate and recover your accounts and balances
- It is used to restore your wallet on a new device
When you create a new wallet, MetaMask generates a unique 12-word SRP for you. Some other wallets use 18 or 24-word SRPs.

Regardless of setup method, **the SRP is the ultimate control over your wallet**. Anyone who can access your SRP can control your funds. MetaMask cannot recover your wallet if access is lost. How you access and store your SRP depends on how you created your wallet:
- Your SRP is shown to you during setup
- You are responsible for storing it securely
- You can use it anytime to restore your wallet (on the same device or other devices)
- You directly control and manage your SRP
- Your SRP is still generated, but does not need to be custodied by you by default
- It is split into encrypted pieces and securely backed up online
- To access your wallet, you need both:
- Your Google/Apple/Telegram account AND
- Your MetaMask password
- You control access to your SRP through both these credentials
## Passwords and MetaMask {#passwords-and-metamask}
Your MetaMask password is used to unlock your wallet and protect access to it. However, its role depends on how your wallet was created:
- Your password unlocks MetaMask on that device
- It does not recover your wallet
- If you forget it, you can restore access using your SRP
In this scenario, your password unlocks local access only (the device you're using). Your SRP is the key to full ownership and recovery.
*On Extension, SRP-accessed users can also set up biometric unlock (i.e., Touch ID) through [passkeys](/configure/wallet/passkeys).*
- Your Secret Recovery Phrase is split into encrypted shards
- To access your wallet and reconstruct your SRP, you need both:
- Your Google/Apple/Telegram account AND
- Your MetaMask password
In this scenario, your password acts as a crucial safeguard in tandem with your Google/Apple/Telegram account. Both together are the key to recovery. If you lose access to your password, you lose access to your wallet UNLESS you [revealed and backed up your SRP](/configure/wallet/how-to-reveal-your-secret-recovery-phrase).
## Private keys {#private-keys}
Each account in your wallet has its own _private key_, derived from the SRP. This is a long cryptographic string that controls a single account. It can be used to import and export that account, and that account only, into another wallet.
Unless you're a developer, you probably won't need to know about private keys. Like your SRP, **private keys must never be shared**.
If you need to learn more about importing an account with private key, see [here](/start/use-an-existing-wallet/#import-using-a-private-key).
## SRP Dos and Don'ts {#metamask-secret-recovery-phrase-dos-and-donts}
## Security tips {#security-tips}
Do not share your SRP and private keys with anyone
This has been mentioned already, but it doesn't hurt to be thorough: anyone who has your SRP or private keys can remove tokens from your accounts. Never share your SRP or private keys with anyone — not even the MetaMask team, even though we will **never** ask you for this information.
If anyone claims to be a MetaMask team member and asks you for this information, please report them immediately using our [official support channels](/start/how-to-contact-metamask-support).
Store your SRP somewhere secure and offline
Do **not** store your SRP online. Online storage like the cloud or password managers are not secure and vulnerable to hacks.
Instead, store your SRP in a secure, physical location that only you have access to and that you won't forget.
Use a strong, unique password
With Google/Apple/Telegram wallet setup, your password is essential to accessing your wallet or logging in on new devices. You can use a password manager to generate a strong password. Computer-generated passwords are more secure than passwords you create yourself. We don't necessarily recommend storing your password in a password manager online as they can be susceptible to hacks.
If your wallet has a high value of assets, consider getting a hardware wallet.
[Hardware wallets](/more-web3/wallets/hardware-wallet-hub), like Trezor and Ledger, are commonly thought to be a safer way to store your tokens. They store the private keys offline, meaning you need to be in physical possession of the wallet to sign transactions — a considerable barrier to online scammers.
Regularly update your systems and software
Make sure to keep your browsers, operating systems, and MetaMask versions up-to-date. Updates to these softwares
frequently include critical security enhancements. See more [here](/configure/wallet/how-to-update-the-version-of-metamask/).
---
# Can I access my accounts without my Secret Recovery Phrase?
URL: https://support.metamask.io/configure/accounts/can-i-access-my-accounts-without-my-secret-recovery-phrase/
> Follow the scenarios outlined here to help you find your SRP if you lost it. Google/Apple/Telegram sign-in accounts just require your password.
:::info[Access to your wallet via Google, Apple, or Telegram]
If you created your MetaMask wallet using your Google, Apple, or Telegram account, you don't need your Secret Recovery Phrase (SRP) to access your wallet. Instead, you can connect your Google, Apple, or Telegram account and enter your password to access your wallet.
If you've created a new instance of MetaMask Extension or Mobile, click 'I have an existing wallet' to access your wallet via your Google, Apple, or Telegram account. For more information, read [here](/start/use-an-existing-wallet).
If you didn't create your wallet using your Google, Apple, or Telegram account, you will need to use your Secret Recovery Phrase to access your wallet. Keep reading below to learn more.
:::
Backing up your Secret Recovery Phrase in *at least one* secure location is a must-do when using MetaMask. That's because you're the [custodian of your accounts](/start/metamask-is-a-self-custodial-wallet): **as long as you know those secret words, you have total access to and control over your accounts and web3 identity**.
This also means that if you don't know those secret words, or do not have them recorded somewhere safe, they will be impossible to guess, and **no one will be able to help you get them back**: not MetaMask, and definitely not someone offering to help you in a DM on Discord.
But no one is perfect, and mistakes happen. If you find yourself in a situation where you realize you don't have your Secret Recovery Phrase and need it, **don't panic: just follow the prompts below to try and get your SRP back.**
_...and then back it up!_
### How to find your Secret Recovery Phrase {#how-to-find-your-secret-recovery-phrase}
You'll be able to find your SRP in several different places, depending on your situation:
I can't access my old SRP on MetaMask Extension.
_Please note: this process applies currently to MetaMask Extension only; this information will be updated if and when it becomes available in Mobile._
**Good news: You might be able to get your old SRP back.** To jump straight in, follow the link below; if you want to understand what's going on here, read on:
If you lost an old SRP (whether you reset your MetaMask, restored a different SRP etc.) the vault data may still be on your system's storage.
In order to find your old SRP and decrypt it, follow the instructions below, keeping in mind that you'll be dealing with multiple vaults in the same directory, so you might have to cycle through several vault files before you find the one you're missing:
[**How to recover your Secret Recovery Phrase**](/configure/wallet/how-to-recover-your-secret-recovery-phrase/)
And remember, make sure no one can see your screen while you go through this process!
:::note[Think you remember your password?]
If you have an idea of what your password was, but can't quite remember, you might want to try using [btcrecover](https://btcrecover.readthedocs.io/en/latest/), a tool designed to help people manage and recover cryptographic keys. Specifically, it has functionality that automates the process of trying lots of different variations of a password. For an idea of what this process involves, check out [this chapter](https://www.youtube.com/watch?t=266&v=TzZDcN6SnCU&feature=youtu.be&themeRefresh=1) of a btcrecover video tutorial.
_This project is not affiliated with or endorsed by MetaMask or Consensys, and you should make your own decision about whether or not to use it._
:::
I have MetaMask installed, I know my password, and can log in.
**Good news: MetaMask has a function built in for you to reveal your SRP so that you can back it up.**
Make sure that no one is able to see your screen when you reveal it!
Instructions here: [How to reveal your Secret Recovery Phrase](/configure/wallet/how-to-reveal-your-secret-recovery-phrase)
I have MetaMask installed, I know my password, but I can't log in.
**Good news: You might be able to get your SRP back.**
Sometimes things break; sometimes no matter how many times you type your password correctly, you type it wrong. Sometimes, we mistyped the password when we set it!
Whatever the reason, if you can't get into MetaMask, but you know the password--or have a good idea about what your password was--there are some processes you can follow to recover your SRP.
If you're sure you know your password, start with these instructions:
[How to recover your Secret Recovery Phrase](/configure/wallet/how-to-recover-your-secret-recovery-phrase)
If your password seems to be the issue, but you have an idea of what it might be, there's a tool that can help you try lots of different options, called [btcrecover](https://btcrecover.readthedocs.io/en/latest/). For an idea of what this process involves, check out [this chapter](https://youtu.be/TzZDcN6SnCU?t=266) of a btcrecover video tutorial.
_This project is not affiliated with or endorsed by MetaMask or Consensys, and you should make your own decision about whether or not to use it._
If you manage to figure out your password using btcrecover, the tool should decrypt the vault for you, and display your SRP--so make sure no one can see your screen while you use that tool! If btcrecover doesn't show you your SRP, or you figure out your password through some other method, then follow the steps above to recover your SRP.
I have MetaMask installed and don't know my password, and can't log in.
This is a tough situation. The SRP is the cryptographic key that creates and restores all your accounts, but within MetaMask, your password is the thing that encrypts that SRP on your system's storage, and that encryption is _very_ secure. Without your password, you won't be able to recover it.
So, if you have an _idea_ of what your password might have been, you might want to try using [btcrecover,](https://btcrecover.readthedocs.io/en/latest/) a tool designed to help people manage and recover cryptographic keys. Specifically, it has functionality that automates the process of trying lots of different variations of a password. For an idea of what this process involves, check out [this chapter](https://youtu.be/TzZDcN6SnCU?t=266) of a btcrecover video tutorial.
_This project is not affiliated with or endorsed by MetaMask or Consensys, and you should make your own decision about whether or not to use it._
If you manage to figure out your password using btcrecover, the tool should decrypt the vault for you, and display your SRP--**so make sure no one is able to see your screen while you use that tool!** If btcrecover doesn't show you your SRP, or you figure out your password through some other method, then follow the steps here to recover your SRP:
[How to recover your Secret Recovery Phrase](/configure/wallet/how-to-recover-your-secret-recovery-phrase)
I have MetaMask Mobile installed, don't know my password, but I can log in using biometrics.
**The current solution to this situation may be simply to migrate your assets to a new SRP.**
Various efforts are currently underway to document the process for vault recovery on Android.
If you find yourself in this situation, it might be best to move your assets to a new SRP, as we don't currently have a timeline for when vault recovery on Android will be available and documented. For instructions on how to do so, see our [guide on wallet migration](/manage-crypto/move-crypto/transfer/account-migration-guide).
While we have a process documented for iOS, there can be changes on Apple's side that break the process.
Start by following the instructions in the article below:
[How to recover your Secret Recovery Phrase](/configure/wallet/how-to-recover-your-secret-recovery-phrase)
MetaMask was installed on a system that I can't access directly, but I have access to the system files (a backup, the computer's hard drive, etc) and know the password.
**Good news: You might be able to get your SRP back.**
The particulars of this situation can vary wildly, and can affect the success of the operation. Some people have an old hard drive hooked up to a USB adapter, or have a system backup image mounted as a virtual drive. Still others are accessing a system backup in the cloud.
Providing guidance on how to get access to your system backup is well outside the scope of this article. However, if you can access the file system and the MetaMask installation is there, we can guide you.
If you're sure you know your password, start with these instructions:
[How to recover your Secret Recovery Phrase](/configure/wallet/how-to-recover-your-secret-recovery-phrase)
If your password seems to be the issue, but you have an idea of what it might be, there's a tool that can help you try lots of different options, called [btcrecover](https://btcrecover.readthedocs.io/en/latest/). For an idea of what this process involves, check out [this chapter](https://youtu.be/TzZDcN6SnCU?t=266) of a btcrecover video tutorial.
_This project is not affiliated with or endorsed by MetaMask or Consensys, and you should make your own decision about whether or not to use it._
If you manage to figure out your password using btcrecover, the tool should decrypt the vault for you, and display your SRP--so make sure no one is able to see your screen while you use that tool! If btcrecover doesn't show you your SRP, or you figure out your password through some other method, then follow the steps above to recover your SRP.
I uninstalled the MetaMask extension entirely.
**Depending on your situation, it might be possible to recover your SRP.**
If you need to do this, follow [our guide on Account Migration here](/manage-crypto/move-crypto/transfer/account-migration-guide).
This is a tough situation; browser extension data is deleted when the extension is uninstalled. Generally, this means that your vault data is gone. However, it may have been preserved somewhere, especially if you have automated full operating system backups. If you manage to find a backup of your vault data, then follow the instructions above, under the heading "MetaMask was installed on a system that I can't access directly, but I have access to the system files (a backup, the computer's hard drive, etc) and know the password".
We are continuing to investigate this situation to determine how we can better protect users from SRP loss due to an extension uninstall.
---
# Can I import my Coinbase Wallet account to MetaMask?
URL: https://support.metamask.io/configure/accounts/can-i-import-my-coinbase-wallet-account-to-metamask/
> Yes. Just import using your 12 or 24 word SRP!
:::tip[TL;DR]
You *can* import your Coinbase Wallet/Base Wallet account(s) into MetaMask. You *cannot* import a Coinbase.com (exchange) account into MetaMask. Follow the instructions [here](/start/use-an-existing-wallet) to import your Coinbase Wallet/Base Wallet account(s) into MetaMask.
:::
Coinbase has two forms of wallet, and the answer to this question depends on which you're using:
- **Coinbase Wallet** is a self-custodial wallet that gives you complete control over your assets, and responsibility for your own seed phrase.
- **Coinbase Exchange account(s)** are the addresses that your purchased crypto gets deposited into when you buy on Coinbase. These accounts are custodial, meaning you do not have access to or control over your private key.
:::info[Further information]
If you want to learn more about this distinction, see [this Coinbase help center article](https://help.coinbase.com/en/wallet/getting-started/what-s-the-difference-between-coinbase-com-and-wallet).
:::
**If you're using Coinbase Wallet, you can import your wallet to MetaMask**. **You cannot import a Coinbase.com (exchange) account into MetaMask**, since you would need access to the private key, which is something you don't have, as the Coinbase exchange accounts are custodial.
If you want to import your Base Wallet account into MetaMask, you'll need to locate your Secret Recovery Phrase (SRP) or private key — [here's how to find it in Base Wallet](https://help.coinbase.com/en/wallet/managing-account/wallet-recovery-phrase) — then follow the import instructions [here](/start/use-an-existing-wallet).
---
# How to rename a MetaMask account (Extension and Mobile)
URL: https://support.metamask.io/configure/accounts/how-do-i-change-my-account-name-/
> Edit your account name easily within the account selector to avoid confusion.
Hit the account selector menu at the top of the screen, and then click the three vertical dots next to the account you want to edit. From here, select 'Account details'.
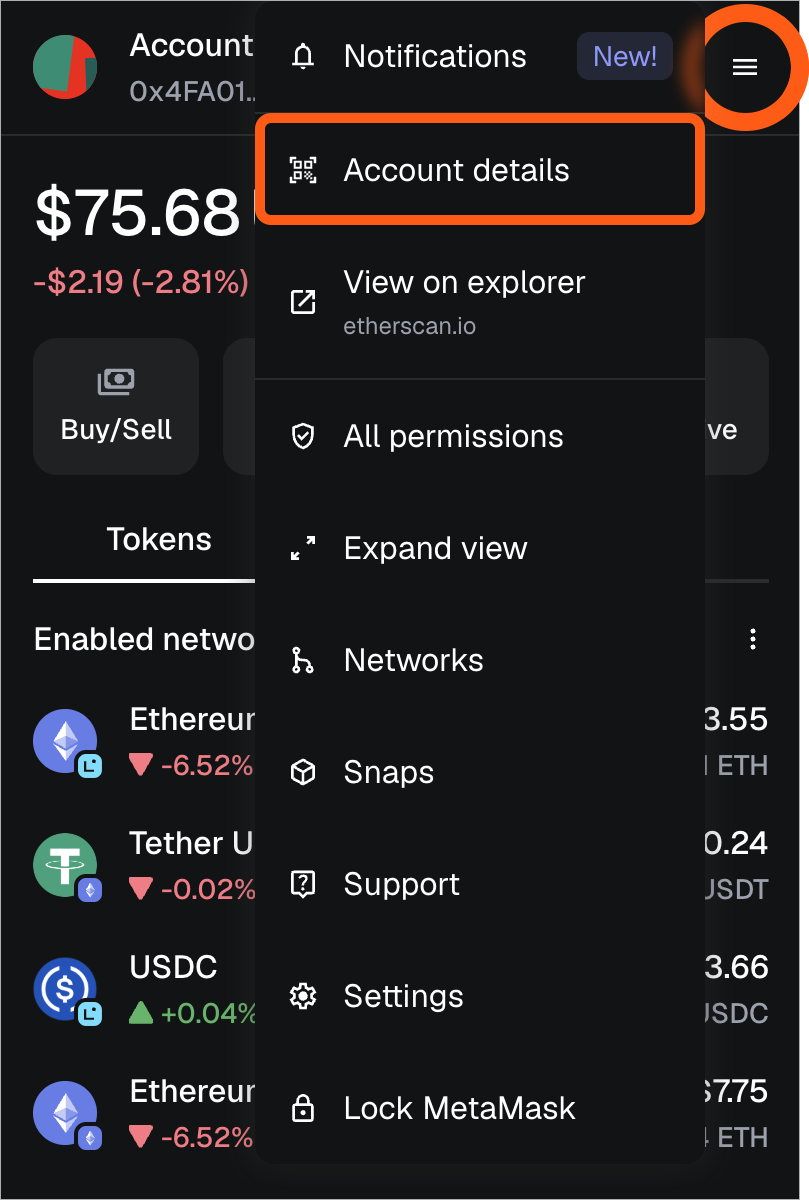
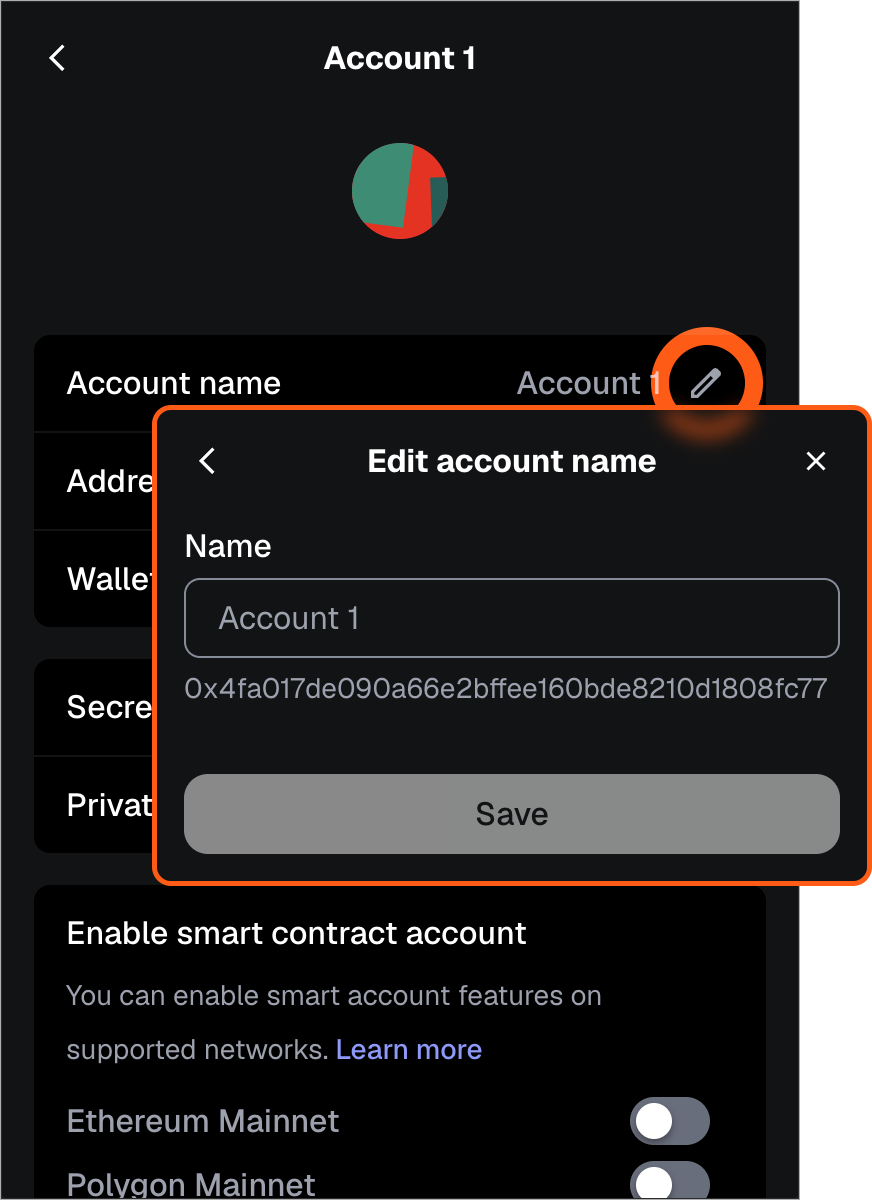
Click the pen icon next to the account name, and edit the text field. Once you're done editing, click 'Save'.
Tap the account selector at the top of the wallet view and tap the three vertical dots next to the account you want to edit. From here, select 'Account Name' and confirm your edit.
---
# How to add accounts in MetaMask
URL: https://support.metamask.io/configure/accounts/how-to-add-accounts-in-your-wallet/
> Learn how to add new accounts in MetaMask Extension and Mobile.
:::info
Want to add an account from another wallet, associated with a different Secret Recovery Phrase or seed phrase?
Head to _[How to import an account](/start/use-an-existing-wallet)_ instead. Imported accounts are those you add to MetaMask that originate from other wallets, or other Secret Recovery Phrases/seed phrases not stored in your current wallet. This article refers to adding accounts derived from your current MetaMask Secret Recovery Phrase(s).
:::
### Wallets associated with Google, Apple, or Telegram accounts {#wallets-associated-with-google-or-apple-accounts}
If your MetaMask is connected to your Google, Apple, or Telegram account, any new accounts or wallets you add _will be associated_ with your Google, Apple, or Telegram account.
**You cannot disconnect associated accounts from your Google, Apple, or Telegram account**, so make sure you only add accounts that you want to be associated with your Google, Apple, or Telegram account.
### Adding accounts to your wallet {#adding-accounts-to-your-wallet}
When you create your MetaMask wallet, you will be given a Secret Recovery Phrase, and an account is automatically generated. You'll see that as your _Account 1_ (default account).
If you'd like to create and manage multiple accounts, you could do so simply by adding more accounts within MetaMask. If you have multiple Secret Recovery Phrases in your MetaMask, you can choose which one to derive the new account from.
**Note that once you add an account, you cannot permanently delete it.** However, you can stop using it or [hide it](/configure/accounts/how-to-remove-an-account-from-your-metamask-wallet/#hide-an-account) in MetaMask.
If you want to re-add accounts after restoring your wallet using your Secret Recovery Phrase, take a look at [this article.](/configure/accounts/how-to-add-missing-accounts-after-restoring-with-secret-recovery-phrase/)
1. Click the account selector at the top of your MetaMask.
2. Select 'Add account or hardware wallet' at the bottom of the list.
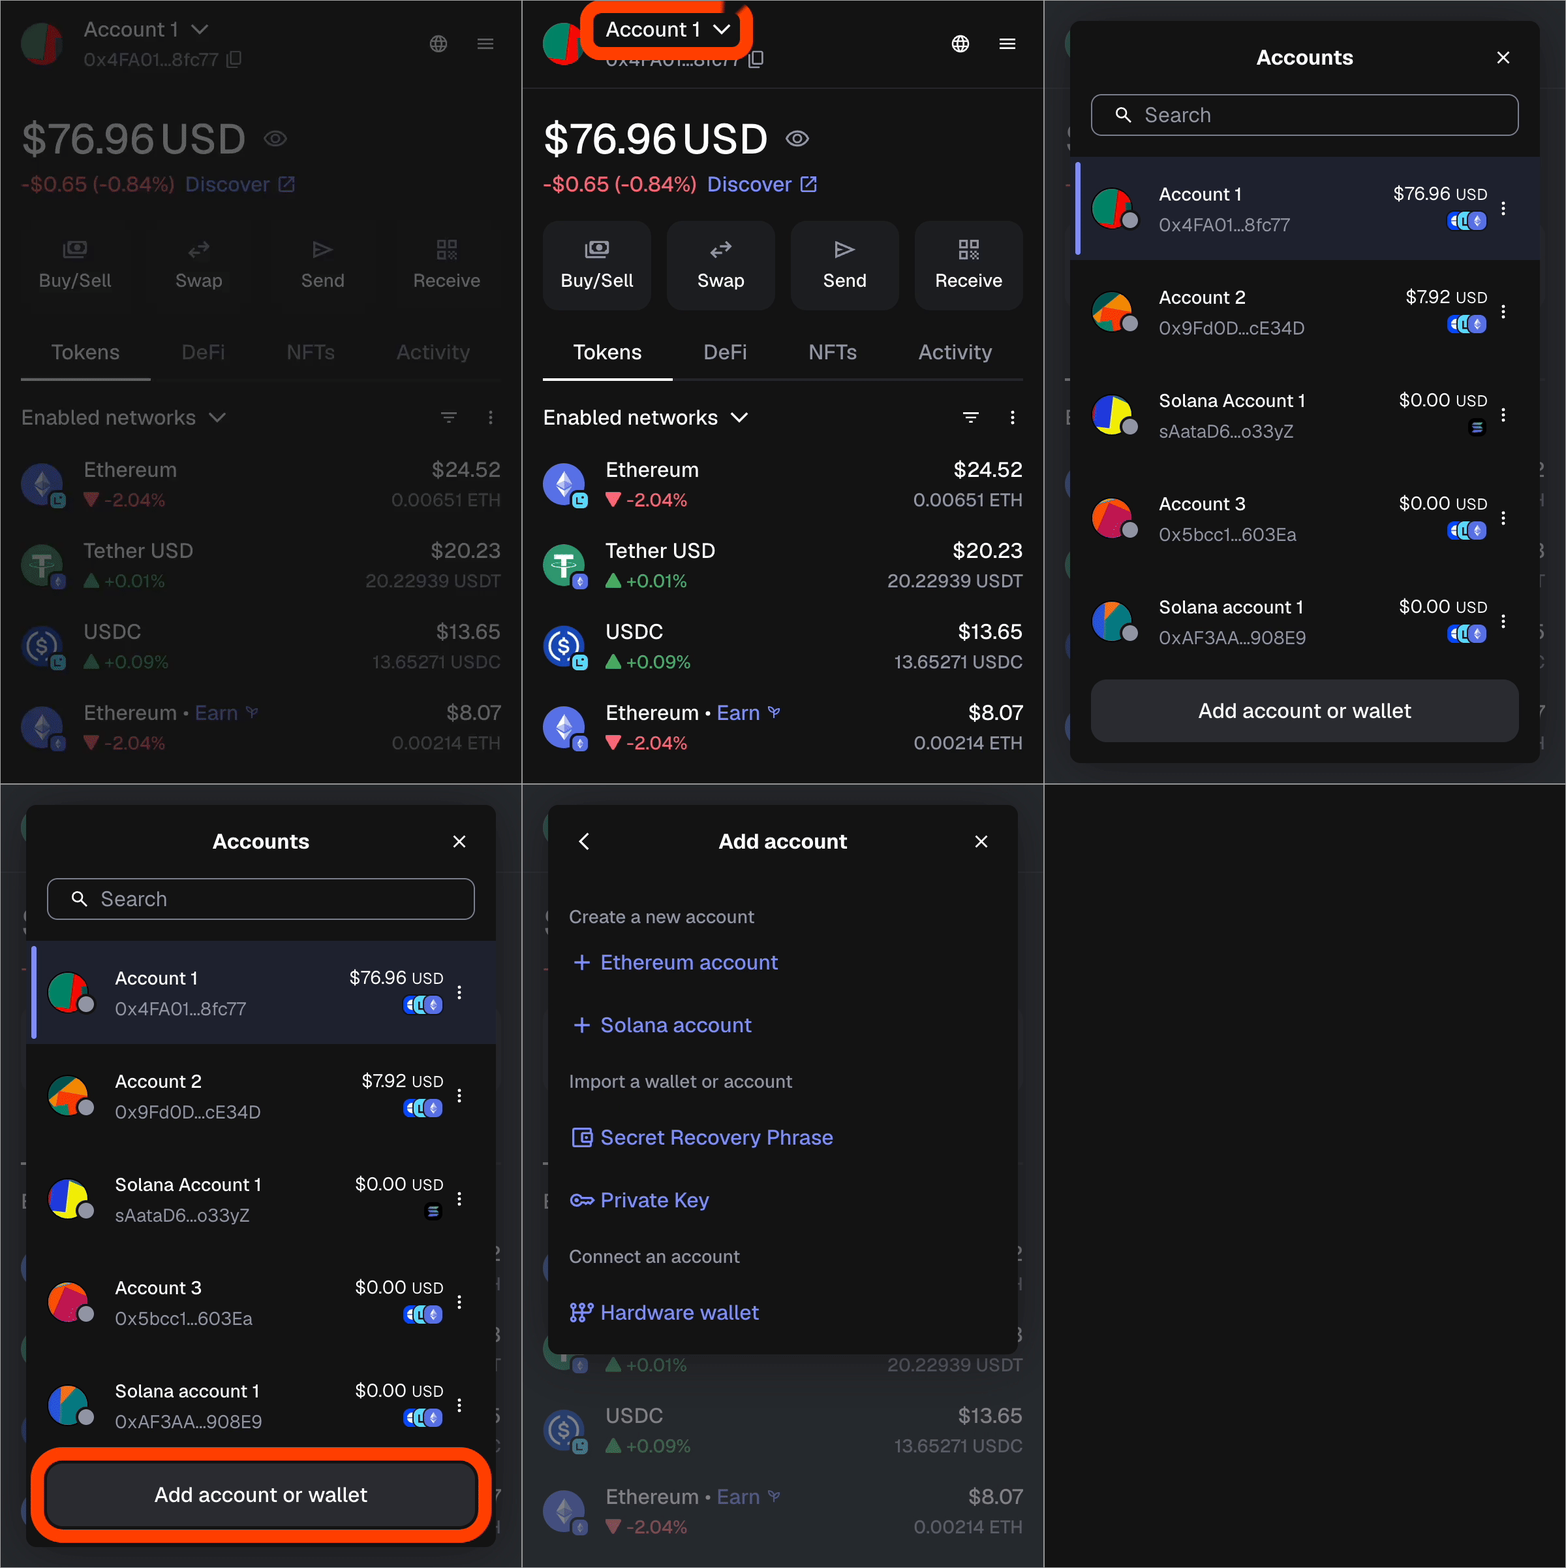
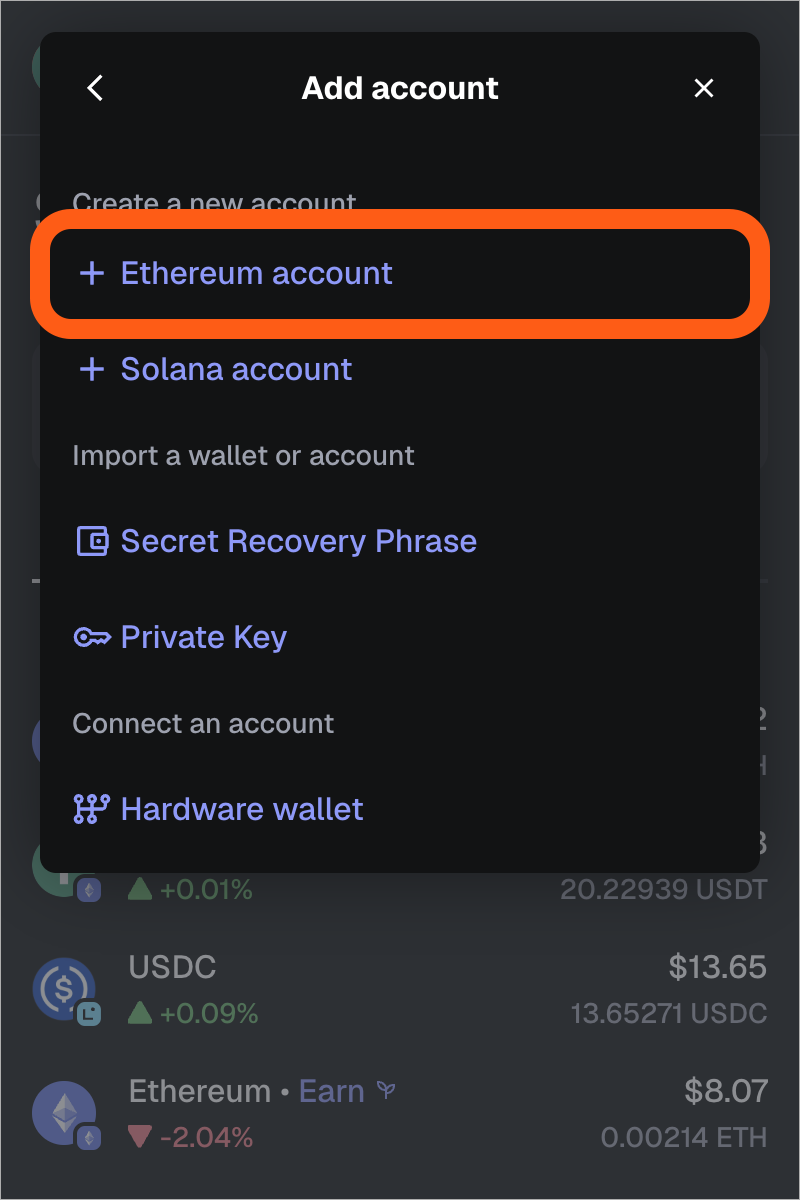
3. On the next page, select '+ Ethereum account’ under ‘Create new account’.
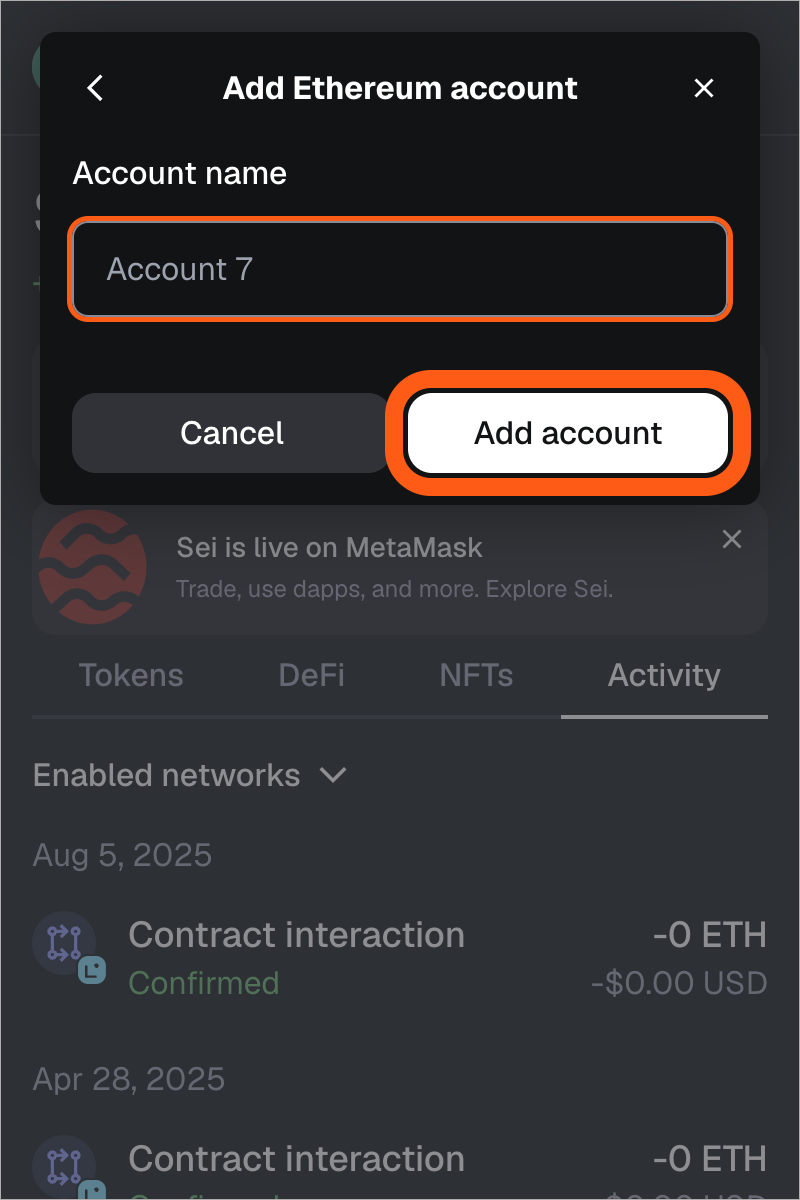
4. Enter your account name and click ‘Add account’.
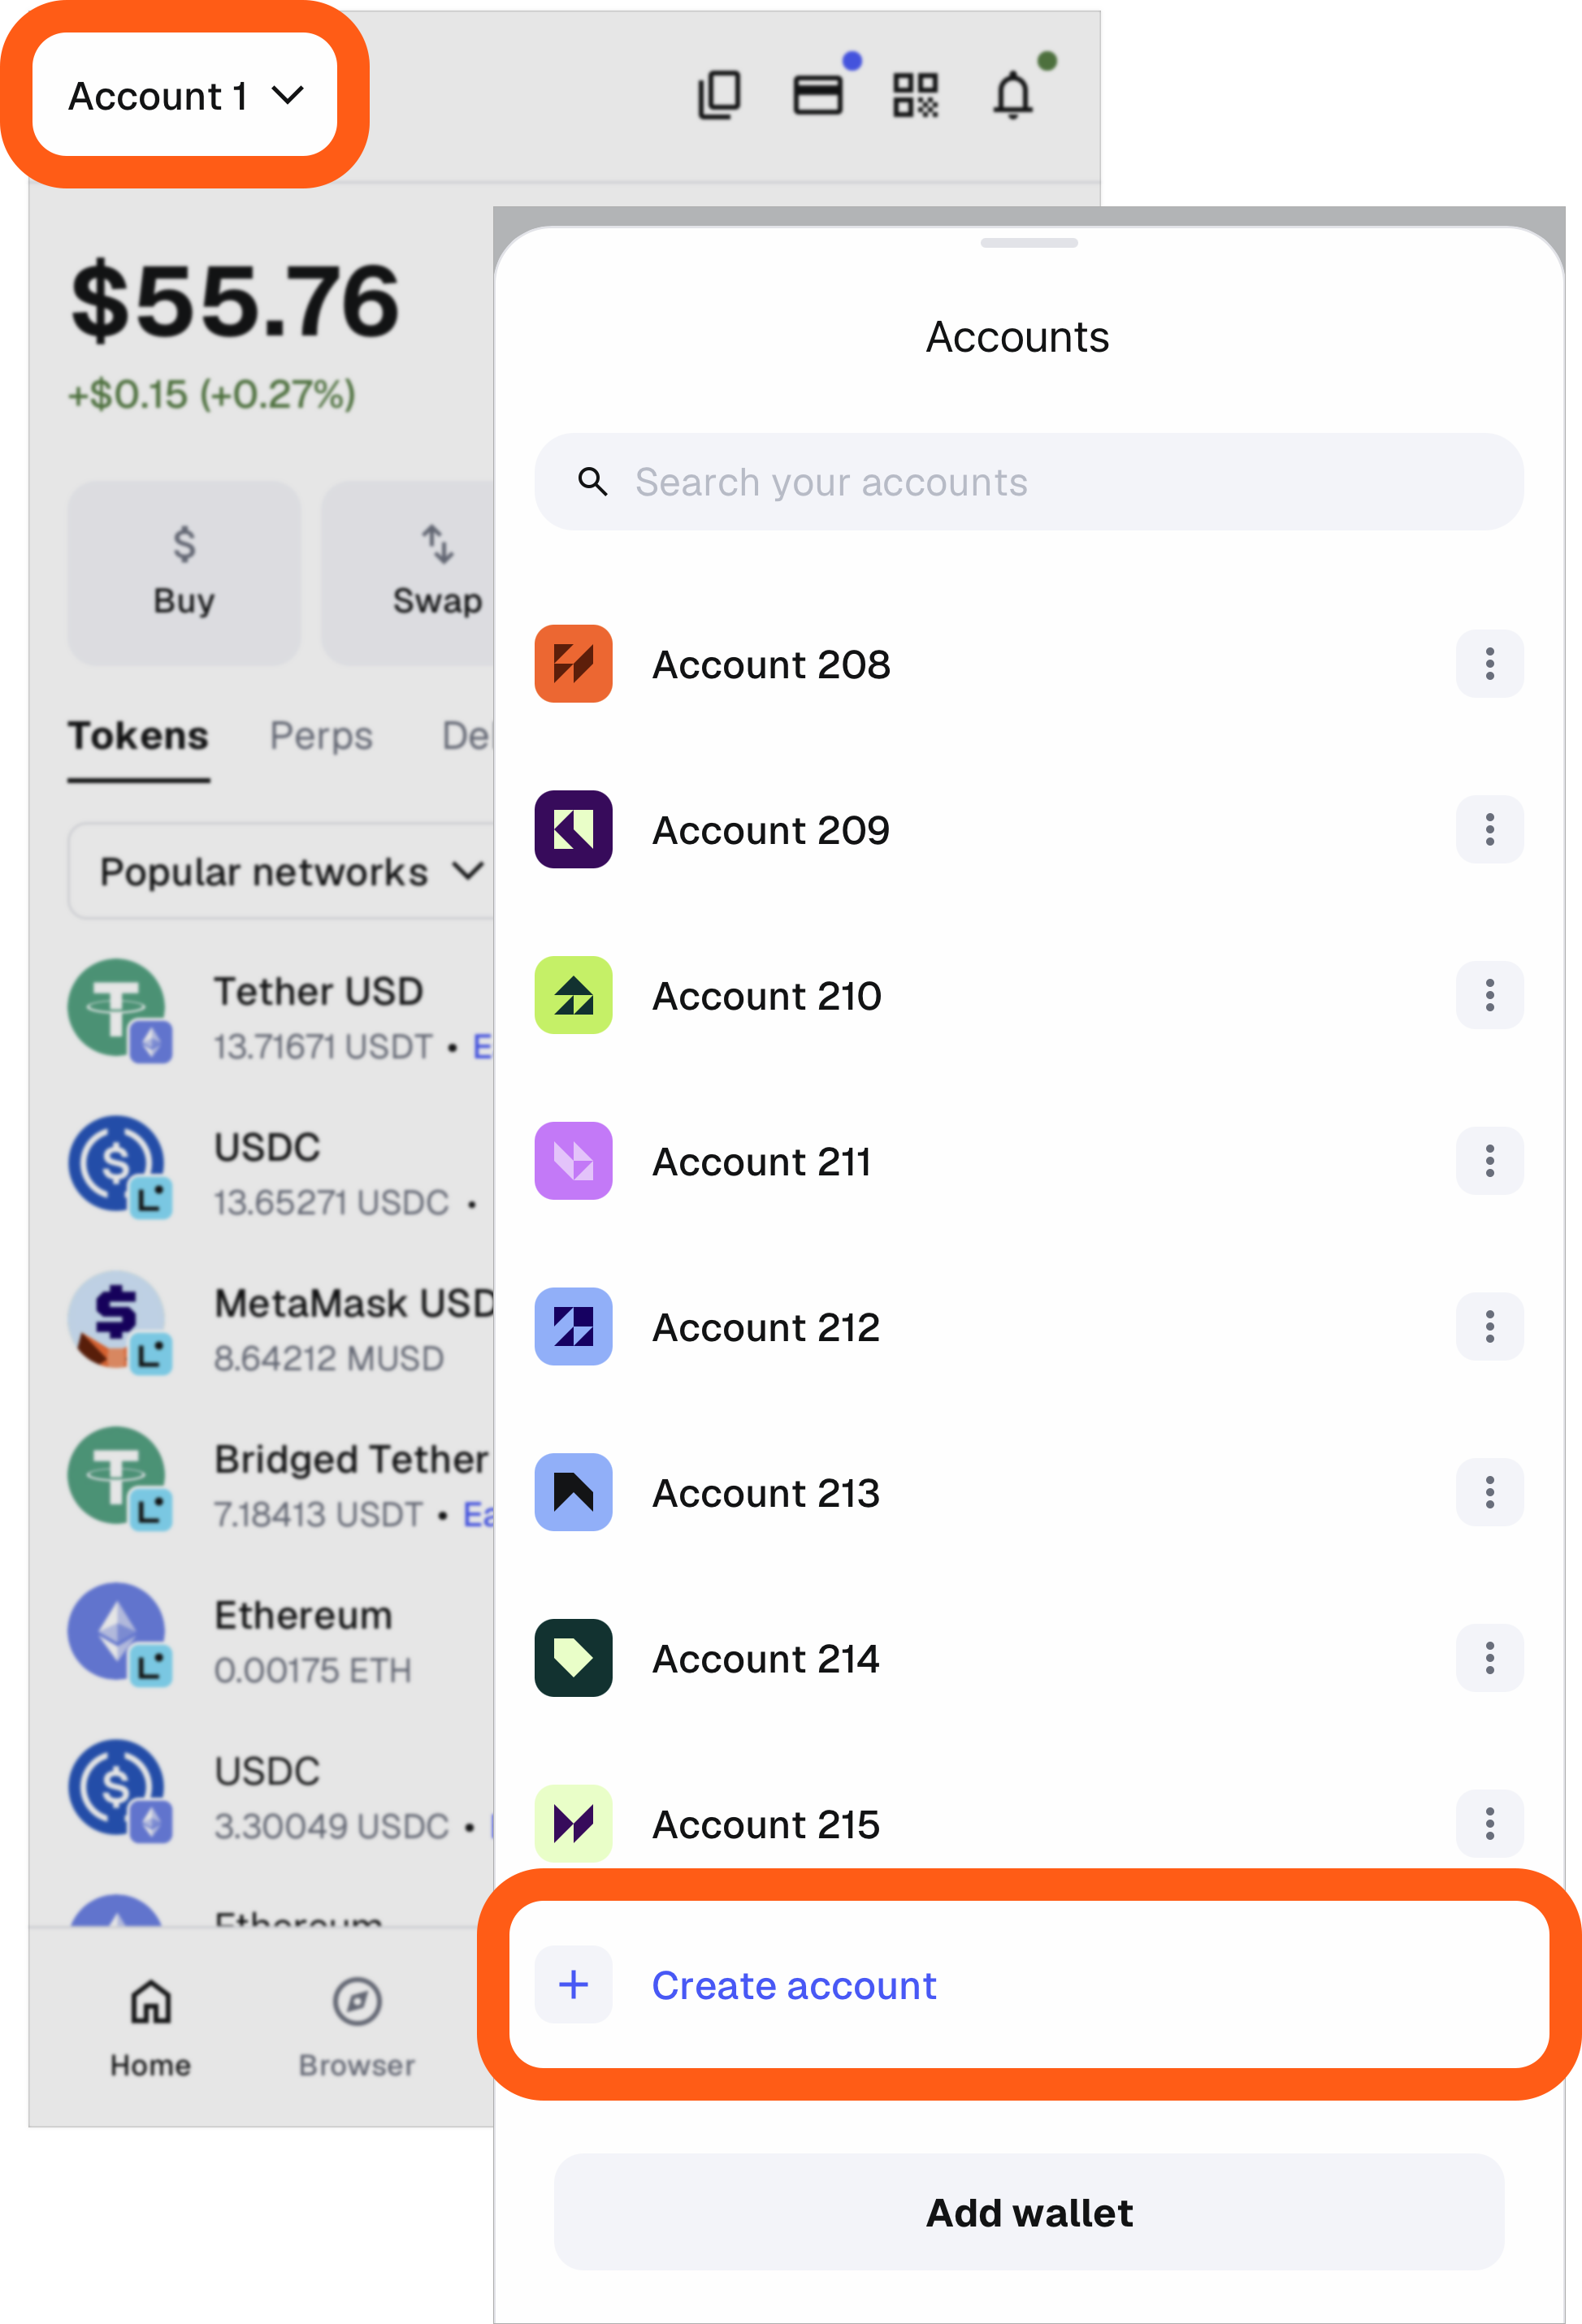
1. In wallet view, tap the name of the currently selected account.
2. On the account selector menu that appears, tap ‘Create account’
As mentioned above, accounts added using this method are permanently created on the blockchain and cannot be removed. They are associated with your Secret Recovery Phrase from the point of creation onwards. If you want to no longer see it in MetaMask, you can hide it. If you want to change your account name, use the instructions [here](/configure/accounts/how-do-i-change-my-account-name-).
### Solana accounts
Solana addresses use Infura as the blockchain data provider. There is no way currently to navigate Solana with a custom RPC URL. For more information on Solana-related features, see [here](/configure/networks/navigating-solana).
---
# How to add missing MetaMask accounts after restoring with Secret Recovery Phrase
URL: https://support.metamask.io/configure/accounts/how-to-add-missing-accounts-after-restoring-with-secret-recovery-phrase/
> Restored MetaMask but some accounts are missing? You can re-add them manually following these steps.
:::tip
Follow the steps listed [here](/configure/wallet/how-to-restore-your-metamask-wallet-from-secret-recovery-phrase) first to restore your wallet from Secret Recovery Phrase (SRP). If you have already done this, you can skip to the next section.
If you created your wallet using a Google/Apple/Telegram account, you just need to login to MetaMask using your Google, Apple, or Telegram account and the password you initially set, and **all** of the associated accounts will be restored, including imported wallets *(besides hardware wallets)*.
:::
When restoring your MetaMask wallet using your Secret Recovery Phrase (SRP), only accounts that were originally created from the **same SRP** will be automatically synchronized and added. Accounts imported via private keys, JSON files, or connected hardware wallets (with different SRPs) will not sync automatically and must be [manually re-added](/start/use-an-existing-wallet) in the same manner as when they were initially imported *(unless you created your wallet using a Google/Apple/Telegram account)*.
**DO NOT share your Secret Recovery Phrase with anyone! These words can be used to steal all your accounts. You cannot edit or change your Secret Recovery Phrase.**
## Automatic account restoration {#automatic-account-restoration}
If you created your wallet using a **Google/Apple/Telegram account**, MetaMask will automatically restore all of the associated accounts created under that instance, including imported wallets (besides hardware wallets). You just need to login using your Google, Apple, or Telegram account and the password you initially set.
If the “[Backup and sync](/configure/wallet/account-backup-and-sync/)” feature was enabled on an SRP-only wallet, MetaMask will automatically restore accounts created under the same SRP in ascending order _(i.e., Account 2, then Account 3, etc.)_ provided they weren’t [imported](/start/use-an-existing-wallet/#import-using-a-private-key) from private keys or JSON files. The automatic restoration process also adds accounts with non-zero ETH balances.
## Manual account restoration {#manual-account-restoration}
For any accounts that aren’t automatically re-added from an SRP, you can [manually restore them](/configure/accounts/how-to-add-accounts-in-your-wallet/) by following the steps below. For example, if you have some tokens in Account 4 in Wallet 1, but Account 4 isn't automatically added because those tokens are not ETH on mainnet, all you need to do is manually add accounts until you get to Account 4. Your Account 4 _before_ the restore corresponds to Account 4 _after_ the restore, regardless of any name you previously applied.
If you do need to re-add accounts this way, don't worry that the account address will be different. The addresses are cryptographically derived _deterministically_ from your private key, which means **they will always be the same**. And since an Ethereum account, once created, exists permanently, you can just pick up where you left off.
Please follow the steps below on how to restore your other accounts in the order they were originally created:
1. Click on the account selector at the top of MetaMask, and select 'Add account or hardware wallet':

2. On the next screen, click 'Ethereum account' to restore your MetaMask accounts in the order they were created.

3. If the accounts were previously named, you can name them again in the step below, before clicking "**Create**":

Tap the name of the currently selected account, and then tap 'Create account'

If you still do not see the addresses you were looking for, they were probably created with a different Secret Recovery Phrase, or you had an imported account that you still need to reimport using private keys or JSON.
Please see [this article on how to import an account](/start/use-an-existing-wallet).
This is not applicable if you created your wallet using a Google/Apple/Telegram account, as all of the associated accounts will be restored automatically.
---
# How to clear account activity or reset account
URL: https://support.metamask.io/configure/accounts/how-to-clear-your-account-activity-reset-account/
> We do not recommend you reset your account unless one of our Support agents suggests you do so. This is primarily for developers.
This guide covers how to clear your account activity on MetaMask Extension and Mobile.
:::warning
You should only clear your account activity when strictly necessary, most often to resolve stuck and pending transactions. We do not recommend you reset your account unless one of our Support agents suggests you do so.
This function is intended primarily for developers, who may find it useful to clear an account's activity on a test network while continuing to use the same account.
:::
Note that clearing account activity **only affects the current network**. For example: if you're on BNB Chain, the only activity that will be cleared are your transactions on BNB Chain. Transactions on other networks, such as Ethereum, will be unaffected.
**Before commencing, we recommend you [download your state logs](/configure/wallet/how-to-download-state-logs). This will allow our Support agents to troubleshoot the root cause if necessary. Clearing your activity is irreversible, and not a common requirement for most users.**
**You will not lose value in your accounts.**
### To clear your account activity: {#to-clear-your-account-activity}
1. Click the menu in the top-right corner.
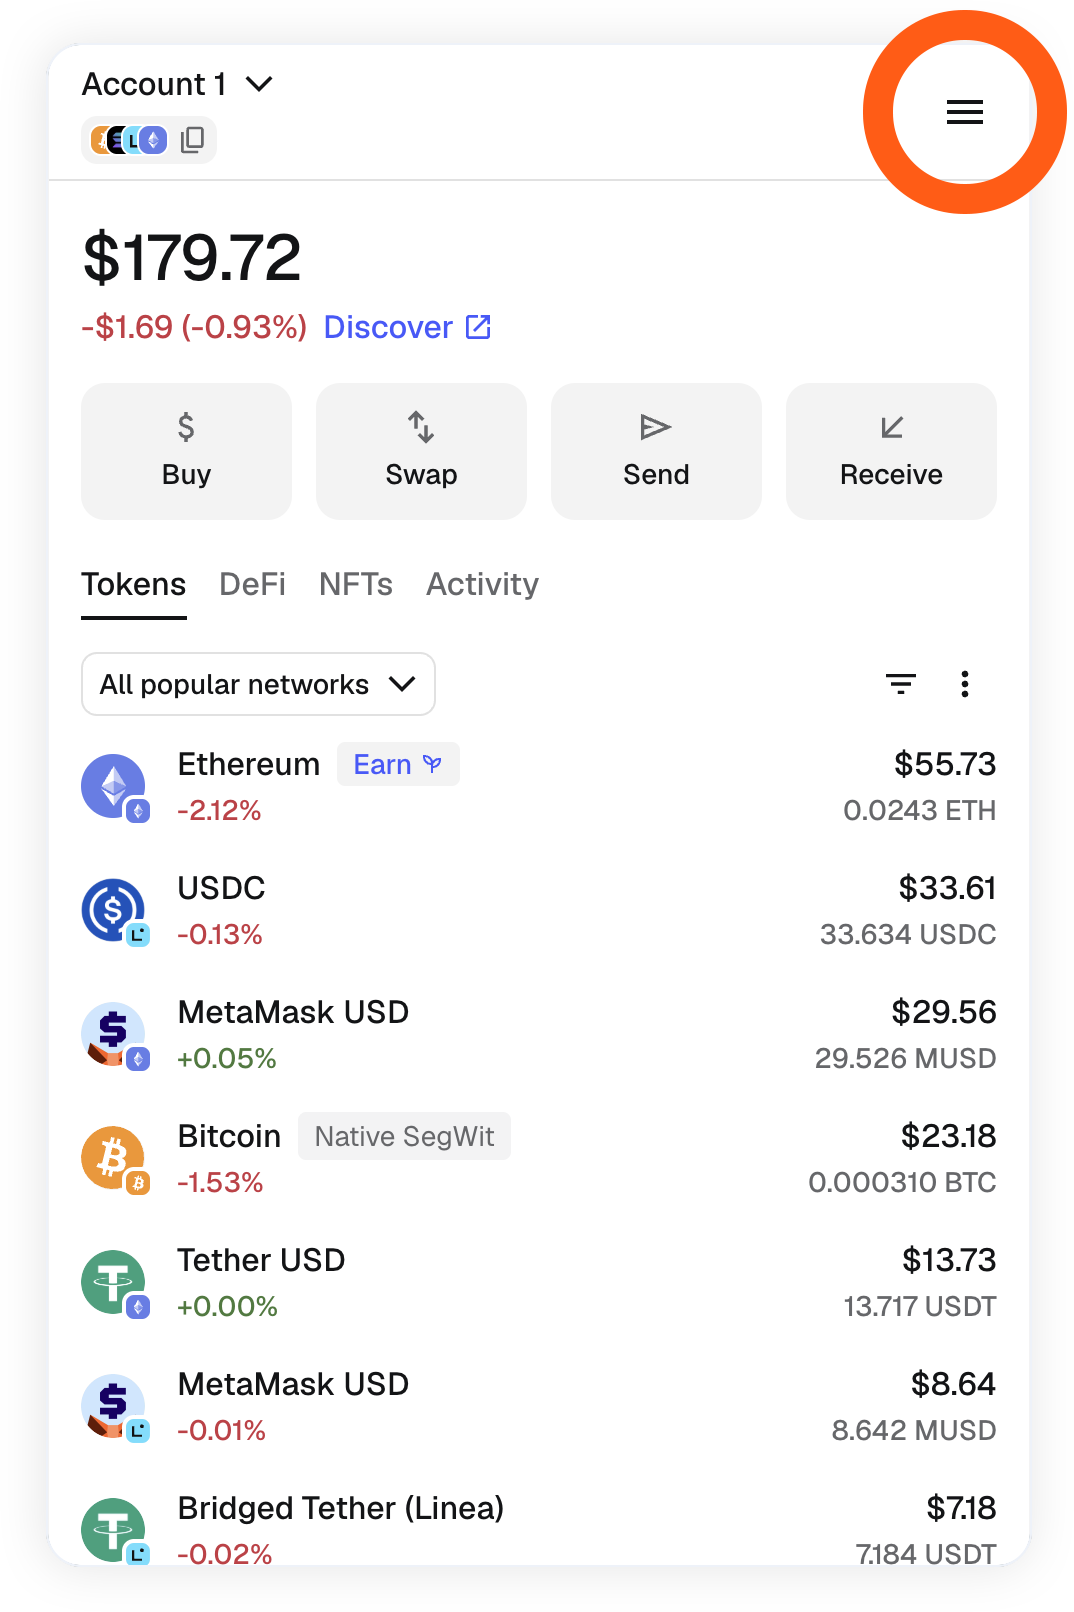
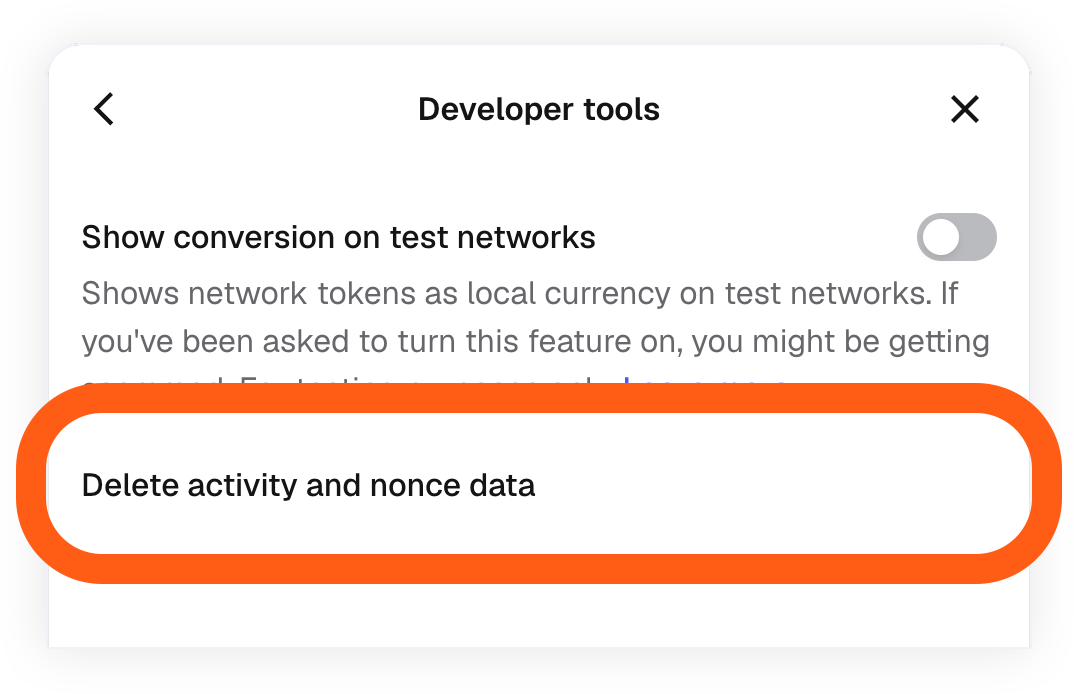
2. Go to 'Settings' > 'Developer tools'.
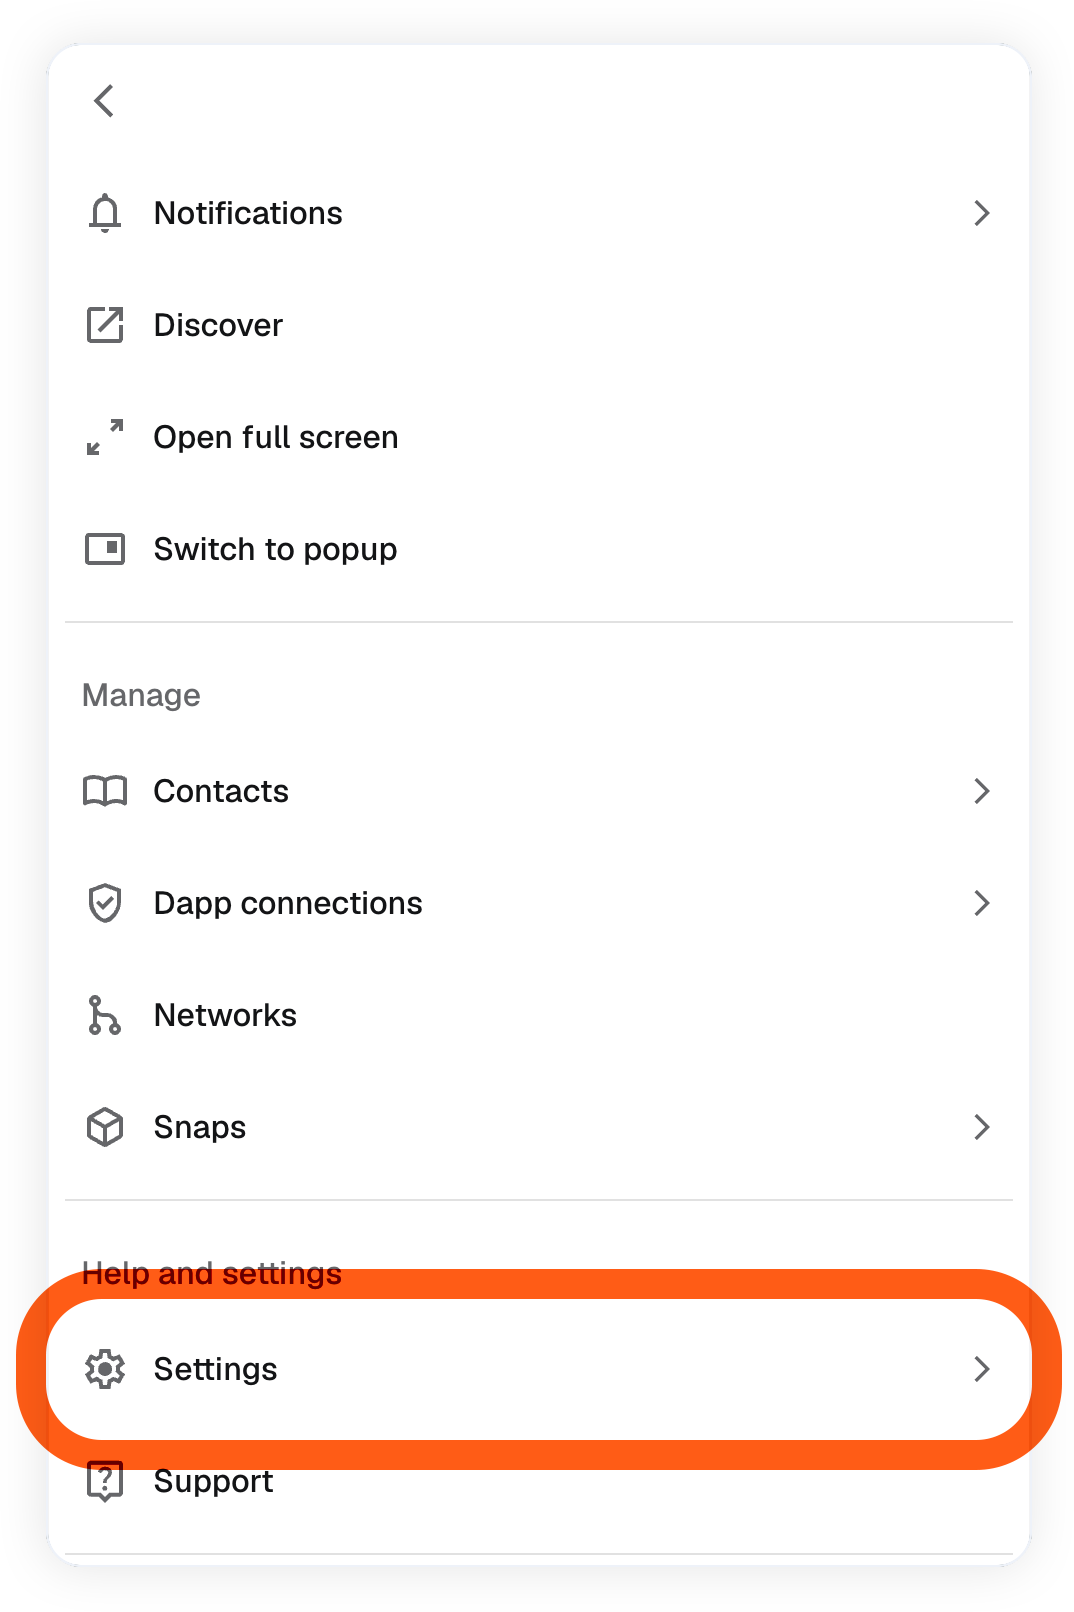
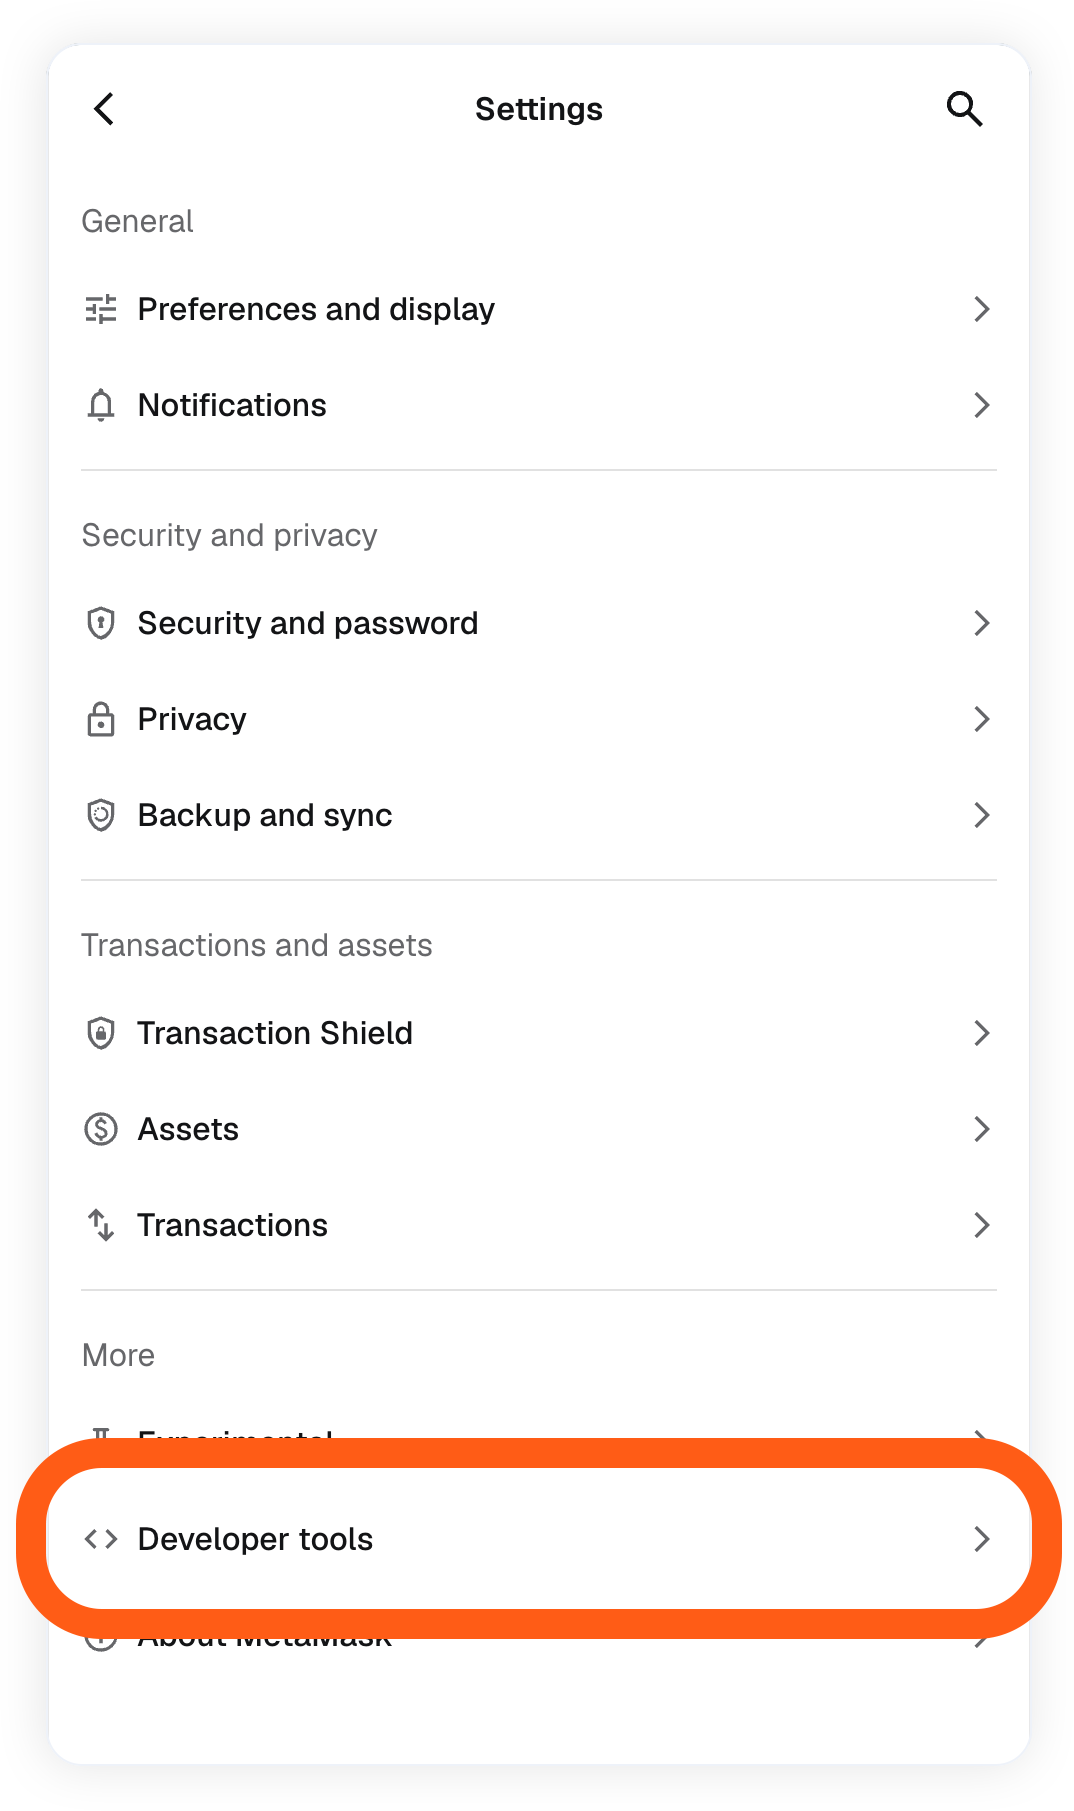
3. Click the 'Delete activity and nonce data' button.
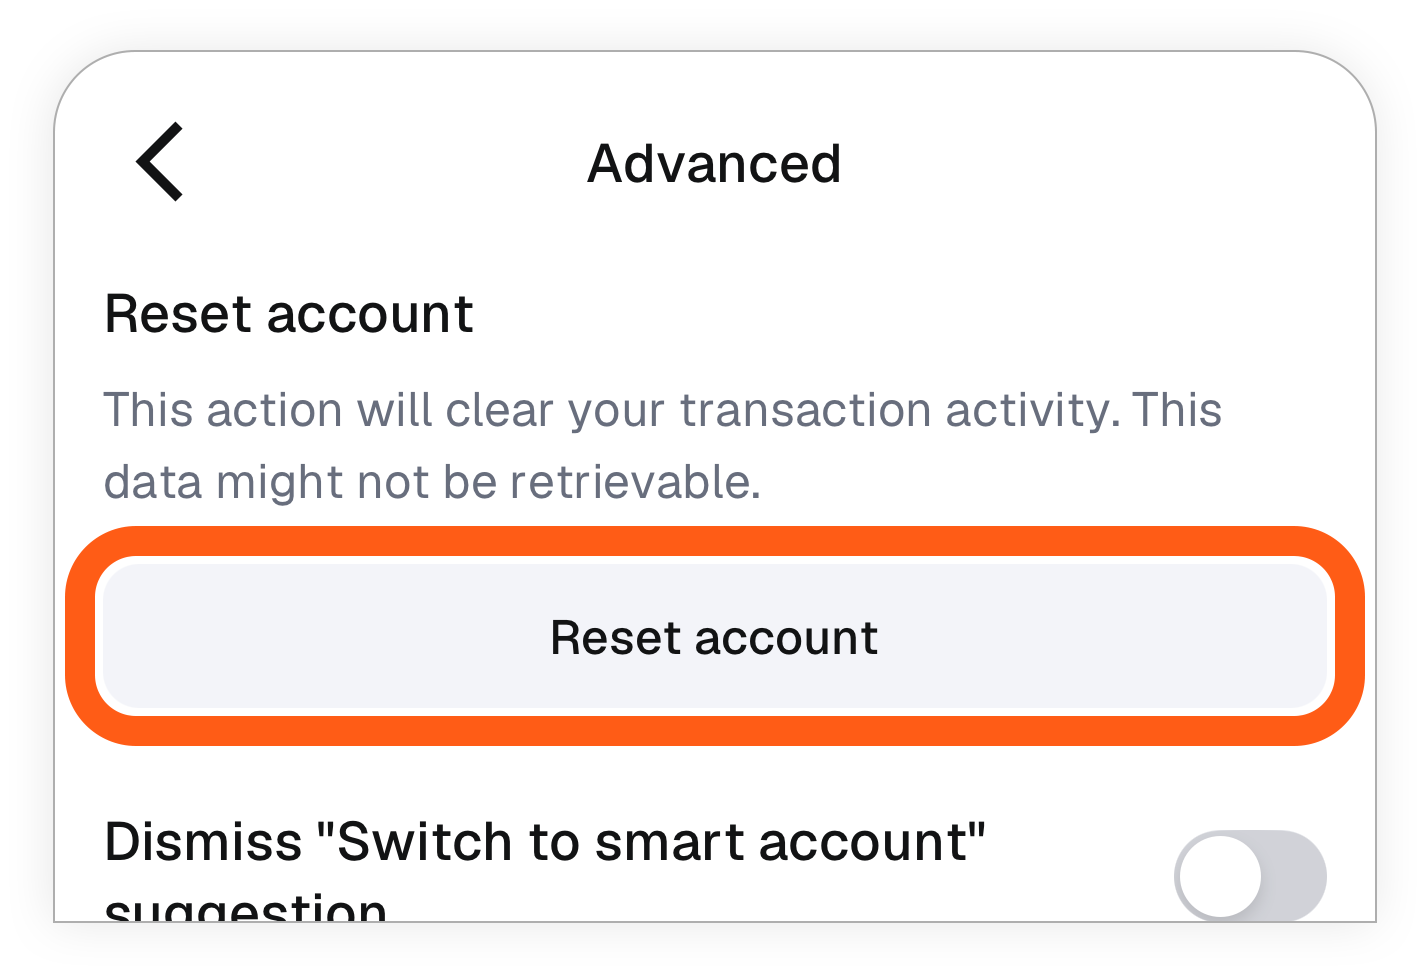
1. Tap the menu icon in the top right corner, and then tap 'Settings' > 'Advanced'.
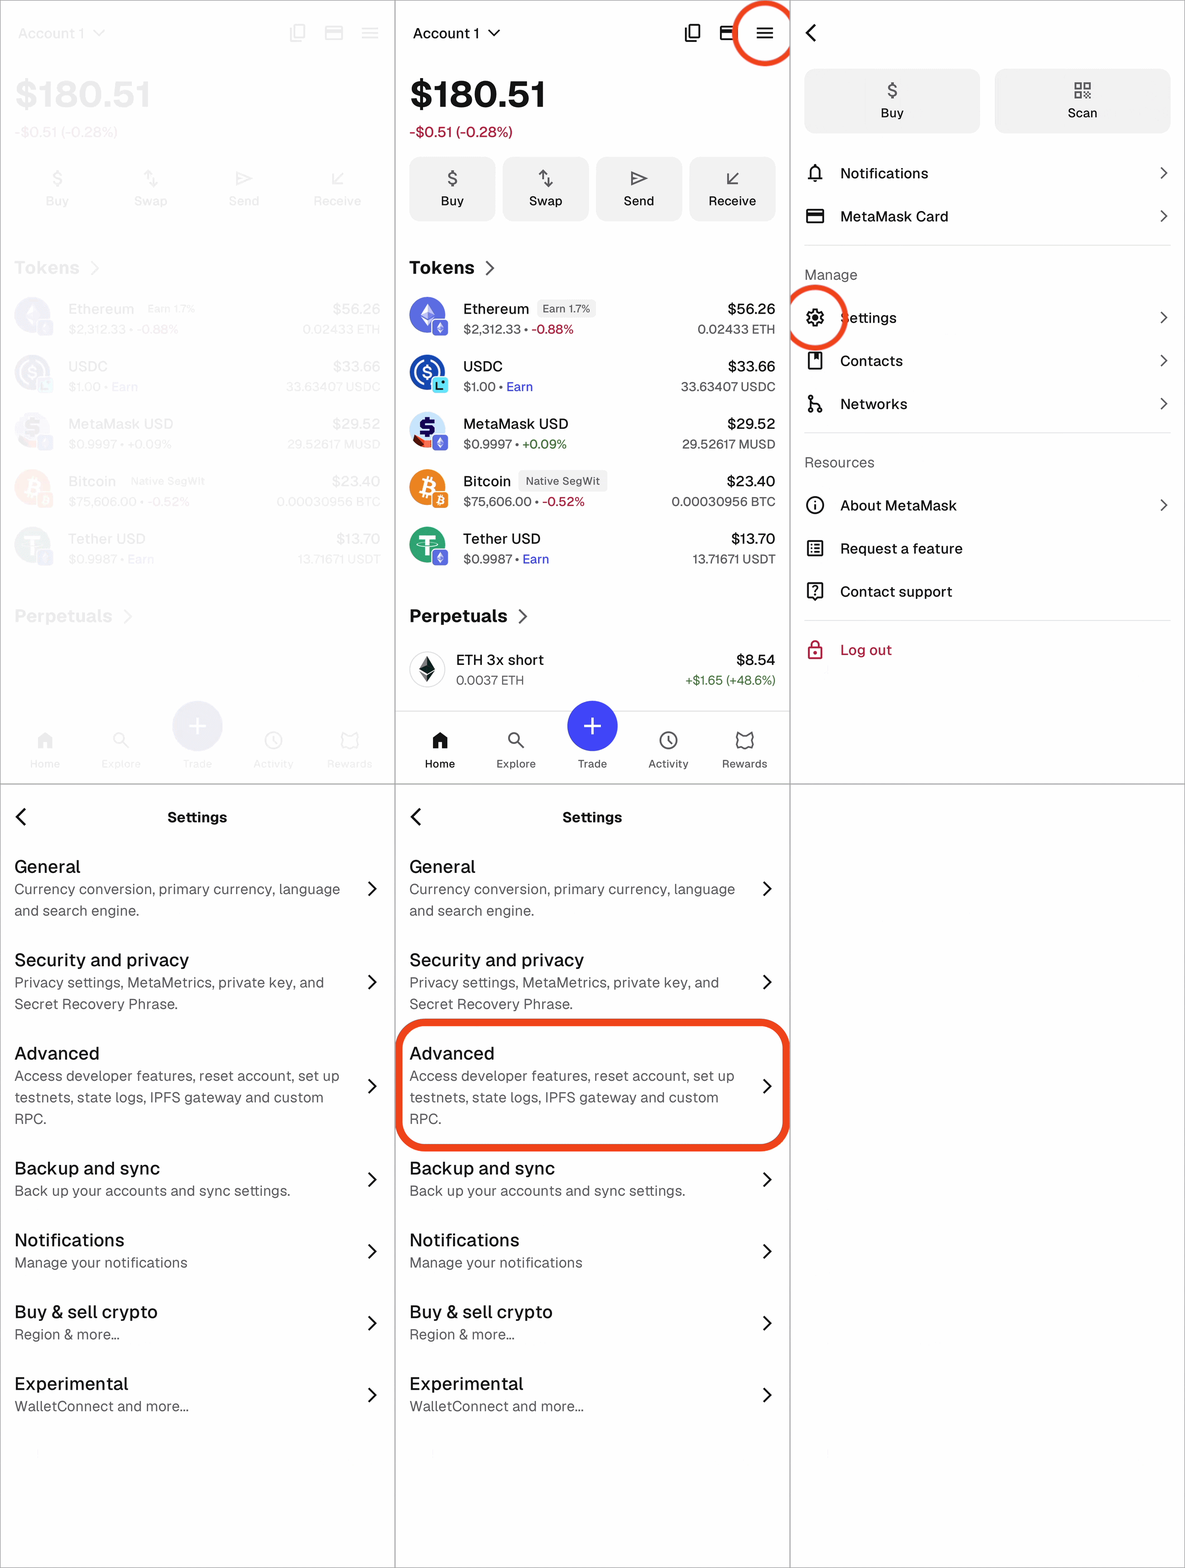
2. Tap the 'Reset account' button.
---
# How to export a private key in MetaMask Extension and Mobile
URL: https://support.metamask.io/configure/accounts/how-to-export-an-accounts-private-key/
> Learn how to export a MetaMask account’s private key on Extension or Mobile. Be careful not to share it with anyone.
:::danger[warning!]
Exporting your account could be risky as it displays your private key in clear text. To avoid possible loss of funds, **make sure no one else sees or is able to capture a screenshot while you retrieve your private key**. Many phishing campaigns ask for your private key to gain access to your account. You should **never share your private key with anyone**, including the MetaMask team. No MetaMask representative, including our Support team, will ever ask for your private key, regardless of the context. If someone does ask for your private key, assume they are trying to scam you, and **do not** hand it over.
:::
**For more information on accounts and private keys, start [here](/start/user-guide-secret-recovery-phrase-password-and-private-keys).**
An account's private key can be used to import it into any compatible wallet software. Naturally, to import your account elsewhere via private key, you'll need to locate it in MetaMask first. Here's how:
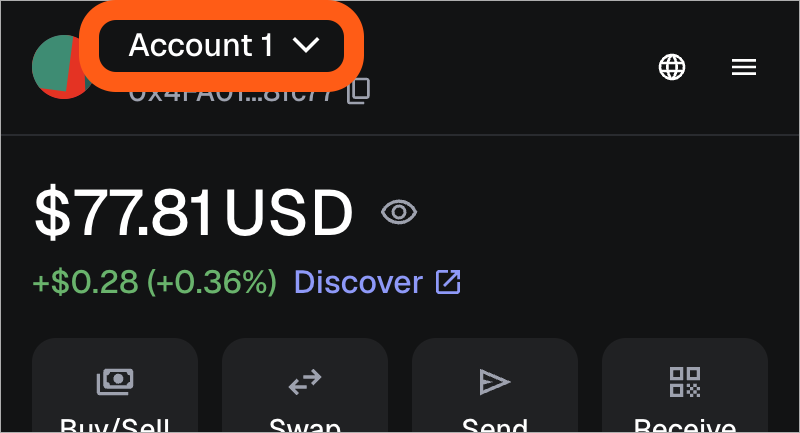
1. Click on the account selector at the top of your screen.
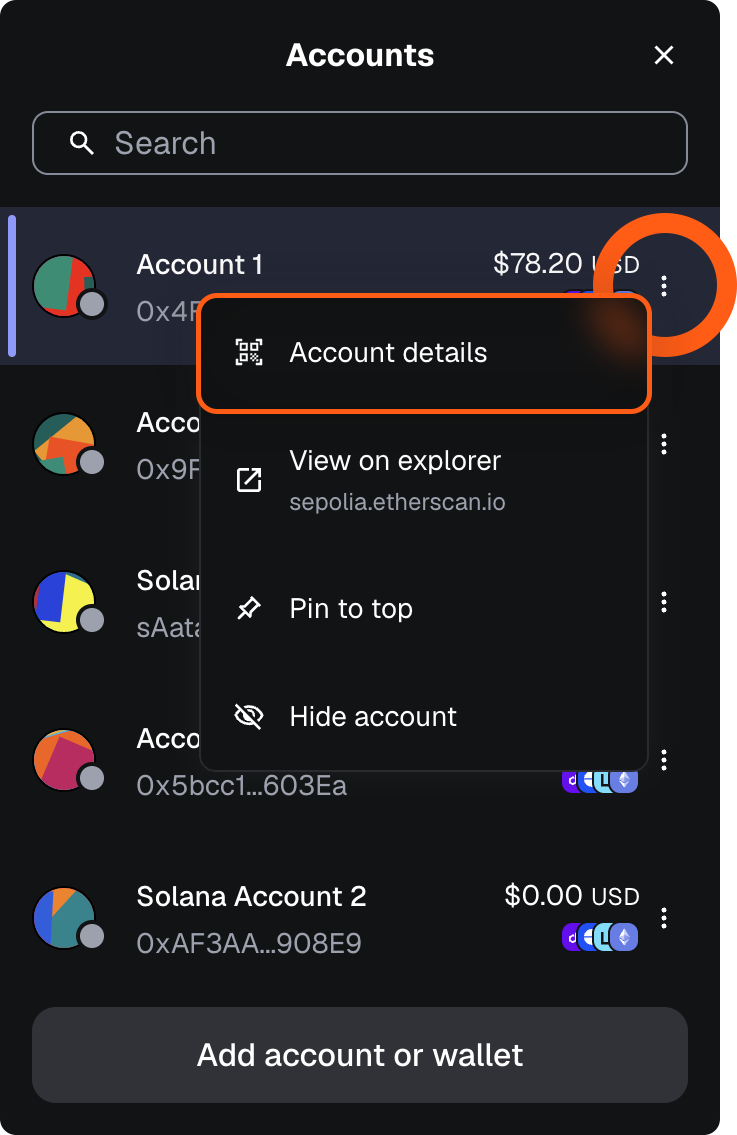
2. Click the three vertical dots next to the account you want to export and select 'Account details'.
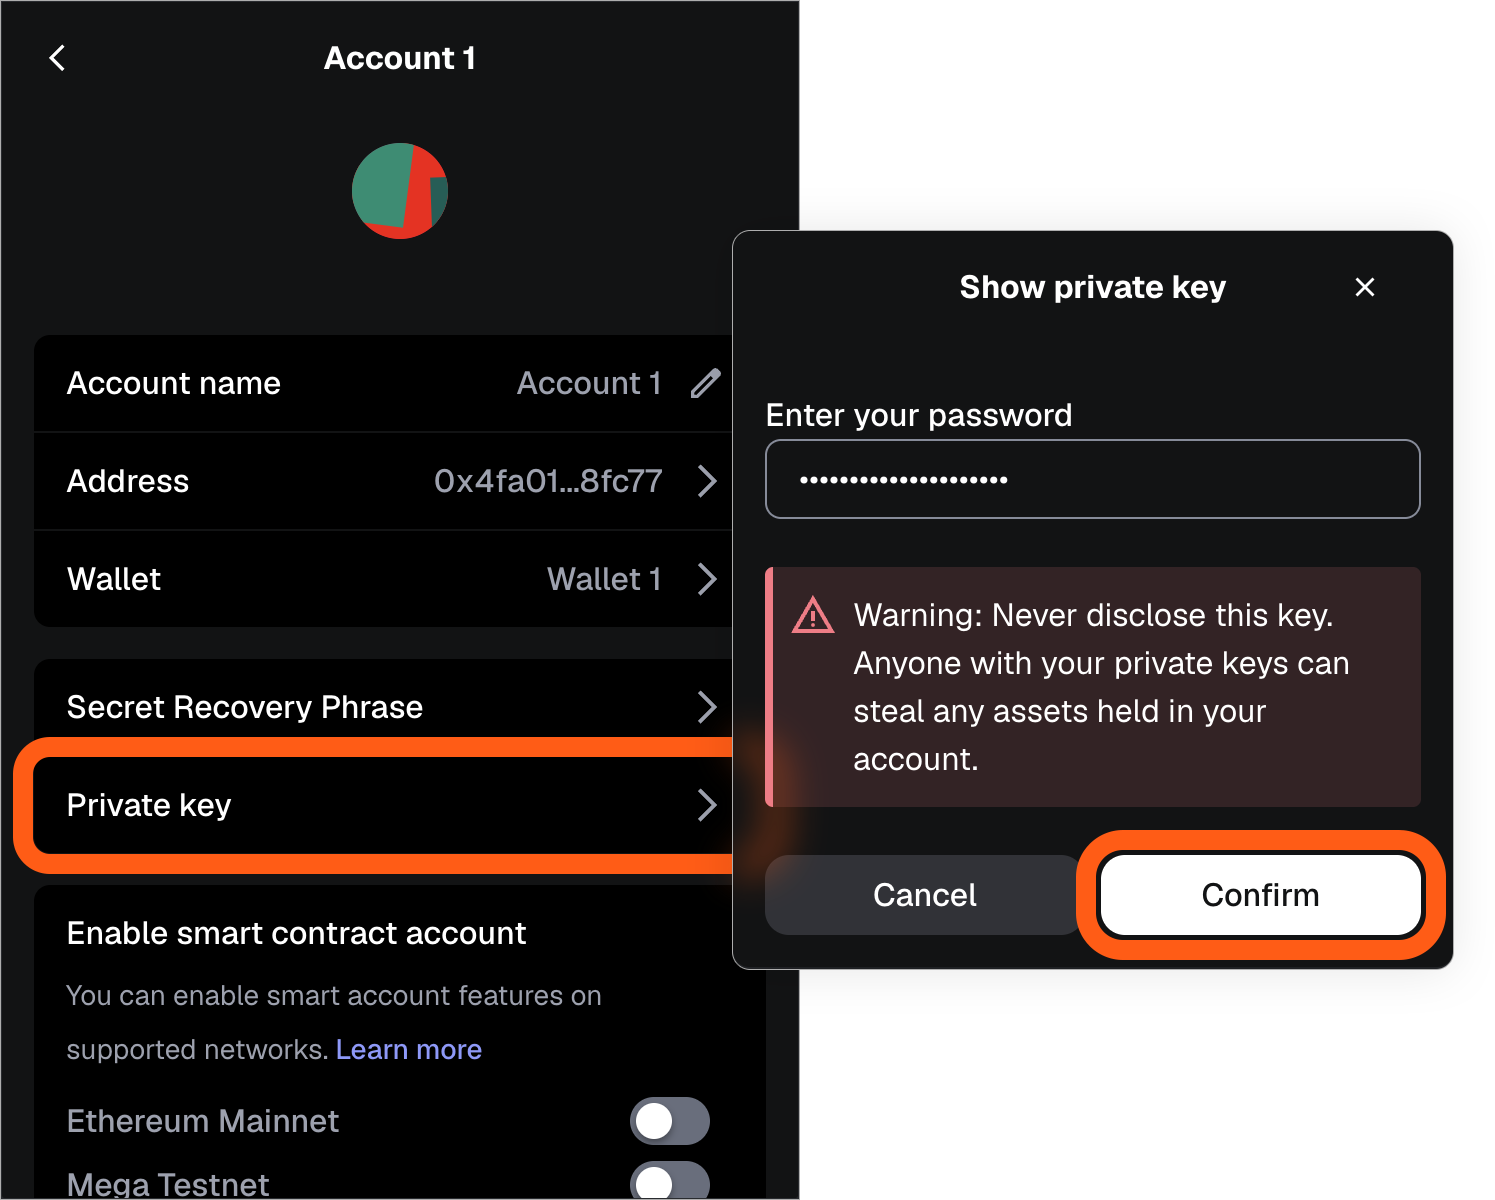
3. Click 'Private key' and enter your MetaMask password to confirm.
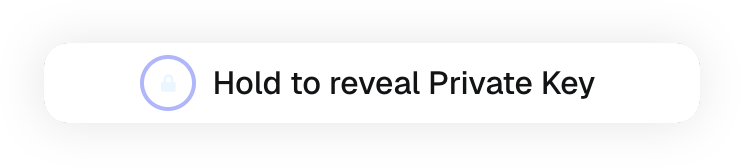
4. Click and hold on 'Hold to reveal Private Key' to display your private key.
6. Click to copy the private key to your clipboard. Make sure to save it somewhere safe.
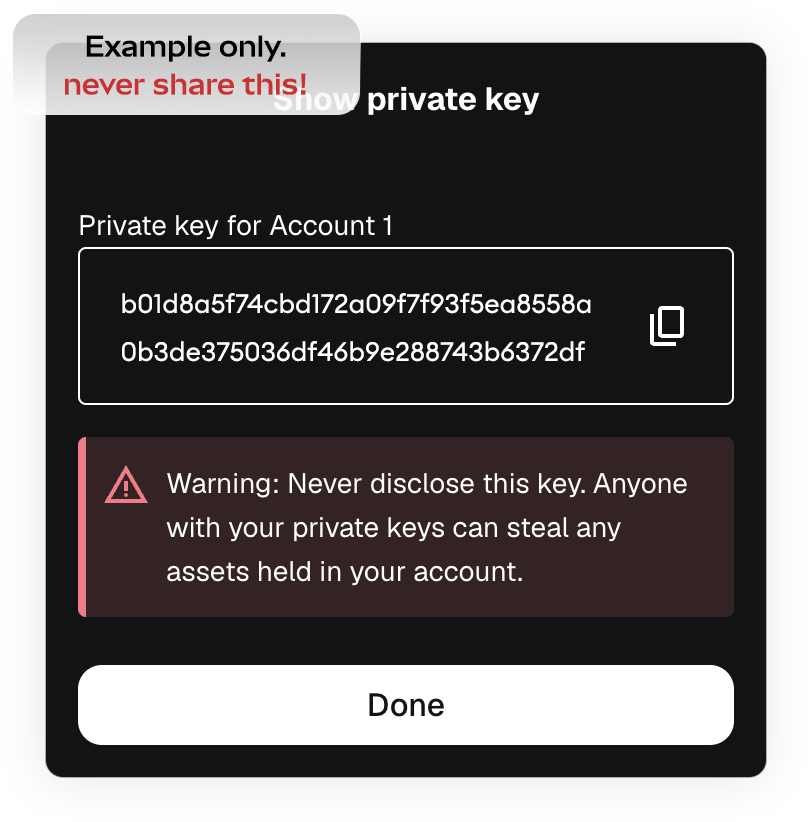
7. Click 'Done' to close the screen.
1. Use the account selector at the top of the wallet view to switch to the account whose private key you want to access. Tap the 3 dots next to the account you want to export.
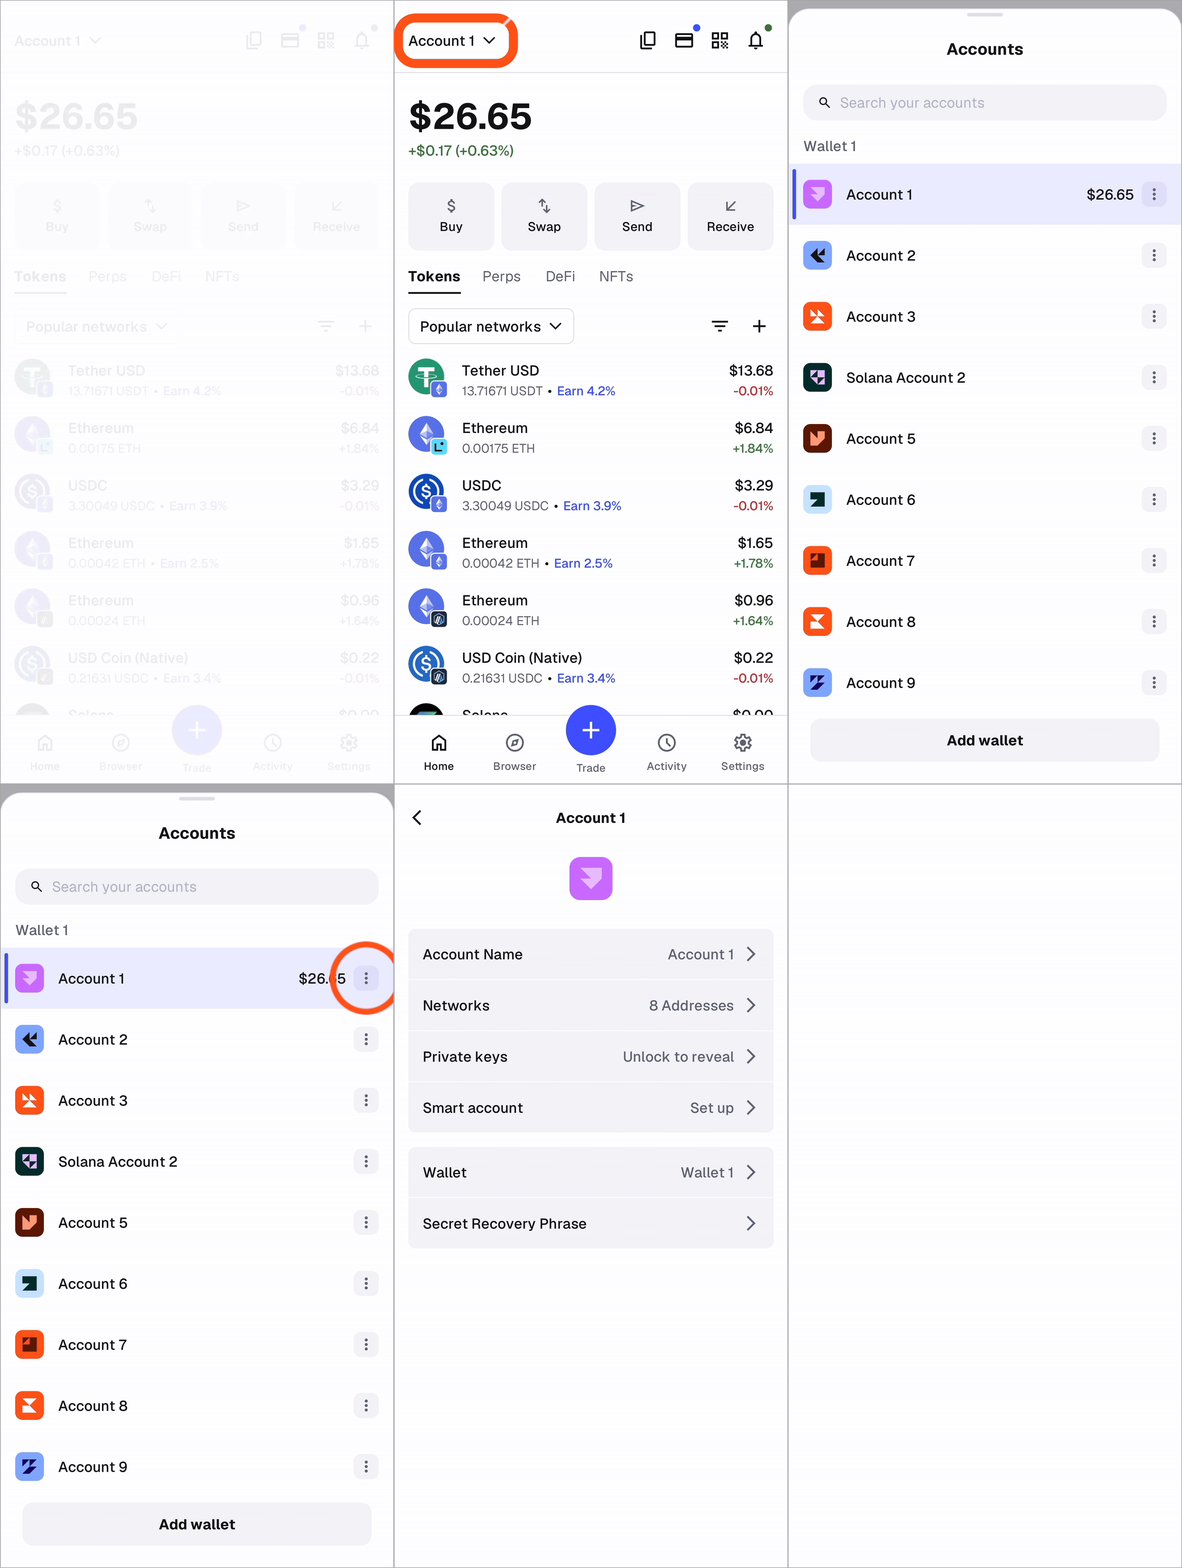
2. Tap 'Private keys'.
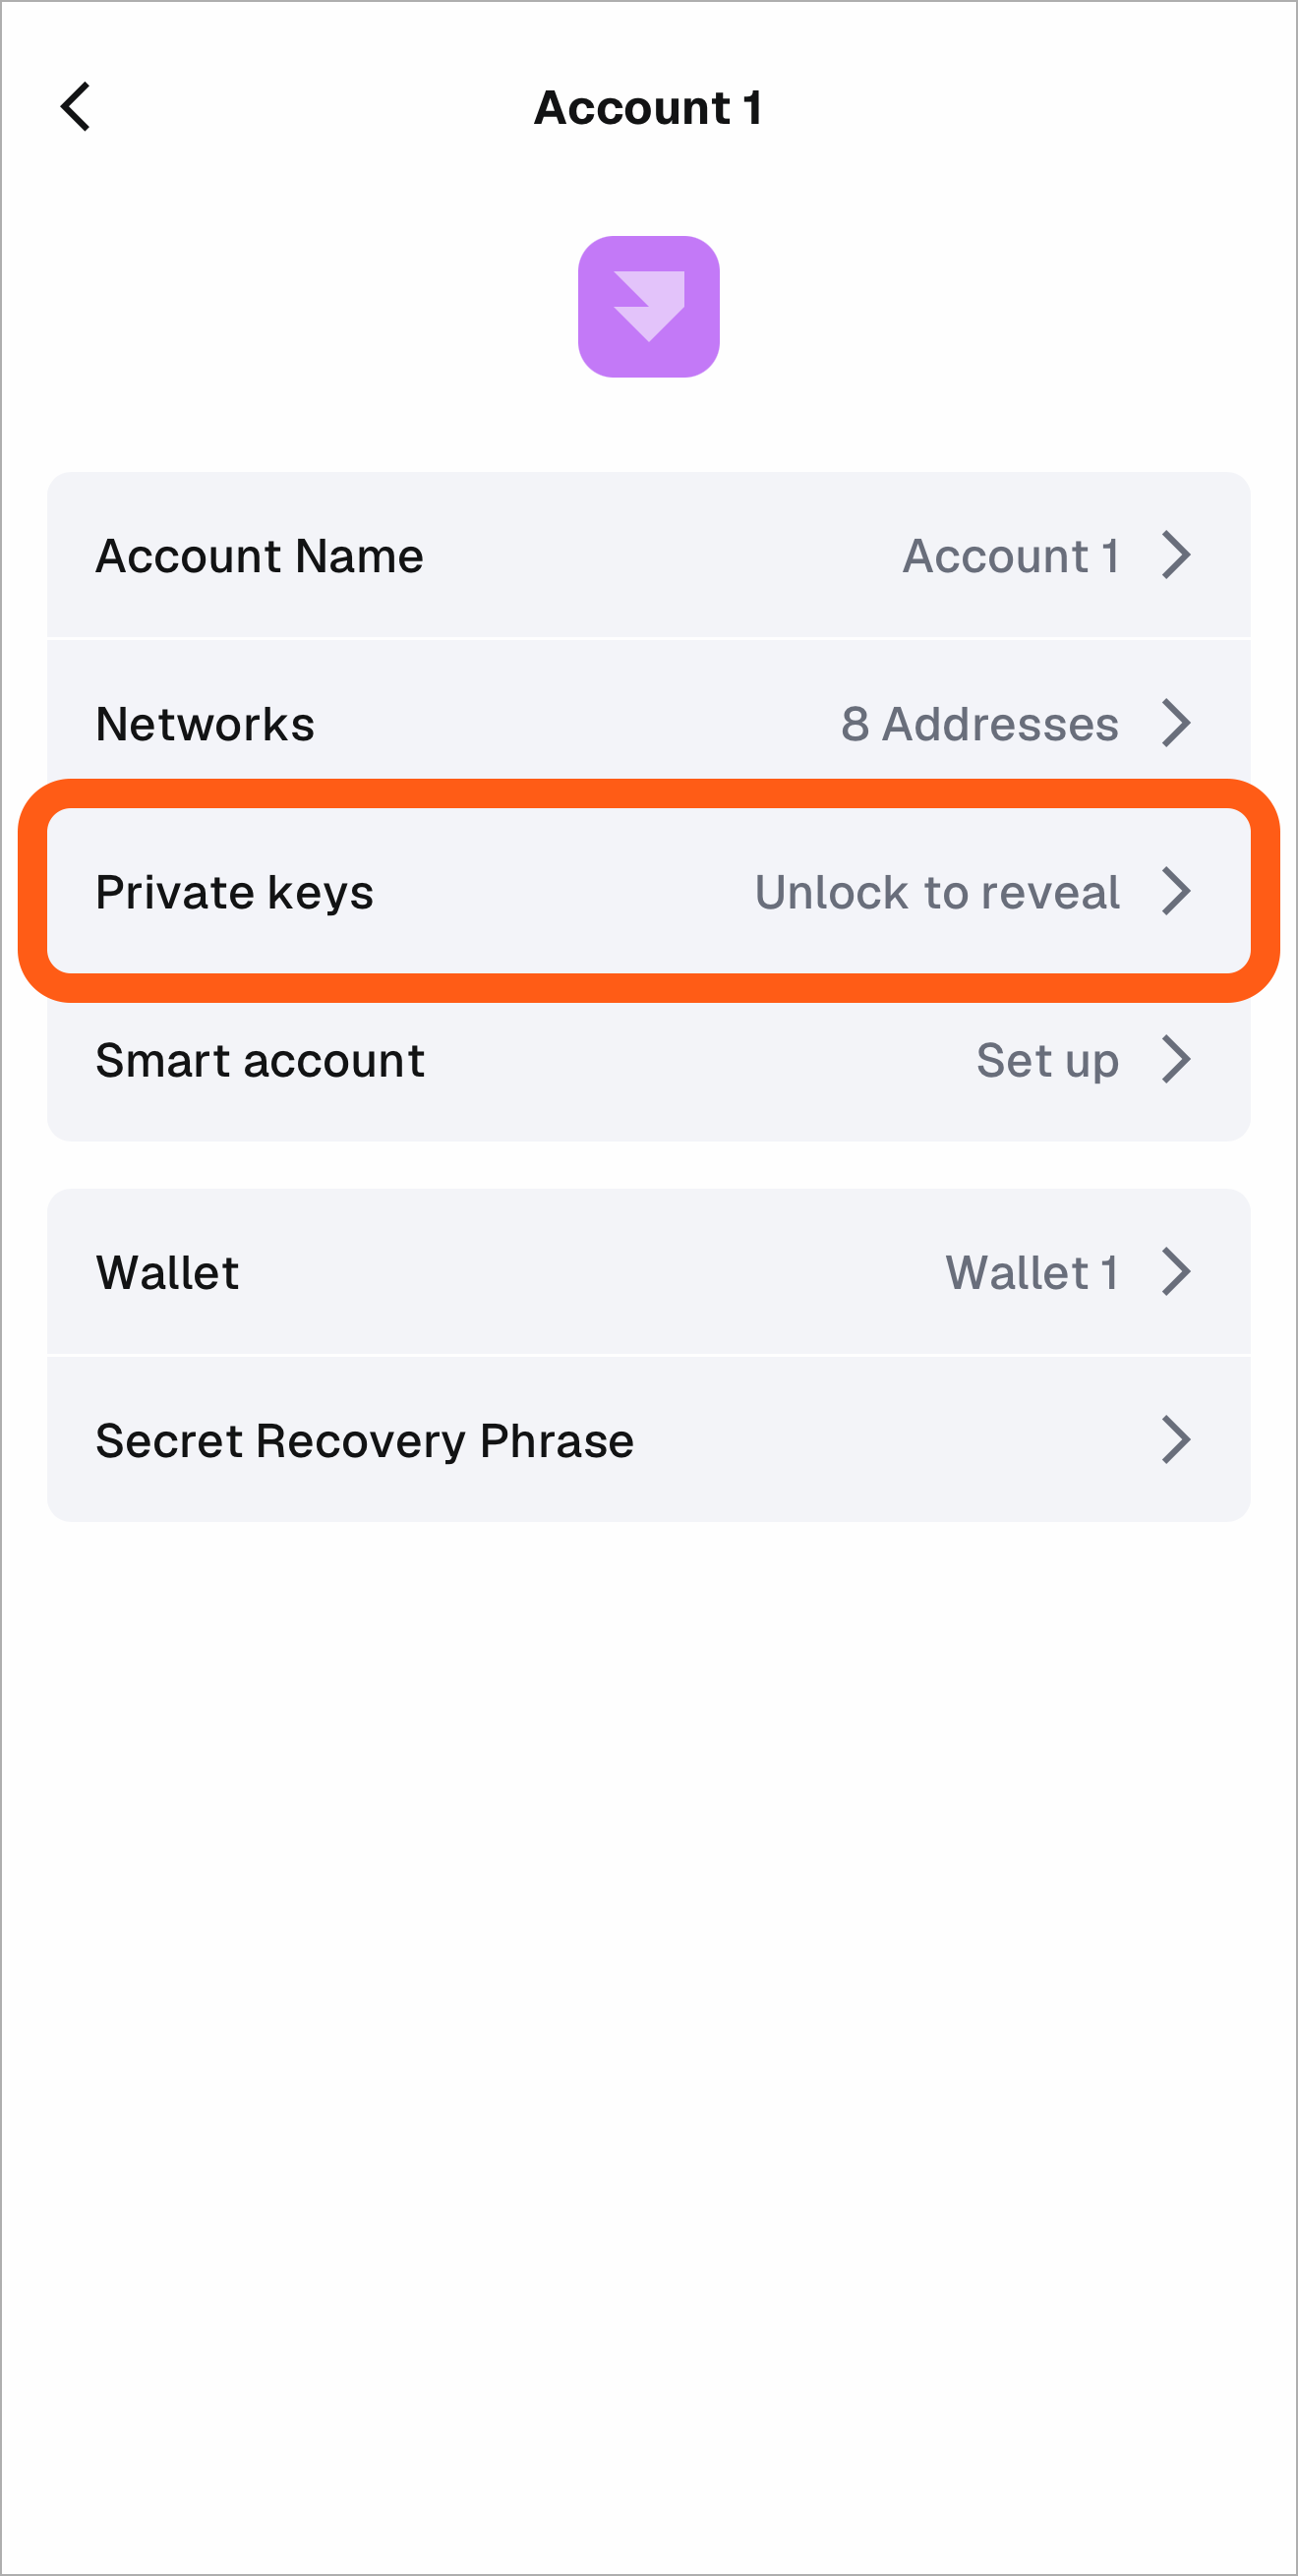
3. Enter your MetaMask password to confirm.
4. Tap the icon next to the desired network to copy your private key.
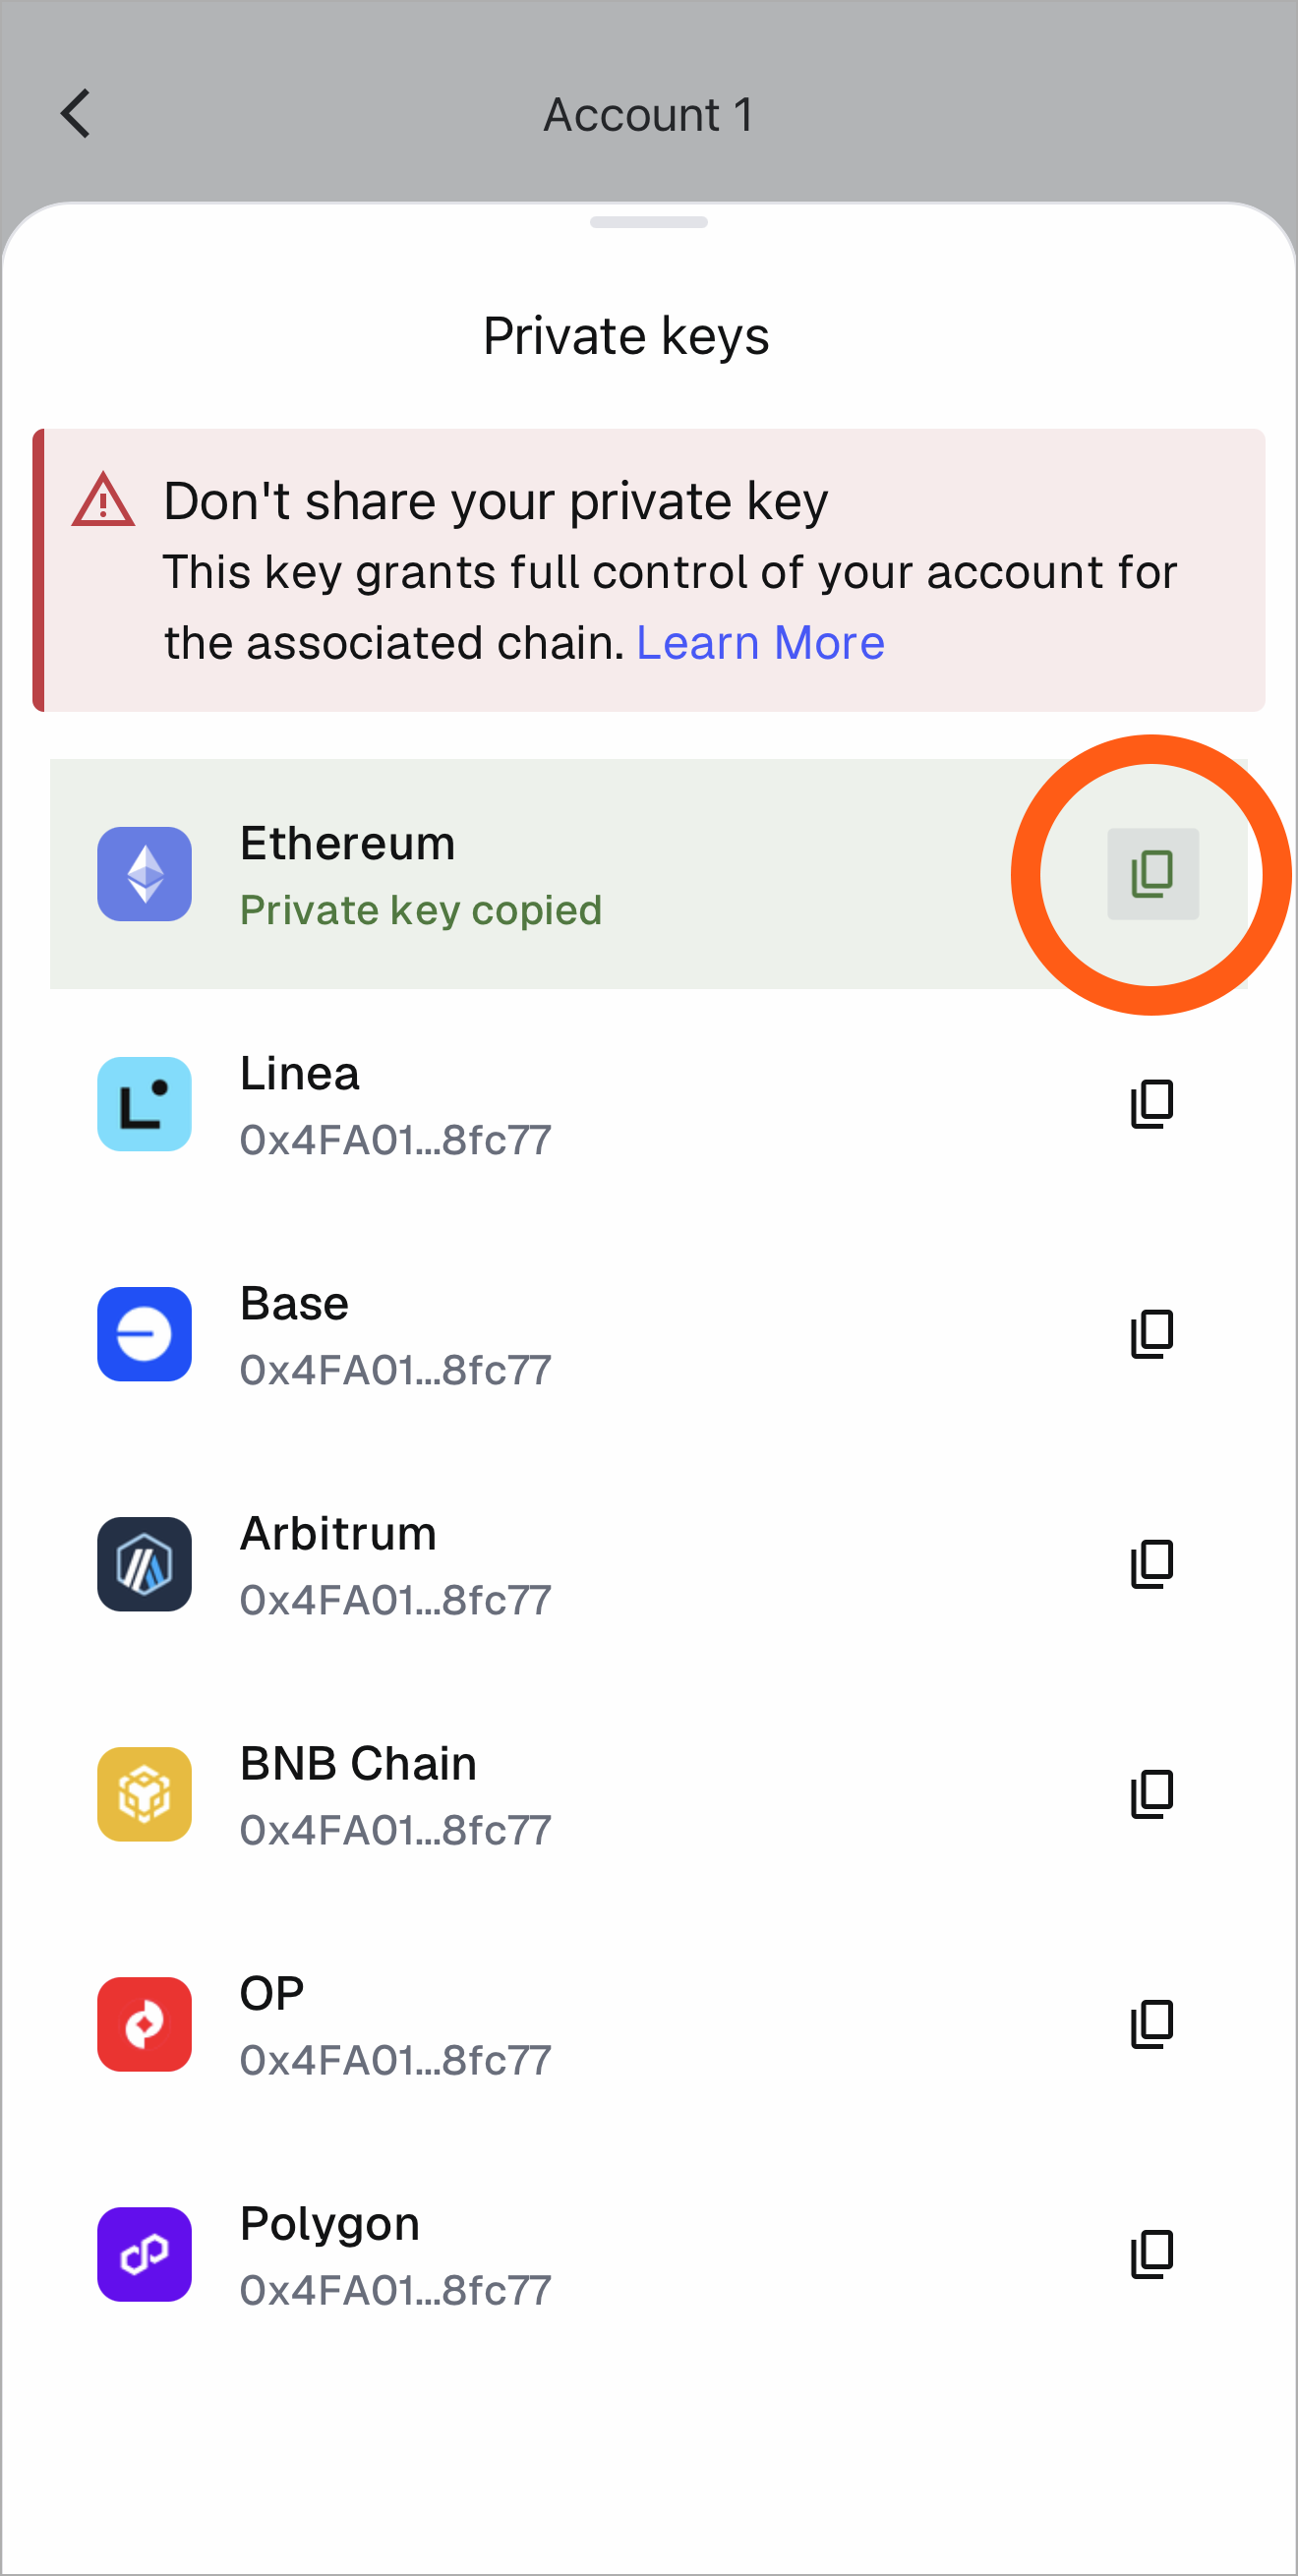
**Never share this key with anyone; if they have it, your account is compromised.**
---
# How to remove an account from your MetaMask
URL: https://support.metamask.io/configure/accounts/how-to-remove-an-account-from-your-metamask-wallet/
> Learn how to hide created accounts or remove certain accounts from your wallet.
This guide shows you how to hide or remove an account from your MetaMask wallet.
- **Hide (Extension only)**: Any account you've added to MetaMask can easily be [hidden](#hide-an-account) from your account selector menu, allowing you to view the accounts that are most important to you more easily.
- **Remove**: Depending on the account type *(usually some imported accounts and hardware wallets)*, you may also be able to [remove accounts](#remove-an-account) from your MetaMask instance altogether. TL;DR: You can only remove accounts if you see the 'Remove account' option in the account selector menu. Otherwise, you can only hide them.
## Hide an account {#hide-an-account}
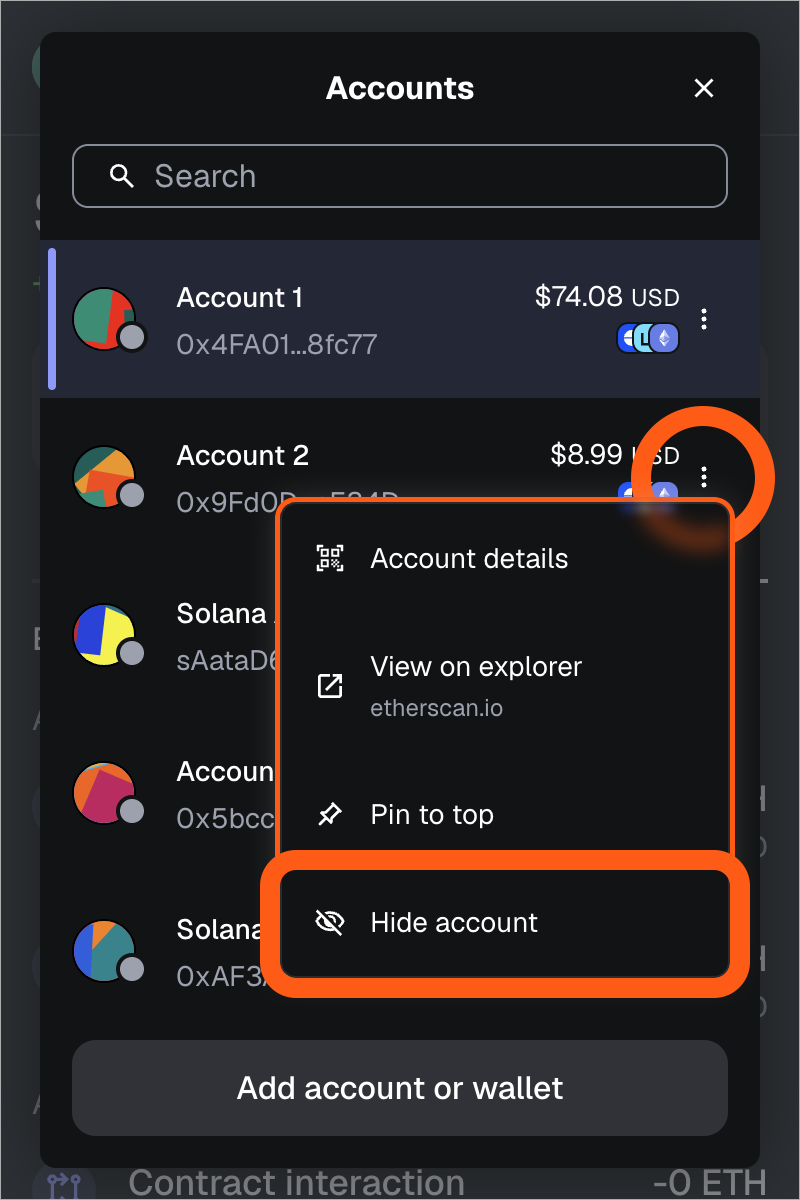
Hiding an account is easy; click on the three vertical dots menu to the right of your account, and click 'Hide account'. Currently available on the Extension only.
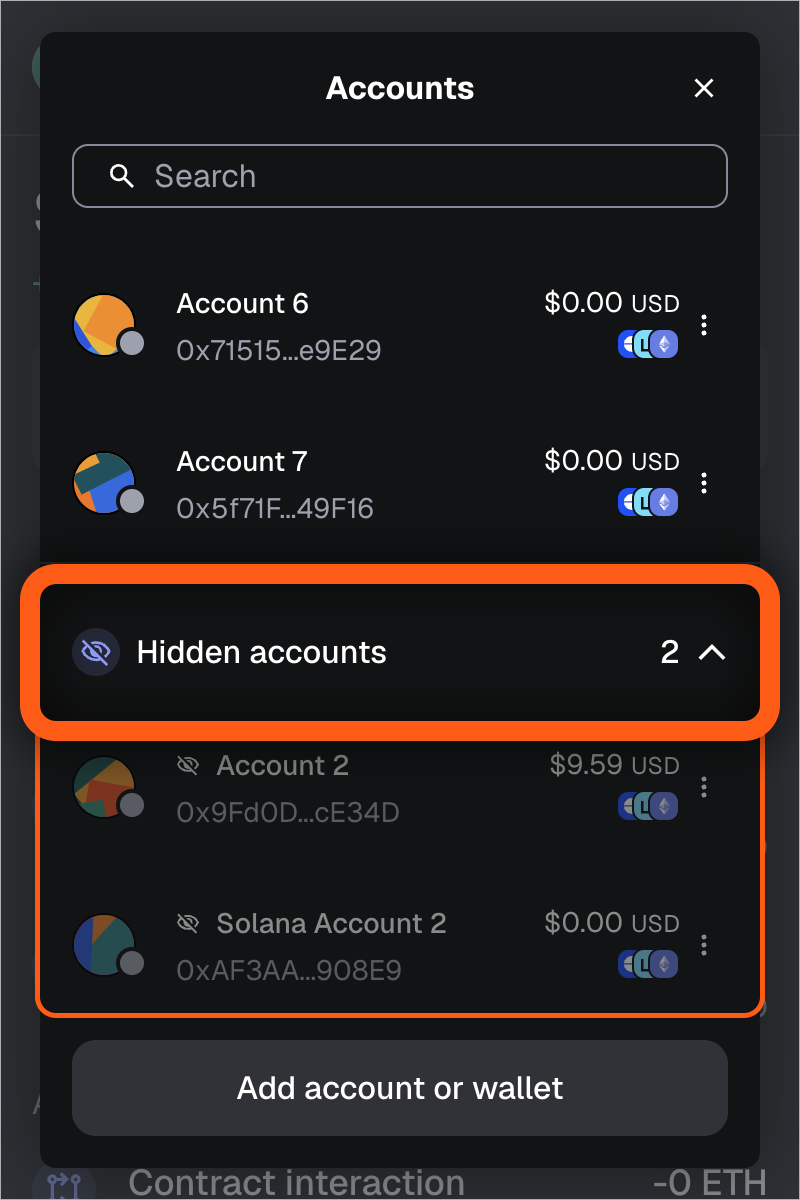
You can also easily unhide accounts so they show up in the main accounts list again. In the account selector menu, click 'Hidden accounts' to reveal the accounts you've hidden. Then, click the three vertical dots menu to the right of the account you wish to unhide, and click 'Show account'.
## Remove an account {#remove-an-account}
:::info[How do I remove created accounts?]
It is not possible to remove created accounts (additional accounts derived from your SRP), as your address remains permanently on the blockchain. You can "hide" any accounts you don't wish to see anymore by following the steps above.
**You can only remove imported accounts** and external accounts that you imported with a private key or JSON file (such as a hardware wallet) if on an SRP-only wallet; if you created your wallet using a Google/Apple/Telegram account, you can only hide accounts, not remove them as they will be forever linked to your Google/Apple/Telegram account.
On Mobile, only hardware wallet accounts can be removed. Accounts you imported using a private key cannot be removed on Mobile.
:::
Accounts you've added using the '[Add account](/configure/accounts/how-to-add-accounts-in-your-wallet)' button in MetaMask cannot be removed. See below for more information, or consider hiding them for a potential workaround.
Navigate to your accounts by clicking the account selector at the top of the screen. Here you will see any accounts you've imported like 'Hardware wallets' and 'Private keys'.
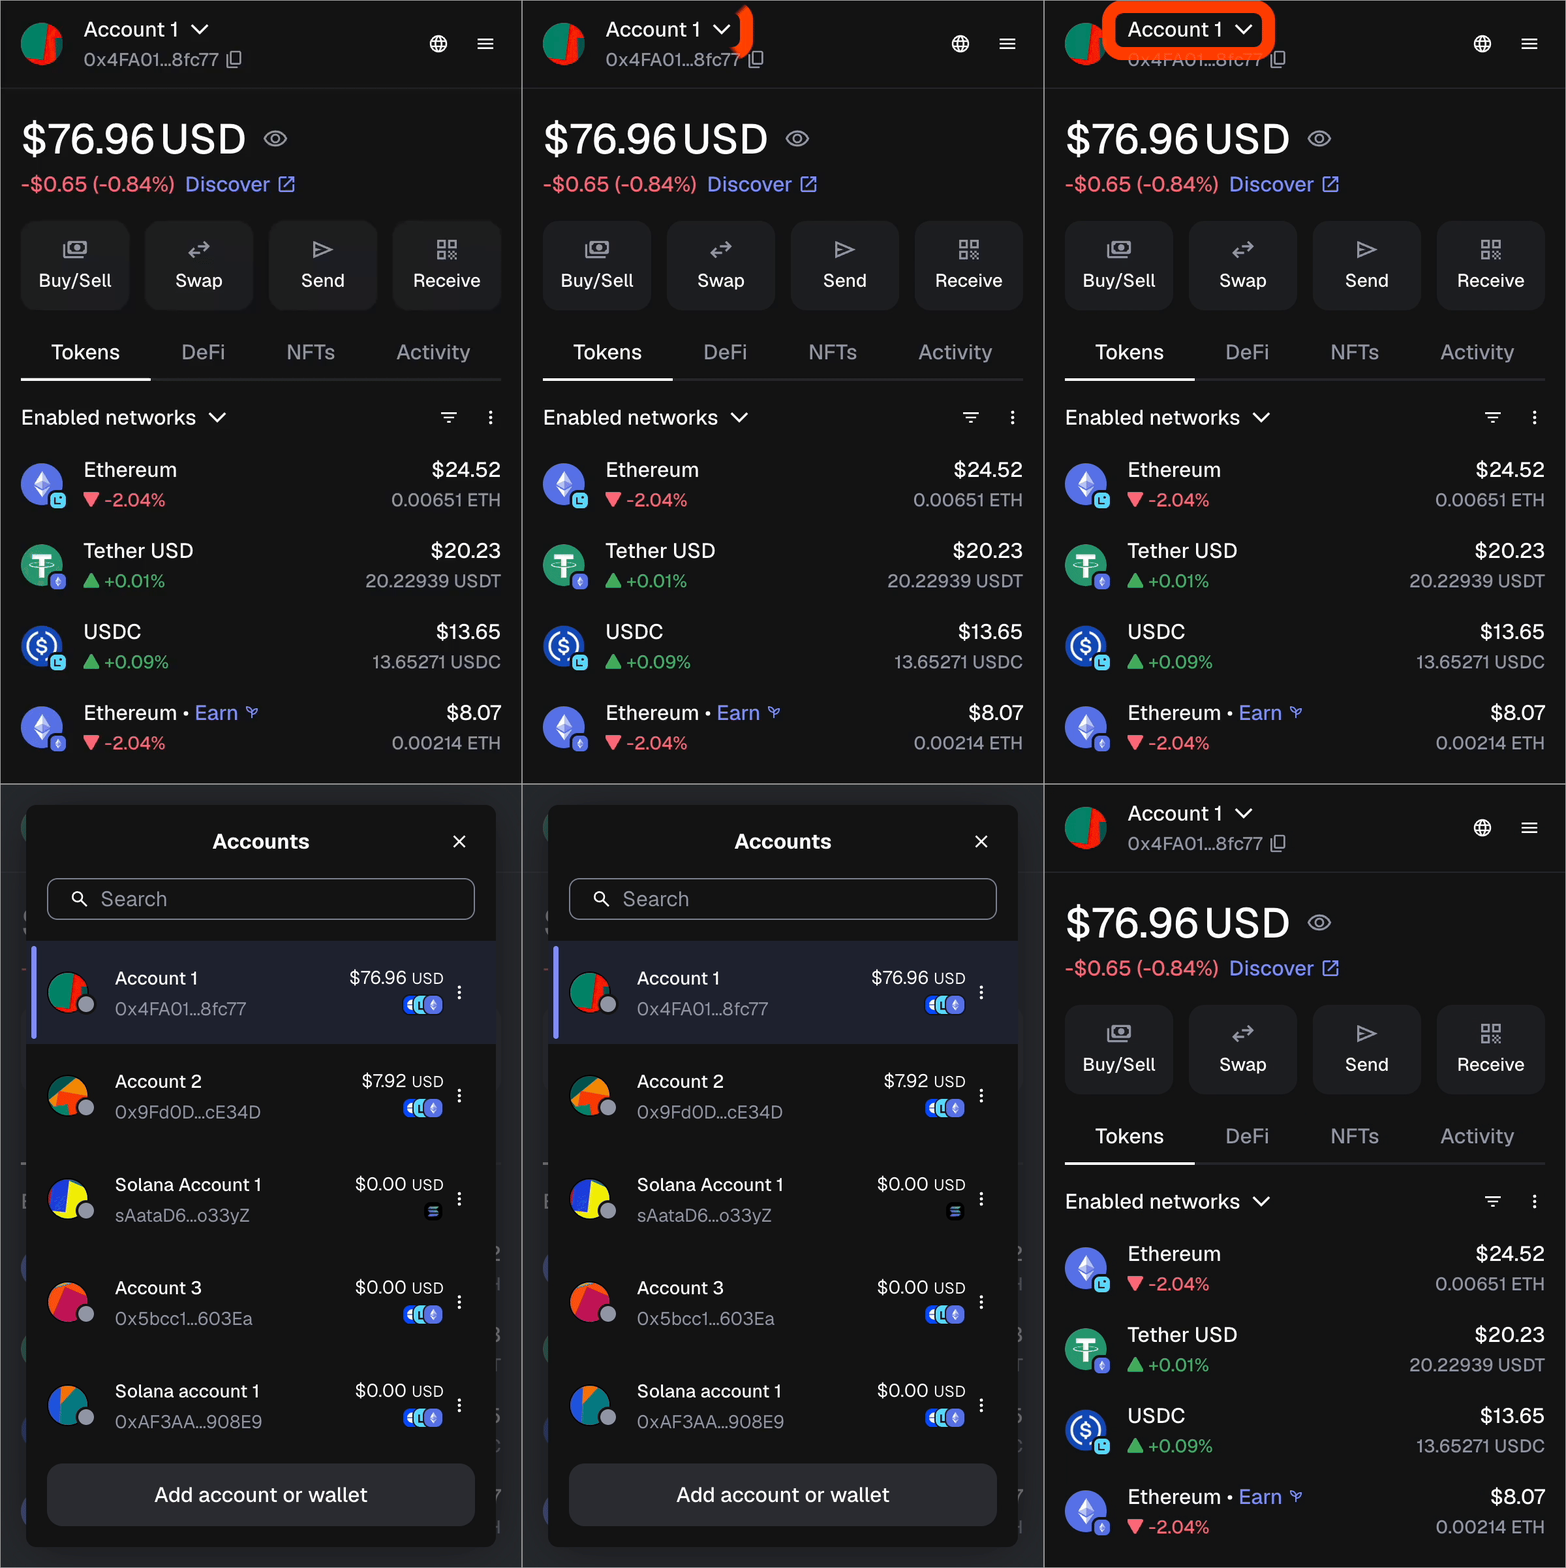
In the account selector dropdown, click on the three vertical dots menu to the right of the imported account. This will open the menu where you can click 'Account details' > 'Remove account'.
On Mobile, only hardware wallet accounts can be removed. Accounts imported via private key, and accounts derived from your Secret Recovery Phrase, cannot be removed or hidden on Mobile. **To remove or hide these, use the Extension.**
To remove a hardware wallet account on Mobile:
1. In wallet view, tap on your account name to bring up the account selector screen.
2. In the dropdown, tap on the three vertical dots to the right of the account.
3. Tap 'Account details' > 'Remove account'.
---
# What are multichain accounts in MetaMask?
URL: https://support.metamask.io/configure/accounts/multichain-accounts/
> Explore how MetaMask supports multichain accounts across Ethereum, Bitcoin, Solana and more.
MetaMask accounts are evolving from **(1 account = 1 address)** to **(1 account = multiple addresses)** to facilitate an easier multichain experience. This makes it easier to manage your assets across networks.
:::info
You don’t have to do anything—this is automatic with upcoming versions of MetaMask Mobile v 7.57 and Extension v 13.5. **Your funds remain safe and unchanged.**
:::
## Why the change? {#why-the-change}
MetaMask started as the Ethereum-only wallet. Over time we added:
- Native support for Ethereum L2s *(Arbitrum, Base, Linea etc.)* and other EVM networks.
- [Snaps](/configure/snaps/getting-started-with-metamask-snaps/) to extend the wallet and connect to non-EVM networks.
Now, thanks to improvements in our architecture, MetaMask can **natively support non-EVM networks** like [Solana](/configure/networks/navigating-solana) and [Bitcoin](/configure/networks/bitcoin).
The single address per account structure worked when your `0x…` address was usable across all EVM chains, but non-EVM chains use different formats. Instead of needing 3 separate accounts *(e.g. Account 1, Solana account 1, Bitcoin account 1)*, you will just need **one account to navigate all these ecosystems.**
## What's the difference between a wallet, account, and address now? {#what-s-the-difference-between-a-wallet-account-and-address-now}
- **Wallet**: A wallet is a cluster of accounts governed by a source of keys: an SRP, imported private key, or a snap. If you have multiple SRPs in your MetaMask, you have multiple wallets.
- **Account**: An account is a collection of addresses from different networks within a wallet.
- **Address**: An address is a unique identifier on a network, derived from a public-private key pair. This is what you use to send and receive tokens on a specific network.
## What are multichain accounts? {#what-are-multichain-accounts}
A multichain account **houses multiple addresses across networks.** It will be the default account in MetaMask from now on.
- Before, each account had one address (Ethereum and Solana required separate accounts)
- Now, “Account 1” will hold multiple addresses each mapped to a different default network *(Ethereum, Solana, Bitcoin, and more)*
This means fewer accounts to manage, less switching back and forth, and easier cross-network activities.
## What about existing accounts? {#what-about-existing-accounts}
**All your original addresses are accessible.** Each multichain account contains one EVM address, one Solana address, and one Bitcoin address. If they’re uneven—more EVM addresses than Solana and vice versa—new addresses are created to match them evenly.
- If you never created a non-EVM account like Solana before, nothing changes. **Your EVM address across Ethereum, L2s, and sidechains will keep the account and name it was tied to** and you will automatically have a new Solana address you can choose to use or ignore.
- If you did create Solana accounts in the past, they’ll be **“matched up” with an EVM address chronologically and auto-adopt the EVM account name.** *E.g. your first Solana account would be grouped as an address into Account 1, your second Account 2, etc.*
- If you do have more Solana accounts than EVM accounts, new EVM addresses will be created to **"match up" and auto-adopt the Solana account name.**
## What this means for you {#what-this-means-for-you}
This update should make your experience easier as you have fewer accounts to manage, less required switching, and more flexibility.
**No migration is needed on your part, your funds remain safe and unchanged.** The update is automatic across MetaMask Mobile v 7.57 and MetaMask Extension v 13.5.
Familiarize yourself with the new UX:
- **[Copying address](/configure/wallet/how-to-copy-your-metamask-account-public-address-):** Tap the “copy” icon on the mobile homepage or click "network addresses" under the account name in extension to choose from the list of addresses (Ethereum and Solana).
- **[Sending and receiving crypto](/manage-crypto/move-crypto/send/how-to-send-tokens-from-your-metamask-wallet/#steps):** Select the token first; MetaMask automatically uses the correct address.
- **[Connecting to dapps](/more-web3/dapps/connecting-to-a-dapp/):** Select the account; the correct address is connected.
## Questions? {#questions}
How does this affect hardware accounts?
Solana isn't supported on hardware wallets yet, so your hardware accounts will remain EVM-only.
What is BIP-44??
BIP-44 is a standard derivation path that defines how wallets generate and organize accounts from a single recovery phrase. It can be used across different networks, so your EVM, Solana, and Bitcoin addresses can follow the same structure and stay in sync under one wallet.
How are older accounts grouped?
Each account will pair one EVM address with one Solana address. If they're uneven, new addresses will be created to match them evenly:
- If you have more EVM addresses than Solana addresses, new Solana addresses will be created to match them evenly.
- If you have more Solana addresses than EVM addresses, new EVM addresses will be created to match them evenly.
When addresses are paired, they will auto-adopt the previous EVM-only account name, unless you had more Solana accounts than EVM accounts, in which case the new account will be named after the previous Solana account.
How do I import an existing wallet or account?
You can import an existing wallet or account through SRP or private key. Learn more [here](/start/use-an-existing-wallet/#import-an-existing-wallet). **Private key import is not available for Bitcoin and Solana addresses yet.**
Where can I find my addresses?
You can find your addresses by tapping the "copy" icon on the mobile homepage or clicking the "network addresses" box on the extension homepage under the account name.
You can also find addresses in "Account details".
Why do I have fewer accounts now?
Since addresses are paired up, your new account will combine previously separate addresses into one. **All addresses you ever created will still be accessible.**
Do you delete any addresses?
No, we don't delete any addresses, only create new ones if needed to match accounts evenly. **All addresses you ever created will still be accessible.**
---
# My Secret Recovery Phrase or private key restored the wrong account
URL: https://support.metamask.io/configure/accounts/my-secret-recovery-phrase-private-key-restored-the-wrong-accounts/
> Here are some common reasons for why your SRP might restore the wrong account(s).
:::info[note]
- For basic information on your Secret Recovery Phrase in MetaMask, see our user guide [here](/start/user-guide-secret-recovery-phrase-password-and-private-keys).
:::
Assuming you are using the correct Secret Recovery Phrase (which can restore multiple accounts) or private key (which can restore only one account when [imported](/start/use-an-existing-wallet)), **it is impossible to restore the wrong account(s)**.
Check to see if any of the following apply to you:
If you are encountering this problem, the most common reasons are:
1. **The Secret Recovery Phrase (SRP) you currently have is not the one that restores the account you are looking for.** In other words: you have the wrong SRP.
2. **You created your MetaMask using your Google, Apple, or Telegram account, and the missing account is from a different SRP.**
Your MetaMask may have had multiple SRPs, and you may have accidentally imported the wrong SRP. If you have connected your Google, Apple, or Telegram account to MetaMask, you can access all associated accounts by using your Google, Apple, or Telegram account and password to unlock MetaMask. If you cannot access your Google, Apple, or Telegram account, or forgot your password, you will need to import each SRP individually.
3. **The account you are missing was an additional account created under the SRP you currently have.**
To check if that is the case, use [https://danfinlay.github.io/mnemonic-account-generator/](https://danfinlay.github.io/mnemonic-account-generator-2/) to generate 10 to 100 accounts and check if the missing accounts are in that list. (Bear in mind that the generator will produce account addresses _without_ the 0x at the start, so copying an address from elsewhere that _does_ have the 0x prefix will produce no matches.)
If the account you're looking for is an additional account, you can recreate it in MetaMask by following the instructions [here](/configure/accounts/how-to-add-missing-accounts-after-restoring-with-secret-recovery-phrase).
4. **The SRP you have was originally generated by a different wallet provider.**
If you think this could be the case, try restoring your account using that wallet to check if you get access to the missing account.
5. **The missing account was imported using a private key.**
This is what is known as an [imported account](/start/use-an-existing-wallet/#import-using-a-private-key). In this case, the only way to access the account is to reimport it using the private key.
6. **The SRP was written down wrong or is being entered incorrectly when restoring.**
One frequent problem is poor handwriting when writing down the SRP; another is writing the words in the _wrong order_. The words must be in the order in which they were originally presented.
7. **The SRP is actually restoring the account, but what is missing is the custom tokens that need to be re-added.**
You can follow the steps [here](/manage-crypto/tokens/how-to-display-tokens-in-metamask) to re-add them.
---
# How to reconcile and keep track of MetaMask accounts
URL: https://support.metamask.io/configure/accounts/reconciling-and-keeping-track-of-your-accounts/
> Learn how to stay organized and keep track of your MetaMask accounts using block explorer balance checkers.
Many users find it useful to perform a manual analysis of their accounts, checking to make sure the transactions align with what they intended.
It can be useful to see how much you spent on gas fees, how your balances rose and fell over time, etc. In accounting, **this is referred to as 'reconciliation'**.
MetaMask doesn't yet have this feature built-in. Instead, given the nature of blockchain technology, it's transparently available on blockchain explorers, such as [Etherscan](https://etherscan.io/) or [BscScan](https://bscscan.com/) (as most block explorers are very similar under the hood, this method also applies to those of other EVM-compatible chains, such as Avalanche's Snowtrace).
## Method 1: Block explorer balance checkers {#method-1-block-explorer-balance-checkers}
Both these platforms have a built-in balance checker (click for the [Etherscan version](https://etherscan.io/balancecheck-tool), or the [BscScan version](https://bscscan.com/balancecheck-tool)), which allows you to request a snapshot of your account's contents at any point in the past. These services **only support checks on your ETH and BNB** balances, respectively, so will not be applicable if you're investigating other token balances. Other networks' block explorers are likely to have similar services, however.
You can narrow down the snapshot by date, or, for even more precision (down to ca. 10-15 second timeframes), by block number:
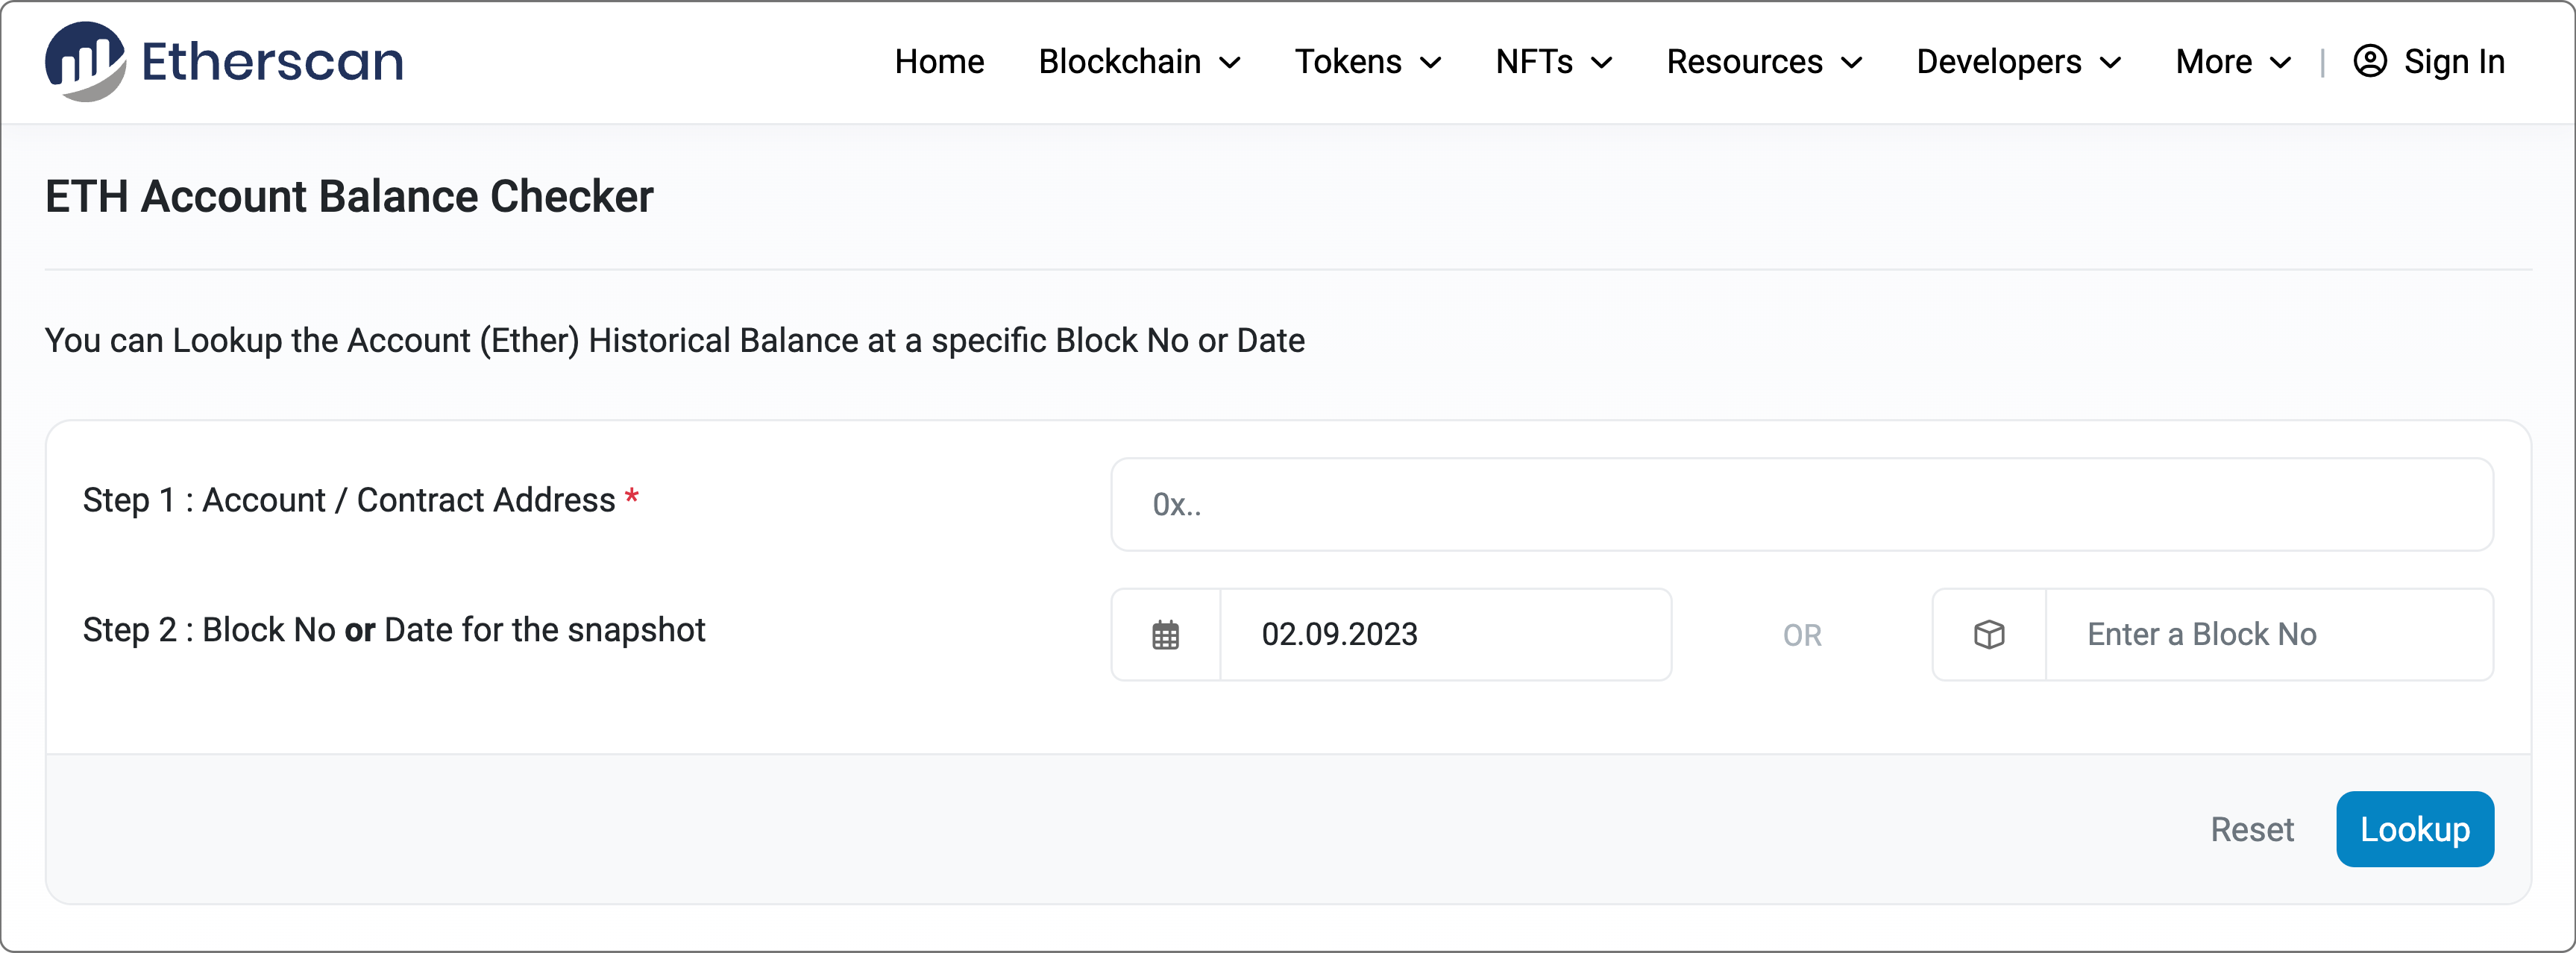
The results will look like the below — detailing the block or date, the quantity of ETH held at that time, and how that quantity compares to the current holdings in your account.
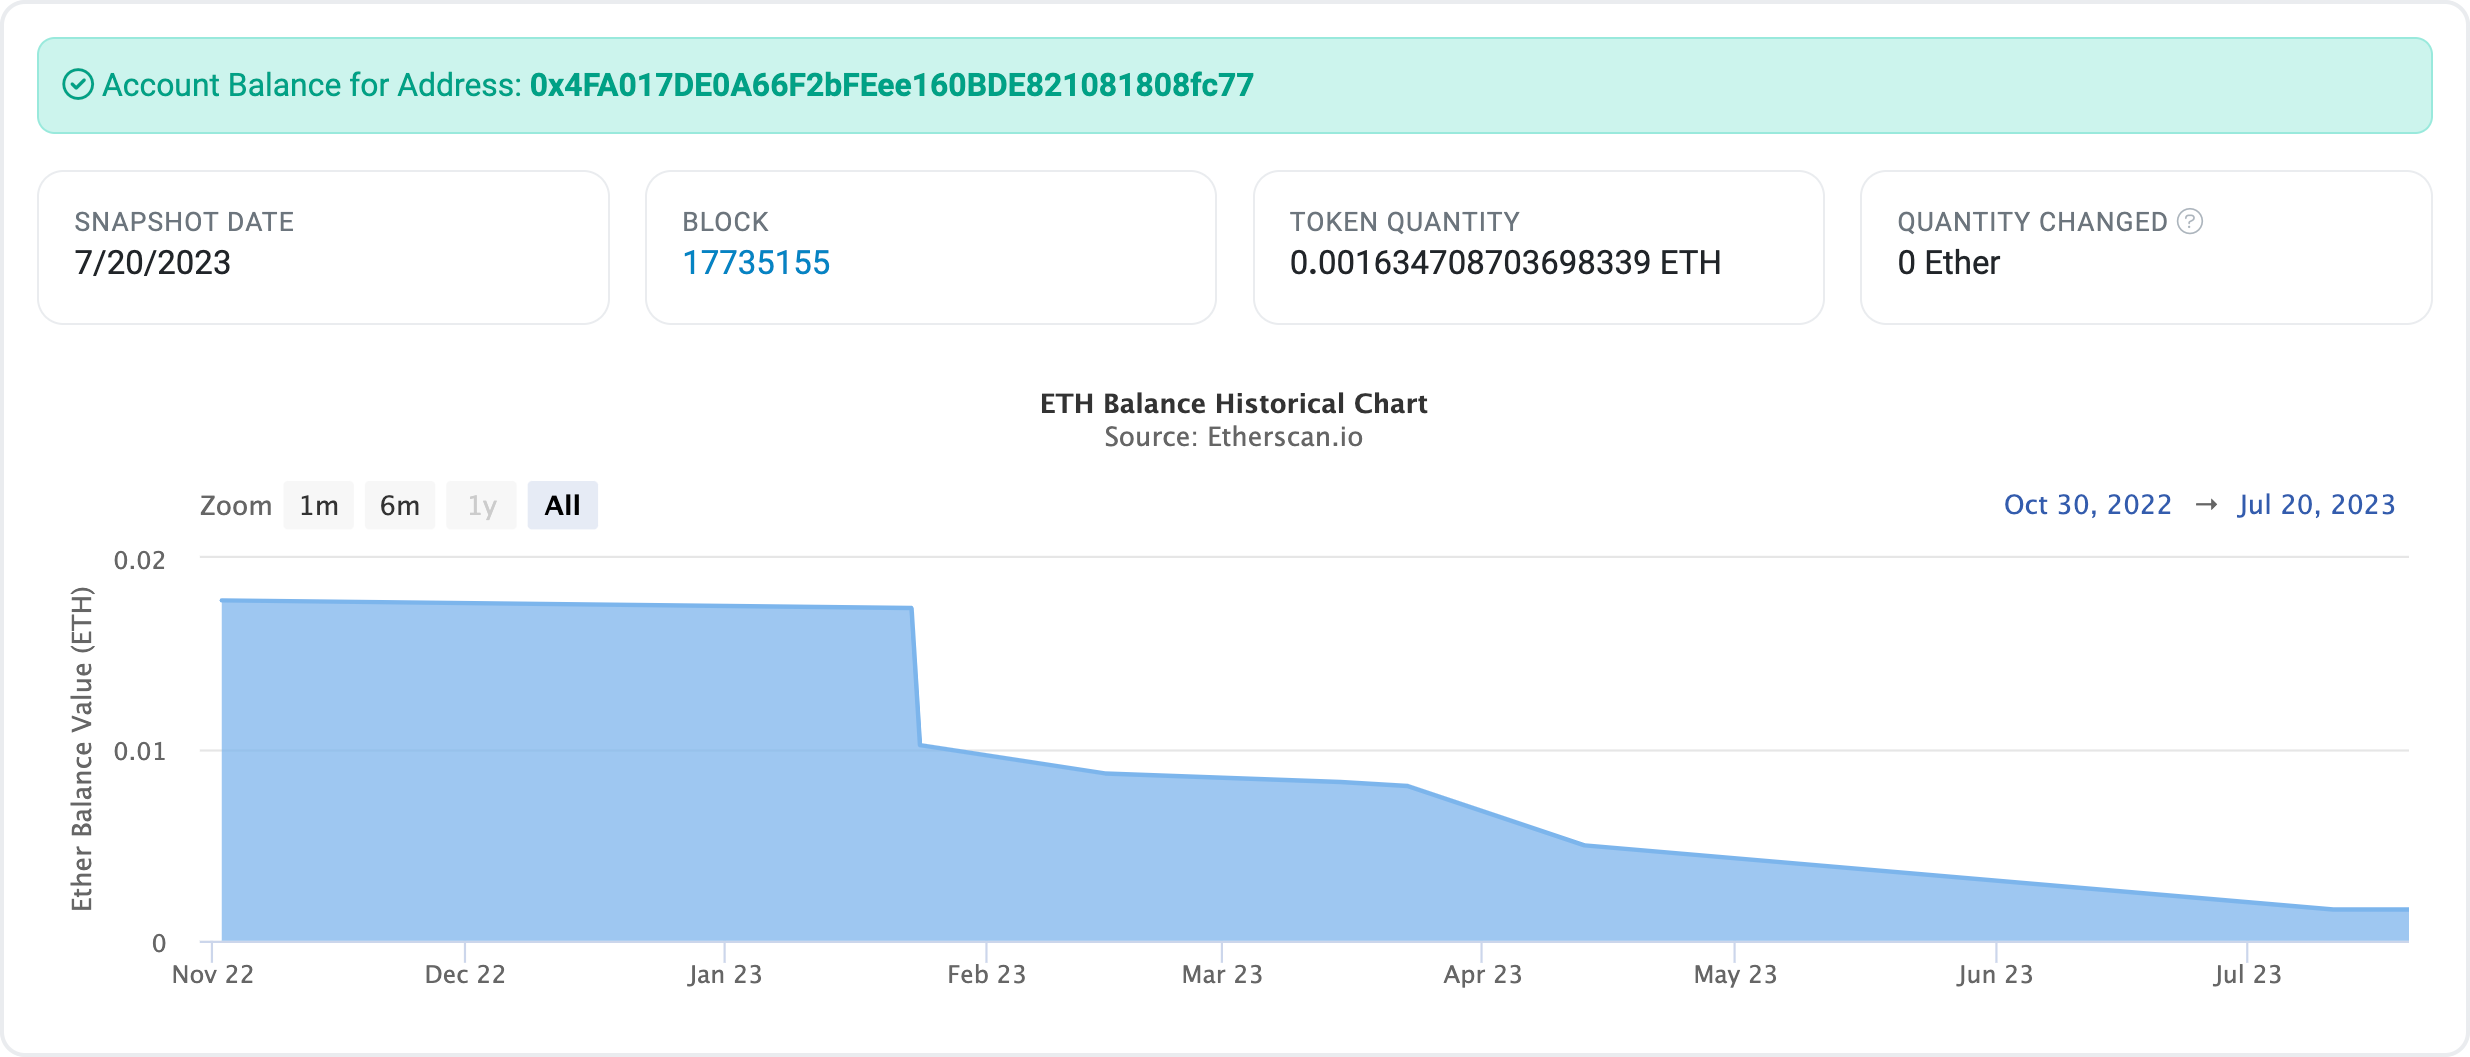
**If you need help locating the block number** you want to search, see the methods below (applicable to Ethereum, using Etherscan). Similar routes will also apply to other EVM-compatible networks, such as BSC.
Go via the account route:
1. In the MetaMask Extension, click the account dropdown arrow top open the accounts list:

2. Select the three vertical dots icon for the account you want to view on an explorer. Then, select "View on explorer":
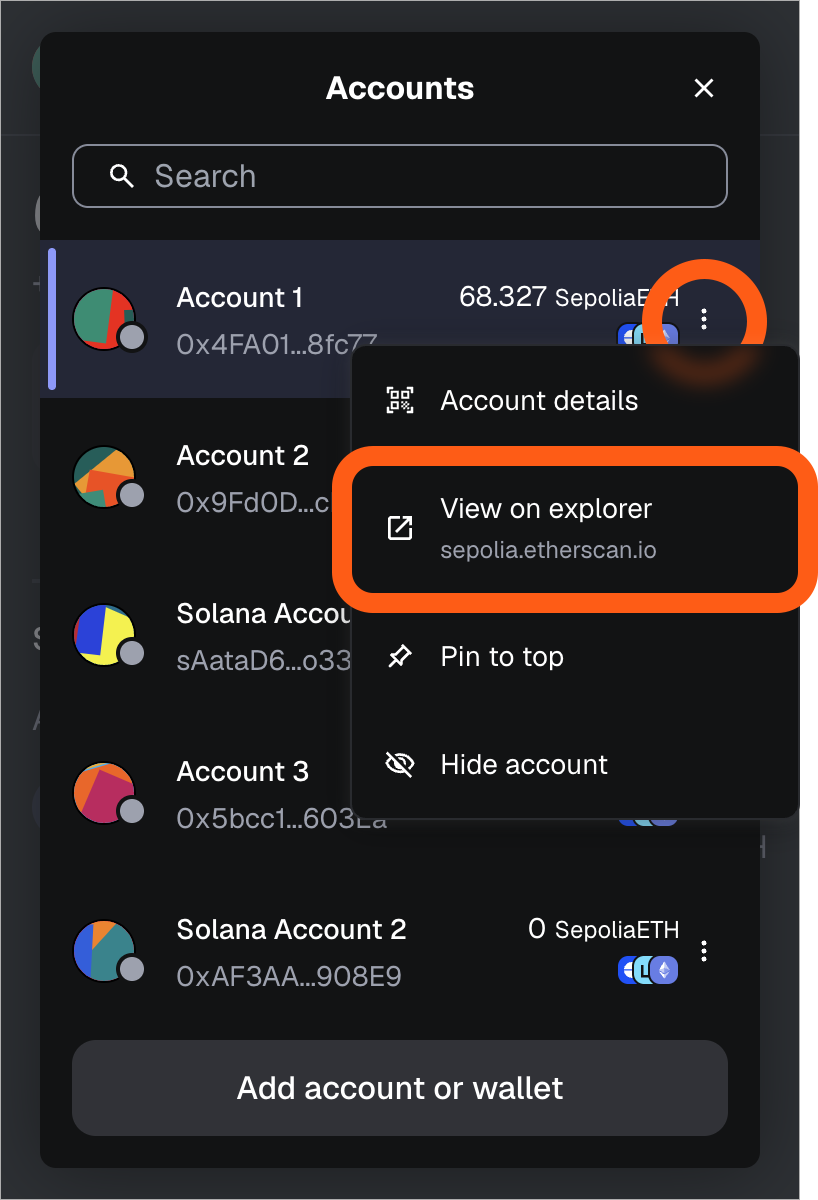
On Mobile, hit the ellipses icon on the right side of the screen next to the account address and select 'View on Etherscan':
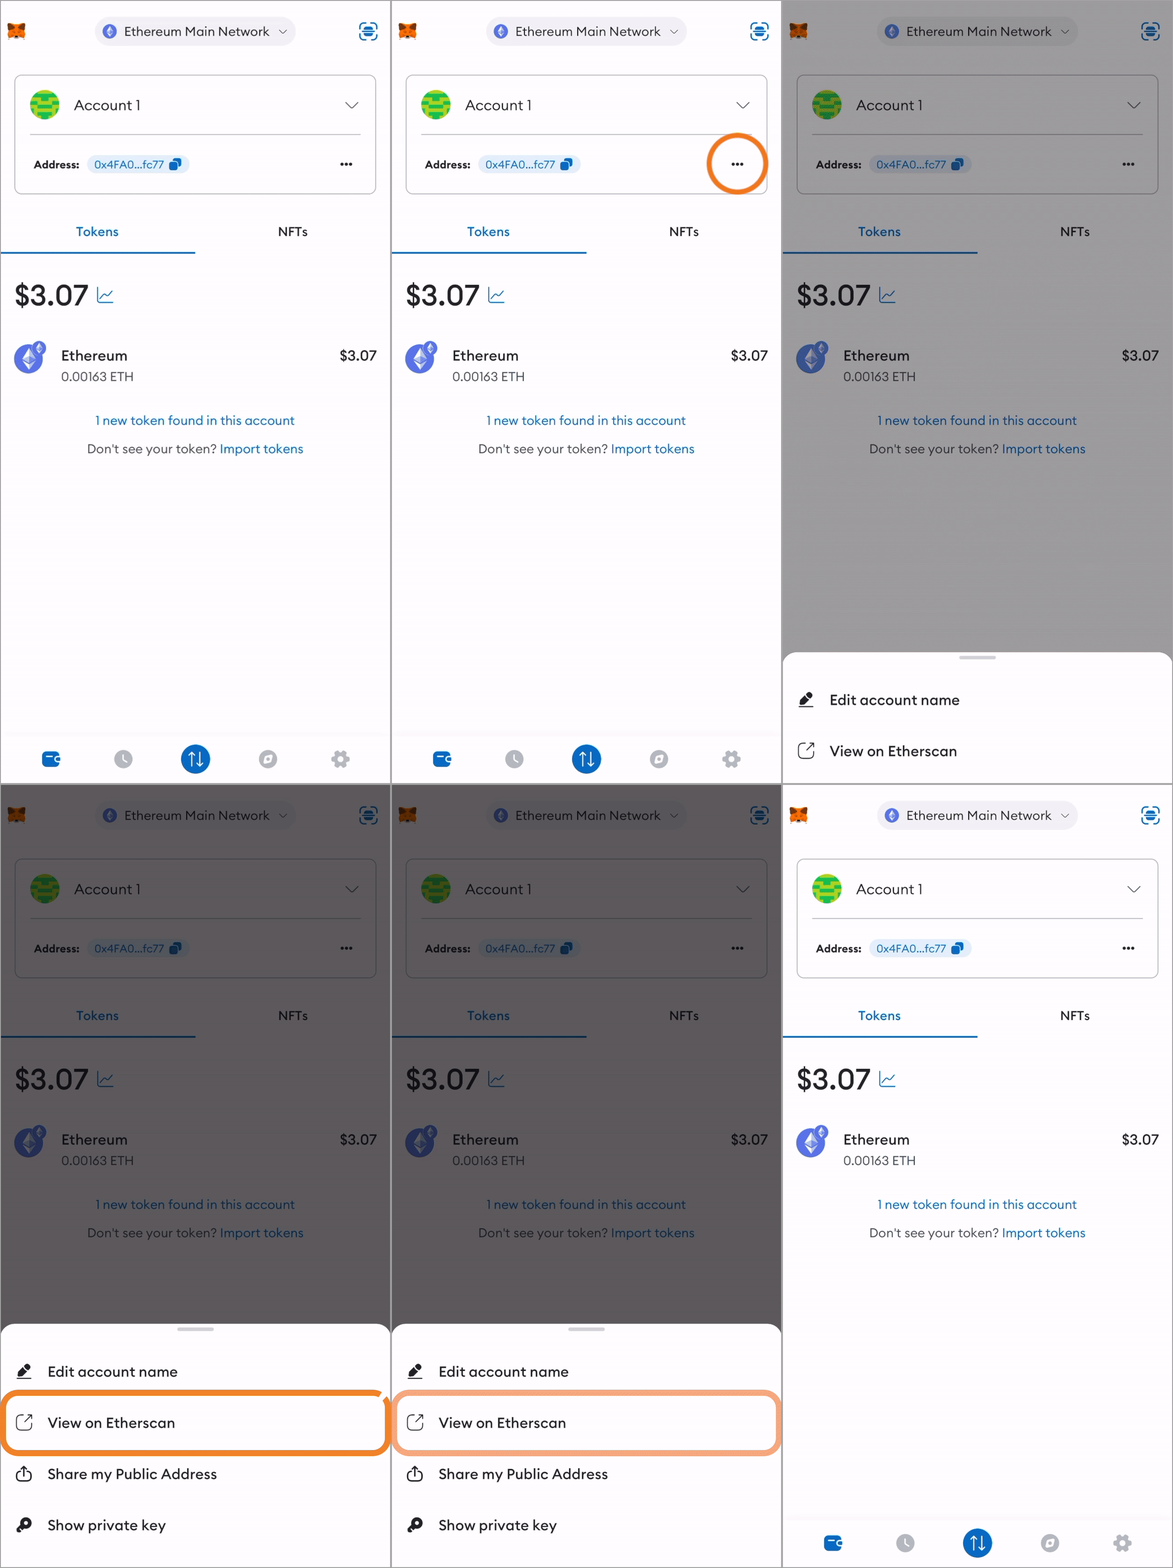
2. Find the transaction in your account's list. Its block number will be listed in the same row.
Or go via the transaction route:
1. Locate the transaction:
- Extension: Access the 'Activity' tab and click on the relevant transaction.
- Mobile: Tap the hamburger icon and either select 'Transaction History', or select the token on your account landing page to view all its transactions.
2. Click/tap on the transaction and select 'View on Etherscan' (Mobile) or 'View on block explorer' (Extension).
3. The block will be listed on the Etherscan transaction page.
## Method 2: Downloading a spreadsheet (.csv) history of your account transactions {#method-2-downloading-a-spreadsheet-csv-history-of-your-account-transactions}
(for Ethereum Mainnet)
- Navigate to [Etherscan](https://etherscan.io/) and search for your [account address](/configure/wallet/how-to-copy-your-metamask-account-public-address-).
- Scroll down to the bottom of the page, past all your transactions.
- In the lower right-hand corner, there should be a link to "Download CSV Export":
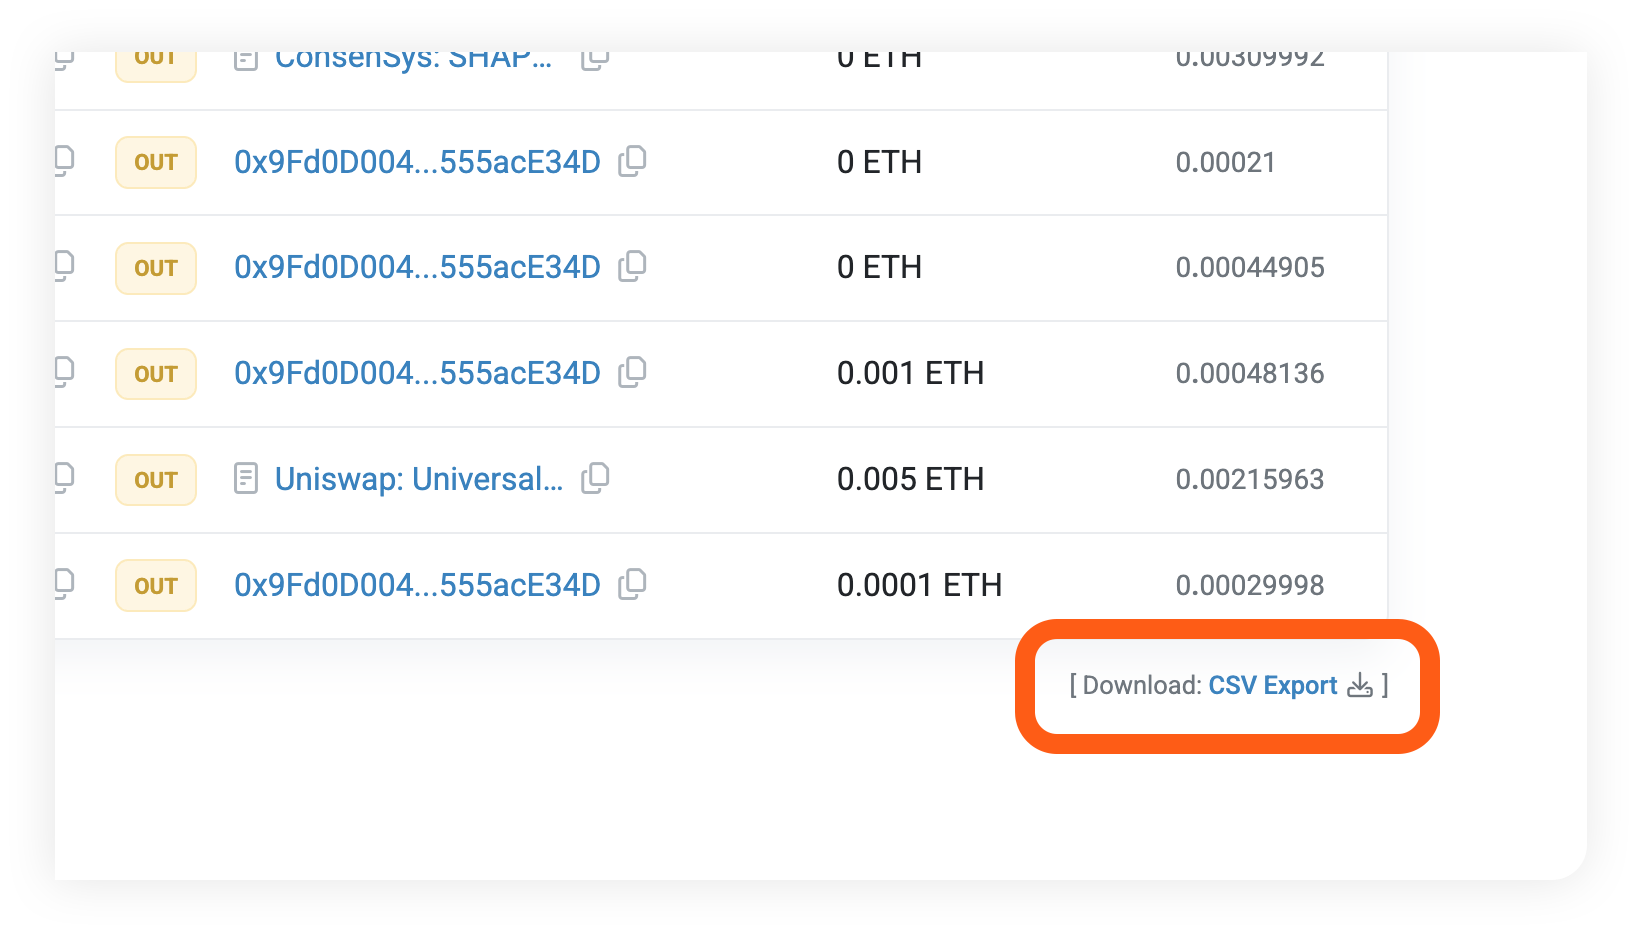
- Click on this; you should be presented with a dialogue that allows you to specify the date range you're interested in looking at:
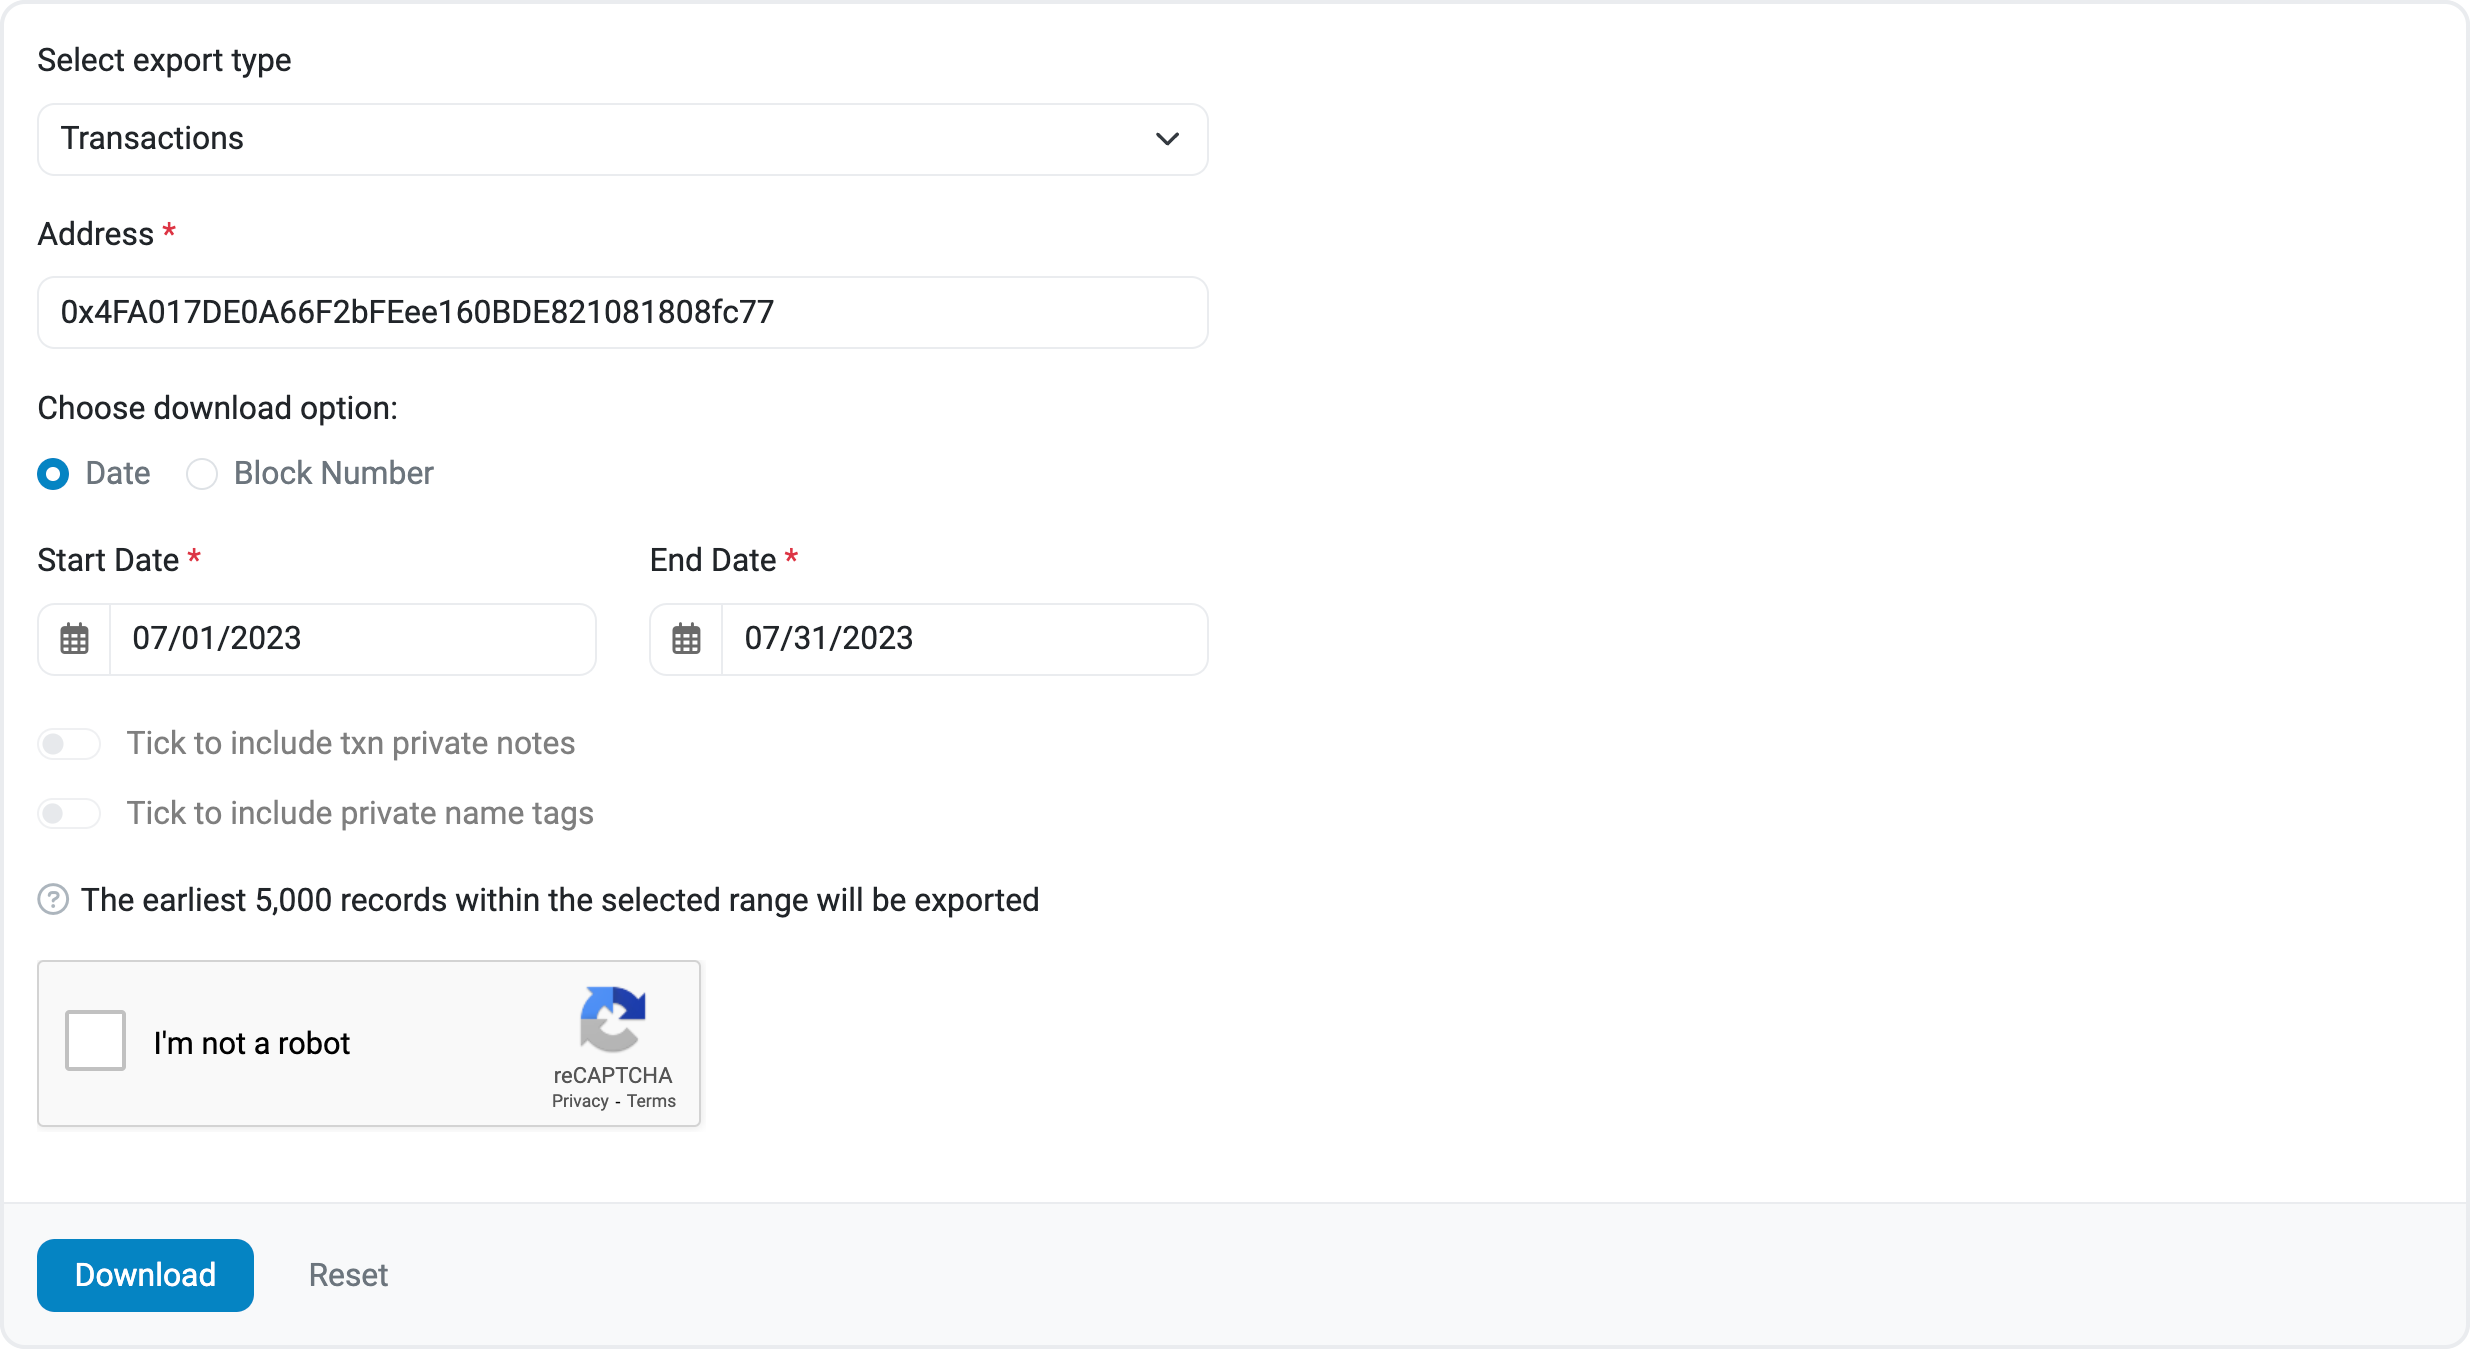
- Fill out the dates and the captcha and click 'Download'.
- You should have in your downloads location a file titled "export-" plus your account address. This file should have a complete listing of all transactions involving your wallet (except for internal transactions) for the timeframe you requested.
See also our [article regarding tax compliance](/more-web3/learn/tax-compliance-and-crypto-assets).
---
# How to reset MetaMask for stuck or pending transactions
URL: https://support.metamask.io/configure/accounts/resetting-your-account-in-the-event-of-a-stuck-or-pending-transaction/
> This is a feature that wipes your transaction history. We do not recommend you reset your account unless instructed to do so by our support team.
:::danger[Caution!]
You should only reset your account when it is suggested by a member of the MetaMask Support team.
:::
**Note**: With version Extension version 10.28.1, the name of this feature changed from "reset account" to "clear activity and nonce data." "Reset account" is still the name of the feature on MetaMask Mobile.
Occasionally, you may come across transactions that are not completed in the time you expect. This can happen for a number of reasons, such as running out of a native token to pay gas fees, or setting a low gas limit at times of high traffic, causing your transaction to become "stale".
In other cases, it is possible there are software issues with MetaMask, and it is in these cases that you may need to reset your account.
This is a feature that wipes your transaction history, including MetaMask's knowledge of any pending transactions. Due to the impact this can have on your account, please only reset your account when instructed to do so by a Support agent.
**See our [guide](/configure/accounts/how-to-clear-your-account-activity-reset-account)** for a brief run-through of how to reset your account (clear activity and nonce data), and some key considerations.
Please note you should **only reset your account if your transaction is not visible on the block explorer**. Find out how to search for your transaction [here](/more-web3/learn/how-to-check-my-wallet-activity-on-the-blockchain-explorer).
:::warning[Reset account vs reset wallet]
These are different processes that should not be confused. Resetting your account essentially clears your transaction history. Resetting your wallet returns your MetaMask to the state it was in when you first installed it and created your wallet.
:::
---
# How to switch to or revert from a smart account in MetaMask
URL: https://support.metamask.io/configure/accounts/switch-to-or-revert-from-a-smart-account/
> Learn how to switch to and from a smart account with the introduction of EIP-7702.
:::info
Smart accounts are now **auto-enabled for new users**. This feature grants you enhanced capabilities like faster transactions, lower or sponsored network fees and payment flexibility. You can manage this within account details or settings.
:::
Switching to a smart account gives your wallet more capabilities and flexibility. You can revert this change at any time.
If you want to learn more about smart accounts and what makes them possible, [read this guide](/configure/accounts/what-is-a-smart-account).
## How to switch to a MetaMask smart account {#how-to-switch-to-a-metamask-smart-account}
- Click on the account selector at the top of the screen
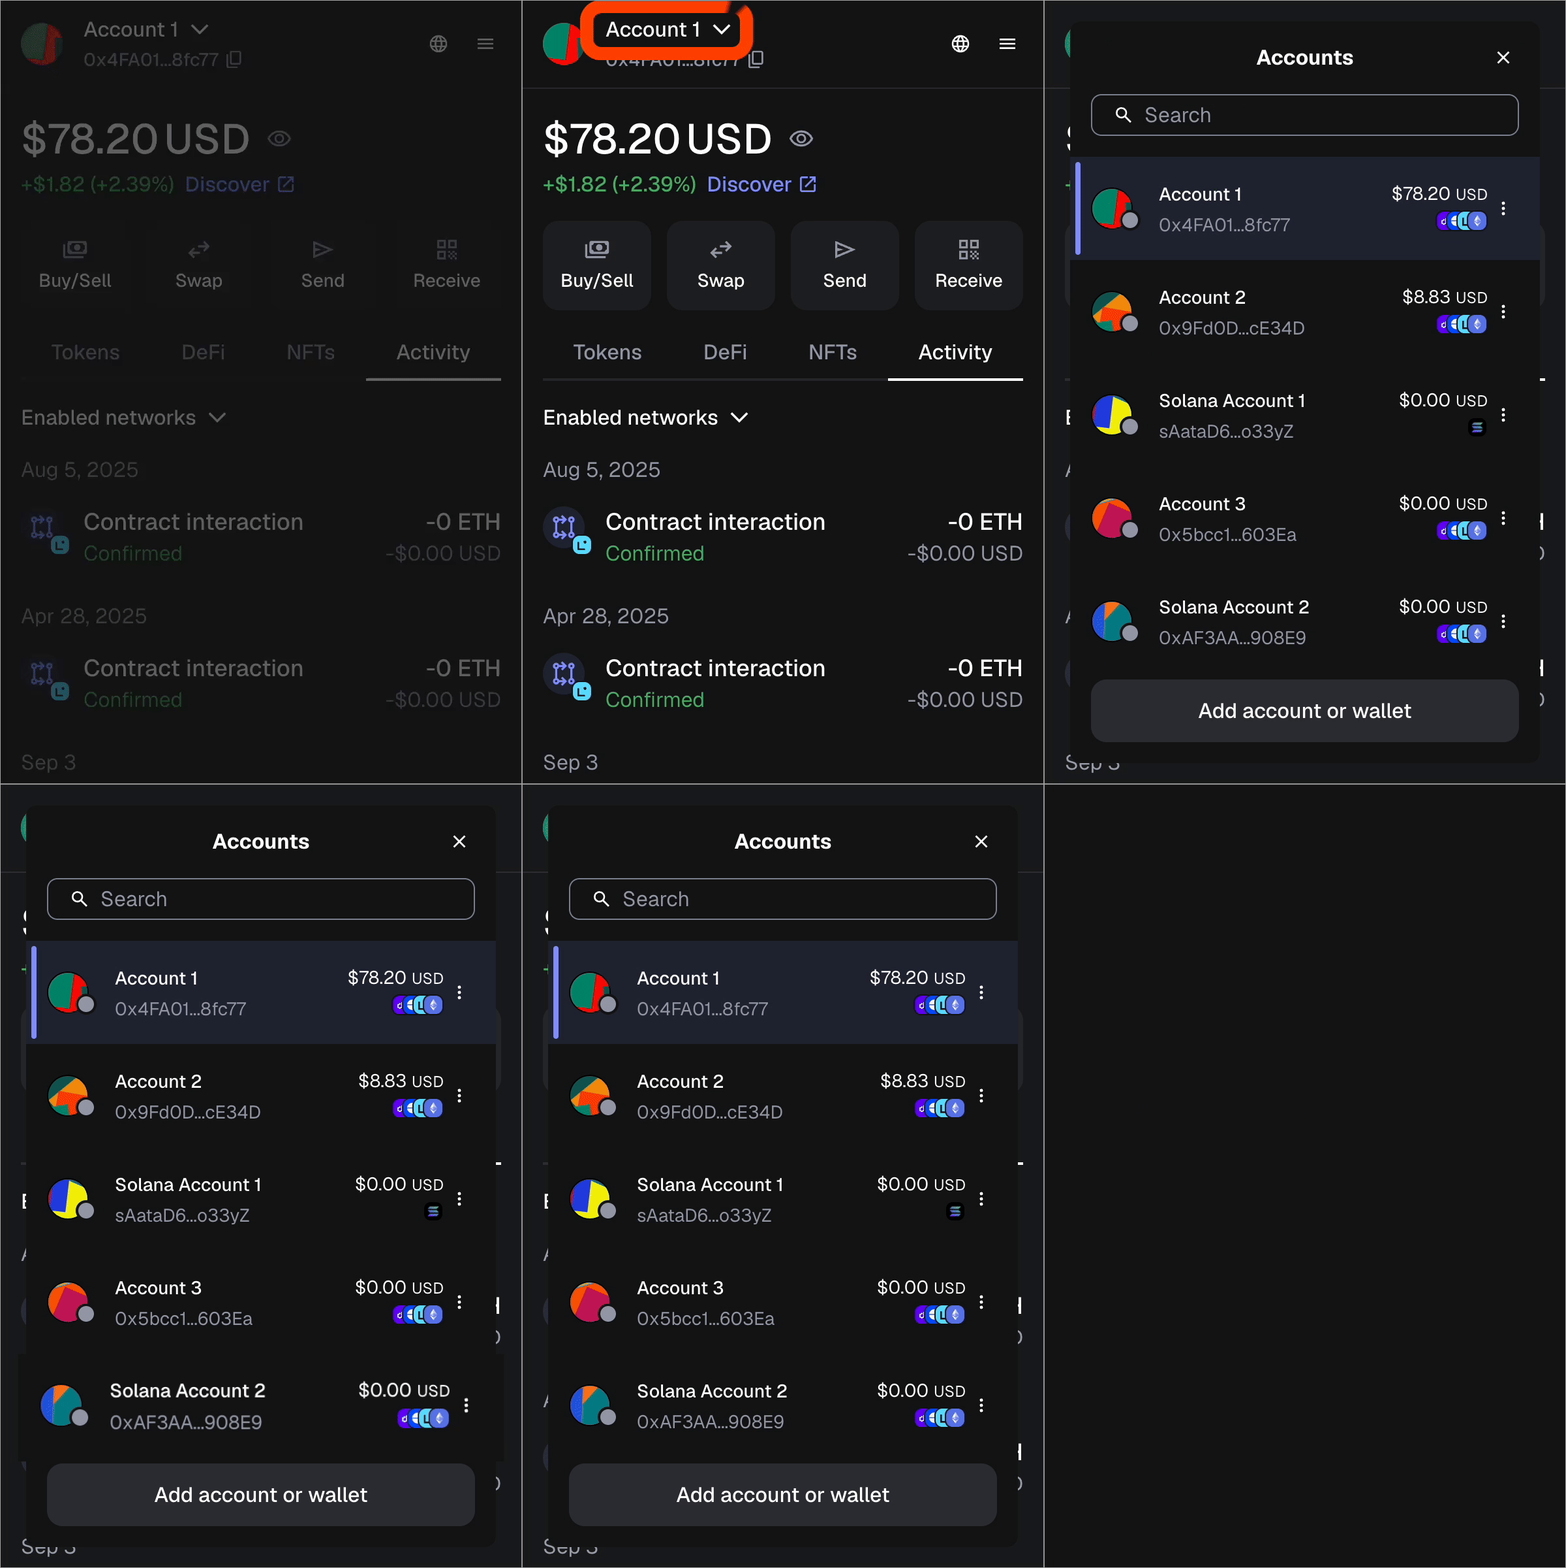
- Click the 3 dots next to the account you want to switch to a smart account
- Click 'Account details' > 'Smart account' to set up
- Toggle the button(s) per network you want to enable smart account functionality on
- Review and confirm the transaction
- This involves paying a small network fee (gas)
Repeat the process for each account you want to switch to a smart account.
- Tap the account selector at the top of the screen
- Tap the 3 dots next to the account you want to switch to a smart account
- Tap 'Smart account' to set up
- Toggle the button(s) per network you want to enable smart account functionality on
- Review and confirm the transaction
- This involves paying a small network fee (gas)
Repeat the process for each account you want to switch to a smart account.
## How to switch back to a standard account {#how-to-switch-back-to-a-standard-account}
You can switch your account(s) back to a standard account, “reset” or “revoke” it at any time.
- Click on the account selector at the top of the screen

- Click the 3 dots next to the account you want to switch to a smart account
- Click 'Account details' > 'Smart account'
- Toggle the button(s) per network you want to disable smart account functionality on
- Review and confirm the transaction
- This involves paying a small network fee (gas)
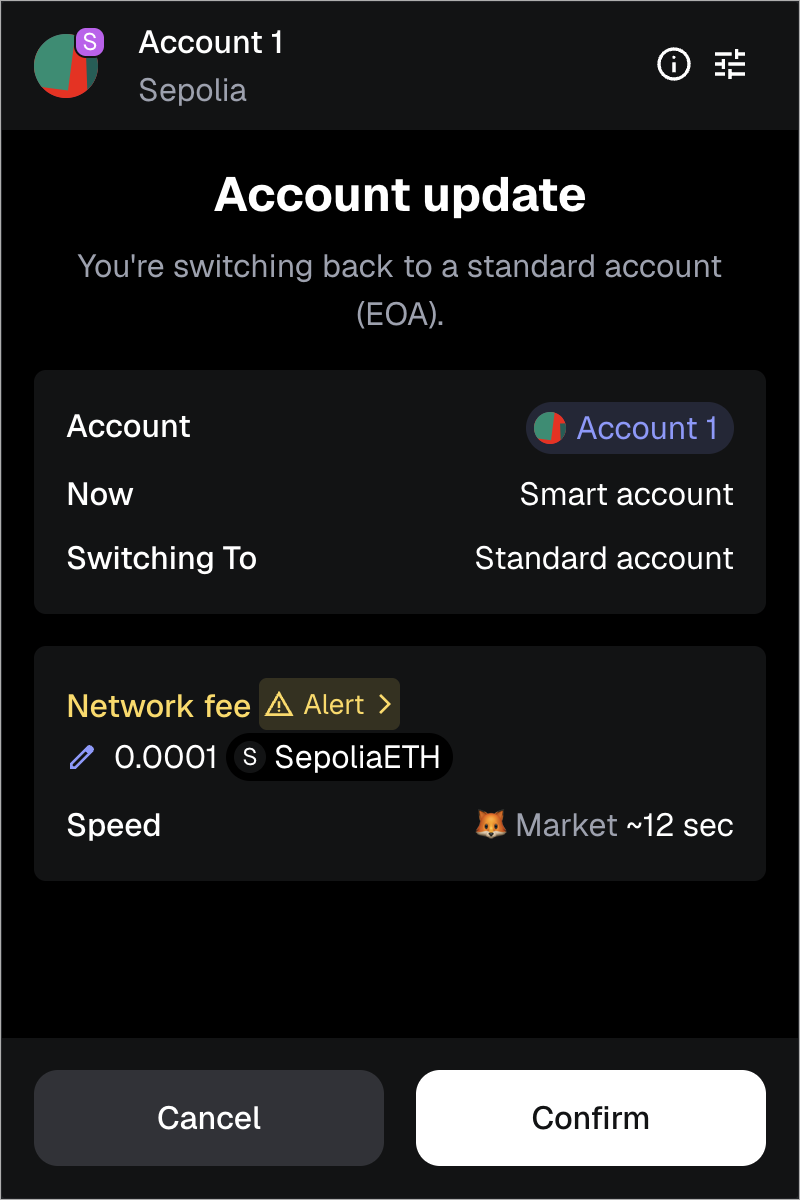
If you want to re-enable smart functionality later, simply toggle the button back. You will have to pay another gas fee.
- Tap the account selector at the top of the screen
- Tap the 3 dots next to the account you want to switch to a smart account
- Tap 'Smart account'
- Toggle the button(s) per network you want to disable smart account functionality on
- Review and confirm the transaction
- This involves paying a small network fee (gas)
If you want to re-enable smart functionality later, simply toggle the button back. You will have to pay another gas fee.
## Questions {#questions}
So is it still an EOA?
Yes. EIP-7702 introduces code that can grant EOAs certain smart account functionality. It still remains an EOA, your funds don’t move, and your account(s) are STILL governed by your SRP/private keys. You STILL need to keep this safe.
Switching to a MetaMask smart account points your EOA to a specific MetaMask smart contract that will perform functions for you, granting you some “smart account” benefits without migrating your funds or changing your address. It’s just a more superpowered account now. See more [here](/configure/accounts/what-is-a-smart-account/#metamask-delegator-smart-contract)
Are smart accounts network-specific? What networks are they available on?
Yes—smart accounts depend on networks and dapps using certain standards and protocols to request permissions. Networks that use smart account functionality include:
*Ethereum, Optimism, Base, BNB Chain, Gnosis Chain, Metis Andromeda, Arbitrum One, Arbitrum Nova, Sepolia, Polygon Mumbai (testnet), Amoy (Polygon zkEVM testnet), X Layer Testnet (OKX), Base Sepolia (testnet), Berachain Artio (testnet), Gnosis Chiado (testnet), Ethereum Classic Testnet (Kotti), BNB Smart Chain Testnet, Arbitrum Stylus Testnet, and Linea Sepolia.*
What if I’ve upgraded my EOA on a different wallet provider? Will it still be “smart” on MetaMask when I import my account?
We currently only support smart account functionality for our own [smart contract](/configure/accounts/what-is-a-smart-account/#metamask-delegator-smart-contract). Smart accounts are auto-enabled for new MetaMask users. You will need to have your account switched to the MetaMask smart account for it to be "smart" again.
Will all transactions be performed by the smart contract now?
This is dependent on whether the network and dapp you’re transacting on use certain standards that would trigger your smart account. Batched transactions and [gas sponsorship](/manage-crypto/transactions/gas-sponsorship) are examples of this. Other regular transactions would just utilize your standard account functionality.
Does this make transacting cheaper, or more expensive for me?
This depends on if transactions are bundled enabling you to pay gas once instead of separate times. One atomic batched transaction will be cheaper in gas fees than say, 3 separate transactions performing the same action.
Will MetaMask email me about upgrading my account?
No. That would be some poor wee scammer trying to drain your funds. Smart accounts are auto enabled for new users and you will only be able to manually switch to a smart account directly within the wallet itself.
---
# How to switch accounts in MetaMask Extension and Mobile
URL: https://support.metamask.io/configure/accounts/switching-accounts-in-metamask/
> Use the account selector to toggle between your accounts.
MetaMask allows you to manage multiple accounts. Here's how you switch between them.
Click on the account selector at the top of the screen. Here you'll see each of your previously [created](/configure/accounts/how-to-add-accounts-in-your-wallet) or [imported](/start/use-an-existing-wallet/#import-using-a-private-key) accounts; click on the desired account to switch to it.

It can be useful to [rename](/configure/accounts/how-do-i-change-my-account-name-) them to avoid confusion.
From the wallet view, tap the account selector located centrally, at the top of the screen. Here you'll see each of your previously [created](/configure/accounts/how-to-add-accounts-in-your-wallet) or [imported](/start/use-an-existing-wallet/#import-using-a-private-key) accounts; tap to switch to the one you need.
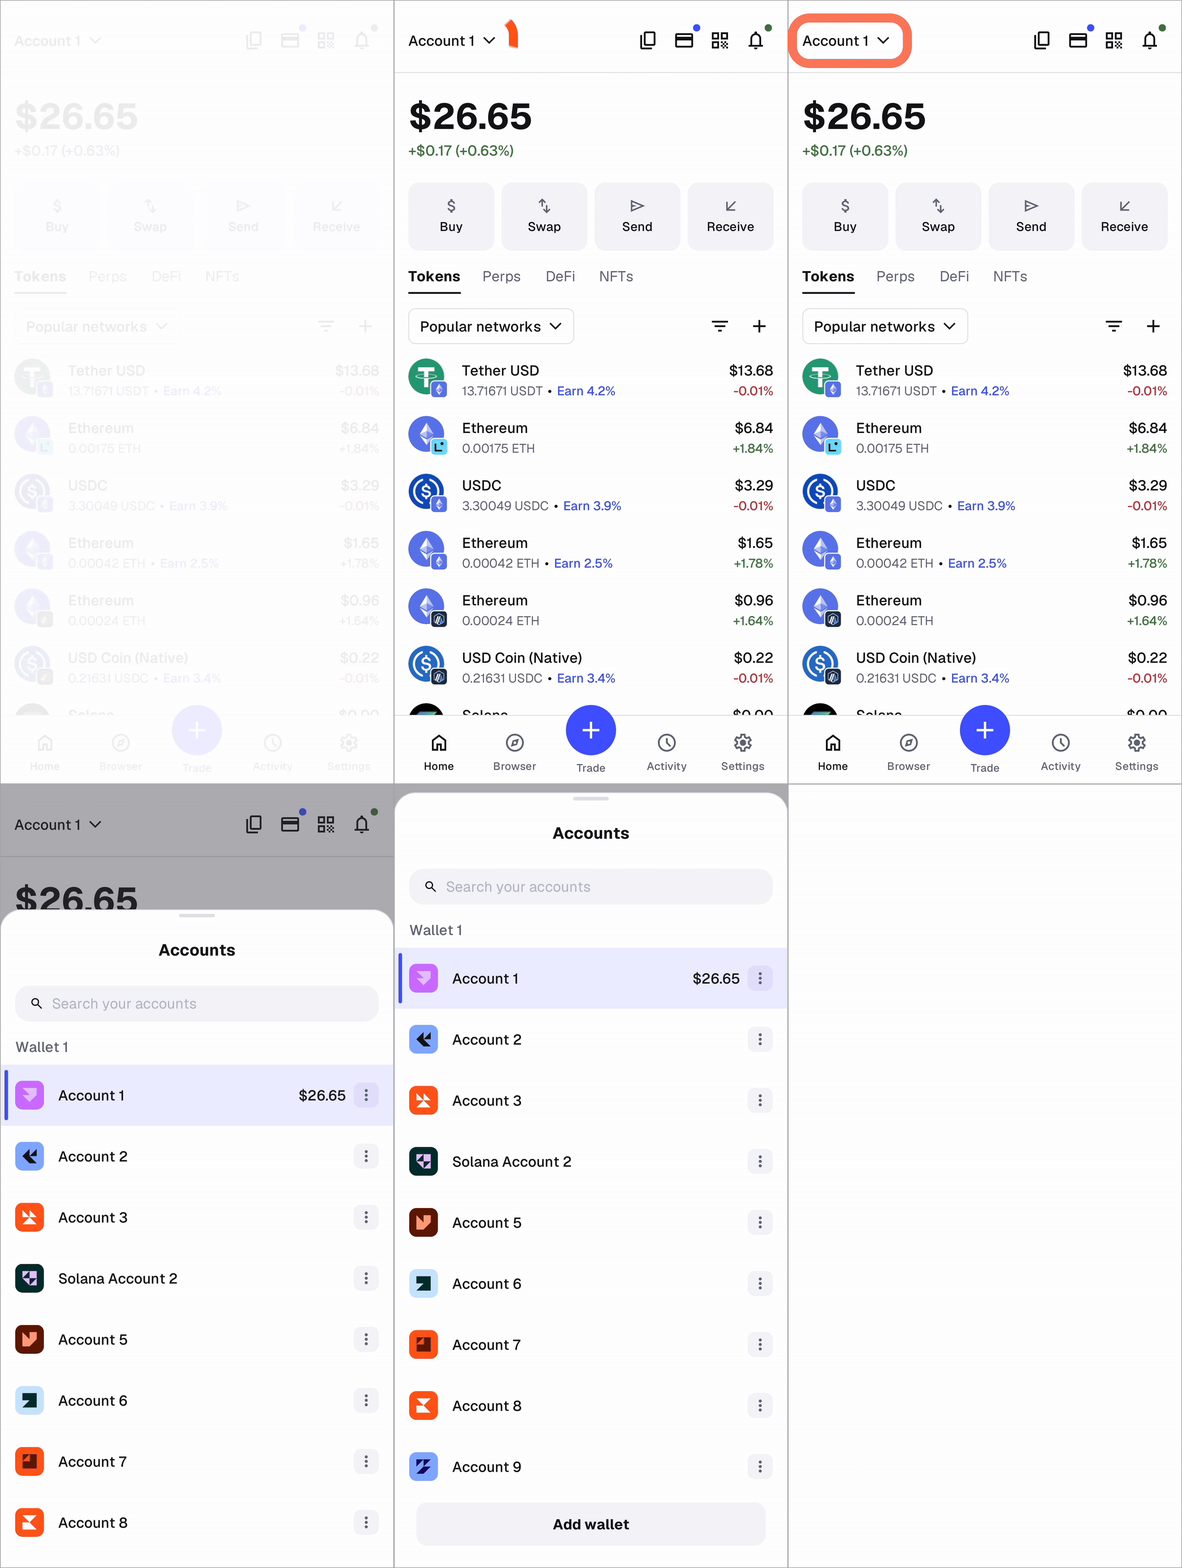
It can be useful to [rename](/configure/accounts/how-do-i-change-my-account-name-) them to avoid confusion.
---
# What is a smart account
URL: https://support.metamask.io/configure/accounts/what-is-a-smart-account/
> Learn about the benefits of smart accounts and how it's possible with the Delegation Framework and other EIPs.
To execute actions in crypto, you need an account. This is what MetaMask is for—your permissions and identity manager that helps you grant access to apps easily.
Smart accounts grant you enhanced capabilities. This feature is automatically enabled, giving you faster transactions, lower or sponsored network fees and payment flexibility. You can manage this within your settings.
MetaMask has an ambitious roadmap to make these accounts the norm. We want to enable you to define your own terms, express your agency in enforceable ways, and generally have your wallet work in your favor.
:::info
Smart accounts are now auto-enabled for new MetaMask users. This feature grants you enhanced capabilities like faster transactions, lower or sponsored network fees and payment flexibility. Learn more about managing your smart account settings [here](/configure/accounts/switch-to-or-revert-from-a-smart-account).
:::
## Types of crypto accounts: {#types-of-crypto-accounts}
There are 2 account types when you think of “wallets”:
- **EOAs (Externally Owned Accounts)**: These are **standard accounts controlled by private keys**. Think MetaMask, Ledger, Rabby, where you custody a 12-word phrase.
- **SCAs (Smart Contract Accounts)**: These are **programmable accounts powered by a smart contract**. They are a newer, more customizable account type that lets you do way more than a traditional EOA.
EOAs—or standard accounts—are what most people use. We’ve become familiar with custodying a Secret Recovery Phrase (SRP), initiating transactions, and accruing reputation to our accounts but this type of account is limited in capabilities and security models compared to smart accounts.
Smart account adoption has been slower in part because it requires new account management knowledge, security models, and permissions standards and also because it historically didn’t meet most users where they were at.
But today, tech upgrades and account enhancements make important functionality possible even to those of us using standard accounts like MetaMask, making it _smart-ish_, i.e., granting EOAs smart contract capabilities while maintaining the basic public/private key account nature.
Smart accounts, or programmable accounts, are what all crypto wallets are moving toward.
But let’s rewind a bit, what exactly can smart accounts unlock?
## Benefits of smart accounts {#benefits-of-smart-accounts}
- **Transaction batching**: Combining several steps (like approving and swapping a token) into one, saving fees and time.
- **Gas abstraction**: Paying for gas in any token you want (example: DAI instead of ETH if you ran out) and maybe even removing the friction of paying for gas yourself if someone wants to [“sponsor”](/manage-crypto/transactions/gas-sponsorship) it for you.
- **Subscriptions**: Approving specific tokens to specific dapps at specific times. Just set it once and forget it.
- **Limit orders**: Purchasing parameters! How convenient would it be to set your own trading rules? (example: If ETH hits $1500 _(cry)_, buy 1 ETH).
- **Multisig**: Approving a transaction requires multiple signers in order for it to execute, adding friction to moving funds. This is safer as your account doesn’t have a single point of failure when it comes to scams.
- **Social recovery**: Social recovery allows trusted guardians to recover your account for you if your SRP is lost or stolen.
- **Auto-approvals**: Granting access to a specific dapp for a set time or amount means you don’t need to manually confirm transactions every single time.
:::note
These are some general benefits smart accounts have. These features are not all available in MetaMask yet. Keeping your wallet [smart account-ready](/configure/accounts/switch-to-or-revert-from-a-smart-account/#how-to-switch-to-a-metamask-smart-account) will allow you to benefit from these features when available.
:::
## How are smart accounts possible? {#how-are-smart-accounts-possible}
The crypto wallet space has greatly evolved since MetaMask was introduced in 2016, and will continue to do so. New EIPs (Ethereum Improvement Proposals) have been put forth, debated, and agreed upon; new wallet applications have grown to support all kinds of use cases; new standards are being implemented to make transacting on web3 easier, safer, and more efficient.
MetaMask has been thinking about how to give our users more flexibility and scalability in tandem with the Ethereum community since, well, [forever](https://ethereum-magicians.org/t/ethereum-object-capabilities/3035).
Smart accounts are possible thanks to the culmination of various EIPs, ERCs and powerful [open-ended permissions systems](https://docs.gator.metamask.io/concepts/delegator-accounts). This has been years in the making, and we’re excited to build and support the new wave of account management.
- [MetaMask Delegation Framework](https://github.com/metamask/delegation-framework): Unlike traditional wallets, which rely on private keys for every transaction, MetaMask delegator “gator” accounts use ERC-4337 smart contracts to govern account logic.
- [EIP-7702](https://eip.tools/eip/7702): This allows EOAs to inherit some smart account functionality like atomic batched transactions and pay for gas in any token you want.
- [ERC-7710](https://eip.tools/eip/7710): This proposes a standard interface for smart accounts to grant permissions, enhancing flexibility and scalability.
- [ERC-7715](https://eip.tools/eip/7715): This defines an interface by which apps might ask for permission from your account, reducing the need for manual transaction approvals and enabling transactions even when you’re offline.
Thanks, devs. :heart:
:::tip
If you're a dev and want to learn more about building new experiences based on programmable account behavior and granular permission sharing, check out the [smart accounts docs here](https://docs.metamask.io/smart-accounts-kit).
:::
## What are MetaMask smart accounts? {#what-are-metamask-smart-accounts}
MetaMask can grant your account enhanced capabilities through the smart account feature. **Your funds don’t move and your account(s) are still governed by your SRP/private keys.** You STILL need to keep this safe, as always.
Keeping your wallet smart account-ready will allow you to [benefit](/configure/accounts/what-is-a-smart-account/#benefits-of-smart-accounts) from features like batching transactions, paying for gas in any token, and more.
You’ll use your account as you normally have in the past; it’s just more superpowered now.
## How do smart accounts work?
Switching to a smart account simply points your basic account (example: metamask.eth, governed by the SRP) to a specific MetaMask smart contract that will perform enhanced functions for you, thereby granting you some “smart account” benefits without migrating your funds or changing your address. It still remains an EOA.
Think of it like a diligent robot working in your favor that you can fire and rehire at any time. The robot is programmed to do your bidding. **It cannot control your standard account funds, but it can spend certain amounts on your behalf if you allow it to.** You still have the key (SRP) that fully controls the account.
You will be prompted to “switch to a smart account” within MetaMask directly when prompted by a dapp or network that supports the permission standards. (example: Uniswap batching an approve+swap transaction request).
### MetaMask Delegator smart contract {#metamask-delegator-smart-contract}
Upgrading or switching your account to a “smart account” points your existing EOA to a MetaMask Delegator smart contract _(0x63c0c19a282a1b52b07dd5a65b58948a07dae32b)_ that can perform functionalities like batching transactions, paying for gas in any token, and more.
- Deployed implementation: https://etherscan.io/address/0x63c0c19a282a1b52b07dd5a65b58948a07dae32b#code
- Github: https://github.com/MetaMask/delegation-framework/blob/v1.3.0/src/EIP7702/EIP7702DeleGatorCore.sol
---
# Get started with Bitcoin
URL: https://support.metamask.io/configure/networks/bitcoin/
> Manage, buy, swap, and send BTC right in MetaMask.
Bitcoin, the world’s largest cryptocurrency, is now supported in MetaMask. You can now manage your BTC alongside your Ethereum and Solana assets all in one wallet.
Jump to a section to get started:
- [Import an existing Bitcoin account](#importing-an-existing-bitcoin-account)
- [Find your Bitcoin address](#finding-your-bitcoin-address)
- [Swap, send, or buy BTC](#swap-to-send-or-buy-btc)
### Your MetaMask Bitcoin account {#your-metamask-bitcoin-account}
When you create a new MetaMask account, a Bitcoin address is automatically generated for you. This is part of MetaMask’s new multichain account structure, which derives EVM, Bitcoin, and Solana addresses per account.
:::info[Derivation path]
Your Bitcoin account follows the **Native SegWit** derivation path by default. Any imported account must also be Native SegWit to be compatible with MetaMask at this time. Support for other derivation paths will be added in the future.
:::
### Importing an existing Bitcoin account {#importing-an-existing-bitcoin-account}
You can import an existing Bitcoin account from another wallet using your 12 or 24-word Secret Recovery Phrase (SRP) or “Secret Key.”
- Securely locate your SRP or Secret Key on your other wallet — for instructions on exporting from common wallets, see [here](/start/use-an-existing-wallet#how-to-export-srps-from-other-wallets) *(for example, Leather: follow their instructions [here](https://app.leather.io/help-center/guide/view-secret-key))*
- In MetaMask, click ‘Add wallet’ in the account dropdown

- Select ‘Import a wallet’
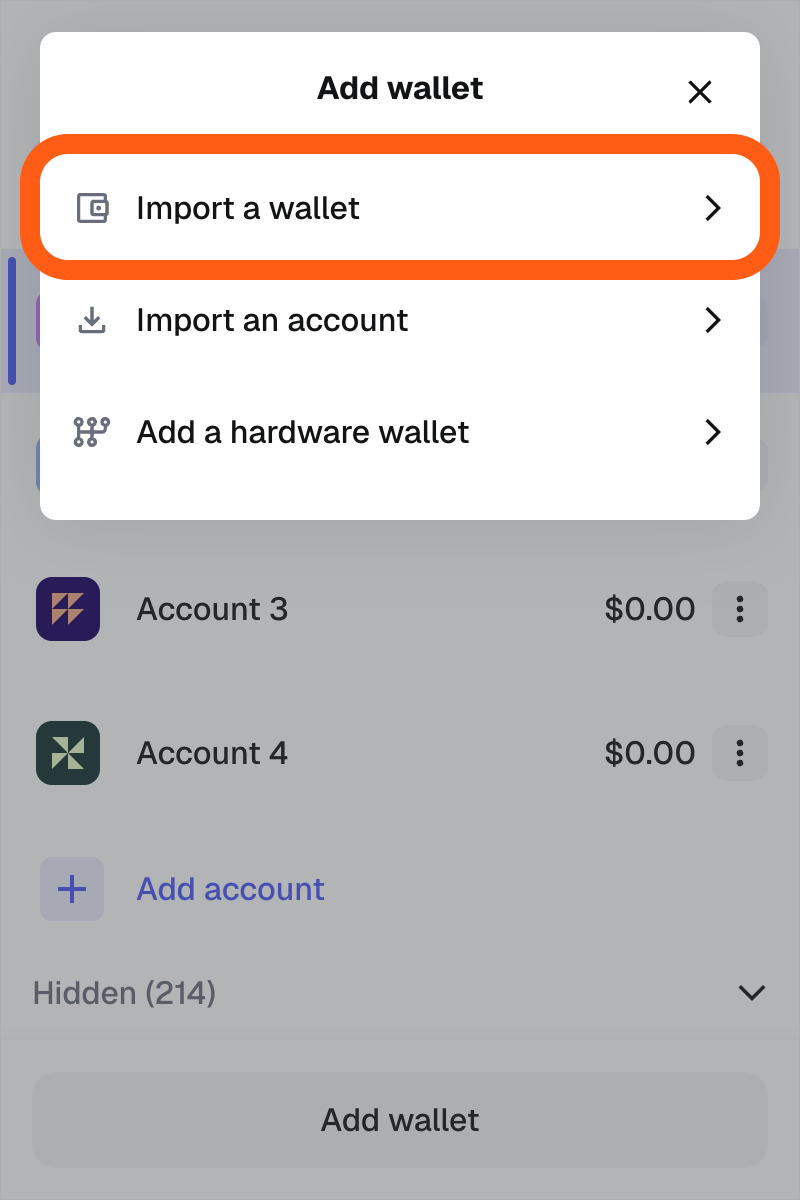
- Enter your 12 or 24-word SRP and click ‘Import wallet’ to complete the process.
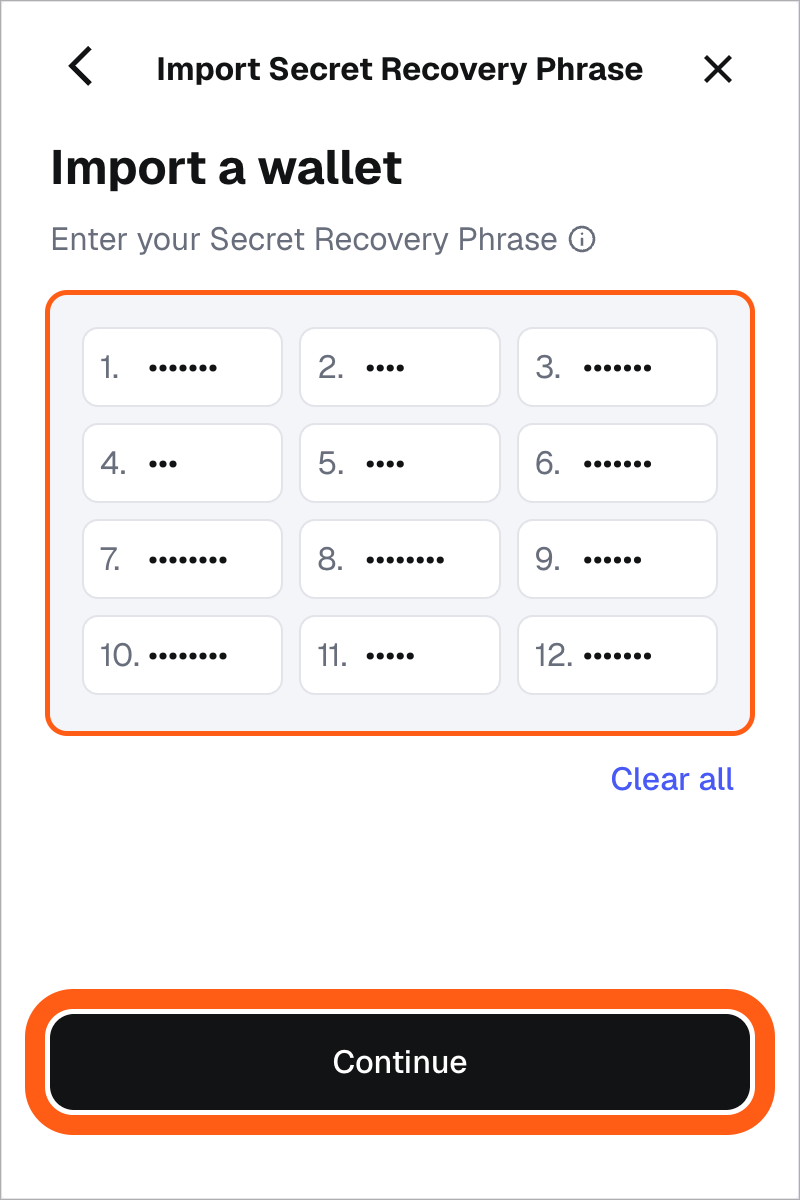
- Importing with your SRP will restore any other supported accounts—including your Bitcoin, Solana, and EVM addresses—so you can manage them together in MetaMask
:::note
Importing via private key is not yet supported for Bitcoin accounts.
:::
### Finding your Bitcoin address {#finding-your-bitcoin-address}
Your Bitcoin address is automatically available and ready to use within each of your existing accounts. You can find it easily on Extension or Mobile.
- Click the address dropdown under your account name to pull up the list of addresses
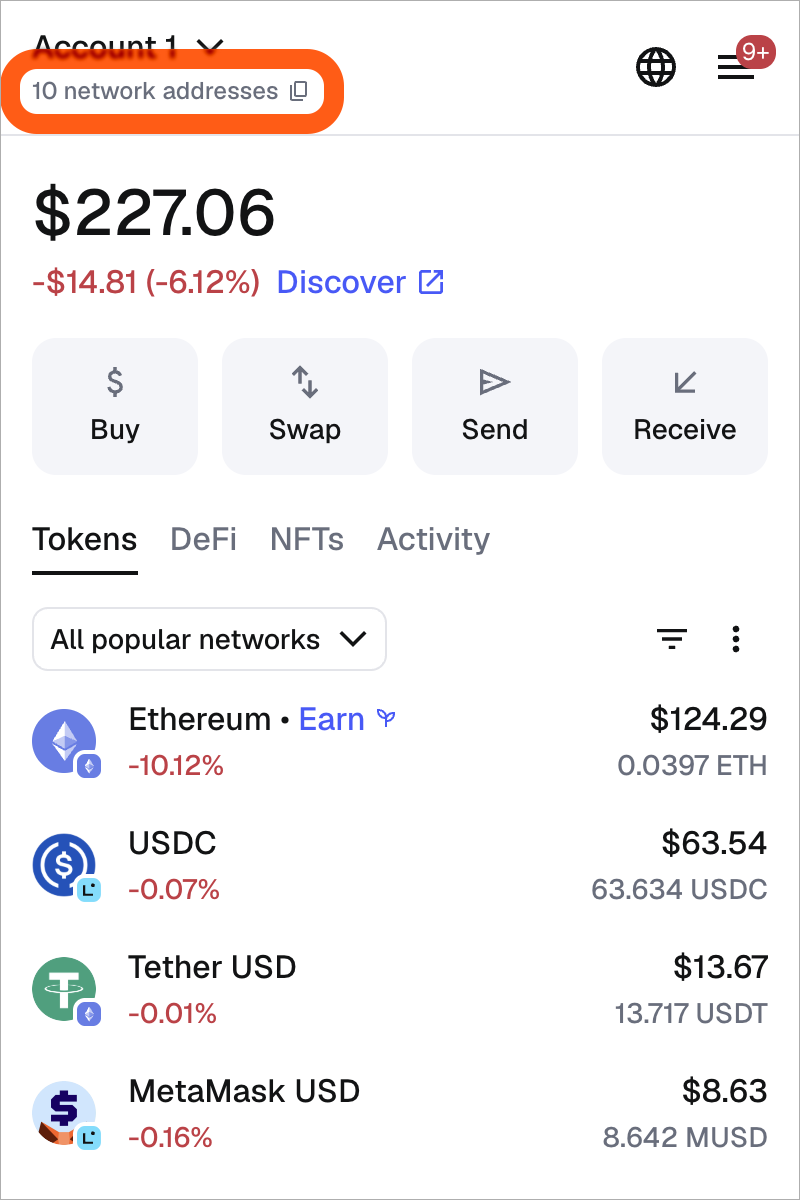
- Locate Bitcoin in the list
- Click the copy icon to copy your Bitcoin address, or the QR icon to view your QR code and full address
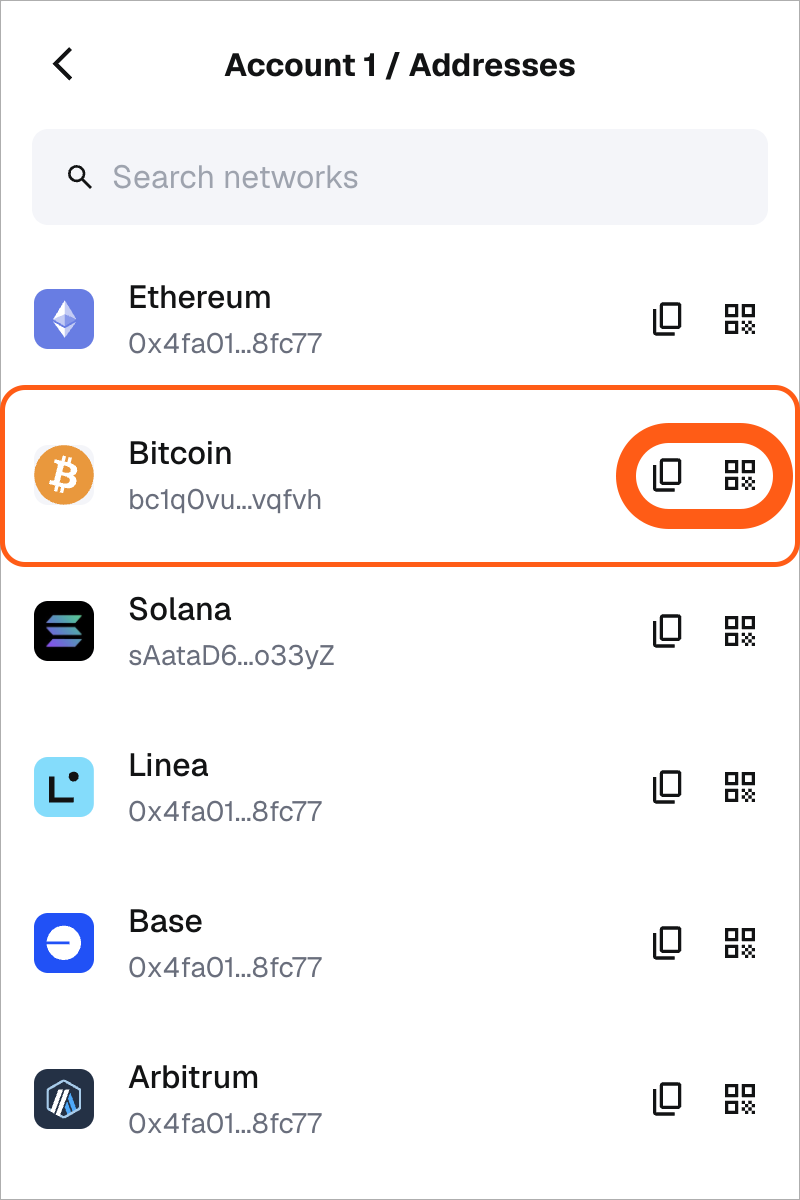
- Tap the copy icon on the homepage next to your account name
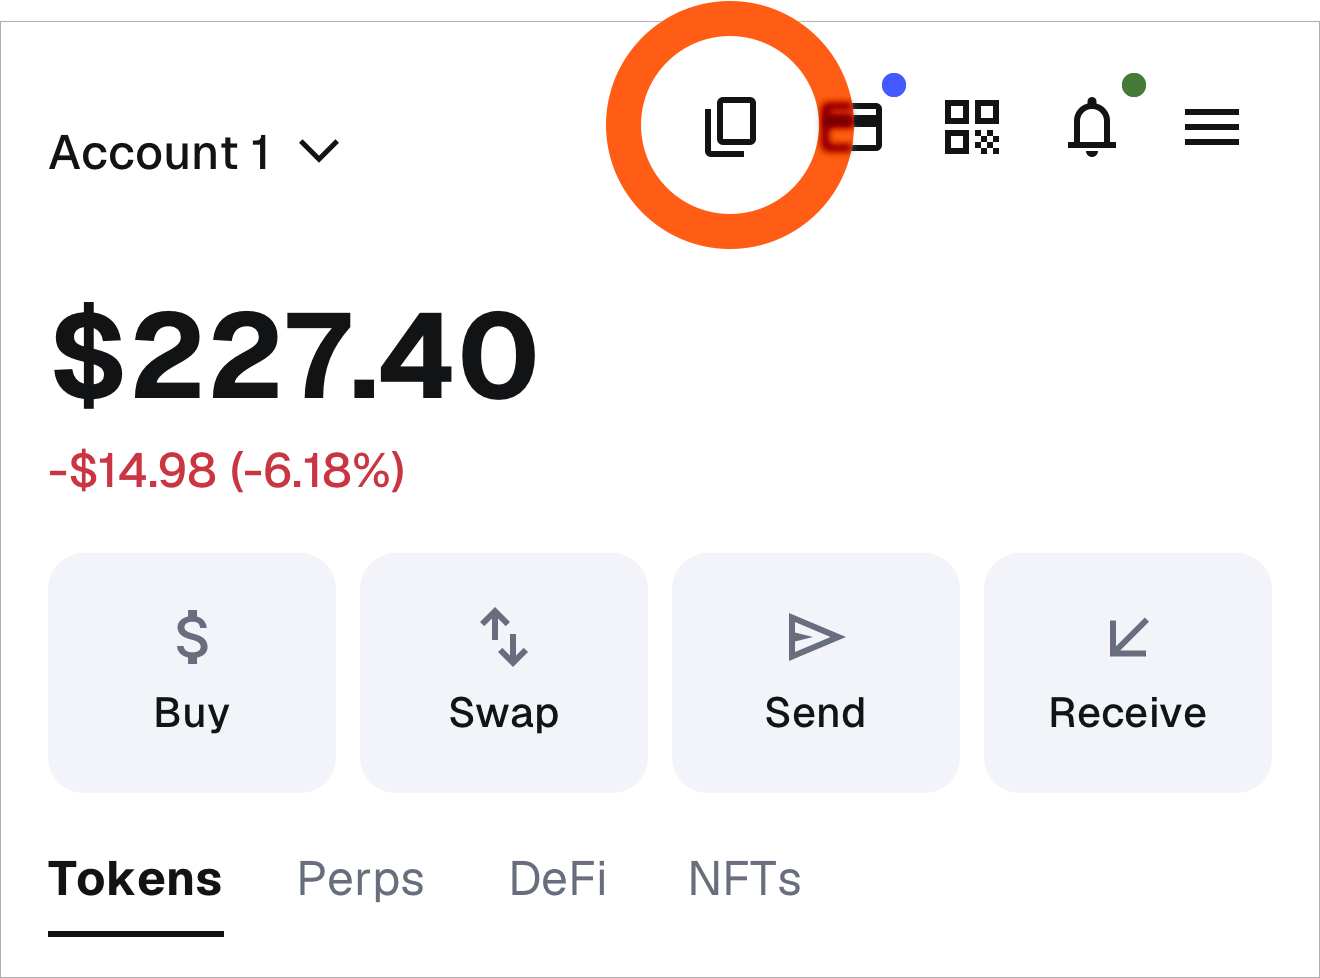
- Locate Bitcoin in the list
- Tap the copy icon to copy your Bitcoin address, or the QR icon to view the QR code and full address
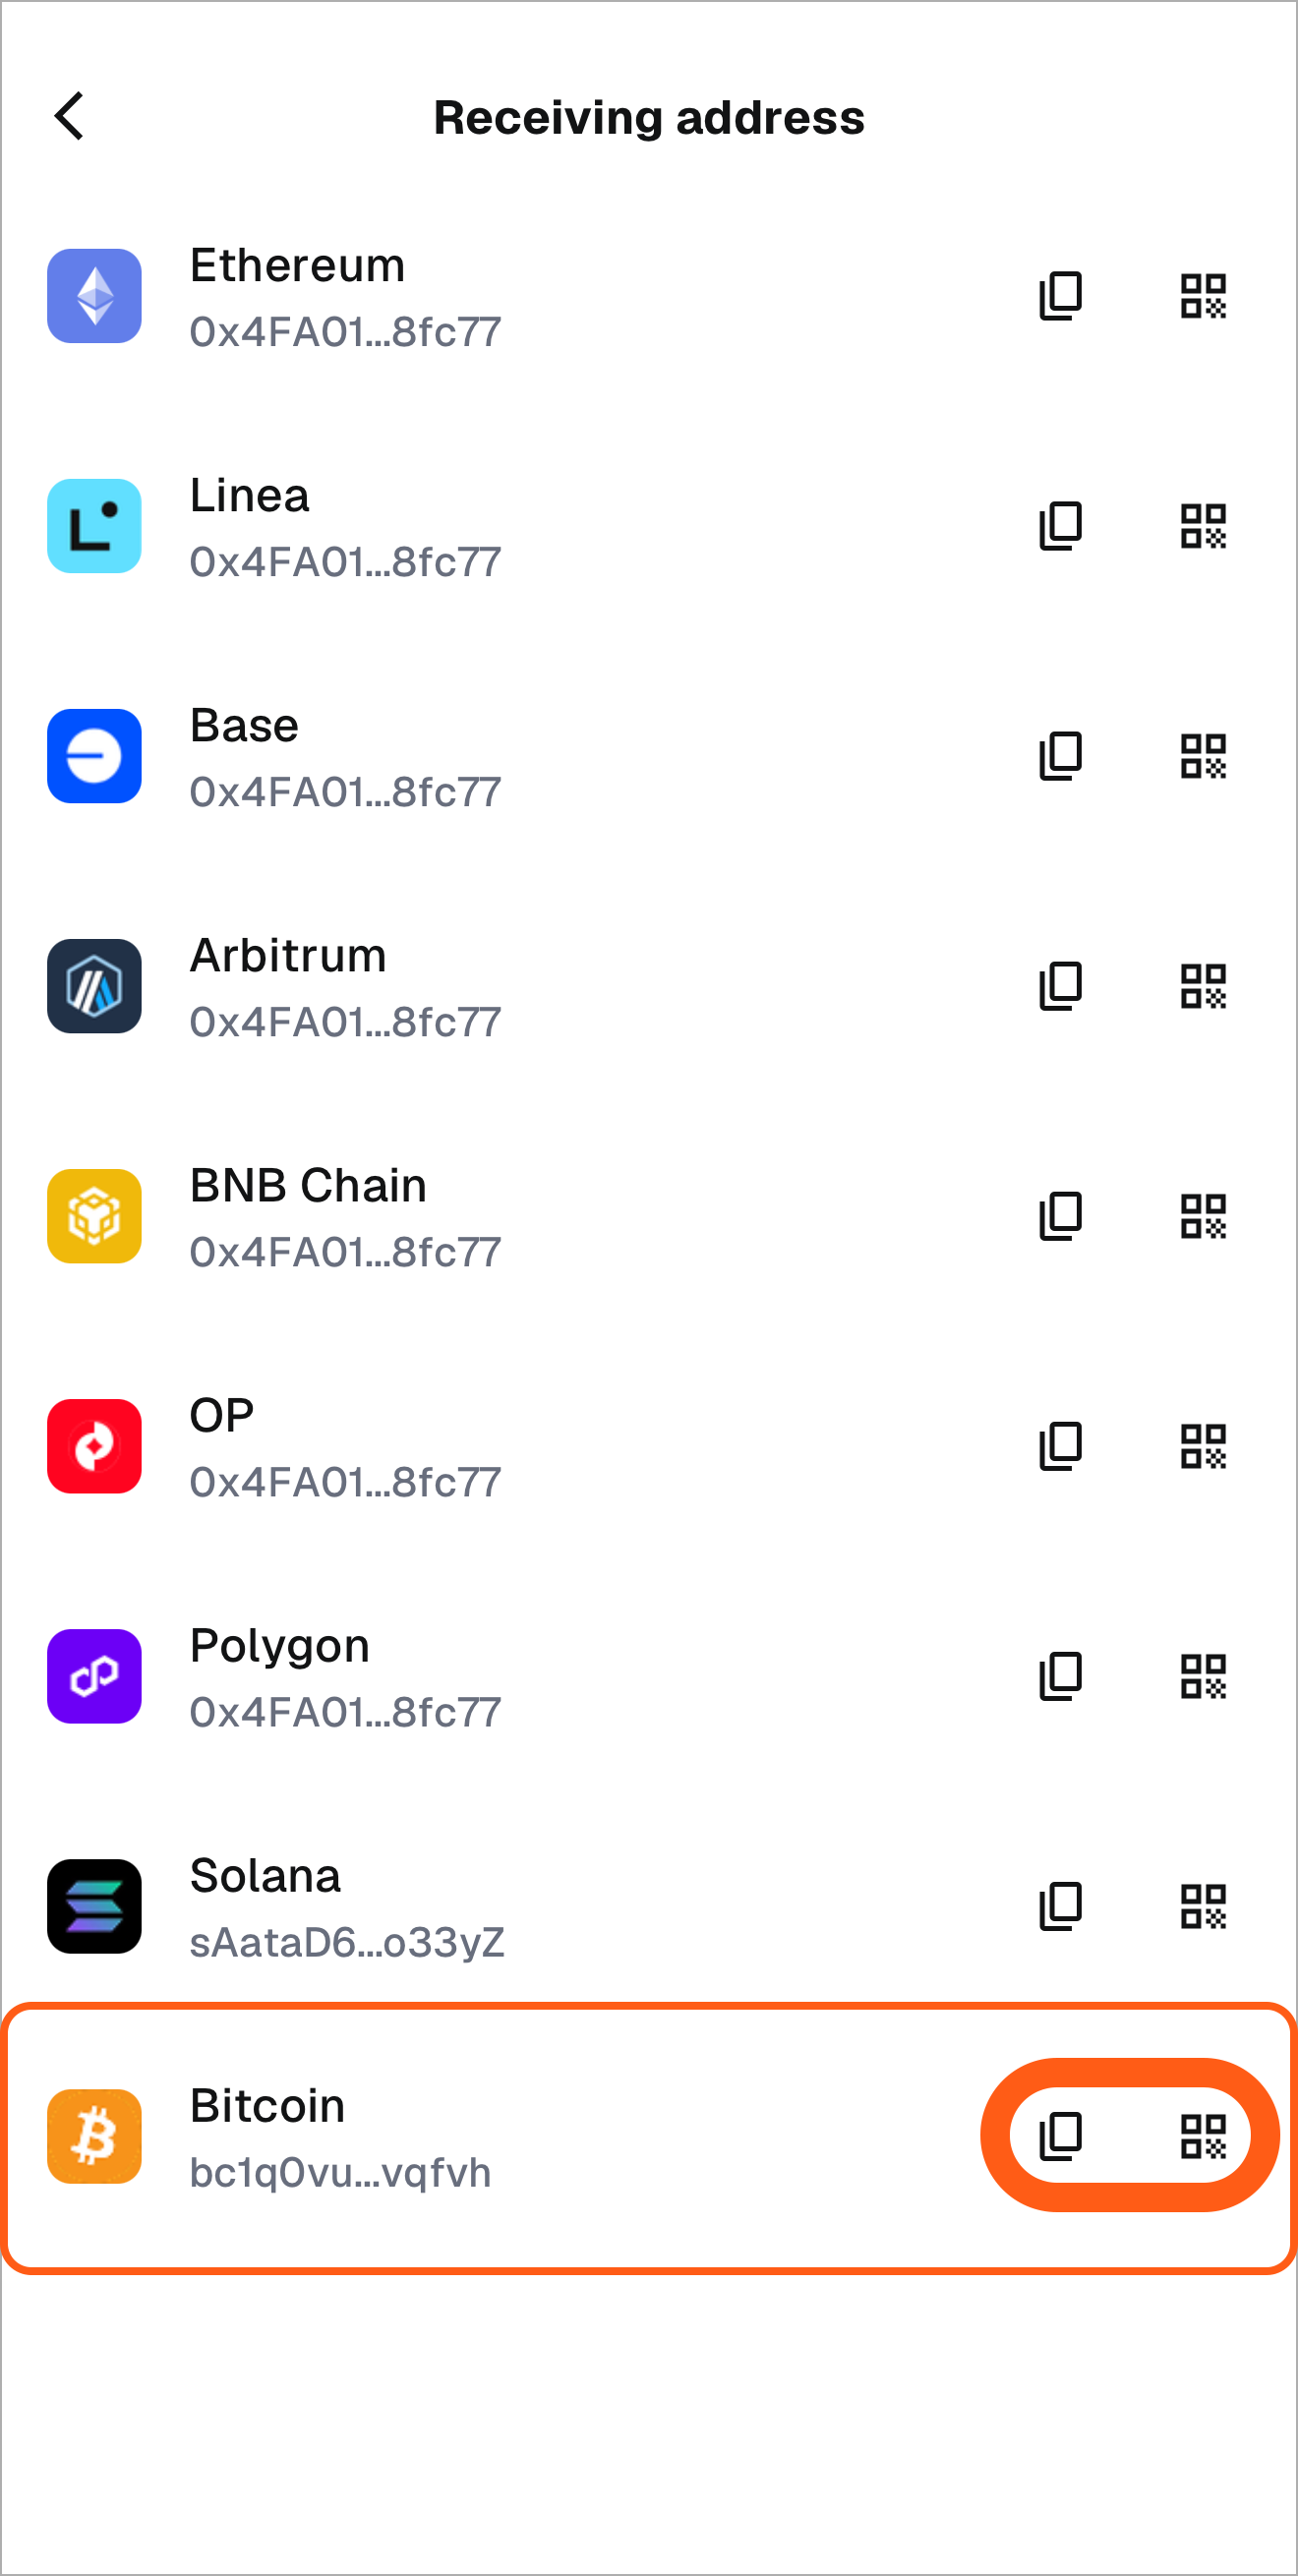
You can also get to this screen by clicking the three vertical dots in the account dropdown list and selecting 'Addresses'.
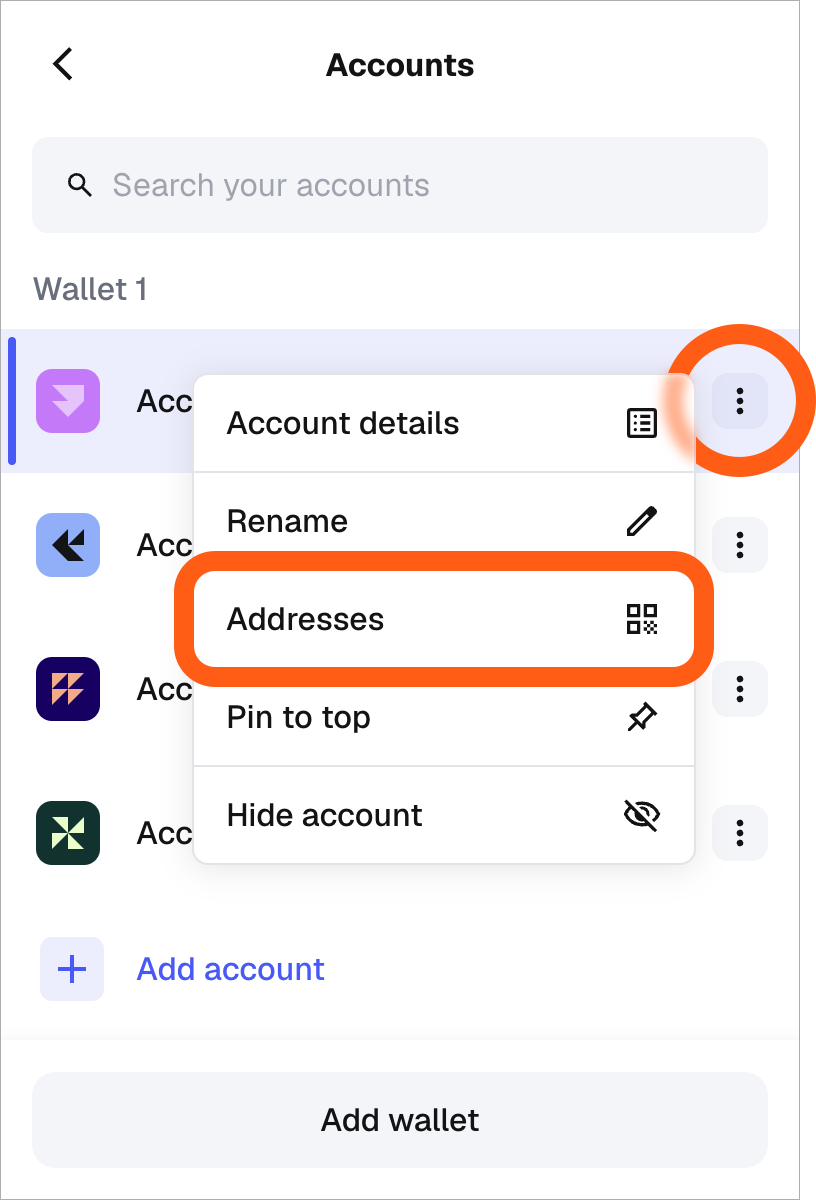
:::tip
You can **paste this address into any exchange** like Binance or Coinbase to send BTC directly to your MetaMask wallet, or **use it to transfer a balance** from another Bitcoin wallet like Leather.
:::
### Swap to, send, or buy BTC {#swap-to-send-or-buy-btc}
You’re ready to start managing BTC directly in MetaMask!
#### Swap to BTC {#swap-to-btc}
Use MetaMask’s built-in swap feature to move funds to BTC from any EVM or SOL token!
- Click the **'Swap'** button in your wallet homepage
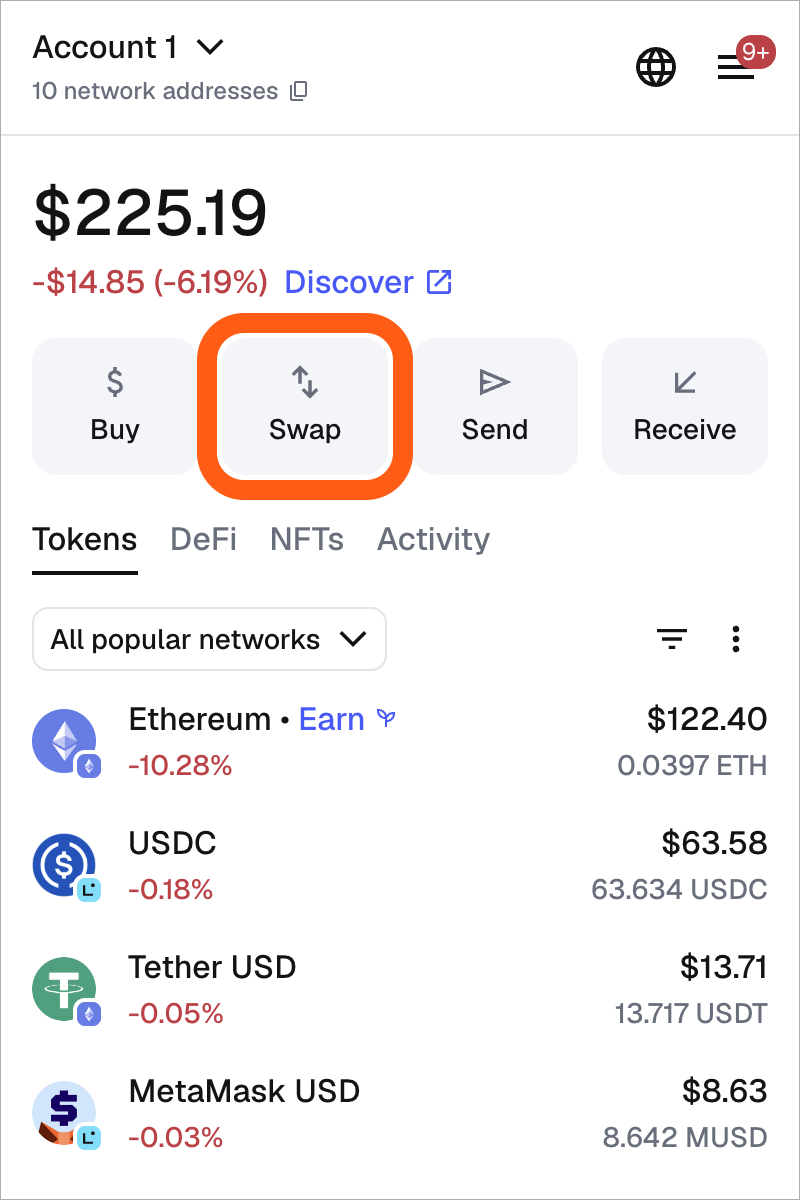
- Select the **token** to you want to swap from and enter the **amount** *(example: 0.01 ETH on Ethereum)*
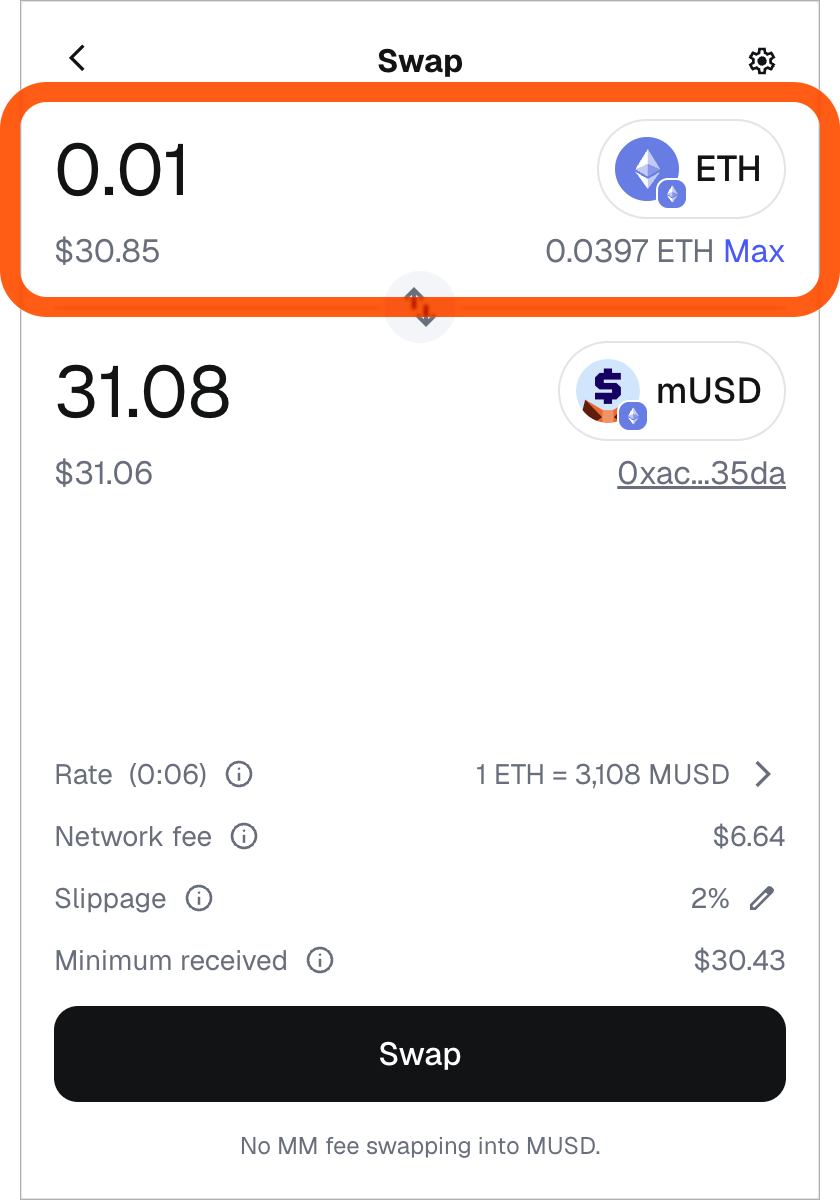
- Select **'Bitcoin'** as the network and **BTC** as the asset
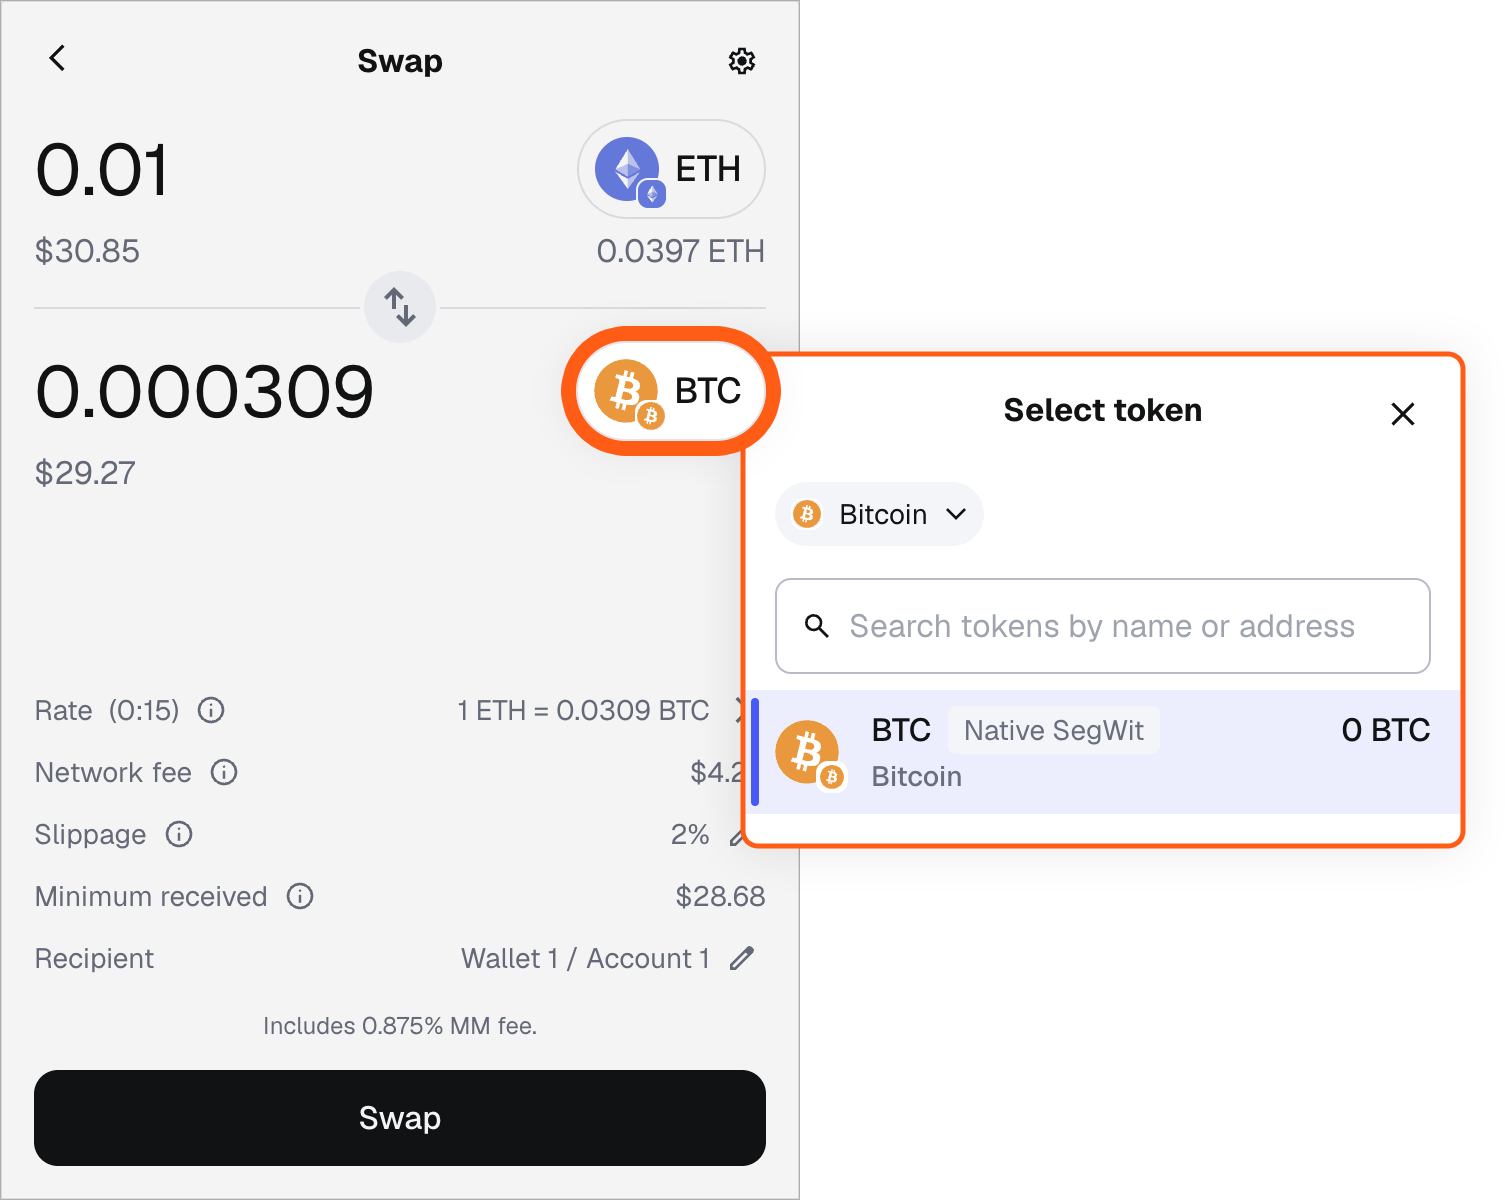
- Review details and **confirm** the transaction
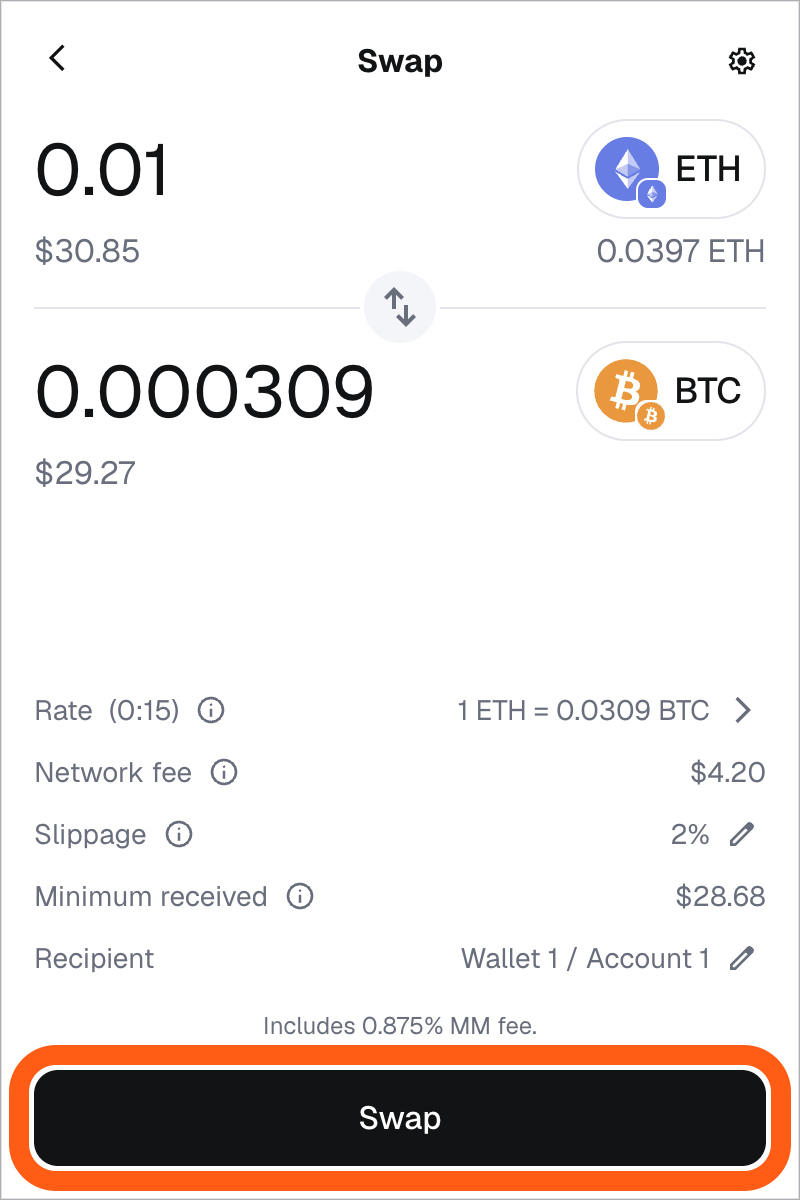
Your BTC balance will update in your asset list once the transaction completes.
:::note
Bitcoin transactions are much slower than Ethereum or Solana networks. You can monitor progress in the **Activity > Transactions** tab.
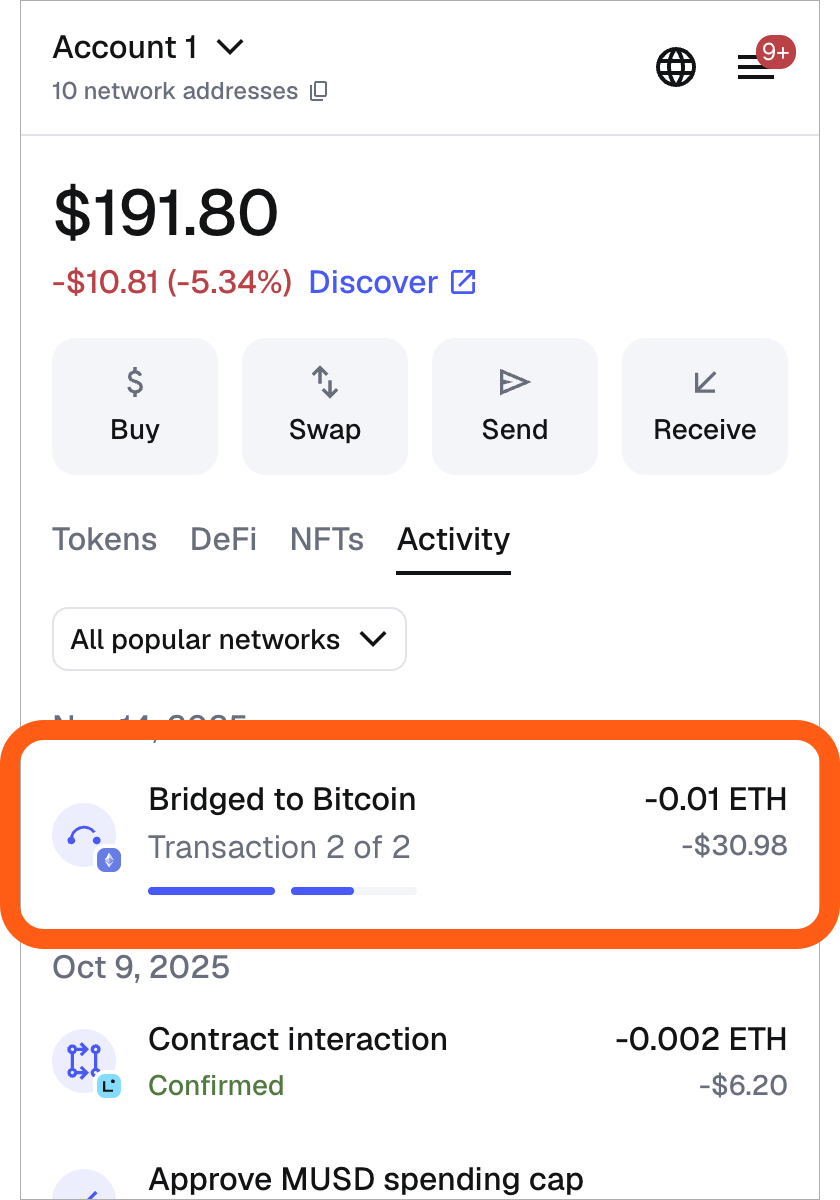
:::
#### Send BTC {#send-btc}
Already have BTC elsewhere? Simply send it to your MetaMask Bitcoin address.
- Locate and **copy** your Bitcoin address
- **Paste it** into the recipient field in your exchange or other wallet
- Review details and **verify your address** before confirming
- Remember you can only send and receive funds from addresses on the **Native Segwit derivation path** in MetaMask
Your BTC balance will appear in your wallet after the transaction is confirmed.
:::note
Bitcoin transactions are much slower than Ethereum or Solana networks. You can monitor progress in the **Activity > Transactions** tab.

:::
#### Buy BTC {#buy-btc}
Want to buy BTC with your local currency? MetaMask has you covered.
- Click the **'Buy'** button in your homescreen
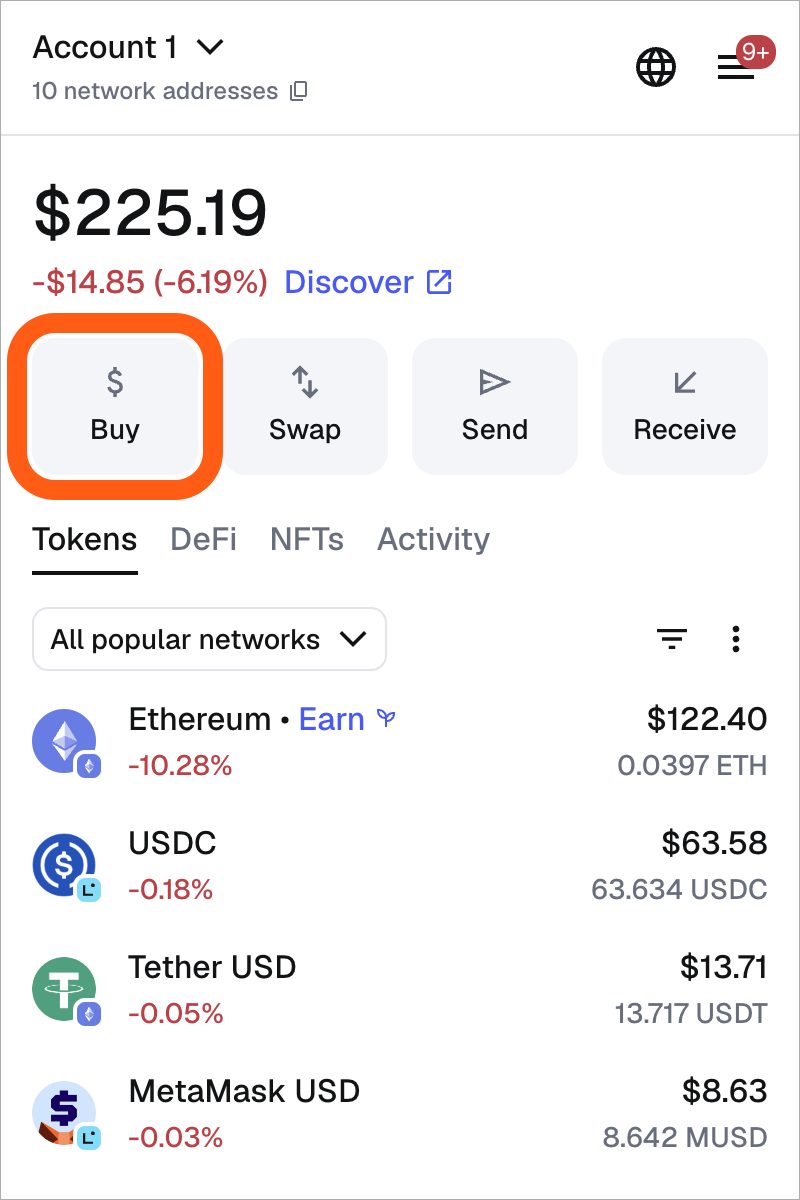
- Select your **region** and follow the steps to view available payment methods
- Choose your **desired payment method**. Options vary by region. *(Example: PayPal, Apple Pay, debit/credit card, or ACH/SEPA bank transfer)*
- Select **Bitcoin** and enter your desired **amount**
- Choose your **quote** and **confirm** the transaction *(the best value-option is presented first)*
Your BTC will appear in your asset list once the transaction completes.
:::note
Bitcoin transactions are much slower than Ethereum or Solana networks. You can monitor progress in the **Activity > Transactions** tab.

:::
Happy HODLing!
---
# How to add missing custom networks
URL: https://support.metamask.io/configure/networks/custom-networks-missing-after-reinstalling-or-restoring-from-secret-recovery-phrase/
> When you reinstall MetaMask, custom networks need to be re-added.
When you reinstall MetaMask, custom networks need to be re-added. This is because MetaMask essentially considers your wallet to be a completely new instance of the app, and will not retain any of the data that was previously stored locally — custom networks being one example.
You can easily re-add the networks that are missing using the instructions [here](/configure/networks/how-to-add-a-custom-network-rpc).
---
# How to add a network
URL: https://support.metamask.io/configure/networks/how-to-add-a-custom-network-rpc/
> Learn about supported networks in MetaMask and how to add them or set up a custom network manually.
MetaMask lets you connect to many different networks. Some are pre-enabled while others appear under ‘Additional networks’ in the network selector and can be added with the ‘+’ icon. Check whether the network is already supported before adding it manually.
:::tip[Supported networks]
Ethereum • Bitcoin • Linea • Base • Solana • Tron • Polygon • BNB Chain • Arbitrum • Monad • Robinhood Chain • OP • Sei • Avalanche • zkSync Era • MegaETH • HyperEVM • Tempo
:::
### Adding a popular network {#adding-a-popular-network}
On both Mobile and Extension, you can easily add several networks with just a click:
1. Click on the menu in the top right and select 'Networks'.
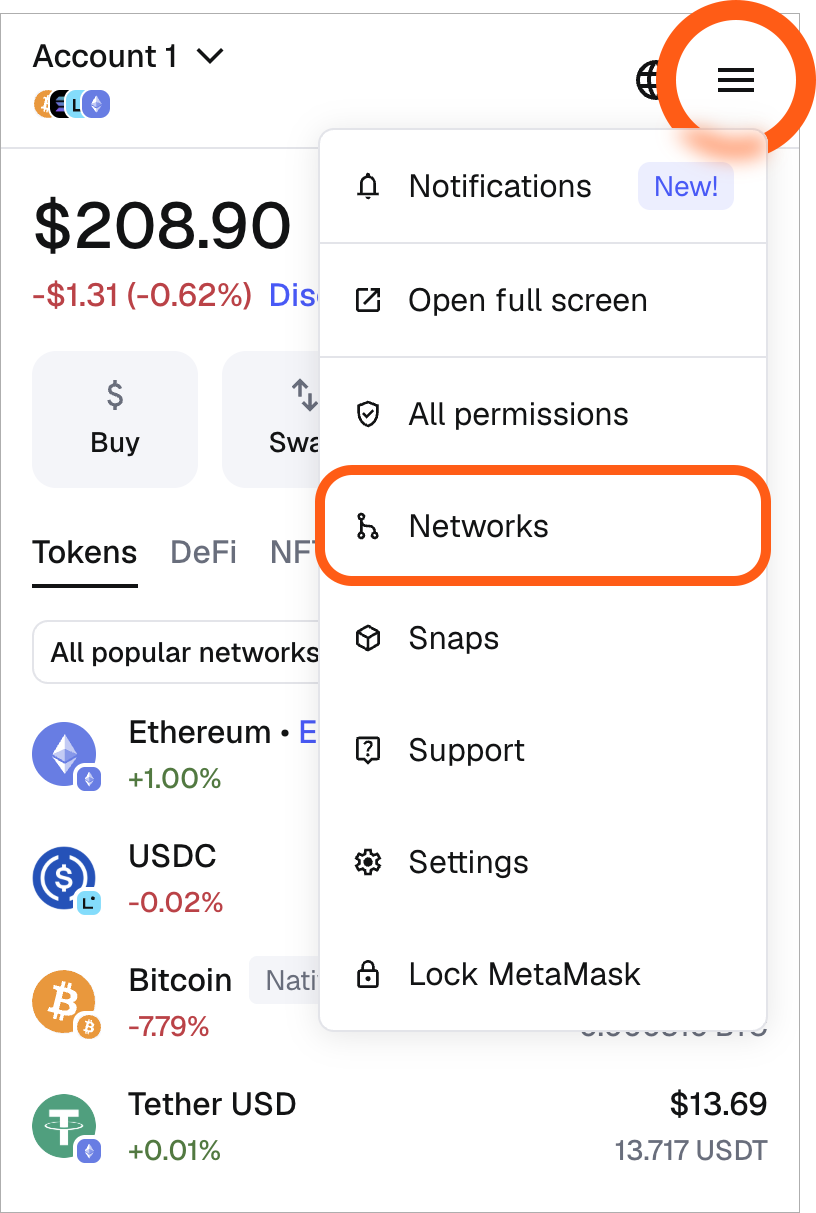
2. Scroll down until you see the 'Additional networks' section and click 'Add' next to the network you wish to add.
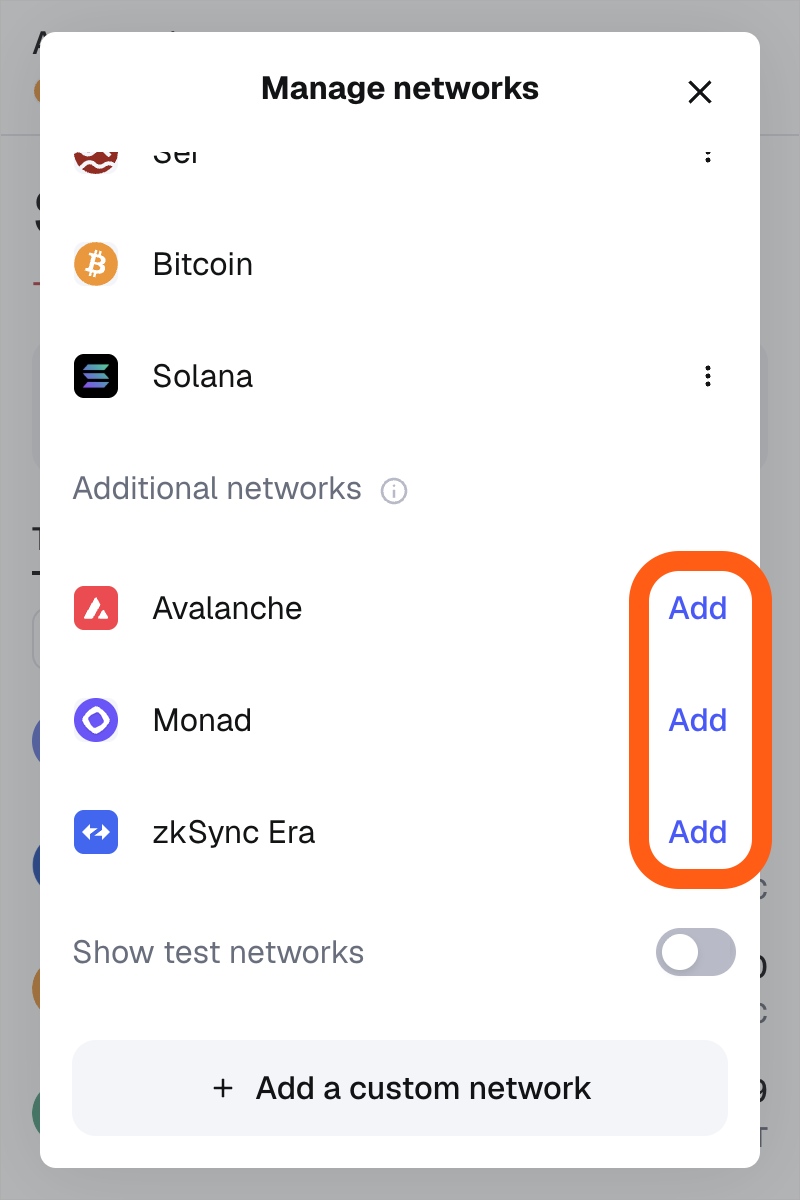
Alternatively, you can also search for the network to add in the search bar.
1. Tap the networks dropdown at the top of the 'Tokens' tab.
2. Here you'll see a list of networks that you've already added. Scroll down to the 'Additional networks' section at the bottom of the screen.
3. Tap the '+' icon to add a network, and you'll be prompted to confirm your selection. All done!
### Adding a network manually {#adding-a-network-manually}
If you don’t see a desired network in the list, you can follow these instructions to establish the network connection manually:
1. Click on the menu in the top right and select 'Networks'. This will display a list of networks that you've added already.

2. Click 'Add a custom network'.
3. A screen will appear where you can enter the details of the network you wish to add. Click 'Save' to add the network.
1. Tap the networks dropdown at the top of the 'Tokens' tab.

2. Switch to the 'Custom' tab.
3. Tap on 'Add a custom network'.
4. Fill in the network's details:
After performing the above steps, you can see the custom network in the network selector.
### Adding or editing RPC URLs {#adding-or-editing-rpc-urls}
The initialism RPC stands for remote procedure call, a set of protocols that allow a client (such as MetaMask) to interact with a blockchain. You can add multiple RPC URLs for a single network and edit the default RPC URL from your list of networks in both Extension and Mobile settings.
:::note
Adding a custom RPC URL to Ethereum, Linea, Base, Arbitrum, or BNB Smart Chain RPC will **disable [Smart Transaction](/manage-crypto/transactions/smart-transactions) capabilities like MEV protection**. To re-enable this, you'll need to switch back to the default RPC URL from network settings.
:::
1. Click on the menu in the top right and select 'Networks'.

2. Locate the desired network you want to edit and click the 3 dots to edit.
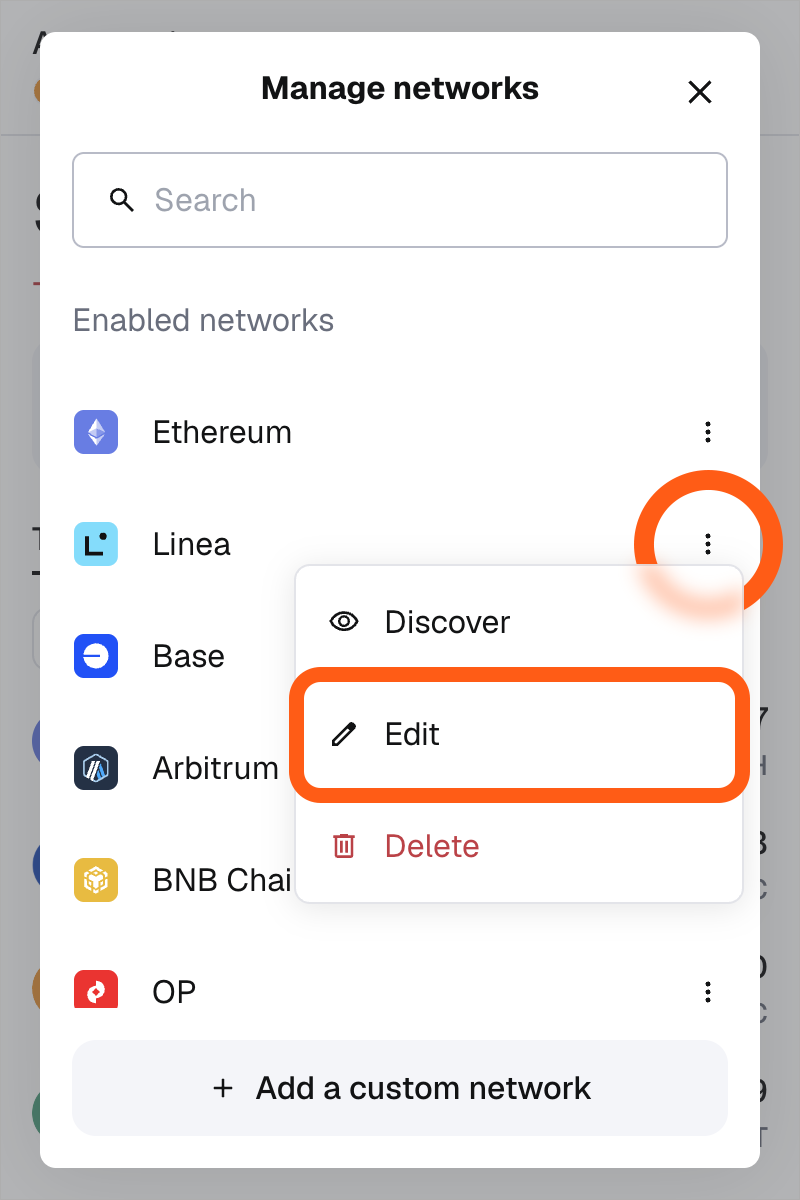
3. Select the Default RPC URL dropdown field and click “Add RPC URL”.
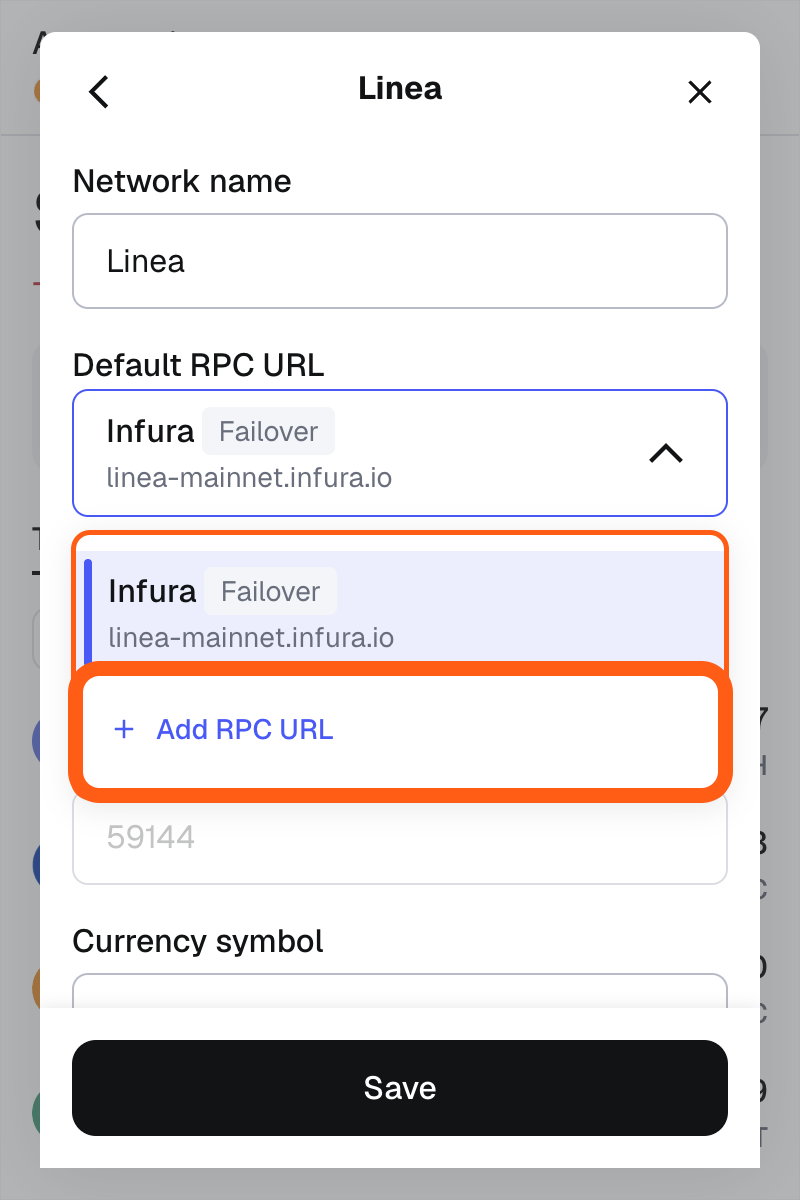
4. Enter the URL, nickname, and save your configurations.
1. Tap the networks dropdown at the top of the 'Tokens' tab.

2. Click the 3 dots by the network you want to edit and tap "Edit".
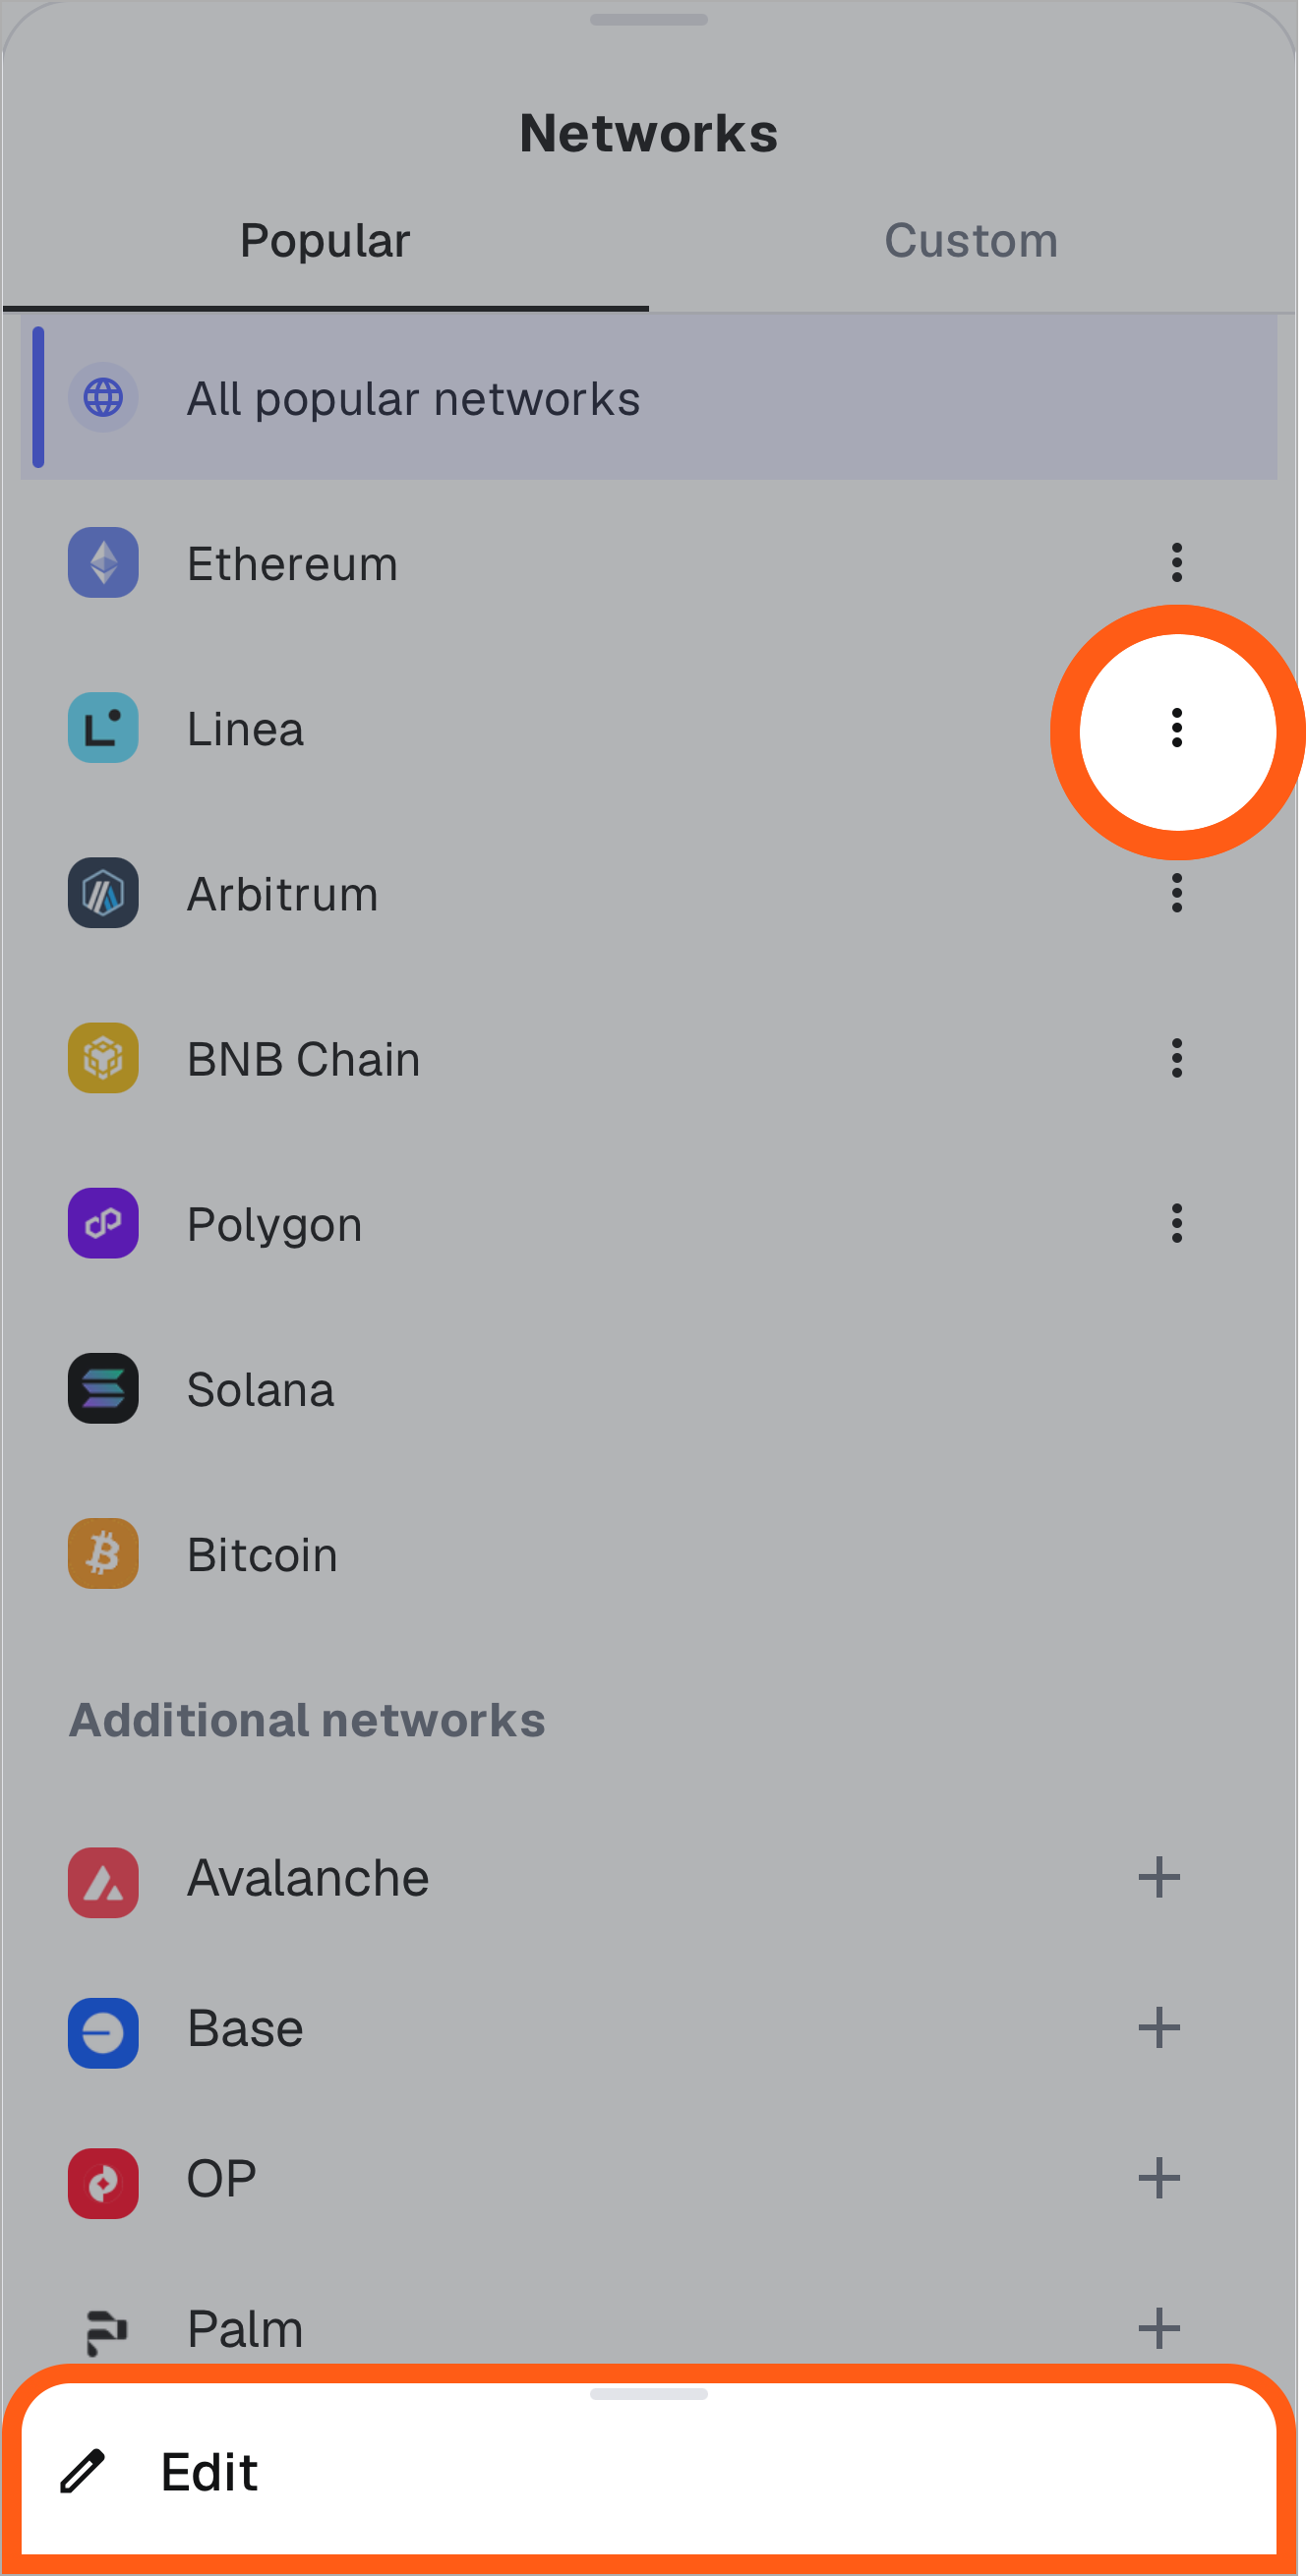
3. Select the RPC URL dropdown field and click “Add RPC URL”.
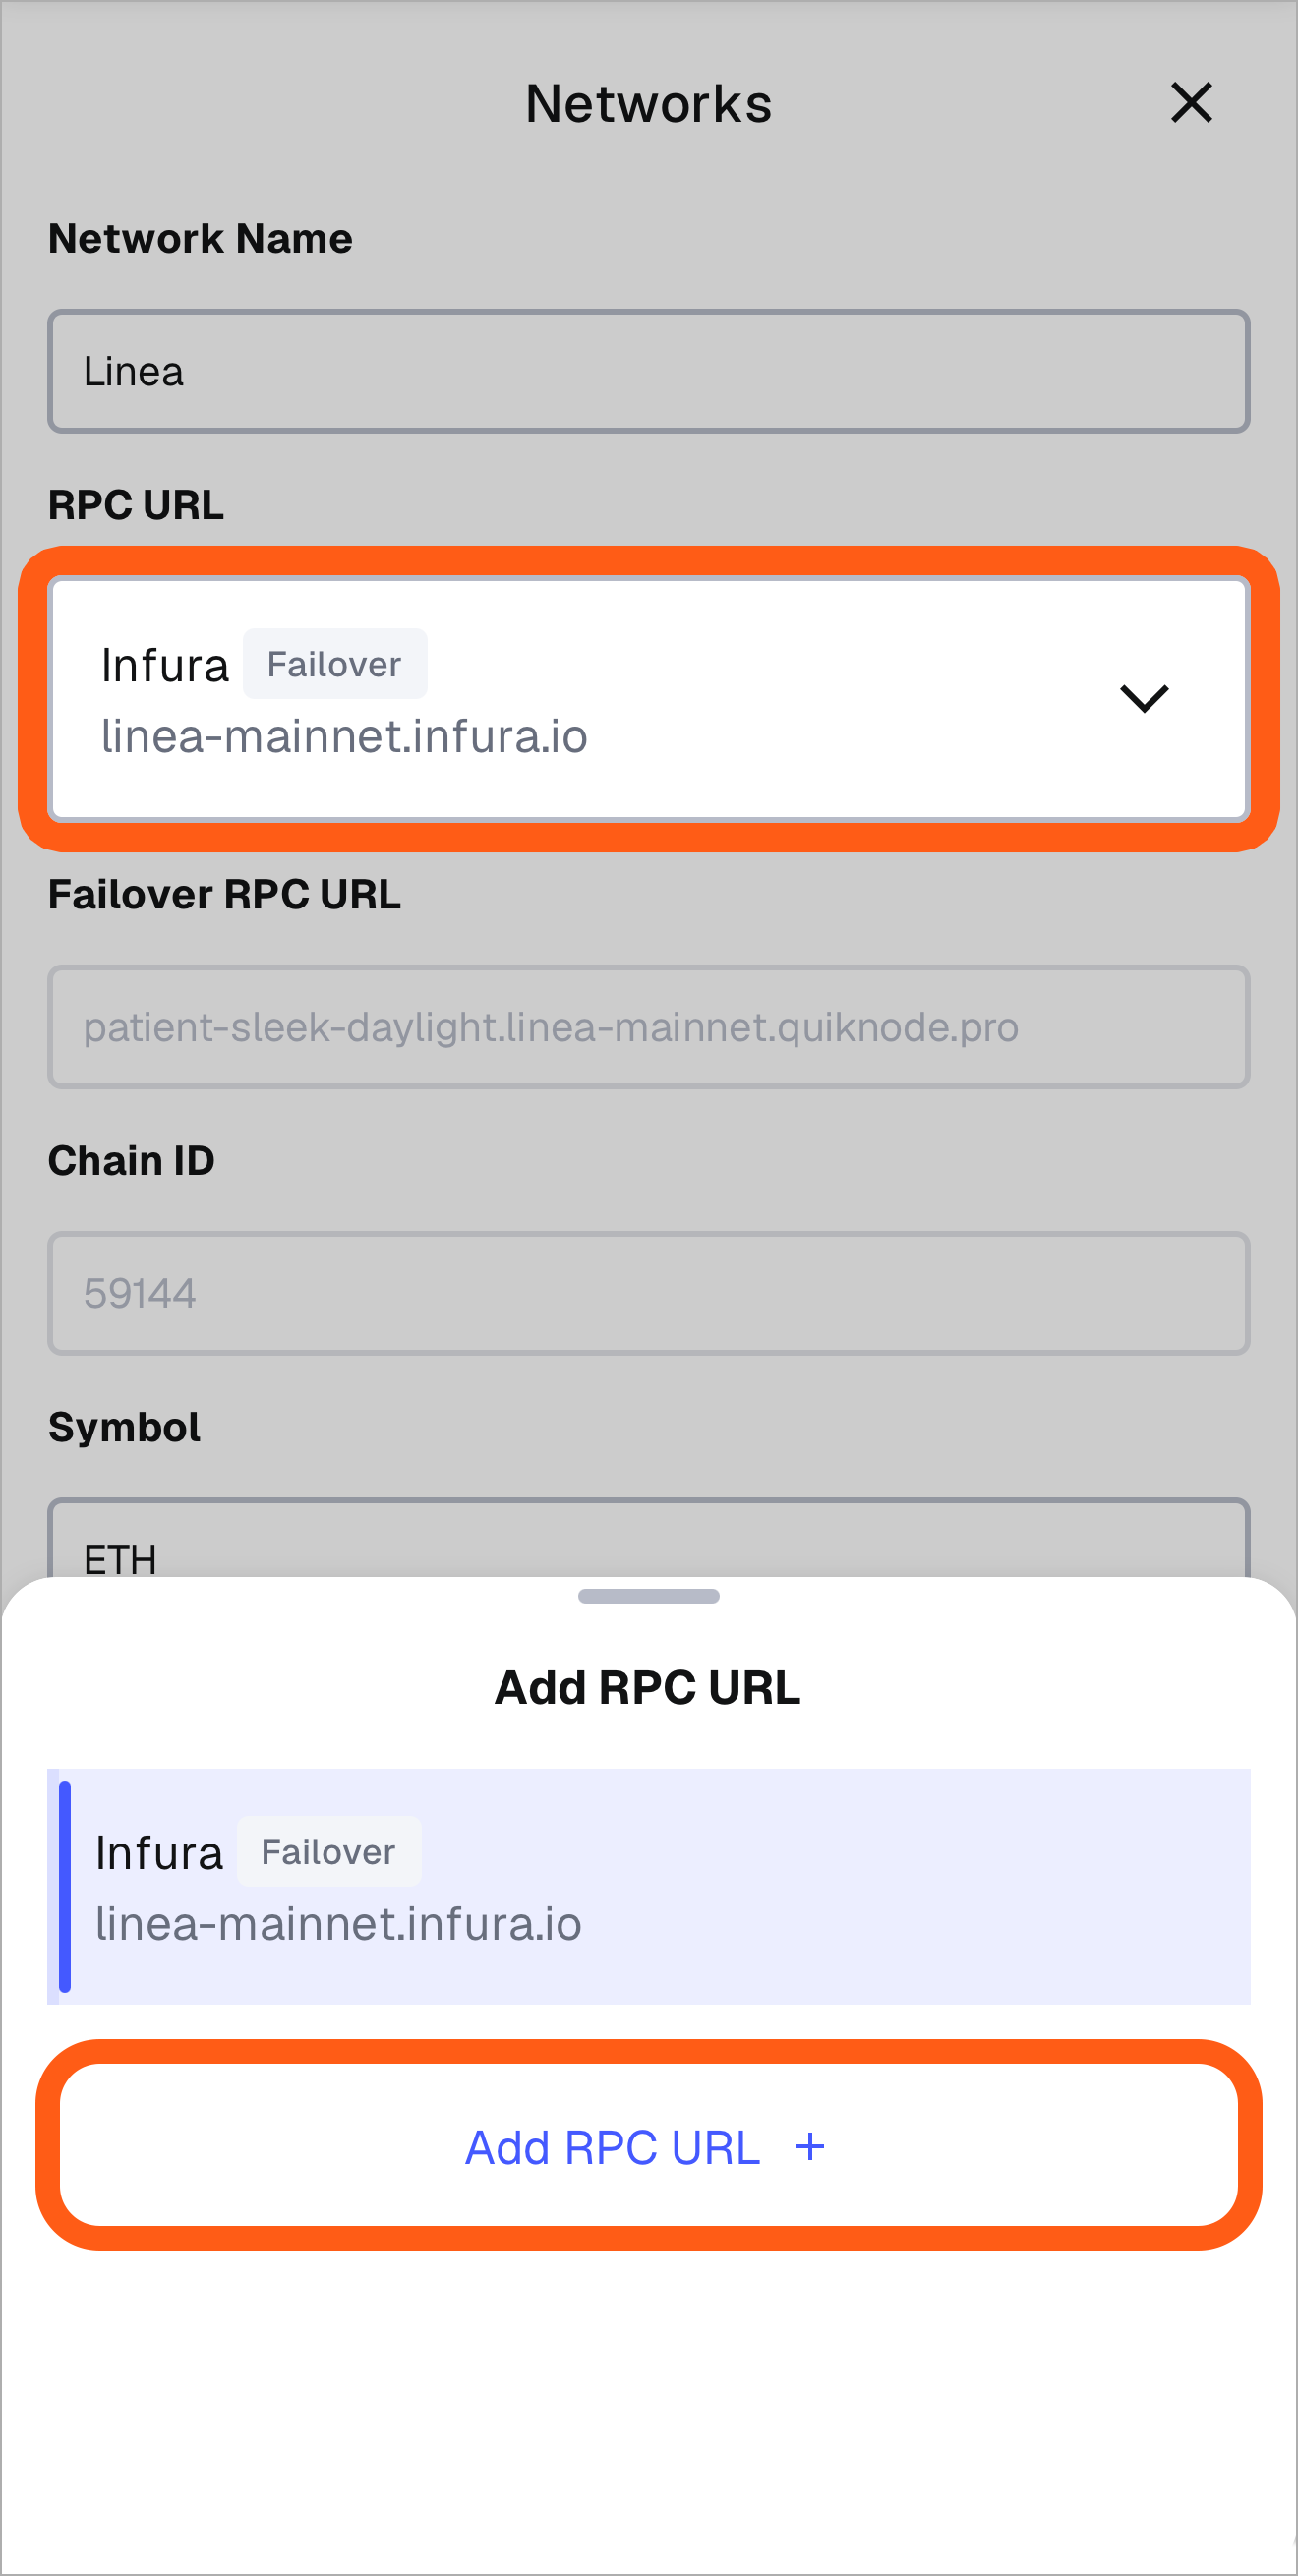
4. Enter the URL, nickname, and click “Save” to save your configurations.

You can now toggle between various RPC URLs when you want to switch providers. To delete any RPC URL, follow the same steps above and click on the trash bin icon to delete.
:::info[Networks across devices]
Adding a network on one device does not mean it will appear on another device when accessing the same account. If you add it on Extension, it will not automatically be added to your MetaMask Mobile app yet, and vice versa.
Custom networks will also need to be re-added if you uninstall the browser extension or mobile app (after which you'd need to [restore your wallet](/configure/wallet/how-to-restore-your-metamask-wallet-from-secret-recovery-phrase) using your Secret Recovery Phrase).
:::
### Adding via Chainlist {#adding-via-chainlist}
**Please note we do not maintain the network information on Chainlist**. Make sure the network details are accurate before adding them.
For another way of adding networks to MetaMask, go to [chainid.network](https://chainid.network/), where you can connect MetaMask and add networks with a few clicks.
1. Head to the Chainlist site at [chainid.network](https://chainid.network/).
2. Firstly, you'll need to connect your MetaMask to the site. Select 'Connect' in the top right to do so.
When successful, the address of our selected account will replace the 'Connect' button:
3. Now use the search bar to find the network you want to connect to. Once you've found it, click the button 'Add Chain'.
4. MetaMask itself will now spring into action, and will present you with an approval menu. Click 'Confirm' to proceed.
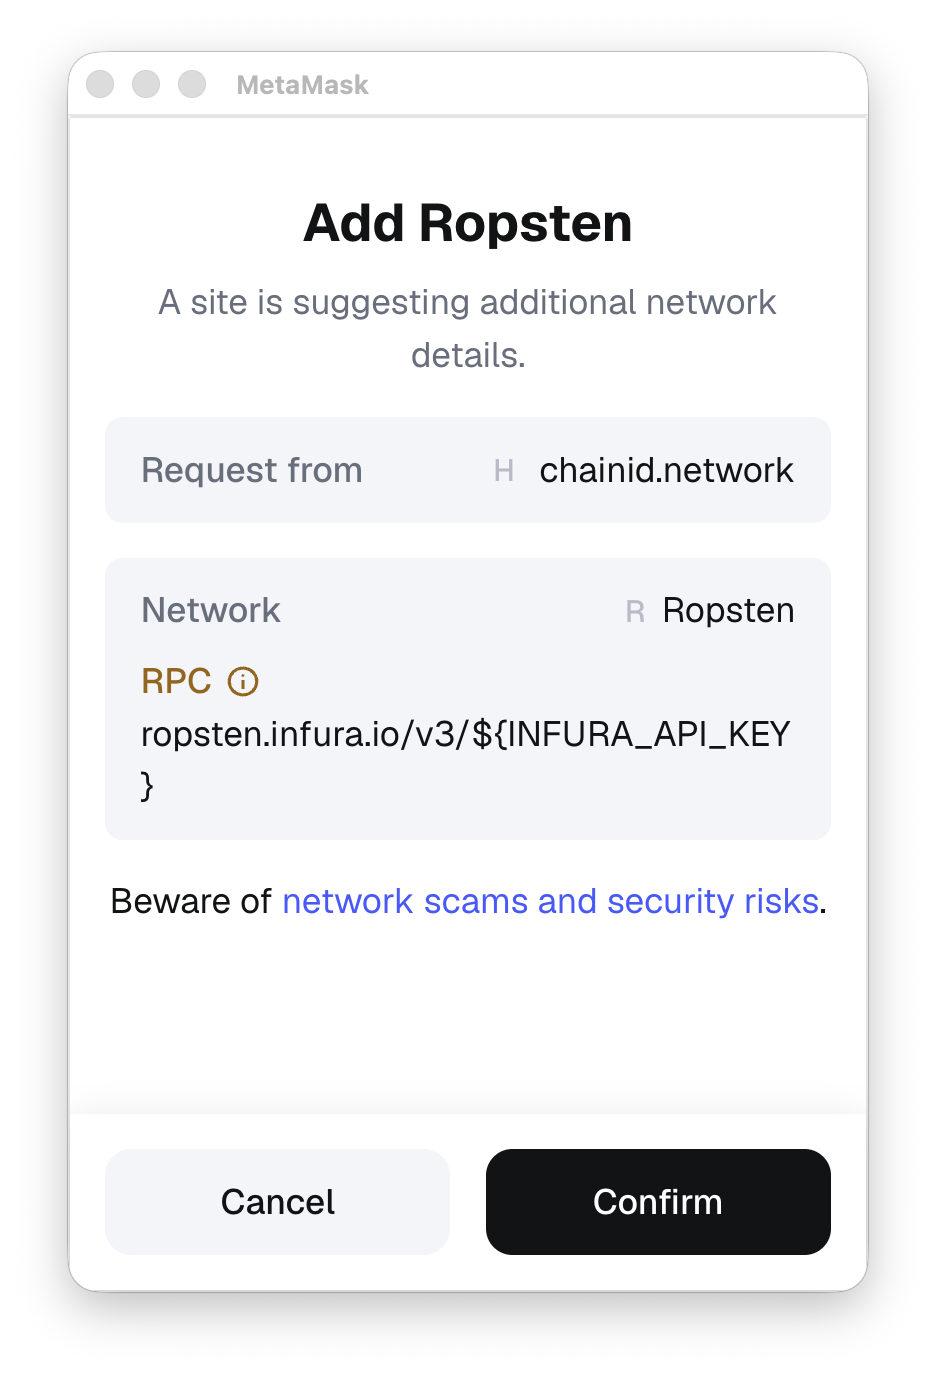
1. Head to the [Chainlist site](https://chainid.network) using the [MetaMask explore tab](/configure/wallet/how-to-use-the-metamask-mobile-browser).
When you're in the explore tab, you can search for the site using the search bar or you can tap the browser icon in the top right and navigate to [https://chainid.network](https://chainid.network).
2. On Chainlist, you need to connect your MetaMask. When your wallet is connected, the selected account address will be displayed where the 'Connect' button was. If you want to change the account, you can tap the account icon in the top right and select the account you want to use.
3. Next, find the network you want to connect to by searching. When you find the network, hit 'Add Chain':
4. Now you'll just need to approve the addition of the network.
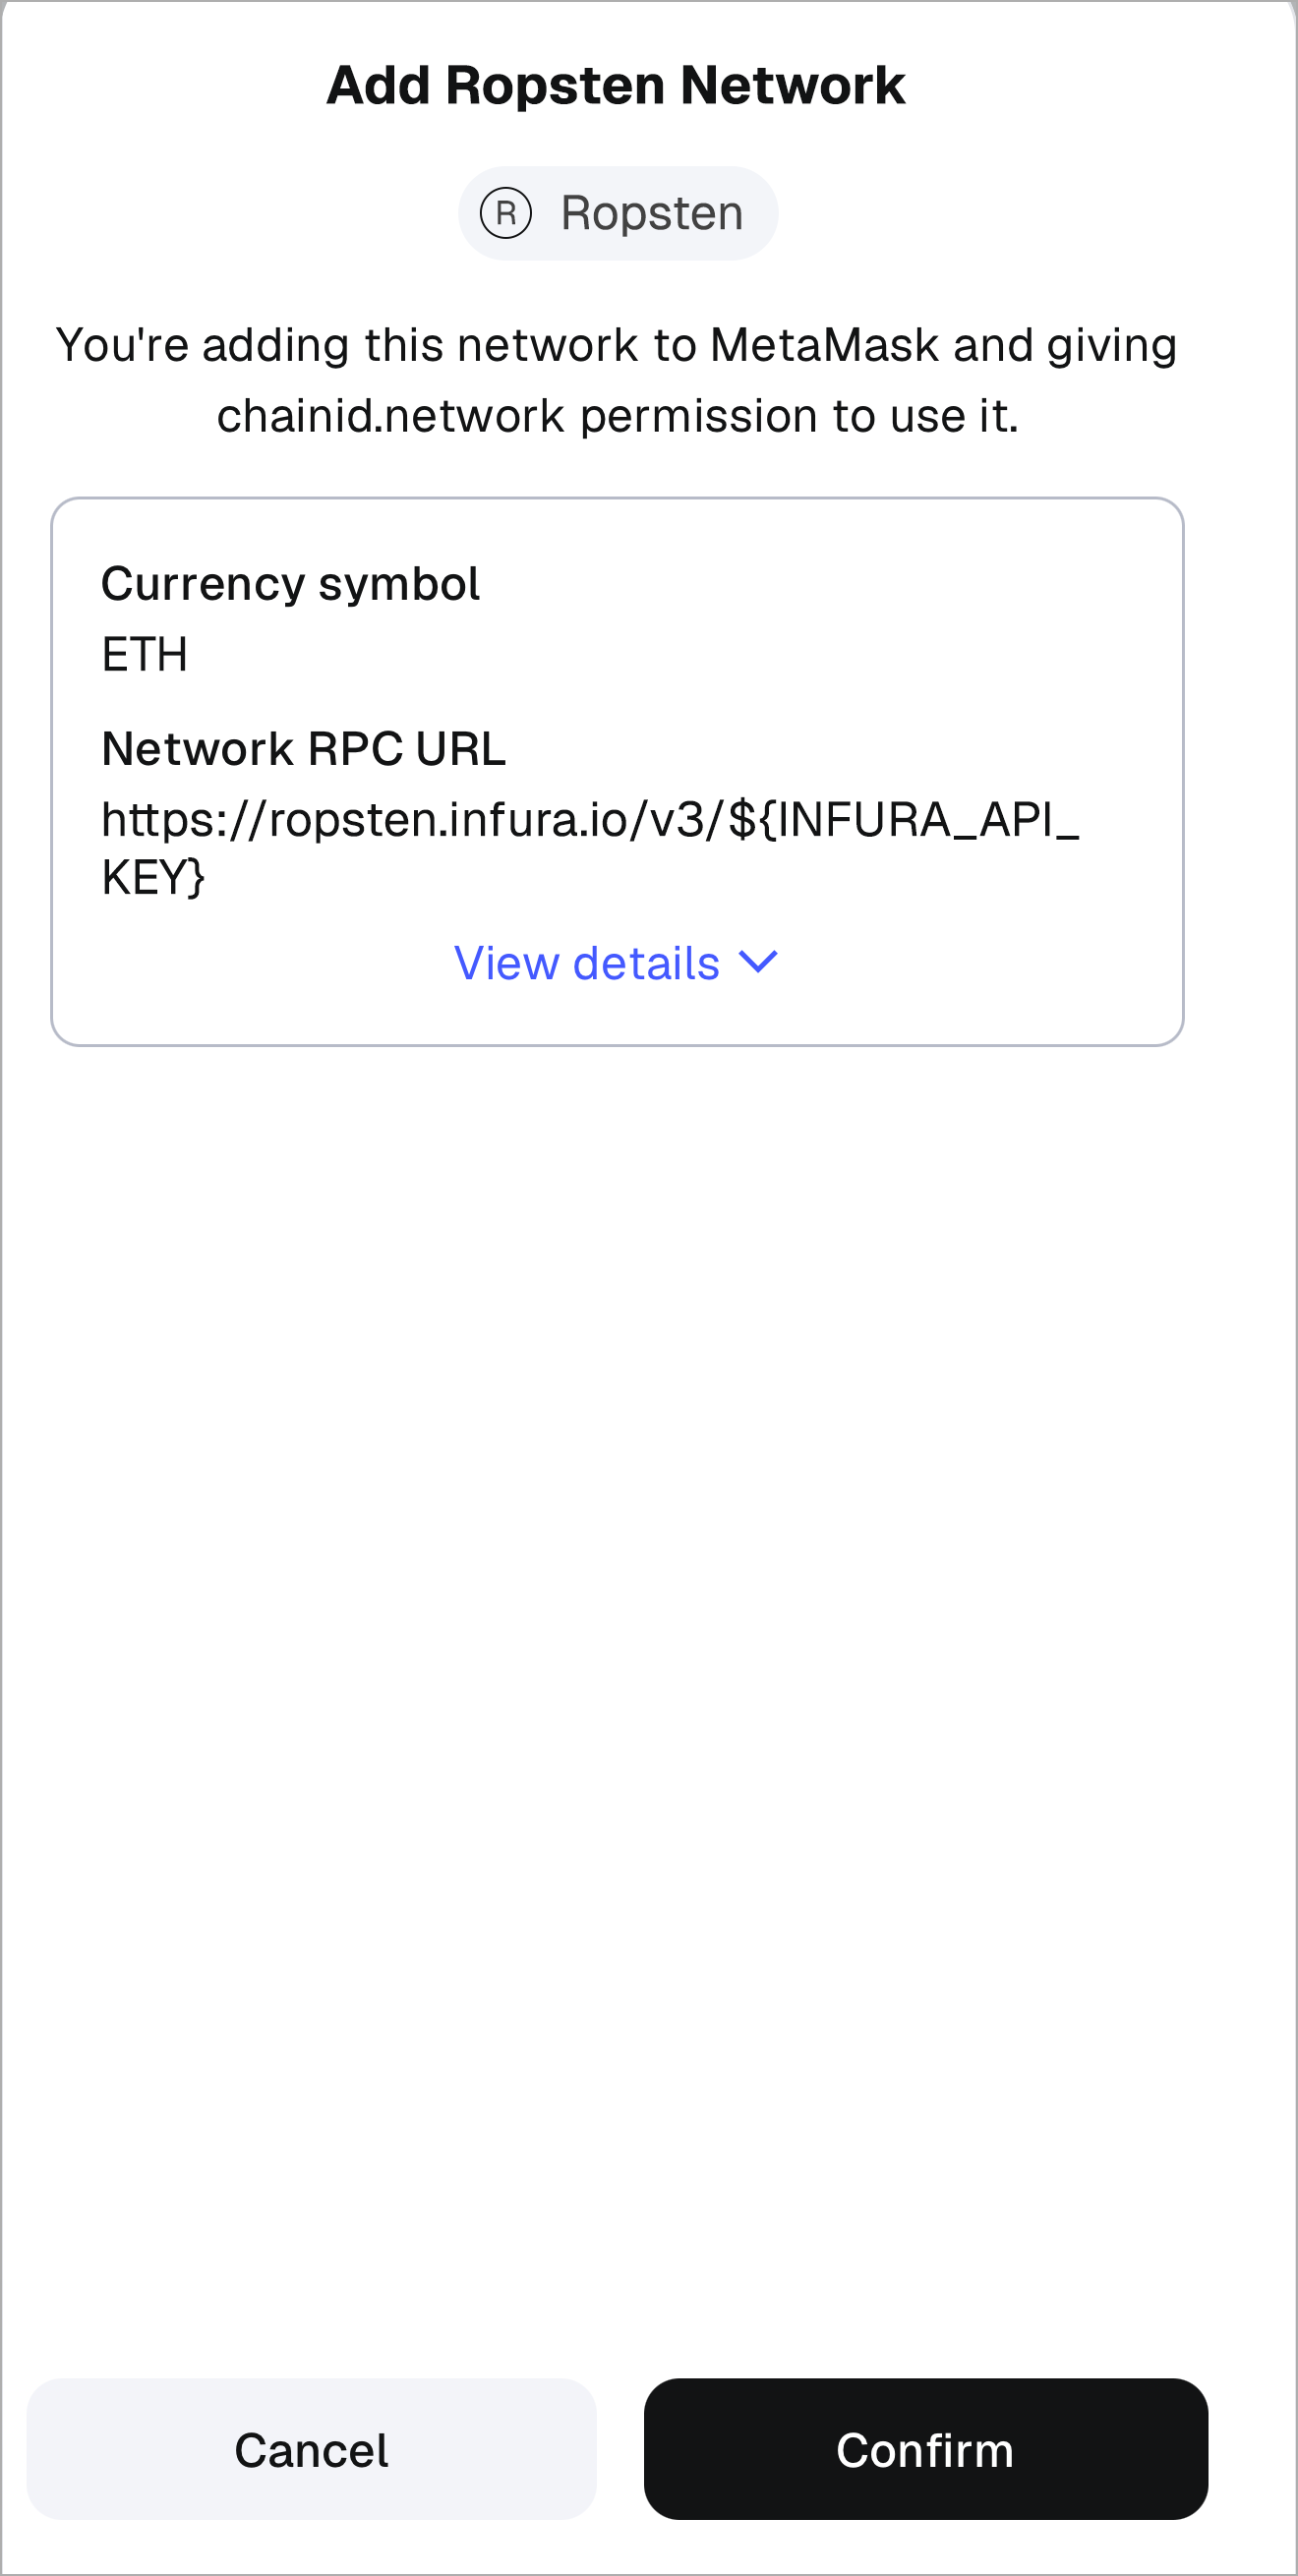
---
# How to change networks in MetaMask Extension and Mobile
URL: https://support.metamask.io/configure/networks/how-to-change-networks/
> MetaMask defaults to displaying all your crypto across networks. You can still filter your assets per network and easily switch a connected dapp's network.
MetaMask now manages network connections on a per-dapp basis. This means you can be actively connected to multiple dapps at once, with each dapp using a different network.
MetaMask also displays your assets across all enabled networks automatically. You can still filter your assets per network and easily switch a connected dapp’s network from your home screen.
:::info[Adding/customizing networks]
If you’re looking to add, customize, or remove networks, refer to the steps in this *[How to add a network guide](/configure/networks/how-to-add-a-custom-network-rpc/)*
:::
## How to filter assets per network
MetaMask defaults to a multichain portfolio view displaying all your crypto across enabled networks. If you want to filter assets per network:
- Click the ‘Enabled networks’ dropdown from the tokens tab
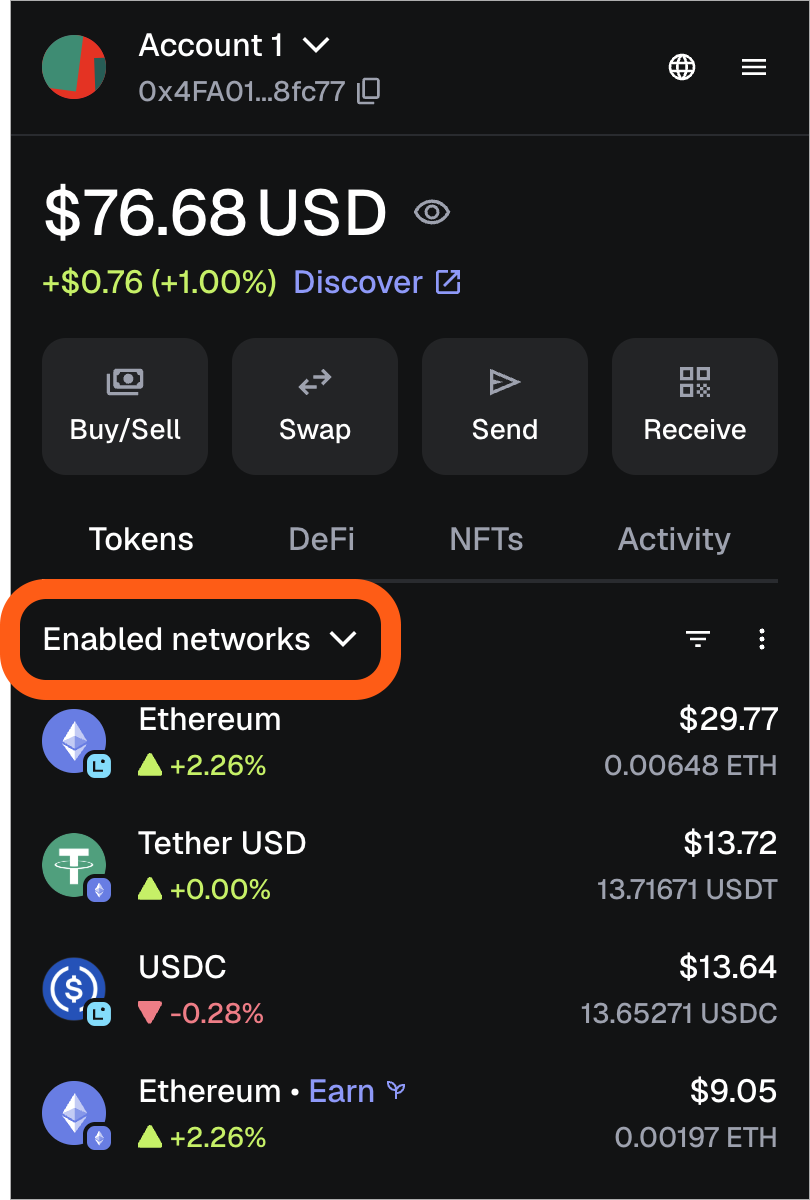
- Select which network(s) to display by checking or unchecking each enabled network
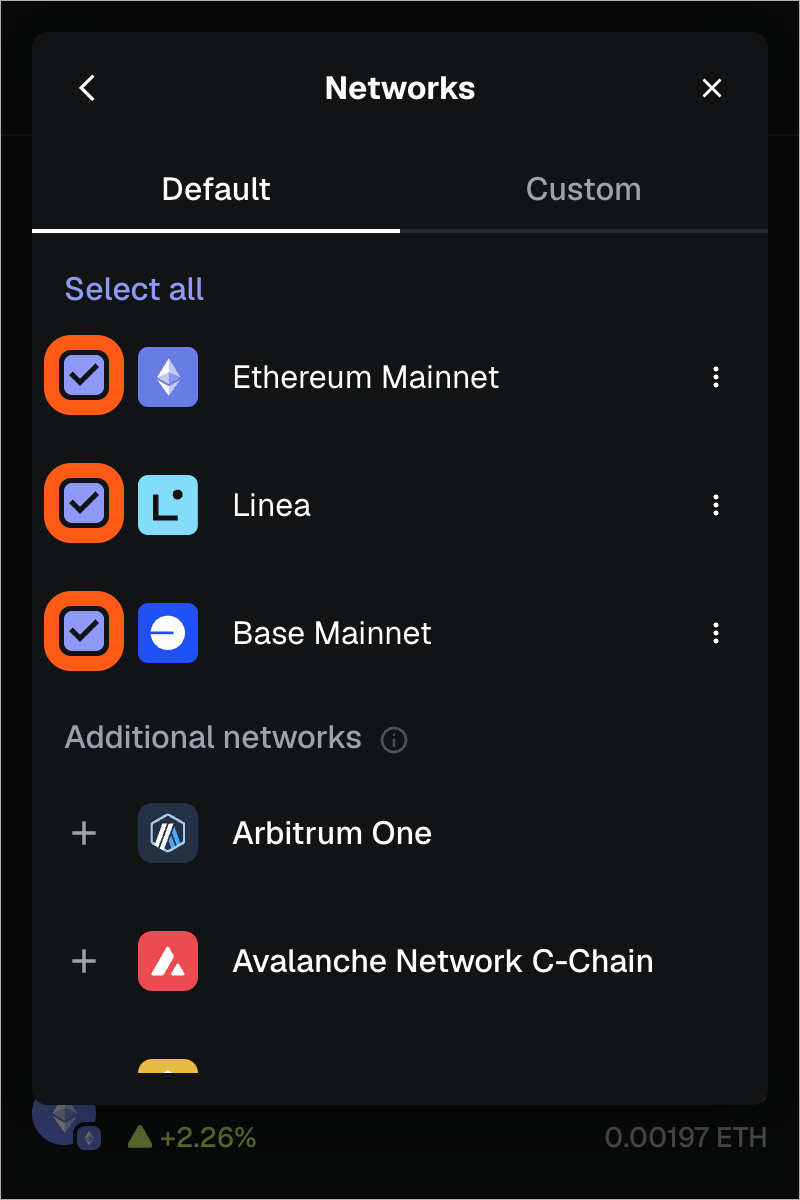
## How to switch a dapp’s network
:::note[Manage dapp permissions]
To manage which accounts and networks a dapp can access, see: *[How to manage dapp permissions](/more-web3/dapps/manage-dapp-permissions/)*
:::
To switch networks for a connected dapp:
- Click the connected dapp's icon in the top right corner. If you see the default globe icon, double-check you're connected to the dapp *(more info on that [here](/more-web3/dapps/connecting-to-a-dapp/))*
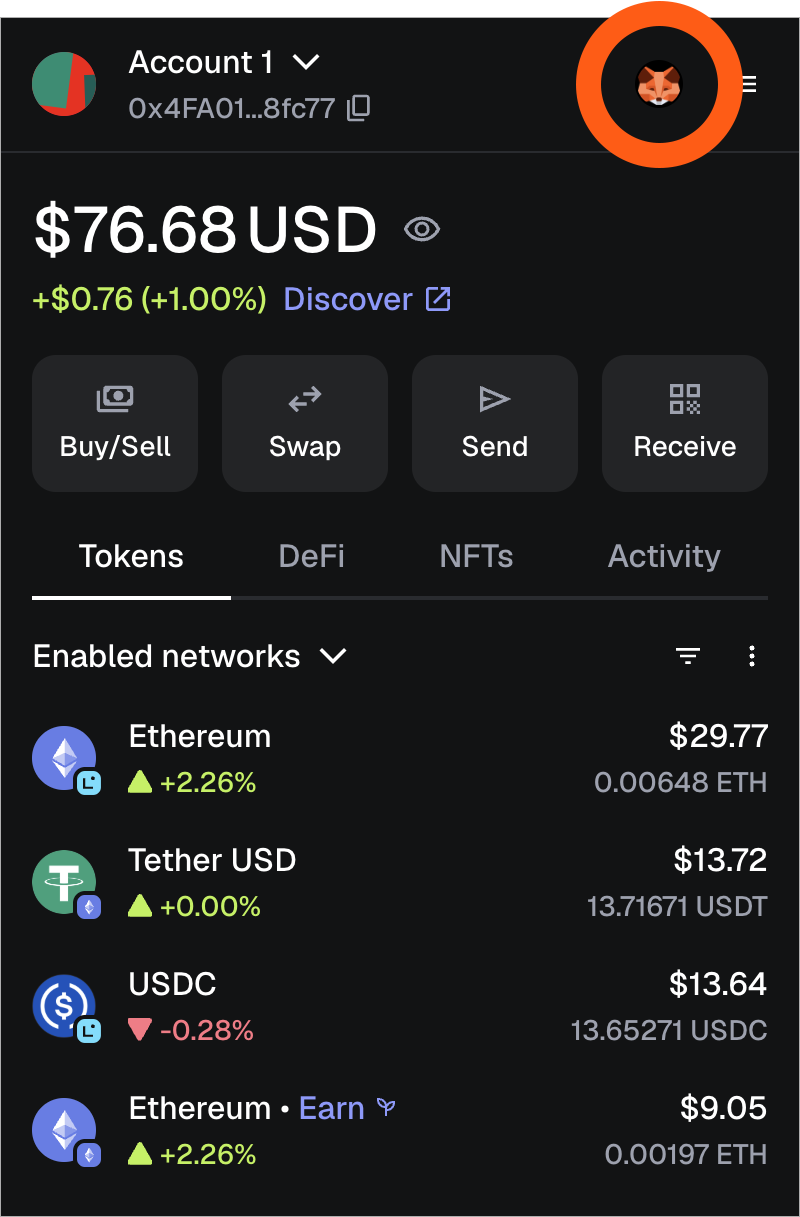
- Click the currently active network
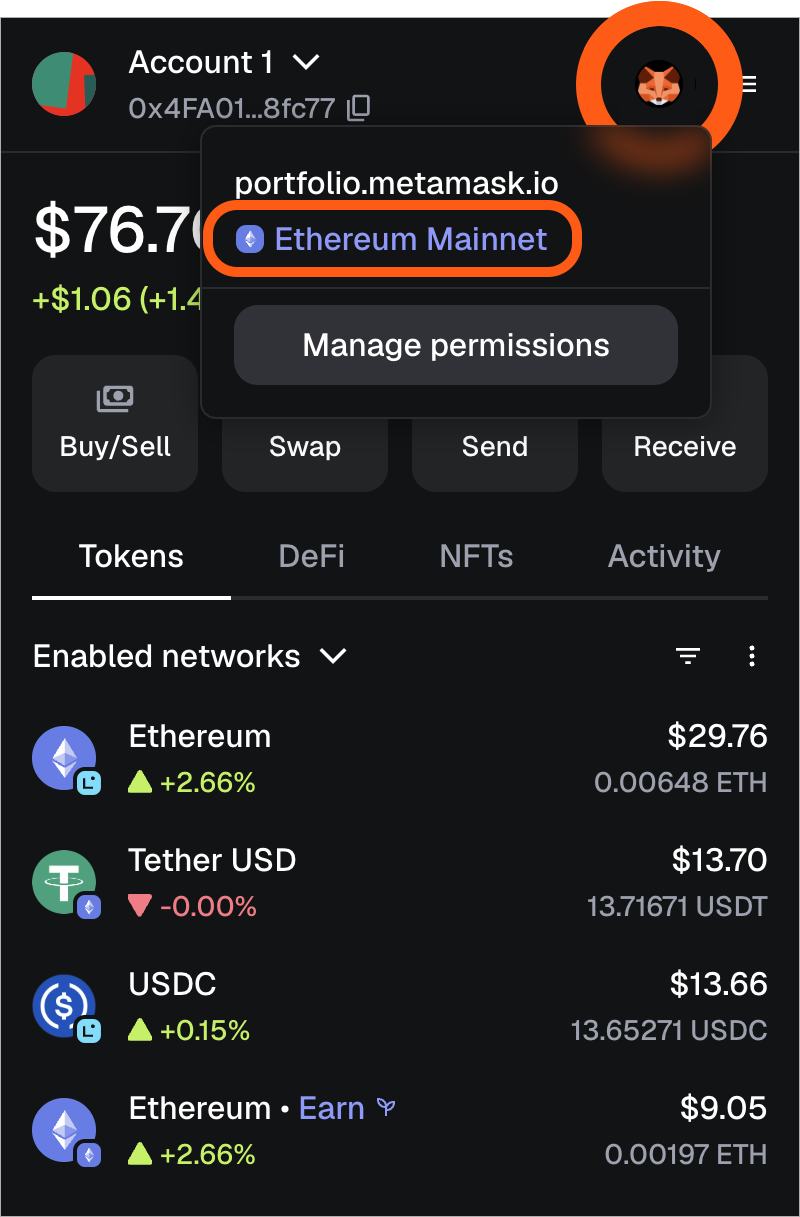
- Select the network you want the dapp to use
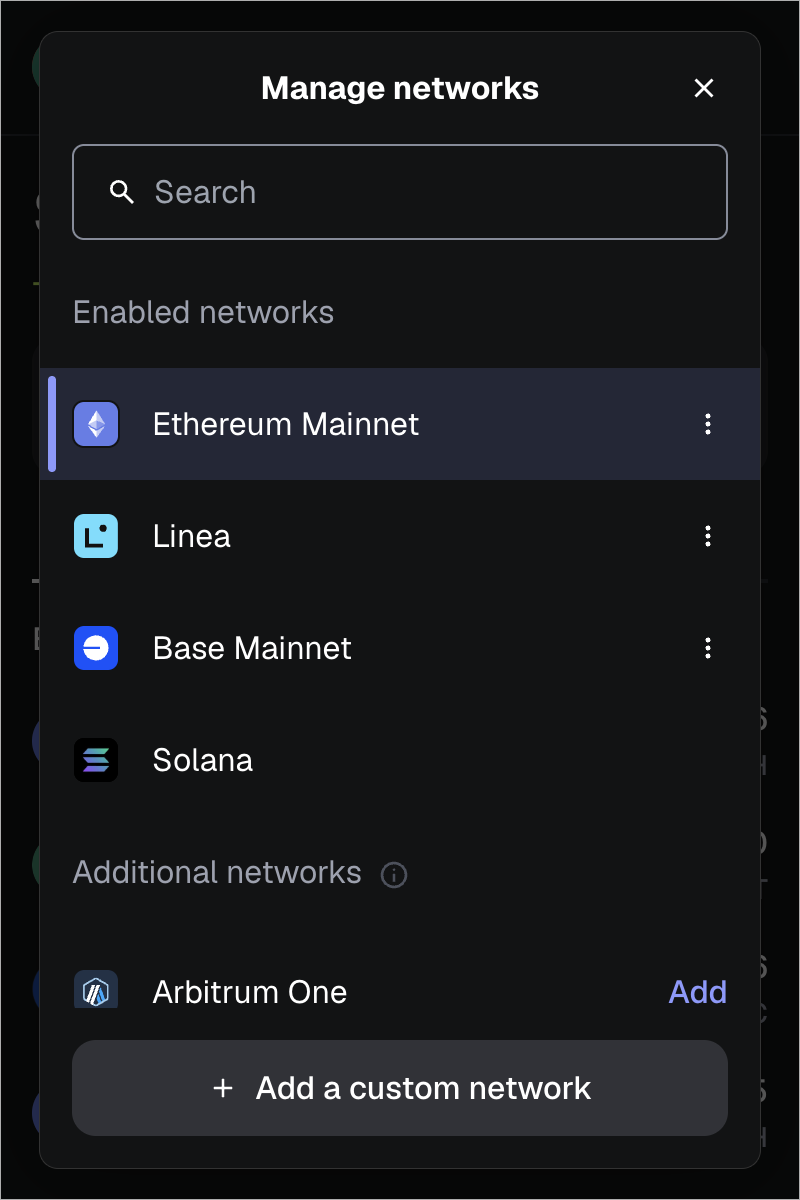
If the dapp supports the network, it will switch automatically.
---
# How to connect to Linea on MetaMask
URL: https://support.metamask.io/configure/networks/how-to-connect-to-linea-on-metamask/
> Linea is ready to use immediately in MetaMask. Find Linea resources here.
Linea is preconfigured in MetaMask, which means that you can connect to Linea without having to add it to your network configuration.
## Switching to Linea on MetaMask Mobile
1. Locate the current network drop-down at the top of the screen.
2. Tap it to view your previously connected networks, and then tap Linea to switch to it.
## Once I get connected to Linea, what can I do? {#once-i-get-connected-to-linea-what-can-i-do}
There's a lot going on! Follow some of [these guides](https://docs.linea.build/get-started) to get started, and check out [the dapps that deployed on the network](https://linea.build/apps).
You can transfer crypto to, from, and within Linea using MetaMask Swaps. [Learn more](/trade/swap/user-guide-swaps).
Here are the canonical Linea pages:
- Home page: [https://linea.build](https://linea.build)
- Documentation and guides: [https://docs.linea.build](https://docs.linea.build)
- Support: [https://support.linea.build](https://support.linea.build)
- Community: [https://community.linea.build](https://community.linea.build)
- Mirror: [https://linea.mirror.xyz](https://linea.mirror.xyz)
---
# How to remove custom networks in MetaMask
URL: https://support.metamask.io/configure/networks/how-to-remove-networks/
> All the networks you add are removable except for preloaded networks.
All the networks you add are removable. Note that preloaded networks like Ethereum Mainnet can't be removed.
1. Click on the menu in the top right and select 'Networks'.
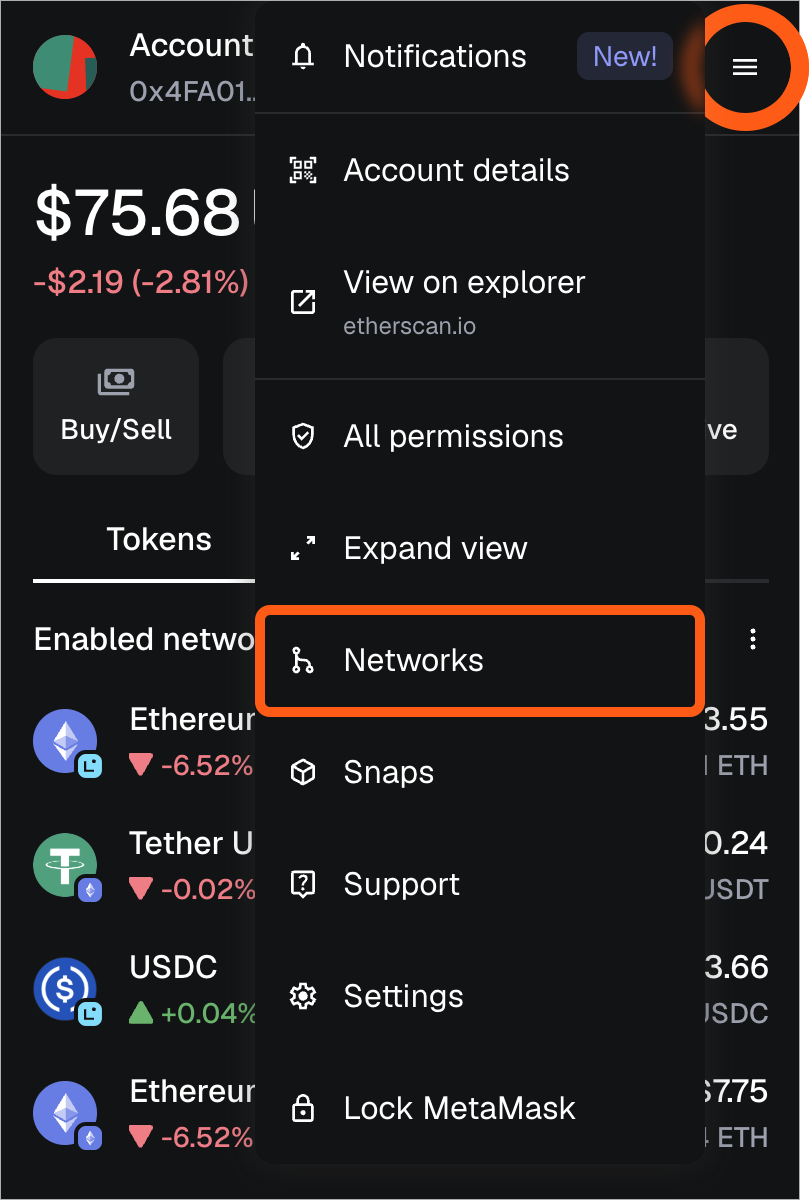
2. Find the network you want to remove and click the 3 dots next to it.
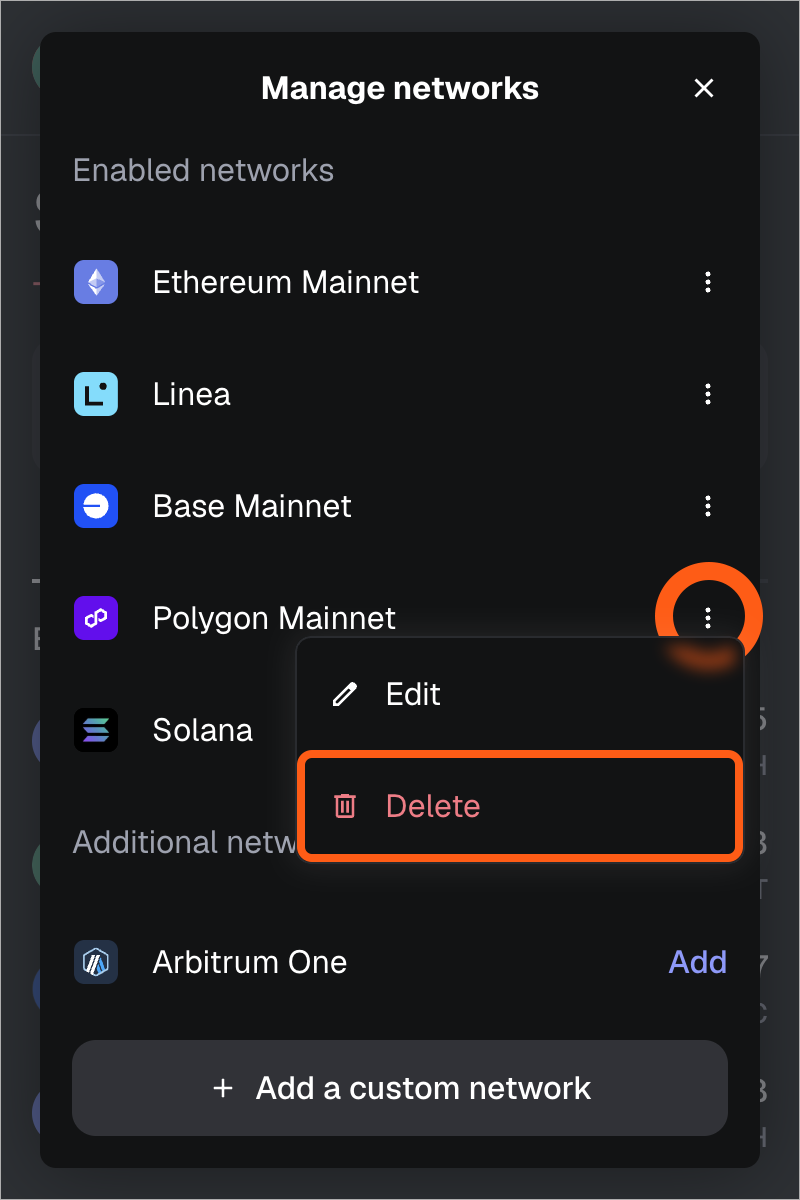
3. Click 'Delete' to remove the network.
1. Tap the menu icon in the top right and tap 'Networks'
2. You'll now see a list of networks enabled.
3. Tap the 3 dots next to the network you wat to remove and tap 'Delete'.
If you need to re-add a network, just follow the instructions [here](/configure/networks/how-to-add-a-custom-network-rpc). If you enabled testnets and don't want to see them anymore, just toggle it off in settings or the network menu. See [here](/configure/networks/how-to-view-testnets-in-metamask) for instructions.
---
# How to use non-EVM networks with MetaMask via Snaps
URL: https://support.metamask.io/configure/networks/how-to-use-non-evm-networks/
> Enable and interact with certain non-EVM blockchains using third-party plugins.
Thanks to MetaMask [Snaps](https://snaps.metamask.io/), you can now access multiple networks that are not Ethereum-based through a plug-in system.
:::tip
Navigating [Solana](/configure/networks/navigating-solana) or [Bitcoin](/configure/networks/bitcoin)? MetaMask supports these networks natively.
:::
## What networks can I use in MetaMask? {#what-networks-can-i-use-in-metamask}
Here are **just some** of the networks that are accessible on MetaMask using a Snap (in alphabetical order):
- Aleo
- Algorand (ALGO)
- Arweave (AR)
- Cosmos (ATOM)
- Filecoin (FIL)
- Hedera (HBAR)
- NEAR (NEAR)
- Polkadot (DOT)
- Starknet (ETH)
- Sui (SUI)
- Tezos (XTZ)
- Ripple (XRP)
For a full, current list of Snaps available for non-EVM networks available for use in MetaMask:
Apply the Interoperability filter and browse Snaps [here](https://snaps.metamask.io/interoperability):
That filter, `Interoperability`, refers to MetaMask being _interoperable_ with chains that have a different technical setup than Ethereum-based networks.
:::info
Keep in mind that Snaps are, generally, not built by MetaMask. For more information on this, see [our Interoperability Snaps overview article](/configure/snaps/what-are-interoperability-snaps).
:::
---
# How to view testnets in MetaMask
URL: https://support.metamask.io/configure/networks/how-to-view-testnets-in-metamask/
> Learn how to enable testnets like Sepolia. You can configure testnets and fiat values within Settings > Developer tools.
:::warning
Testnet funds do not have any real-world value. If someone is trying to convince you otherwise, you might be getting scammed. See our article on [testnet ETH scams](/stay-safe/protect-yourself/tokens-and-transactions/testnet-eth-scams) for more information.
You can toggle the ability to show fiat values for testnets on/off in your MetaMask settings, on both Extension and Mobile. This feature is **off** by default.
:::
If you want to use the Ethereum testnet Sepolia, or previously added testnets for other networks:
1. Click the menu in the top right-hand corner and select 'Networks'
2. Scroll down and toggle 'Show test networks' at the bottom of the network list
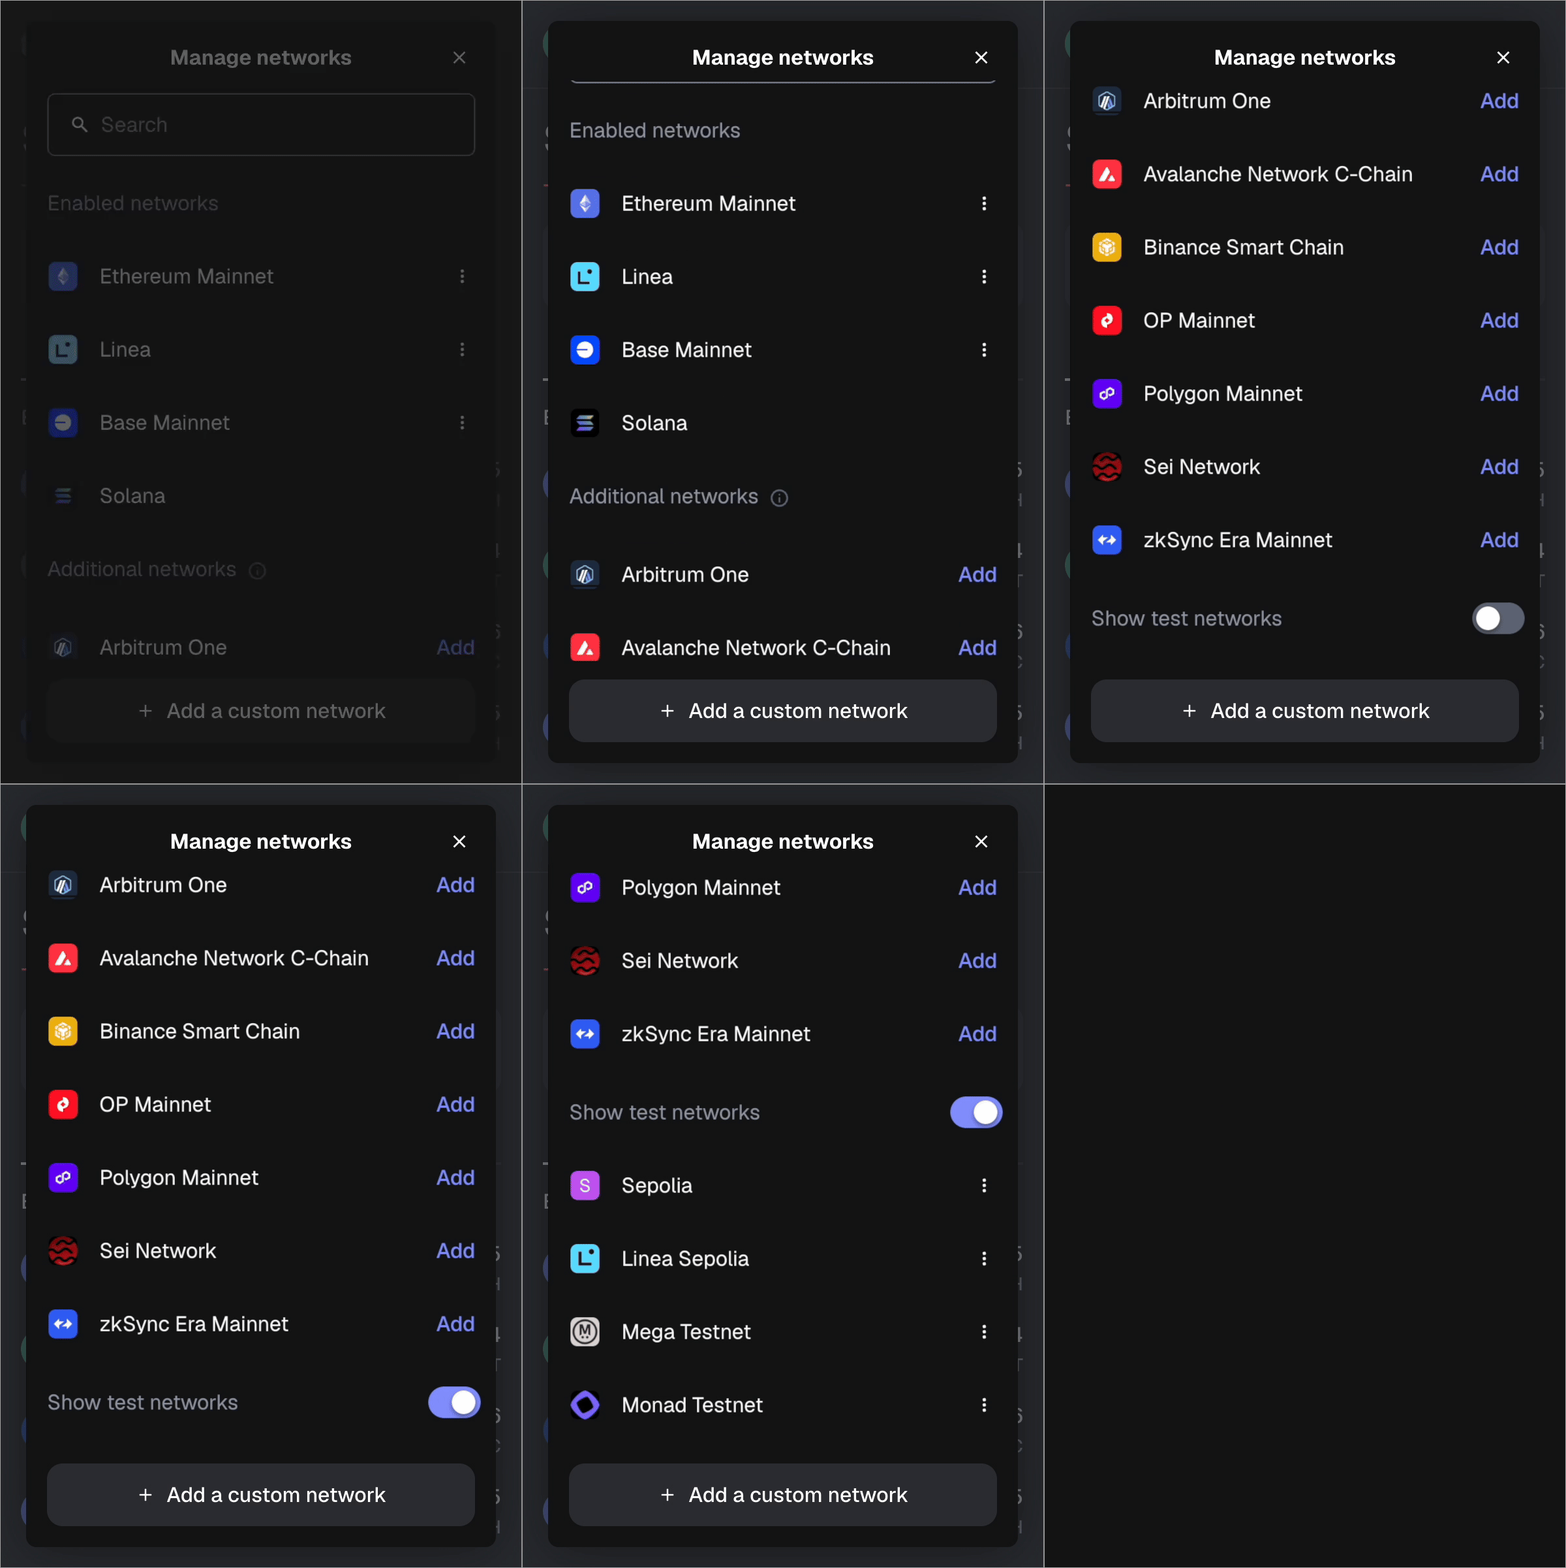
3. You can edit testnet details here by clicking the 3 vertical dots next to a network and selecting 'Edit'
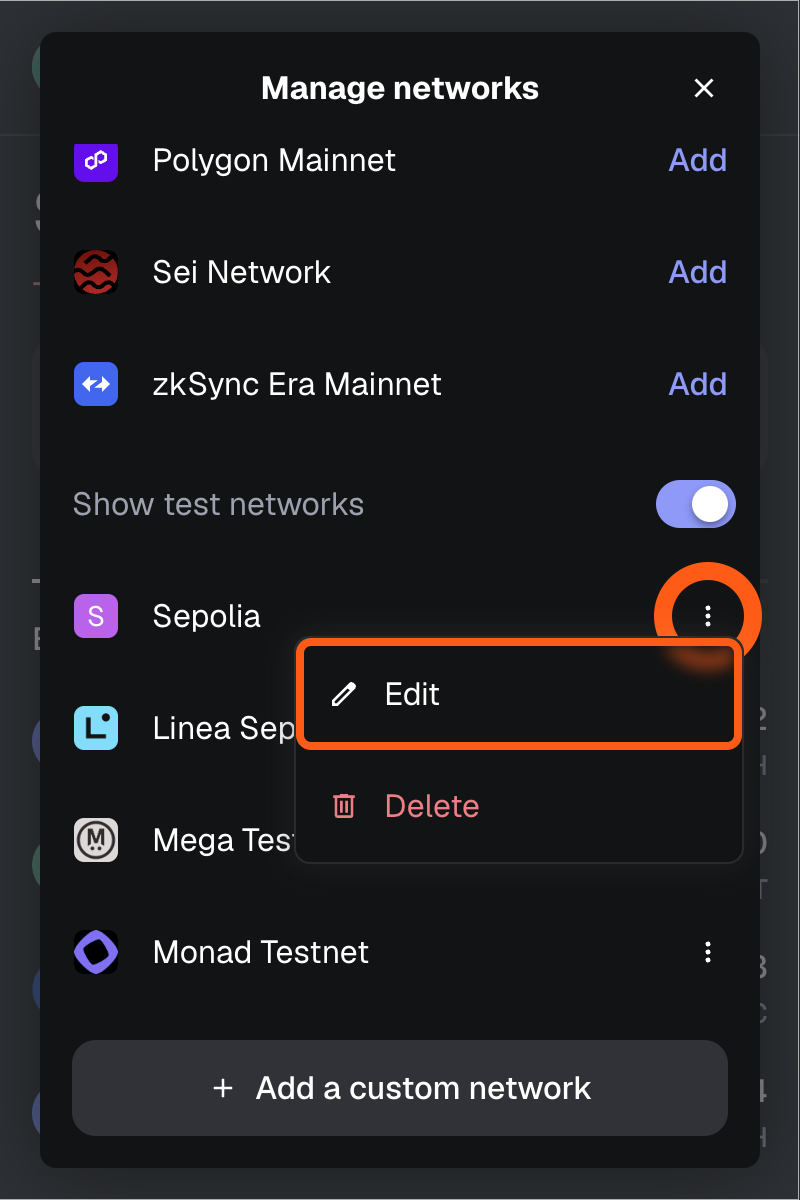
You can also add a new testnet by clicking 'Add a custom network' on this screen.
Alternatively, on Extension you can configure whether testnets are converted to fiat values by going to 'Settings' > 'Developer tools' and toggling 'Show conversion on test networks'.
---
# Navigate Solana in MetaMask
URL: https://support.metamask.io/configure/networks/navigating-solana/
> Learn how to manage your SOL & SPL tokens in MetaMask.
MetaMask supports Solana, allowing you to manage your **SOL** and **SPL tokens** alongside your EVM-supported (Ethereum) assets. This guide covers everything you need to get started.
### Finding your Solana address
MetaMask automatically generates a Solana address per account using your existing SRP.
Additionally, you can import an existing Solana account from another wallet like Phantom. See [here](#importing-a-solana-account-from-phantom-or-other-wallets) for more information.
Click the address dropdown under your account name to pull up the list of addresses. Choose Solana to copy to your clipboard.
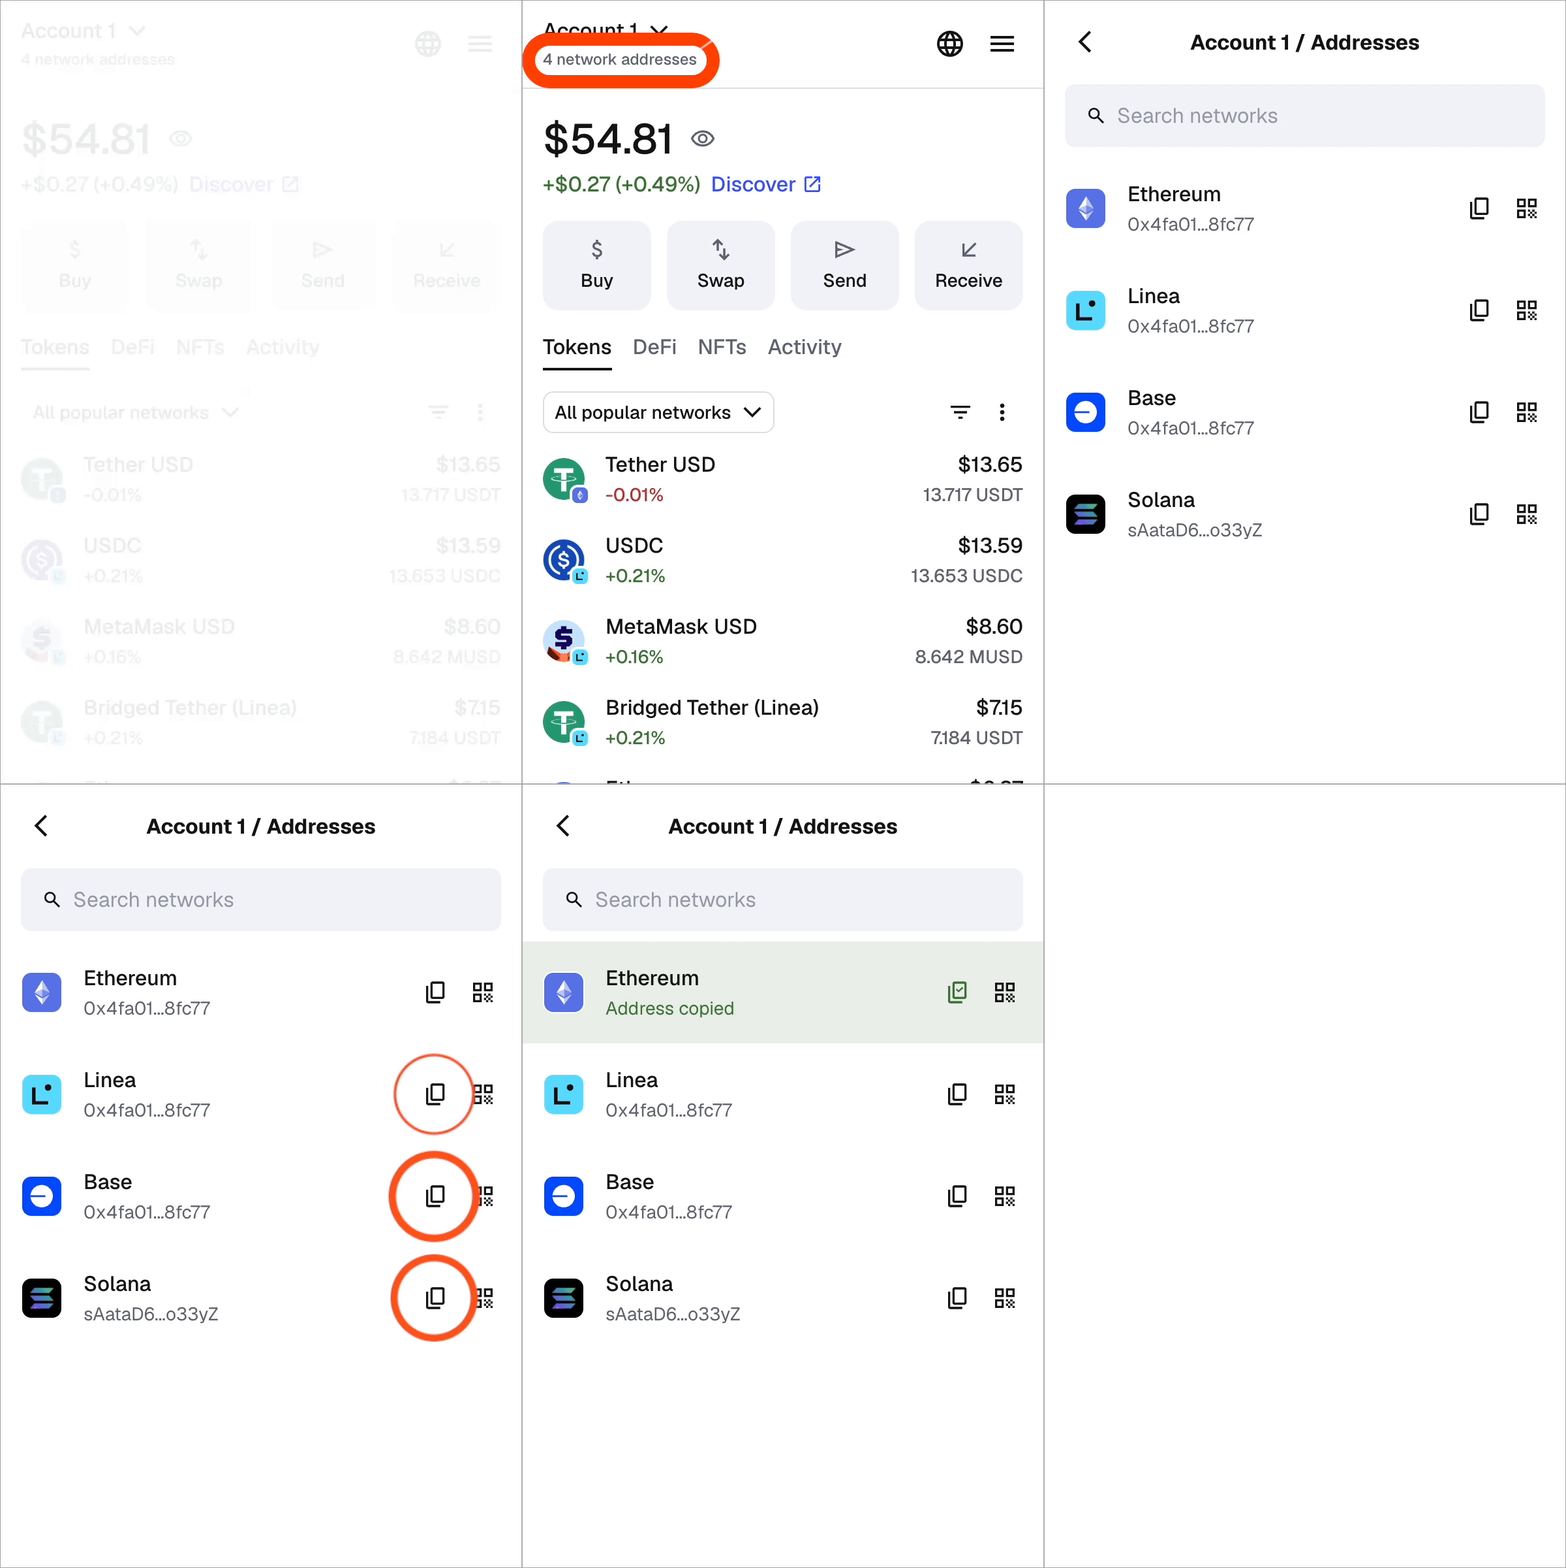
Tap the copy icon on the homepage to pull up the list of addresses. Choose Solana to copy to clipboard.
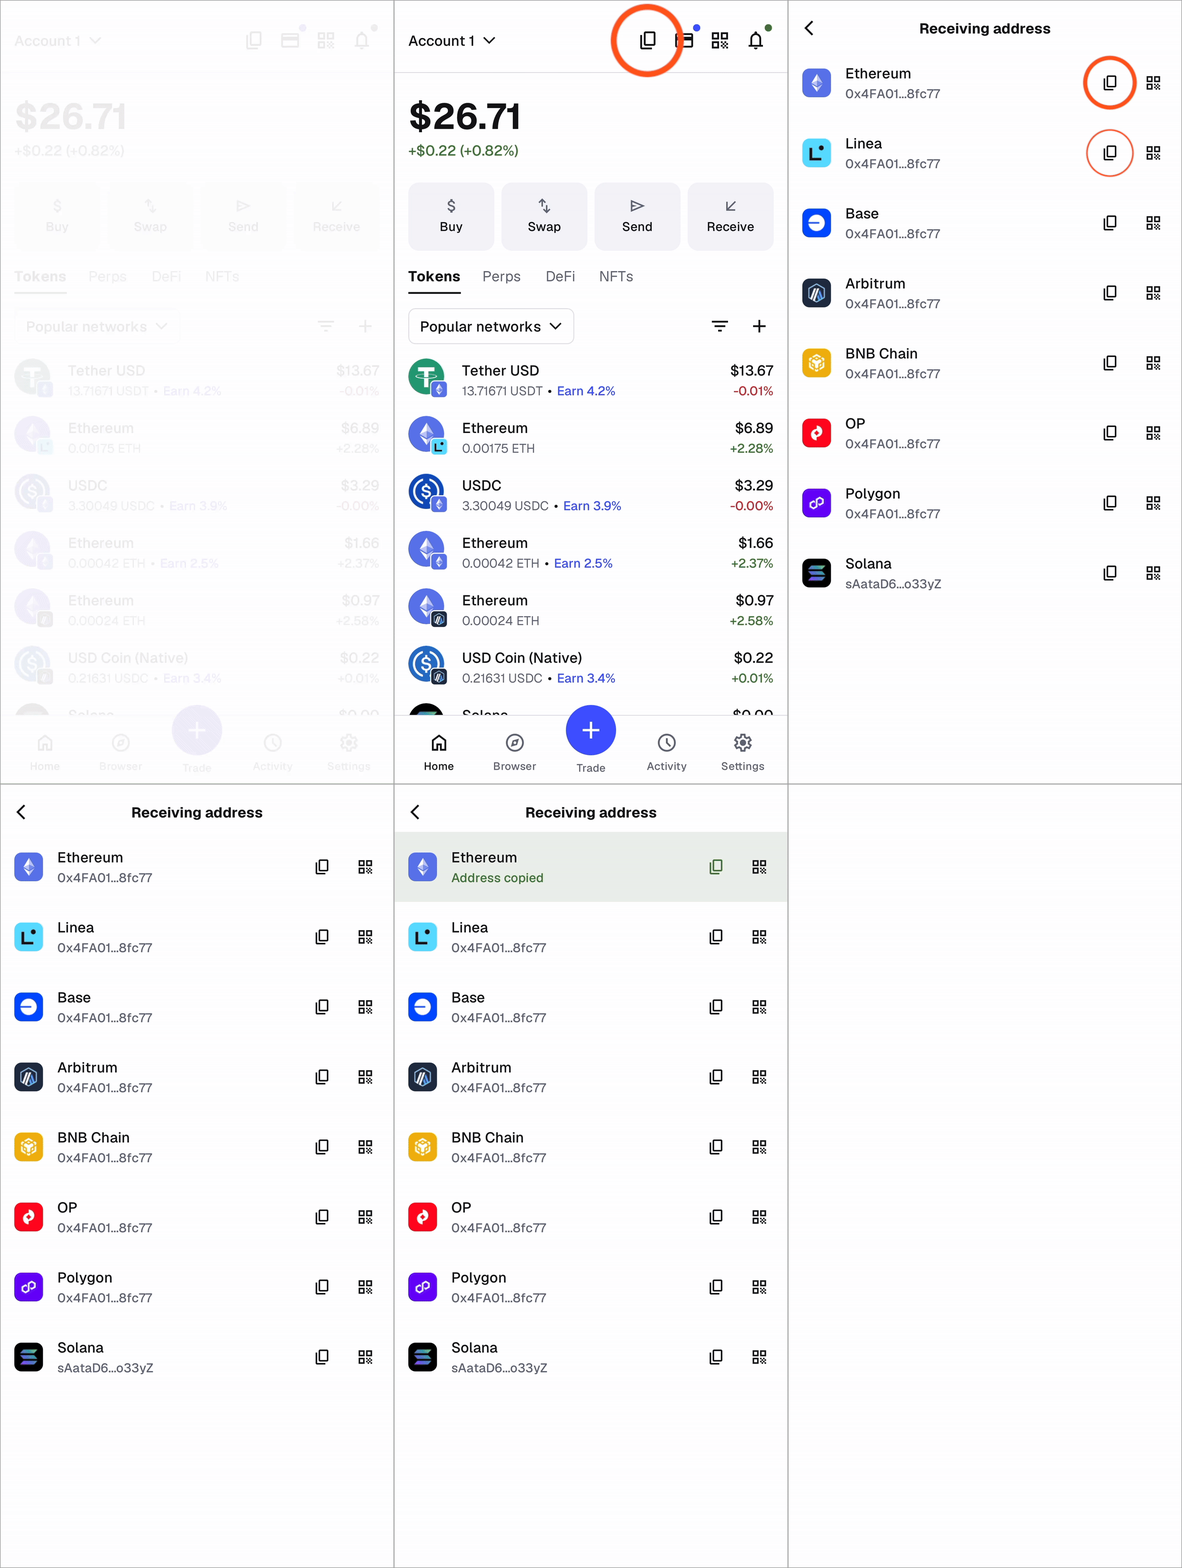
:::info
Solana accounts use Infura as the RPC provider. There is no way currently to navigate Solana with a custom RPC URL.
:::
### Importing a Solana account from Phantom (or other wallets)
You can import all your accounts to MetaMask from Phantom or other wallets by importing the Secret Recovery Phrase (SRP).
If you need to export your SRP from Phantom, follow the steps [here](https://help.phantom.com/hc/en-us/articles/25334064171795-View-your-recovery-phrase-or-private-keys-in-Phantom). For other wallet providers, see [here](/start/use-an-existing-wallet#how-to-export-srps-from-other-wallets).
Once complete, all Ethereum and Solana accounts linked to this SRP will appear within the account selector.
:::note
- You **cannot import private keys** for Solana accounts yet. Import using your SRP.
- You **cannot connect Ledger-based** Solana accounts to MetaMask yet.
:::
1. Click the account selector at the top of your wallet.
2. Select 'Add wallet' at the bottom of the list.

3. On the next page, select 'Import a wallet’ under the 'Add wallet' options.

4. Enter your 12 or 24-word SRP and click ‘Continue’ to complete the process.

1. From the wallet view, tap the currently selected account to bring up the account selector.

2. Tap 'Add wallet' at the bottom of the menu.

3. Hit 'Import a wallet'.

4. Enter your 12 or 24-word SRP, select accounts to import and tap 'Continue' to complete the process.

### How to move funds to Solana
To transfer assets to and within Solana, you can use MetaMask's built-in swap feature. It's easy! Get started with SOL and SPL tokens by clicking the 'Swap' button on your homepage:
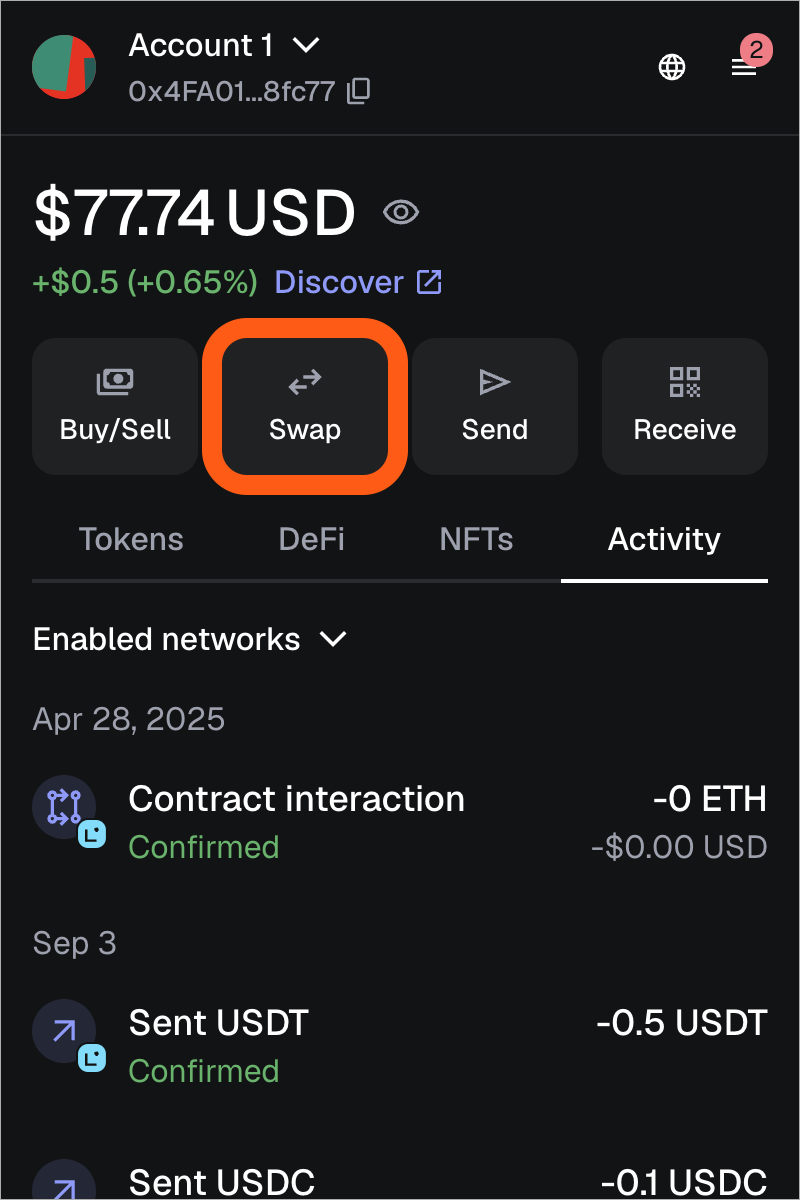
1. Select the token you want to exchange and **from** what network (Example: ETH on Ethereum)
2. Select the token you want and **to** what network (Example: SOL on Solana)
3. Enter the **amount** you want to exchange
4. Review quote and **confirm transaction**
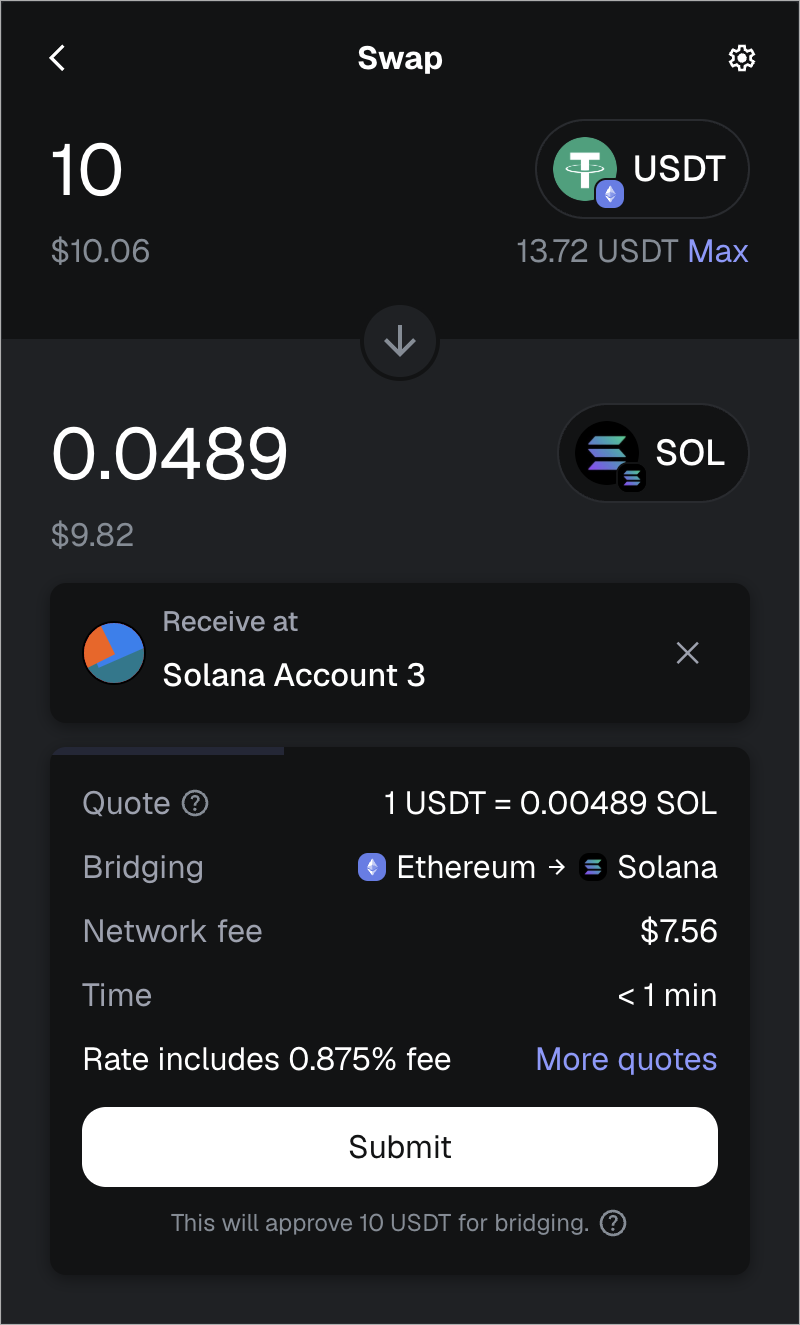
If you need more help, refer to this [guide](/trade/swap/user-guide-swaps/).
### Connecting to Solana dapps
When connecting to Solana dapps, you may need to click the 'View More Wallets' dropdown to see the MetaMask option.
Make sure you select the **latest MetaMask icon** from the list of wallets presented:
Explore the Solana ecosystem [here](https://portfolio.metamask.io/explore/networks/solana).
### Terminology differences: Ethereum v. Solana
Solana's efficiency-focused architecture results in **lower fees and faster transactions**, whereas Ethereum prioritizes **decentralization and security**, leading to higher costs but stronger **censorship resistance**. Some other differences include the following nomenclature:
| | **Ethereum** | **Solana** |
| -------------------------- | ------------------------- | ------------- |
| **Native token** | ETH | SOL |
| **Token standards** | ERC-20, ERC-721 (ex: UNI) | SPL (ex: RAY) |
| **Transaction costs** | Gas | Fee |
| **Executable code** | Smart contracts | Programs |
| **Transaction ID** | Transaction hash | Signature |
| **Execution environments** | EVM | SVM |
## Questions?
What if I created a Solana account in the past?
MetaMask switched to a [multichain account structure](/configure/accounts/multichain-accounts/) in 2025 with Extension version 13.5. and Mobile version 7.57. This means that every account now contains one EVM address, one Solana address, and one Bitcoin address (with more networks to come). It's automatically generated for you when you create a new account, and you don't have to do anything else. You can find your addresses by tapping the "copy" icon on the mobile homepage or clicking the "network addresses" box on the extension homepage under the account name.
**If you created a Solana account prior to this, they’ll be “matched up” with an EVM address chronologically and auto-adopt the EVM account name. E.g. your first Solana account would be grouped as an address into Account 1, your second Account 2, etc.** All your original addresses are accessible.
What if I used a Solana snap like Solflare or Drift?
MetaMask generates a Solana address automatically for you per account. If you previously used a Solana snap like Solflare or Drift before we added Solana support, you will still see the same Solana address in MetaMask. You can manage your account directly with MetaMask now.
You can find your addresses by tapping the "copy" icon on the mobile homepage or clicking the "network addresses" box on the extension homepage under the account name.
You can also find addresses in "Account details". See [here](#finding-your-solana-address) for more information.
## Need help?
---
# Navigate TRON in MetaMask
URL: https://support.metamask.io/configure/networks/tron/
> Learn how to stake/unstake your TRX, manage your USDT, and how energy and bandwidth work on TRON.
MetaMask supports TRON by default, allowing you to manage your TRX, USDT, and other assets within your wallet easily. This guide explains how transaction fees work on TRON, how to move funds, and how to stake/unstake TRX.
## Transaction fees on TRON {#transaction-fees-on-tron}
Instead of charging a gas fee for every transaction (like Ethereum), TRON uses **resources—bandwidth and energy—to pay for transactions**. Which resource is used depends on the type of transaction.
All transactions use bandwidth, while certain transactions like sending USDT also require energy.
If your account does not have enough resources to cover the transaction, TRX will be burned to cover the transaction cost.
### Bandwidth
- Required for every transaction on TRON.
- **Accounts holding TRX receive a limited amount of free bandwidth each day (~600 bandwidth).** If you do not have enough bandwidth, TRX will be used to complete the transaction.
- Staking TRX provides additional bandwidth.
- Used for sending TRX.
### Energy
- Required in addition to bandwidth for transactions that involve smart contracts, token swaps, and DeFi activity.
- **Accounts do not receive free energy.** If you do not have enough energy, TRX will be used to complete the transaction.
- Comes from staking TRX or by delegation from another account.
- Replenishes automatically based on the amount of TRX staked.
- Used for sending USDT and other TRC-20 tokens.
## How to move funds to TRON {#how-to-move-funds-to-tron}
There are multiple ways to transfer assets easily to the TRON network.
1. MetaMask’s built-in **swap** feature
2. Transferring from a centralized **exchange**
3. **Buying** tokens directly within MetaMask
:::tip[TRON account activation]
Newly created TRON accounts must be "activated" before they can be used. To activate your account, send a small amount of TRX to it. Sending TRC-10 tokens will also activate the account.
**Sending USDT (and other TRC-20 tokens) does NOT activate your account. Send TRX first.**
Your account may become inactive if your balance drops below 0.1 TRX. Keeping a small balance of TRX in your account helps ensure it remains active.
:::
### Swap to USDT/TRX {#swap-to-usdt-trx}
You can swap tokens from other chains to USDT or TRX on TRON easily by clicking the ‘Swap’ button on the homepage.
1. Select the token you want to exchange and from what network (Example: ETH on Ethereum)
2. Select the token you want and to what network (Example: USDT on Tron)
3. Enter the amount you want to exchange
4. Review quote and confirm transaction.
:::info[Note]
If swapping tokens within the TRON network (example: TRX to USDT), **you will need energy to complete the transaction**. If you don’t have energy OR enough TRX, you won’t be able to conduct basic swaps and will need to **acquire TRX** to pay for fees or **stake TRX** to earn energy in order to execute the swap.
:::
### Transfer from a centralized exchange {#transfer-from-a-centralized-exchange}
Already hold USDT or TRX on an exchange? You can send it to your MetaMask wallet in a few steps.
1. Visit the platform you want to withdraw from and login.
2. Find the token you would like to transfer (like USDT) and click "send".
3. Paste your MetaMask [account address](/configure/wallet/how-to-copy-your-metamask-account-public-address-/). Always double check you pasted the full and correct address.
4. Choose the TRON network and enter the amount you would like to withdraw and submit. Make sure you transfer the right assets to the right wallet address and on the right network.
5. Enter your two-factor authentication codes.
6. The transfer could take up to 10 minutes. Check your recent transactions to confirm the status of the withdrawal. It may take longer if the network is busy.
For more information, refer to our guide [here](/start/how-to-transfer-assets-from-centralized-exchange/#metamask-extension-and-mobile).
### Buy USDT/TRX {#buy-usdt-trx}
You can also buy USDT or TRX directly by tapping the ‘Buy’ button on the homepage.
:::note[Note]
Buying crypto in MetaMask (also referred to as on-ramp) is **not available in every country or region**.
:::
1. Select the 'Buy' button under your account balance on the left of the screen.
2. On the next screen, you will select the token you want to buy, and the network you want to buy it on. You can search for a certain token by searching its name or address. (ex: USDT on TRON)
3. Select the account you want to purchase the token to, and verify your region is correct.
4. Enter the amount you want to purchase. You can also change the token from this screen if you want to buy a different token.
5. Select your payment method.
6. When you're ready to continue, click 'Continue' or 'Get quotes'.
7. You will be presented with a quote that is the best option for your purchase. For users in certain regions, including the US, MetaMask has partnered with Transak for a seamless way to buy crypto and top-up without leaving the app. For these users, you'll automatically see Transak's quote, but can see more options by clicking the Settings icon in the top left of the screen. For other users, you can toggle between providers by clicking the arrows next to the provider's name.
8. From there, you'll be taken to the provider's platform to complete your purchase, or you will finish your purchase within MetaMask if you're using Transak.
For more information refer to our guide [here](/manage-crypto/move-crypto/buy/how-to-buy-crypto-in-metamask/).
## How to stake TRX on MetaMask {#how-to-stake-trx-on-metamask}
You can stake or “freeze” TRX on MetaMask Mobile to **earn energy, additional bandwidth, and additional TRX at the APR listed**. Staking is not supported on MetaMask Extension.
Staking is optional, but **recommended if you use TRON regularly to cover transaction costs**.
1. Open MetaMask Mobile
2. Tap on TRX from your asset list
3. Scroll down and tap ‘Stake’ or ‘Stake more’
4. Choose how much TRX you want to stake and which resource (for example, energy)
5. Review details and confirm.
Once completed, your TRX will be locked and begin generating **resources to pay for transactions**. This is represented as **sTRX**.
You won’t be able to send sTRX, you can just view the balance. You can unstake anytime.
:::tip[Note]
When staking, you can choose to generate energy or bandwidth, but not both simultaneously. **If you want to generate both resources through staking, you will need to complete two separate staking requests**.
:::
## How to unstake TRX on MetaMask {#how-to-unstake-trx-on-metamask}
When unstaking TRX, there is an unlocking period (typically 14 days). During this time, you don’t earn any energy or bandwidth and your TRX cannot be transferred.
1. Open MetaMask Mobile
2. Tap on TRX from your asset list
3. Scroll down and tap ‘Unstake’
4. Enter TRX amount to unstake
5. Review details and confirm.
## Why did my transaction use TRX instead of resources?
A transaction may use TRX if:
- Your account does not have enough bandwidth or energy
- TRX was staked from a different address.
Only the address that staked TRX can use the earned resources.
If you regularly use multiple addresses, you may want to stake TRX on each address.
## FAQs {#faqs}
Can I connect to TRON dapps?
Not currently. Dapp connectivity will be available on Mobile and Extension soon.
How do I earn MetaMask Rewards with TRON?
**Swapping into Tron will gain points, but transactions within the TRON network will not gain points.**
Example: Swapping USDT on Ethereum to TRX on Tron will gain points, but sending USDT on TRON to another address on TRON will not gain points.
You earn **8 points for every $10 swapped** with MetaMask Swaps.
For more information on MetaMask Rewards, see [here](/trade/metamask-rewards/what-is-metamask-rewards/).
Why was receiving USDT free, but sending it cost TRX?
Receiving tokens on TRON does not require bandwidth or energy.
The sender pays the transaction cost. When you send USDT or other TRC-20 tokens, your account must pay energy. If your account does not have enough energy, TRX will be used instead.
Why did my transaction fail?
A transaction may fail if:
- Your account does not have enough bandwidth or energy
- Your TRX balance is too low to cover the required cost
- The transaction could not be processed by the network.
Failed transactions don’t affect your staked TRX. They simply do not complete.
Do I need to stake TRX to use TRON?
No. Staking TRX is optional. If you do not stake TRX:
- Basic transactions like sending TRX may still succeed using free bandwidth
- Smart contract transactions will use TRX for fees.
Staking is recommended for frequent TRON users to reduce costs.
I can’t stake on MetaMask Extension - how do I pay for fees?
Staking TRX is only available on MetaMask Mobile. If using the same account, you can stake TRX on Mobile to earn resources and transact on Extension with those earned resources.
How does voting work?
All staked TRX through MetaMask automatically votes for the MetaMask SR (Super Representative). You do not need to manage voting manually.
SR address: [https://tronscan.org/#/address/TVMwGfdDz58VvM7yTzGMWWSHsmofSxa9jH](https://tronscan.org/#/address/TVMwGfdDz58VvM7yTzGMWWSHsmofSxa9jH)
How long does it take to regenerate energy or bandwidth?
Energy and bandwidth will be replenished after 24 hours. Resources generate linearly the moment they are used. For example, if 240 bandwidth is consumed during a transaction, it will be regenerated at a rate of 10 bandwidth per hour for the next 24 hours until the balance is replenished.
Remember, when unstaking TRX, there is an unlocking period (typically 14 days) where you don’t earn any energy or bandwidth.
How do I know what resource I’m using to cover my transaction?
It depends on the transaction type and where you initiate it.
- **Send transactions**: On the send confirmation screen, MetaMask shows the fee details, including whether the transaction will use bandwidth, energy, and/or TRX if resources are insufficient.
- **Swaps**: For swaps, the quote displays the estimated TRX fee. If you have enough resources, this may show as 0 TRX, if you have enough energy to cover your cost.
**Resources are first used automatically if available. If you don’t have enough bandwidth or energy, TRX is used to cover the remaining cost.**
---
# How to use a local node with MetaMask
URL: https://support.metamask.io/configure/networks/using-a-local-node/
> You can connect MetaMask to your own custom node within Networks.
Ethereum is a network of "nodes" — that is, a network of computers running similar software that connects them to the blockchain, and which, collectively, comprise the network.
For greater security, privacy, and read speeds, you might want to run your own node, instead of using [Infura](/more-web3/learn/what-is-infura-and-why-does-metamask-use-it) as the default provider. Running nodes also increases Ethereum's decentralization, improving the health of the network.
Once you have your own node up and running, you can connect MetaMask to it and use it to send requests to the blockchain and receive information back.
To run a node, you need Ethereum clients. Since Ethereum transitioned to Proof of Stake, you can no longer run a "full" node using one client. Instead, you need two: one for the execution layer, and one for the consensus layer.
**Consensus layer** clients include:
- [Prysm](https://prysmaticlabs.com/)
- [Lighthouse](https://lighthouse.sigmaprime.io/)
- [Nimbus](https://nimbus.team/)
- [Teku](https://consensys.net/knowledge-base/ethereum-2/teku/)
- [Lodestar](https://lodestar.chainsafe.io/)
**Execution layer** clients include:
- [Geth](https://geth.ethereum.org/)
- [Besu](https://www.hyperledger.org/use/besu)
- [Erigon](https://github.com/ledgerwatch/erigon#erigon)
- [Nethermind](https://nethermind.io/)
Each client is designed with a slightly different set of priorities or target audience, and they also use different code languages. Make sure to look through to find the one that best suits your needs.
Once you've chosen one, the best place to start is the official Ethereum guide to running a node: [https://ethereum.org/en/developers/docs/nodes-and-clients/run-a-node/](https://ethereum.org/en/developers/docs/nodes-and-clients/run-a-node/)
Once you have your local clients set up, you can connect to your node via the menu in the top right of MetaMask and selecting 'Networks':

From here, you can locate your custom node in the networks list:
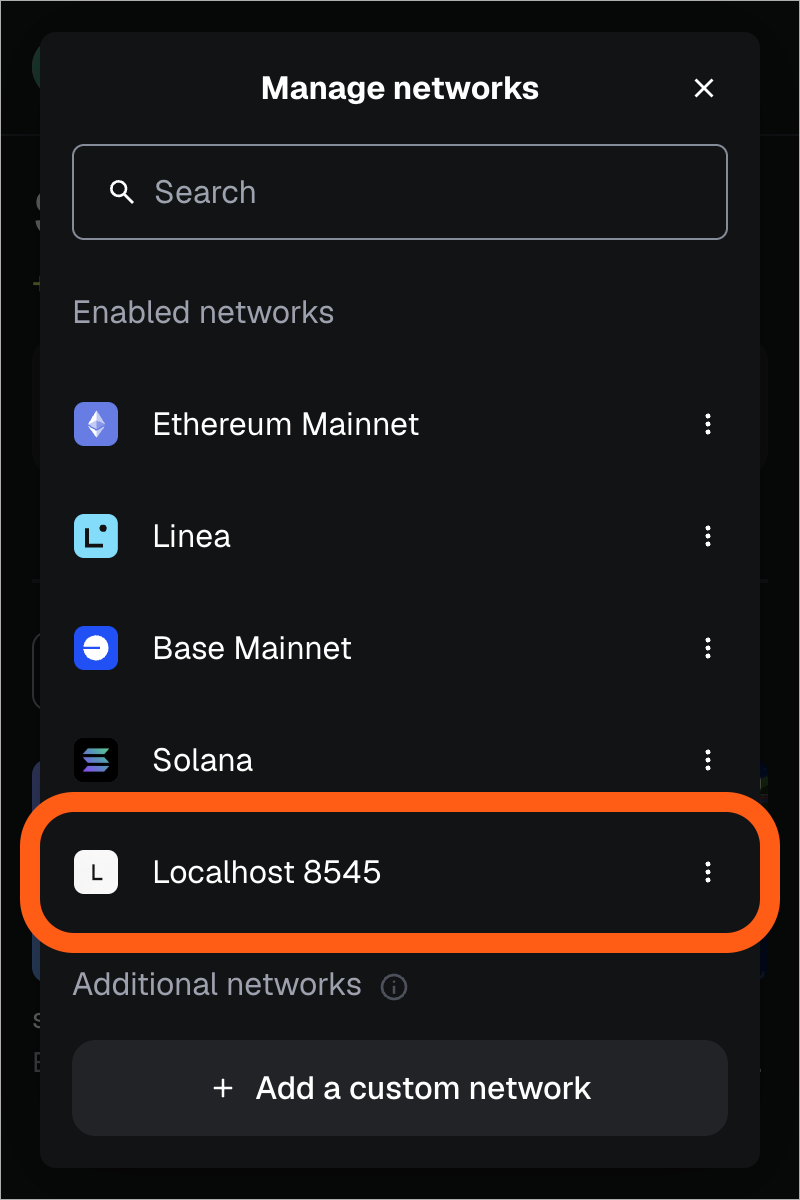
### See also: {#see-also}
- [https://clientdiversity.org/](https://clientdiversity.org/). 'Client diversity' describes the mix of Ethereum clients currently in use. Concentrating Ethereum nodes into a handful of dominant clients creates a centralization risk for the network, and a potentially problematic point of failure. While the diversity of consensus layer clients is relatively healthy, it's recommended you consider steering away from Geth as you execution layer client, if possible.
---
# How to verify custom network information in MetaMask
URL: https://support.metamask.io/configure/networks/verifying-custom-network-information/
> MetaMask does not verify custom networks. You can verify the network information yourself following these tips.
When a website requests that you add a custom network to MetaMask, you are presented with the information MetaMask will use to interact with the network. MetaMask performs some basic validation of this information, and will warn you if anything seems wrong or unusual. MetaMask will also prevent the same network from being added more than once. However, **MetaMask does not verify custom networks**, and even if MetaMask's validation checks out, the network could be malicious or misrepresented by the website that requested it.
**For more information and an introduction to custom networks, see our User Guide [here](/more-web3/learn/user-guide-custom-networks-and-sidechains).**
Just like it's your responsibility to verify the Ethereum addresses you transact with, it is also your responsibility to verify any custom networks you add to MetaMask. In this article, we will share some advice about how to do that.
When a website makes a request to add a custom network, MetaMask displays the following confirmation:
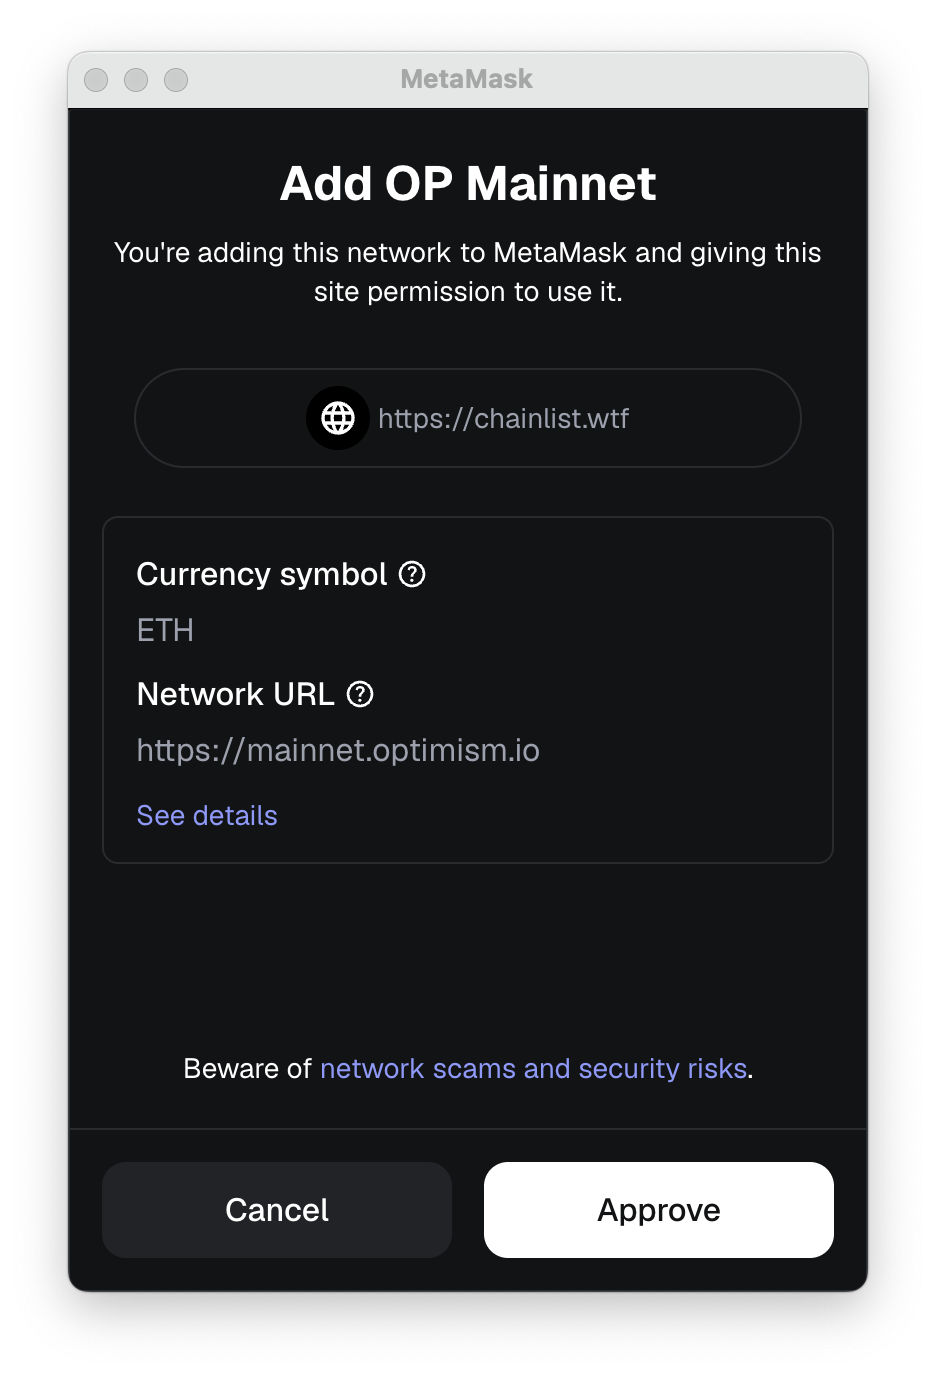
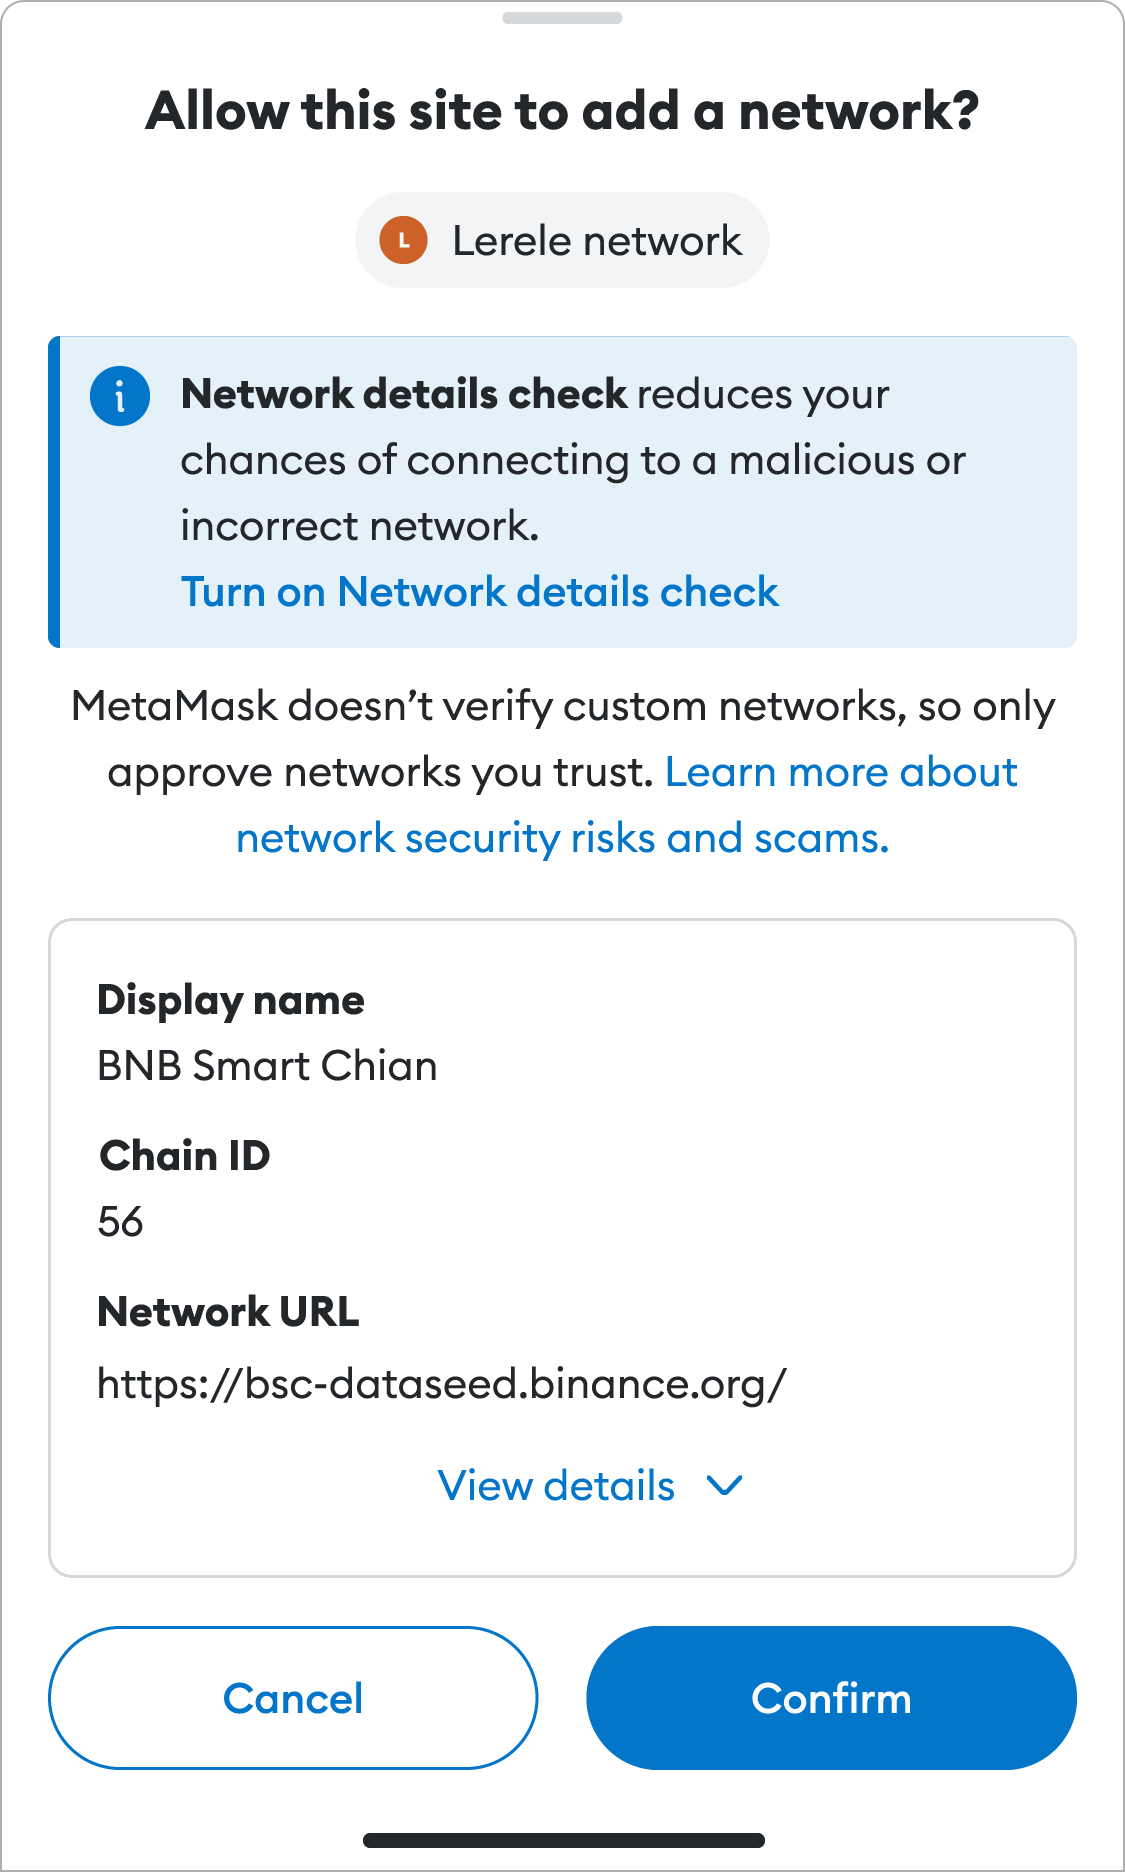
This confirmation shows **the network information that the website provided**. _There is no guarantee that this information is correct_. Therefore, you should trust the information to the same degree that you trust the website.
If you click “See details” in the confirmation, you can see all of the network information provided by the website, which includes:
- **Network Name**: The name that MetaMask will associate with the network.
- **Network URL**: The URL that MetaMask will use to access the network.
- **Chain ID**: The chain ID that MetaMask will use to sign transactions for the network.
- **Currency Symbol**: The currency symbol that MetaMask will use for the network's native currency.
- For example, for the Ethereum Mainnet, the currency symbol is ETH, and for the Gnosis Chain, the symbol is xDAI (retained following their merger).
- **Block Explorer URL (optional)**: The URL that MetaMask will direct you to in order to inspect your accounts, transactions etc. The equivalent of [etherscan.io](https://etherscan.io), but for the network in question.
If you are for any reason unsure about the correctness of the network information, we recommend that you take the following steps to verify it:
- Visit [Chainlist](https://chainid.network/) and search for the provided chain ID and/or name of the network. If MetaMask is saying that some information isn't matching, you should be able to identify the problem on Chainlist. If the custom network is not listed at all on Chainlist, it is either extremely new, or possibly of questionable quality.
- Google the name of the network, and try to answer the following questions. The more you can answer with “yes”, the more reason you have to believe that the network is legitimate. Be advised that there are many scams and fake social media channels, especially on Telegram.
- Does the network have a website? If so, does it seem legitimate? Does it list the network details?
- Does the network have an official Twitter or other social media account? Do they have a lot of followers? Do they seem reputable? What are people saying about the network?
- Can you identify any of the people who maintain the network? Are they visible on social media? Do they have a lot of followers?
- Are there any news articles about the network?
For most networks, it should be pretty obvious whether they are legitimate or not, and whether the website is providing accurate information or not. If you're still unsure after completing these steps, you should reject the request to add the network, do more research, and perhaps try again later.
---
# Why Infura doesn't serve certain regions
URL: https://support.metamask.io/configure/networks/why-infura-cannot-serve-certain-areas/
> Learn why Infura RPC endpoints may not work in your region, and see alternative methods for connecting your MetaMask wallet.
By default, MetaMask accesses the blockchain via [Infura](/more-web3/learn/what-is-infura-and-why-does-metamask-use-it), which is unavailable to persons in certain jurisdictions due to specific comprehensive sanctions programs enacted by the U.S. government.
Attempts to use MetaMask in one of those jurisdictions may therefore generate the following error message:
Assuming you are indeed using Infura (MetaMask uses it by default), in this context 'blockchain host' refers to Infura.
MetaMask is distributed for free and designed to be customized, so a user can decide to use Ethereum nodes other than those operated by Infura, or nodes relating to entirely different blockchains such as Binance Smart Chain and the Polygon network. It is entirely up to the MetaMask user.
See also:
- [MetaMask is unable to connect to the blockchain host](/configure/troubleshooting/metamask-is-unable-to-connect-to-the-blockchain-host)
- [Can I use MetaMask in my country?](/start/getting-started-with-metamask#can-i-use-metamask-in-my-country)
---
# How to adjust MetaMask privacy settings
URL: https://support.metamask.io/configure/privacy/how-to-adjust-metamask-privacy-settings/
> Customize your preferences within Settings > Privacy.
At MetaMask we take user privacy seriously, and continually work to give you the options to configure data usage in a way you're comfortable with.
## During onboarding {#during-onboarding}
While onboarding to MetaMask, using either MetaMask Extension or the MetaMask Mobile app, you have the ability to adjust various privacy-related settings before you actually start using MetaMask. You can access these by going to the 'Default Settings' menu.
From here, you can configure MetaMask’s default settings according to your preferences. Learn more about what these various settings do further on in this article.
## After onboarding {#after-onboarding}
If you’ve already set up your MetaMask instance, you can access your privacy settings by opening up the ‘Settings’ menu, and going to ‘Privacy’.
This screen allows you to manage various settings according to your preference. Keep in mind that some settings might only be available on MetaMask Extension, and others only on MetaMask Mobile.
On MetaMask Extension, you can adjust your privacy settings by clicking the menu icon in the upper right corner of your MetaMask interface, and clicking ‘Settings’. Then, click ‘Privacy’.
On MetaMask Mobile, you can adjust your privacy settings by clicking the menu icon on the top right. Then, tap 'Settings' > 'Security & Privacy'.
### Basic functionality {#basic-functionality}
This setting enables various functionality within MetaMask that make use of internet services, such as gas estimation, auto-detection of tokens, or the ability to see fiat values for your funds. When you use internet services, your IP address is shared, in this case with MetaMask. This is just when you visit any website. MetaMask uses this data temporarily and never sells your data. You can use a VPN or turn off these services, but it may affect your MetaMask experience.
### Security alerts {#security-alerts}
Security alerts provide warnings in your MetaMask if a transaction is suspected as fraudulent. [Learn more about security alerts in MetaMask](/configure/wallet/security-alerts).
### Phishing detection {#phishing-detection}
This setting allows MetaMask to identify the site you're visiting and display a warning message if it matches our lists of known and suspected phishing sites. [Read more about this mechanism here](/stay-safe/safety-in-web3/deceptive-site-ahead-when-trying-to-connect-to-a-site/).
### Incoming transactions {#incoming-transactions}
We use your account address to retrieve data from Etherscan about transactions such as airdrops or others sent to your address. If this is turned off, you'll only see confirmed transactions.
### Estimated balance changes {#estimated-balance-changes}
When you’re about to send a transaction, MetaMask will try to predict the estimated balance changes to your account, allowing you to get a better understanding of the outcome of the transaction you’re about to submit. [Learn more about estimated balance changes](/manage-crypto/transactions/simulations/).
### MetaMask analytics
To help improve the product, MetaMask includes an optional analytics system (also referred to as MetaMetrics). [Learn more here](/configure/privacy/how-to-manage-your-metametrics-settings/).
---
# How to delete your analytics data
URL: https://support.metamask.io/configure/privacy/how-to-delete-your-metametrics-data/
> You remain in control of your data. Delete your analytics data within Settings > Privacy.
At MetaMask we want you to have full autonomy of your data, and whether you wish to participate in it being collected. If you no longer want to enable user data metrics or want to delete your analytics data, follow the steps below.
[Learn more about our analytics system, also referred to as MetaMetrics](/configure/privacy/how-to-manage-your-metametrics-settings).
Click the menu icon in the upper right corner of your MetaMask interface, then click ‘Settings’ > ‘Privacy’.
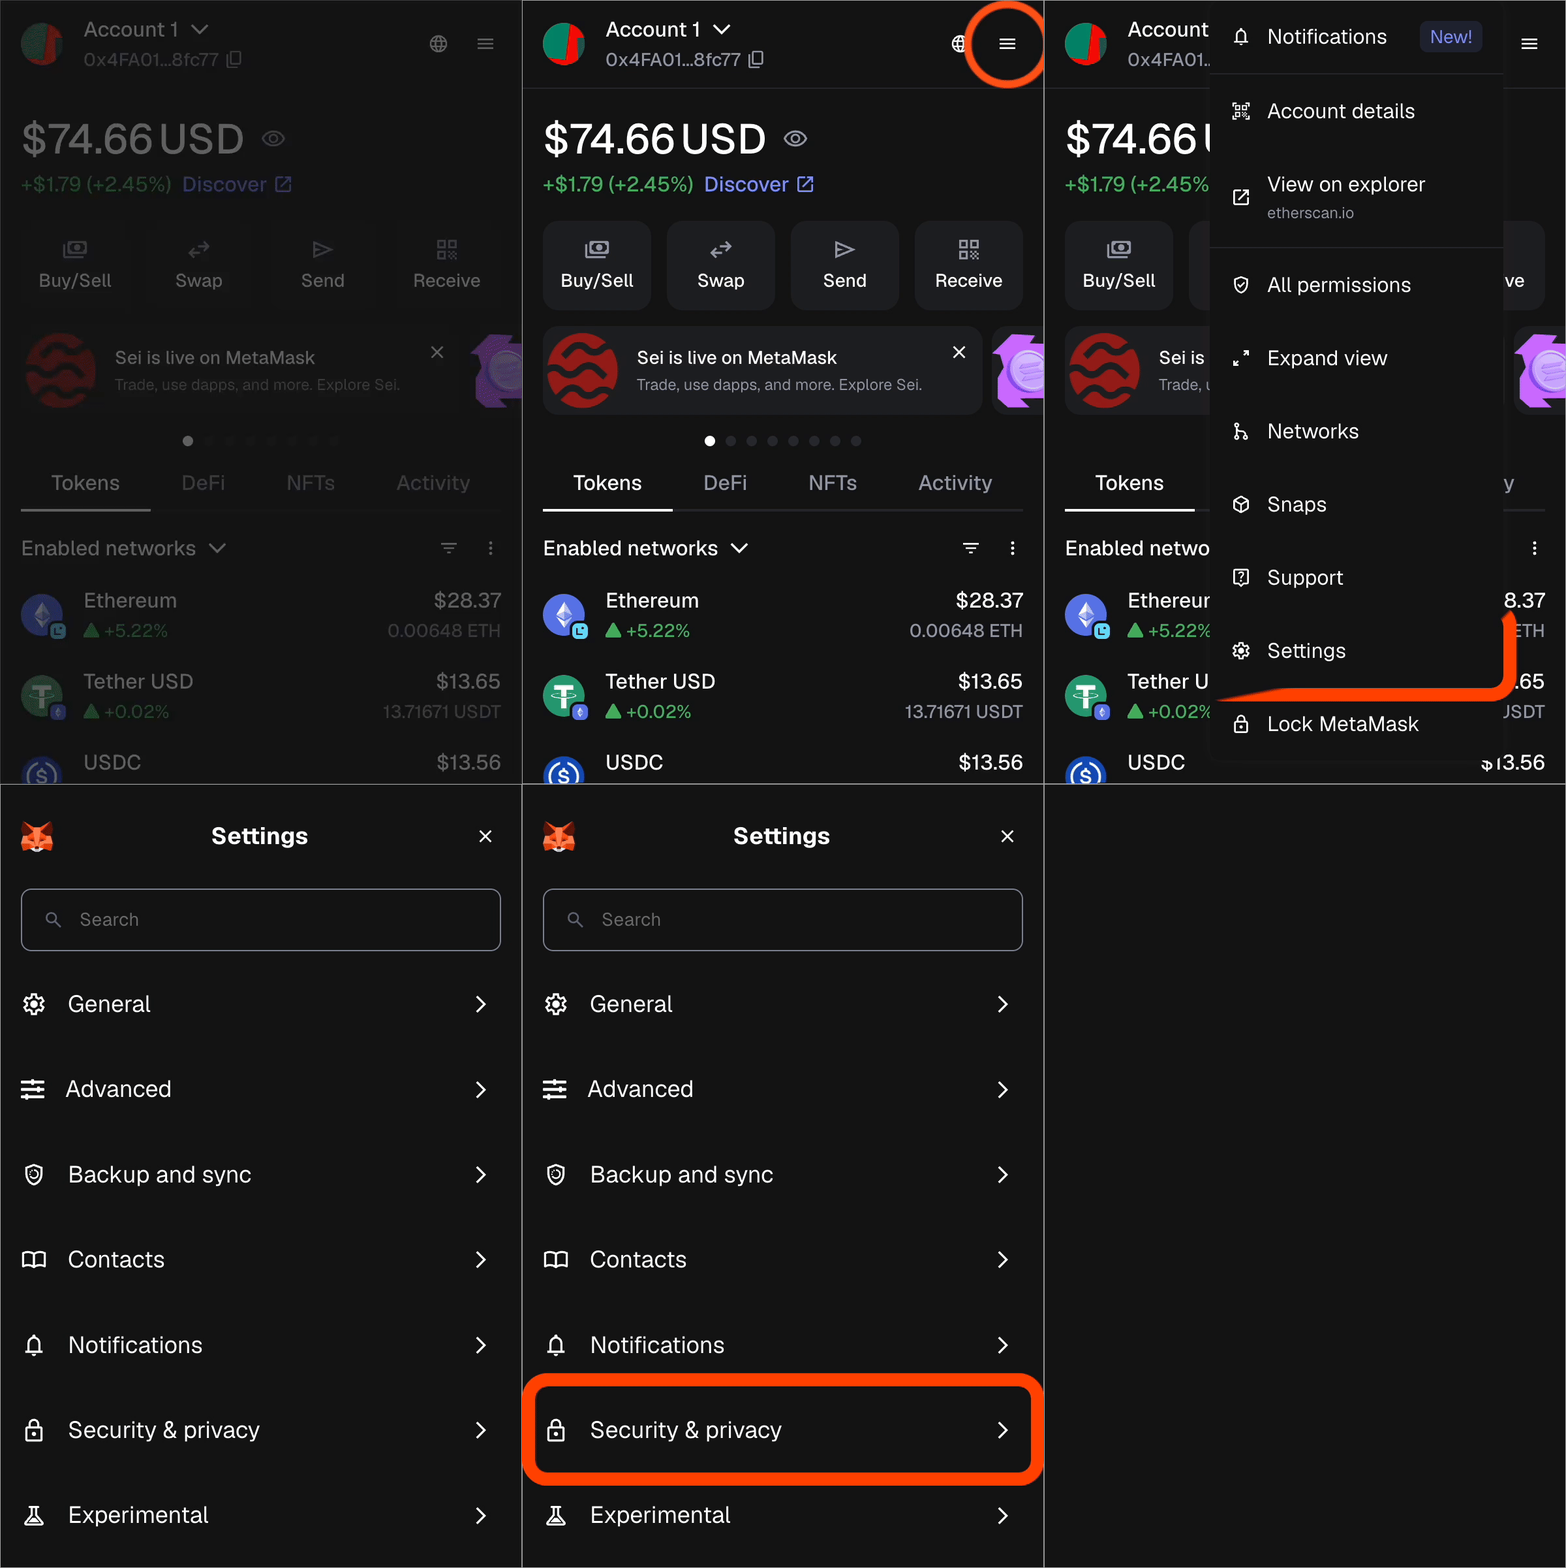
Scroll down until you see the ‘Delete MetaMetrics data’ button. Clicking this button will delete MetaMetrics data associated with your use on that specific device. Keep in mind that this process may take up to 30 days. If you want to delete your data on all instances, repeat this process on every MetaMask installed device.
In your MetaMask app, click the menu icon in the top right.
Then, tap ‘Settings’ > ‘Security & Privacy’, and scroll all the way down to the ‘Analytics’ section.
Tap the 'Delete MetaMetrics data' button. Clicking this button will delete MetaMetrics data associated with your use on that specific device. Keep in mind that this process may take up to 30 days. If you want to delete your data on all instances, repeat this process on every MetaMask installed device.

For further information about how Consensys processes personal information, including the privacy rights that might be available to you, please visit our Privacy Notice [here](https://consensys.io/privacy-notice).
---
# How to manage your analytics data
URL: https://support.metamask.io/configure/privacy/how-to-manage-your-metametrics-settings/
> Our optional analytics system helps us improve MetaMask. You can manage this within 'Settings' > 'Privacy'.
To help improve the product, MetaMask includes an analytics system in Extension, Mobile, and Portfolio (also referred to as MetaMetrics).
Here are the steps we take to ensure that MetaMask respects your privacy:
- We do not collect Secret Recovery Phrases and private keys.
- You have a choice:
- If you sign up with a Google, Apple, or Telegram account, your default experience is participating in our analytics system. You can choose to opt-out at anytime within settings and delete your data.
- If you sign up with the traditional Secret Recovery Phrase method, you will be asked if you would like to participate. If you choose to opt-in, you can later opt-out at anytime within settings and delete your data.
- Our codebase continues to be open source and open to audits at our [GitHub](https://github.com/MetaMask).
- For further information about how Consensys processes personal information, including the privacy rights that might be available to you, please visit our Privacy Notice [here](https://consensys.io/privacy-notice).
Our brand mission is one that empowers individuals through interactions based on choice, privacy, and free association. Protecting user’s privacy and building the most secure software is paramount. Yet we want to make web3 a simple and enjoyable experience, one that behaves as you’d expect. For this, we need data on when errors occur and what features are popular. Certain in-app actions may be associated with on-chain data such as your wallet address and transaction hashes.
We realize that any form of data collection, even where you are provided with the choice to participate, is rightly viewed with suspicion. However, as the ecosystem grows, it is important to make data-driven and evidence-based decisions. This data complements qualitative data gathered from other forms of ongoing research, such as user interviews and community awareness. In this space, where the possibilities of new features and improvements are endless, smart prioritization is a must.
## What is MetaMask’s analytics platform?
Our analytics platform (also referred to as MetaMetrics), powered by Segment and Mixpanel aims to collect information on non-sensitive user events to help us improve the software for MetaMask users.
When a user participates in this, their local MetaMask instance will send specific events of the application to the Segment and Mixpanel services. Certain in-app actions may be associated with on-chain data.
For example, when an individual clicks a certain button, receives an error message, or closes out of sending a transaction, that event is recorded and sent to Segment and Mixpanel. This data then appears on our dashboard on Mixpanel and allows us to view these metrics, both from an individual level and from an aggregated level.
We may also associate this information with wallet address(es) and transaction hashes. No data such as private keys or Secret Recovery Phrase will ever reach us or Segment or Mixpanel’s servers. That data continues to stay exclusively on your machine. IP addresses are used to retrieve your geolocation (region and country); IP addresses are not kept and/or stored.
### Why collect metrics?
By participating, users will help us understand how MetaMask is used. It helps answer questions such as:
- What features do people use the most?
- What parts of the application do people run into the most trouble with?
- Where do people drop off when completing certain actions?
MetaMask is a product that values our users' privacy and agency: MetaMask is a tool built to empower you. While many software products, with the best of intentions, have built-in metrics collection tools that are not visible to the user, users have the choice to participate in MetaMask’s analytics system by opt-ing out anytime within settings and deleting their data.
### What is the ‘data collection for marketing’ toggle? {#what-is-the-data-collection-for-marketing-toggle}
We’ve introduced another optional toggle that will give us a better understanding of how users interact with our marketing communications. Enabling this toggle will allow us to better learn how users interact with the newest features of MetaMask, and will allow you to receive relevant news on the latest and greatest within MetaMask.
## How can I toggle metrics on or off? {#how-can-i-toggle-metrics-on-or-off}
You can edit your analytics preferences by heading on over to your MetaMask settings.
Click the menu icon in the upper right corner of your MetaMask interface, then click ‘Settings’ > ‘Privacy’.

Scroll down until you see the ‘Analytics’ section. Here, you can adjust your preferences (also referred to as MetaMetrics).
In your MetaMask app, click the menu icon in the top right.
Then, tap ‘Settings’ > ‘Security & Privacy’, and scroll down to the ‘Analytics’ section. Here, you can adjust your preferences (also referred to as MetaMetrics).
In MetaMask Portfolio, click your account icon in the top right of the interface. Then, click ‘Settings’.
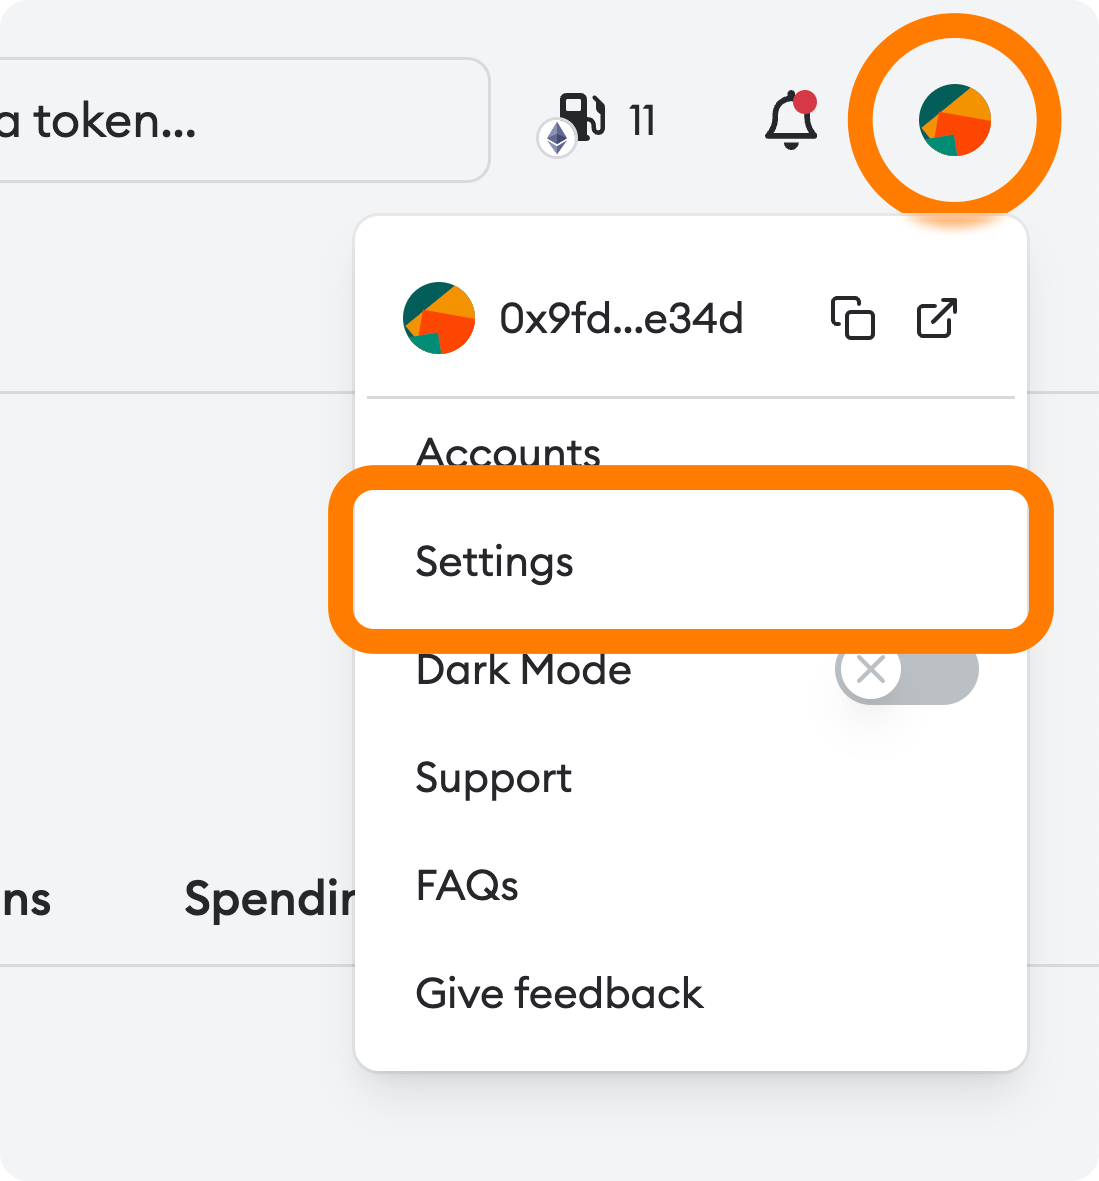
Then, find the ‘About & Privacy’ section item in the menu. Here, you can adjust your preferences (also referred to as MetaMetrics).
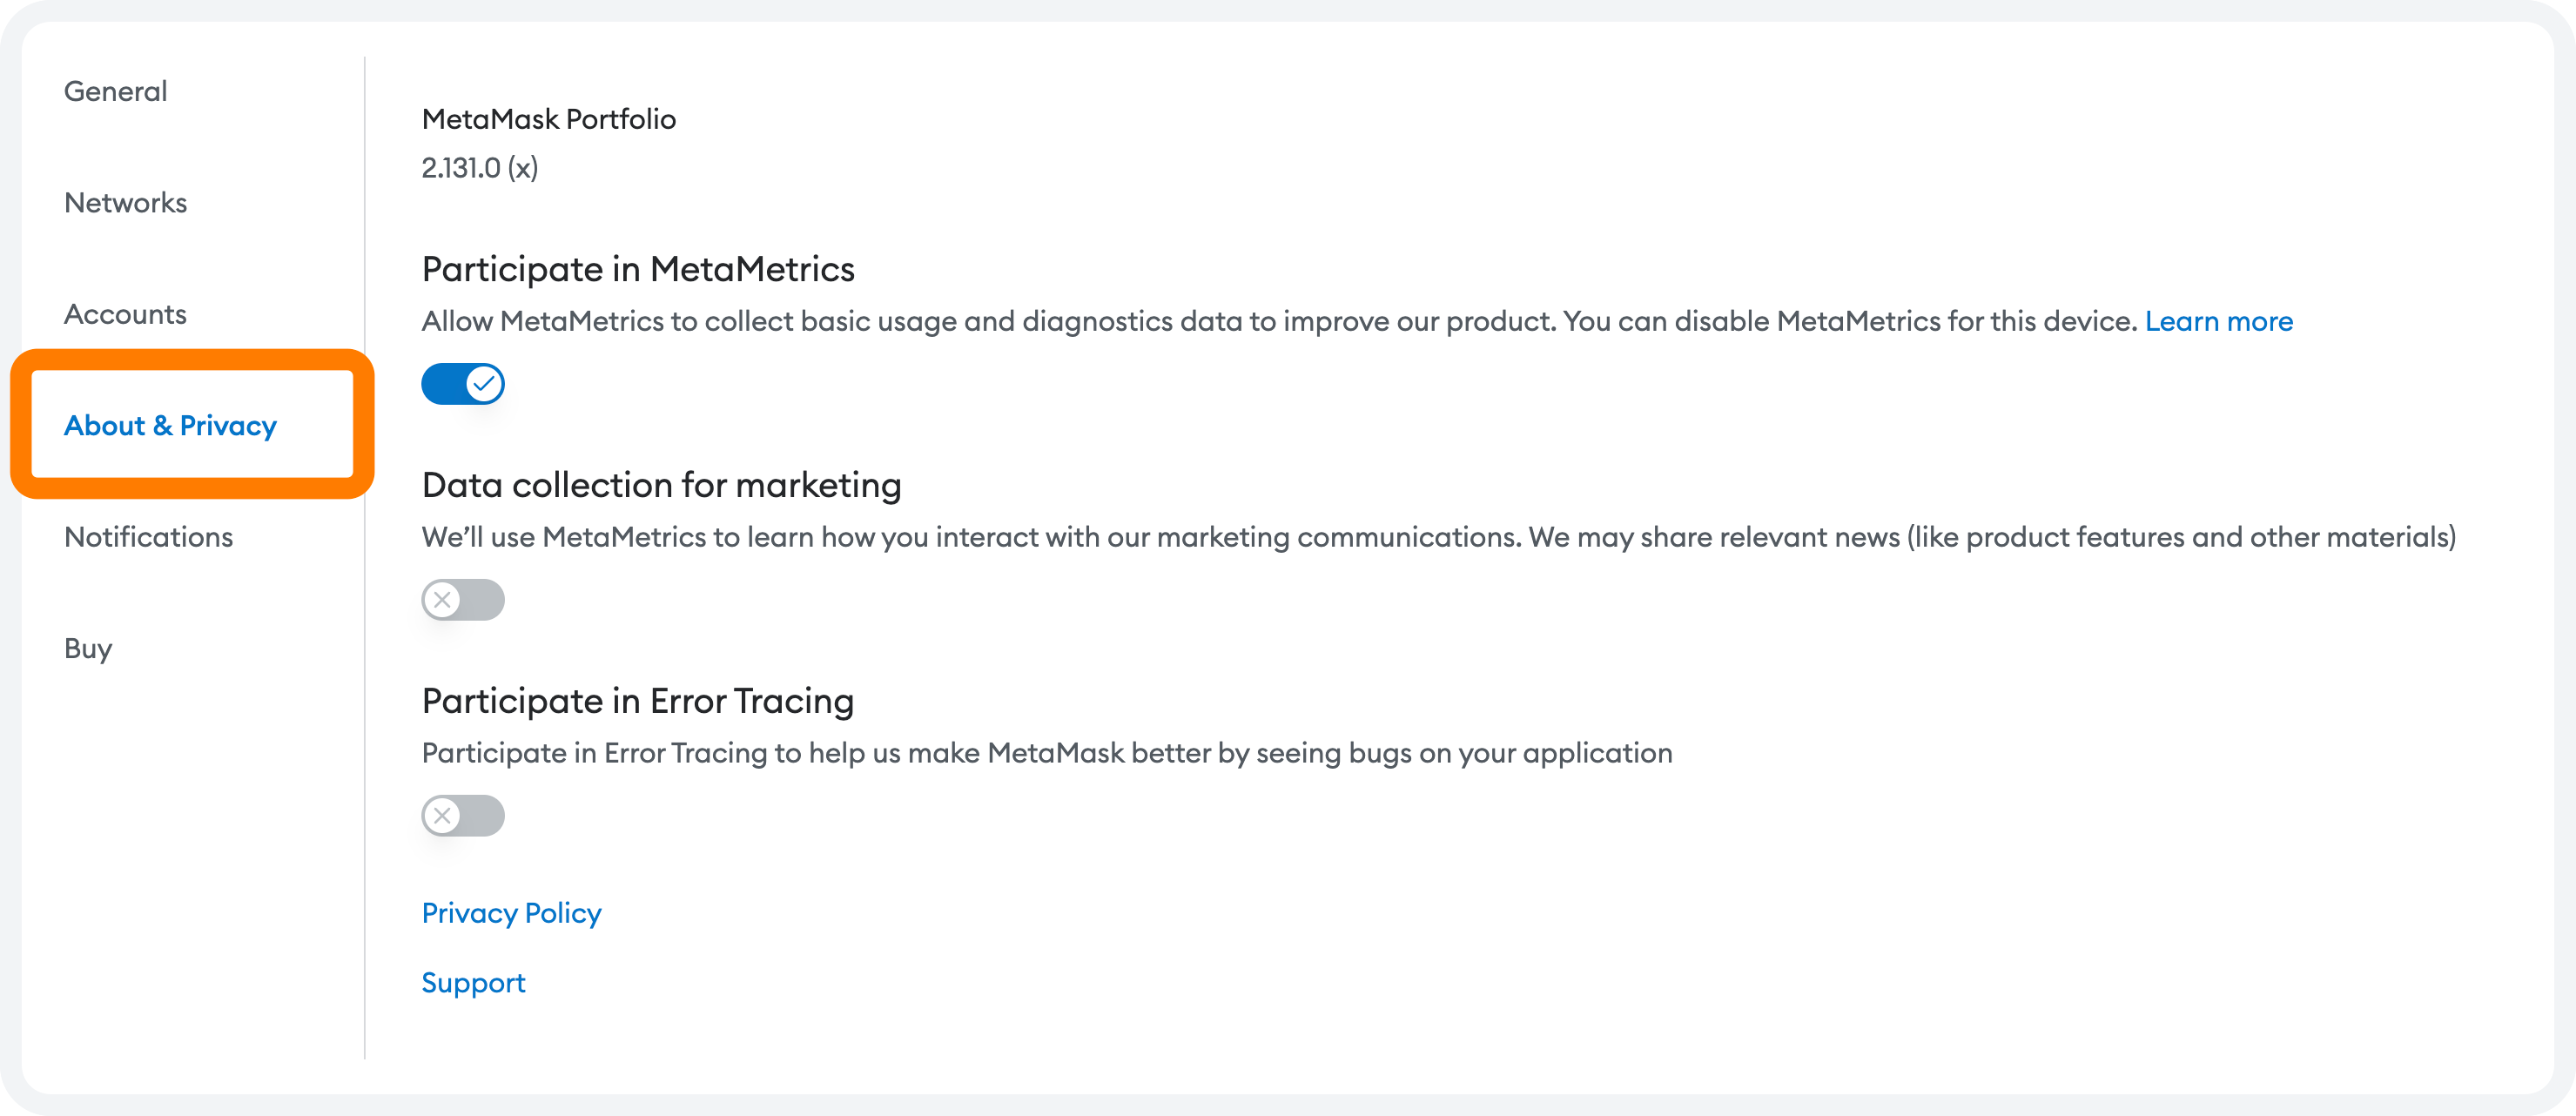
## What happens if I opt out of analytics?
We understand that this space contains plenty of privacy-minded users when it comes to data collection — we respect their stance fully. That is why we are committed to providing users with a choice. If for any reason you would like to opt-out, you can.
[You can also delete your data anytime](/configure/privacy/how-to-delete-your-metametrics-data/).
Your selected option for being part of our metrics program will not affect your MetaMask experience in any way. To those of you who do participate: thank you for helping us make MetaMask better.
## Questions
Why is MetaMask collecting wallet addresses?
This helps us understand how different types of users interact with MetaMask so we can improve the experience across the board. This information is used to improve MetaMask. We do not sell your data.
What data will MetaMask collect?
MetaMask’s analytics allow certain in-app actions, like feature usage and navigation patterns, to be associated with publicly available on-chain data such as wallet addresses and transaction information. This information is used to improve MetaMask, and we do not sell your data.
If someone opts out, is previously collected data deleted?
You may opt-out at any time and request deletion of your previous data within 'Settings' > 'Privacy'
---
# How to secure your wallet with privacy best practices
URL: https://support.metamask.io/configure/privacy/privacy-best-practices/
> Learn essential privacy best practices for MetaMask. Protect your wallet with strong passwords, run your own node, and stay safe in web3.
At MetaMask, user privacy is a top priority. Using MetaMask in the most privacy-preserving way is good for you, and good for MetaMask. Here are some good practices to ensure your blockchain activities remain private:
## During onboarding {#during-onboarding}
Initiating your journey with MetaMask, there are a few points you should keep in mind when getting started with MetaMask. Consider the following steps:
### Choose a strong password {#choose-a-strong-password}
Your password is the first line of defense for others wanting to access your MetaMask interface. Opt for a complex and unique password that is difficult to guess, and avoid using simple or reused passwords that you already use for other services. Make sure you do not reuse a password for your MetaMask account that you use for other services, such as your Google, Apple, or Telegram account.
We recommend using a password manager to generate a strong password. However, there have been cases of password managers being hacked, so consider whether you're comfortable *storing* the password in the password manager.
### Back up your Secret Recovery Phrase, securely {#back-up-your-secret-recovery-phrase-securely}
Your Secret Recovery Phrase controls all of your accounts and all of your funds. If someone has your Secret Recovery Phrase, they have complete access to your entire blockchain identity and funds.
We highly recommend reading our article on [Basic safety and security tips for MetaMask](/stay-safe/safety-in-web3/basic-safety-and-security-tips-for-metamask/), which contains essential information about safely storing your Secret Recovery Phrase.
### Set up your privacy preferences {#set-up-your-privacy-preferences}
After you’ve successfully set up your wallet, you have the ability to set up various privacy settings _before_ you actually start using MetaMask. On both MetaMask Extension and Mobile, simply hit the ‘Manage default settings’ button.
Here you can configure MetaMask’s default settings according to your preferences.
## Configure your privacy settings {#configure-your-privacy-settings}
If you’ve already set up your MetaMask and wish to adjust your privacy settings, you absolutely can. [Read more about adjusting your MetaMask privacy settings](/configure/privacy/how-to-adjust-metamask-privacy-settings/).
## Only connect to websites you trust {#only-connect-to-websites-you-trust}
The decentralized web is vast, and not every site has your best interests at heart.
Be mindful of the websites you connect to, and only interact with reputable platforms to avoid [phishing attempts](/configure/wallet/security-alerts/) and [malicious contracts](/stay-safe/protect-yourself/how-to-tell-if-a-smart-contract-is-safe-to-interact-with/). If in doubt, do some research to confirm the legitimacy of the dapp.
### Set up auto-lock {#set-up-auto-lock}
By setting up an auto-lock timer on your MetaMask, you ensure that your interface automatically locks after a period of inactivity
You can set up auto-lock by going to 'Settings' > 'Security and password' > 'Auto lock':
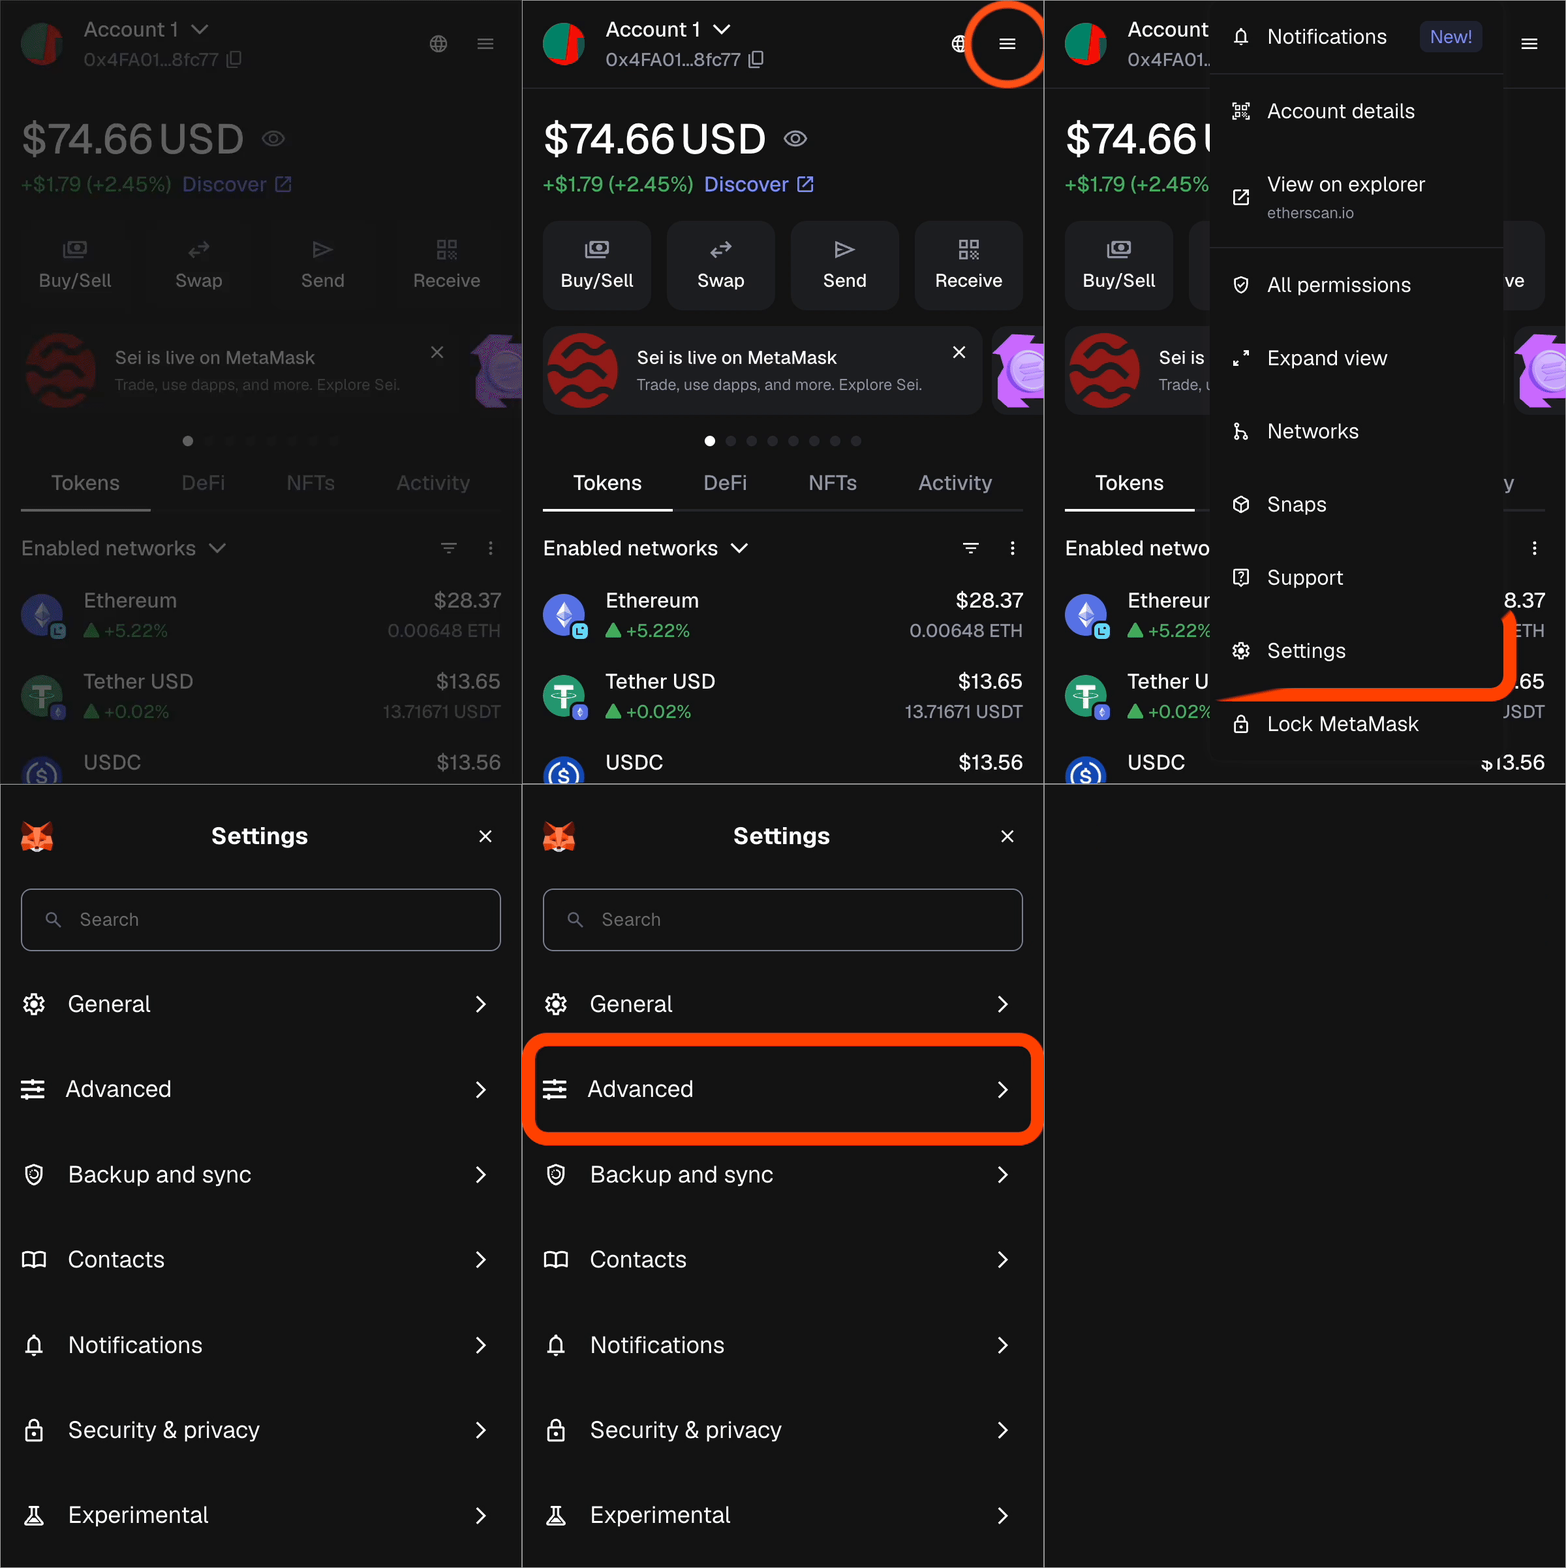
Scroll down to 'Auto-lock timer' and set how long MetaMask will sit idle before locking the extension.
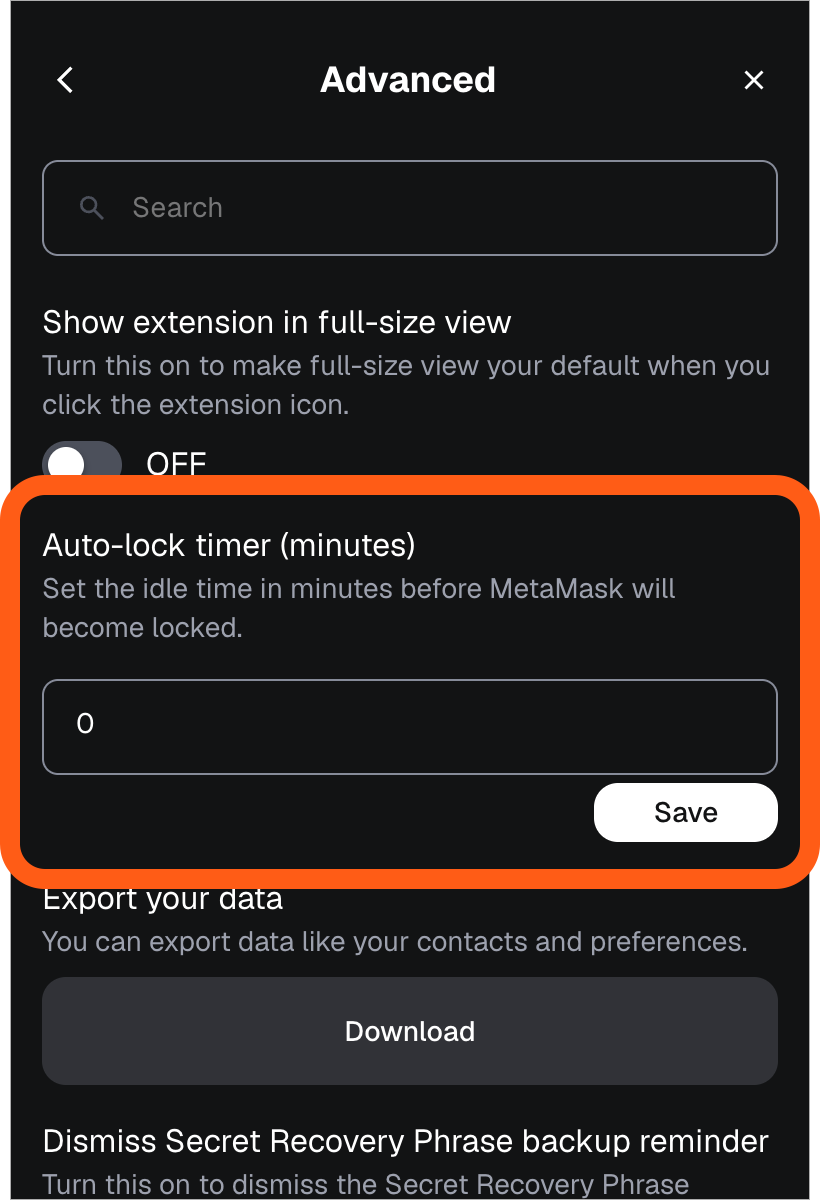
You can unlock the extension again with your password.
## Run your own node {#run-your-own-node}
Nodes serve as the backbone of the network. Each individual node keeps a record of each block and every transaction sent. If you’d like to learn more about how MetaMask connects to a blockchain network, check out [this article](/more-web3/learn/how-does-metamask-connect-to-a-blockchain-network/).
For those who are technically inclined, running your own node offers the highest level of privacy and control. By connecting MetaMask to your personal node, you bypass third-party infrastructures, keeping your transactions and interactions within the blockchain even more private.
If you’d like to learn more about running your own (Ethereum) node, the ethereum.org website contains a [comprehensive guide on getting started](https://ethereum.org/en/developers/docs/nodes-and-clients/run-a-node/). After setting up your personal node, you can learn more about [adding your local node to MetaMask](/configure/networks/using-a-local-node/).
## Enable full disk encryption {#enable-full-disk-encryption}
To keep your computer and its contents as safe as possible from someone with physical access to your machine, you can enable full disk encryption on your computer:
- **Mac:** [FileVault](https://support.apple.com/en-us/HT204837)
- **Windows:** [BitLocker](https://support.microsoft.com/en-us/windows/turn-on-device-encryption-0c453637-bc88-5f74-5105-741561aae838)
- **Linux:** [LUKS](https://www.redhat.com/sysadmin/disk-encryption-luks)
With full disk encryption, an attacker with physical access to your computer should not be able to extract any of its contents, including any private keys you have stored throughout your disk, as well as site passwords, banking details, and other sensitive information.
---
# MetaMask Snaps account management FAQs
URL: https://support.metamask.io/configure/snaps/account-management-faq/
> More information on Account Management Snaps.
Account Management Snaps allow Snap creators to bring their own account management experiences to MetaMask. Eager to get started? Learn more about [MetaMask Snaps Account Management](/configure/snaps/what-are-account-management-snaps).
## MetaMask Snaps Account Management FAQs {#metamask-snaps-account-management-faqs}
1. **What are Account Management Snaps?**
Account Management Snaps allow Snaps to bring custom account management experiences to MetaMask. Accounts created through these Snaps will appear directly within the MetaMask interface, just like regular accounts. Take a look at our introduction article to [MetaMask Snaps Account Management](/configure/snaps/what-are-account-management-snaps).
2. **After the initial launch, what is the general roadmap for Account Management Snaps?**
The initial launch supports [EOA accounts](https://ethereum.org/en/developers/docs/accounts/), similar to those you are already used to when using MetaMask. This already enables some powerful, new experiences, such as distributed key generation (e.g. MPC), and the ability to add additional hardware wallet integrations.
Next up is adding support for [account abstraction](https://metamask.io/news/latest/account-abstraction-past-present-future/), such as through [ERC-4337](https://medium.com/infinitism/erc-4337-account-abstraction-without-ethereum-protocol-changes-d75c9d94dc4a). In a later stage, support for smart contract accounts can also be added via Account Management Snaps.
In the future, Account Management Snaps will be able to provide support for non-EVM accounts, meaning that you will be able to manage accounts for networks other than Ethereum (and Ethereum-like networks) in your MetaMask interface. [Interoperability](/configure/snaps/what-are-interoperability-snaps) already allows you to use MetaMask with new blockchains and protocols.
3. **Will the new Account Management Snaps be on MetaMask Mobile?**
Currently, Account Management Snaps are only available in the MetaMask browser extension v11.9 and up.
4. **How do Account Management Snaps work with MetaMask Portfolio?**
Accounts added by Account Management Snaps to MetaMask Extension act like any other account in MetaMask Extension. This means that you can also add these accounts to your MetaMask Portfolio.
5. **How do Account Management Snaps work with dapps?**
Similarly to MetaMask Portfolio, you’re free to use accounts added by Account Management Snaps with any dapp of your choosing.
6. **Do the Account Management Snaps have access to my MetaMask Secret Recovery Phrase?**
No, Account Management Snaps cannot access your Secret Recovery Phrase. These Snaps must either generate an entirely new private key, or derive a private key from the Secret Recovery Phrase in a way that prevents them from accessing other Ethereum accounts.
However, do note that a Snap can request access to the private keys used to sign transactions on other blockchains. It’s up to you to either grant or deny this permission.
7. **Do I still need to remember my MetaMask Secret Recovery Phrase if I use an Account Management Snap?**
While Account Management Snaps cannot directly access your Secret Recovery Phrase, some Account Management Snaps might derive private keys based on your Secret Recovery Phrase. This means that in some cases, you still need to know your Secret Recovery Phrase in case you ever wish to recover accounts managed by these Snaps.
Account Management Snaps are only one category of Snaps; learn more about [Security Snaps](/configure/snaps/what-are-security-snaps), [Interoperability Snaps](/configure/snaps/what-are-interoperability-snaps), and [Communication Snaps](/configure/snaps/what-are-communication-snaps). New to MetaMask Snaps? Take a look at our [getting started guide](/configure/snaps/getting-started-with-metamask-snaps), or the [MetaMask Snaps FAQ](/configure/snaps/metamask-snaps-faq).
## Important information {#important-information}
**Third-Party Service**
You acknowledge that Account Management Snaps are a Third Party Service, as defined in the [Consensys](https://consensys.io/terms-of-use/) [Terms of Use](https://consensys.io/terms-of-use#). Your use of Third Party Services is governed by separate terms and conditions set forth by the Third Party Service provider. Consensys does not recommend the use of any Snap by any particular person for any particular reason. You access, rely upon or use the Third Party Service at your own risk. Consensys disclaims all responsibility and liability for any losses on account of your use of Third Party Services.
**Experimental Beta**
Account Management Snaps are released as part of an experimental Beta release. You agree that you will only use one of these Snaps if you understand how it functions and how to use it, and you have fully read and understand all risk warnings and other disclosures made available by the Third Party Service provider relating to use of their Snap. You agree that Consensys is not responsible for any injury that you incur as a result of your use of this Snap.
You will not be able to use your MetaMask Secret Recovery Phrase to recover accounts added through Account Management Snaps. If your account credentials are lost or compromised, MetaMask will not be able to help you. If the Snap or the associated dapp is hacked or ceases to function, you may not be able to access your account and the funds in your account.
---
# Get started with MetaMask Snaps
URL: https://support.metamask.io/configure/snaps/getting-started-with-metamask-snaps/
> Learn how to enable, configure, and use extensibility features in this guide.
Snaps allow you to add features and functionality to your MetaMask. Individual Snaps are unique applications created by third-party developers, which you can install into MetaMask, allowing you to [connect to blockchain networks beyond Ethereum](/configure/snaps/what-are-interoperability-snaps), adding support for [insights on your transactions](/configure/snaps/what-are-security-snaps), as well as introducing [notifications](/configure/snaps/what-are-communication-snaps).
MetaMask Snaps lets you personalize your MetaMask experience according to how you see fit. Let's dive in!
## Seek out your Snap {#seek-out-your-snap}
The first step is to find the ideal Snap for your needs. There are two ways to install a Snap; through third-party dapps, or the [MetaMask Snaps Directory](https://snaps.metamask.io/?utm_source=metamaskSupport&utm_medium=knowledge-base&utm_campaign=2023_Sep_snaps-launch_content_gettingStarted).
:::warning
Snaps are created by third-party developers and are a Third Party Service as defined in the Consensys [Terms of Use](https://consensys.io/terms-of-use/). You access, rely upon or use the Third Party Service at your own risk. Consensys disclaims all responsibility and liability for any losses on account of your use of Third Party Services. Always do your own research before installing any Snap, and carefully review the permissions requested.
:::
### Via websites/dapps {#via-websitesdapps}
Dapps can directly prompt you to install their accompanying Snap. For example, you might visit your favorite DeFi protocol's dashboard, which prompts you to install their Snap, allowing them to send relevant [notifications](/configure/snaps/what-are-communication-snaps) directly to your MetaMask instance about an order being filled.
Eager to know which dapps have already created a Snap? Luckily, the [MetaMask Snaps Directory](https://snaps.metamask.io/?utm_source=metamaskSupport&utm_medium=knowledge-base&utm_campaign=2023_Sep_snaps-launch_content_gettingStarted) is here to help you explore further.
### Via the MetaMask Snaps Directory {#via-the-metamask-snaps-directory}
The easiest way to find new Snaps is by going to the [MetaMask Snaps Directory](https://snaps.metamask.io/?utm_source=metamaskSupport&utm_medium=knowledge-base&utm_campaign=2023_Sep_snaps-launch_content_gettingStarted), your one-stop shop for exploring new Snaps.
Looking for a step-by-step on installing a Snap? [Learn more about installing a Snap](/configure/snaps/how-to-install-a-snap).
:::warning
As part of the launch of MetaMask Snaps, individual Snaps must be put on an allowlist before they can be installed by users. This means that at this time, only selected, audited Snaps can be installed. In the future, this system will be opened up. By including a Snap on the allowlist, Consensys is not endorsing, recommending, or guaranteeing the safety of this Snap for your use or use for any reason. Always do your own research before installing any Snap.
:::
## Explore more {#explore-more}
With these steps completed, you're now well-equipped to dive into the world of MetaMask Snaps. Happy metamagical exploring! 🚀
- [MetaMask Snaps Homepage](http://metamask.io/snaps?utm_source=metamaskSupport&utm_medium=knowledge-base&utm_campaign=2023_Sep_snaps-launch_content_gettingStarted)
- [MetaMask Snaps Knowledge Base](/configure/snaps/)
- [MetaMask Snaps Directory](https://snaps.metamask.io/?utm_source=metamaskSupport&utm_medium=knowledge-base&utm_campaign=2023_Sep_snaps-launch_content_gettingStarted)
- [MetaMask Snaps Announcement Blog](https://consensys.io/blog/consensys-announces-public-launch-of-metamask-snaps)
---
# How Snap permissions work in MetaMask
URL: https://support.metamask.io/configure/snaps/how-do-snap-permissions-work/
> Understand how permissions operate when installing or using Snaps.
MetaMask Snaps opens up a world of possibilities, and with great power comes the need for user consent. Upon installation, Snaps can request specific permissions to access various functionalities surrounding your MetaMask; compare it to installing an application on your mobile phone.
This article explores how Snap permissions work, the various permissions a Snap might request upon installation, and how you can view the permissions used by a Snap that is already installed.
## Access and control {#access-and-control}
When installing a Snap, you'll encounter requests for specific permissions. Currently, a Snap might request any of the following permissions. In the future, additional permissions might be added.
- **Allow other Snaps to communicate directly with this Snap**
Let this Snap communicate with other Snaps. This can be used to transfer data and enhance the functionality of other Snaps.
- **Allow dapps to communicate directly with this Snap**
Let this Snap communicate with dapps. This can be used to share data and enhance the functionality of dapps.
- **Display custom dialogs**
Let this Snap show custom dialogs in MetaMask. These can be used for alerts, confirmations, and input prompts.
- **Show notifications**
Let this Snap show notifications in MetaMask.
- **Derive arbitrary keys unique to this Snap**
Let this Snap create arbitrary keys. These keys are unique to this Snap and aren't related to your MetaMask accounts. The keys can be used to authenticate with dapps and cloud-based services.
- **View your public key for (protocol)**
Let this Snap see your public keys and addresses for a specific protocol. The Snap won't be able to control your accounts or assets.
- **Store and manage data on your device**
Let this Snap store, update, and retrieve data using encryption. This data is stored securely on your device.
- **Access the Ethereum provider**
Let this Snap communicate with MetaMask so it can see blockchain data and suggest transactions.
- **Access the internet**
Let this Snap access the internet so it can communicate with third-party servers. This can be used for both sending and receiving data.
- **Display transaction insights**
Let this Snap decode transactions and show insights in MetaMask. This can be used for anti-phishing and security.
- **See the origins of websites that suggest transactions**
Let this Snap see the origin of websites when they suggest transactions. This can be used for anti-phishing and security.
- **Schedule and run periodic actions**
Let this Snap schedule and run recurring tasks or notifications.
Find a full list of permissions a Snap could request on the [MetaMask Snaps development docs](https://docs.metamask.io/snaps/reference/permissions/).
## Viewing permissions used by installed Snaps {#viewing-permissions-used-by-installed-snaps}
You can easily view the permissions you've granted to a Snap by going to the configuration page of the Snap within MetaMask.
1. Look for the three vertical dots in the upper-right corner of your MetaMask window. Click on these dots to reveal a drop-down menu.
2. From the drop-down menu, click on 'Snaps' to access a list of all Snaps currently installed in your MetaMask instance.
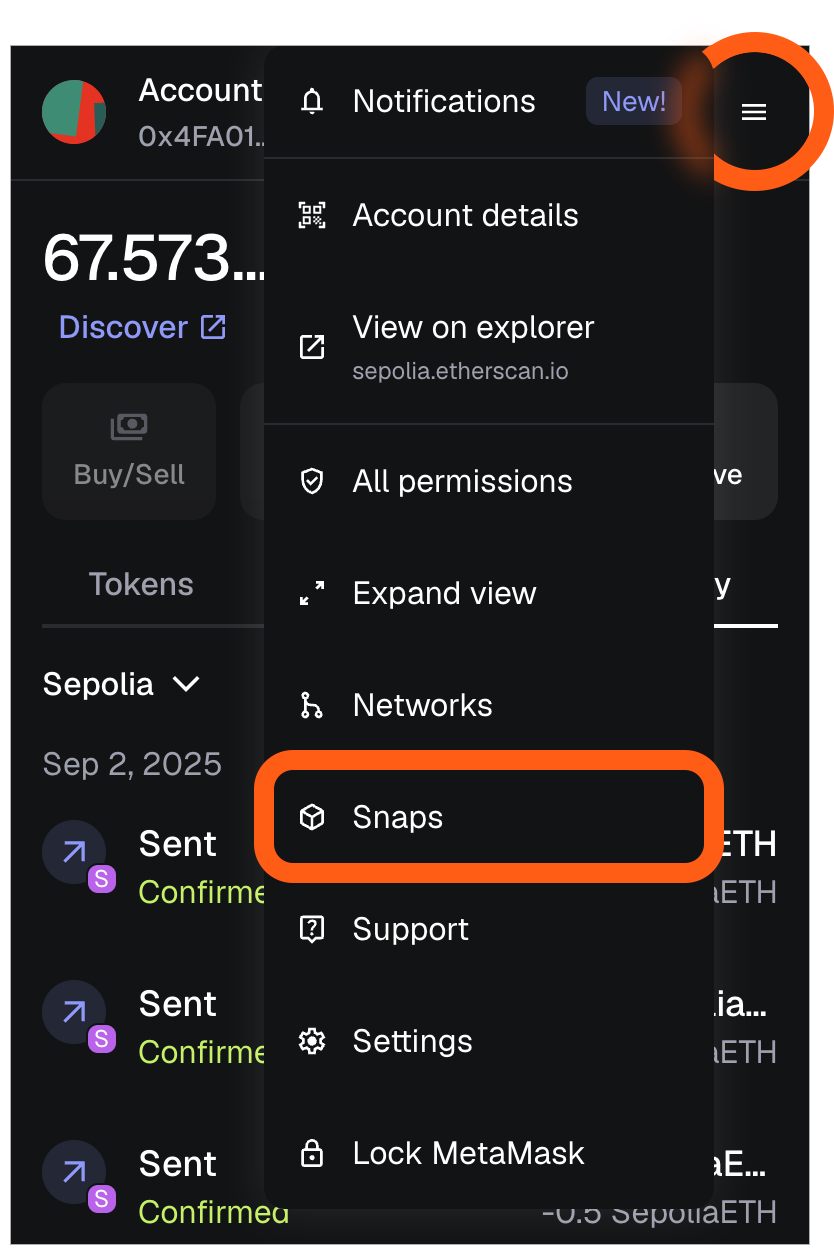
3. Scroll through the list of installed Snaps to find the specific one you wish to find more info about.
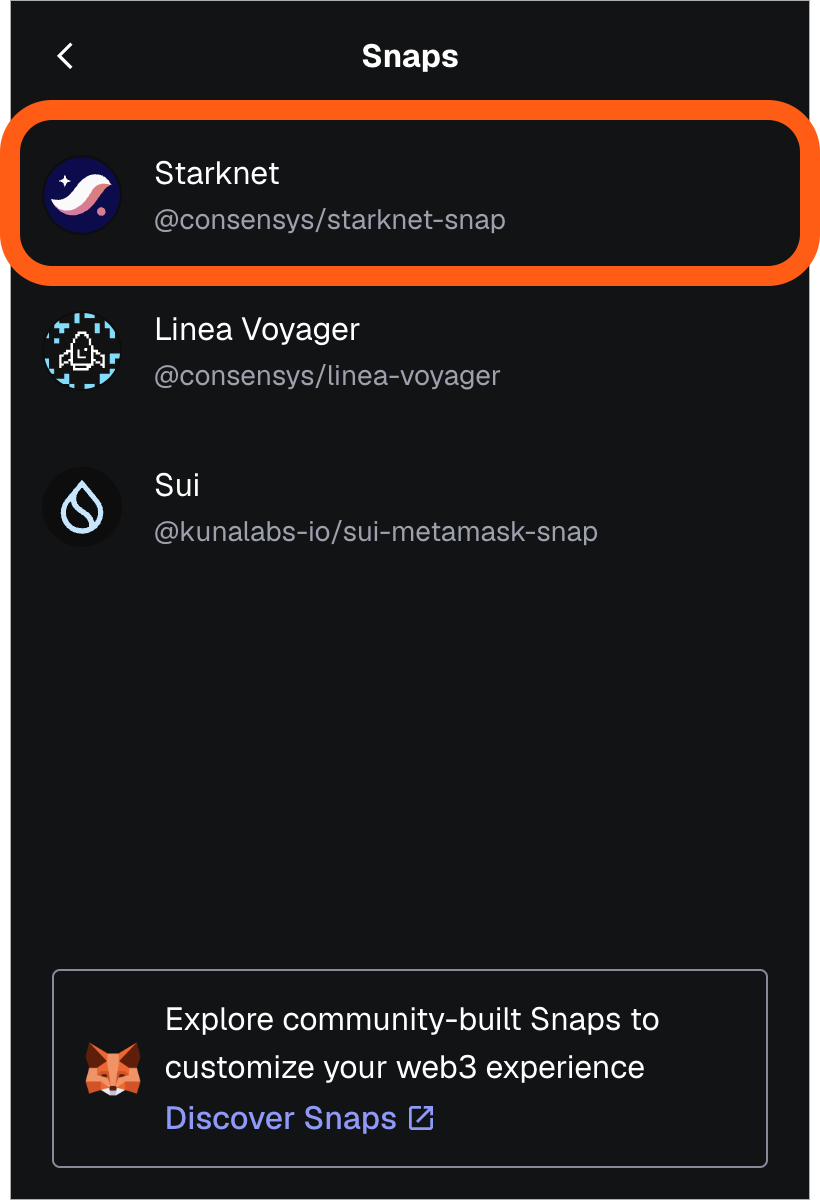
4. Open the 3-dot menu and select 'settings' for that specific Snap.
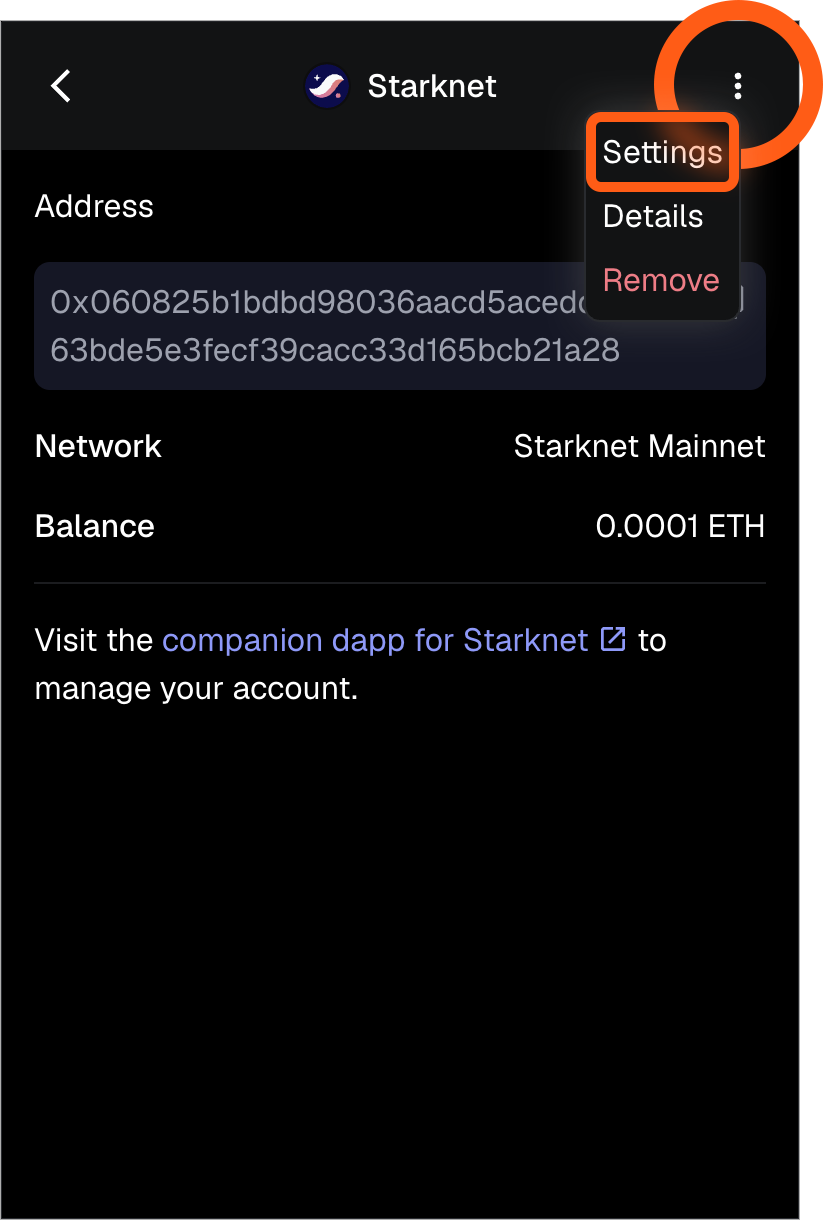
Ta-da! 🙌 you'll now be able to view the permissions that have already been granted to the Snap.
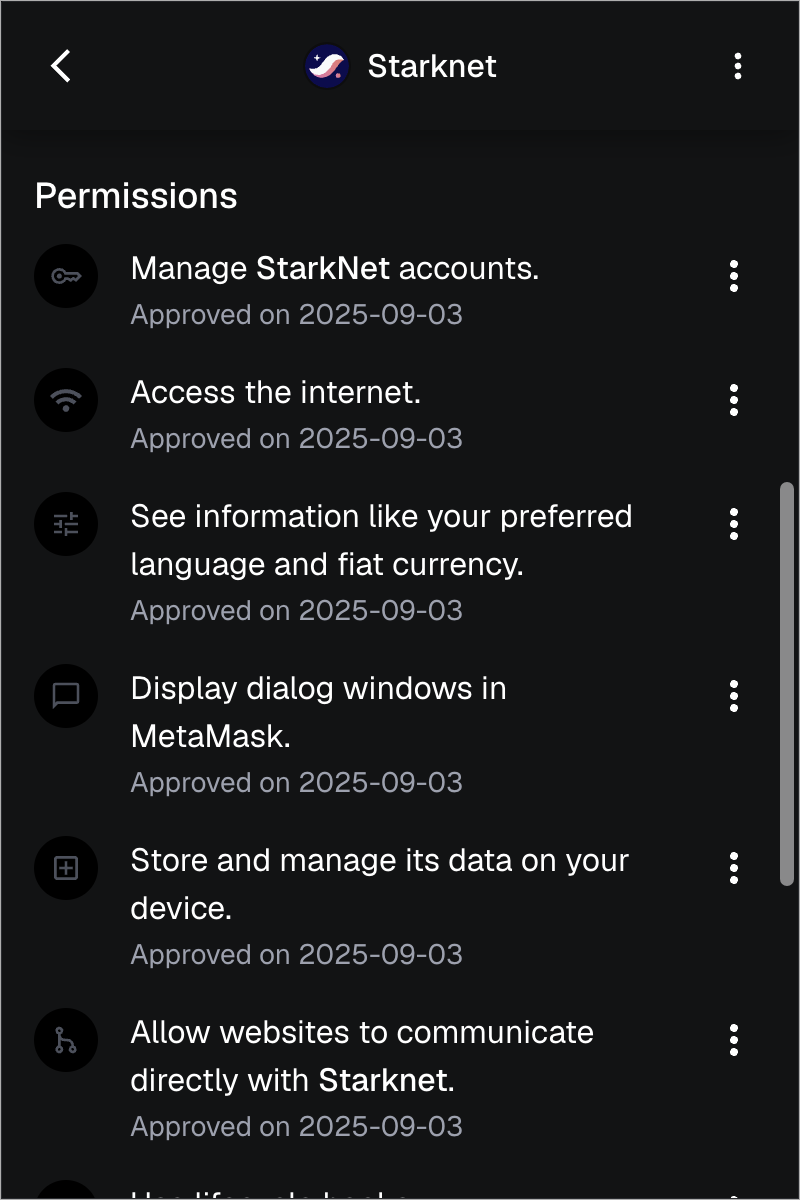
---
# How to access MetaMask Snap settings
URL: https://support.metamask.io/configure/snaps/how-to-access-snap-settings/
> Learn how to access and manage Snap settings.
By going to the settings of a Snap, you can view its details, such as a description, version number, and permissions it has access to. Additionally, you can (temporarily) disable it, view connected websites, or uninstall the Snap if needed.
## Accessing Snap settings {#accessing-snap-settings}
Follow these steps to view and customize the settings for a Snap that you have already installed in MetaMask.
1. Look for the menu icon in the upper-right corner of your MetaMask window. Click on this to reveal a drop-down menu.
2. From the drop-down menu, click on 'Snaps' to access a list of all Snaps currently installed in your MetaMask instance.

3. Scroll through the list of installed Snaps to find the specific one you wish to find more info about.

4. Open the 3-dot dropdown menu and select 'settings' for that specific Snap.

That's it! From here, you will be able to access and customize its various settings, such as connected websites, or view when and where you installed this Snap.
---
# How to back up and restore MetaMask Snaps
URL: https://support.metamask.io/configure/snaps/how-to-backup-and-restore/
> Your SRP will not allow you to recover accounts added by Snaps. Learn how to back up and restore these accounts.
Accounts added to your MetaMask instance by [Account Management Snaps](/configure/snaps/what-are-account-management-snaps) are managed by the Snap, and work **separately** from your MetaMask Secret Recovery Phrase; your SRP will not allow you to recover accounts added by Account Management Snaps.
:::info
💡 Snaps that make use of [Interoperability](/configure/snaps/what-are-interoperability-snaps) **do** generate accounts based on your Secret Recovery Phrase. This means that even if you were to reset your entire MetaMask instance, recover your MetaMask accounts using your Secret Recovery Phrase, and install the Interoperability Snap again, you would be able to see the same account(s) for the new network that you have previously generated.
:::
For Account Management Snaps, since the Snap manages the accounts, you will have to back them up using the dapp accompanied with the Snap; this procedure differs with each Snap. Some might instruct you to write down a Secret Recovery Phrase during the initial setup, some might allow you to reveal a Secret Recovery Phrase later on, and some might have other ways of backing up an account.
Check with the Snap what its backup options are. If you run into issues, we highly recommend contacting the team behind the Snap directly, as they will be able to assist you best.
## Important information {#important-information}
**Third-Party Service**
You acknowledge that Account Management Snaps are a Third Party Service, as defined in the [Consensys](https://consensys.io/terms-of-use/) [Terms of Use](https://consensys.io/terms-of-use#). Your use of Third Party Services is governed by separate terms and conditions set forth by the Third Party Service provider. Consensys does not recommend the use of any Snap by any particular person for any particular reason. You access, rely upon or use the Third Party Service at your own risk. Consensys disclaims all responsibility and liability for any losses on account of your use of Third Party Services.
**Experimental Beta**
Account Management Snaps are released as part of an experimental Beta release. You agree that you will only use one of these Snaps if you understand how it functions and how to use it, and you have fully read and understand all risk warnings and other disclosures made available by the Third Party Service provider relating to use of their Snap. You agree that Consensys is not responsible for any injury that you incur as a result of your use of this Snap.
You will not be able to use your MetaMask Secret Recovery Phrase to recover accounts added through Account Management Snaps. If your account credentials are lost or compromised, MetaMask will not be able to help you. If the Snap or the associated dapp is hacked or ceases to function, you may not be able to access your account and the funds in your account.
---
# How to install a Snap in MetaMask
URL: https://support.metamask.io/configure/snaps/how-to-install-a-snap/
> Learn how to install a plugin in MetaMask.
MetaMask Snaps allow anyone to infinitely expand on MetaMask's functionality, such as adding [insights on your transactions](/configure/snaps/what-are-security-snaps), support for [other blockchain protocols](/configure/snaps/what-are-interoperability-snaps), or adding [notifications](/configure/snaps/what-are-communication-snaps).
Are you new to MetaMask Snaps? Be sure to check out our guide on [Getting started with MetaMask Snaps](/configure/snaps/getting-started-with-metamask-snaps)!
## Explore Snaps {#explore-snaps}
Navigate to the [MetaMask Snaps Directory](https://snaps.metamask.io/?utm_source=metamaskSupport&utm_medium=knowledge-base&utm_campaign=2023_Sep_snaps-launch_content_none) for a comprehensive catalog of currently accessible Snaps. Select one that seems interesting to you, and click 'Install Snap' to get started!
Dapps can also directly prompt you to install their accompanying Snap. For instance, a decentralized exchange (DEX) could prompt you to install their Snap, allowing them to automatically [notify](/configure/snaps/what-are-communication-snaps) you right within MetaMask once your order has been fulfilled.
:::warning
Snaps created by third-party developers are a Third Party Service as defined in the Consensys [Terms of Use](https://consensys.io/terms-of-use/). You access, rely upon or use the Third Party Service at your own risk. Consensys disclaims all responsibility and liability for any losses on account of your use of Third Party Services. Consensys is not endorsing, recommending, or guaranteeing the safety of Snaps listed on the directory for your use or use for any reason. Always do your own research before installing any Snap, and carefully review the permissions requested.
:::
## Install a Snap {#install-a-snap}
Luckily, installing a Snap is no difficult feat; here's a step-by-step.
1. Whenever a dapp requests you install a Snap or you choose to download a Snap from the [MetaMask Snaps Directory](https://snaps.metamask.io/?utm_source=metamaskSupport&utm_medium=knowledge-base&utm_campaign=2023_Sep_snaps-launch_content_none), you will be prompted with a connection request.

Take a moment to review the details provided in the connection request and ensure that the right domain is prompting you. If all seems well, click 'Connect' to continue.
2. A new screen will appear, presenting the permissions required by the Snap. These permissions range from requesting internet access to controlling keys for other blockchain networks.
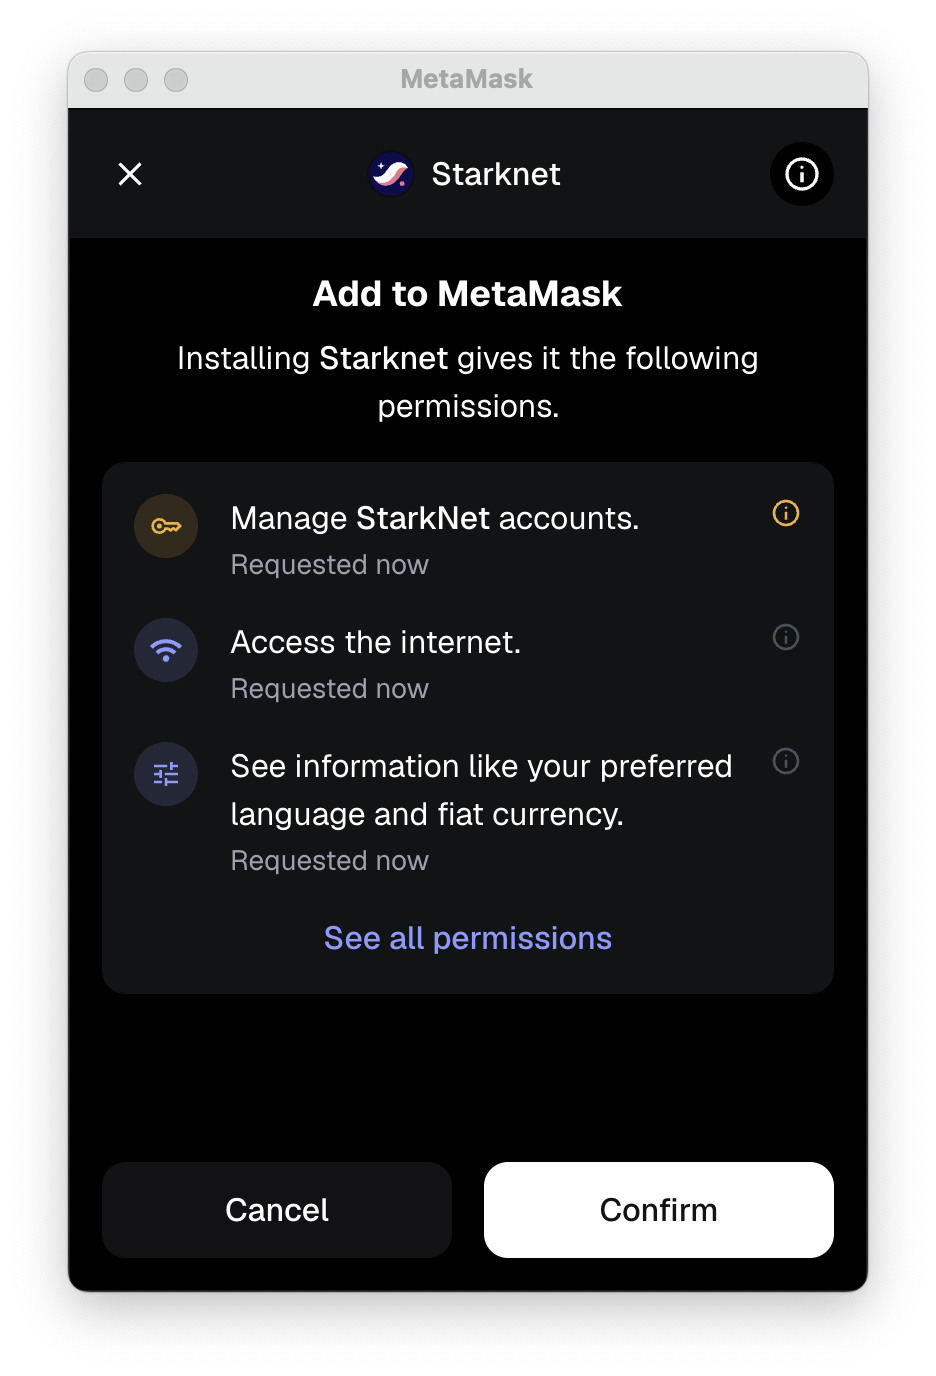
**Carefully review each permission listed on this screen.** If you're comfortable with the permissions requested, click 'Install' to continue.
3. For some sensitive permissions, you might be prompted for additional confirmation. Carefully consider the permissions that the Snap is requesting. Tick all the requested permissions, and click 'Confirm'.
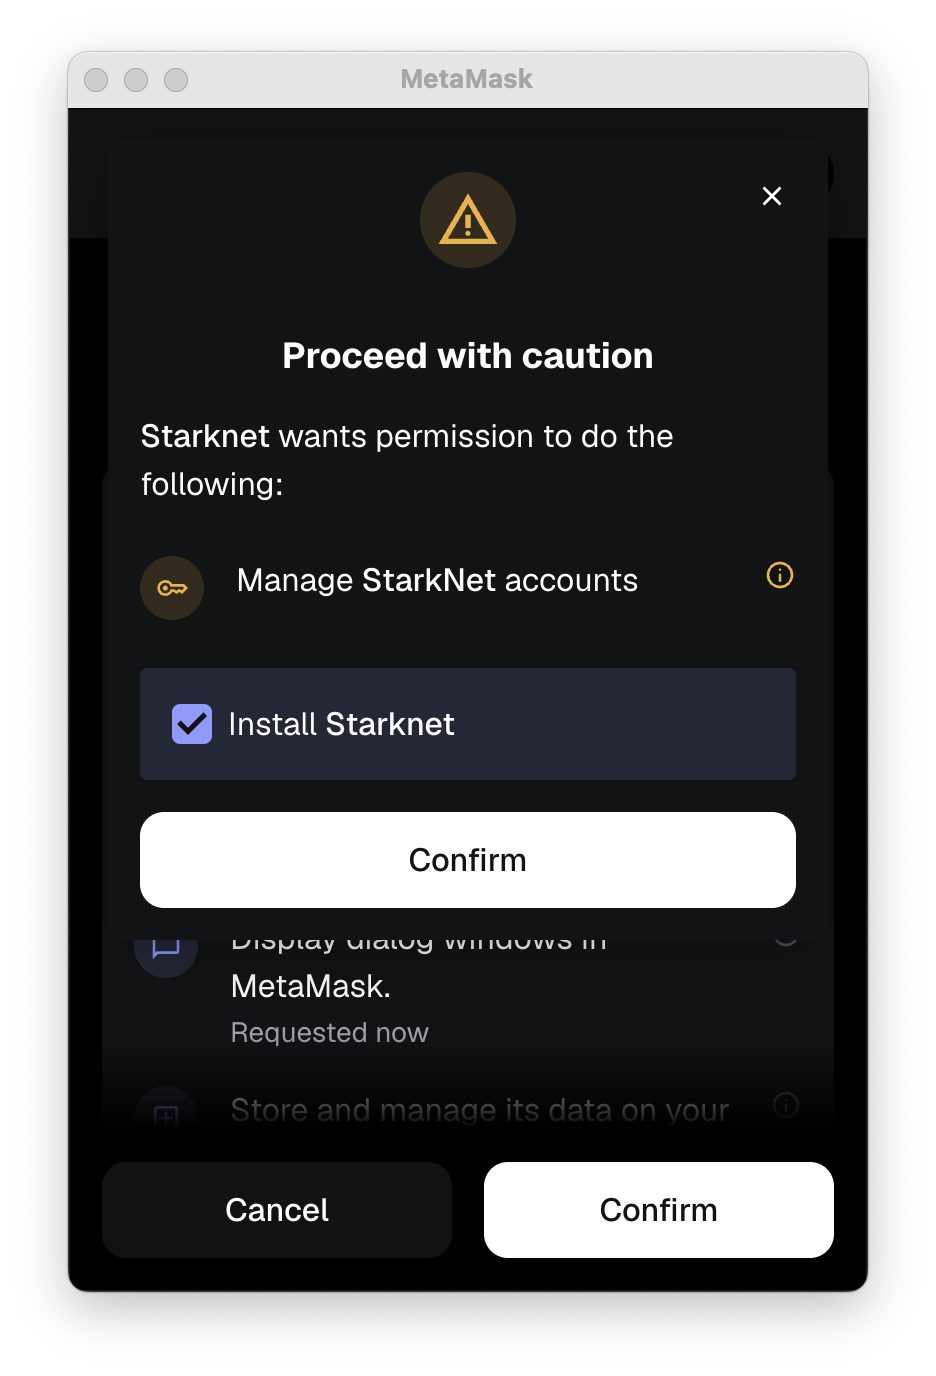
4. Success! The Snap is now installed successfully. Did you encounter an error? Take a look at our [guide on troubleshooting Snap issues](/configure/snaps/how-to-troubleshoot-snap-issues).
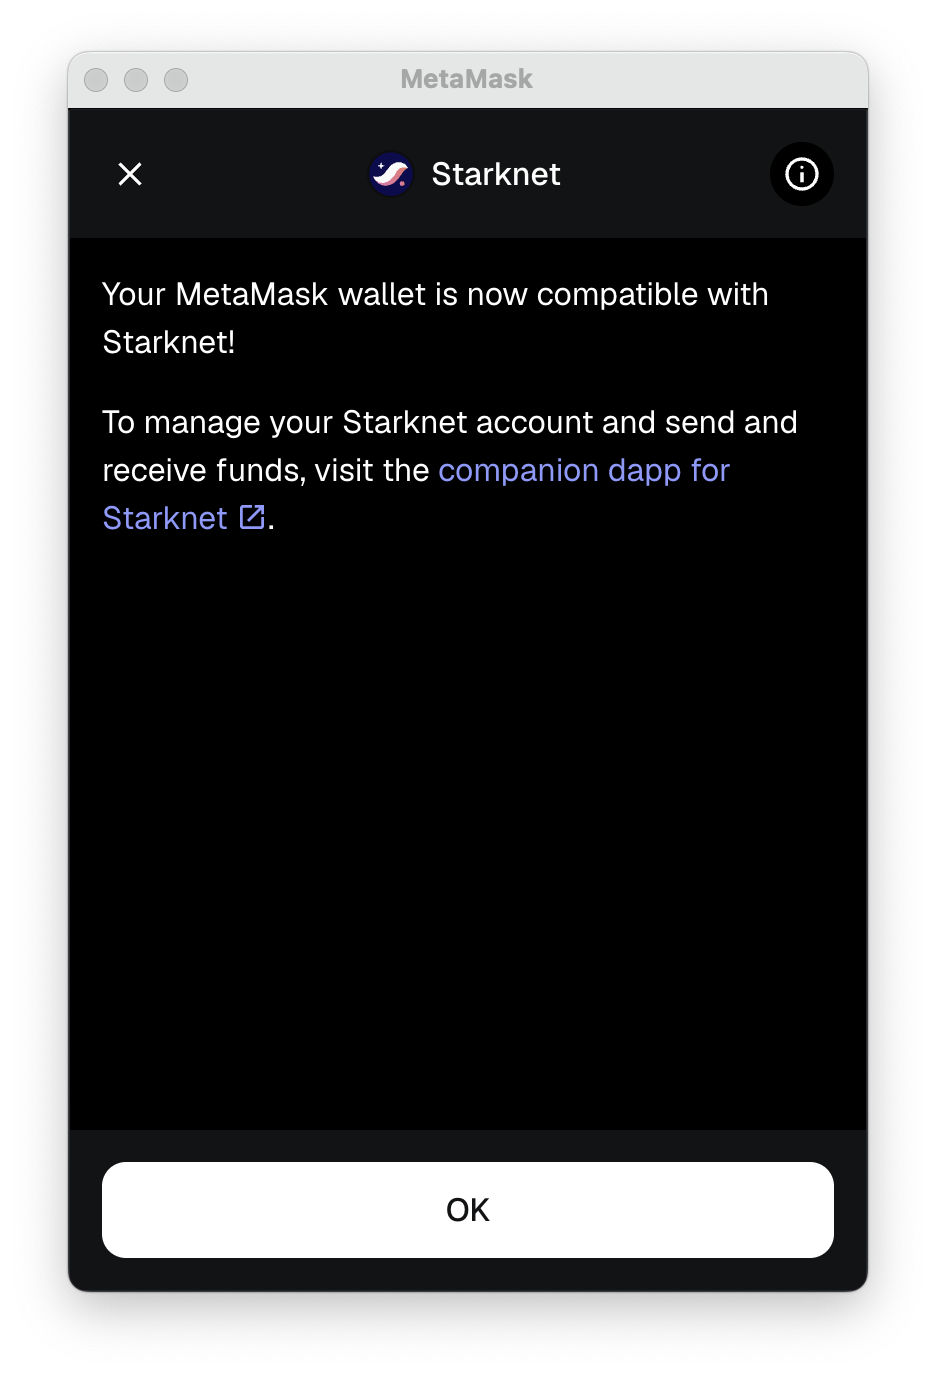
By following these steps, you're now well-equipped to embrace the power of MetaMask Snaps! Installing a Snap gives you access to additional functionalities and exciting features, but remember that it also comes with specific permissions that you must **carefully** review.
Happy exploring! 🚀
---
# How to install an Account Management Snap
URL: https://support.metamask.io/configure/snaps/how-to-install/
> Learn how to install new account management solutions directly in MetaMask.
Account Management Snaps enable Snap creators to incorporate their own account management solutions directly into MetaMask. This guide walks you through the step-by-step process of installing an Account Management Snap.
New to Account Management Snaps? Check out our [explainer on this new category of Snaps](/configure/snaps/what-are-account-management-snaps).
## Installing an Account Management Snap {#installing-an-account-management-snap}
You can install Account Management Snaps the same way as other Snaps; directly through a dapp that makes use of the Snap, or by using the [MetaMask Snaps Directory](https://snaps.metamask.io/). [Learn more about finding and installing Snaps](/configure/snaps/how-to-install-a-snap).
Now that you’ve installed an Account Management Snap, head over to the dapp accompanied with the Snap; from there, you can set up your account, after which it will show up right within your MetaMask interface.
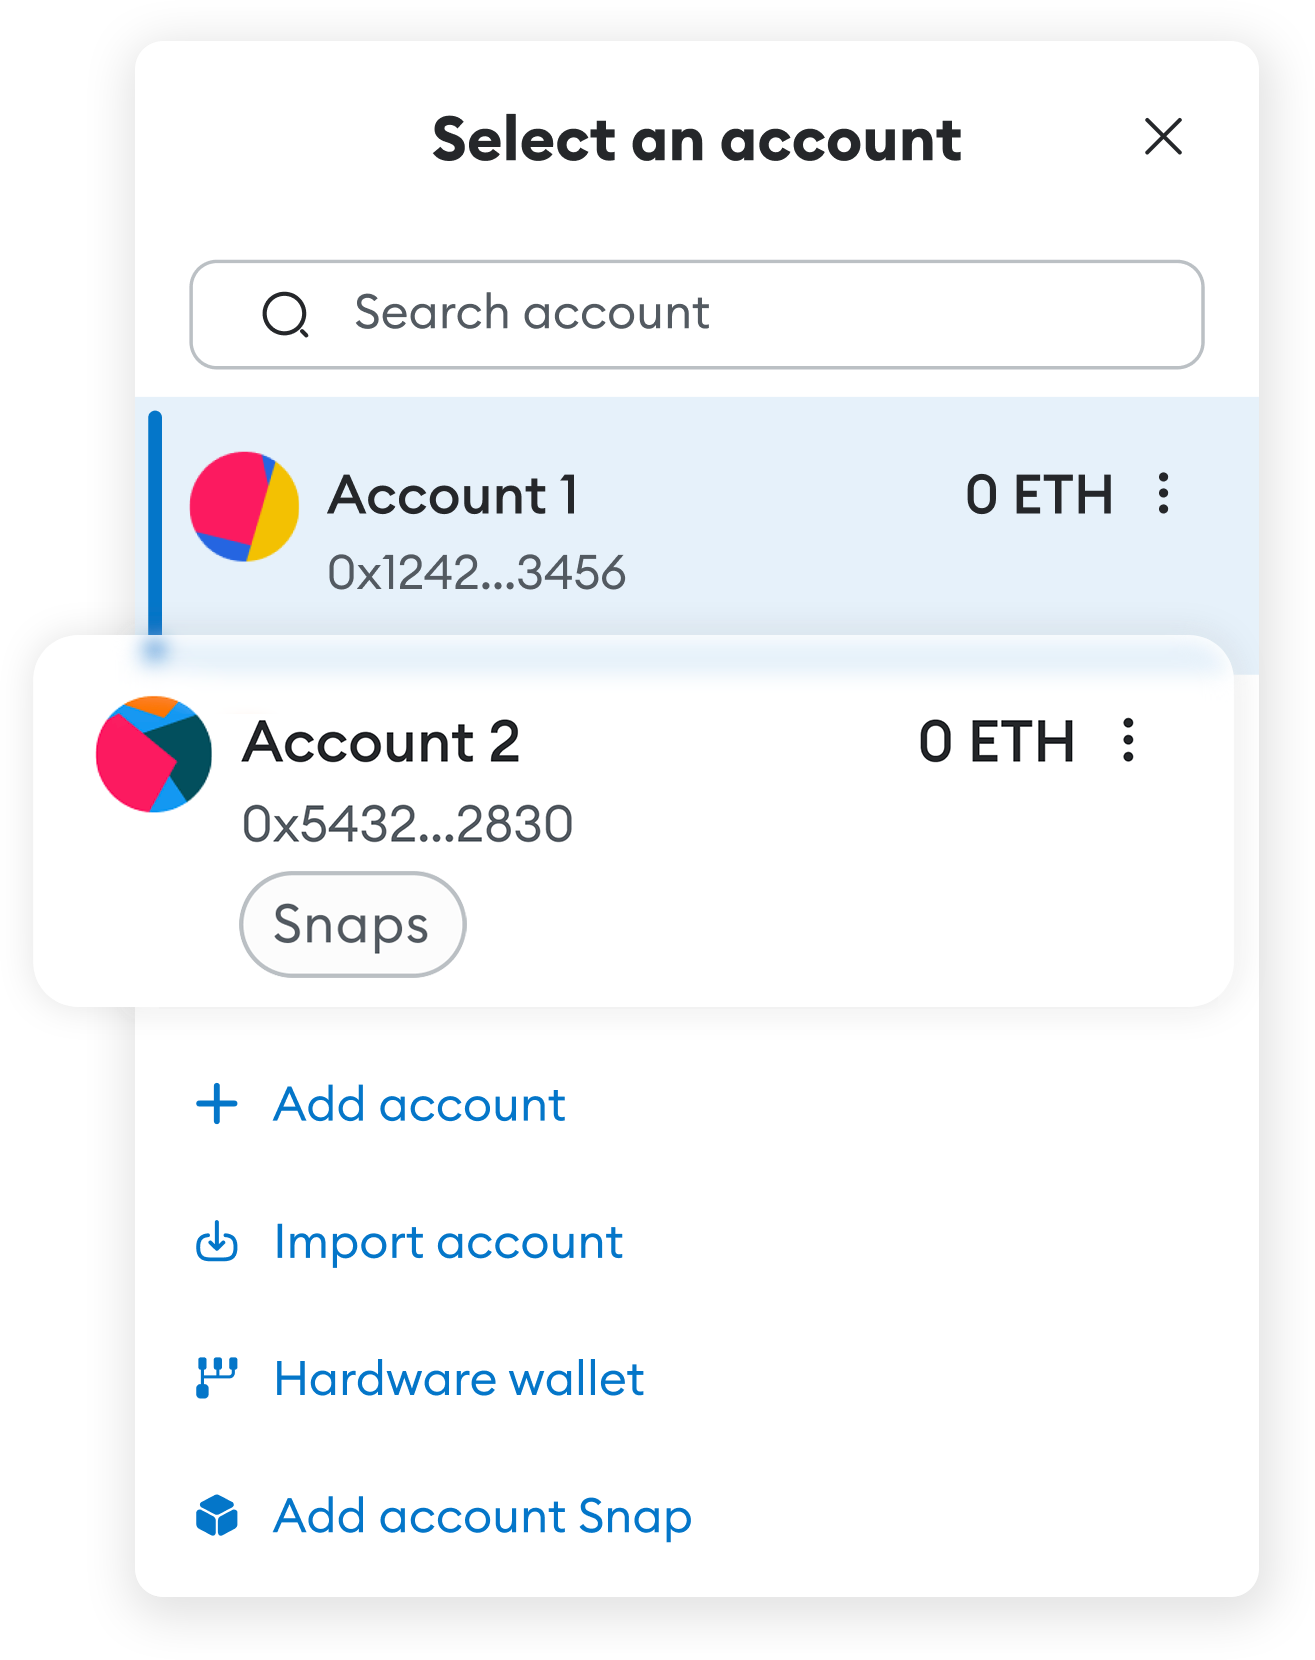
And you’re good to go! Using the new account created by the Snap, you can interact with dapps as you would with any other Ethereum account in MetaMask. Note that since you manage your account through the Snap, you might have to approve any transactions in the dapp accompanying the Snap. You might also have to approve transactions through a companion mobile app.
Account Management Snaps are just one category of Snaps available today. Want to learn more about MetaMask Snaps? Take a look at our [Getting started with MetaMask Snaps guide](/configure/snaps/getting-started-with-metamask-snaps), or find new Snaps to install on the [MetaMask Snaps Directory](https://snaps.metamask.io/).
## Important information {#important-information}
**Third-Party Service**
You acknowledge that Account Management Snaps are a Third Party Service, as defined in the [Consensys](https://consensys.io/terms-of-use/) [Terms of Use](https://consensys.io/terms-of-use#). Your use of Third Party Services is governed by separate terms and conditions set forth by the Third Party Service provider. Consensys does not recommend the use of any Snap by any particular person for any particular reason. You access, rely upon or use the Third Party Service at your own risk. Consensys disclaims all responsibility and liability for any losses on account of your use of Third Party Services.
**Experimental Beta**
Account Management Snaps are released as part of an experimental Beta release. You agree that you will only use one of these Snaps if you understand how it functions and how to use it, and you have fully read and understand all risk warnings and other disclosures made available by the Third Party Service provider relating to use of their Snap. You agree that Consensys is not responsible for any injury that you incur as a result of your use of this Snap.
You will not be able to use your MetaMask Secret Recovery Phrase to recover accounts added through Account Management Snaps. If your account credentials are lost or compromised, MetaMask will not be able to help you. If the Snap or the associated dapp is hacked or ceases to function, you may not be able to access your account and the funds in your account.
---
# How to send a transaction with MetaMask Snaps
URL: https://support.metamask.io/configure/snaps/how-to-send-a-transaction/
> Accounts managed by a Snap are asynchronous, and additional approval for transactions is often required.
Sending transactions with accounts added by Account Management Snaps works essentially the same as regular accounts in MetaMask; you can receive funds, transfer assets to other addresses, and interact with your favorite DeFi protocols. However, there might be a few additional steps when interacting with Account Management Snaps;
Typically, when you initiate a transaction with a ‘regular’ MetaMask account, meaning one that is not managed by an Account Management Snap, you can instantly approve the transaction to be sent using the MetaMask interface. These transactions would happen in a **synchronous** manner.
Accounts that are managed by an Account Management Snap are **asynchronous**, and additional approval for transactions is often required through the Snap’s companion dapp, or mobile app.
This flow can differ for each Snap, and it is best to familiarize yourself with each individual Account Management Snap to get the most out of it.
If you encounter issues with the Snap, take a look at our article on [troubleshooting issues with MetaMask Snaps](/configure/snaps/how-to-troubleshoot-snap-issues). Consider reaching out to the creators of the Snap directly; they will likely be in the best position to help you further.
## Important information {#important-information}
**Third-Party Service**
You acknowledge that Account Management Snaps are a Third Party Service, as defined in the [Consensys](https://consensys.io/terms-of-use/) [Terms of Use](https://consensys.io/terms-of-use#). Your use of Third Party Services is governed by separate terms and conditions set forth by the Third Party Service provider. Consensys does not recommend the use of any Snap by any particular person for any particular reason. You access, rely upon or use the Third Party Service at your own risk. Consensys disclaims all responsibility and liability for any losses on account of your use of Third Party Services.
**Experimental Beta**
Account Management Snaps are released as part of an experimental Beta release. You agree that you will only use one of these Snaps if you understand how it functions and how to use it, and you have fully read and understand all risk warnings and other disclosures made available by the Third Party Service provider relating to use of their Snap. You agree that Consensys is not responsible for any injury that you incur as a result of your use of this Snap.
You will not be able to use your MetaMask Secret Recovery Phrase to recover accounts added through Account Management Snaps. If your account credentials are lost or compromised, MetaMask will not be able to help you. If the Snap or the associated dapp is hacked or ceases to function, you may not be able to access your account and the funds in your account.
---
# How to troubleshoot MetaMask Snaps issues
URL: https://support.metamask.io/configure/snaps/how-to-troubleshoot-snap-issues/
> Fix common MetaMask Snap problems with this guide.
MetaMask Snaps allows you to bring your MetaMask experience to the next level, but it can be annoying if something happens to go wrong. If you're facing challenges with the MetaMask Snaps platform or specific Snaps, don't fret! This guide is here to assist you in troubleshooting problems relating to MetaMask Snaps.
## Troubleshooting {#troubleshooting}
The **MetaMask Snaps platform** refers to the underlying framework that enables the integration of third-party applications within MetaMask. **Individual Snaps** are the specific applications that can be installed to extend MetaMask's functionality.
It's essential to distinguish between issues with the MetaMask Snaps platform itself, which might impact multiple or all of your installed Snaps, and problems specific to an individual Snap.
### MetaMask Snaps platform {#metamask-snaps-platform}
Are you noticing issues with your MetaMask instance itself or the installation of Snaps? Try your hand at the following solutions:
1. **Update your MetaMask browser extension**
Ensure you have the latest version of the MetaMask browser extension installed. [Learn more about updating MetaMask](/configure/wallet/how-to-update-the-version-of-metamask). Note that MetaMask Snaps is currently not available for MetaMask Mobile.
2. **Reach out to MetaMask Support**
Are you still experiencing issues? [Get in touch with Support](/start/how-to-contact-metamask-support/).
### Individual Snaps {#individual-snaps}
Experiencing issues with a specific Snap? Take a look at the following tips:
1. **Update the Snap to the latest version**
Ensure that your Snap is updated to the latest version by going to the dapp or webpage where you installed the Snap. [Learn more about updating a Snap](/configure/snaps/how-to-update-a-snap).
2. **Reinstall the Snap**
Try deleting the Snap you are experiencing issues with, and install it again. You can easily uninstall a Snap from the MetaMask Snaps settings. [Read more about uninstalling a Snap](/configure/snaps/how-to-uninstall-a-snap).
3. **Reach out to the developers of the Snap**
If all else fails, reach out to the developers of the Snap; they would be in the best position to help you further. Many have various channels to get in touch, such as Discord or GitHub repositories.
---
# How to uninstall a Snap in MetaMask
URL: https://support.metamask.io/configure/snaps/how-to-uninstall-a-snap/
> Step-by-step guide to uninstall Snaps.
MetaMask Snaps introduces a whole new level of customization and extended functionality to MetaMask. However, there might be times when you no longer need a specific Snap.
## Remove a Snap {#remove-a-snap}
In this guide, we'll walk you through the steps to remove a Snap from your MetaMask instance.
1. To begin, look for the menu icon in the upper-right corner of your MetaMask window. Click on this to reveal a drop-down menu.
2. From the drop-down menu, click on 'Snaps' to access a list of all Snaps currently installed in your MetaMask instance.

3. Scroll through the list of installed Snaps to find the specific one you wish to remove.

4. Open the 3-dot dropdown menu and select 'remove' for that specific Snap.
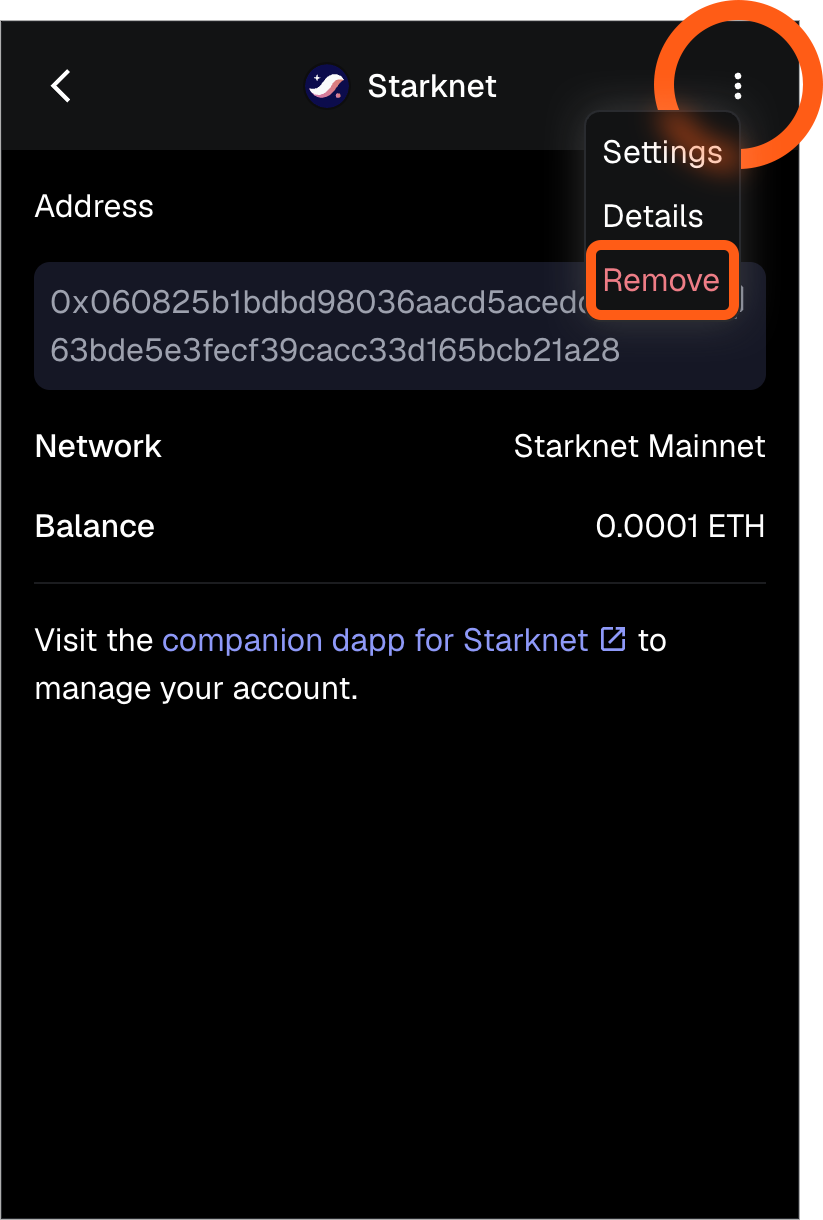
6. A confirmation window will appear, asking if you are sure you want to remove the Snap. To proceed, click 'Remove Snap' in the prompt.
That's it! You've now successfully uninstalled the Snap from your MetaMask. You're always free to re-install the Snap if you want to.
---
# How to update a Snap in MetaMask
URL: https://support.metamask.io/configure/snaps/how-to-update-a-snap/
> Check for Snap updates and review new permissions.
MetaMask Snaps opens up a realm of new possibilities to your MetaMask, and to make the most of your Snaps, keeping them up-to-date is essential.
## Update a Snap {#update-a-snap}
If you've previously installed a Snap and a new version is available, you can easily update it from the dapp or website where you installed it. This guide will walk you through the simple steps to update a Snap.
1. Ensure you've unlocked your MetaMask instance, then navigate to the dapp or website where you initially installed the Snap.
2. Upon connecting to the dapp or website, if an update is available, you'll receive a prompt notifying you that an update is ready to be downloaded for the Snap you previously installed.
The Snap might request new, additional permissions it previously didn't have access to; **carefully review these**.
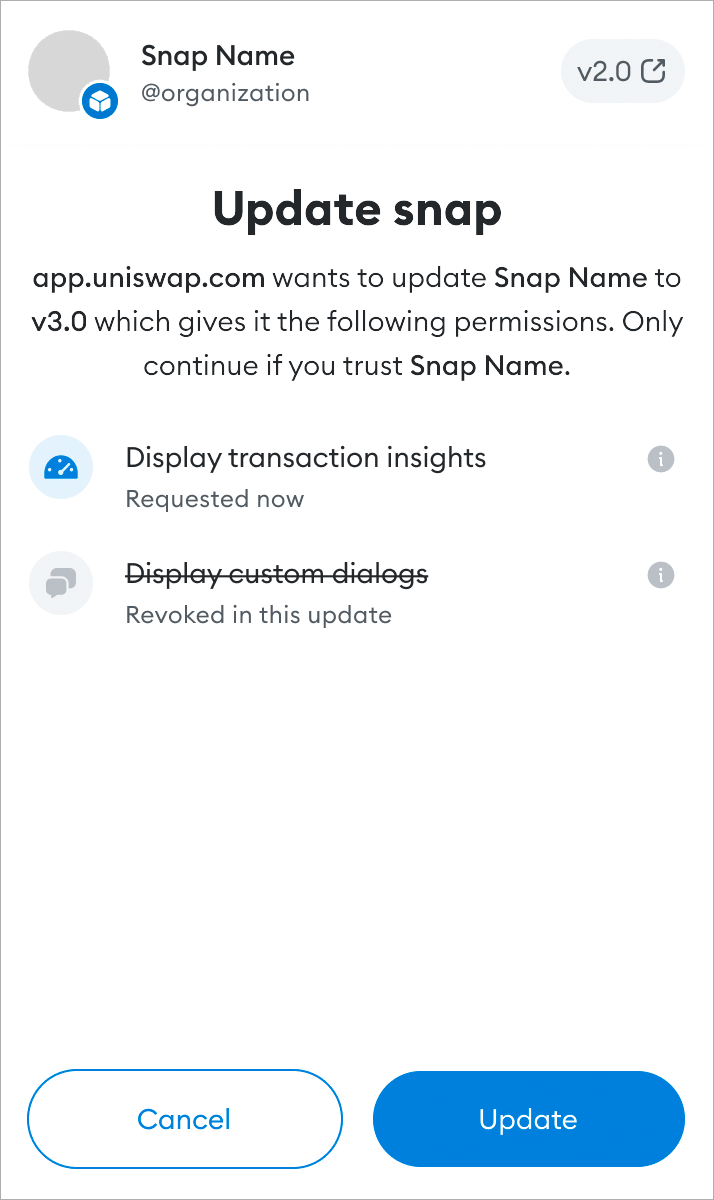
If you're comfortable with the newly requested permissions, click the "Update" button to proceed with updating the Snap.
3. You're all set! You 've successfully updated the Snap to the latest version. 🚀
---
# MetaMask Snaps FAQs
URL: https://support.metamask.io/configure/snaps/metamask-snaps-faq/
> Questions? We've got answers.
MetaMask Snaps brings a whole new dimension of possibilities to your MetaMask experience. Are you new to MetaMask Snaps, or do you have questions about the Open Beta? You're at the right place.
## Frequently asked questions {#frequently-asked-questions}
1. **What is MetaMask Snaps?** MetaMask Snaps allows users to add features and functionality to their MetaMask. Individual Snaps are features created by third-party developers that MetaMask users can install directly into their MetaMask.
We believe a decentralized internet that is accessible to all and owned by the people who use it, will give rise to human flourishing on an exponential scale. While our roots are in Ethereum, and our expertise is grounded in building the leading self-custodial wallet, we appreciate that innovation occurs in many domains across the web3 ecosystem. With Snaps, we hope to capture the full extent of the innovation happening in web3, by enabling developers to bring their specialist expertise to building for our platform.
2. **What is a Snap?** A Snap is an application that adds features and functionality to MetaMask. Snaps can [connect to blockchain protocols beyond Ethereum](/configure/snaps/what-are-interoperability-snaps/), show [insights about transactions](/configure/snaps/what-are-security-snaps/), display [notifications](/configure/snaps/what-are-communication-snaps/), add new privacy and identity features, and much more.
3. **Will MetaMask charge for MetaMask Snaps, or will it be free to use?** The MetaMask Snaps platform is free to use. While there is no cost to install Snaps, an individual Snap might offer services that require payment, incur fees, or contain paid subscriptions.
4. **Will new features come via MetaMask Snaps only, or will MetaMask still add features natively to the Extension and Mobile App?** MetaMask will continue to build new features in the extension, mobile apps, and [portfolio.metamask.io](http://portfolio.metamask.io/?utm_source=metamaskSupport&utm_medium=knowledge-base&utm_campaign=2023_Sep_snaps-launch_content_faq). Some new features may be built as Snaps.
5. **Where can I find more information about MetaMask Snaps?** You can learn more at [metamask.io/snaps](http://metamask.io/snaps?utm_source=metamaskSupport&utm_medium=knowledge-base&utm_campaign=2023_Sep_snaps-launch_content_faq), or read our [getting started guide for MetaMask Snaps](/configure/snaps/getting-started-with-metamask-snaps).
## MetaMask Snaps Open Beta FAQs {#metamask-snaps-open-beta-faqs}
1. **How is the MetaMask Snaps Open Beta different to the final version of MetaMask Snaps?** The MetaMask Snaps Open Beta is different in that it will host a variety of allowlisted Snaps. Ultimately, our vision of MetaMask Snaps is to be fully permissionless, without any gatekeepers. MetaMask Snaps Open Beta is a first step to building this permissionless system.
2. **Where can I install a Snap?** During the MetaMask Snaps Open Beta phase, we recommend you install Snaps from the [MetaMask Snaps Directory](https://snaps.metamask.io/?utm_source=metamaskSupport&utm_medium=knowledge-base&utm_campaign=2023_Sep_snaps-launch_content_faq). You can also install Snaps from other websites.
3. **Are there any other directories that host Snaps?** During the MetaMask Snaps Open Beta phase, we recommend you install Snaps from the [MetaMask Snaps Directory](https://snaps.metamask.io/?utm_source=metamaskSupport&utm_medium=knowledge-base&utm_campaign=2023_Sep_snaps-launch_content_faq). We also gave a grant to a [third-party directory](https://snaps.directory/) to support a community-built directory, more information about that [here](https://snapshot.org/#/heart.mmgdao.eth/proposal/0xd084fba8aae8c37cb9a807f66e19c3c1ce76a980a51b64656e6cd87a9a3920fe). Snaps can also be installed from any website. This is in line with our vision of having a fully decentralized system where MetaMask is not a gatekeeper.
4. **How do I know I'm installing a safe Snap?** Snaps run in a sandboxed environment in MetaMask, and MetaMask uses a permissions model to restrict what a Snap can do.
- If a Snap uses _account management_ permissions, it must be audited by an approved security auditor and manually reviewed by the MetaMask Snaps team before it can be allowlisted by MetaMask.
- If a Snap uses _protected_ permissions, which include functionality like network access and communicating with websites, it must be manually reviewed by the MetaMask Snaps team before it can be allowlisted by MetaMask.
- If a Snap uses _open permissions_, such as for displaying content and storing data, it can be installed without allowlisting.
When you install a Snap, you can view the permissions it is requesting to make a fully informed decision. On the [MetaMask Snaps Directory](https://snaps.metamask.io/?utm_source=metamaskSupport&utm_medium=knowledge-base&utm_campaign=2023_Sep_snaps-launch_content_faq), you can view information about each Snap, including security audit reports, source code, permissions, and information about the developer.
:::warning
Consensys is not endorsing, recommending, or guaranteeing the safety of Snaps listed on the directory for your use or use for any reason. Snaps created by third-party developers are a Third Party Service as defined in the Consensys [Terms of Use](https://consensys.io/terms-of-use/). You access, rely upon or use the Third Party Service at your own risk. Consensys disclaims all responsibility and liability for any losses on account of your use of Third Party Services.
:::
## General FAQs {#general-faqs}
As you venture into the realm of MetaMask Snaps, you might have questions about installation, security, and impact on your MetaMask experience. Find answers to common questions and make the most of MetaMask Snaps.
1. **Where can I find and install available Snaps?** We recommend installing allowlisted Snaps directly from the [MetaMask Snaps Directory](https://snaps.metamask.io/?utm_source=metamaskSupport&utm_medium=knowledge-base&utm_campaign=2023_Sep_snaps-launch_content_faq). Snaps can also be installed from other dapps. Check out our guide on [Getting started with MetaMask Snaps](/configure/snaps/getting-started-with-metamask-snaps/).
2. **Can I use Snaps on both MetaMask Extension and Mobile App?** Currently, Snaps are only available in the MetaMask browser extension v11.0 and up.
3. **Where can I find installed Snaps?** Look for the menu icon in the upper-right corner of your MetaMask window. Click to reveal a drop-down menu, and select ‘Snaps’ to access a list of all Snaps currently installed in your MetaMask instance.

4. **Are Snaps linked to all accounts in my wallet, or only for the account connected to the dapp?** Snaps are installed into the MetaMask extension. Snaps are not specific to a single account or dapp.
5. **Can Snaps collect data?** Any user data you share with a third-party developed Snap will be processed directly by the developer of that Snap; MetaMask does not have access to this data. You should read the terms of use and privacy policy of each Snap before installing.
6. **Are Snaps safe to use?** Snaps run in a sandboxed environment and use a permissions model to protect your data and respect your consent. Snaps do not have access to your MetaMask account data. When installing a Snap, make sure you understand what permissions you are granting to stay secure.
Before proceeding to install a Snap, ensure you understand the permissions being requested and what the Snap is used for. Always remember:
- Never click links you don't trust.
- Always install a Snap directly through the [MetaMask Snaps Directory](https://snaps.metamask.io/?utm_source=metamaskSupport&utm_medium=knowledge-base&utm_campaign=2023_Sep_snaps-launch_content_faq).
- If you're unsure, stop, wait, and think before proceeding. Stop if you're unsure.
:::warning
Consensys is not endorsing, recommending, or guaranteeing the safety of Snaps listed on the directory for your use or use for any reason. Snaps created by third-party developers are a Third Party Service as defined in the Consensys [Terms of Use](https://consensys.io/terms-of-use/). You access, rely upon or use the Third Party Service at your own risk. Consensys disclaims all responsibility and liability for any losses on account of your use of Third Party Services.
:::
7. **Is there a limit to the number of Snaps I can use? Can multiple Snaps be installed and used simultaneously?** There is no limit, you are free to install as many Snaps as you wish. Multiple Snaps can be installed and used simultaneously. The Snaps platform is designed to support many different Snaps running simultaneously.
8. **Can Snaps cause any performance issues or system instability?** The Snaps platform enforces certain limits on individual Snaps to ensure that your system remains stable.
9. **How can I troubleshoot issues with Snaps?** [Read our guide on troubleshooting a Snap](/configure/snaps/how-to-troubleshoot-snap-issues).
10. **How do I uninstall or disable a Snap?** Looking to (temporarily) disable a Snap? You can easily do so by [accessing the Snap's settings](/configure/snaps/how-to-access-snap-settings). No longer need a specific Snap? [Read our guide on uninstalling a Snap](/configure/snaps/how-to-uninstall-a-snap).
11. **What information will the Snap developer see from my MetaMask?** Different types of Snaps will have access to different information based on the permissions granted at installation. Snaps are never able to access your Secret Recovery Phrase or Ethereum private keys. Only install Snaps from developers that you trust, and always check the privacy policy of a Snap before installation.
12. **Can Snaps access and modify the MetaMask Extension's data or settings? What are the limitations of this kind of access?** Snaps are sandboxed programs that run in a [permissions-based](/configure/snaps/how-do-snap-permissions-work/) system. Snaps do not have access to any data from the MetaMask Extension or from other Snaps unless given permission to do so. Snaps are never able to access your Secret Recovery Phrase or Ethereum private keys.
13. **Are Snaps available for all networks that MetaMask supports?** Certain Snaps work with the networks that MetaMask supports or work independently of any network. Individual Snaps can decide which network(s) they work with. Also, some Snaps even add new networks to MetaMask, such as [Interoperability Snaps](/configure/snaps/what-are-interoperability-snaps).
14. **My question was not answered or I'm experiencing issues with MetaMask Snaps. What should I do?** If you are encountering an issue with a specific Snap, consider reaching out directly to the developers of that Snap. [Read more about troubleshooting a Snap](/configure/snaps/how-to-troubleshoot-snap-issues).
15. **Is the MetaMask Snaps Directory essentially the same as a web2 environment where people can install applications and plug-ins?** No, the MetaMask Snaps Directory is different in that Snaps can be installed from anywhere, and access to them is not limited to one/our own directory. For example, Snaps can be installed from third-party directories or directly from a dapp itself. We expect to see this community-built ecosystem grow over time.
---
# What are Account Management Snaps?
URL: https://support.metamask.io/configure/snaps/what-are-account-management-snaps/
> Create new account management solutions like MPC wallets.
MetaMask Account Management Snaps allow you to create and manage accounts through the Snap, and show up directly within your MetaMask.

Account Management Snaps allow Snap creators to bring their own account management experiences to MetaMask.
## Introducing Account Management Snaps {#introducing-account-management-snaps}
Account Management Snaps can create and manage EVM accounts, and are added to your MetaMask instance completely separate from your Secret Recovery Phrase.
:::info
💡 Ethereum Virtual Machine (EVM) accounts are accounts that make use of the underlying technology of Ethereum, which is the EVM. This means that at this time, this feature does not yet support accounts for non-EVM networks, such as Bitcoin. If you’d like to use non-EVM networks with MetaMask, consider taking a look at [Interoperability](/configure/snaps/what-are-interoperability-snaps).
:::
This allows accounts to make use of custom functionality provided by the Snap. Keep in mind that Account Management Snaps might require a companion app installed on your mobile device. A couple of Snaps already exist that make use of Account Management, such as:
1. **Silent Shard**: The team at Silence Laboratories has created an Account Management Snap that distributes the generation of a private key between MetaMask Extension and a companion mobile app.
2. **Safeheron**: The Safeheron Snap makes use of a similar distributed key generation concept but uses two companion apps, and communicates over a Local area network (LAN). This means that no sensitive data is shared outside of your network.
3. **Capsule**: The Capsule Snap allows you to create MPC wallets with an email in the MetaMask extension using an authenticator app or passkey.
Make sure to stay tuned as more Account Management Snaps become available. Head over to the [MetaMask Snaps Directory](https://snaps.metamask.io/) to find Snaps available to install today.
## Getting started with Account Management Snaps {#getting-started-with-account-management-snaps}
Ready to try out Account Management Snaps? We’ve created a small step-by-step to help you get started:
1. **Keep MetaMask updated**
Ensure your MetaMask browser extension is up to date with the latest version. [Learn how to update your MetaMask browser extension here](/configure/wallet/how-to-update-the-version-of-metamask). Please note that MetaMask Snaps is currently available exclusively for the MetaMask browser extension and that Account Management Snaps require **Extension v11.9 and up**.
2. **Install an Account Management Snap**
Try installing one of the aforementioned Snaps, such as Silent Shard or Safeheron. Remember that Account Management Snaps might require a companion app on your mobile device to be installed as well.
3. **All set!**
Ready to set up new accounts? You can do so by using the companion dapp of the Account Management Snap. Head over to the dapp associated with the Snap you just installed and follow its onboarding instructions. That’s it!
## Frequently asked questions (FAQs) {#frequently-asked-questions-faqs}
1. **What is the difference between Account Management Snaps and Interoperability Snaps?**
Account Management Snaps can create accounts that are added to your MetaMask interface, and are EVM-based. These accounts are not tied to your Secret Recovery Phrase. If you reset your MetaMask instance, you will lose access to these accounts unless you back them up manually. Interoperability Snaps bring support for new blockchain networks and protocols. While new accounts for networks can be created, they do not directly show up in the MetaMask interface at this time. Additionally, accounts created with Interoperability Snaps are connected to your Secret Recovery Phrase; make sure to back it up safely. [Learn more about Interoperability](/configure/snaps/what-are-interoperability-snaps).
2. **I have more questions!**
Take a look at the [MetaMask Snaps Account Management FAQ](/configure/snaps/account-management-faq), or find answers to common MetaMask Snaps questions on the [MetaMask Snaps FAQ page](/configure/snaps/metamask-snaps-faq).
MetaMask Snaps Account Management is just one category of Snaps that are available today; learn more about [Interoperability](/configure/snaps/what-are-interoperability-snaps) to add support for new blockchain networks and protocols to your MetaMask experience, or [Security Snaps](/configure/snaps/what-are-security-snaps) that provide you with additional information before you’re about to submit a transaction.
Are you new to MetaMask Snaps? Consider taking a look at our [guide on getting started with MetaMask Snaps](/configure/snaps/getting-started-with-metamask-snaps).
## Important information {#important-information}
**Third-Party Service**
You acknowledge that Account Management Snaps are a Third Party Service, as defined in the [Consensys](https://consensys.io/terms-of-use/) [Terms of Use](https://consensys.io/terms-of-use#). Your use of Third Party Services is governed by separate terms and conditions set forth by the Third Party Service provider. Consensys does not recommend the use of any Snap by any particular person for any particular reason. You access, rely upon or use the Third Party Service at your own risk. Consensys disclaims all responsibility and liability for any losses on account of your use of Third Party Services.
**Experimental Beta**
Account Management Snaps are released as part of an experimental Beta release. You agree that you will only use one of these Snaps if you understand how it functions and how to use it, and you have fully read and understand all risk warnings and other disclosures made available by the Third Party Service provider relating to use of their Snap. You agree that Consensys is not responsible for any injury that you incur as a result of your use of this Snap.
You will not be able to use your MetaMask Secret Recovery Phrase to recover accounts added through Account Management Snaps. If your account credentials are lost or compromised, MetaMask will not be able to help you. If the Snap or the associated dapp is hacked or ceases to function, you may not be able to access your account and the funds in your account.
---
# What are Communication Snaps?
URL: https://support.metamask.io/configure/snaps/what-are-communication-snaps/
> Enable messaging and updates directly within the MetaMask.
Communication Snaps introduce notifications, a new feature allowing you to stay up to date with the latest in the blockchain world from right within your MetaMask.
Communication Snaps are the vital link between dapps and your MetaMask, offering real-time updates, alerts, and messages directly within the MetaMask interface.
## Getting started with Communication Snaps {#getting-started-with-communication-snaps}
Unlocking the power of notifications is remarkably straightforward; here's a quick guide to help you get started:
1. **Keep MetaMask updated**
Ensure your MetaMask browser extension is up to date with the latest version; [learn how to update it here](/configure/wallet/how-to-update-the-version-of-metamask). Please note that MetaMask Snaps is currently available exclusively for the MetaMask browser extension.
2. **Discover Snaps with notifications**
Install Snaps that incorporate notifications, enabling you to stay informed with important information and crucial alerts. Find Communication Snaps on the [MetaMask Snaps Directory](https://snaps.metamask.io/).
3. **Stay informed**
As you continue your blockchain journey, Communication Snaps will keep you informed about unfolding events right within the MetaMask interface.
## Frequently asked questions (FAQs) {#frequently-asked-questions-faqs}
Do all dapps support notifications?
For direct notifications within MetaMask, a dapp needs to develop an accompanying Snap that you can install.
Can I receive notifications on MetaMask Mobile?
At this time, MetaMask Snaps is only available for MetaMask Extension.
I have more questions!
Take a look at the [MetaMask Snaps FAQ page](/configure/snaps/metamask-snaps-faq).
Communication is only one of the categories of Snaps that is live today; learn more about [Interoperability Snaps](/configure/snaps/what-are-interoperability-snaps), which allow you to interact with brand new networks through MetaMask, or [Security Snaps](/configure/snaps/what-are-security-snaps), giving you additional information about transactions you're about to send. [Read more about getting started with MetaMask Snaps](/configure/snaps/getting-started-with-metamask-snaps).
---
# What are Interoperability Snaps?
URL: https://support.metamask.io/configure/snaps/what-are-interoperability-snaps/
> Plugins enabling new blockchain networks and protocols.
MetaMask Snaps opens the door to new blockchain networks, allowing you to use virtually any blockchain network/protocol with MetaMask, as long as there's a Snap for it!
Interoperability Snaps implement support for new blockchain protocols that are not yet accessible with MetaMask.
## Introducing Interoperability Snaps {#introducing-interoperability-snaps}
With the introduction of Interoperability Snaps, you have the power to seamlessly connect with non-EVM blockchain networks using MetaMask Snaps.
1. **Breaking the EVM barrier**
MetaMask previously only supported Ethereum and EVM-compatible networks. With MetaMask Snaps, the horizon broadens, allowing you to tap into other protocols and expand MetaMask's functionality.
2. **Total network inclusion**
Interoperability Snaps aren't restricted to just one network. You 're free to install various Snaps, each adding support for one or multiple blockchain networks.
## Getting started with Interoperability Snaps {#getting-started-with-interoperability-snaps}
Embark on an all-protocol-encompassing journey with these straightforward steps:
1. **Keep MetaMask updated**
Ensure your MetaMask browser extension is up to date with the latest version; [learn how to update it here](/configure/wallet/how-to-update-the-version-of-metamask). Please note that MetaMask Snaps is currently available exclusively for the MetaMask browser extension.
2. **Discover dapps and Snaps**
To get started with new networks and protocols, you'll need two essentials:
- A **dapp** (the website or interface for interacting with the new network(s))
- The **Snap** (installed in your MetaMask instance, facilitating interaction between the dapp and new network)
:::info
For example, visit [snaps.consensys.io/starknet](http://snaps.consensys.io/starknet?utm_source=metamaskSupport&utm_medium=knowledge-base&utm_campaign=2023_Sep_snaps-launch_content_interoperability), install the recommended Snap, and you're ready to use your MetaMask with a brand new network, seamlessly integrating the dapp and Snap.
:::
3. **You're ready to roll!**
That's it! Head to the dapp where you installed the Snap to begin interacting with your chosen new network. Stay tuned as the MetaMask Snaps ecosystem evolves, bringing forth new Snaps that expand your network horizons while retaining the familiar MetaMask interface you're accustomed to.
## Frequently asked questions (FAQ) {#frequently-asked-questions-faq}
Do I need to install a separate Snap for each new network I want to access?
This is likely, but not a given. Depending on the Snap, it might support one or multiple blockchain networks/protocols.
How do I find Snaps that support specific networks?
Discover and install Snaps directly from your favorite dapps, or make use of the [MetaMask Snaps Directory](https://snaps.metamask.io/?utm_source=metamaskSupport&utm_medium=knowledge-base&utm_campaign=2023_Sep_snaps-launch_content_interoperability) to discover new Snaps.
Can I use Interoperability Snaps on MetaMask Mobile?
At this time, MetaMask Snaps is only available for MetaMask Extension.
Can I view my balances within MetaMask?
Some Snaps allow you to see your balances inside the Snap's Homepage. To access the Homepage of a Snap, click the three vertical dots in your MetaMask interface, click 'Snaps', and a list of your installed Snaps will appear. Click on the Snap you would like to see the Homepage of. If the Snap allows it, it will display your balances.
How are accounts created by Interoperability Snaps connected with my MetaMask?
Let's say you install a Snap that introduces support for a new network. The dapp you'll use with the new Snap might tell you that the Snap generated a brand new account for said network, but how is this new account tied to my existing accounts in MetaMask?
Snaps can generate new accounts for new protocols and networks; these accounts are generated based on your Secret Recovery Phrase. This means that even if you were to reset your entire MetaMask instance, recover your MetaMask accounts using your Secret Recovery Phrase, and install the Snap again, you would be able to see the same account(s) for the new network that you have previously generated.
Note that new (Snaps) accounts are generated based on your Secret Recovery Phrase that you use for MetaMask; accounts from hardware wallets that you add to your MetaMask instance are added independently from your existing MetaMask accounts. Additionally, Snaps can **never** see your Secret Recovery Phrase. Keep your Secret Recovery Phrase to yourself, and do not share it with others.
I have more questions!
Take a look at the [MetaMask Snaps FAQ page](/configure/snaps/metamask-snaps-faq).
Interoperability is just one of the Snaps categories currently available; consider getting familiar with [Security Snaps](/configure/snaps/what-are-security-snaps) or [Communication Snaps](/configure/snaps/what-are-communication-snaps) as well! New to MetaMask Snaps? [Get started](/configure/snaps/getting-started-with-metamask-snaps).
---
# What are Security Snaps?
URL: https://support.metamask.io/configure/snaps/what-are-security-snaps/
> Enhanced wallet safety through features like phishing protection, transaction filtering, and real-time threat detection.
Security Snaps are Snaps that provide essential insights into your transactions.
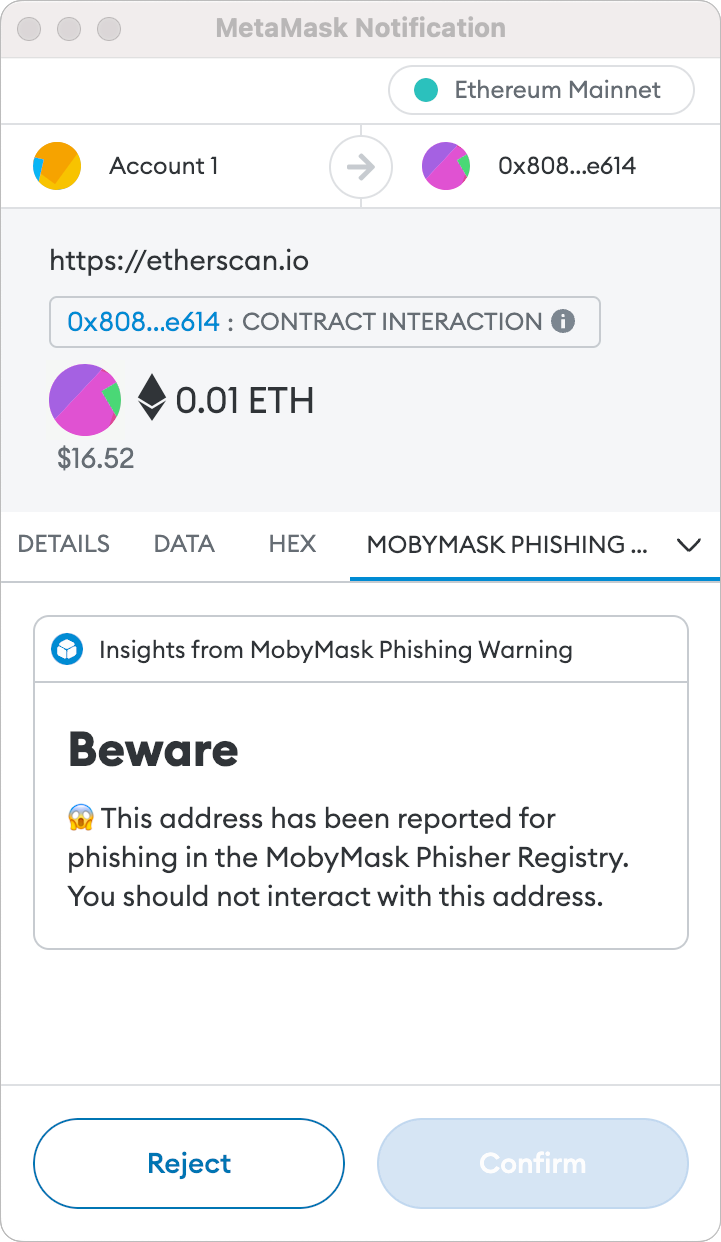
Security Snaps introduce a new tab in the transaction prompt, allowing Snaps to provide important security info about a transaction you're about to submit.
## Introducing Security Snaps {#introducing-security-snaps}
Security Snaps take your transaction journey to the next level by enabling Snaps to offer essential transaction insights, such as (but not limited to!):
1. **Phishing database checks**
Know if the recipient address is linked to any known phishing databases, giving you an extra hand in figuring out whether you might be interacting with a malicious address.
2. **Transaction simulations**
A Snap could help you determine whether a transaction might succeed or fail and predict any state changes by simulating the transaction locally, or by using AI.
## Getting started with Security Snaps {#getting-started-with-security-snaps}
It's easy to get started with Security Snaps — we've outlined a small step-by-step:
1. **Keep MetaMask updated**
Ensure your MetaMask browser extension is up to date with the latest version; [learn how to update it here](/configure/wallet/how-to-update-the-version-of-metamask). Please note that MetaMask Snaps is currently available exclusively for the MetaMask browser extension.
2. **Install a Snap**
If you're eager to check out what Security Snaps enable, consider trying out the [Wallet Guard Snap](https://snaps.metamask.io/snap/npm/wallet-guard-snap?utm_source=metamaskSupport&utm_medium=knowledge-base&utm_campaign=2023_Sep_snaps-launch_content_txinsights). Or check out the [MetaMask Snaps Directory](https://snaps.metamask.io/).
3. **Initiate a transaction**
Go to your favorite dapp and initiate a new transaction; you'll notice a new tab appearing in your MetaMask confirmation screen. Click on it to access information provided by the Wallet Guard Snap about the receiving (contract) address and view whether it was previously flagged as malicious.
## Frequently asked questions (FAQ) {#frequently-asked-questions-faq}
Are all Snaps equipped with insights about my transactions?
Not every Snap offers insights on your transactions. Check individual Snap descriptions to see if they make use of insights. When installing a Snap, you can also see whether it provides transaction insights by checking the permissions it requests:
Are there any privacy concerns when using Security Snaps?
Different types of Snaps access different information based on the permissions granted at installation. Any user data you share with a third-party-developed Snap will be collected directly by Snaps developers; MetaMask does not have access to this data. Only install Snaps from developers that you trust, and always check the privacy policy and terms of use of a Snap before installation.
I have more questions!
Take a look at the [MetaMask Snaps FAQ page](/configure/snaps/metamask-snaps-faq).
Security is just one of the Snaps categories that exist today; consider getting familiar with [Interoperability Snaps](/configure/snaps/what-are-interoperability-snaps) and [Communication Snaps](/configure/snaps/what-are-communication-snaps) as well! New to MetaMask Snaps? [Get started](/configure/snaps/getting-started-with-metamask-snaps).
---
# Get started on StarkNet via MetaMask Snaps
URL: https://support.metamask.io/configure/snaps/starknet/getting-started-on-starknet/
> Step-by-step guide to use StarkNet in MetaMask via Snaps.
Eager to explore Starknet with MetaMask? The [MetaMask Starknet Snap](https://snaps.metamask.io/snap/npm/consensys/starknet-snap/) makes managing your funds and sending transactions on Starknet easy.
This guide will take you step-by-step through installing and using the Starknet Snap within your MetaMask.
## What is Starknet? {#what-is-starknet}
Starknet is a Layer 2 scaling solution for Ethereum, created to enhance the network's scalability and reduce transaction costs while maintaining security and decentralization. Using zk-rollup technology, Starknet can bundle multiple transactions into a single batch, reducing transaction costs for all.
## Adding the Starknet Snap {#adding-the-starknet-snap}
Let's get started with adding Starknet to MetaMask. Ensure that your MetaMask is unlocked before proceeding.
1. Head over to [snaps.consensys.io/starknet](http://snaps.consensys.io/starknet) to begin. Click ‘Connect with MetaMask’.
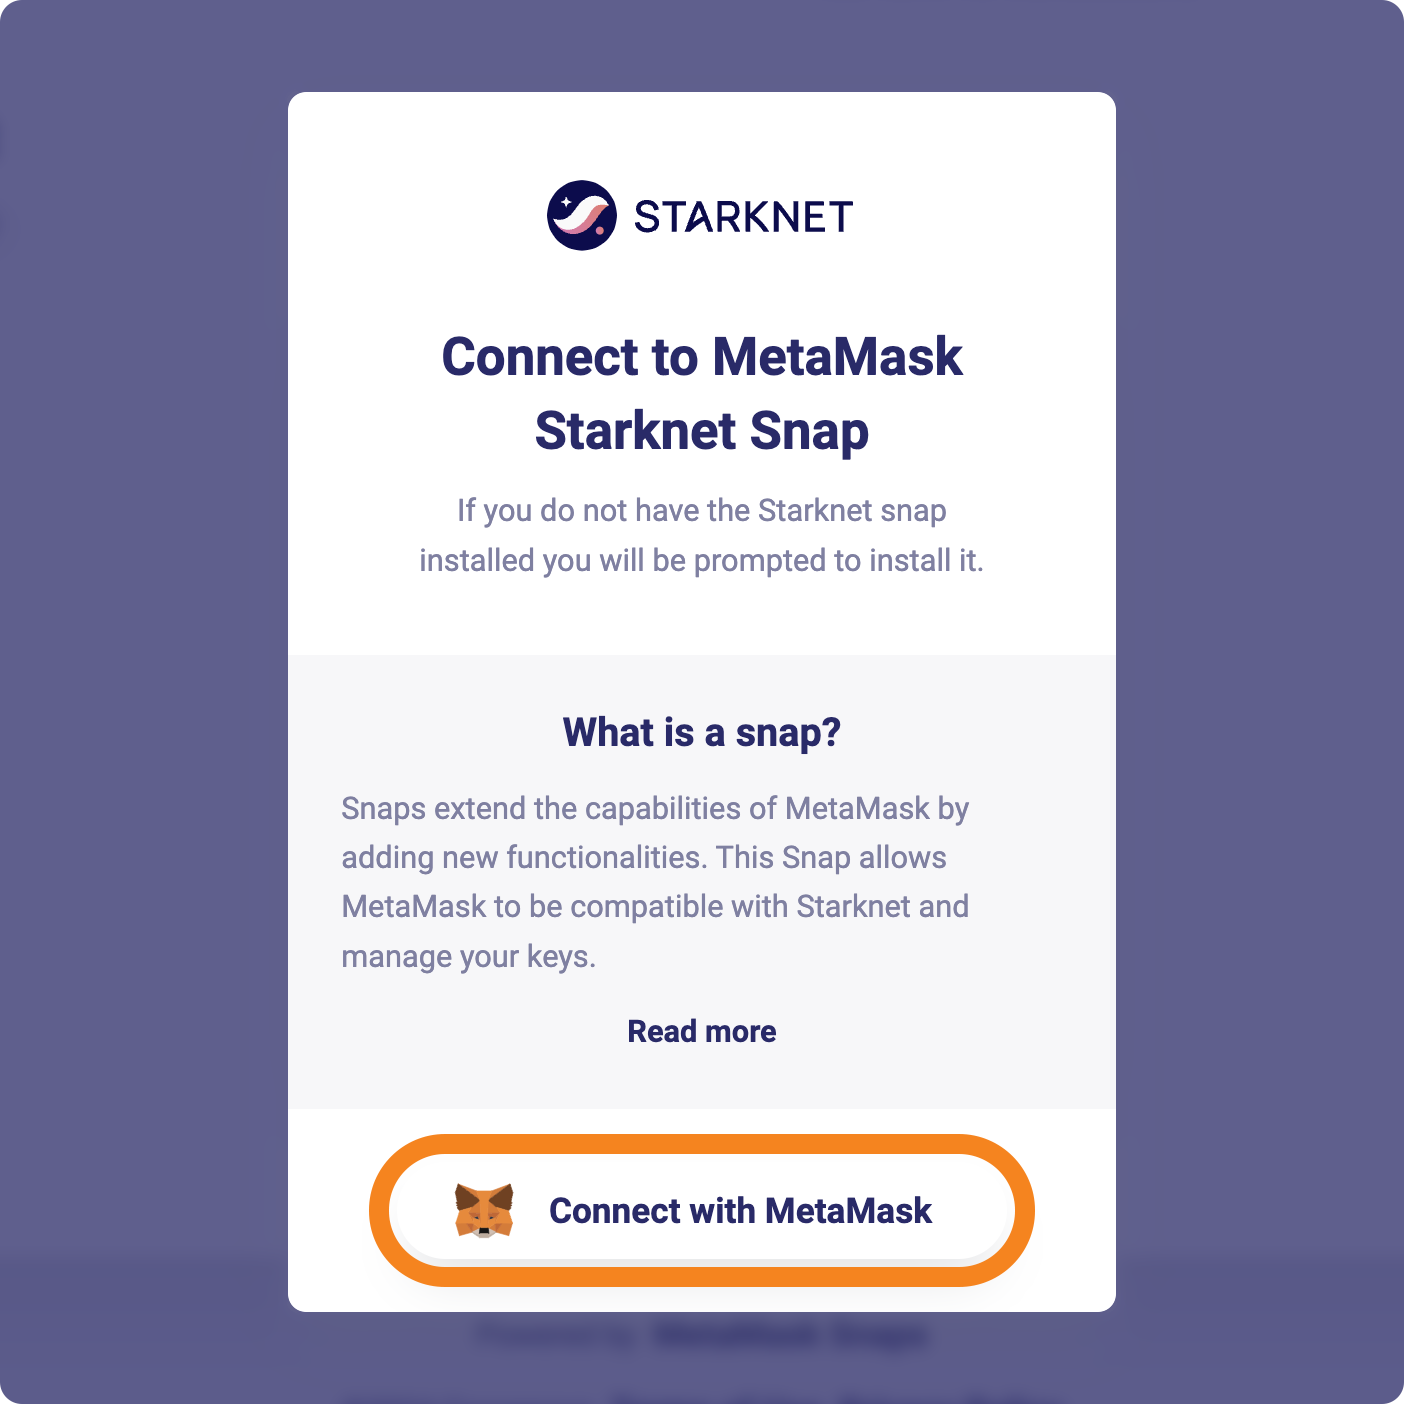
2. If your MetaMask is unlocked, a prompt will appear to connect to the Starknet Snap. Click ‘Connect’ to continue.
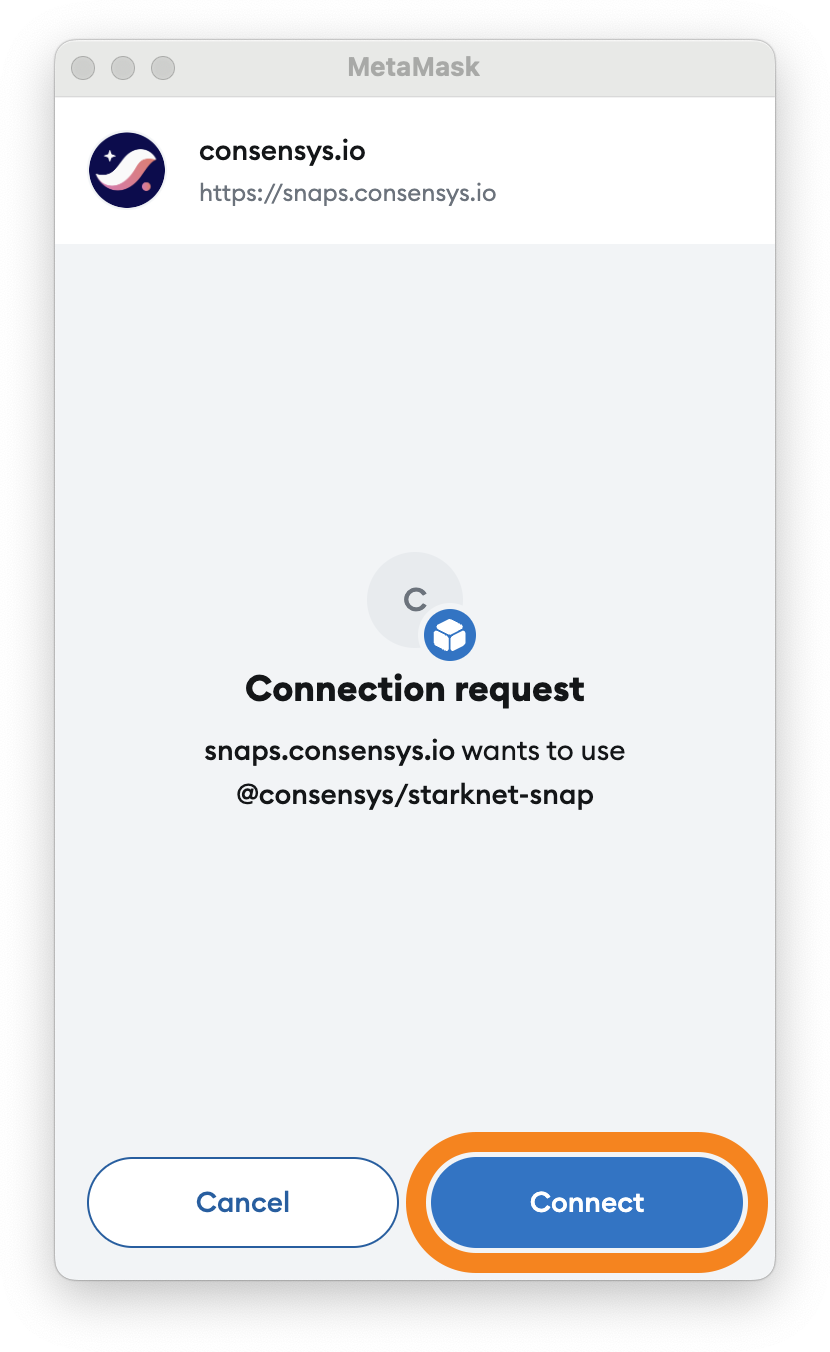
3. Review the permissions requested by the Starknet Snap. If everything looks good, hit ‘Confirm’.
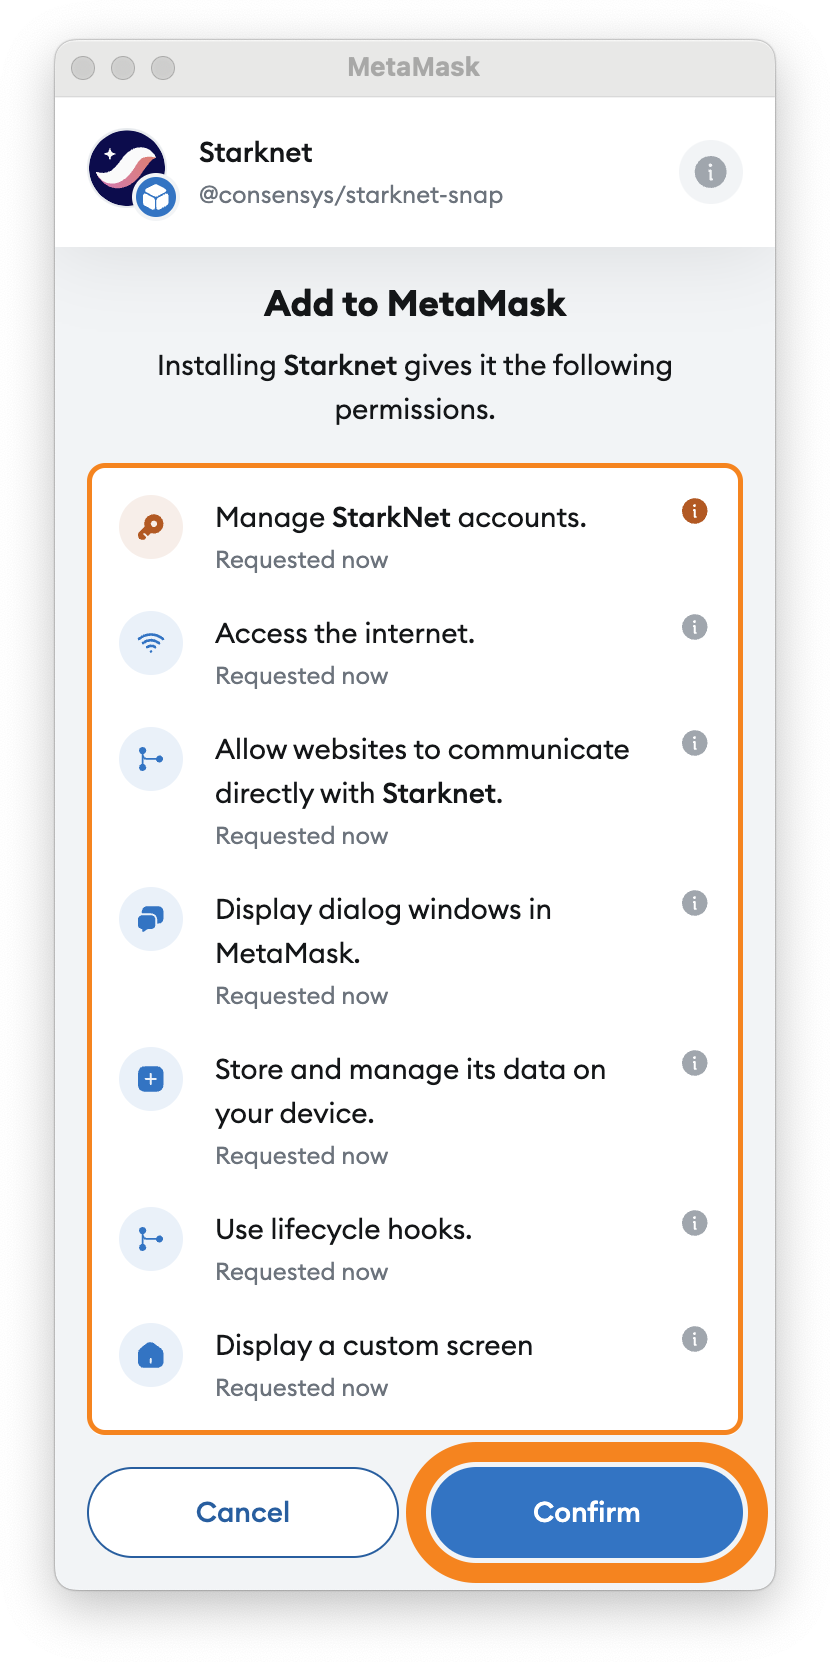
4. Since we're installing a Snap requesting full access to our Starknet accounts, we need to confirm an additional modal. Click the checkbox, and click ‘Confirm’ to continue.
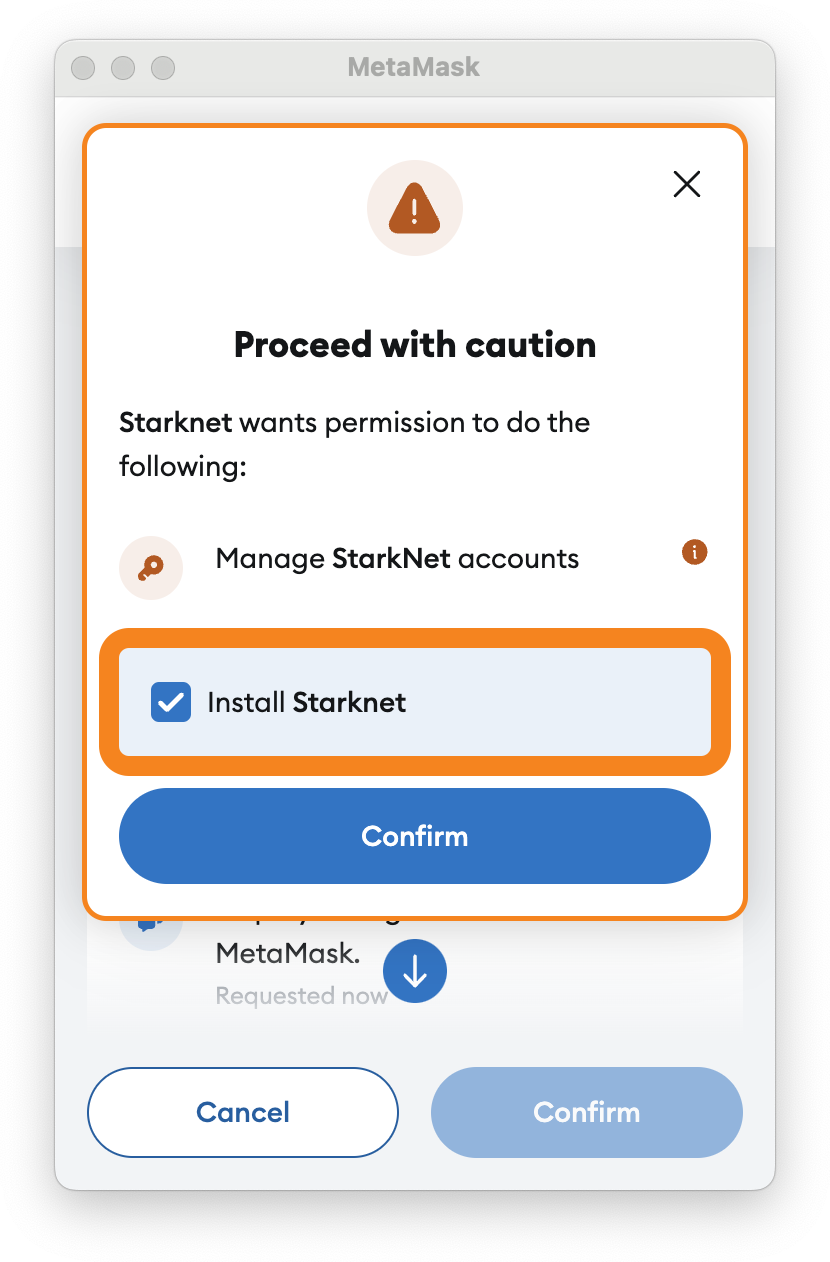
5. All set! The Starknet Snap has been added to MetaMask, and you can now continue using the Starknet dapp.
6. You'll notice that the Starknet dapp will display your Starknet address. Click ‘Got it!’ to continue to the dapp.
## Bridging to Starknet {#bridging-to-starknet}
[StarkGate](https://starkgate.starknet.io/) is the official bridge for transferring Ethereum and ERC-20 tokens to Starknet.
1. Head on over to [starkgate.starknet.io](http://starkgate.starknet.io/) to access the bridge.
2. Click ‘Connect Wallets’ in the upper-right corner. A modal will show up; click ‘Get started’ to continue.
3. The StarkGate dapp will ask us to connect an Ethereum and Starknet wallet. Since the Starknet Snap was added to our MetaMask, we can select MetaMask in both modals. Click ‘MetaMask’ to continue.
4. MetaMask will ask you which Ethereum account you wish to use with the StarkGate dapp. Select the address you want to use, and click ‘Next’. Check the permissions requested by the dapp, and click ‘Confirm’ if all looks good.
5. We've now connected our Ethereum account! To continue adding our Starknet account, click ‘Connect Starknet wallet’ in the StarkGate dapp.
6. Because the Starknet Snap has been added to our MetaMask, we can select MetaMask as the wallet we use for Starknet. Click ‘MetaMask’ to continue.
7. The StarkGate dapp will request to connect to the Starknet Snap in your MetaMask. Click ‘Connect’ to continue.
8. You've successfully connected both accounts to the StarkGate bridge! Click ‘Continue’ to go further.
9. Select Ethereum, enter the amount you wish to send, and click ‘Transfer’. Approve the transaction in MetaMask, and you're on your way!
## Sending transactions on Starknet {#sending-transactions-on-starknet}
[See our article on sending transactions on Starknet](send-transaction.mdx).
---
# How to send a StarkNet transaction via MetaMask Snaps
URL: https://support.metamask.io/configure/snaps/starknet/send-transaction/
> Guide on sending transactions on Starknet with your installed Starknet Snap.
The MetaMask Starknet Snap makes managing your funds and sending transactions on Starknet easy. [Learn more about getting started with Starknet in MetaMask](/configure/snaps/starknet/getting-started-on-starknet).
## Sending transactions on Starknet {#sending-transactions-on-starknet}
1. Head to [snaps.consensys.io/starknet](http://snaps.consensys.io/starknet) to get started. If you haven't already, [learn more about installing the Starknet Snap](/configure/snaps/starknet/getting-started-on-starknet).
2. Click the ‘Send’ button to open the sending interface. Enter the recipient address and amount to send, and click ‘Confirm’.
3. You will see an overview of the transaction you’re about to send. Review the gas costs, and then click ‘Confirm’.
4. MetaMask will ask you to confirm your transaction. Click ‘Approve’ if everything looks correct.
5. Done! Your transaction is sent, and you should be able to see a message saying that the transaction was sent successfully.
---
# How to customize token approvals with a spending cap
URL: https://support.metamask.io/configure/tokens/how-to-customize-token-approvals-with-a-spending-cap/
> Learn how to customize ERC-20 token approvals with spending limits in MetaMask. A safer way to authorize smart contracts and control token risk.
_tl;dr: MetaMask allows you to manually edit the number of tokens dapps can access. [Click here](#customizing-token-allowances-in-metamask) to jump straight to how._
## What is the point of token allowances? {#what-is-the-point-of-token-allowances}
When you interact with any dapp that involves your ERC-20 token holdings in some way or another, you're likely to have to approve its access to that token's smart contract (the same applies for ERC-20 equivalents on other chains, such as BEP-20 on BNB Chain). Then, when you decide, for example, to add 1,000 of token A and 1,000 of token B to a liquidity pool, the dapp _already_ has your permission to take the necessary quantity of tokens straight out of your account, and all you have to do is confirm the transaction.
Token allowances are specific to one token. That means that if you've granted an allowance for a dapp to access your USDT, for example, it is only USDT that it can access.
In most cases, token allowances that exceed what you need for any single transaction are very convenient; it would be time-consuming to have to grant permission anew for every transaction you wish to make on the dapp. Pre-approving access to a number of tokens at once is, therefore, something of a quality-of-life feature that makes your web3 activities smoother.
## Customizing token allowances in MetaMask {#customizing-token-allowances-in-metamask}
To preserve your control and agency, as well as giving you the tools to protect yourself from [one of the most common scam attack vectors](https://consensys.net/blog/metamask/the-seal-of-approval-know-what-youre-consenting-to-with-permissions-and-approvals-in-metamask) around, MetaMask enables you to customize how many tokens you allow dapps to access.
How? Well, when you come across a request to grant access to your tokens, a MetaMask approval window will appear. Check out the tabs below to see how this looks on Mobile and Extension:
When you're prompted to sign a token allowance, MetaMask will show you the below screen, asking you to set a spending cap for the token:
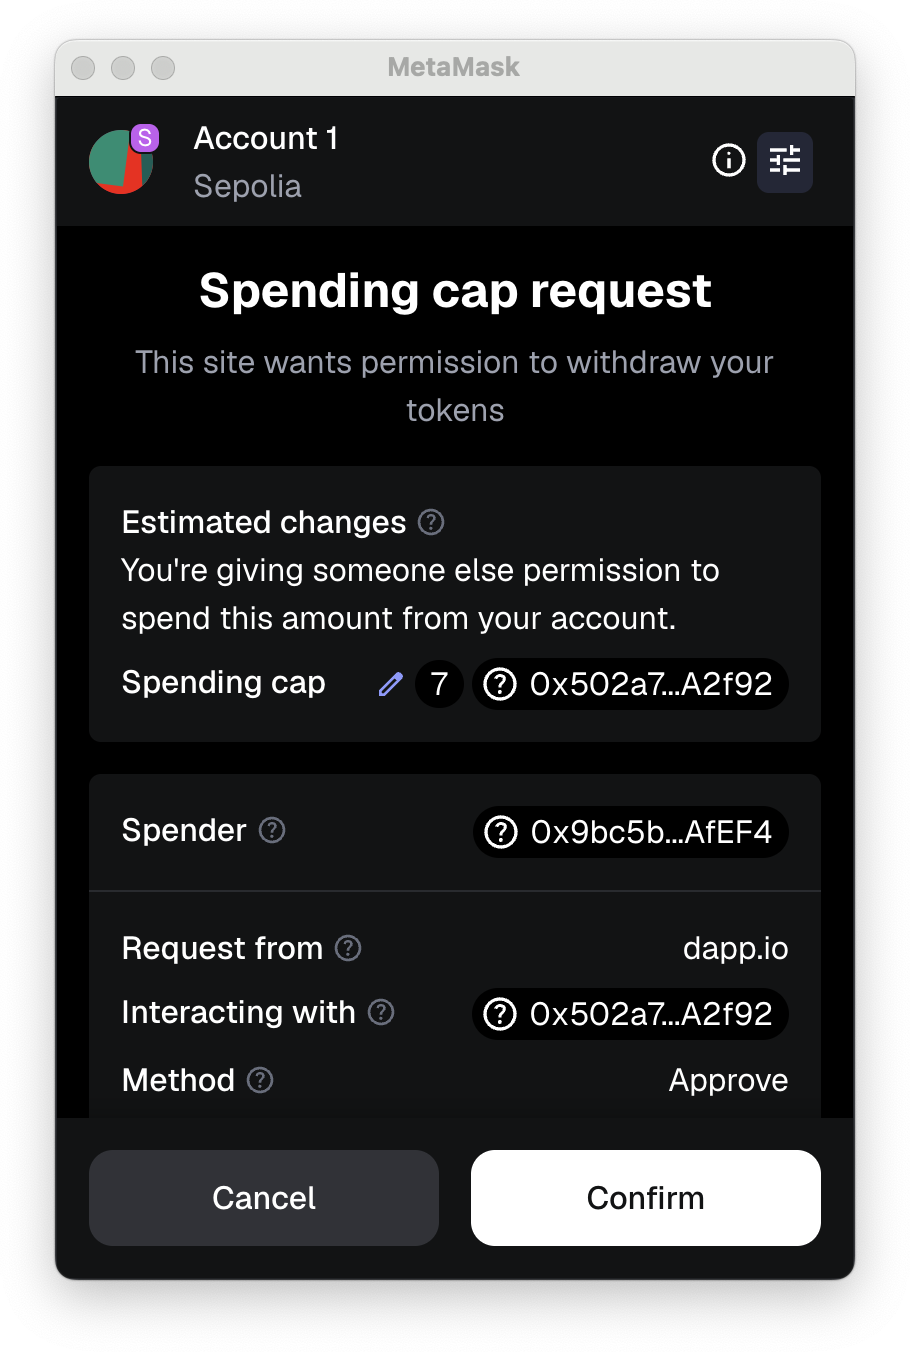
We designed this interface to give you more control and visibility over your token allowances, since you'll _always_ be prompted to input a preferred limit, rather than default to the amount proposed by the dapp.
All you need to do is **input an amount you're comfortable with**. If you're not sure, see our [main article on token allowances](/stay-safe/safety-in-web3/what-is-a-token-approval) (a.k.a. approvals) for some more context.
Click the pencil icon to edit the spending cap amount:
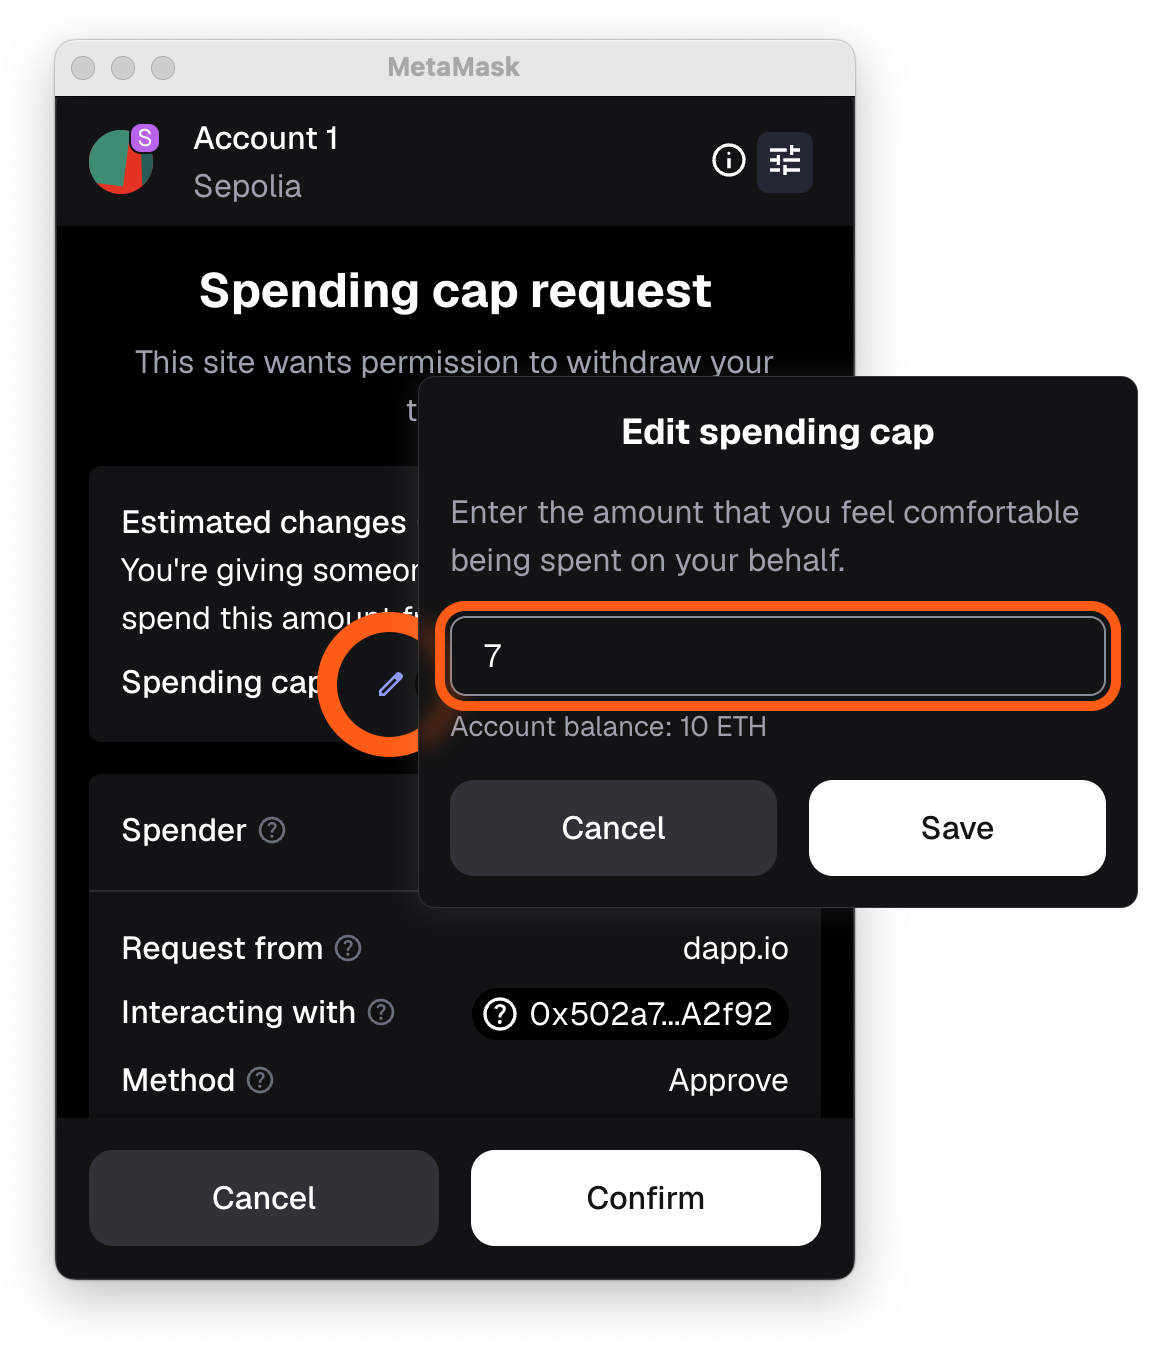
When you're ready, click 'Confirm' to complete the process.
Any interaction with a dapp that requires a token approval will call up a screen that reads "Spending cap request for your [token]":
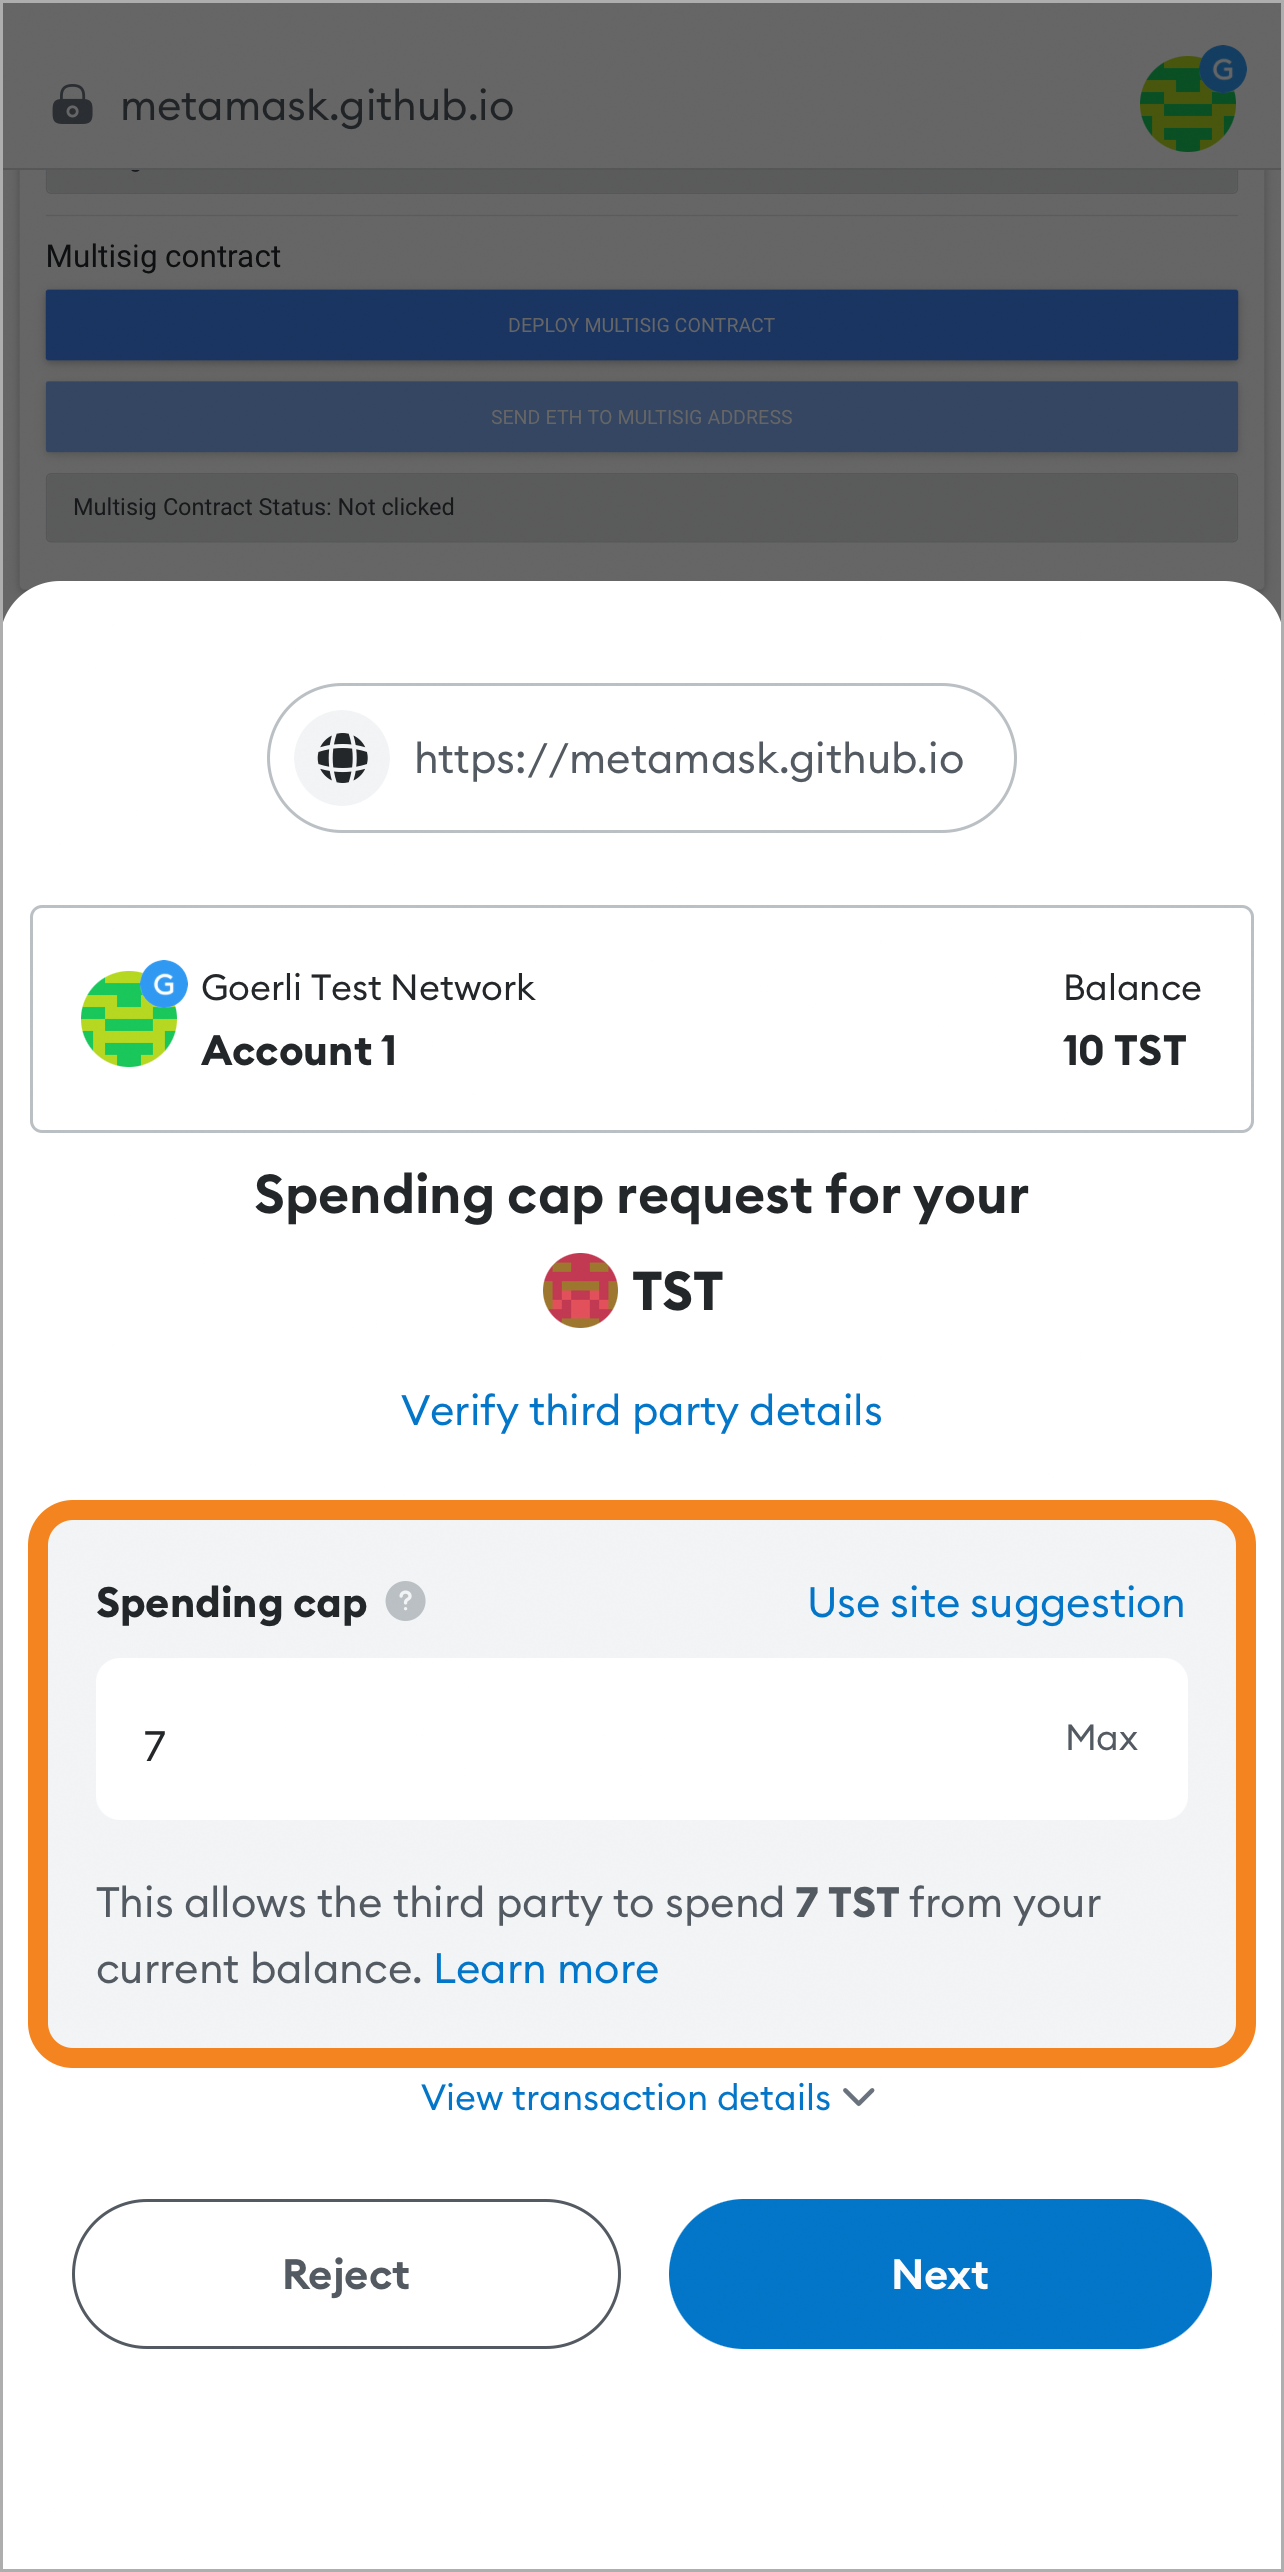
We designed this interface to give you more control and visibility over your token allowances, since you'll _always_ be prompted to input a preferred limit, rather than default to the amount proposed by the dapp (though you can still select this default allowance if you choose).
All you need to do is **input an amount you're comfortable with** in the'spending cap' field. If you're not sure, see our [main article on token allowances](/stay-safe/safety-in-web3/what-is-a-token-approval) (a.k.a. approvals) for some more context.
You can choose between:
- A custom value that you choose
- 'Max', which inserts your account's balance of the relevant token
- 'Use site suggestion', which inserts the amount the dapp suggests.
Hit 'Next' to move to the second of two screens in the process, where you review your limit:
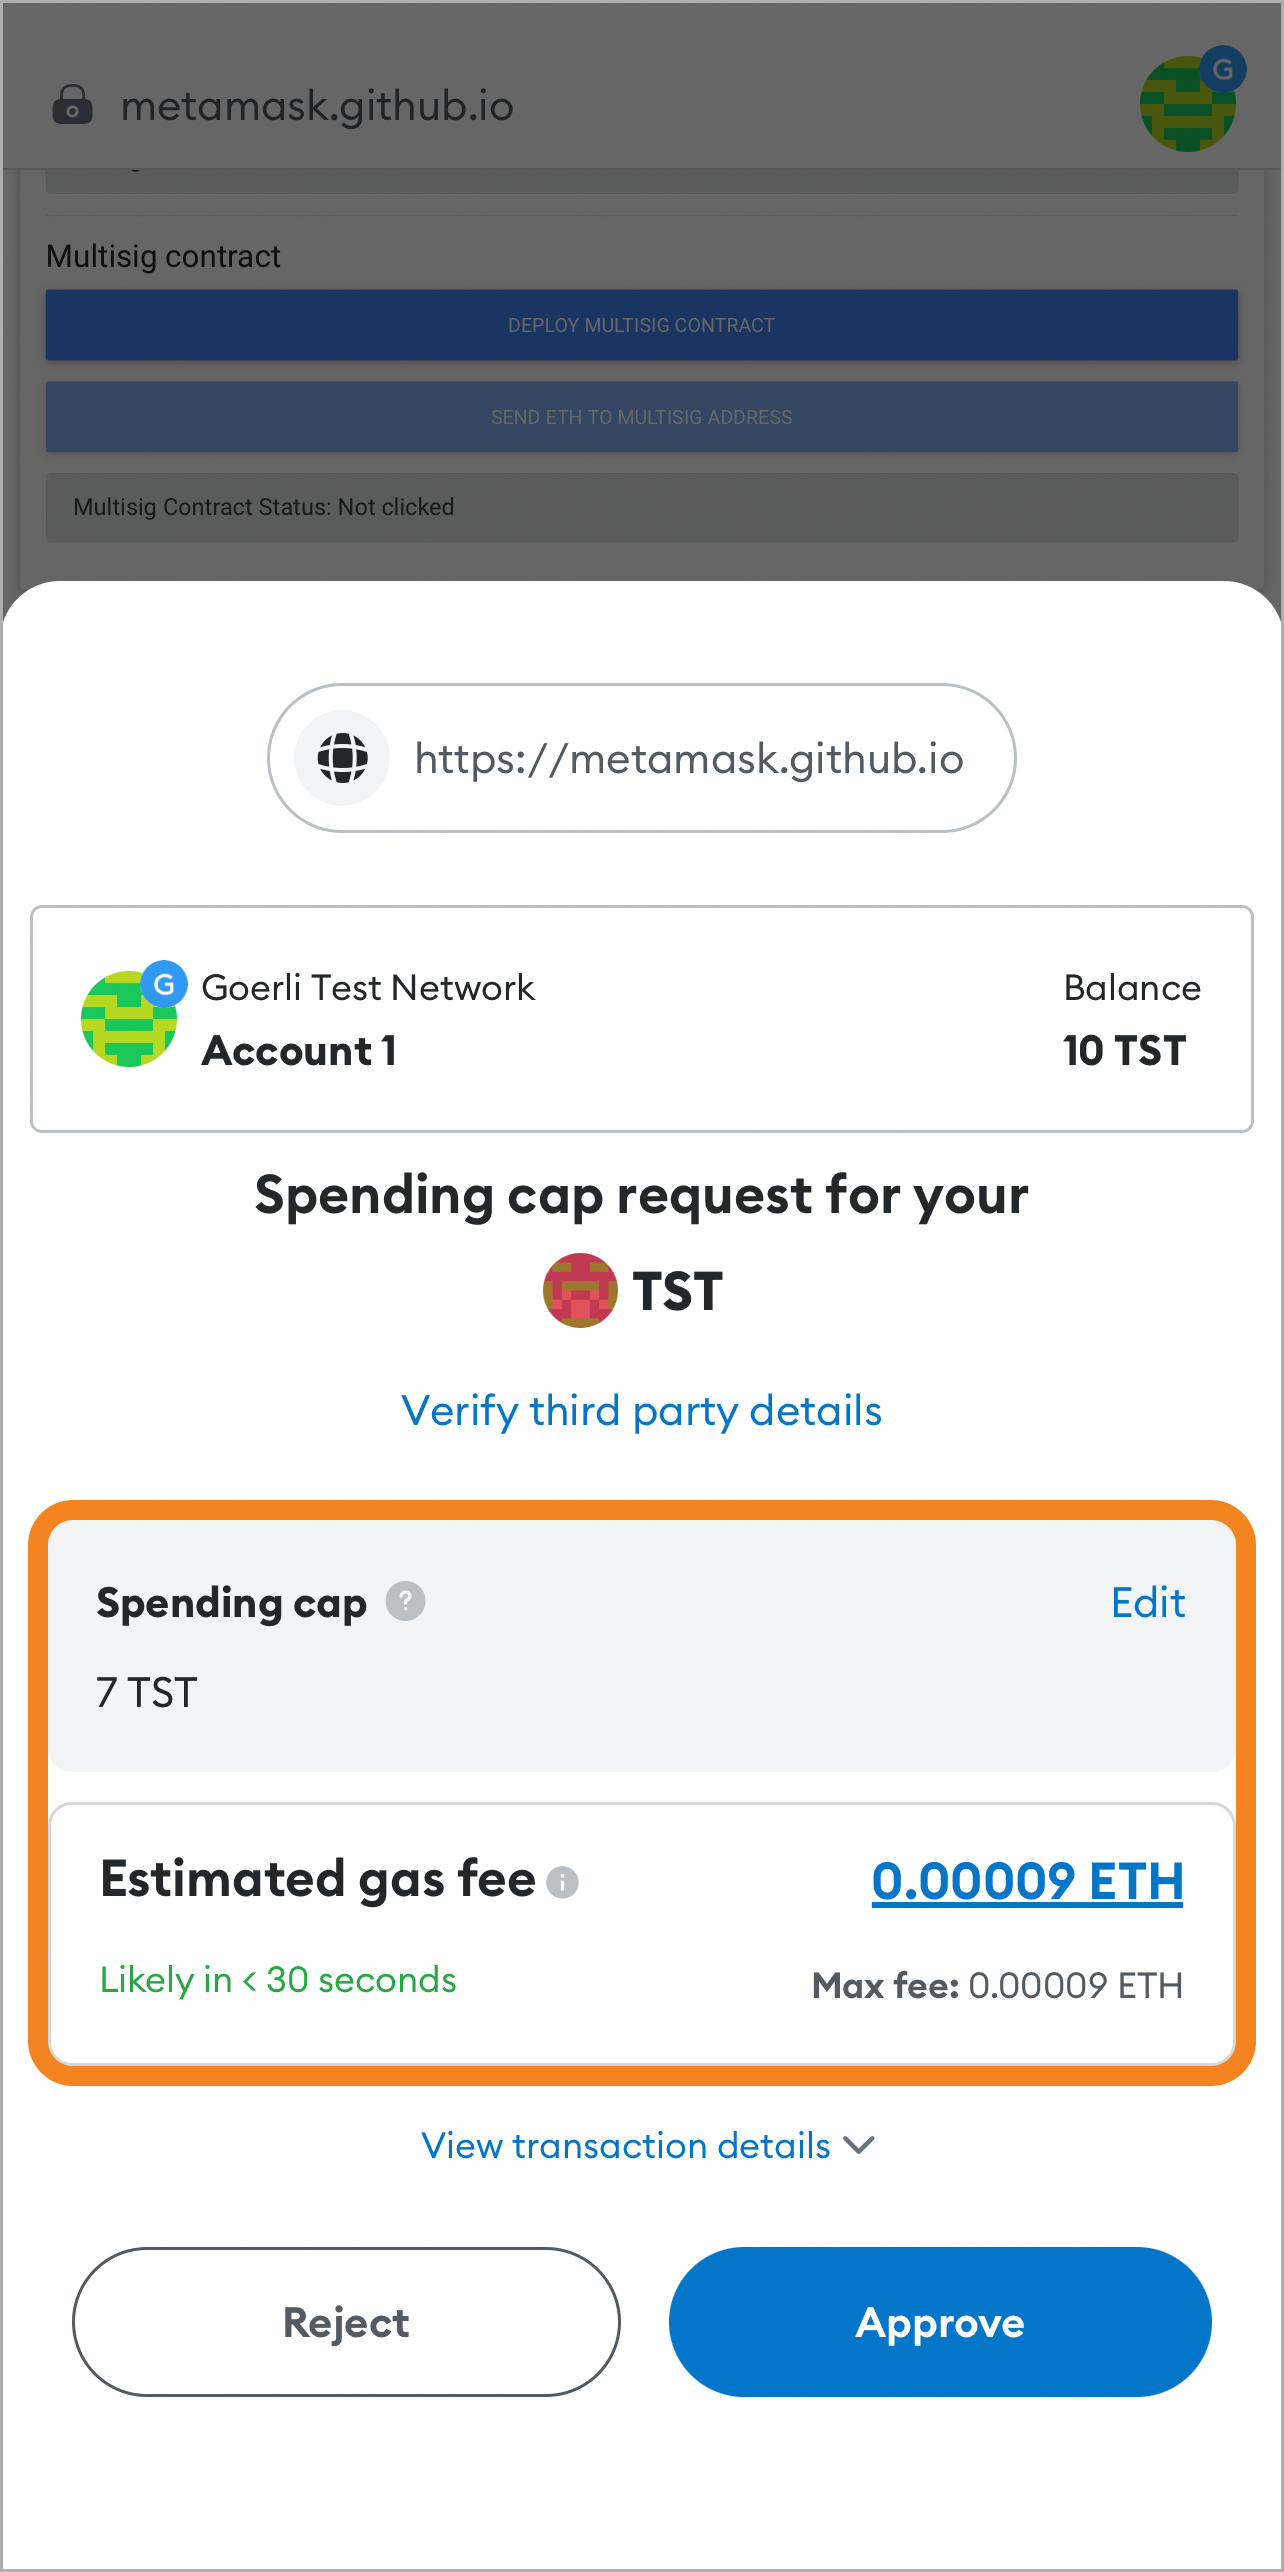
Once you're satisfied with the conditions of the transaction, tap 'Approve' to complete the process.
## Staying safe {#staying-safe}
Token allowances are an essential part of web3, and issuing virtually unlimited approvals is also not problematic in itself: most of the time, it makes your life easier and reduces how much gas you're paying (since you need to pay for each separate approval). However, dapps are rarely ever completely secure from exploits and hack attempts, and having an unlimited token allowance in place may put you at risk of theft. If the dapp has a vulnerability in its code, it may be possible that bad actors can exploit it and order the dapp to withdraw your funds without you requesting it.
Equally, it's also possible that the site from which the token approval request originates is malicious. This is the more common form of attack: you visit a site designed to look like another, more trustworthy site or brand, and it's this trust that gets exploited. In these cases, your tokens can be stolen as soon as you send the approval transaction.
To prevent yourself becoming a victim of this, there are **two potential methods** you could adopt:
1. Never grant unlimited (astronomically high) allowances.
2. Grant unlimited allowances to trusted sites from time to time, but frequently [check in and revoke them](/more-web3/learn/how-to-revoke-smart-contract-allowances-token-approvals) to keep on top of who and what has access to your tokens.
Both are viable, but **option 1 is the safest**.
Additionally, you should **always do your [due diligence](https://consensys.net/blog/metamask/the-seal-of-approval-know-what-youre-consenting-to-with-permissions-and-approvals-in-metamask)** on any site to which you grant token allowances. Sometimes, if the dapp itself was deployed by a bad actor out to steal your funds, it doesn't even have to be exploited for you to become a victim: as soon as you click 'approve' on the token, they can drain your wallet of that token. See our [Twitter thread](https://twitter.com/MetaMask/status/1499848729615949824) on this subject for additional context.
For more information on token approvals, here are some more resources:
- [Our deep dive blog post](https://consensys.net/blog/metamask/the-seal-of-approval-know-what-youre-consenting-to-with-permissions-and-approvals-in-metamask/)
- [How to revoke smart contract allowances/token approvals](/more-web3/learn/how-to-revoke-smart-contract-allowances-token-approvals)
- [What is a token approval?](/stay-safe/safety-in-web3/what-is-a-token-approval)
---
# How to fix a failed smart contract transaction
URL: https://support.metamask.io/configure/transactions/a-transaction-failed-when-interacting-with-a-smart-contract-what-can-i-do/
> You can see the error message for your failed transaction using the transaction hash/ID.
Smart contracts are the bedrock of what makes Ethereum — and, nowadays, many other smart-contract enabled networks — so special. Rather than just a decentralized blockchain for recording a sequence of transactions, smart contract platforms like Ethereum allow virtually anyone to create and run computer programs that interact with their blockchain. These programs are known as smart contracts, and they run on the Ethereum Virtual Machine (EVM).
:::info
#### Transaction? {#transaction}
In this context, when we say 'transaction' we're referring to any point at which a smart contract needs to modify or update the [state](https://ethereum.org/en/developers/docs/evm/#from-ledger-to-state-machine) of the Ethereum network. Day-to-day, most of your transactions on Ethereum are likely to involve smart contracts. If you use MetaMask Swaps, for example, you'll be interacting with one.
:::
**Your failed smart contract transaction is more than likely an output from one of these programs (smart contracts) that mandates updating the state of your or others' accounts on the EVM.**
Since the functions and design of smart contracts can vary enormously — Ethereum is 'Turing-complete', meaning it can perform any computable task — there are many different reasons why a transaction prompted by one could fail. Solidity, the programming language used for Ethereum smart contracts, also allows the authors to define custom error messages with any conditions they choose, further increasing the potential scope.
**You can see the error message for your failed transaction by finding the transaction on Etherscan** (or the appropriate block explorer for the network you're on) using its [transaction hash/ID](/manage-crypto/transactions/how-to-find-a-transaction-id).
Although it's virtually impossible to exhaustively document smart contract errors, we have already documented many common ones. Simply type 'Error' in the search bar to see them, or just search more specifically for the one you're experiencing.
---
# How to find your transactions in MetaMask
URL: https://support.metamask.io/configure/transactions/how-do-i-find-my-transactions/
> Learn how to view your transaction history on extension, mobile, and block explorers.
There are a few different ways to locate and view your transaction history:
## Finding transactions in MetaMask {#finding-transactions-in-metamask}
As soon as you submit a transaction, it will appear in the 'Activity' tab of your account. To find a specific transaction, you can search for it by typing the transaction type (such as 'Swap' or 'Send'), token type (such as 'USDC' or 'ETH'), or the network (such as 'Ethereum' or 'Base') into the search bar.
You can also filter your transactions by network or transaction type. To filter by network, click the 'All networks' filter and select the network you want to view transactions for.
To filter by transaction type, click the 'All types' filter and select the transaction type you want to view.
Click on the transaction to display more details.
There are two ways to access your transactions on Mobile.
The first is to tap on the token type whose transactions you want to view, and scroll down:
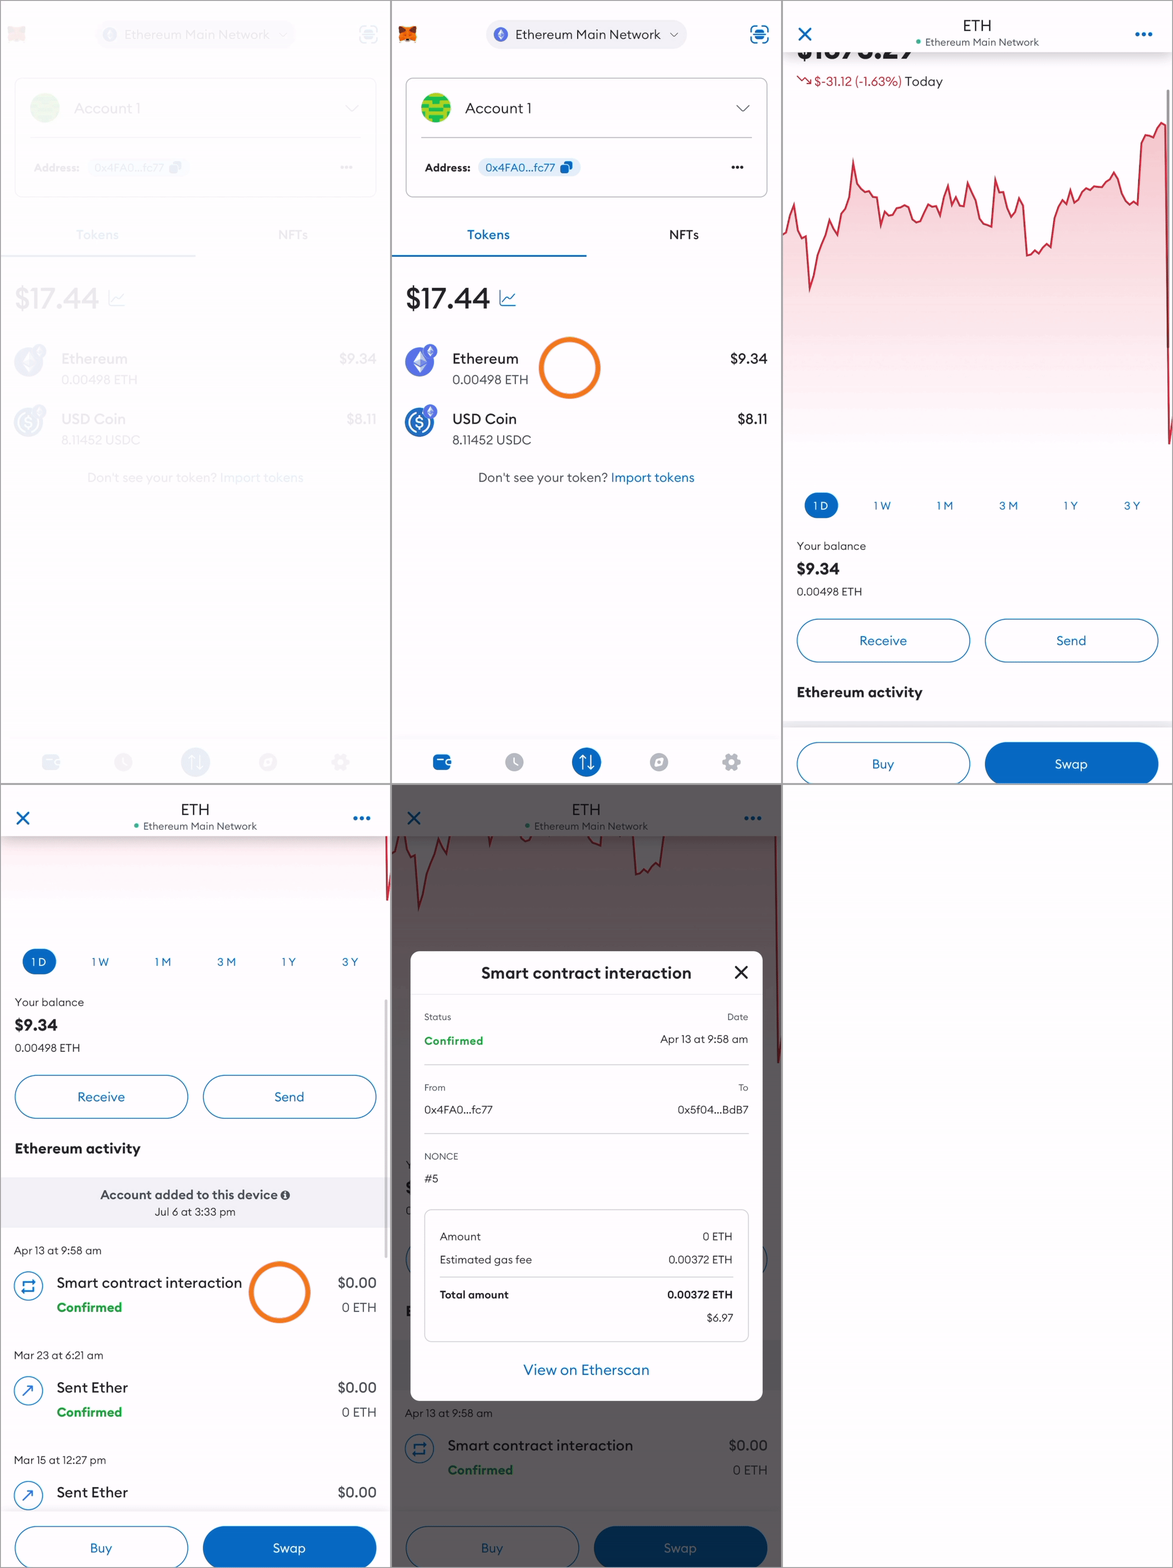
The second is to tap the clock icon in tab bar to see your activity. In the transaction list that appears, tap on the transaction you're looking for to view its details.
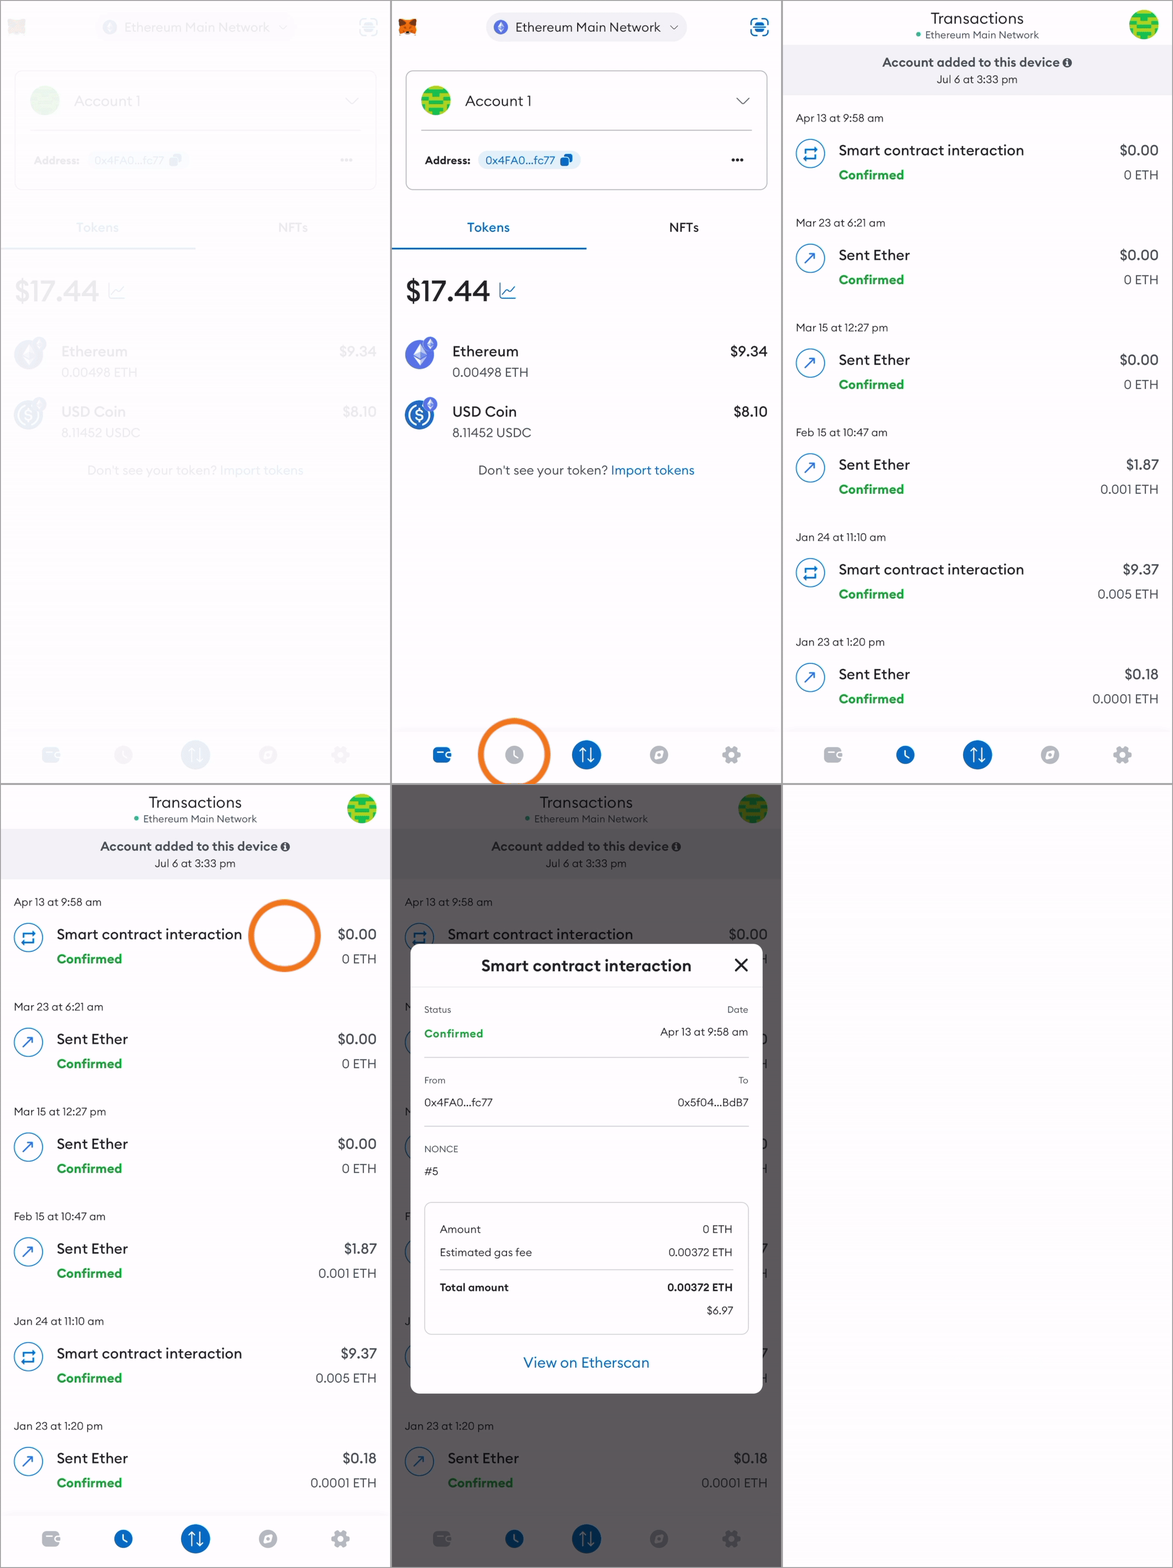
Your transactions are viewable in your dashboard by switching to the transaction view:
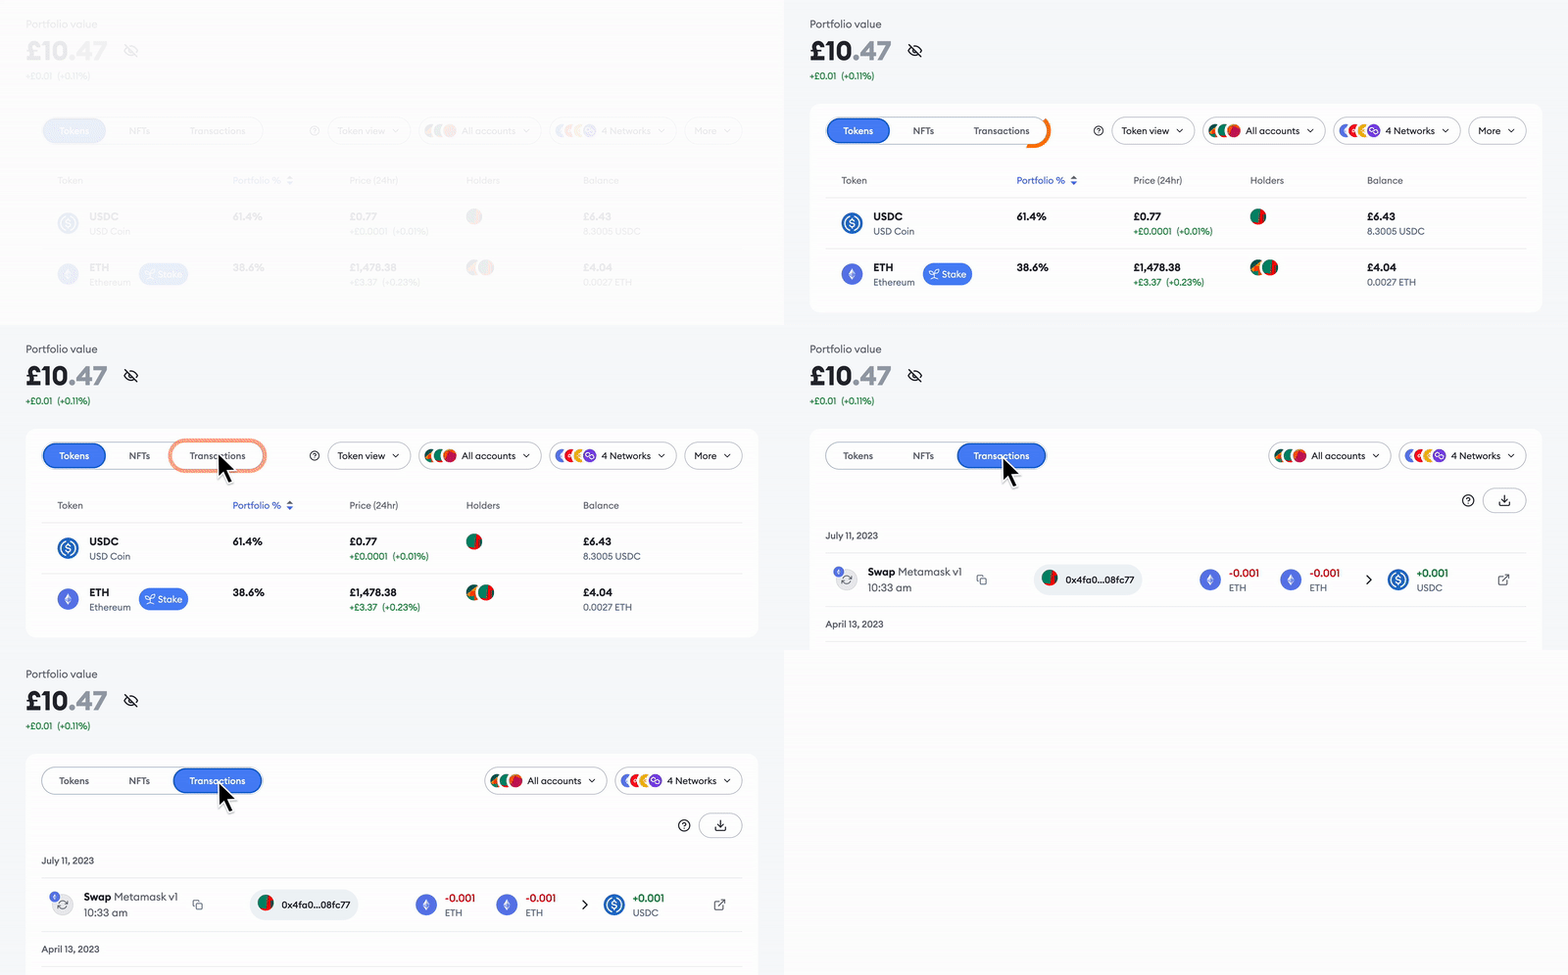
You can click each transaction to view its details:
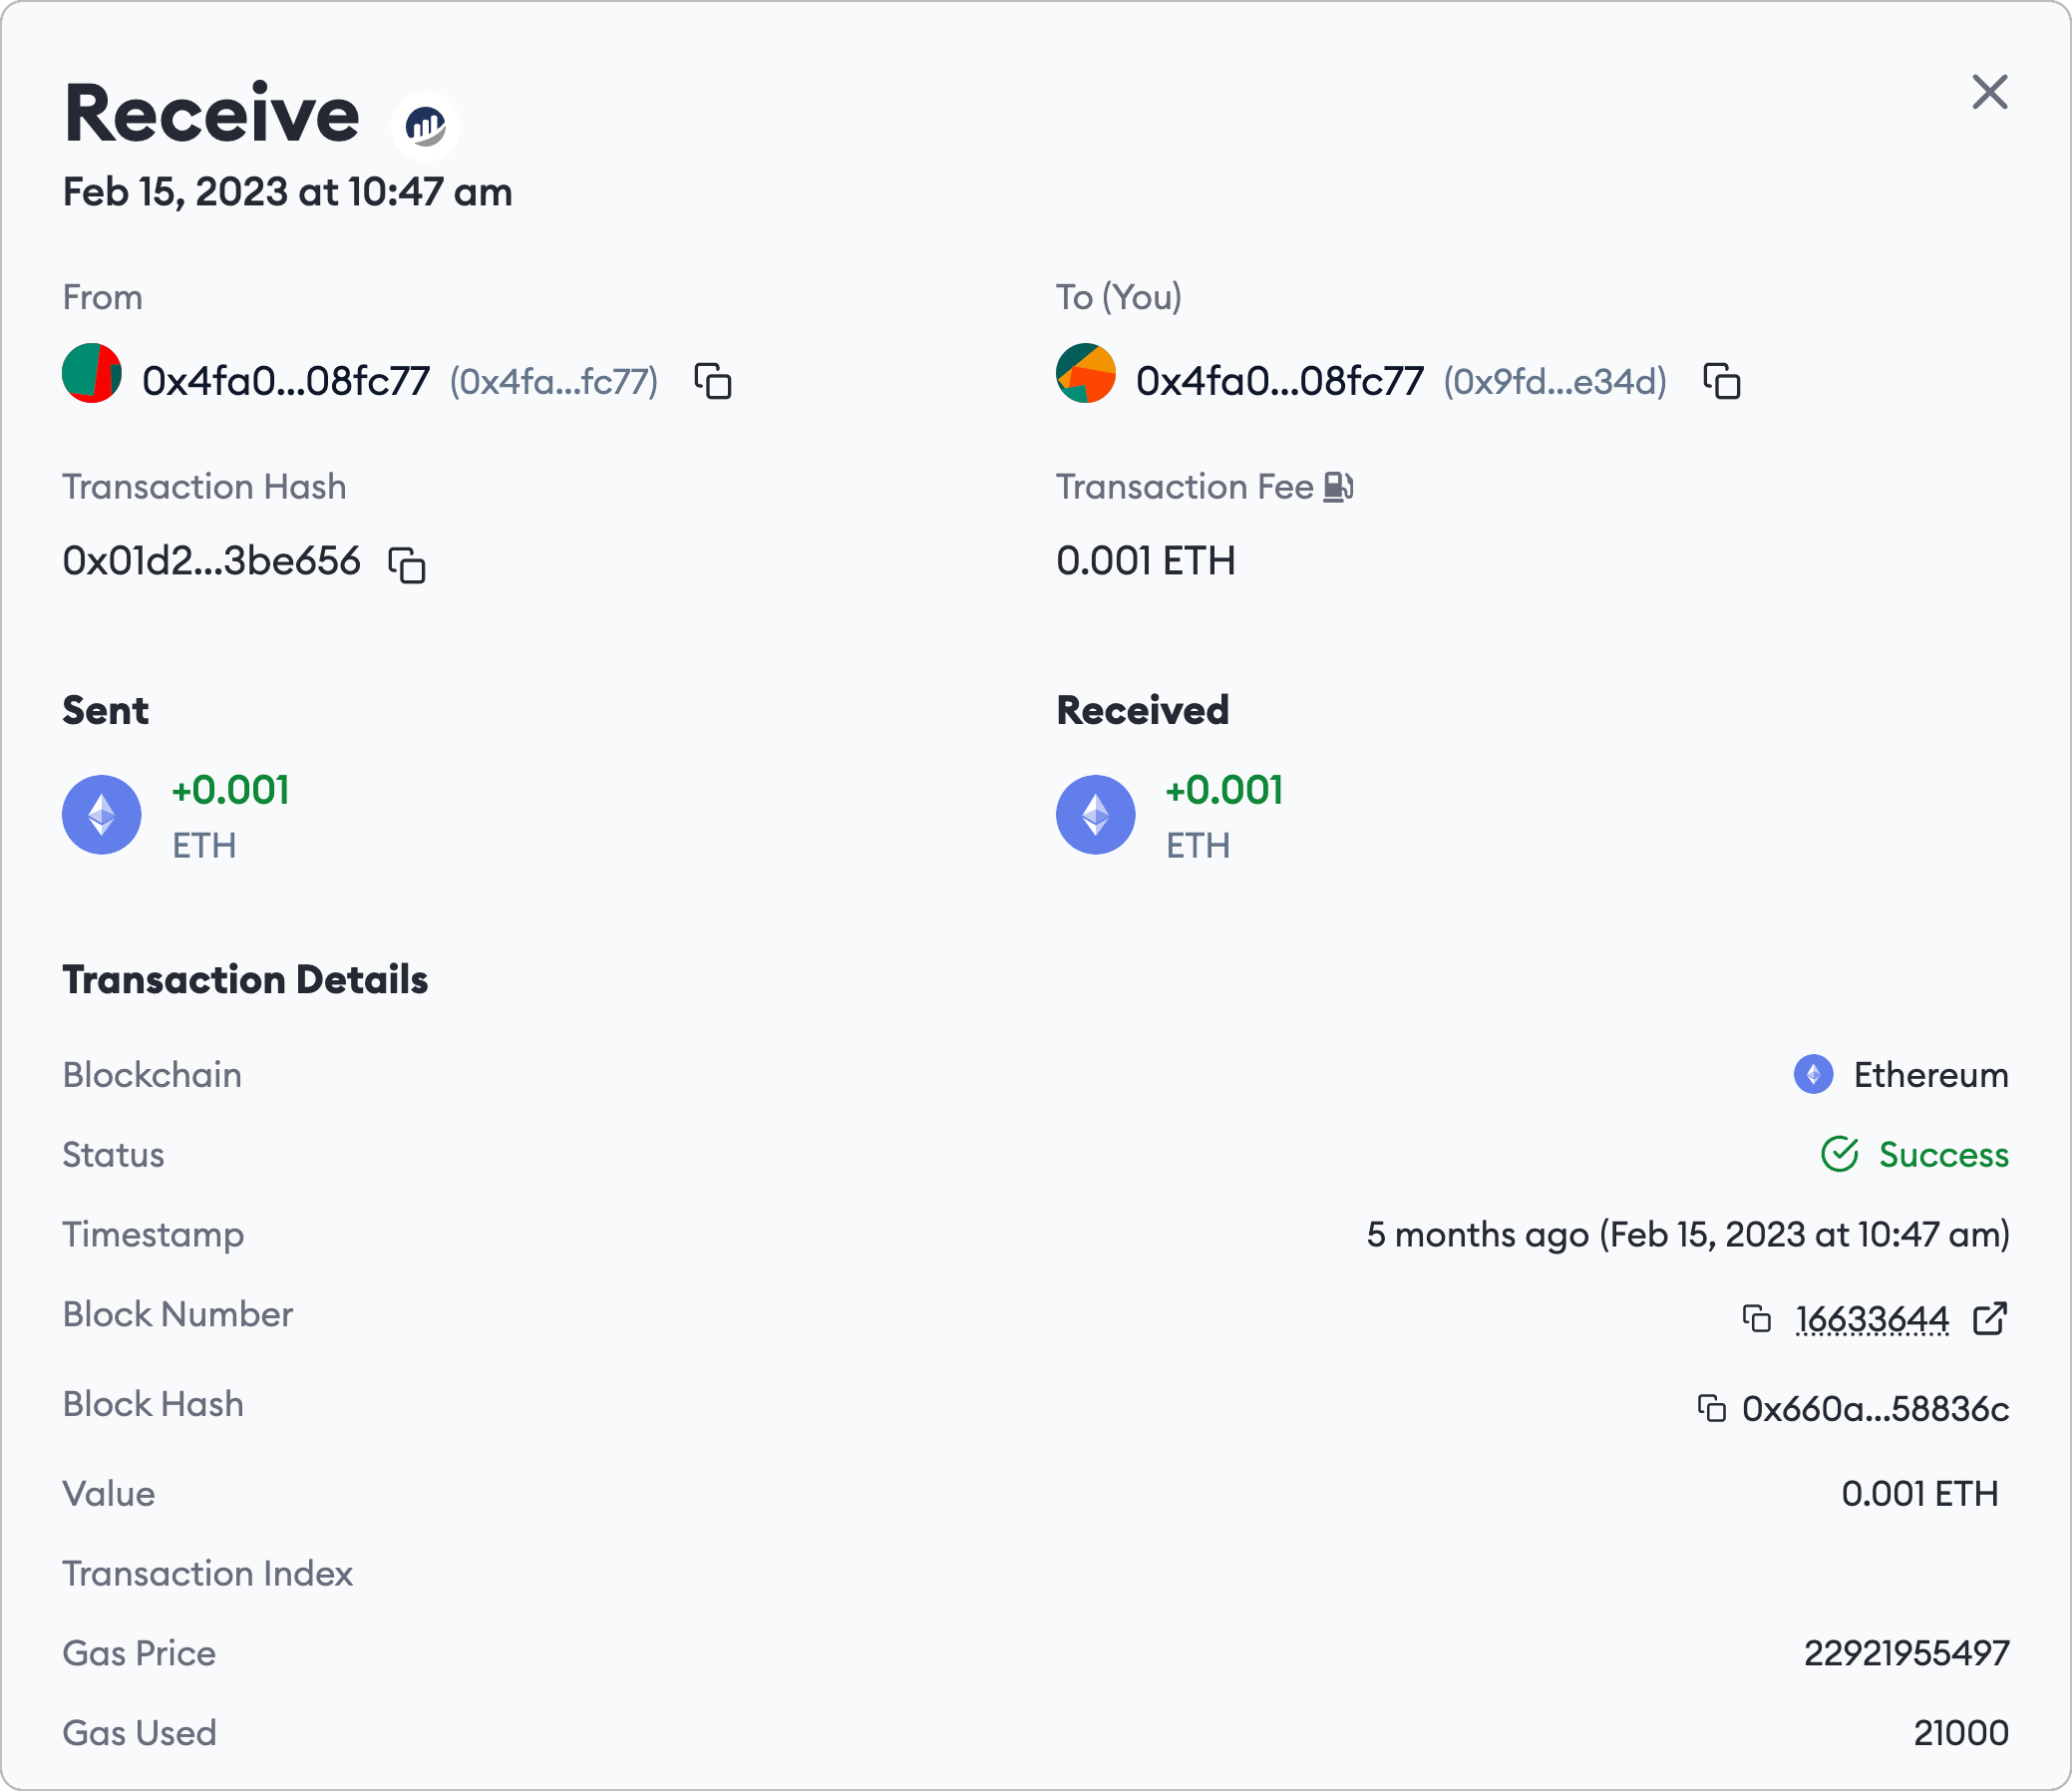
You can configure the transactions displayed by using the account dropdown on the right:
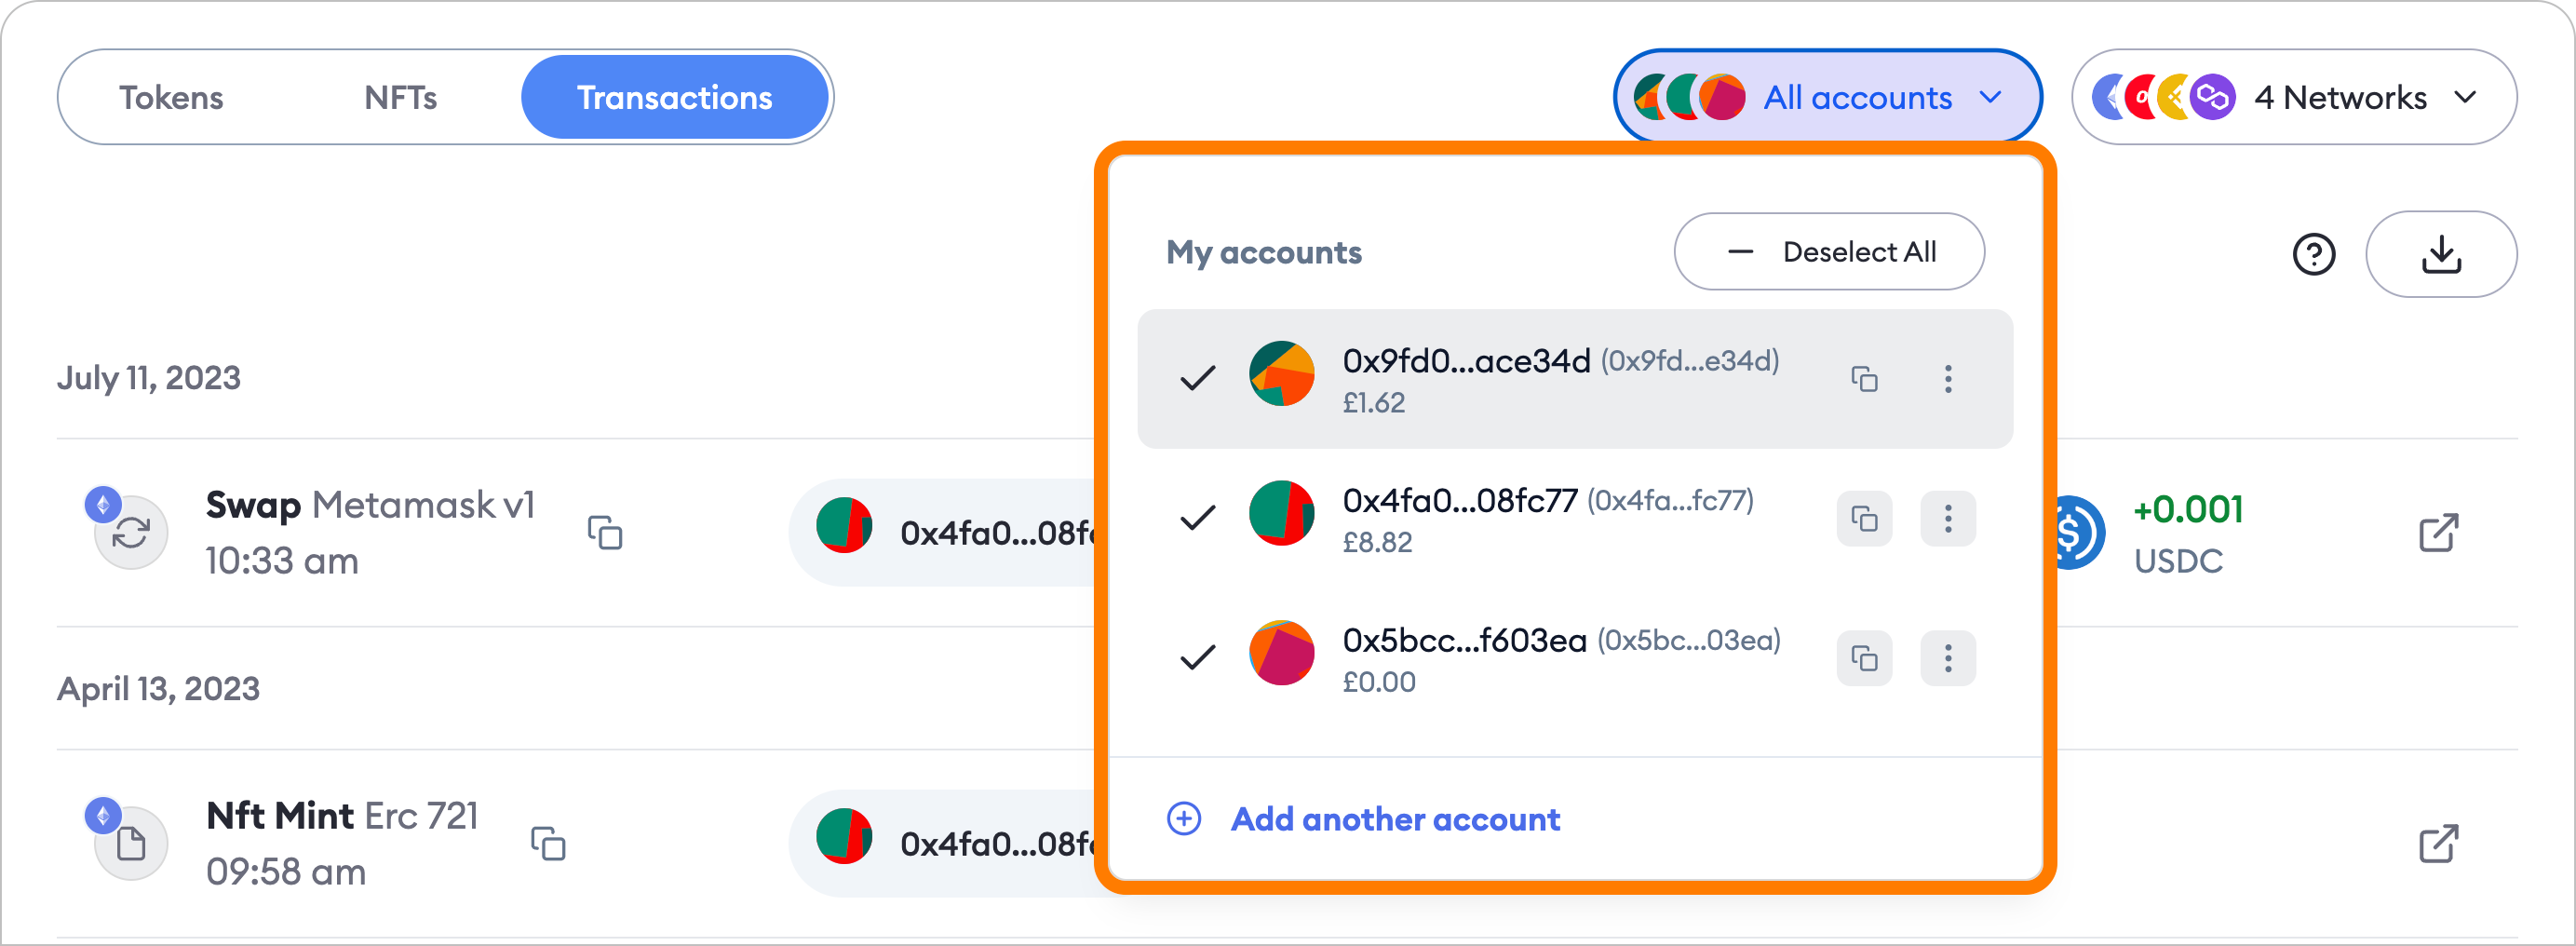
## Finding transactions on the block explorer {#finding-transactions-on-the-block-explorer}
### Firstly: what is a block explorer? {#firstly-what-is-a-block-explorer}
Essentially, block explorers are independent sites which retrieve information about activity on the blockchain, organize it, and make it freely available online. With the help of block explorers, all network (blockchain) activity can be quickly queried, helping ensure total transparency.
Although their barrage of [long, hexadecimal numbers](/more-web3/learn/the-ethereum-address-format-and-why-it-matters-when-using-metamask) and highly specific terminology can be intimidating at first, block explorers are very easy to use. These skills will form a vital element in your toolkit for using web3.
Block explorers are specific to each blockchain: Ethereum has its own ([Etherscan](https://etherscan.io/)), BSC has its own ([BscScan](https://bscscan.com/)), etc.
### Finding transactions {#finding-transactions}
Although there are distinctions between each block explorer, they broadly look the same. The steps below will apply regardless of the network you're using:
1. Open up the appropriate block explorer.
2. [Copy your wallet address.](/configure/wallet/how-to-copy-your-metamask-account-public-address-)
3. Paste your address into the search bar to open up your wallet's page.
4. Locate the transaction in the list provided.
## Related articles {#related-articles}
[How to find a transaction ID](/manage-crypto/transactions/how-to-find-a-transaction-id)
[How to check my wallet activity on the blockchain explorer](/more-web3/learn/how-to-check-my-wallet-activity-on-the-blockchain-explorer)
---
# How to add a memo or note to a MetaMask transaction
URL: https://support.metamask.io/configure/transactions/how-to-add-a-memo-to-a-transaction/
> Learn how to include a memo, note, or tag when sending a transaction.
When you make a transaction to certain exchanges, the exchange sometimes requires you to add a memo.
To add a **memo or a note,** enable the 'show hex data' toggle in **'Settings' > 'Transactions' > 'Show hex data'.** Note that you can only add memos on MetaMask Extension.
After you enable it, an extra optional field will appear during the transaction where you can fill in your memo:
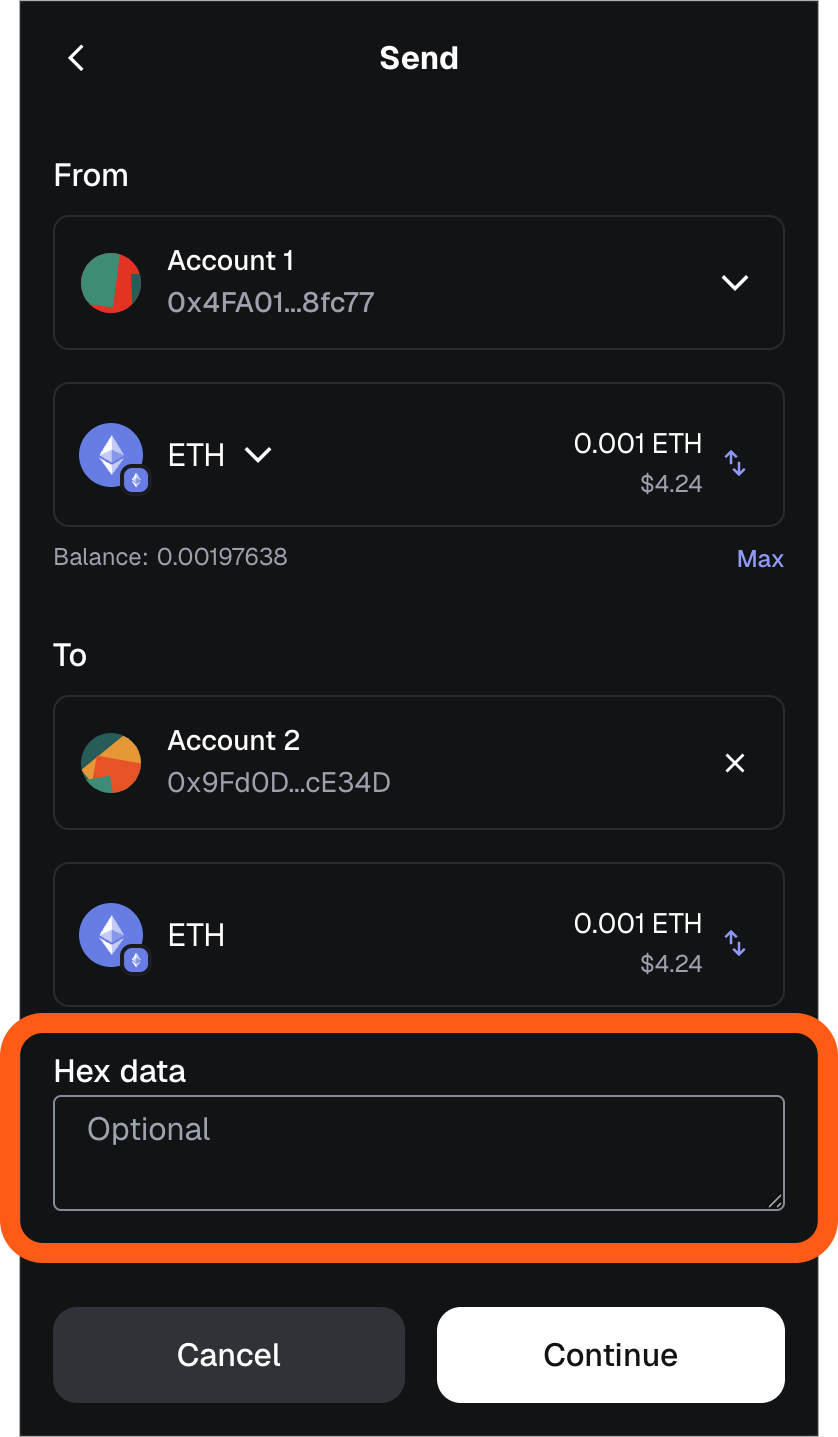
---
# How to customize a transaction nonce
URL: https://support.metamask.io/configure/transactions/how-to-customize-a-transaction-nonce/
> Learn how to set a custom nonce in MetaMask if you need help speeding up or canceling pending transactions.
## What is a nonce? {#what-is-a-nonce}
The term 'nonce' is a [portmanteau](https://en.wikipedia.org/wiki/Portmanteau) of '**n**umber used **on**ly on**ce**': every single transaction you _send_ from your account has one, and the number (starting with 0 for the first transaction you send) increases in increments of 1.
Each transaction's nonce is an identifier that ensures your transactions are processed by the network in the correct order, preventing ['double spend' scenarios](https://support.mycrypto.com/general-knowledge/ethereum-blockchain/what-is-nonce/).
In MetaMask, adjusting the nonce can be useful if you need to [speed up or cancel pending transactions](/manage-crypto/transactions/how-to-speed-up-or-cancel-a-pending-transaction).
## How do I customize the nonce when sending a transaction? {#how-do-i-customize-the-nonce-when-sending-a-transaction}
Customizing the nonce isn't possible unless you enable it. To do so, head to the transaction review window, and toggle 'Show advanced details' in the upper right corner. If you have Smart Transactions enabled, and the transaction is on Ethereum Mainnet, Base, Arbitrum, or BNB Smart Chain, you'll need to [turn Smart Transactions off](/manage-crypto/transactions/smart-transactions/#how-do-i-manage-my-smart-transactions-settings) before you can customize the nonce. Make sure to turn Smart Transactions back on after you've finished customizing the nonce.
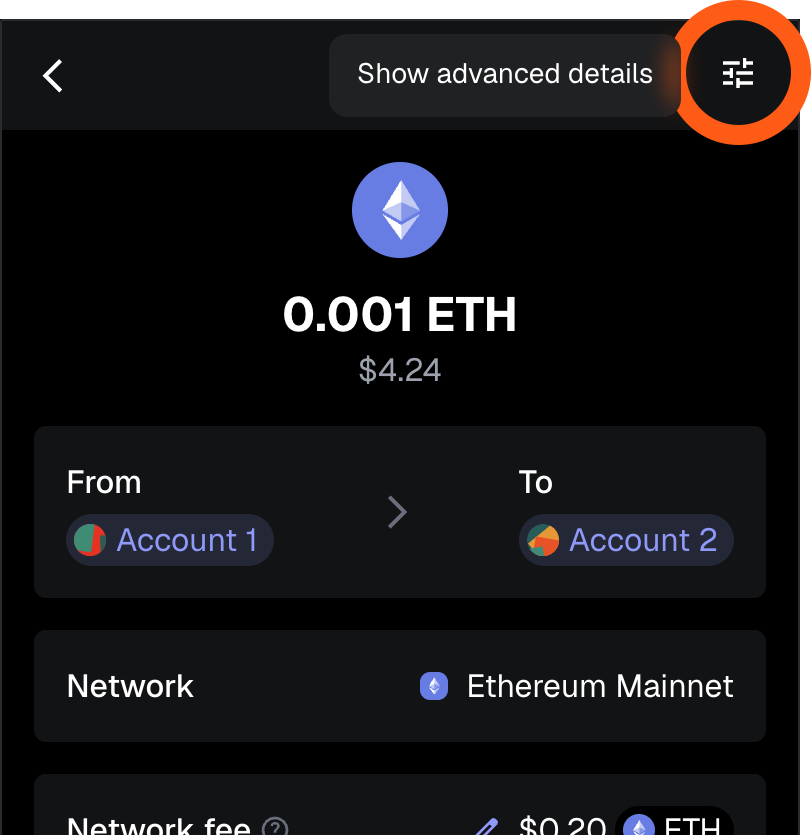
Start to [send a transaction](/manage-crypto/move-crypto/send/how-to-send-tokens-from-your-metamask-wallet) from your account. Enter the recipient address and the value, and click 'Next'. Before you confirm the transaction, you'll see a breakdown of the gas fees and other details that looks like this:
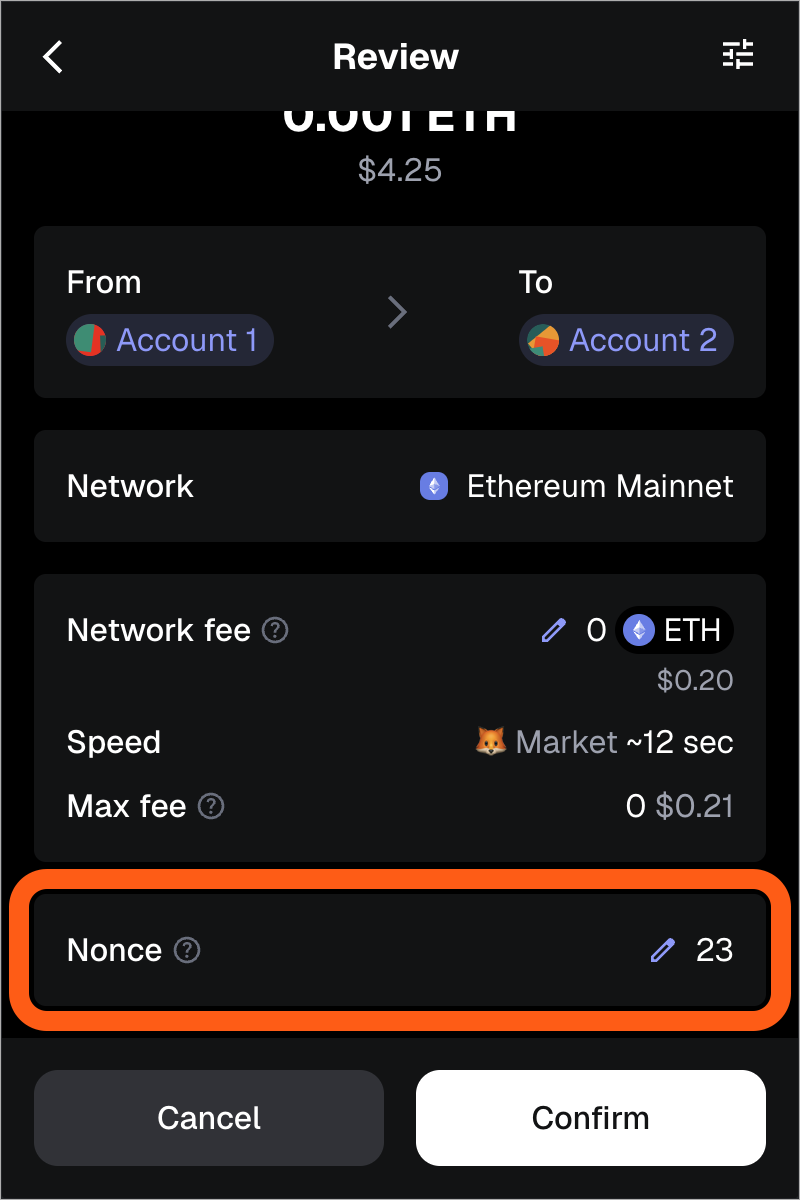
Click the 'Custom nonce' field to enter the number you need, and, when you're ready to submit the transaction, 'Confirm'.
Customizing the nonce isn't possible unless you enable it. To do so, tap the menu icon in the top right,and then 'Settings' > 'Advanced':
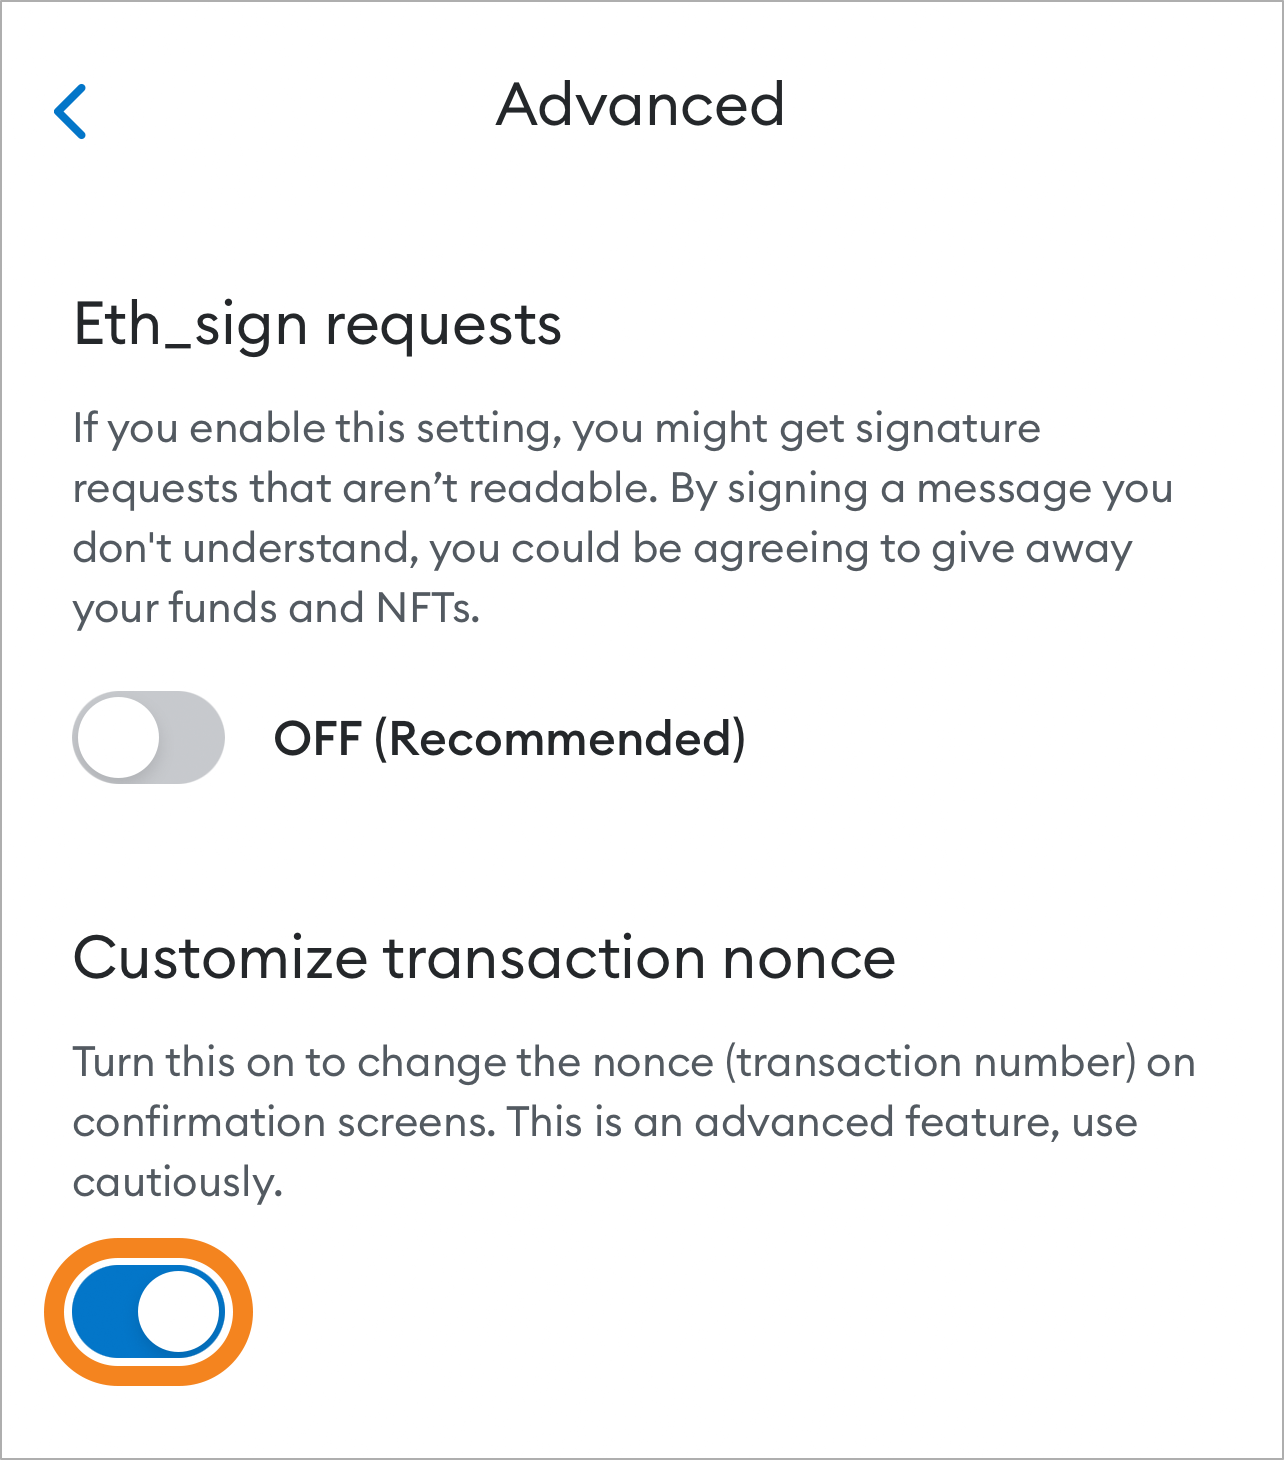
Start to [send a transaction](/manage-crypto/move-crypto/send/how-to-send-tokens-from-your-metamask-wallet), and input the recipient's address and the value you want to send. Now tap 'Next', and you'll be taken to a screen that looks like this:
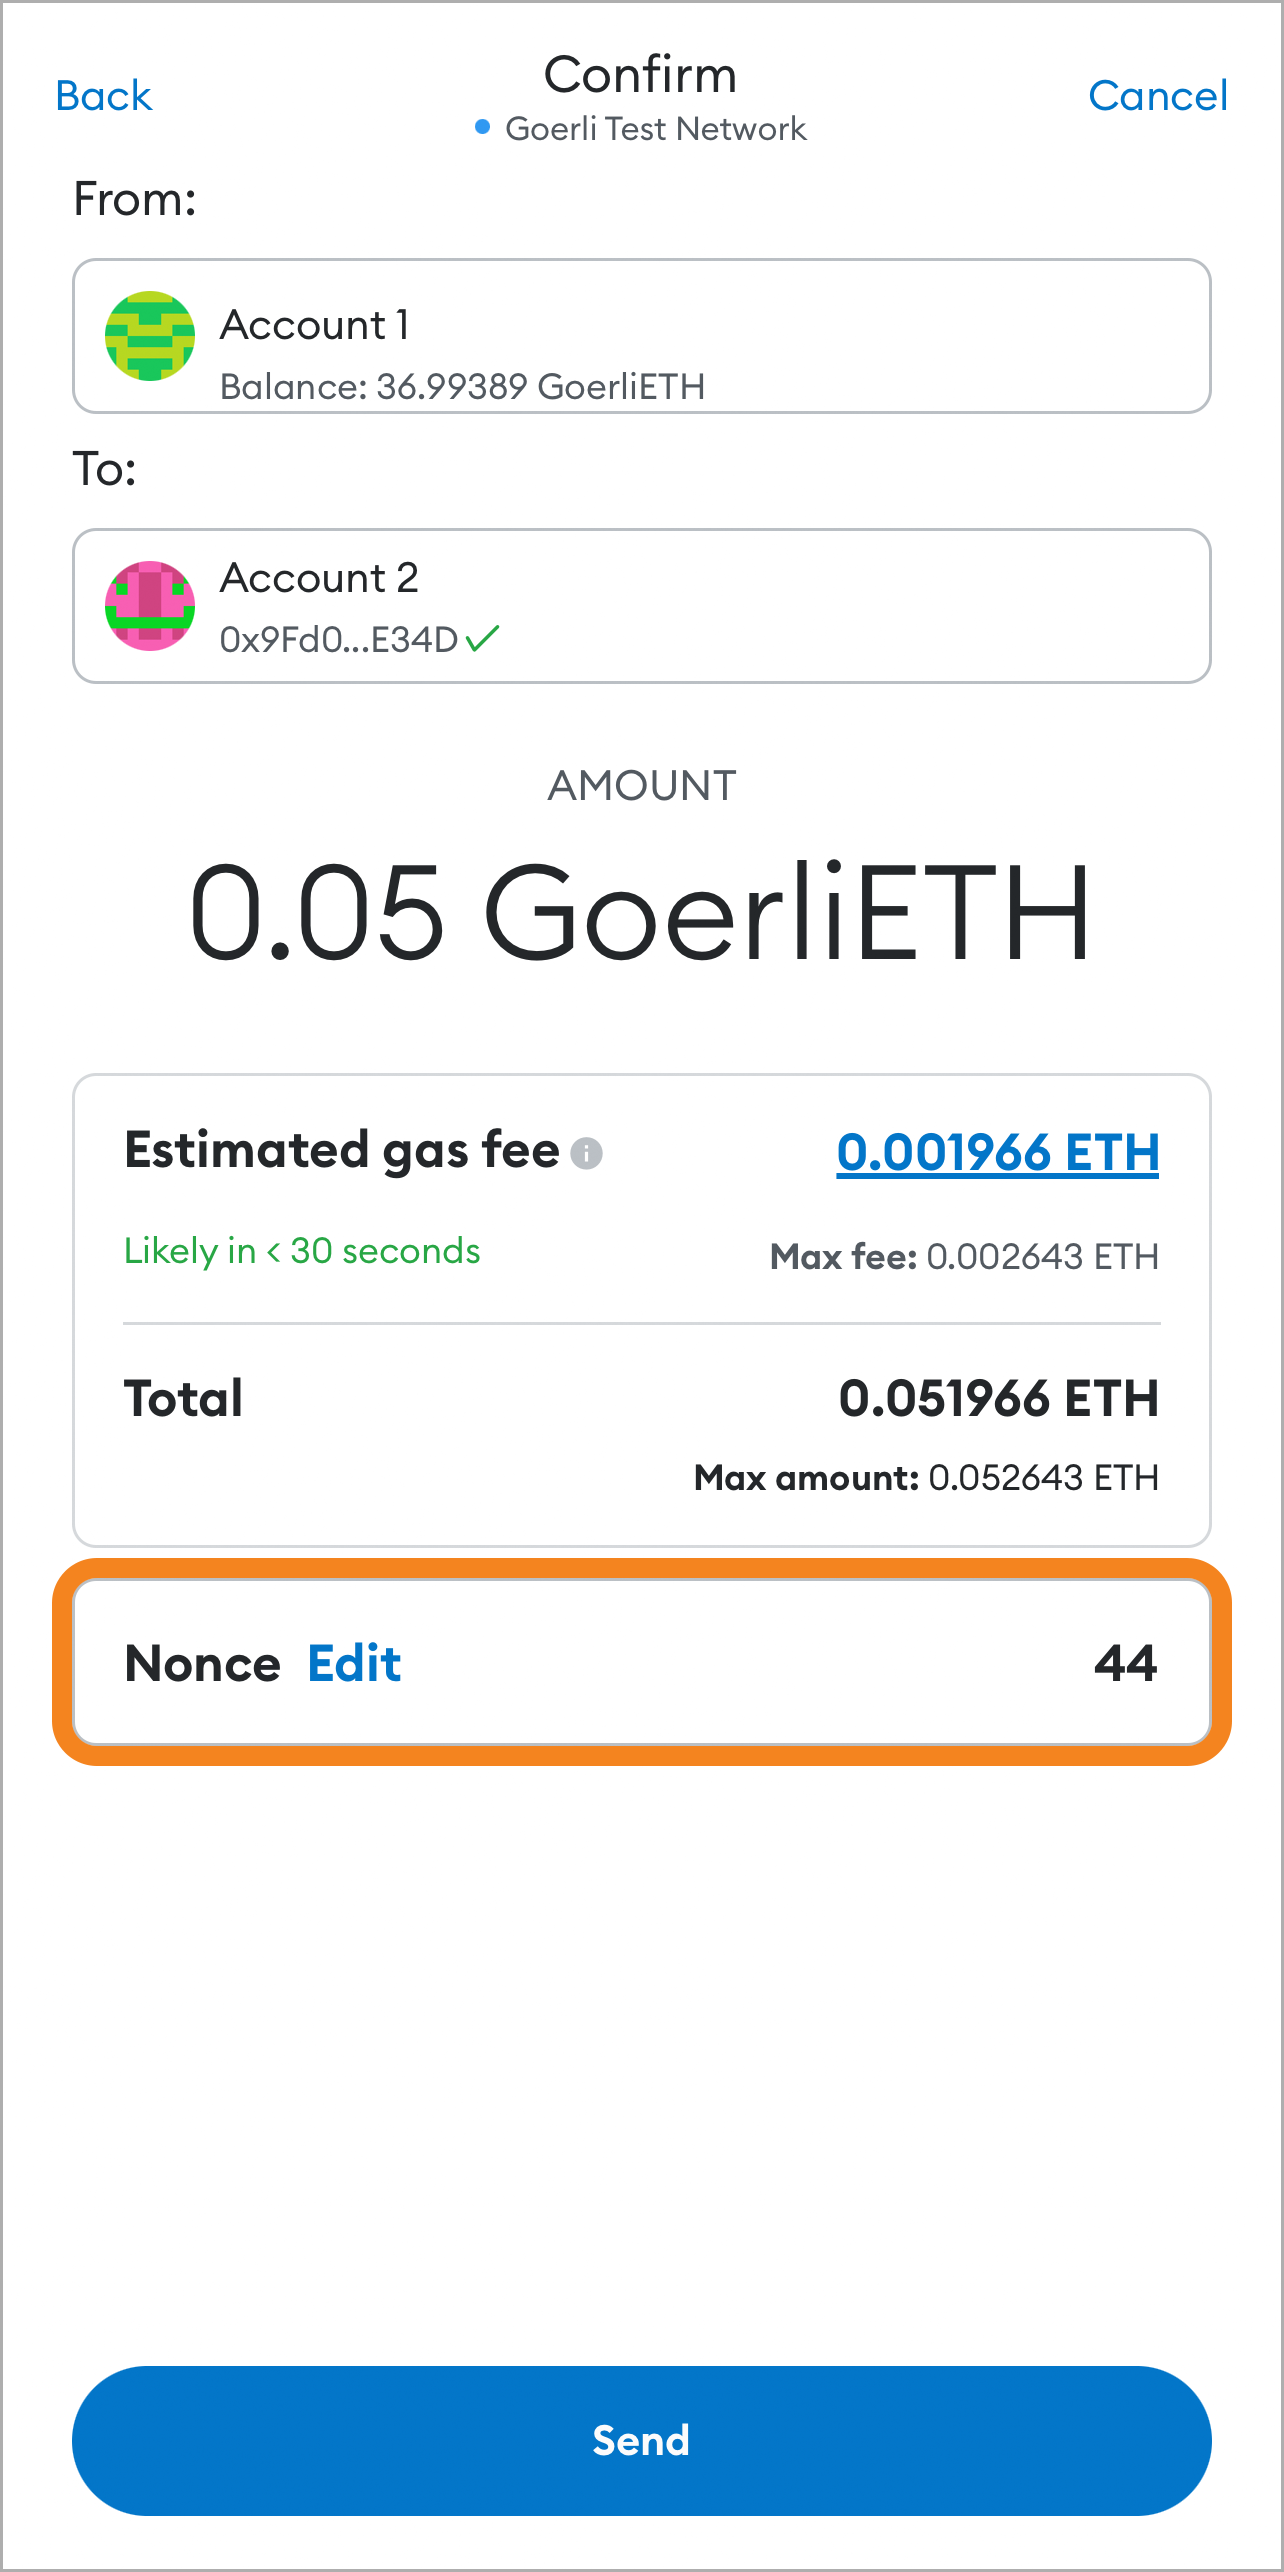
When you tap the highlighted 'Edit' text next to the nonce field, you'll be able to customize it using the plus and minus buttons:
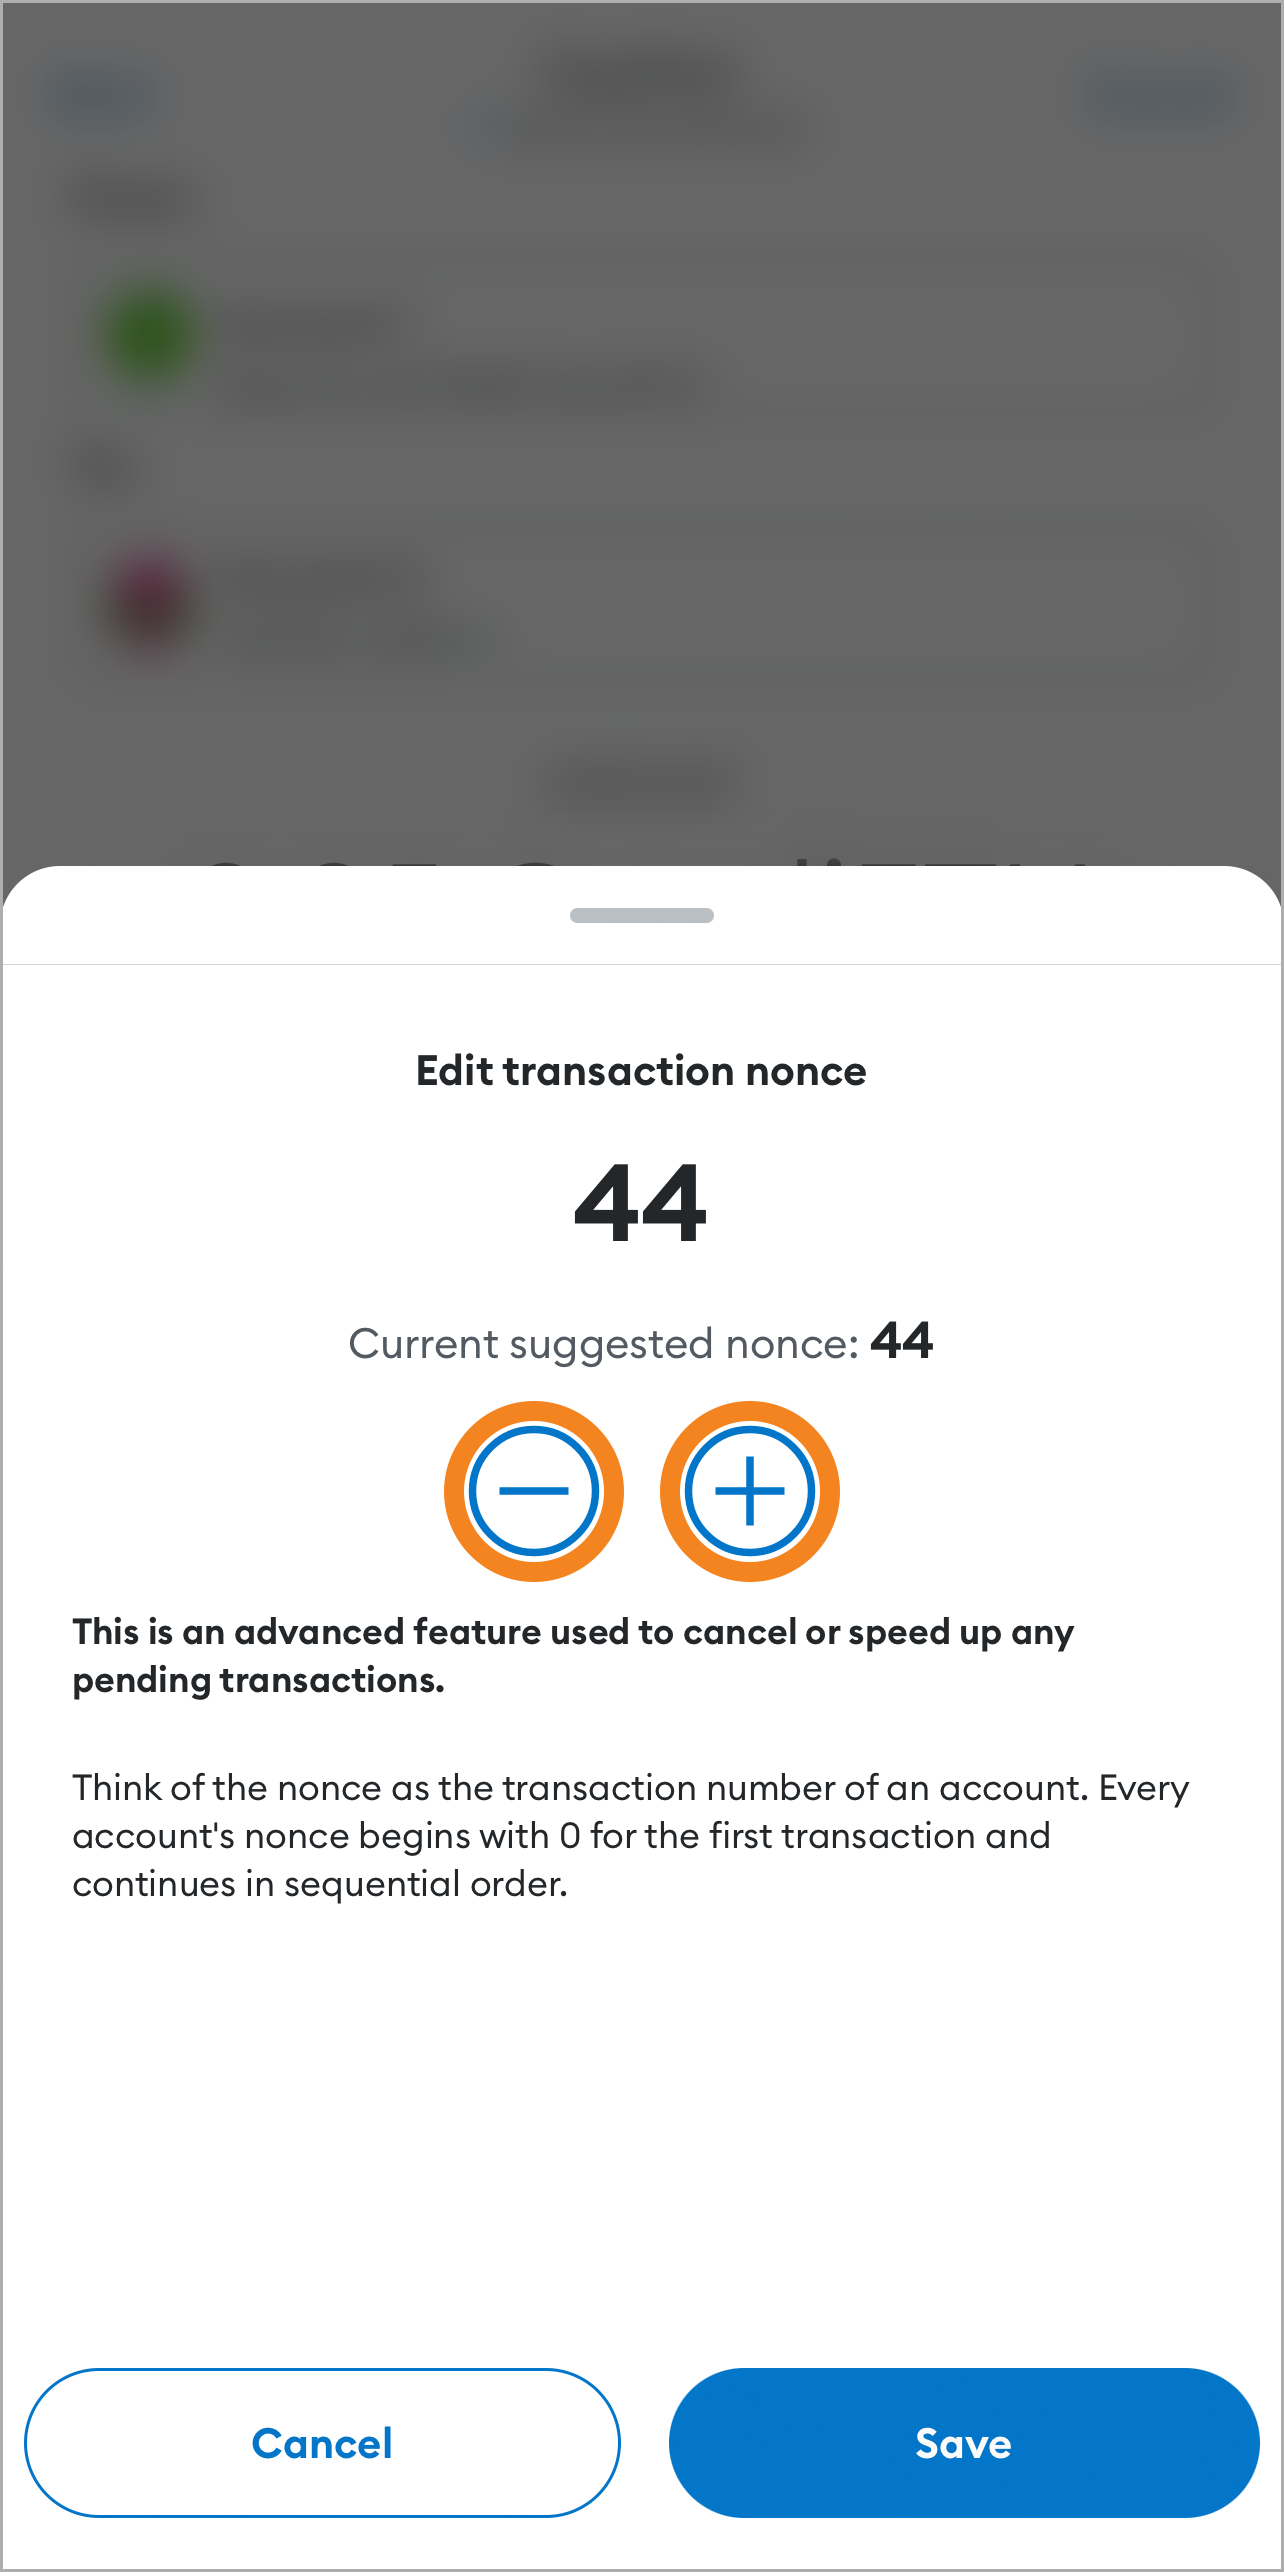
Press'save' to confirm your choice.
---
# How to customize gas settings
URL: https://support.metamask.io/configure/transactions/how-to-customize-gas-settings/
> Learn how to adjust network fees for your transactions in MetaMask.
For every transaction you send in MetaMask, you'll need to pay gas. For a general explainer, see [here](/more-web3/learn/user-guide-gas).
You can easily customize the gas you pay for each transaction according to your circumstances. For example, sometimes you may want to pay more to help your transaction be processed sooner; other times, you may be happy to wait.
First, let's define the various terms you'll encounter when customizing gas settings:
- The gas limit
The _gas limit_ is the **maximum amount of gas units you are willing to pay for** in order to carry out a transaction or EVM operation.
- The max priority fee
The _max priority fee_ goes to the validator, and incentivizes them to prioritize your transaction.
- The max fee
The max fee is the total, global amount paid for your transaction: **base fee + priority fee.**
Remember that **gas you pay is not charged or collected by MetaMask**, and not something we can control.
:::info
#### Using an older version of MetaMask Extension? {#using-an-older-version-of-metamask-extension}
These instructions apply to v10.29.0 or newer. In versions older than v10.29.0, you may need to first turn on 'Advanced gas controls' in settings.
:::
When you start to send a transaction, you'll see a pencil icon by the estimated fee details allowing you to edit your gas option:
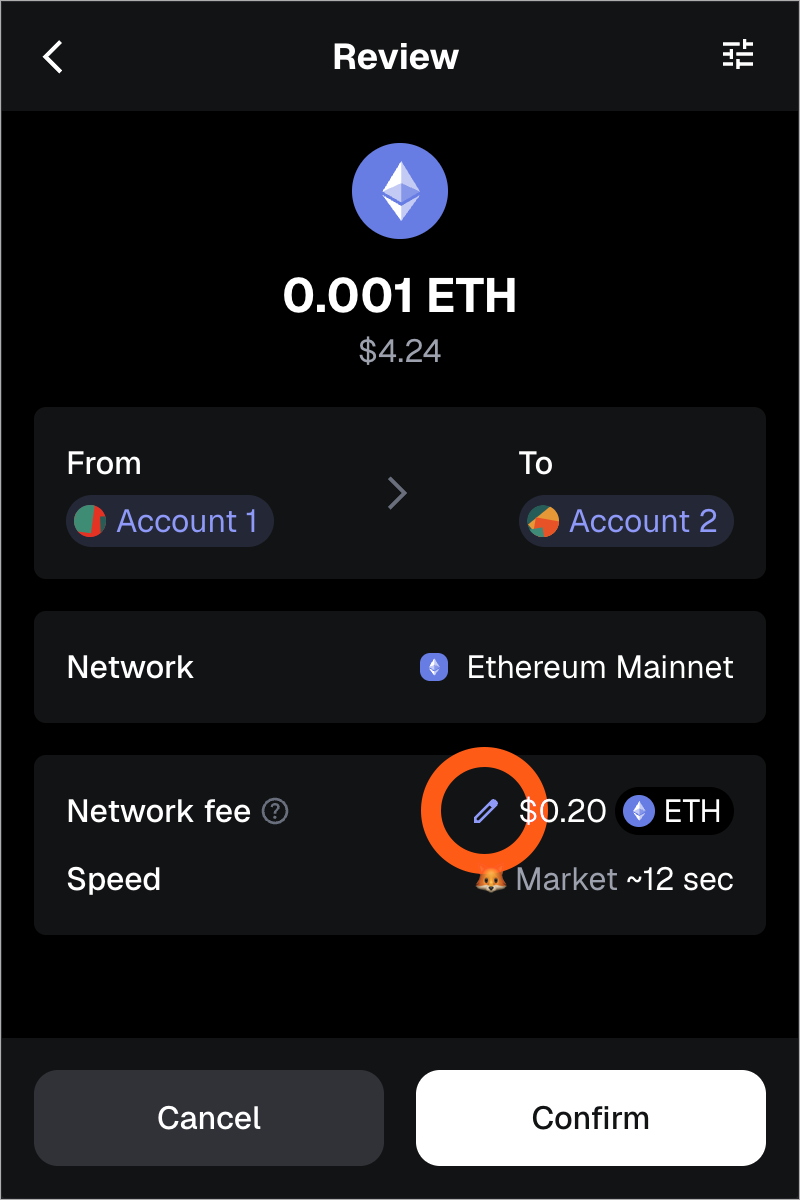
Clicking on this button will allow you to choose between three options, 'Low', 'Market', or 'Aggressive'. These describe the amount of gas you're choosing to pay, and have these main implications:
- '**Low**' involves paying less for gas, and most likely waiting longer for your transaction to complete.
- '**Market**' sets your gas to reflect the current market rates.
- '**Aggressive**' enables you to be more forceful with your transaction, and have it completed as soon as possible by paying more.
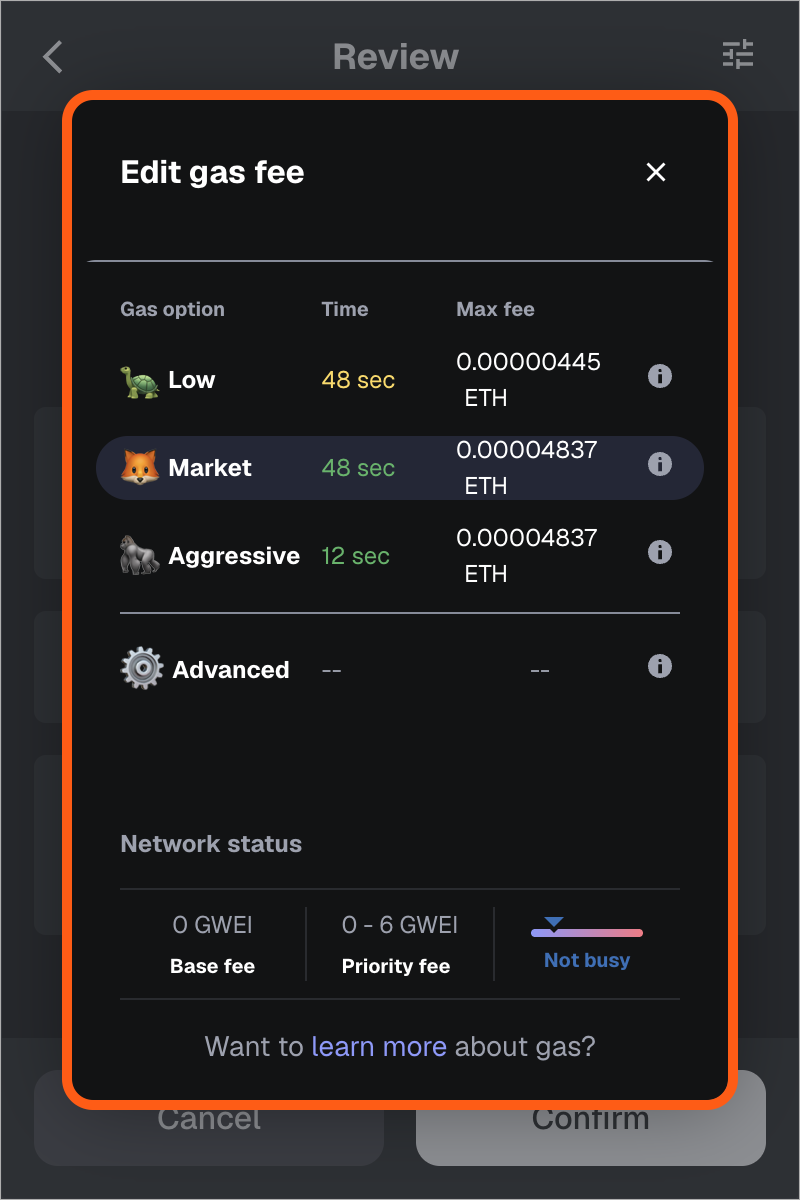
Hit '**Advanced**' to customize gas parameters directly.
### Saving your gas settings for reuse {#saving-your-gas-settings-for-reuse}
The advanced gas fee settings are network-specific, so you can enjoy a personalized and optimized experience for each network you use.
If you want to reuse the settings you've just configured, make sure to check the box that lets you save your settings as the default. Then, simply click 'save' to ensure your gas settings become the default values for future use.
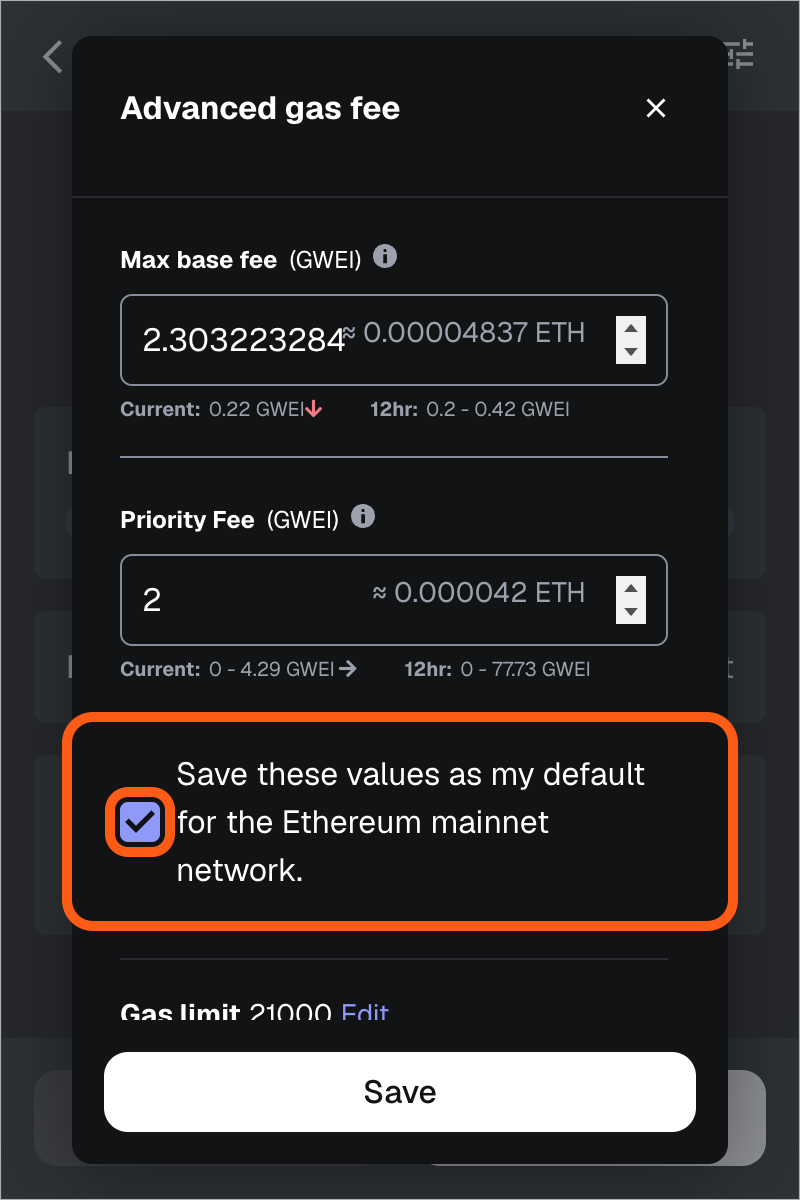
When you get to the final screen before sending your transaction, you will see the '**Network fee**' to the right:
Click on the pencil icon, and a menu will appear. This lets you pick between three options that describe how much gas you want to pay:
- **'Low'** involves paying less for gas, and most likely waiting longer for your transaction to complete.
- **'Market'** sets your gas to reflect the current market rates.
- **'Advanced'** set a custom network fee.
When you tap 'Advanced', this menu will open and you will have the opportunity to customize your gas fully:
---
# How to fix 'insufficient funds' error or greyed-out confirm button
URL: https://support.metamask.io/configure/transactions/how-to-fix-insufficient-funds-error-or-greyed-out-confirm-button/
> Learn how to fix an 'insufficient funds' error or a greyed-out confirm button.
If you're getting an "insufficient funds" error, this means you do not have enough of the network's native token to cover gas fees, also known as network fees.
:::info[Gas included transactions]
On Ethereum Mainnet and BNB Smart Chain, MetaMask allows you to pay the network fee using different tokens. This means you do not need to have enough ETH on Ethereum or BNB on BNB Smart Chain to cover the network fee, but can do so using other tokens. For more information, see [here](/manage-crypto/transactions/metamask-gas-station).
:::
Generally, across [EVM-compatible networks](/more-web3/learn/user-guide-custom-networks-and-sidechains), each transaction (including token and contract transactions) requires gas, the price of which is changeable. You can think of this as a transaction fee. For more on gas, see [here](/more-web3/learn/user-guide-gas).
Examples of native tokens include:
- Ether (Ethereum Mainnet and testnets, plus layer 2 networks such as Arbitrum or Optimism)
- BNB (for BNB Chain, formerly BSC)
- POL (previously MATIC) (Polygon)
- AVAX (Avalanche).
If you have questions relating to a specific network, please read our best practices article on sidechains and custom networks [here](/more-web3/learn/user-guide-custom-networks-and-sidechains), or check our [Network Profiles page](/more-web3/learn/user-guide-custom-networks-and-sidechains) for the network in question to see if we've discussed the issue there.
## How can I fix it? {#how-can-i-fix-it}
You can remedy this by sending some of the necessary native token to that account in order to be able to make the transaction.
If you need to buy some tokens to get a sufficient amount, you can either purchase crypto directly (using what's known as an on-ramp), buy from an exchange, or trade other tokens on a decentralized exchange (DEX).
You can buy native tokens and stablecoins on several networks directly within MetaMask — check [here](/manage-crypto/move-crypto/buy/how-to-buy-crypto-in-metamask) to see how.
## Why is my "Confirm" button greyed out? {#why-is-my-confirm-button-greyed-out}
On the confirmation screen, you might see the confirm button is greyed out. This will be because you have an insufficient amount of the native token necessary to pay for the transaction. See above.
---
# What is a signature in MetaMask?
URL: https://support.metamask.io/configure/transactions/what-is-a-signature-in-metamask/
> Signatures involve using MetaMask to verify that you are the originator of a transaction or message.
**Signatures involve using MetaMask to verify that you are the originator of a transaction or message**. MetaMask is a tool for managing your accounts and using them to apply your signature to various tasks.
You may have heard the phrase 'not your keys, not your crypto' — well, this is true. To explain this concept, we only need to focus on the 'keys' part specifically.
The 'keys' are your **public and private key pair**. Every account in MetaMask has a key pair, and when used together, the keys can encrypt and decrypt messages.
When you send a message, the following happens:
1. **You 'hash' the message contents**, producing a long hexadecimal number. (The word 'hash' describes running the message through a hash function, which essentially condenses the message contents into a fixed-size number.)
2. You use your private key to **sign the message**, applying your **digital signature**.
3. The **recipient receives your message and uses your public key to verify it**. Since they used your matching key pair, they can verify that you were the originator of the message.
There's a lot of complexity happening in between—such as assuming that both parties are using the same algorithms for signing and verifying the signatures—but that's the basic process.
:::info[What's the difference between messages and transactions?]
So far here we've talked about messages, mostly; though the eagle-eyed will have noticed that we mentioned transactions in the first sentence of the article.
Transactions and messages are essentially very similar. The main difference to note is that transactions are generally published on the blockchain, while messages are not.
:::
This model, called public (and/or private) key cryptography, is how blockchains work. The ability to apply digital signatures is a vital tool that allows entities to send transactions and messages back and forth without the need to trust that the other person did _actually_ send it.
For comparison: think about receiving an email. Even if the email is sent from your friend's email address, you still cannot be _absolutely_ sure it is them. It probably will be, of course; but how can you be sure? With digital signatures on blockchain networks, this guessing game is removed, since the sending and receiving parties don't need to trust that the cryptography and algorithms will work, because they _just do_.
If you'd like further reading on a deeper technical level, [this article](https://medium.com/mycrypto/the-magic-of-digital-signatures-on-ethereum-98fe184dc9c7) by MetaMask's Maarten Zuidhoorn more than does the trick.
---
# How to check the status of an open Support ticket
URL: https://support.metamask.io/configure/troubleshooting/how-to-check-the-status-of-an-open-support-ticket/
> Learn how to check the status of your open MetaMask support ticket. Track updates via email or through the Support site.
If you've already been in touch with Support and have an open ticket, **contacting us again by any means does not mean your issue will get resolved sooner**. Our technical support team work through tickets chronologically and will be in touch to help you out as soon as possible.
:::info[Do you have an open ticket?]
If you've only spoken to us through the chat window on this site, or on the Community forums, you do **not** have an open ticket. Tickets are administered by email.
:::
## Checking a ticket's status {#checking-a-tickets-status}
If you have an open ticket, you can check various ticket details, such as whether the ticket is open or closed, ticket type, the team assigned to the ticket, and the timestamps for ticket updates. You can check a ticket's status through two methods: email or the support site.
These are the only two places where you can check on your ticket status. Our Support Twitter account, for example, will not and cannot contact you on Twitter.
### Email {#email}
You'll receive official email updates when the status of your ticket changes. These emails will only ever be sent from `support@metamask.io`. Search for this email address in your inbox, and you can find the email updates you've received.
### Support site {#support-site}
1. Navigate to any page on our support site. The URL should read: **https://support.metamask.io/**. Make sure you're in the right place — if you're not on this domain, you may be on a fraudulent site, so don't enter any personal information! You should have received an email to create an account for the platform when your ticket was opened.
- Good news -- the article you are currently reading is a part of our support site! You can do the following steps right on this page.
2. Make sure your wallet is connected to the support site. You can do this by clicking the 'Connect Wallet' button in the top right of the page.
3. Find the 'Contact Support' button on the home page of this site. Click on it and then click 'Tickets' in the bottom right of the pop-up window.
4. On this page you'll be able to see your open support tickets listed.
5. Click on the ticket you want more information about.
## MetaMask Support structure {#metamask-support-structure}
MetaMask Support consists of three main elements: the helpdesk, technical support, and the Community page. All three are accessible via this site — our Support page. Typically, you might first interact with the Community or some articles on this page before contacting our helpdesk. Depending on your problem, helpdesk may elevate your case to technical support. **The tickets described in this article relate solely to support provided by the technical support team.**
Let's break this down. To start with, what is technical support?
We use this term for our staff who will help you with tickets via email, and usually concerning particularly complex issues or matters relating to security and loss of funds. In most cases, you cannot contact technical support without being referred.
Technical support is distinct from helpdesk agents. The latter handle the majority of Support cases, and you can get through to them through the ['Contact Support' button](/start/how-to-contact-metamask-support) on our Support homepage after answering a few questions that help us gather details. The helpdesk team do not work via email, but solely through the window that opens when you click the 'Contact Support'.
Additionally, posting on our [Community page](https://community.metamask.io/) does not mean you have opened a ticket. However, the Community page is moderated, so you will receive a response, and potentially help from other community members.
If you originally got in contact with us through the conversation window, or you posted on the Community forum, this does not mean you have an open ticket. The steps described above therefore won't apply.
---
# How to fix 'Invalid Seed Phrase' or 'Secret Recovery Phrase error in MetaMask
URL: https://support.metamask.io/configure/troubleshooting/how-to-fix-invalid-seed-phrase-error-invalid-secret-recovery-phrase/
> Learn how to fix the 'Invalid Seed Phrase' or 'Invalid Secret Recovery Phrase' error.
**DO NOT share your Secret Recovery Phrase with anyone! These words can be used to steal from all your accounts. You can't edit or change your Secret Recovery Phrase.**
1. It's possible that one or more words you've written down is misspelled, or you mistook it for a similar word. To confirm the spelling, and to make sure the word is on the list of possible options for a Secret Recovery Phrase, you can check against the BIP-39 list: [https://github.com/bitcoin/bips/blob/master/bip-0039/english.txt](https://github.com/bitcoin/bips/blob/master/bip-0039/english.txt)
- _Tip: Use the browser's search function (Cmd+F on Mac and Ctrl+F on Windows) to look for each word that you have written down, so you can check the spelling in your backup. If you can't find it, try the closest word._
2. Make sure your Secret Recovery Phrase is written in the exact **same order** it was provided, with **one space between each word**, and in **lower case**.
---
# How to restart MetaMask
URL: https://support.metamask.io/configure/troubleshooting/how-to-restart-metamask/
> Learn how to restart the extension.
If you're experiencing issues with MetaMask, you may want to try restarting the extension.
:::warning[Do you have your password written down?]
Restarting the extension will lock you out of your wallet, and prompt you to re-enter your password. **Make sure you have your password written down before restarting.**
If you do not save your password, you will need your SRP to recover your wallet.
:::
## How to restart the extension
There are two ways to restart the extension (assuming you have your password written down):
1. Close your browser fully and any additional tabs. Manually quit the application so that it is not running in the background.
or
2. Go to your browser's extension manager, and find the on/off toggle for MetaMask. Switch it off and then back on. This toggle will look something like this:
---
# How to fix 'Can't import a token' issue in MetaMask Portfolio
URL: https://support.metamask.io/configure/troubleshooting/i-cant-import-a-token-into-the-metamask-portfolio-dashboard-why-/
> Learn why tokens may not appear or import in your MetaMask Portfolio Dashboard.
Most popular tokens will be detected automatically. See how to import (add) tokens [here](/manage-crypto/portfolio/how-to-import-a-token-in-metamask-portfolio).
If you're wondering why you see different tokens listed in MetaMask and MetaMask Portfolio, see [here](/configure/troubleshooting/the-dashboard-is-not-showing-the-same-tokens-as-my-metamask-wallet).
If you can't add a token, it will be because:
1. Each supported network in MetaMask Portfolio has its own token list. If you own a token on these lists, you can add it. If the token isn't on this list, it won't be available.
2. The token may be supported in MetaMask Portfolio, but not on the network that you're trying to add it on.
3. MetaMask and MetaMask Portfolio work differently. In MetaMask, you can import any token by inputting details manually, so long as they adhere to key token standards like ERC-20. In MetaMask Portfolio, you can only add the tokens from our list.
---
# How to troubleshoot Infura connectivity issues in MetaMask
URL: https://support.metamask.io/configure/troubleshooting/infura-connectivity-issues/
> Different solutions to resolve Infura connectivity errors.
MetaMask makes dapp adoption quick and easy because we host a blockchain connection by default, and our trusty friends at Infura do an amazing job making this experience feel totally seamless, [almost all of the time](https://status.infura.io/)!
Sometimes, some dapp usage has grown much faster than we've been able to anticipate, and so MetaMask's default provider connection can become intermittent. Sometimes we have to limit abusive sites.
At times like that, there are three options:
1. Wait and be patient.
2. Connect to another blockchain provider in place of Infura (like [your own local node](/configure/networks/using-a-local-node))
3. Use another client.
## Connecting to another blockchain provider {#connecting-to-another-blockchain-provider}
To connect, you'll need to run a local RPC server, and then connect to it in MetaMask as if you were selecting a network. On both Extension and Mobile, the network selector is at the top of the screen, in the middle.
When you have successfully [spun up your own node](/configure/networks/using-a-local-node), it will run on 'Localhost 8545', which you'll find in your networks list by default (you may need to click the menu icon > 'Networks' and scroll down to toggle 'Show test networks' to make sure this is displayed):
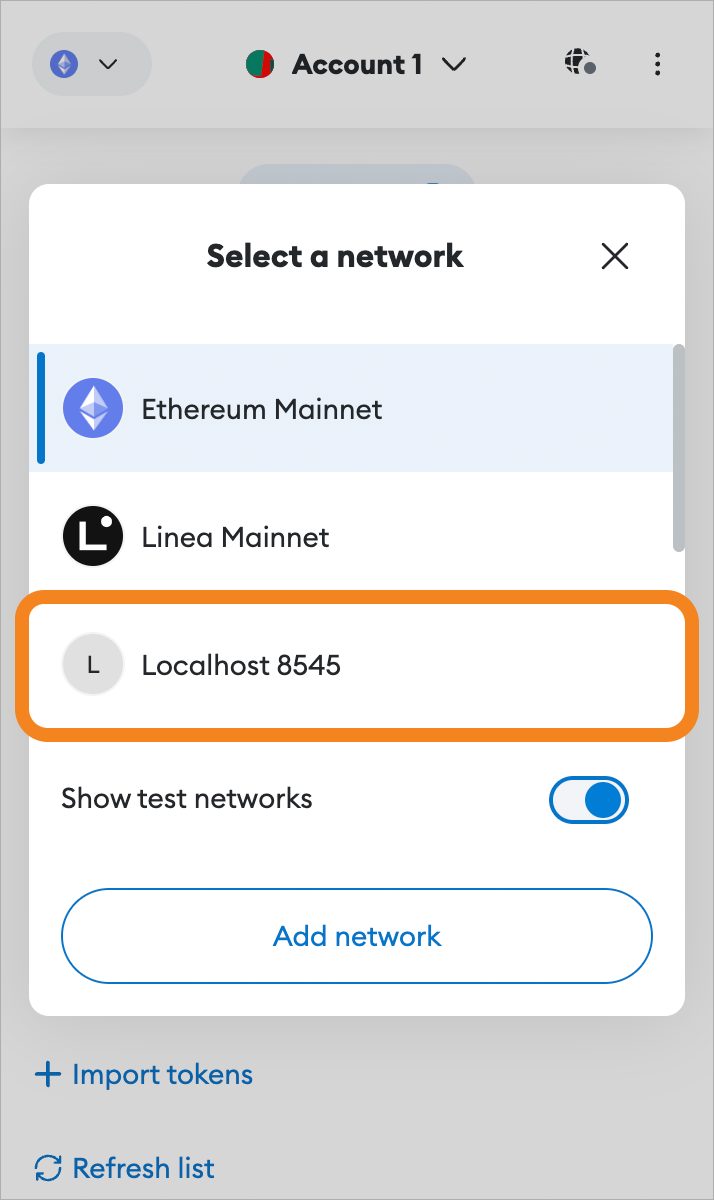
Select it to start using your node to send requests to the blockchain.
---
# How to fix 'MetaMask is unable to connect to the blockchain host' error
URL: https://support.metamask.io/configure/troubleshooting/metamask-is-unable-to-connect-to-the-blockchain-host/
> Learn how to fix MetaMask’s “Unable to connect to the blockchain host” error.
If you see the following pop-up in MetaMask:

This means that you currently don't have access to blockchain data. MetaMask connects to services (the "blockchain host") that provide read and write access to your blockchains of choice.
For the convenience of MetaMask users, [Infura](https://infura.io/) is configured as the default blockchain host. Any loss of connection would likely be temporary due to a technical issue.
But like many features in MetaMask, which blockchain host the wallet connects to is customizable, meaning you can change it to connect to any other blockchain node, whether offered by a service or one that you run yourself. While the Infura service is industry-leading for many important reasons (reliable up-time, ease of use), users may choose to have a backup service on standby should there be any service disruptions.
---
# How to fix MetaMask error 'Balance may be outdated', displays in orange, or missing ETH
URL: https://support.metamask.io/configure/troubleshooting/metamask-states-balance-may-be-outdated-displays-in-orange-or-eth-not-added-to-balance/
> Learn why MetaMask shows “Balance may be outdated” or missing ETH.
**This article applies to MetaMask Extension.**
If you see your balance in orange, it might be outdated due to a permission or network connectivity issue:
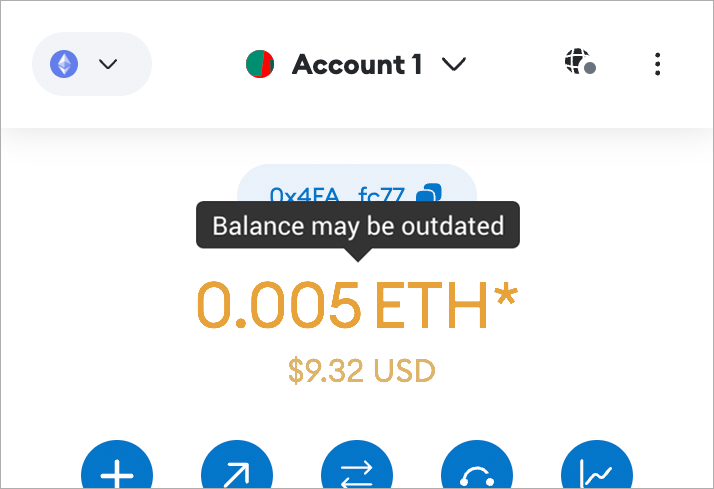
To fix this issue, try the following:
1. Right-click on the MetaMask Extension icon
2. Select **'This Can Read and Change Site Data'**
3. Select **'On All Sites'**
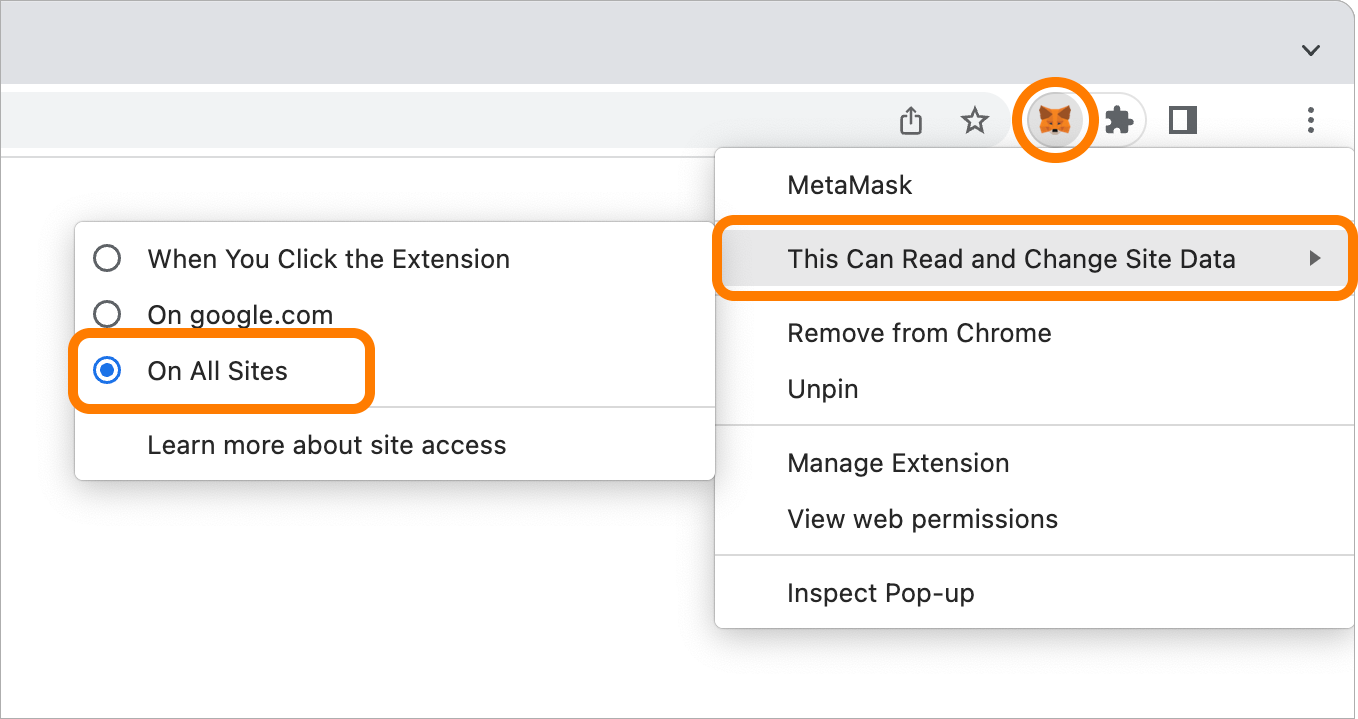
These instructions will look similar across Chromium-based browsers: i.e. Chrome, Edge, and Brave.
The permission to access data on all sites is enabled by default on Firefox, since it's a permission which MetaMask automatically requests for core functionality.
You may also need close and re-open your browser, or try a different internet connection entirely.
---
# How to revert MetaMask to an earlier or custom version in Chrome
URL: https://support.metamask.io/configure/troubleshooting/revert-back-to-earlier-version-or-add-custom-build-to-chrome/
> Not recommended unless you're a software developer or a Support agent recommends it.
This is fairly advanced functionality, and isn't something you're likely to need to do unless you're a software developer, or unless a Support agent is directing you to do so. **Proceed with caution.**
Previous versions of MetaMask can be found [here](https://github.com/MetaMask/metamask-extension/releases).
- Open your browser's `Settings` > `Extensions`.
- Alternatively, use the URL `chrome://extensions/` in your address bar
- Check "Developer mode" in the upper right-hand corner.
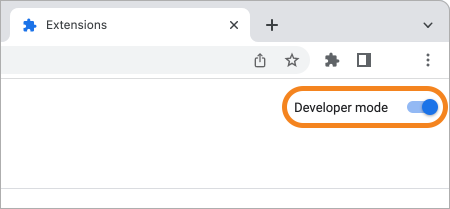
- At the top, click `Load Unpacked`.
- Navigate to your custom or previous version `metamask-plugin/dist/chrome` folder.
- Click `Select`.
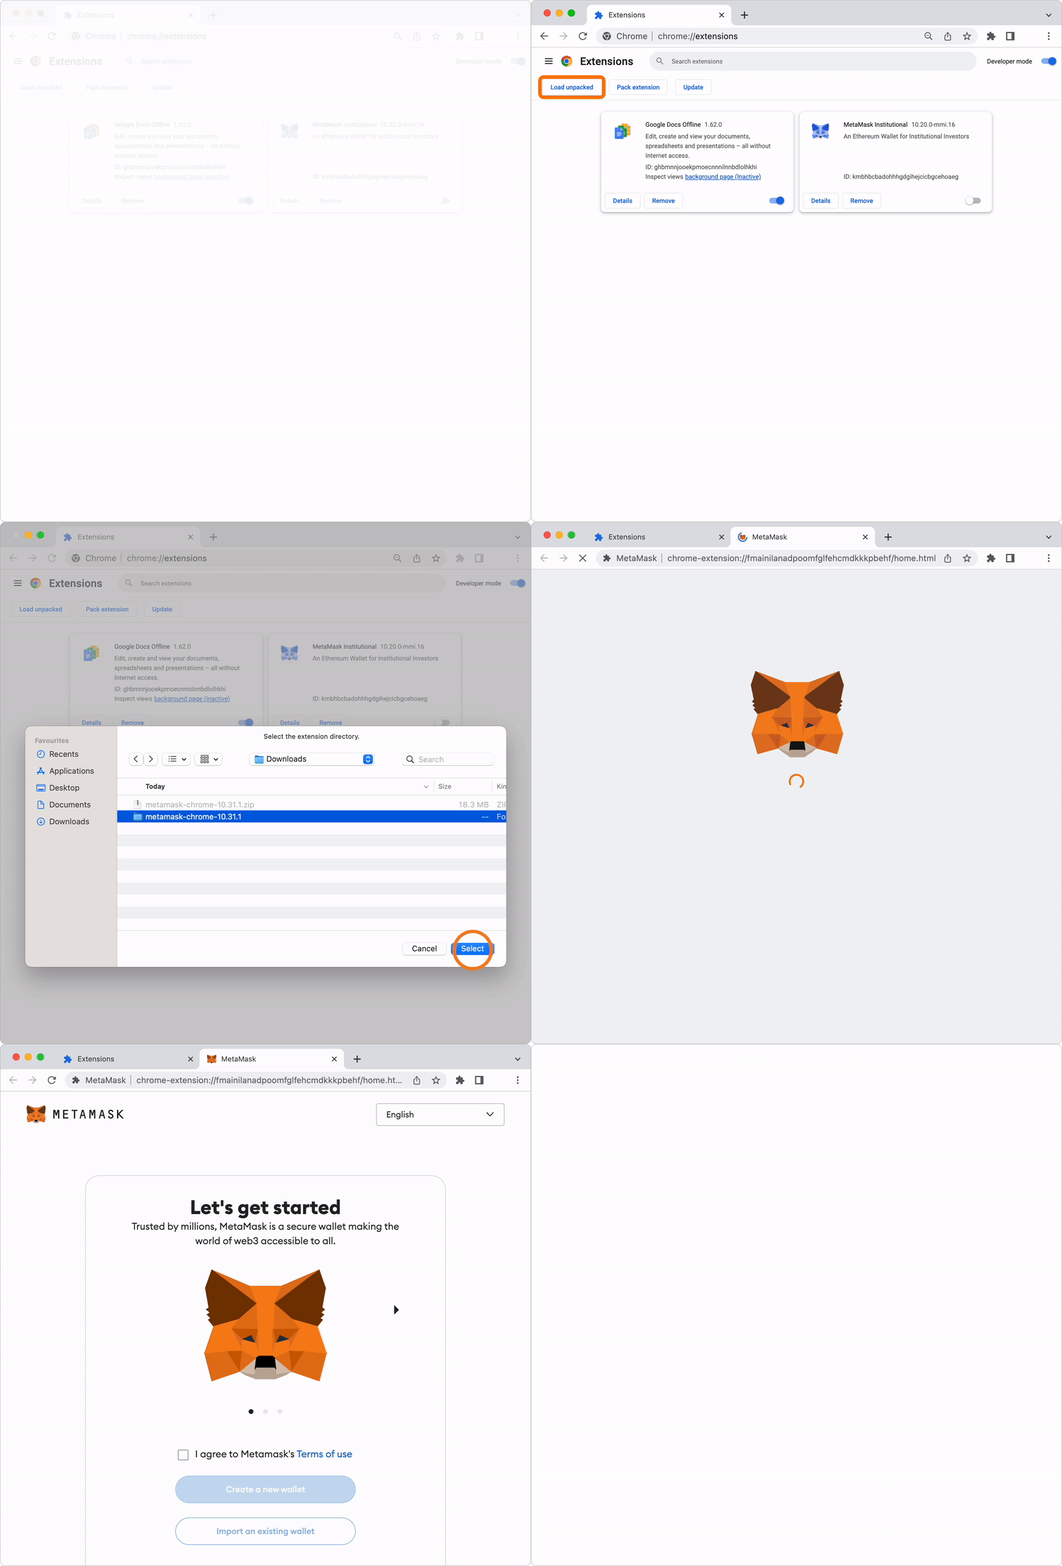
- Change to your locale via `chrome://settings/languages`
- Restart the browser and test the plugin in your locale
You now have the plugin, and can click 'inspect views: background plugin' to view its dev console.
Instructions for Firefox and Opera can be found [here](/configure/wallet/how-to-install-metamask-manually).
---
# How to fix token mismatch between MetaMask app and portfolio dashboard
URL: https://support.metamask.io/configure/troubleshooting/the-dashboard-is-not-showing-the-same-tokens-as-my-metamask-wallet/
> Learn why your MetaMask Dashboard shows different tokens than your wallet.
**MetaMask and MetaMask Portfolio are separate and distinct applications**. They are only connected inasmuch as _you connect them_, either via the `Connect wallet` button, or by adding a `View-only` account.
Here's some points to keep in mind:
- [Adding a token to MetaMask](/manage-crypto/tokens/how-to-display-tokens-in-metamask) does not mean it is automatically displayed in MetaMask Portfolio's 'Overview', and vice versa.
- If a token isn't appearing in 'Overview', it may be because it is not on a supported network, or isn't a supported token on one of those networks.
- **Currently supported networks on MetaMask Portfolio include Ethereum Mainnet, Linea, Optimism, BNB Chain, Polygon, Sei, Base, Arbitrum, Cronos, Gnosis, Fantom, Polygon zkEVM, Moonbeam, Moonriver, Aurora, and Celo**. See [here](/configure/troubleshooting/i-cant-import-a-token-into-the-metamask-portfolio-dashboard-why-) for further information about adding tokens.
- If you see a token in MetaMask but not in your dashboard, try adding it using our instructions [here](/manage-crypto/portfolio/how-to-import-a-token-in-metamask-portfolio).
- If you see a token in your dashboard but not in MetaMask, add it by clicking the three dots next to the token and then 'Add to MetaMask', or by using [one of these methods](/manage-crypto/tokens/how-to-display-tokens-in-metamask).
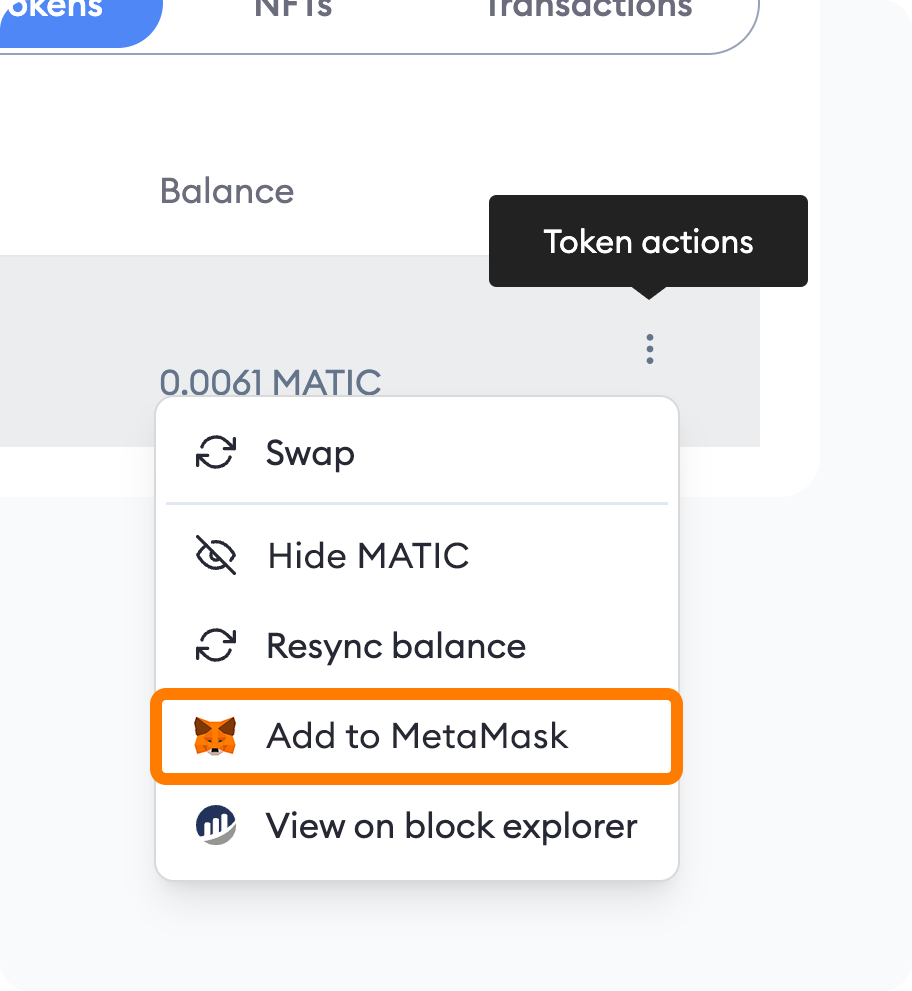
---
# User guide: error codes
URL: https://support.metamask.io/configure/troubleshooting/user-guide-errors/
> A reference guide to common MetaMask error messages, with troubleshooting steps for each.
Below is a non-comprehensive list of errors you may see while using MetaMask. Find the error code you need by scrolling to the relevant section or searching the page. Click any error to expand the troubleshooting steps.
---
## Transaction errors {#transaction-errors}
Transaction underpriced (ethjs-query while formatting outputs from RPC)
**Full error:**
```
Transaction failed! Error: [ethjs-query] while formatting outputs from RPC '{"value": {"code":-32000,"message":"transaction underpriced"}}'
```
This error occurs when the gas price is set too low. It can happen when sending tokens or making a swap via a DEX.
Before submitting a new transaction, check the relevant block explorer (e.g. [Etherscan](https://etherscan.io/), [BscScan](https://bscscan.com/), [Polygonscan](https://polygonscan.com/)) to make sure you don't have a queue of pending transactions building up.
To fix it, submit a new transaction with higher gas:
1. Start a new transaction with the same recipient details and token amount, then click **Next**.
2. Click the **Market** icon above the gas details, then click **Advanced**.
3. Adjust the following:
- **Gas limit:** match or slightly exceed the failed transaction's limit
- **Max priority fee:** at least **10% higher** (in gwei) than the failed transaction
- **Max fee:** at least **30% higher** than the failed transaction
1. Tap the wallet actions button in the tab bar and select **Send**.
2. Enter the same recipient address and token amount as the original transaction, then tap **Next**.
3. Tap the highlighted gas fee, then tap **Advanced options**.
4. Adjust the following:
- **Gas limit:** match or slightly exceed the failed transaction's limit
- **Max priority fee:** at least **10% higher** (in gwei) than the failed transaction
- **Max fee:** at least **30% higher** than the failed transaction
If you want to cancel the original pending transaction instead of replacing it, send 0 ETH (or the network's native token) to your own address using the same nonce. See [how to speed up or cancel a pending transaction](/manage-crypto/transactions/how-to-speed-up-or-cancel-a-pending-transaction) for more detail.
For background on gas, see our [gas user guide](/more-web3/learn/user-guide-gas).
Unable to locate this TxnHash
This error appears when a transaction is stuck locally and has not been submitted to the blockchain.
1. Open the relevant block explorer for the network you're using — for example, [Etherscan](https://etherscan.io/) for Ethereum or [BscScan](https://bscscan.com/) for BNB Chain. Enter your [public wallet address](/configure/wallet/how-to-copy-your-metamask-account-public-address-) to see all past and pending transactions.
2. **If the transaction appears on the block explorer:** wait for it to confirm, or [speed it up or cancel it](/manage-crypto/transactions/how-to-speed-up-or-cancel-a-pending-transaction).
3. **If the transaction does not appear on the block explorer:** try restarting your browser. If it is still showing as pending in MetaMask after that, you may need to [reset your account](/configure/accounts/how-to-clear-your-account-activity-reset-account).
:::warning
Before resetting your account, make sure you have your Secret Recovery Phrase, password, and private keys (for any imported accounts) safely backed up. Resetting clears your local transaction history, but your funds are not lost — all transaction history remains visible on the block explorer.
:::
---
## Smart contract errors {#smart-contract-errors}
Exception is thrown in contract code / in contract execution
This error means something went wrong inside the smart contract itself — not in MetaMask. Since this is a problem with the contract's code, it is outside MetaMask's control and we are unable to resolve it directly.
Contact the owners or developers of the contract for assistance. Developers can also post on the [MetaMask Community Forums](https://community.metamask.io/) or the [Ethereum Stack Exchange](https://ethereum.stackexchange.com/) to seek help.
---
## Network errors {#network-errors}
Internal JSON-RPC error
If you see "Internal JSON-RPC error" while interacting with a sidechain or custom network:
- Confirm the network has been [added correctly](/configure/networks/how-to-add-a-custom-network-rpc).
- Make sure you have enough of that network's native token to pay for gas.
- Check that you are using the [latest version of MetaMask](/configure/wallet/how-to-update-the-version-of-metamask).
For more context on custom networks, see our [custom networks and sidechains user guide](/more-web3/learn/user-guide-custom-networks-and-sidechains).
No chain ID defined / Missing chain ID / Invalid chain ID
You may see one of the following:
- `Root Error: No chain ID defined`
- `Root Error: Missing chain id`
- `Root Error: Invalid chain ID`
If you manually added the network, go to **Settings > Networks** and verify the chain ID is correct. You can look up chain IDs on [Chainlist](/configure/networks/how-to-add-a-custom-network-rpc#adding-via-chainlist) or in the network's own documentation.
If you are on Ethereum Mainnet, try toggling to a different network and back again.
Make sure MetaMask is updated to the [latest version](/configure/wallet/how-to-update-the-version-of-metamask).
Invalid or missing bridge URL parameter value
**Full error:** `Error: Invalid or missing bridge url parameter value`
[Reset your account](/configure/accounts/how-to-clear-your-account-activity-reset-account) to resolve this error.
:::warning
Before resetting, make sure your Secret Recovery Phrase, password, and private keys (for any imported accounts) are safely saved. After resetting, your transaction history in MetaMask will be cleared, but it remains visible on the relevant block explorer.
:::
---
## Data and type errors {#data-and-type-errors}
Cannot read property 'balance' of undefined (and related TypeErrors)
You may see one of the following when opening MetaMask:
- `TypeError: Cannot read property 'balance' of undefined`
- `TypeError: Cannot read property 'data' of undefined`
- `TypeError: Cannot read property 'selectedMultichainNetworkChainId' of undefined`
- `TypeError: Cannot read property 'id' of null`
- `TypeError: Cannot read property 'experience' of undefined`
Before taking any action, contact [MetaMask Support](/start/how-to-contact-metamask-support) — resetting your account should be avoided where possible and only done if advised.
:::warning
If you do need to reset your account, make sure your Secret Recovery Phrase and the private keys of any imported accounts are securely backed up beforehand. Resetting clears your local transaction history in MetaMask, but your funds are not lost — transaction history is always available on the blockchain.
:::
undefined is not an object / undefined is not a function
You may see one of the following:
- `Root TypeError: undefined is not a function`
- `Root TypeError: undefined is not an object`
Before taking any action, contact [MetaMask Support](https://support.metamask.io) — resetting your account should be avoided where possible and only done if advised.
:::warning
If you do need to reset your account, make sure your Secret Recovery Phrase and the private keys of any imported accounts are securely backed up beforehand. Resetting clears your local transaction history in MetaMask, but your funds are not lost — transaction history is always available on the blockchain.
:::
number-to-bn while converting number '0xNaN' to BN.js instance
**Full error:** `number-to-bn while converting number '0xNaN' to BN.js instance, error: invalid number value. Value must be an integer, hex string, BN or BigNumber instance. Note, decimals are not supported`
This error can appear when performing a transaction. Please contact [MetaMask Support](https://support.metamask.io) — our team will work with you to resolve the issue and help us prevent it from occurring for other users.
Unable to find conversion rate / unable to load balance
This error can occur for one of two reasons:
- **Wrong token address:** Check that you have the correct token contract address. See [how to find a token contract address](/manage-crypto/tokens/how-to-find-a-token-contract-address) for guidance.
- **Outdated MetaMask version:** [Update MetaMask](/configure/wallet/how-to-update-the-version-of-metamask) to the latest version.
If the token does not appear in search results after trying the above, you will need to [add it as a custom token](/manage-crypto/tokens/how-to-display-tokens-in-metamask).
---
## Swap errors {#swap-errors}
Error fetching quote / Trade route isn't available
MetaMask Swaps only displays quotes when there is sufficient liquidity on the underlying market — generally, at least a few thousand dollars' worth is needed to keep price impact manageable.
If you see "This trade route isn't available right now", try:
- Changing the swap amount
- Switching to a different network
- Choosing a different token
You can also check [CoinGecko](https://www.coingecko.com/en), search for the token, and click the **Markets** tab to see where it can be traded.
EXPIRY PASSED (after a swap)
This error appears on the block explorer when a swap fails because its quote expired. It happens when:
- You waited too long before confirming the swap in MetaMask, or
- You submitted the swap at the exact moment the quotes were refreshing.
Simply retry the swap from the beginning.
---
## Account errors {#account-errors}
Invalid password (unlock error)
If you see "Invalid password" when unlocking MetaMask, browser lag may be causing keystrokes to register incorrectly. Try the following before contacting Support:
1. Type your password slowly, one character at a time, pause for a moment after the last character, then submit.
2. If that does not work, type your password in a plain text file, copy it, and paste it into the MetaMask password field.
---
# User guide: troubleshooting
URL: https://support.metamask.io/configure/troubleshooting/user-guide-troubleshooting/
> Explore our user guide for troubleshooting common wallet issues.
If MetaMask isn't working the way you expected, there are some steps you can take on your own that often solve problems, without having to create a support ticket. If you're seeing a specific error message, you can find a list of some system-generated errors in the expandable section at the bottom of this page.
:::tip[our top fixes]
- [Restart your browser](/configure/troubleshooting/how-to-restart-metamask), or force close the mobile app and reopen.
- Update your MetaMask browser extension to the [latest version](/configure/wallet/how-to-update-the-version-of-metamask).
- Restart your computer or mobile device.
- [Lock and unlock MetaMask](/configure/wallet/how-do-i-log-out-of-lock-my-wallet).
:::
Other helpful tips:
- If your problem relates to a specific transaction, check the relevant block explorer for the network you're using, such as [Etherscan](/more-web3/learn/how-to-check-my-wallet-activity-on-the-blockchain-explorer). Block explorers are a wealth of information and offer much greater detail regarding the where, when, what, and who of transactions.
- Search the [Community Forums](https://community.metamask.io/) and this Knowledge Base for similar problems.
- We do not recommend [resetting your wallet](/configure/wallet/how-to-reset-your-wallet) or [resetting an account](/configure/accounts/how-to-clear-your-account-activity-reset-account) unless one of our agents advises you to.
- Remember, [MetaMask is a self-custodial wallet](/start/metamask-is-a-self-custodial-wallet), which means we **cannot rescue compromised wallets.** We also **cannot reverse transactions**, as this contradicts the immutability of blockchain.
- If you're experiencing a problem with a third-party platform, **reach out to their support team first**.
- If you have a live ticket (email correspondence) with our Technical Support team, see how to check on the status of your ticket [here](/configure/troubleshooting/how-to-check-the-status-of-an-open-support-ticket).
### Specific error messages
Below are some error messages that may appear in MetaMask. If you see one of these errors, try the troubleshooting steps above first.
If you contact Support, please copy and paste the full error message exactly as shown.
Specific error messages
- `Root Error: Fetch failed with status '400' for request`
- `Root Error: Exception in HostFunction: Loss of precision during arithmetic conversion: (long) 0.1`
- `Root Error: invalid decimal size (argument="decimals", value="0,", code=INVALID_ARGUMENT, version=bignumber/5.8.0)`
- `Root Error: The address: 0x... is not imported`
- `Root Error: No XChain Swaps native asset found for chainId: 0xc7`
- `Root Error: No pending scan to reject.`
- `Root Error: No XChain Swaps native asset found for chainId: 0xd0a`
- `Root Error: Missing identity for address: "wallet:eip155:0x...".`
- `Root Error: [number] while converting number to token minimal units, too many decimal places`
- `Root TypeError: Cannot convert undefined value to object`
- `Root TypeError: Cannot read property 'useTokenDetection' of undefined`
- `Root TypeError: Cannot read property 'network' of undefined`
---
# How to restore a deleted MetaMask wallet
URL: https://support.metamask.io/configure/wallet/accidentally-deleted-my-wallet/
> Accidentally deleted your MetaMask wallet or lost access? Follow one of these options to access your wallet again.
Firstly: **it is impossible to delete the accounts in your wallet**. The private keys that control the accounts can always be derived from the correct Secret Recovery Phrase. See [here](/configure/wallet/how-can-i-delete-my-metamask-wallet).
However, it _is_ possible to delete the MetaMask extension in your browser, or remove the mobile app.
If you do this and later want to use MetaMask again, you'll need to redownload it, and then follow one of these options:
- Restore your wallet [using the Secret Recovery Phrase](/configure/wallet/how-to-restore-your-metamask-wallet-from-secret-recovery-phrase).
- Access your wallet via your Google, Apple, or Telegram account and password. See [here](/start/use-an-existing-wallet).
- If you don't have your Secret Recovery Phrase, you may be able to retrieve it if you still have access to the device on which you were using MetaMask. See [here](/configure/accounts/can-i-access-my-accounts-without-my-secret-recovery-phrase).
---
# How to back up and sync your wallet
URL: https://support.metamask.io/configure/wallet/account-backup-and-sync/
> Sync your wallet across devices with this default feature or turn it off within Settings if you prefer.
MetaMask allows you to backup and sync your accounts across two or more devices that have the same Secret Recovery Phrase (SRP). Available on Extension and Mobile.
The feature ensures that your account names and contacts remain consistent across devices. This also allows you to restore accounts on separate devices without manually adding them again.
Backup and sync is **enabled by default for all users**. You can manage this in Settings > Backup and sync.
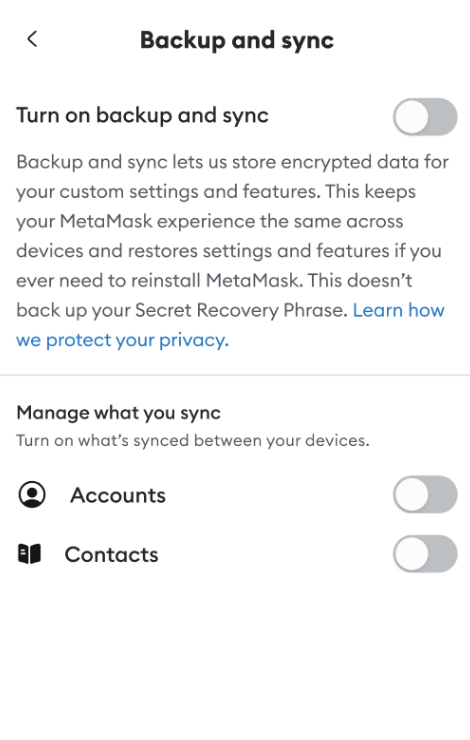
:::note
- Accounts and contacts originating from your default SRP—the one you created your wallet with—**and** imported SRPs will be synchronized.
- Any accounts and contacts imported using private keys, JSON, or hardware wallets do not sync yet.
:::
## How does backup and sync work? {#how-does-backup-and-sync-work}
- If one device has more accounts or contacts than the other, MetaMask will automatically sync all of the accounts and contacts and add the missing ones to the other device(s), so you don’t need to manually import them.
- For account names and contacts, the most recent update is always prioritized. If there are two competing account names for the same address, whichever was renamed the latest will be chosen and synced across devices.
- If it’s unclear which account name was updated last, MetaMask will keep different account names. If you don’t see previously edited account names synchronizing, just update the account name again, and it will be reflected across devices.
## When does backup and sync happen? {#when-does-backup-and-sync-happen}
For any wallet instances where this feature is enabled it occurs when:
- You lock or unlock the MetaMask extension or mobile app
- You close or open the MetaMask extension or mobile app
This means that if you make changes on Device A (like adding a new account or renaming one), you won't see the changes reflected on Device B until you either lock/unlock or close/open MetaMask on Device B.
## Does ‘Backup and sync’ preserve my privacy? {#does-backup-and-sync-preserve-my-privacy}
Your accounts and contacts are backed up and synced without compromising the confidentiality of your data. MetaMask encrypts your data locally on your device before it interacts with the server on which your data is stored and relayed. That way, MetaMask has no visibility into which users or addresses are using ‘Backup and sync’. For more information, refer to our privacy policy outlined [here](https://consensys.io/privacy-notice).
## How can I opt out? {#how-can-i-opt-out}
If you prefer not to use ‘Backup and sync,’ you can opt-out at any time in Settings. MetaMask will continue to function normally and you can opt back into the functionality anytime.
:::info
To opt out, go to Settings > ‘Backup and sync’ and turn off the toggle.

:::
Note that when you re-enable the feature:
- If you have local contacts, they will be synced to remote storage
- If you have no local contacts, any contacts stored by other devices will be downloaded
## Questions {#questions}
### Do I need to enable this on every device or just one? {#do-i-need-to-enable-this-on-every-device-or-just-one}
You just need this enabled once on one device for your data to be synced across multiple devices storing the same SRP(s).
### What type of data is stored? {#what-type-of-data-is-stored}
We store account and contact data like:
- Account names
- How many accounts you generate
- Contact names
- Contact memos
- Contact addresses
- Network IDs (chain IDs)
- Last updated timestamps
### Is my data deleted if I opt-out? {#is-my-data-deleted-if-i-opt-out}
Opting out stops future syncing, but any data previously backed up and synced remains stored. It is not deleted automatically when you turn the feature off. There is currently no way to delete remotely stored data yourself. To request deletion, contact MetaMask Support:
### What happens if I delete a contact? {#what-happens-if-i-delete-a-contact}
When you delete a contact on one device, the deletion will be synced to all other devices at the next sync. The contact will be removed from all devices using the same SRP.
---
# How to back up your MetaMask wallet securely
URL: https://support.metamask.io/configure/wallet/backup/
> You can download a record of your wallet information within Settings > Privacy.
On MetaMask Extension only, you can find an option under 'Settings' > 'Privacy' > 'Export your data' that enables you to download a record of wallet information including:
- Your accounts, their addresses and the names you assigned (if any)
- Contacts in your address book
- Wallet settings, e.g. language, token detection preferences, and most other toggleable settings in MetaMask
- Custom networks you've added.
This backup can be useful to have on file if, for whatever reason, you need to restore your wallet to factory settings. In such a situation, you could reference the data in this file to manually reconfigure your wallet according to your preferences.
As the file uses the `.json` format, it may be difficult to read depending on the software you have available to open it with. If this is the case, search the web to access one of the many free JSON formatter tools available.
---
# How to delete your MetaMask wallet
URL: https://support.metamask.io/configure/wallet/how-can-i-delete-my-metamask-wallet/
> MetaMask is software that you can delete at any time. Here's how. Remember, accounts are permanent!
Due to the nature of the blockchain, **you cannot permanently delete an account on the Ethereum network**. You can "hide" any accounts you don't wish to see anymore by following the steps [here](/configure/accounts/how-to-remove-an-account-from-your-metamask-wallet#hide-an-account).
If you no longer want to use MetaMask, simply uninstall.
Your ETH addresses are permanent on the blockchain and can simply be forgotten or abandoned if you like.
MetaMask is software that you can delete at any time. The accounts that you manage in MetaMask are permanent, and, once created, will be around for as long as Ethereum is. See also: [What's the difference between a wallet and an account?](/more-web3/learn/whats-the-difference-between-a-wallet-and-an-account-)
If you'd like to remove MetaMask from your browser, just open your browser extensions, click the 3 dots next to MetaMask, and click "Remove from Chrome" (this process will be similar for all web browsers).
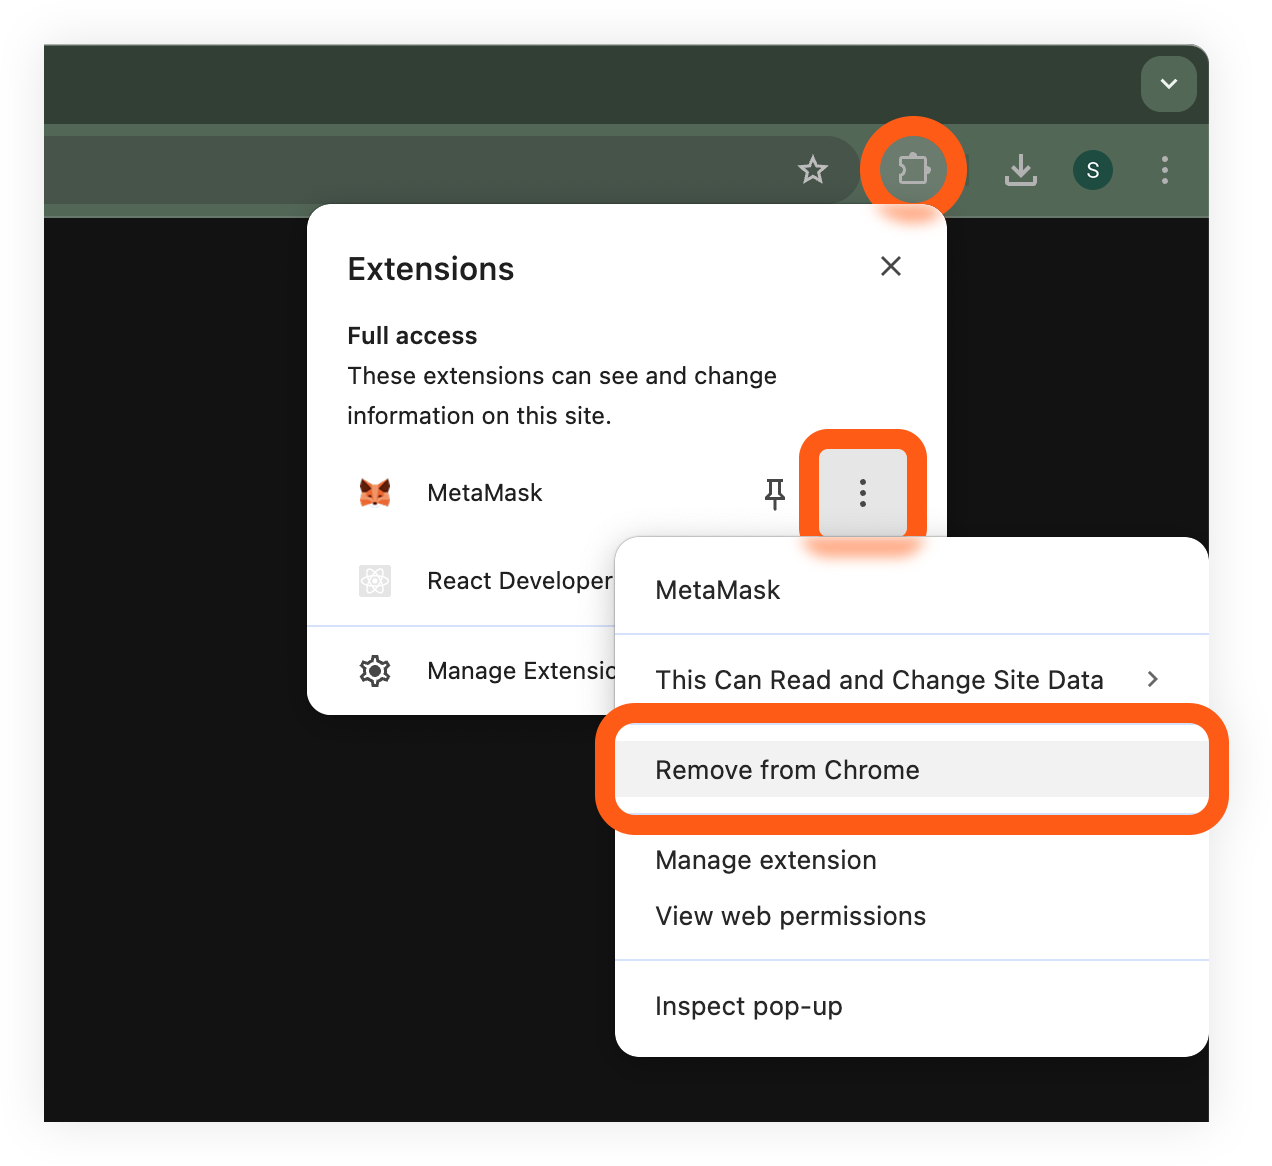
On mobile, simply remove the app as you would any other, and according to how you normally would on your device.
---
# How to reset your MetaMask password
URL: https://support.metamask.io/configure/wallet/how-can-i-reset-my-password/
> Guide for resetting your password whether you created your wallet with a Google/Apple/Telegram account or by Secret Recovery Phrase.
Resetting your password depends on whether you created your MetaMask wallet by connecting your Google, Apple, or Telegram account, or by writing down your Secret Recovery Phrase.
If you connected MetaMask to your Google, Apple, or Telegram account, resetting your password will reset the password across every instance of MetaMask you have. For example, if you reset your password on the MetaMask extension, it will also reset the password on the MetaMask mobile app.
Resetting your password won't change anything else about your MetaMask; all of your accounts will remain accessible.
You can reset your password by navigating to 'Settings' > 'Security and privacy' > 'Change password.' To change your password, you will need to enter your current password, and then enter a new password. Doing so will lock you out of other instances of MetaMask, so make sure you write down your new password.
**If you do not remember your password, you will not be able to reset it**. You will only be able to access your accounts by opening a new MetaMask instance and importing your accounts via SRPs and private keys.
If you know your current password, simply navigate to 'Settings' > 'Security and privacy':

Scroll down to 'Change password':
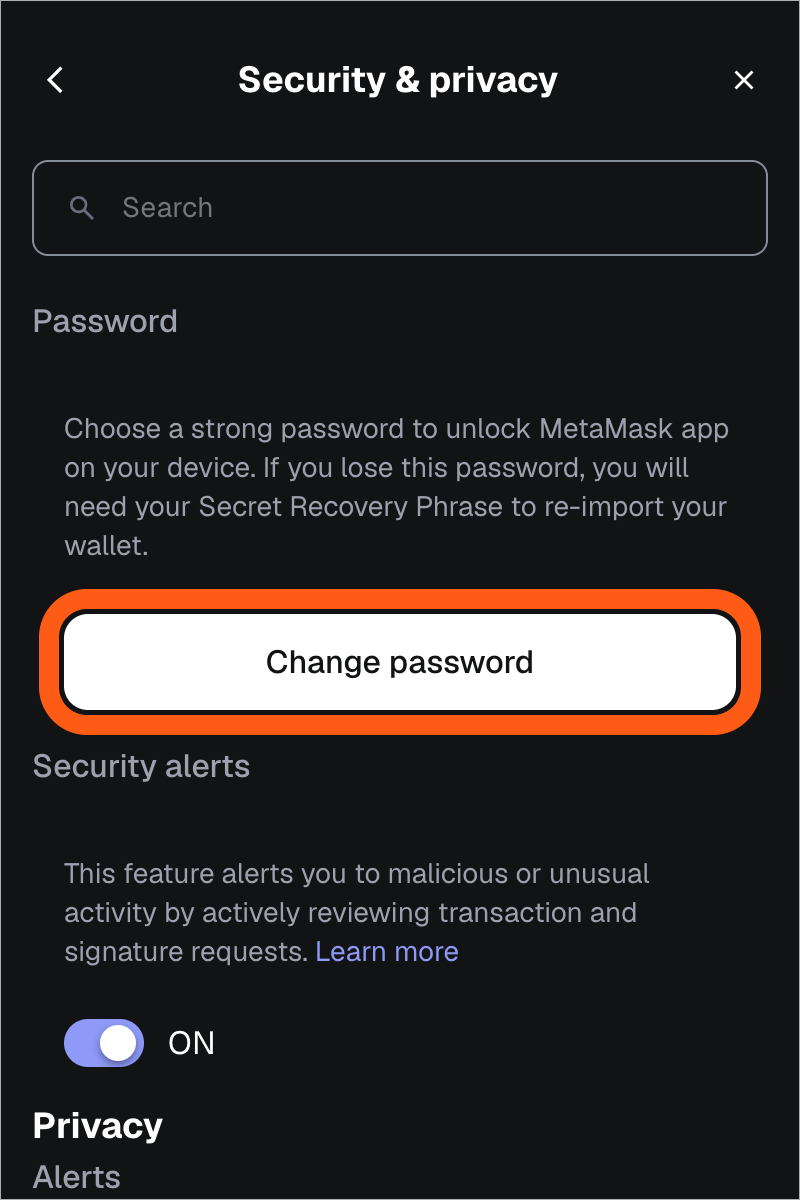
To change your password, you will need to enter your current password, and then enter a new password.
If you do not remember your password, you must have your Secret Recovery Phrase to reset it.
**Before trying these steps, confirm that you have your Secret Recovery Phrase with you, as you will not be able to reset your password otherwise and will risk being locked out of your wallet.**
If you do not already have your Secret Recovery Phrase saved someplace safe, please make sure to read [How to reveal your Secret Recovery Phrase.](/configure/wallet/how-to-reveal-your-secret-recovery-phrase)
:::info[Accounts that do not originate from one SRP]
When resetting your password by entering your SRP, **any accounts (addresses) that do NOT ORIGINATE from one SRP will not be recovered afterwards**. These imported accounts, either hardware wallet or imported via private key, are NOT INCLUDED under the Secret Recovery Phrase and will need to be [re-added manually](/configure/accounts/how-to-add-missing-accounts-after-restoring-with-secret-recovery-phrase). Please be sure to verify that you have the private key/seed phrase for any imported accounts before proceeding with the reset process.
However, if you use [backup and sync](/configure/wallet/account-backup-and-sync), you can restore other accounts and wallets by _entering your primary SRP, or SRP #1_.
:::
To reset your password with your SRP, you will need to lock your MetaMask Extension or Mobile application. For Extension, click on the menu in the top right corner, and then click 'Lock MetaMask.' For Mobile, tap on the menu icon in the top right, and then tap 'Log out'.
From there, click 'Forgot password', and enter your SRP. You will be prompted to create a new password; make sure you write this down somewhere safe.
## Can MetaMask Support reset my password for me?
MetaMask does not have access to your password. It resides locally on your device (client-side) and is **only shown to you**. Nobody can reset your password for you, so it is essential to keep your password secure.
If you get an error regarding your Secret Recovery Phrase being invalid, check [here](/configure/troubleshooting/how-to-fix-invalid-seed-phrase-error-invalid-secret-recovery-phrase).
For more on passwords in MetaMask, see [here](/configure/wallet/passwords-and-metamask).
---
# How to log out of MetaMask
URL: https://support.metamask.io/configure/wallet/how-do-i-log-out-of-lock-my-wallet/
> Learn how to log out of your MetaMask wallet and set an auto-lock timer for added security.
- Click the menu icon in the top right of your MetaMask, and select 'Log out' at the bottom.
- You can also set an auto-lock, which you can find in 'Settings' > 'Security & password'.
- Click 'Auto lock' to set a timer after which the MetaMask will be locked.
- Tap the menu icon in the top right of your MetaMask, and tap 'Log out' at the bottom.
- You can also set an auto-lock, which you can find in 'Settings' > 'Security and password' > 'Auto lock'.
- Tap 'Auto lock' to set a timer after which the MetaMask app will lock.
---
# How to copy your address and view account details
URL: https://support.metamask.io/configure/wallet/how-to-copy-your-metamask-account-public-address-/
> Learn how to find and copy your public address, view account details, and configure your default network address in Extension.
In MetaMask, you can copy your account's public addresses from the homepage and view account details from the dropdown selector.
## Copy your public address {#copy-your-public-address}
Your Ethereum (EVM) address is visible by default under the account dropdown. Simply click to copy.
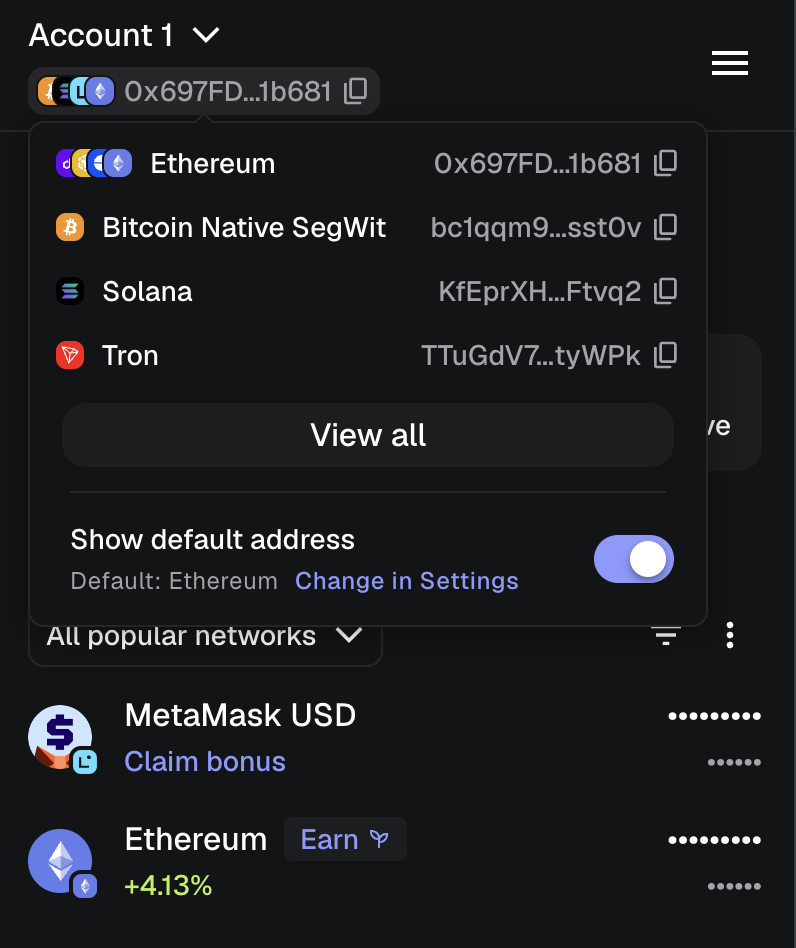
You can see the list of other network addresses associated with this account (example: Bitcoin, Solana, and Tron) when hovering. Click to copy a network address to your clipboard.
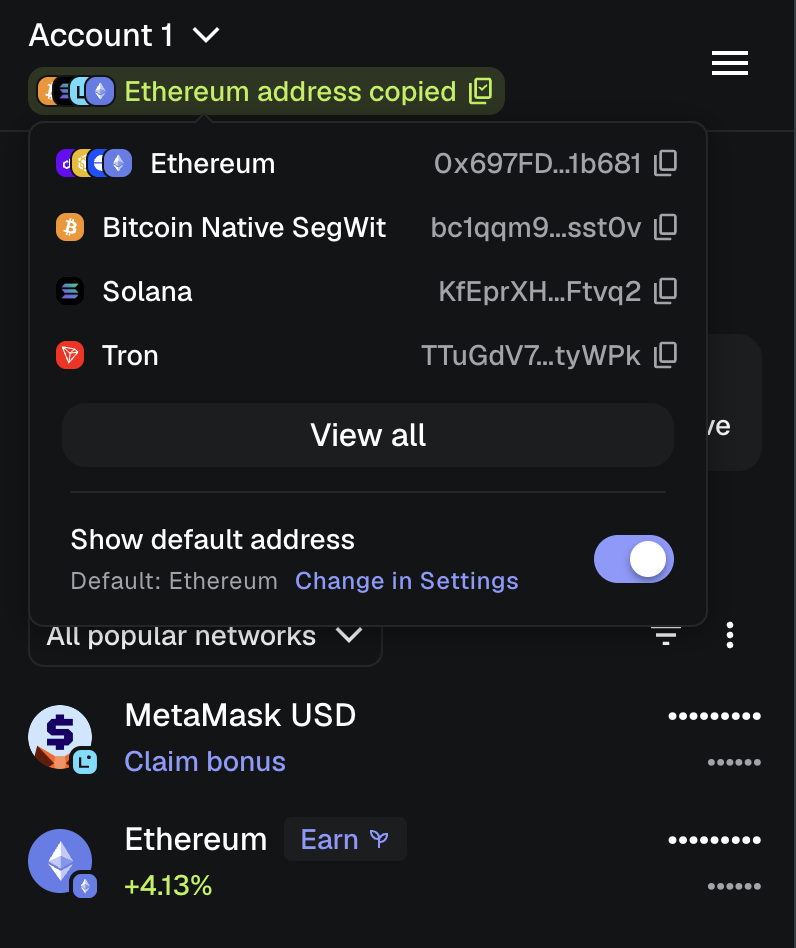
You can choose whether you want to show or hide a default address. If this is toggled off, you can still access your addresses on the homepage by hovering over the section under the dropdown.
Tap the copy icon on the homepage to pull up the list of addresses. Choose the desired network address to copy to clipboard.

## View account details {#view-account-details}
Click the three vertical dots next to an account from the dropdown selector and select 'Account details'.
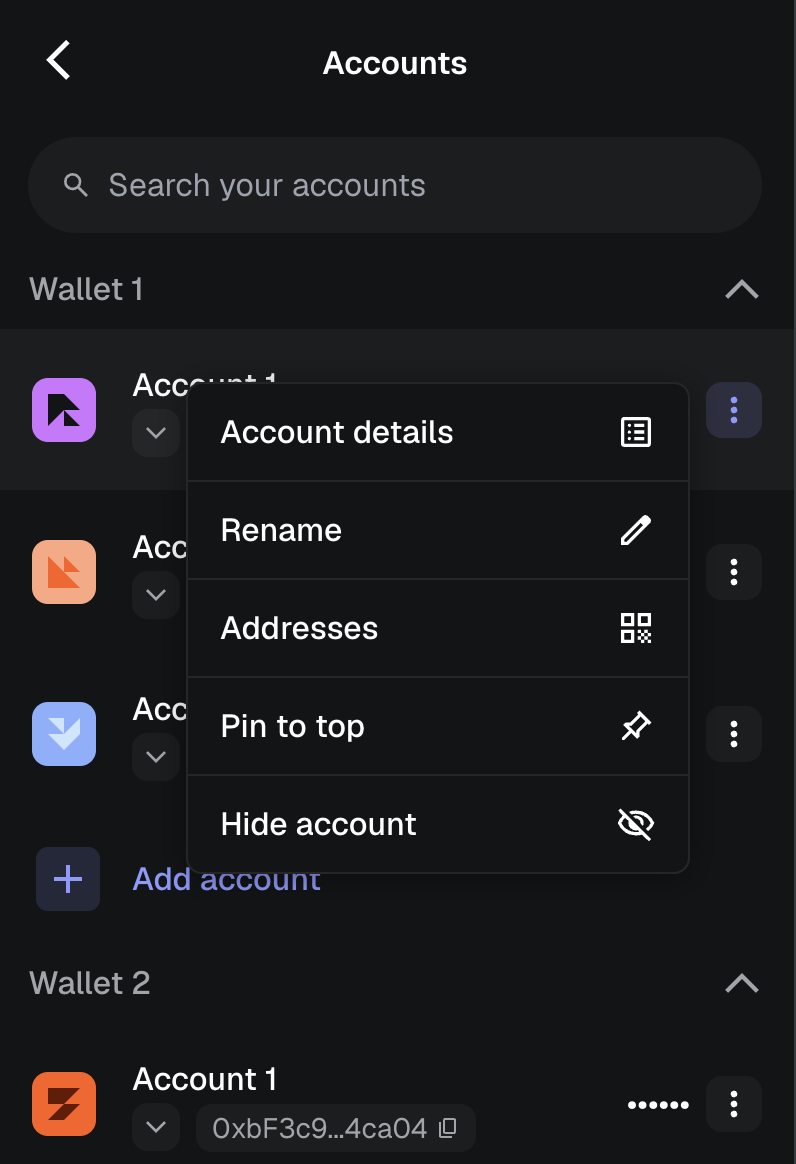
Here you can see and edit the account name, view all addresses, switch to/from a smart account, see what wallet this account is associated with, reveal that wallet's SRP, and reveal your account's private key.
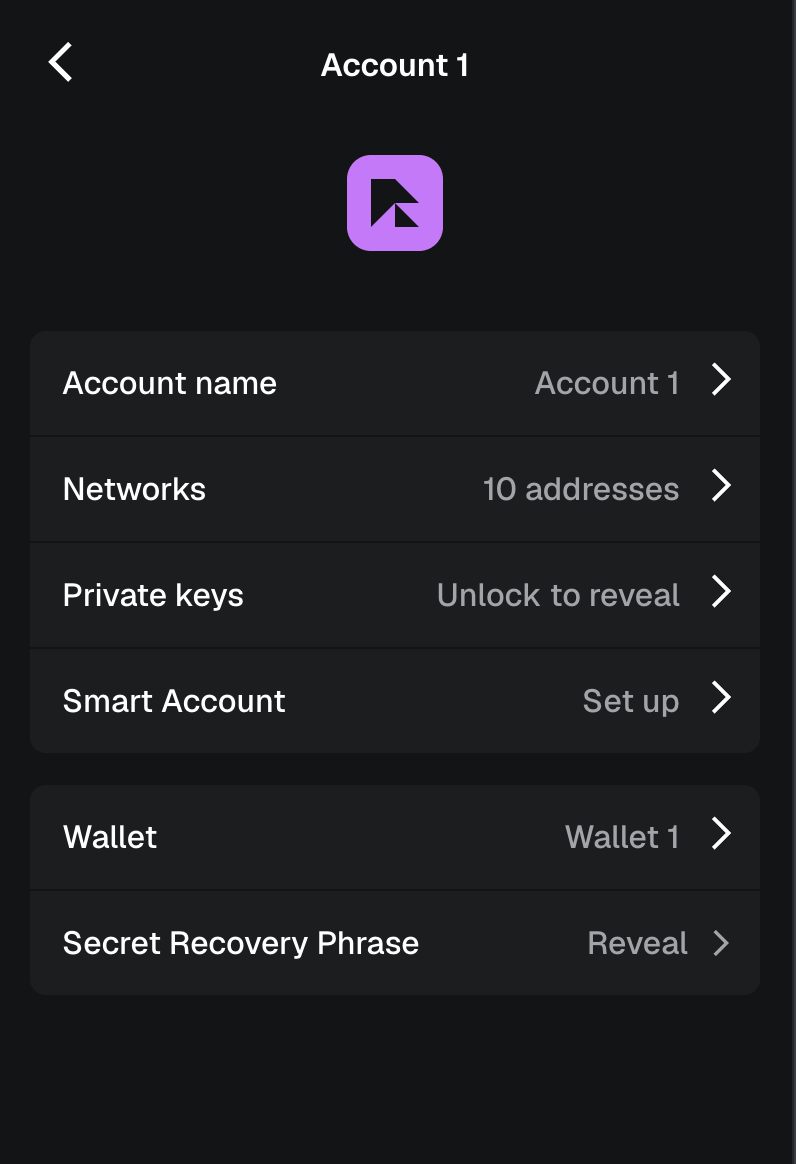
Click the three vertical dots next to an account from the dropdown selector. Here you can see and edit the account name, view all addresses, switch to/from a smart account, see what wallet this account is associated with, reveal that wallet's SRP, and reveal your account's private key.

## Configure your default address {#configure-your-default-address}
You can configure the default address that shows up on MetaMask Extension. On MetaMask Mobile, there is no default address configured.
Click the menu icon in the top-right corner of MetaMask and select 'Settings' > 'Preferences and display'
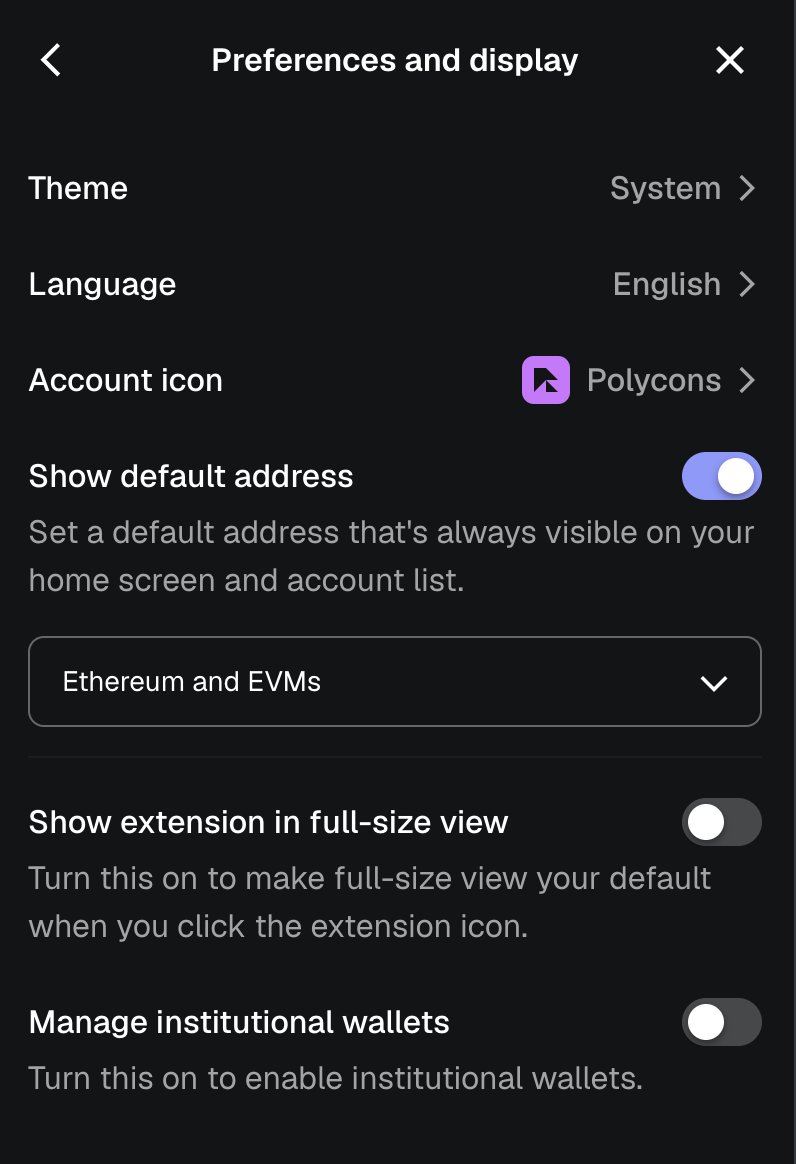
Toggle 'Show default address' to show or hide the default address and choose the desired network address to show as default (example: Ethereum and EVMs or Solana).
:::info[Stay safe when copying your address]
If the address you paste doesn’t match your actual address, your device may be compromised by malware (sometimes called a clipboard hack). **Always double-check the address after pasting and compare the first and last few characters before sending funds.**
For more information on how clipboard hacking works and how to protect yourself, see [here](/stay-safe/protect-yourself/wallet-and-hardware/clipboard-hacking).
:::
---
# How to download state logs in MetaMask
URL: https://support.metamask.io/configure/wallet/how-to-download-state-logs/
> Learn how to download MetaMask state logs and other logs for support troubleshooting.
## Getting MetaMask state logs {#getting-metamask-state-logs}
To help us deliver better support, we might ask you to provide your MetaMask state logs to further analyze the issues you face. These logs tell us:
- Your account addresses
- Your sent transaction history
- Your internal UI State
They don't reveal:
- Your Private Keys
- Your Secret Recovery Phrase
Even so, **DO NOT POST YOUR LOGS PUBLICLY.**
There are four types of logs that we might ask you to provide:
Extension
If you've had an issue sending transactions or found a visual glitch in the rendering of MetaMask, we might ask you for a state log. The following steps are for MetaMask Extension version 12.27.0 or later.
- Open MetaMask and click on the menu icon in the top right corner.

- Click on 'Settings' > 'Privacy'.

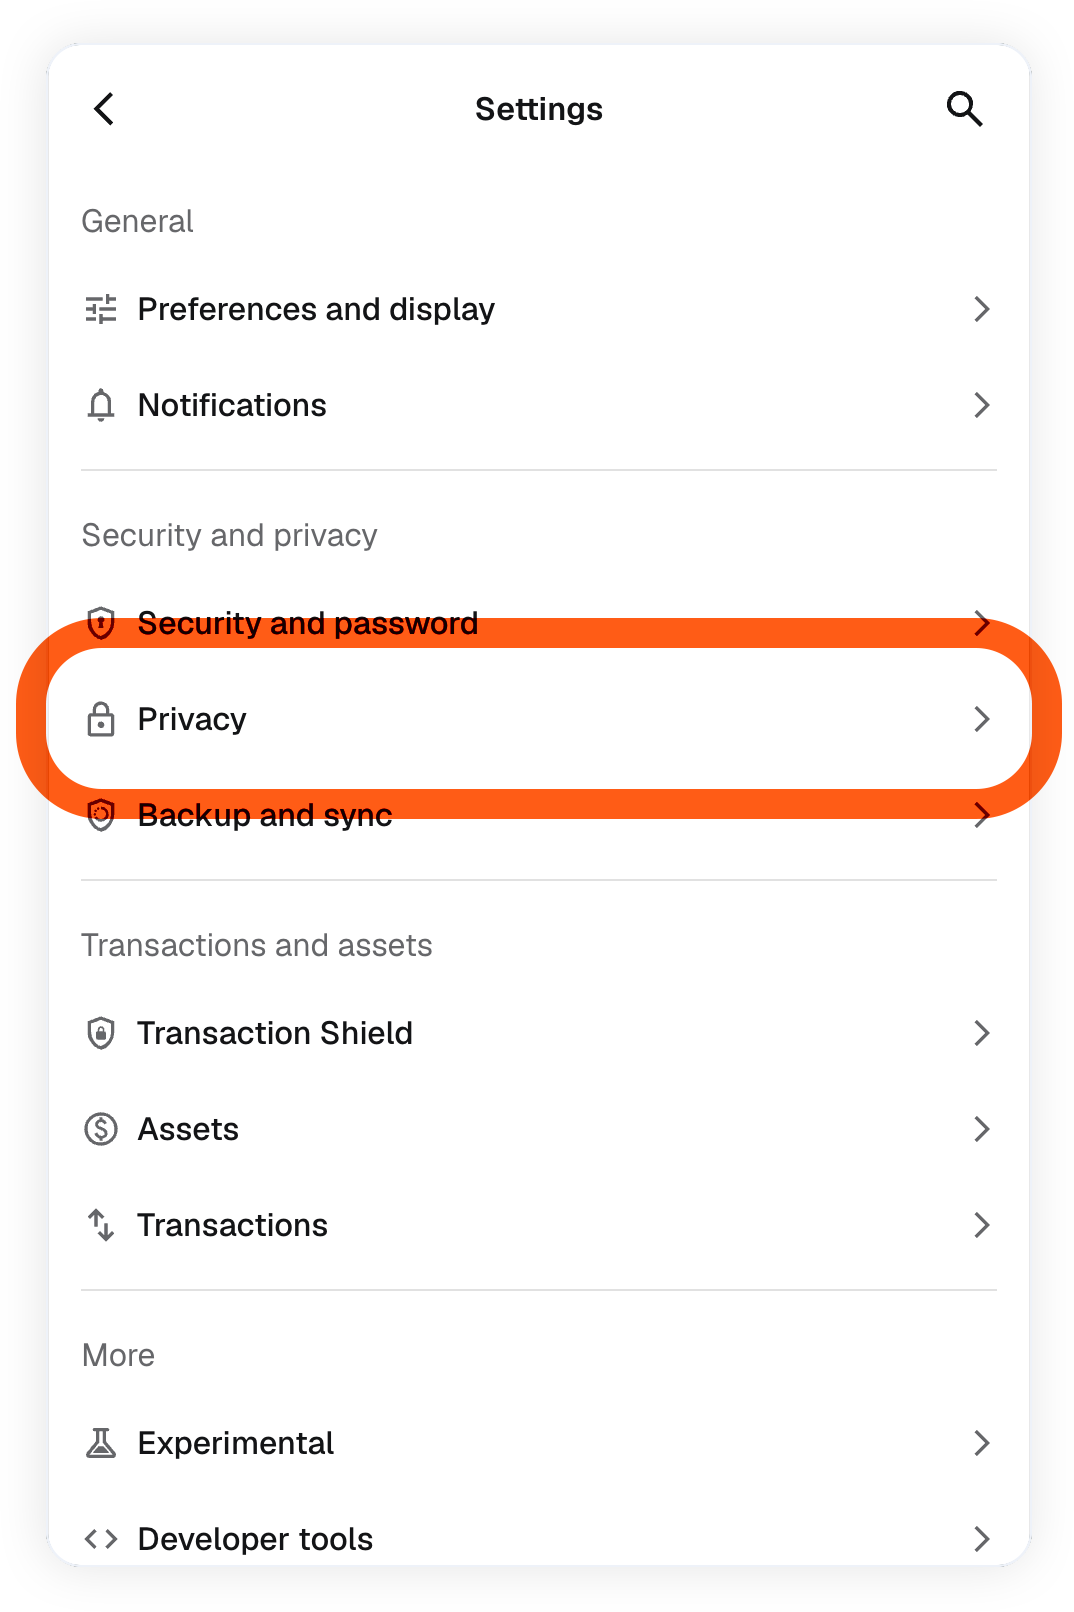
- Click on 'Download state logs'
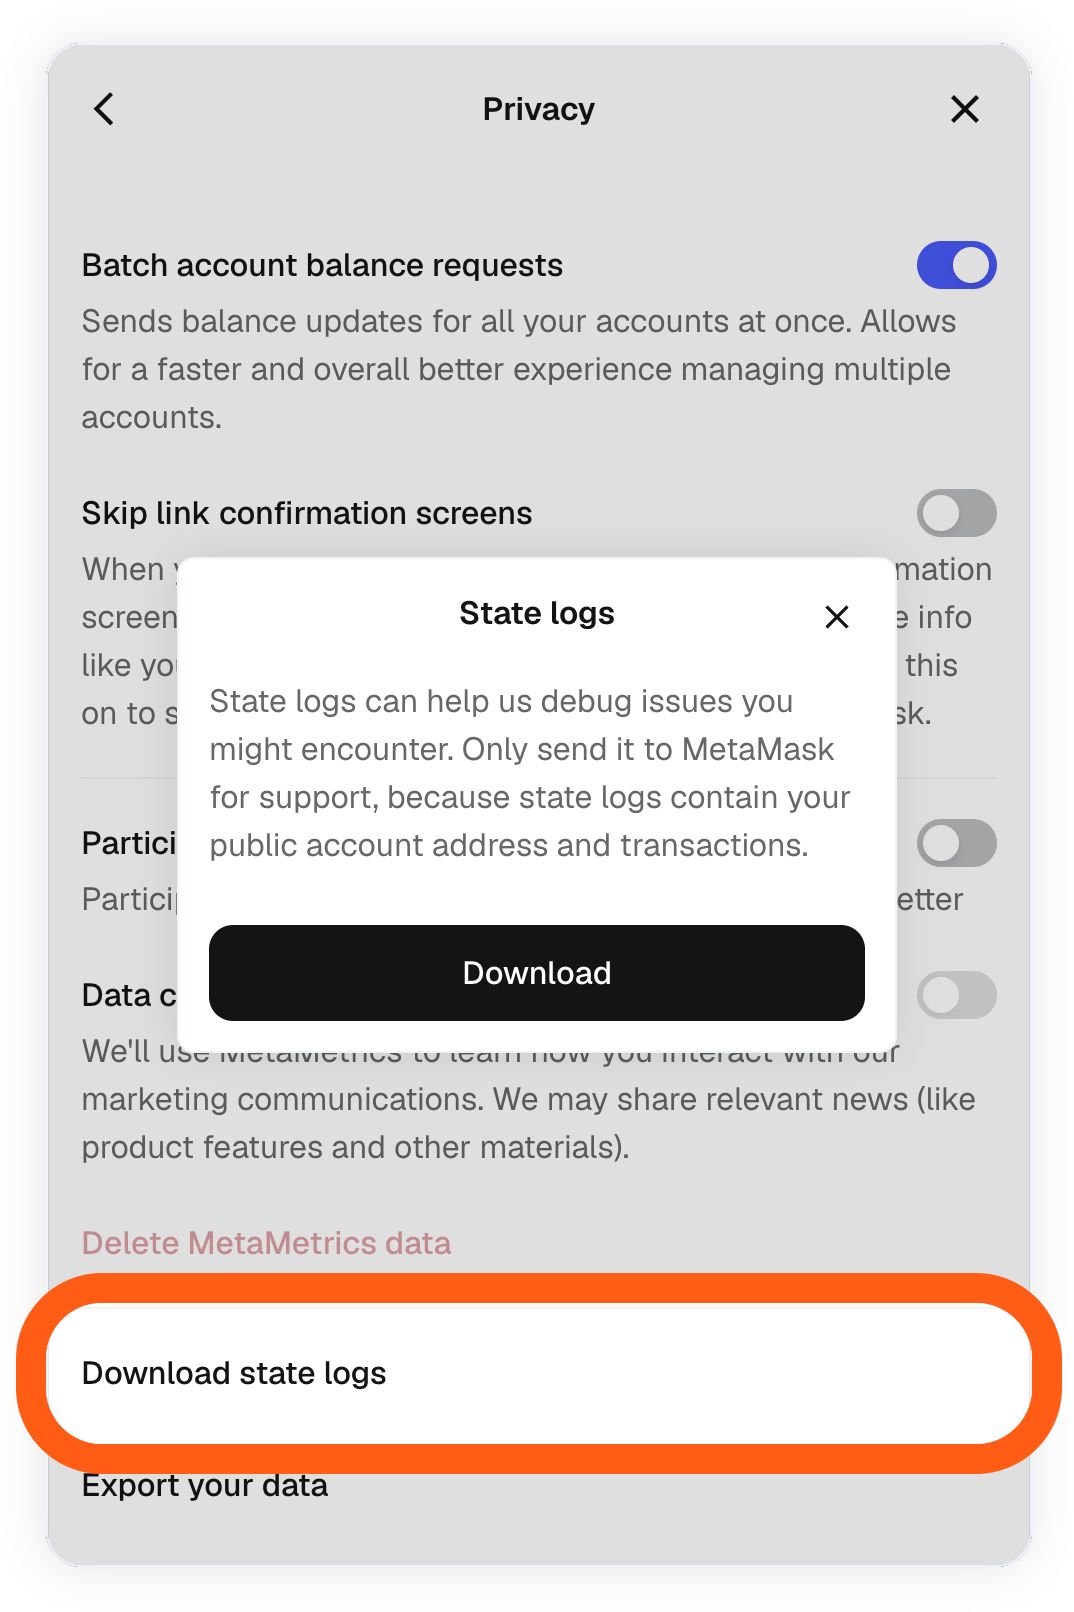
- Attach the file in your response to a support ticket.
Mobile
1. In the MetaMask app, tap the menu icon in the top right
2. Tap 'Settings' > 'Advanced'

3. Scroll down and tap on 'Download state logs'
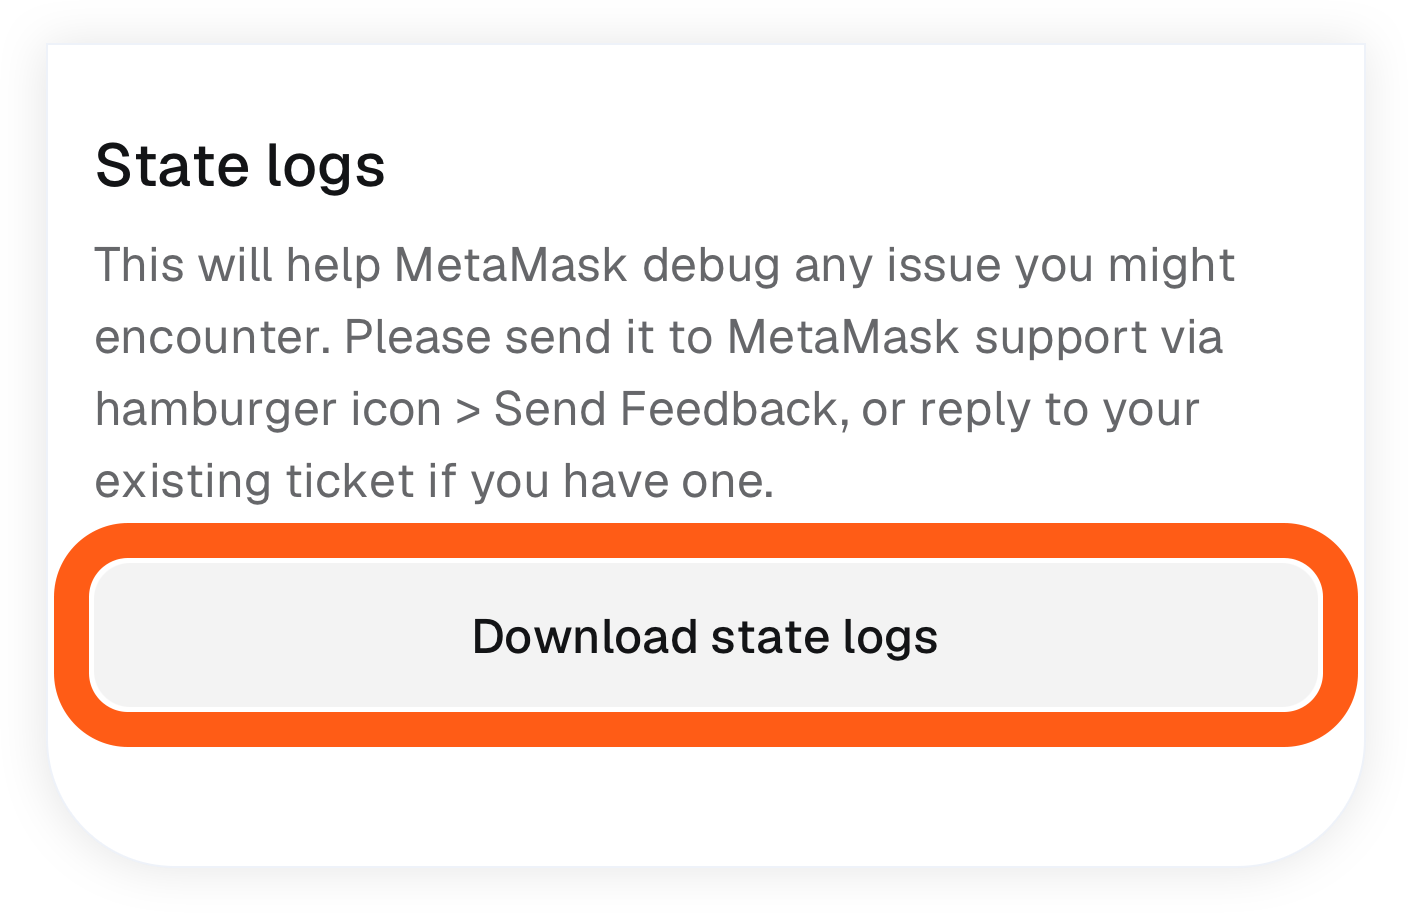
4. Attach the file in your response to a support ticket.
To get logs from the popup:
1. Click the MetaMask fox in the top right of your browser.
2. Wait for the popup to open (or partially open if that's part of the bug).
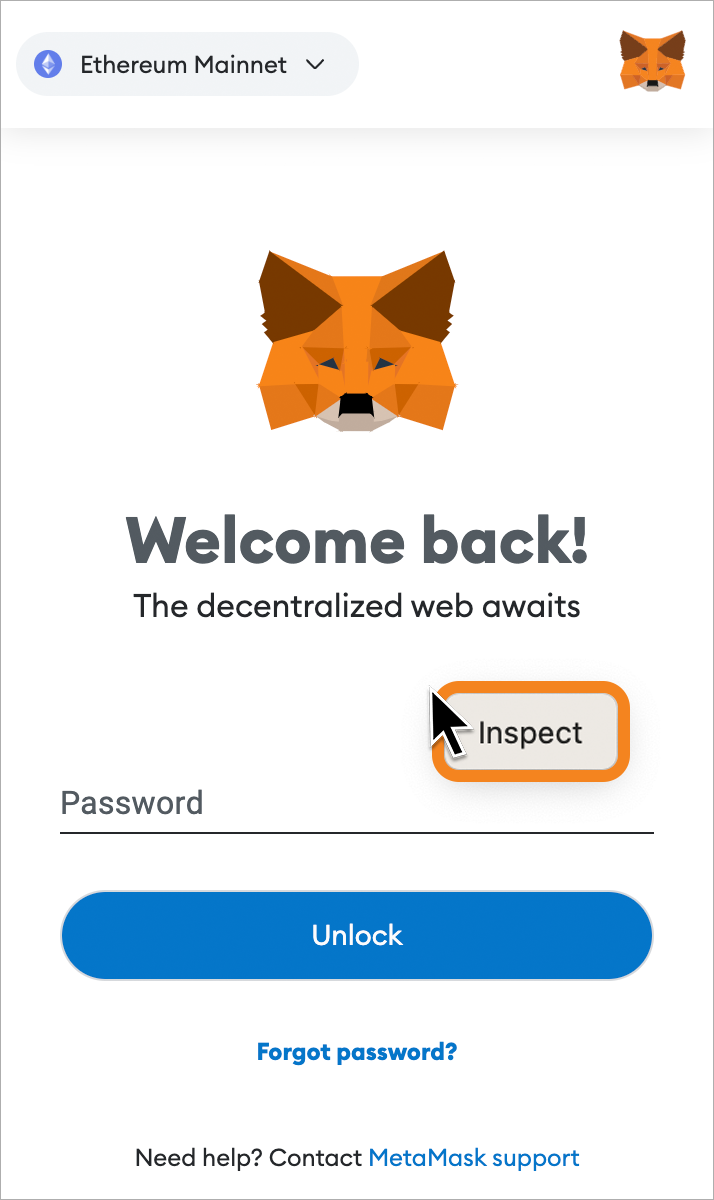
3. Right-click in the newly opened popup, and select **Inspect**.
4. Click **Console** at the top of the Inspector window.
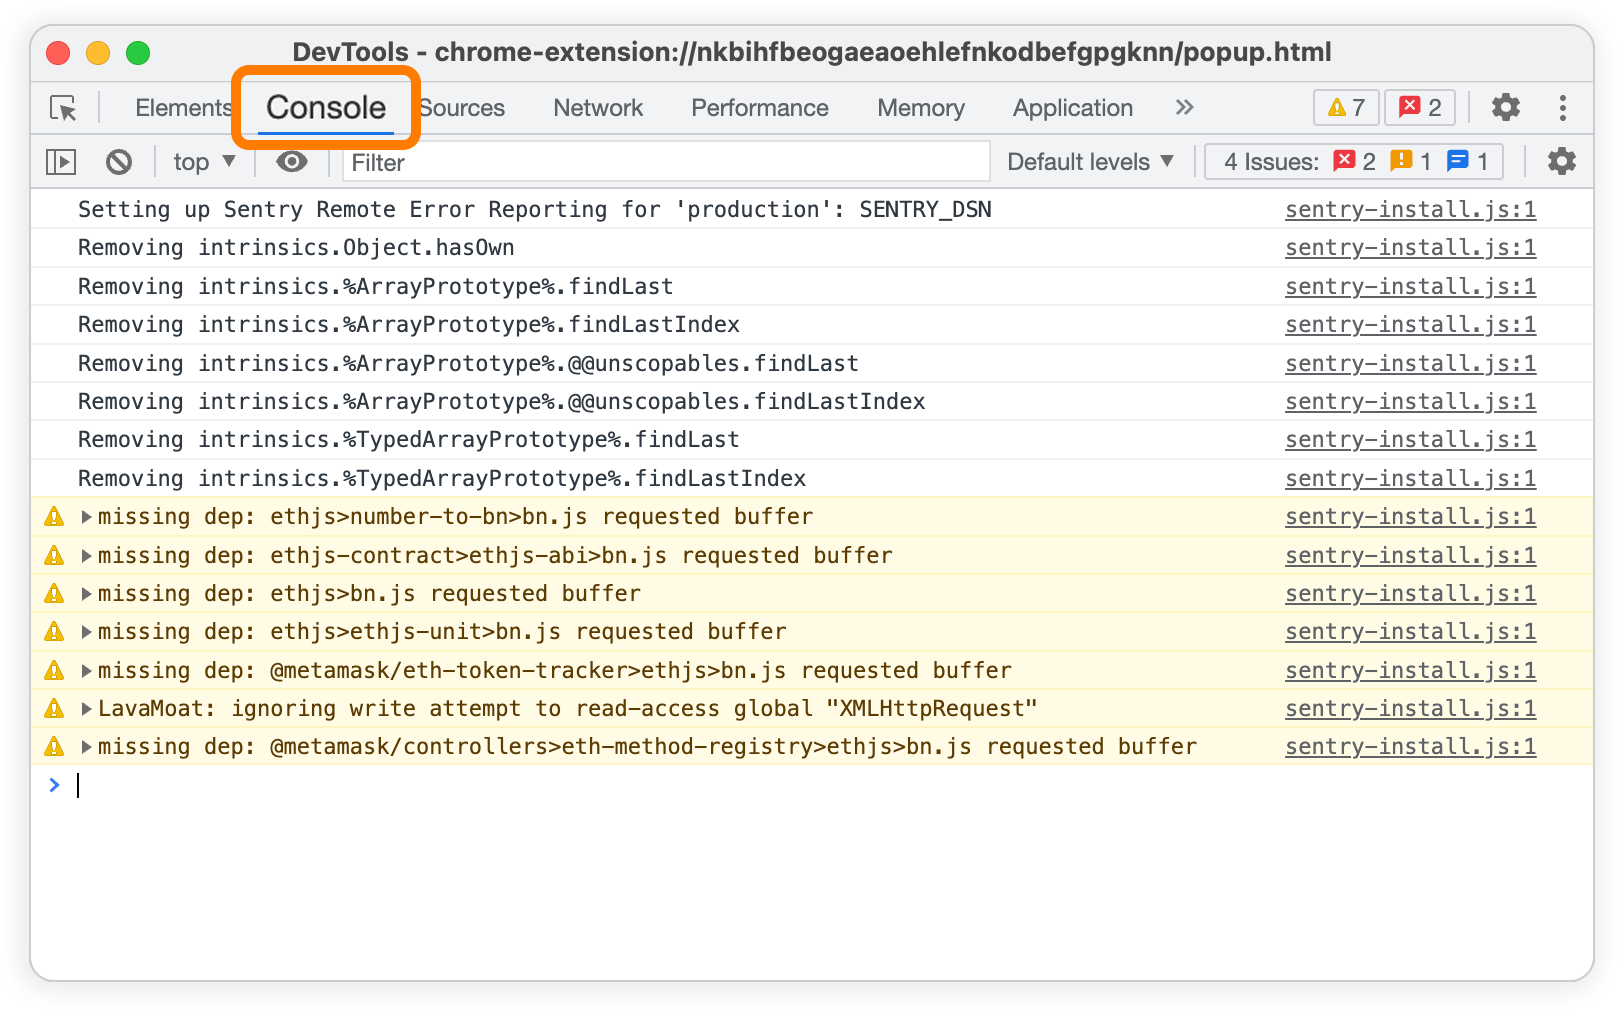
5. Look for any strange logs, especially red errors!
6. Share a screenshot with us.
To get logs from MetaMask's background process in Chrome:
1. Right-click the MetaMask fox in the top right of your browser.
2. Select **Manage Extension**.
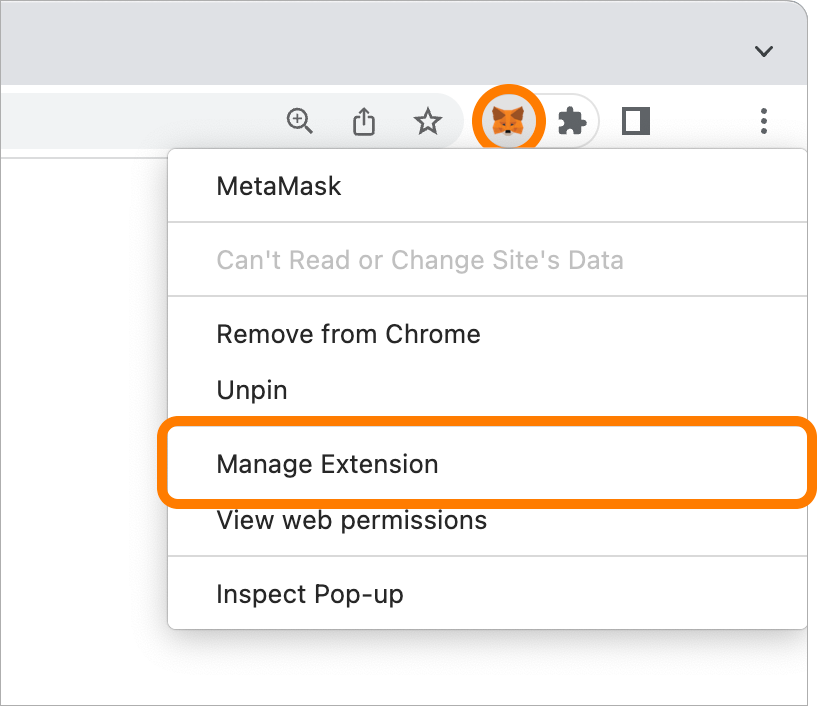
3. Ensure "Developer Mode" is selected in the top right.
4. Scroll down to MetaMask, and click the "**Inspect views: background page**" link.
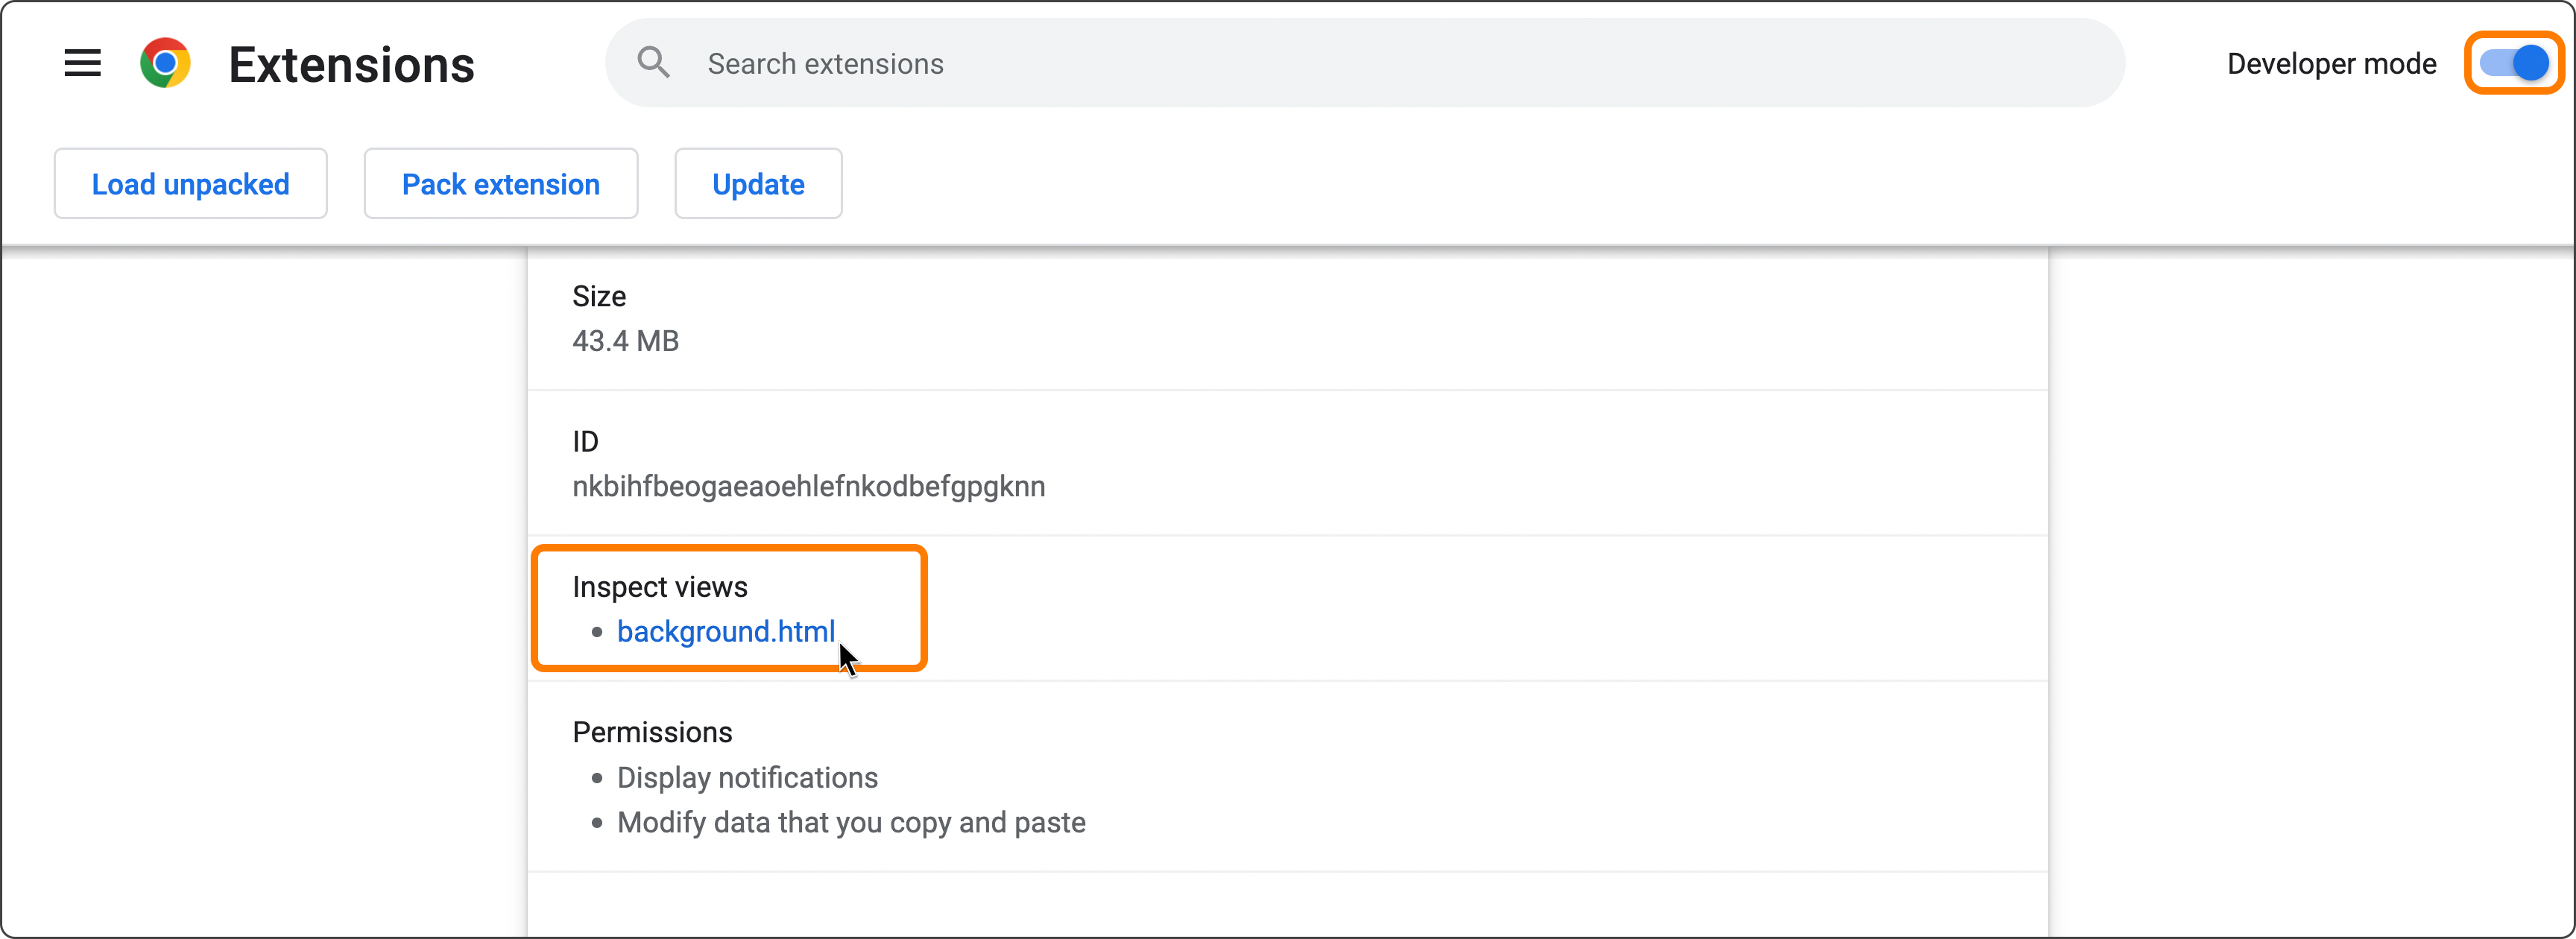
5. Click Console at the top of the Inspector window.
6. Look for any strange logs, especially red errors!

If you are using Windows OS, usually you could see the state logs in your **Downloads** folder.
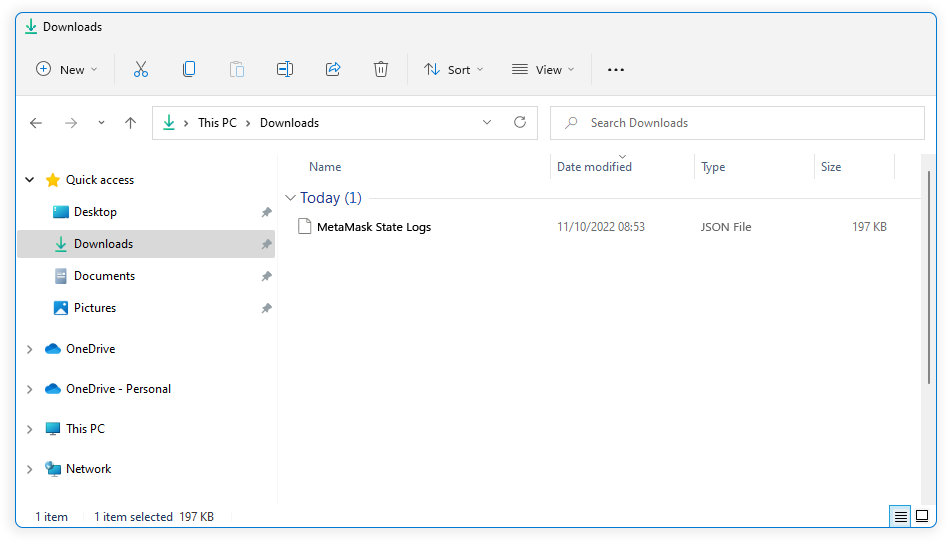
7. Make sure you toggle "Developer Mode" back to **off**. Developer mode turns off a number of vital security checks, so we strongly recommend you keep it off for daily MetaMask use.
If your bug involves crashing the whole browser, then having a browser console won't be much good! (It will be crashed).
In these cases, you'll need to start your browser in a way that it writes its logs to the disk, so you can open that log file after the browser crashes.
[This process is described here](https://www.chromium.org/for-testers/enable-logging), and we hope to write more specific steps on this in the future. If you have to go through this process, please do record the steps, so we can have more detailed instructions here for different platforms.
---
# How to find and manage your MetaMask Extension on Chrome and Firefox
URL: https://support.metamask.io/configure/wallet/how-to-find-and-manage-your-metamask-extension-on-chrome-and-firefox/
> Learn how to find and pin your MetaMask browser extension on Chrome and Firefox.
When you download the browser extension from MetaMask's [official website](https://metamask.io/download.html), please check your browser's extensions. Depending on the browser you are on, the steps are as follows:
You will see your extensions under this icon. Clicking on it will bring down the dropdown where you can pin your MetaMask extension:

You can find details about your extension in the _Manage Extensions_ section: chrome://extensions/ or by clicking the 3 dots menu on the right next to the extension you would like to manage.
Click this menu in the browser where you will see **Add-ons and Themes,** or navigate to **about:addons.**

On the next screen, click on 'Extensions' on the left-hand side:

To make your extension visible on Firefox, enable it by switching the tab slider.
---
# How to find and install a MetaMask build manually
URL: https://support.metamask.io/configure/wallet/how-to-install-metamask-manually/
> Learn how to manually install MetaMask on your browser or device. Step-by-step instructions for downloading and verifying the build for developers and advanced users.
:::info[Install MetaMask Extension or Mobile]
Looking to install MetaMask Extension or Mobile? See our [how to install MetaMask](/start/getting-started-with-metamask) guide, which walks you through a safe and easy installation process.
We highly recommend using the process outlined in the guide above, rather than installing a build manually. If you're confident in your ability to install a build manually, continue below.
:::
While MetaMask is published on multiple browser extension stores, and these stores benefit from auto-updates, there are reasons you might want to install a copy of MetaMask manually. For example, you may be using an old, unsupported dapp that no longer works with the latest version of MetaMask. Or maybe you're just nostalgic? That's cool too.
:::warning[Warning]
**Before you do this, be aware:**
> - **Old builds are missing critical security updates** — vulnerabilities may have already been publicly disclosed.
> - **You lose browser-level security protections** like extension integrity checks.
> - **You're responsible for future updates**, and missing them will expose you to risk. Learn more about how to update your MetaMask [here](/configure/wallet/how-to-update-the-version-of-metamask#if-you-installed-metamask-manually).
---
**Did someone on the internet tell you to install a version of MetaMask manually?**
> - If someone is directing you to do this, **they're probably a scammer** — and probably trying to steal your crypto. Just like anything else online, **don't trust things at face value**.
:::
So, _if you know what you're doing_, and you're ready to install MetaMask manually:
The easiest thing to do is to download a pre-build release of MetaMask. You can [retrieve official builds of MetaMask here](https://github.com/MetaMask/metamask-extension/releases). If you're a Brave developer, you can also [build from source](https://github.com/MetaMask/metamask-extension#building-locally).
See below for instructions for different browsers:
1. On the [releases](https://github.com/MetaMask/metamask-extension/releases) page, pick a version you'll like to install.
2. Download the zip file.
3. Unzip the file in a folder.
4. Open Chrome, and type "chrome://extensions" in the browser URL bar.
5. Click "Load Unpacked"
6. On the window pop up, open the the folder unzipped earlier

7. MetaMask should now be installed.
**NOTE: this method requires [Firefox Developer edition.](https://www.mozilla.org/en-US/firefox/developer/)**
1. Visit: [https://addons.mozilla.org/en-US/android/addon/ether-metamask/versions/](https://addons.mozilla.org/en-US/android/addon/ether-metamask/versions/)
2. Select a version you 'd like to download. Click "Download Now", and then click "Ok" on the pop up that appears.
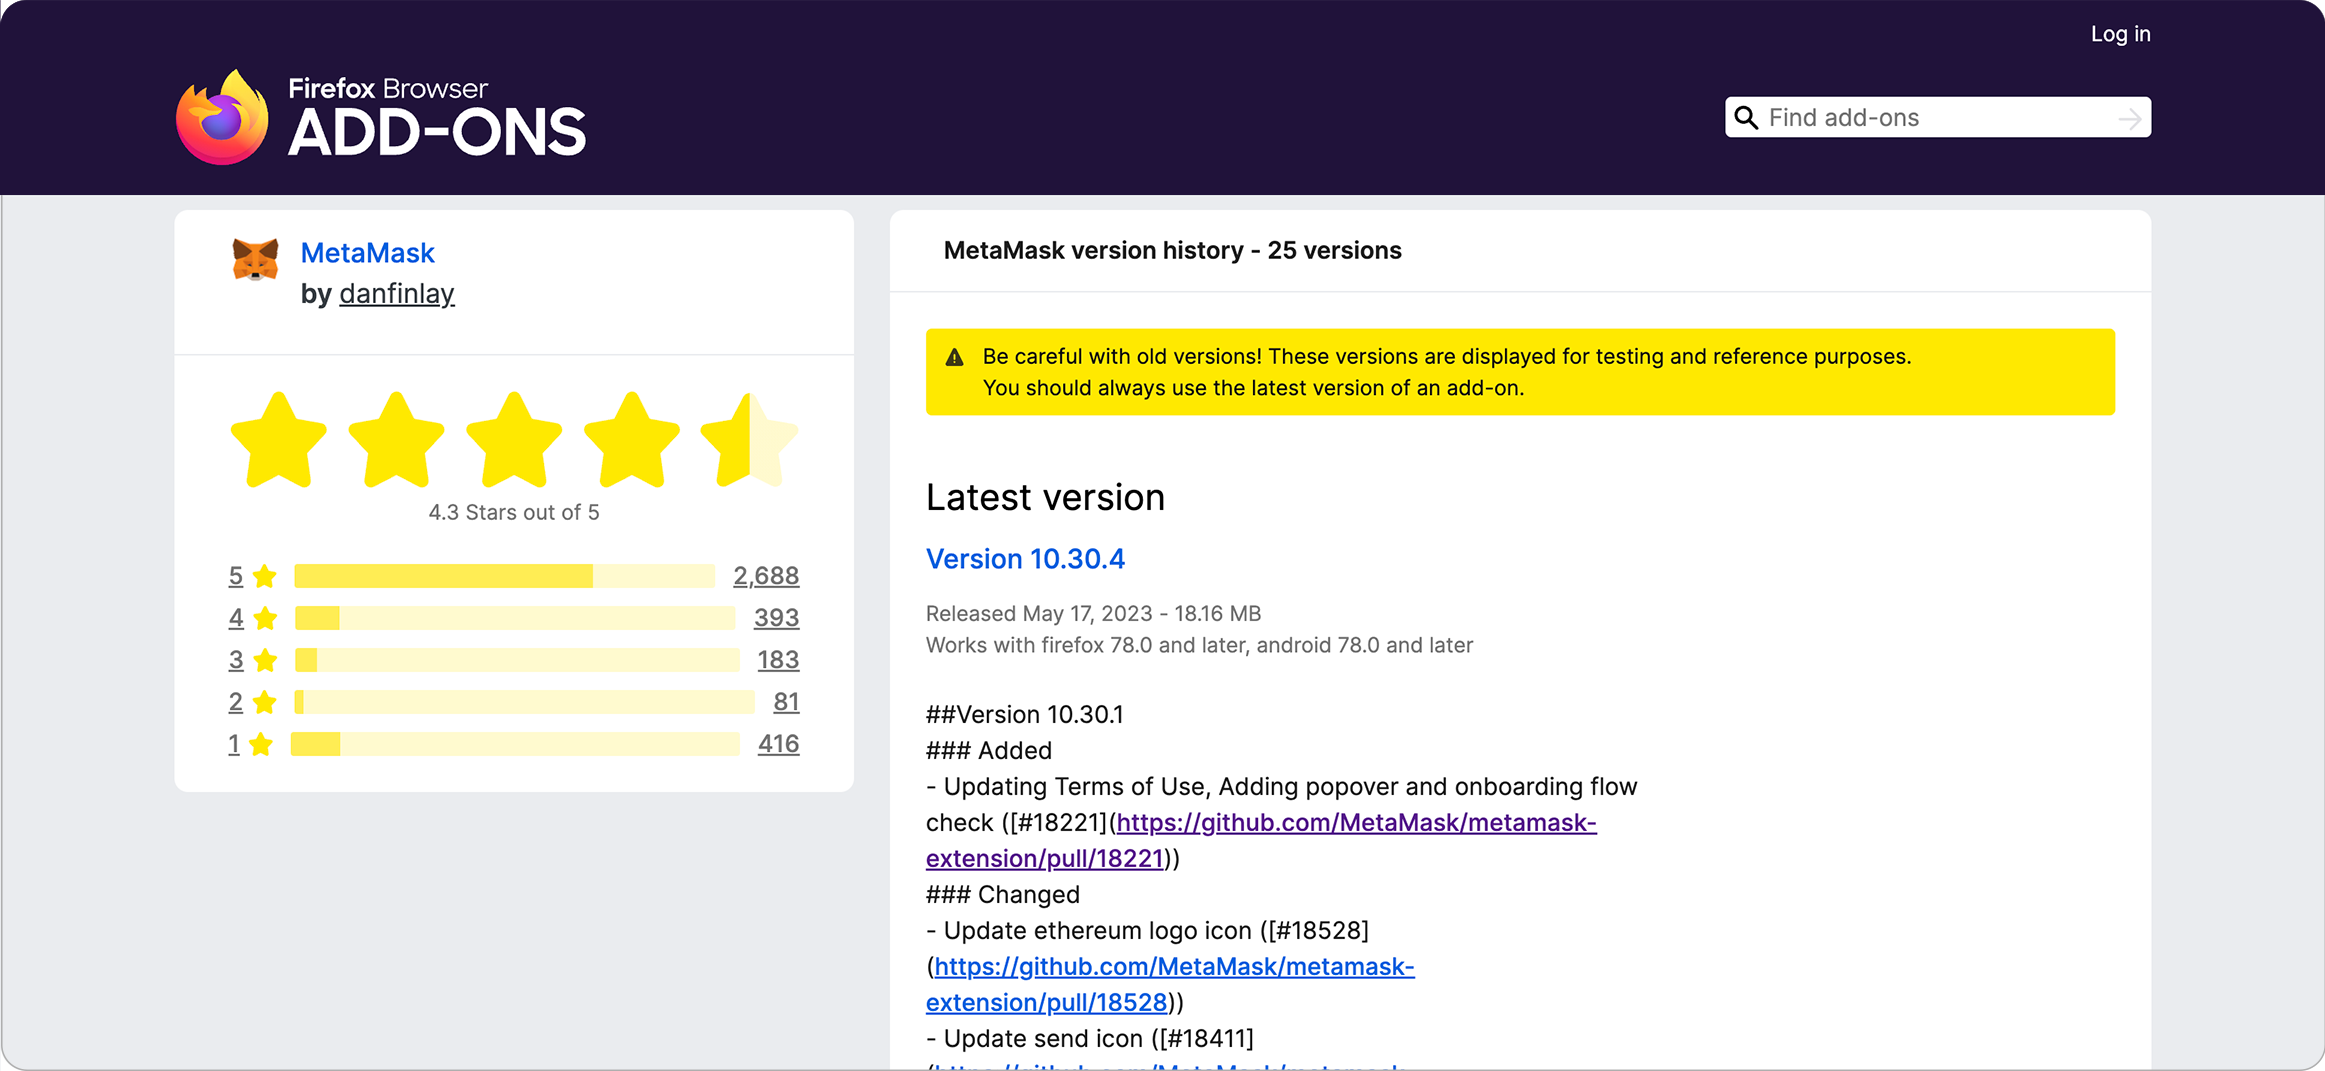
3. Type "about:addons" into browser URL bar
4. Click the Settings button > Click "Install Add-on from file"
5. Browse for the zip or directory with MetaMask you downloaded.
6. Click "Open"
7. Click "Add" on the pop-up
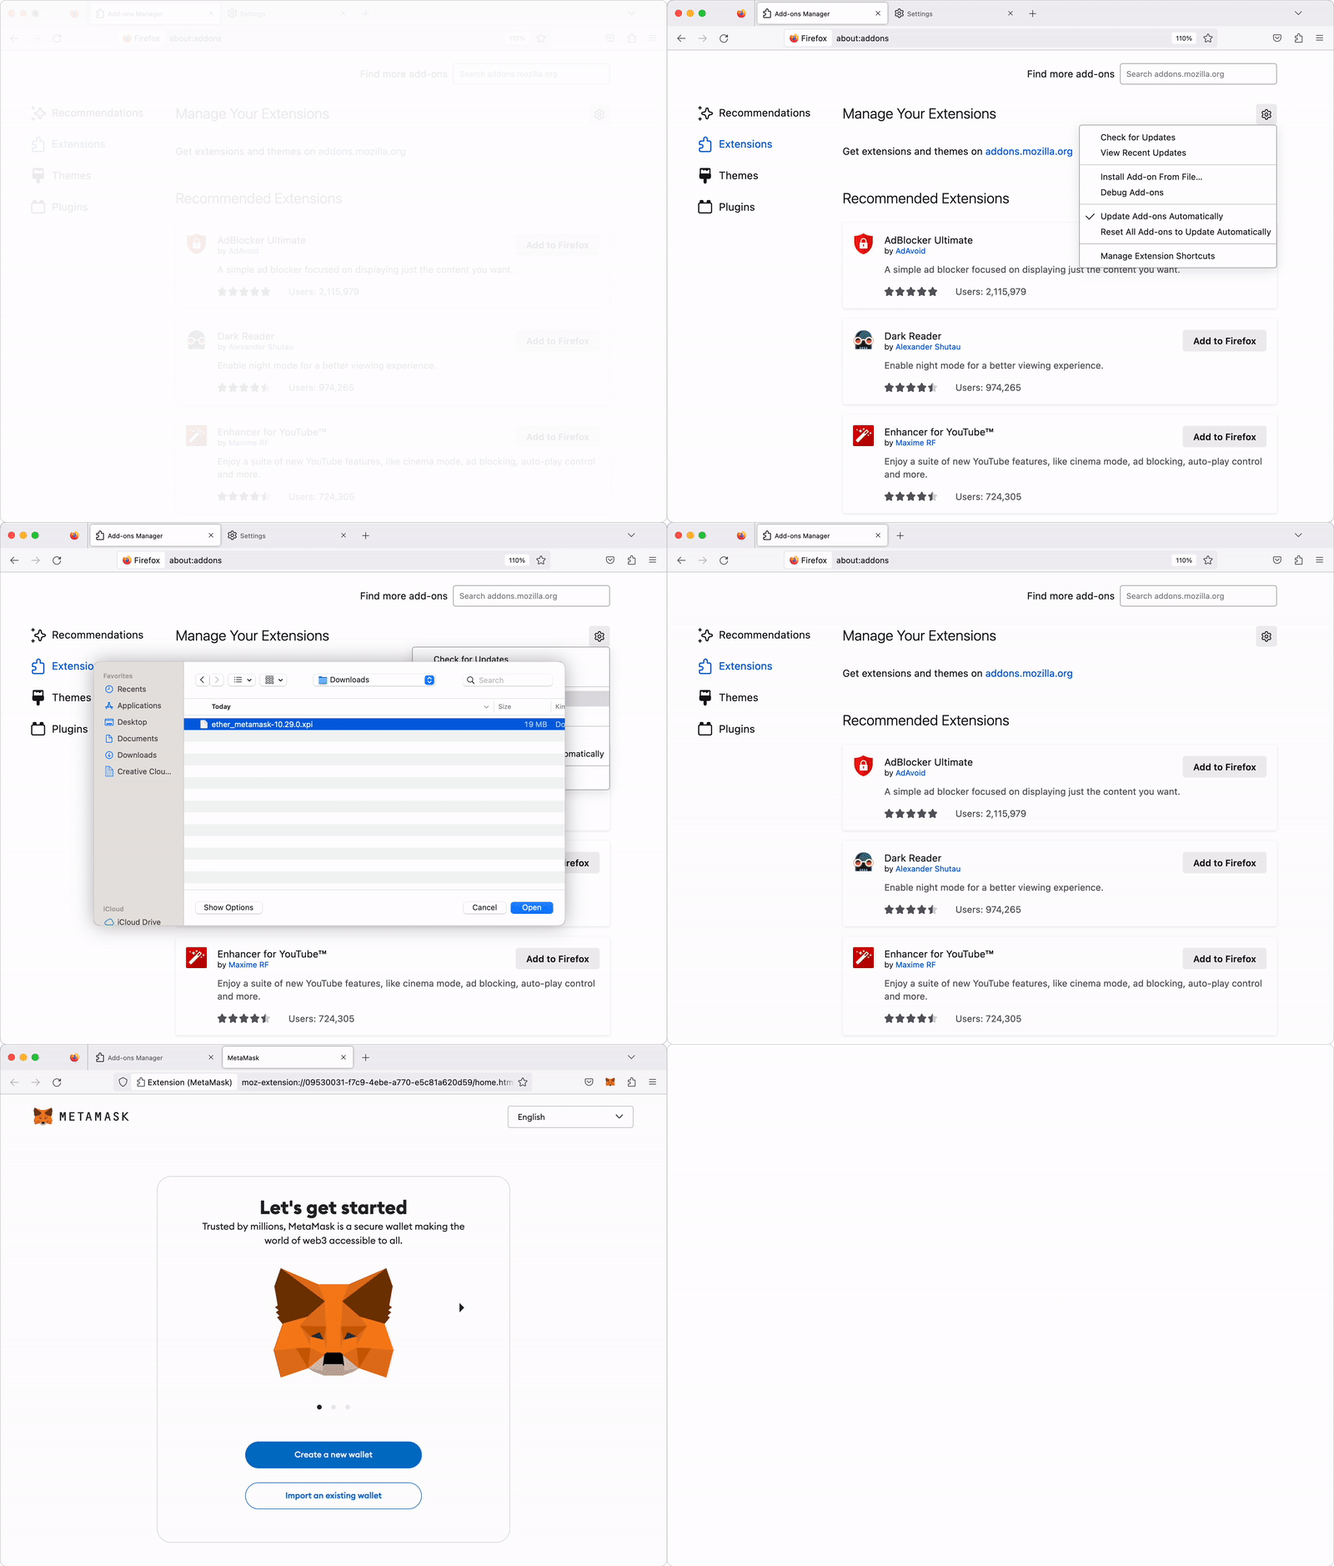
Your installation should be complete!
1. Repeat step 1 to 3 of the Chrome instructions above
2. Open Opera extension page > Click "Load unpacked extension"
3. Browse to the unzipped folder, then click "OK"
4. Installation complete
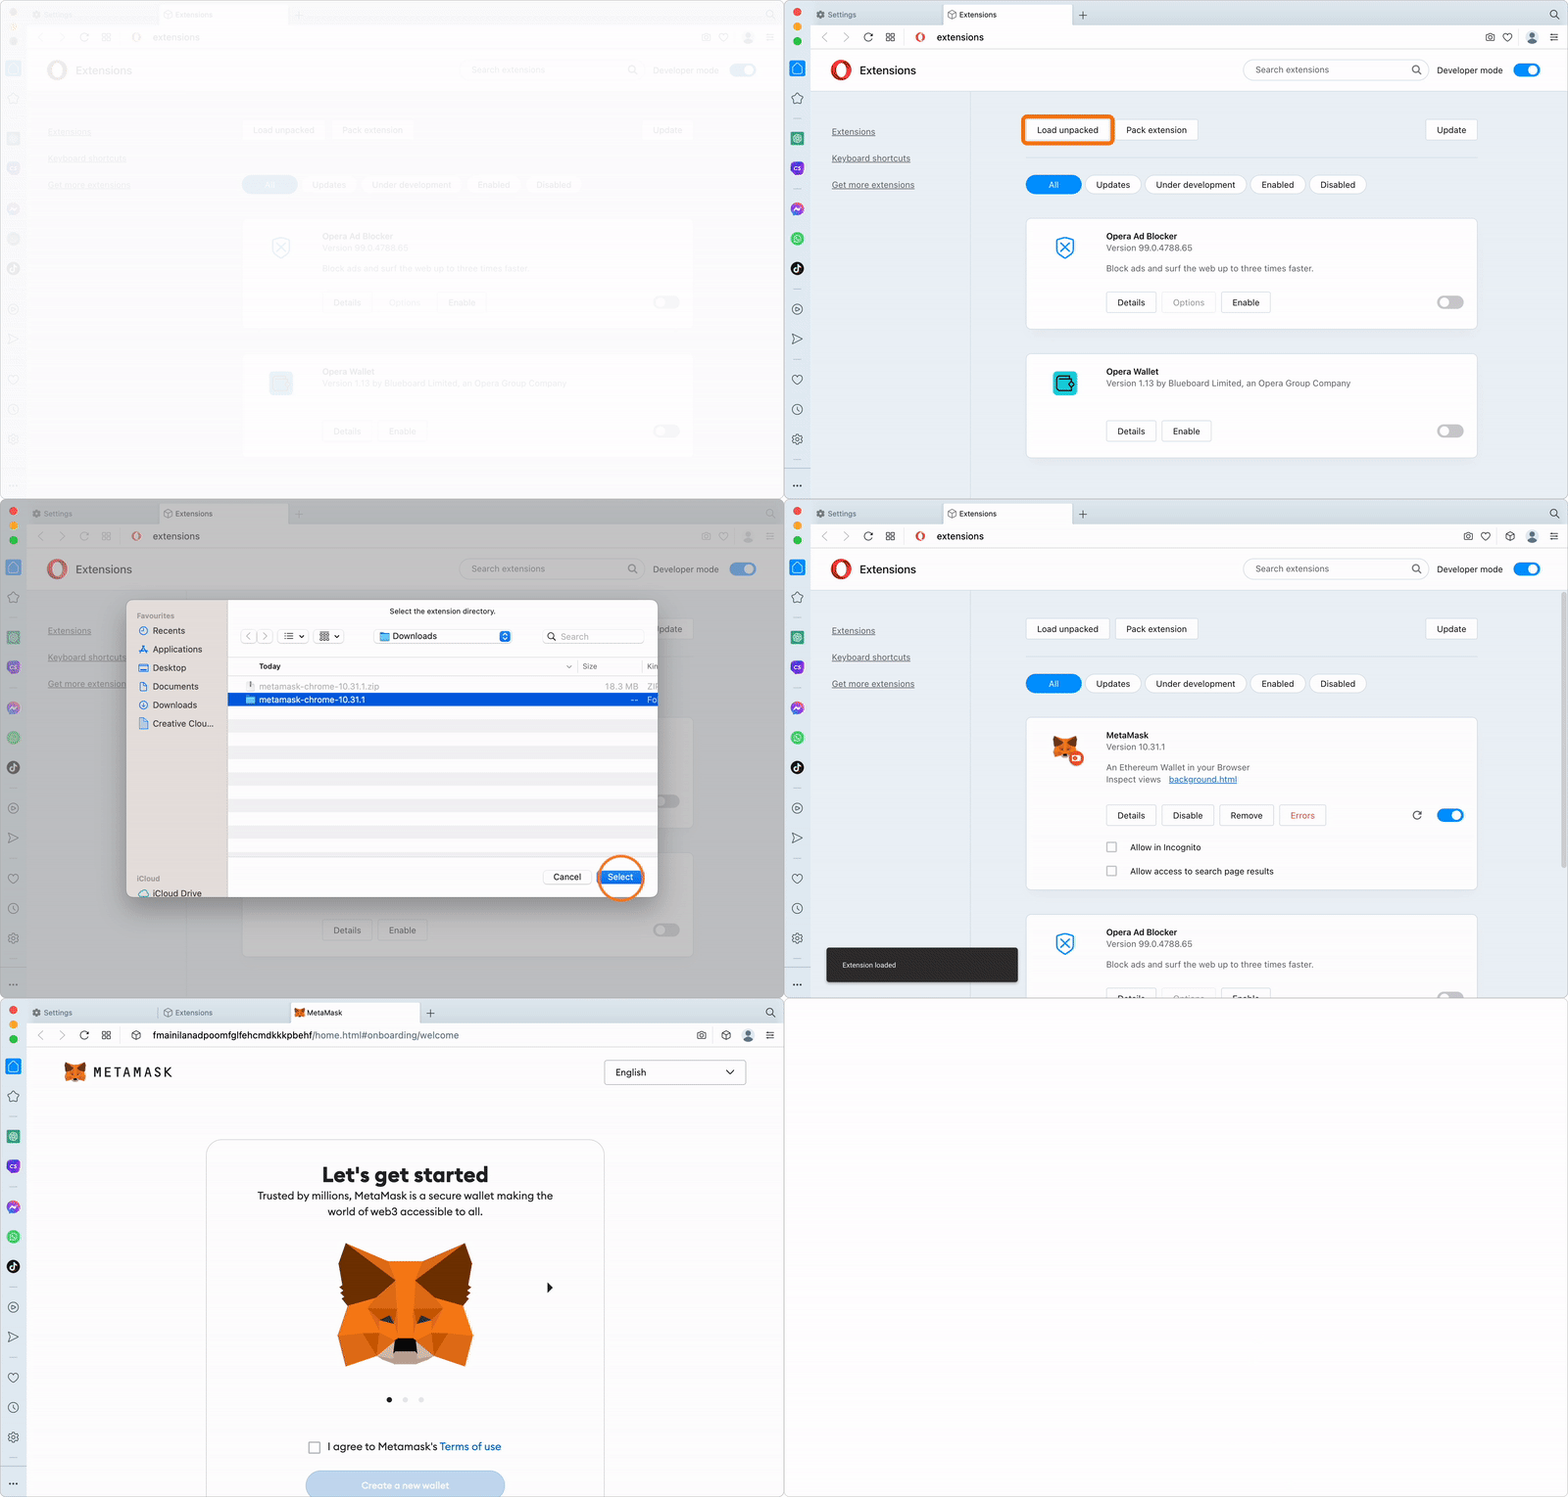
Why we recommend installing from an official store
We strongly recommend installing MetaMask only from an [official browser extension store](https://metamask.io/download/). Store-based installations:
- Receive automatic updates and security patches
- Are protected by browser integrity and signature checks
- Reduce the risk of tampering or malicious modifications
Manually installed extensions do not receive these protections and may be more vulnerable to malware or unintended changes.
---
# How to recover your Secret Recovery Phrase
URL: https://support.metamask.io/configure/wallet/how-to-recover-your-secret-recovery-phrase/
> Learn how to locate your SRP with vault extraction and decryption instructions.
If you lost your SRP but know your password and can unlock MetaMask on your device, refer to the steps in this guide to [reveal your SRP.](/configure/wallet/how-to-reveal-your-secret-recovery-phrase/)
The steps below are **only** to be used if all the following conditions are met:
1. You **do not** know your Secret Recovery Phrase
2. You **do** know your password
3. For some reason you are **unable to unlock** MetaMask with your password
4. You are using MetaMask Extension in a desktop browser.
:::info[note:]
- Vault recovery on Android and iOS **mobile devices is not currently possible.**
- If you housed **multiple SRPs on one MetaMask Extension**, they could all be found in **one vault file.**
- If you have uninstalled the MetaMask extension, your data has likely been deleted. However, you may attempt the method below, under the heading "What if you no longer have access to the browser...?," especially if you have a backup of your computer's data [(like here)](https://www.lifewire.com/access-data-from-an-old-hard-drive-5201989).
:::
If you're not sure if this situation applies to you, [consult the various scenarios here](/configure/accounts/can-i-access-my-accounts-without-my-secret-recovery-phrase) to help you determine which is right for you.
:::note
A few things before we begin...
- We know that potentially losing access to MetaMask and your assets is stressful — that's why we've put this content together, so that you might be able to resolve that stress. We wish we could do more, but [MetaMask is self-custodial](/start/metamask-is-a-self-custodial-wallet) by design. We're rooting for you though!
- We do our best to keep these instructions up to date, but since they depend in part on the back end of third-party platforms (the browsers), sometimes things may have changed relative to what we describe below. If so, please let us know by [getting in touch with Support](/start/how-to-contact-metamask-support).
- This is not a simple process, so make sure you set aside roughly 30 minutes and that you're in a location where you can focus.
- The final step of the process, once you've recovered your SRP, will be to [restore your wallet](/configure/wallet/how-to-restore-your-metamask-wallet-from-secret-recovery-phrase). Keep in mind that **MetaMask stores only one SRP per browser profile at a time**, and **importing an SRP into an existing MetaMask installation wipes any SRP data** already present in that profile's vault.
- If you're only managing one SRP, then this isn't really an issue; **if you're managing multiple SRPs**, however, we strongly recommend you [follow our best practices outlined here](/more-web3/wallets/how-to-use-multiple-metamask-wallets).
:::
## Vault extraction and decryption instructions {#vault-extraction-and-decryption-instructions}
If you're here, you probably want to get straight to solving the issue. However, if you get stuck, it might help to understand what's going on. We 've provided an in-depth explanation of how this all works further down, in case you need it now, or want to read it another time.
Chrome-based browsers (includes Chrome, Brave, Edge, and Opera)
## Step one: load the vault decryptor tool {#step-one-load-the-vault-decryptor-tool}
This tool was written by MetaMask co-founder Dan Finlay, and has recently been updated to be much more user-friendly. The decryptor can be accessed in a web page here:
[https://metamask.github.io/vault-decryptor/](https://metamask.github.io/vault-decryptor/)
**If you're concerned about someone having access to your computer over the Internet, you can load this page, and then disconnect your internet connection; it will work offline.** You can even download the code and run it on your machine, if you want to. The repository is [here.](https://github.com/MetaMask/vault-decryptor)
## Step two: locate your vault {#step-two-locate-your-vault}
When you load the tool, the easiest method by far of using it will be to click on "Database backup", then "Choose File":
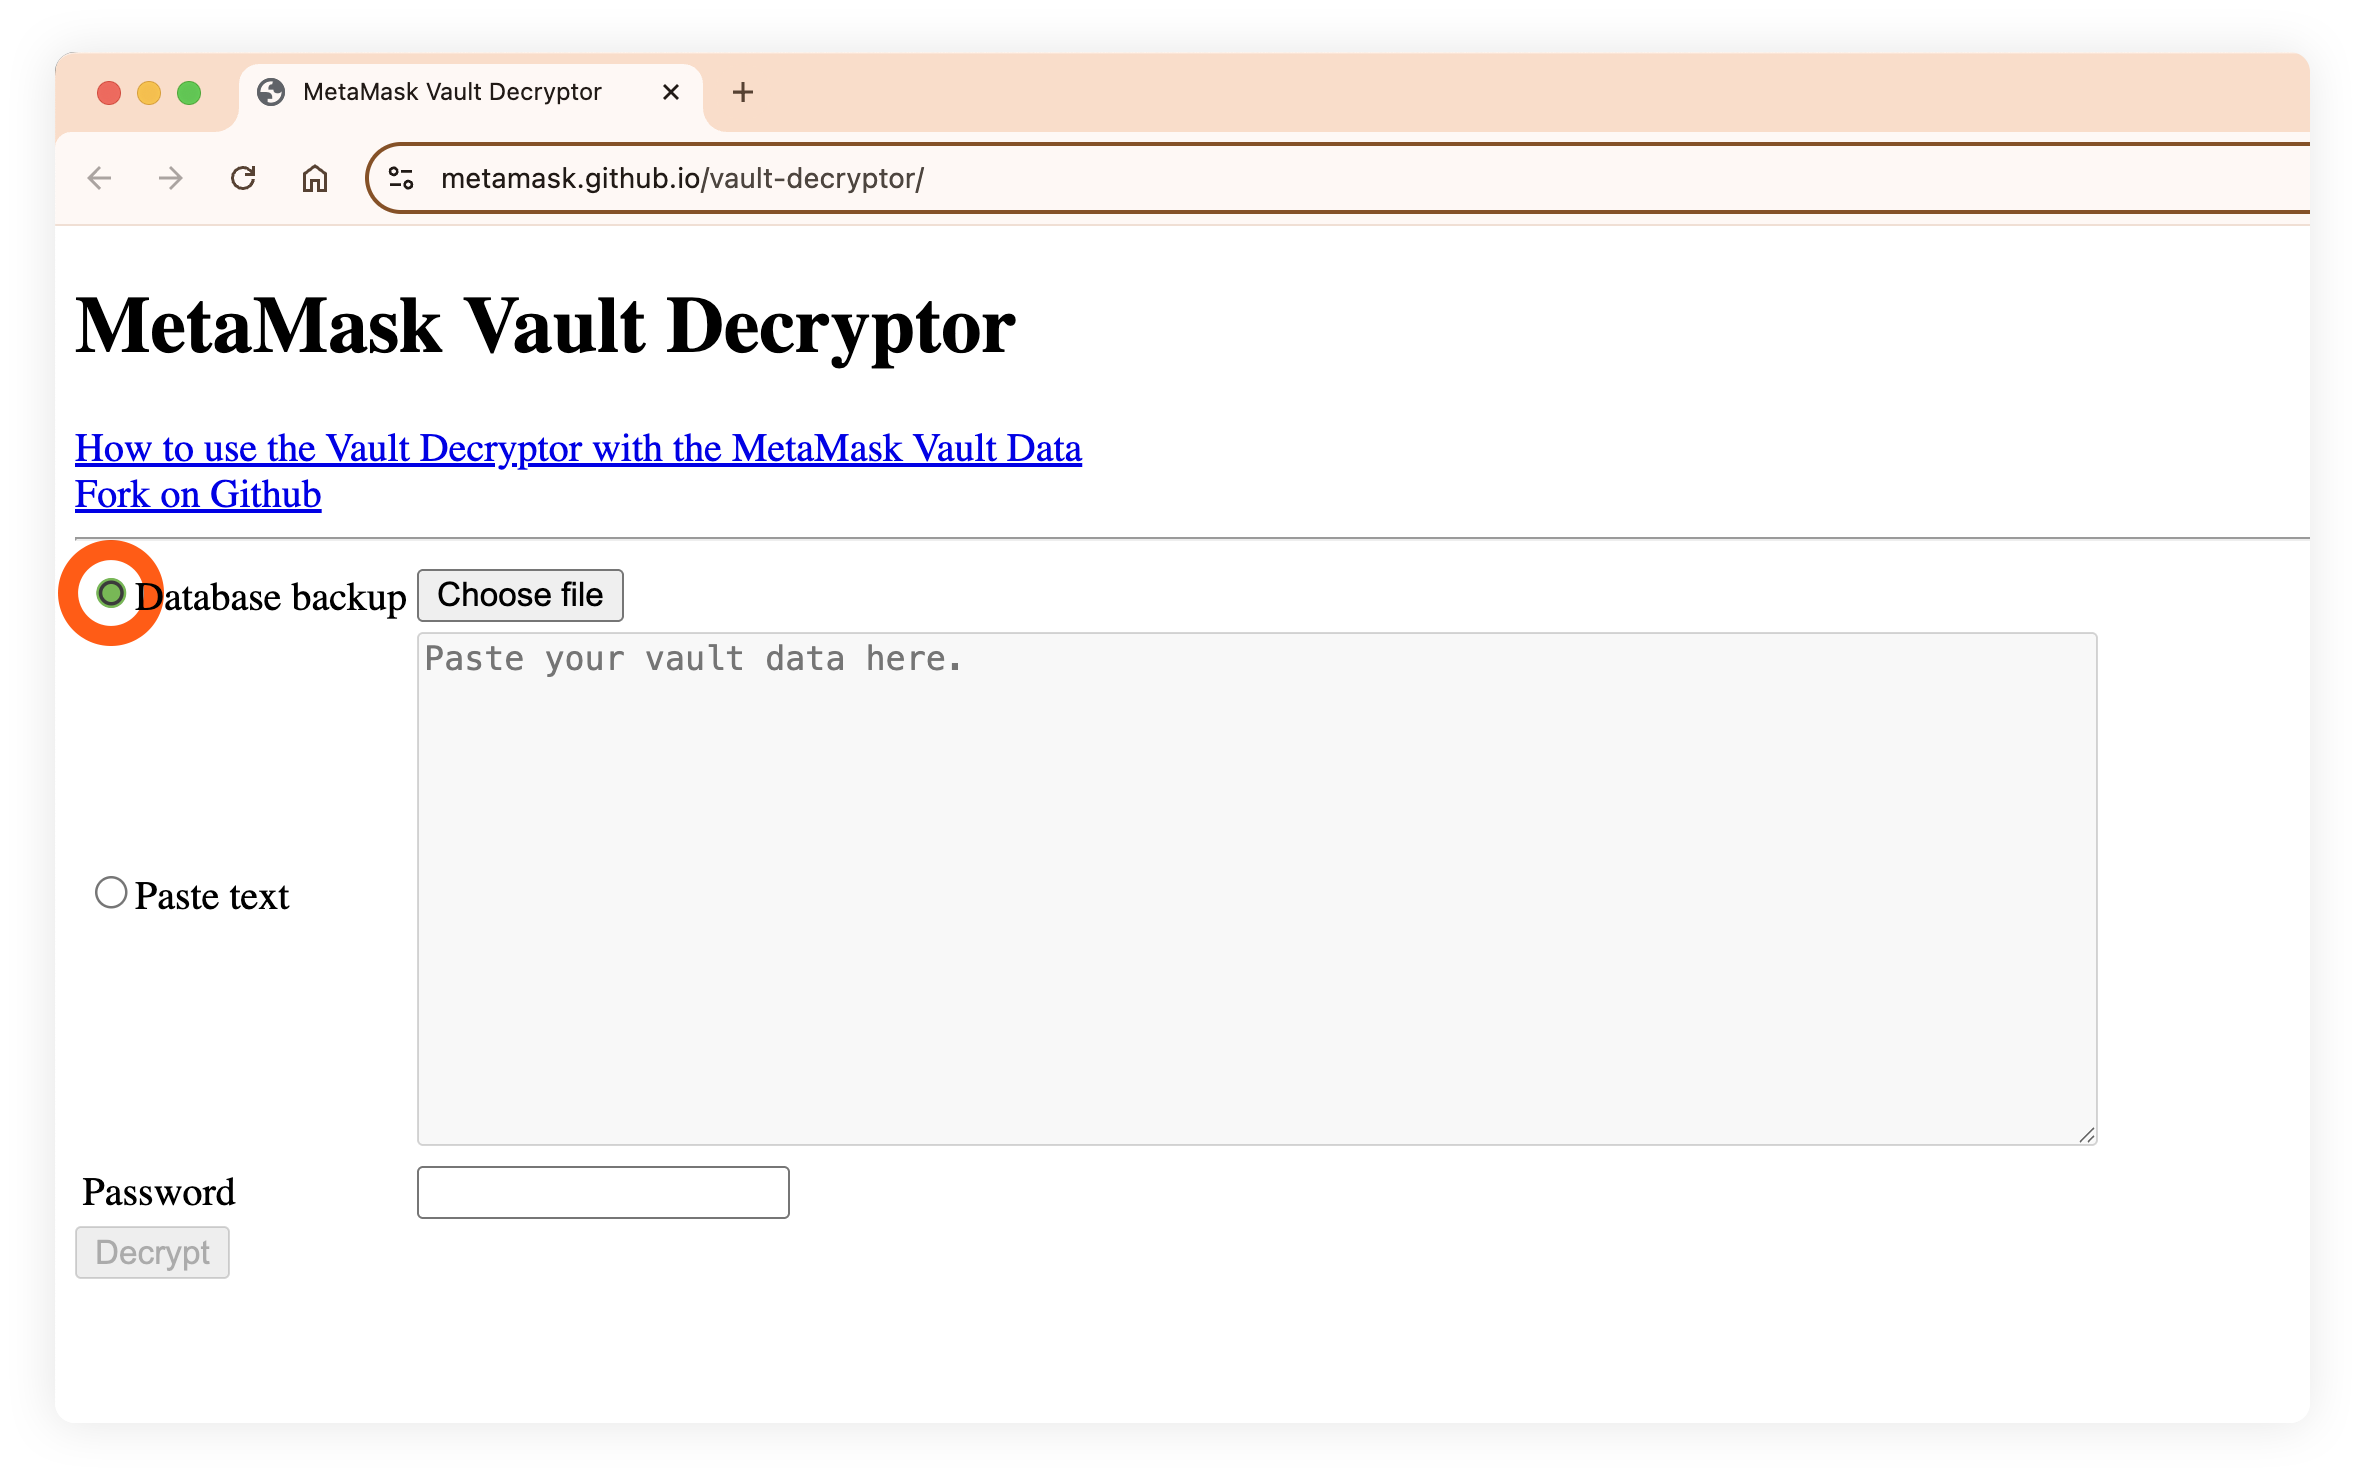
At this point, a file explorer window will open, and you'll need to find the vault.
**In Windows 10 or 11**, you should be able to find the location of the vault by going to this folder location (you need to be able to see the hidden files):
```
C:\Users\USER_NAME\AppData\Local\Google\Chrome\User Data\Default\Local Extension Settings\nkbihfbeogaeaoehlefnkodbefgpgknn
```
**On a Mac,** the location of the folder should be:
```
\Library>Application Support>Google>Chrome>Default>Local Extension Settings>nkbihfbeogaeaoehlefnkodbefgpgknn
```
If you're having trouble finding this location, try the following:
- Open a Finder window.
- Select Go -> Go to Folder... in the menu bar.
- Type `~/Library` in the input field and click Go.
In that folder you'll see a file called `000003.ldb` or something similar--**the specific number may differ, but it should be a low numerical value, like `000005` or `000004`. If it is a large number, it is not the vault:**
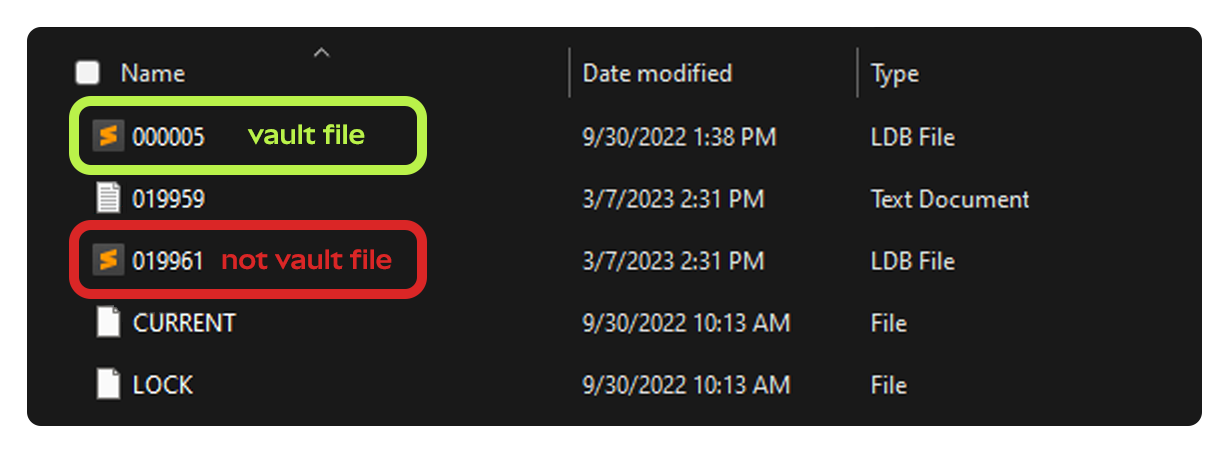
If you do try to decrypt a file that's not a vault, this will be the result:
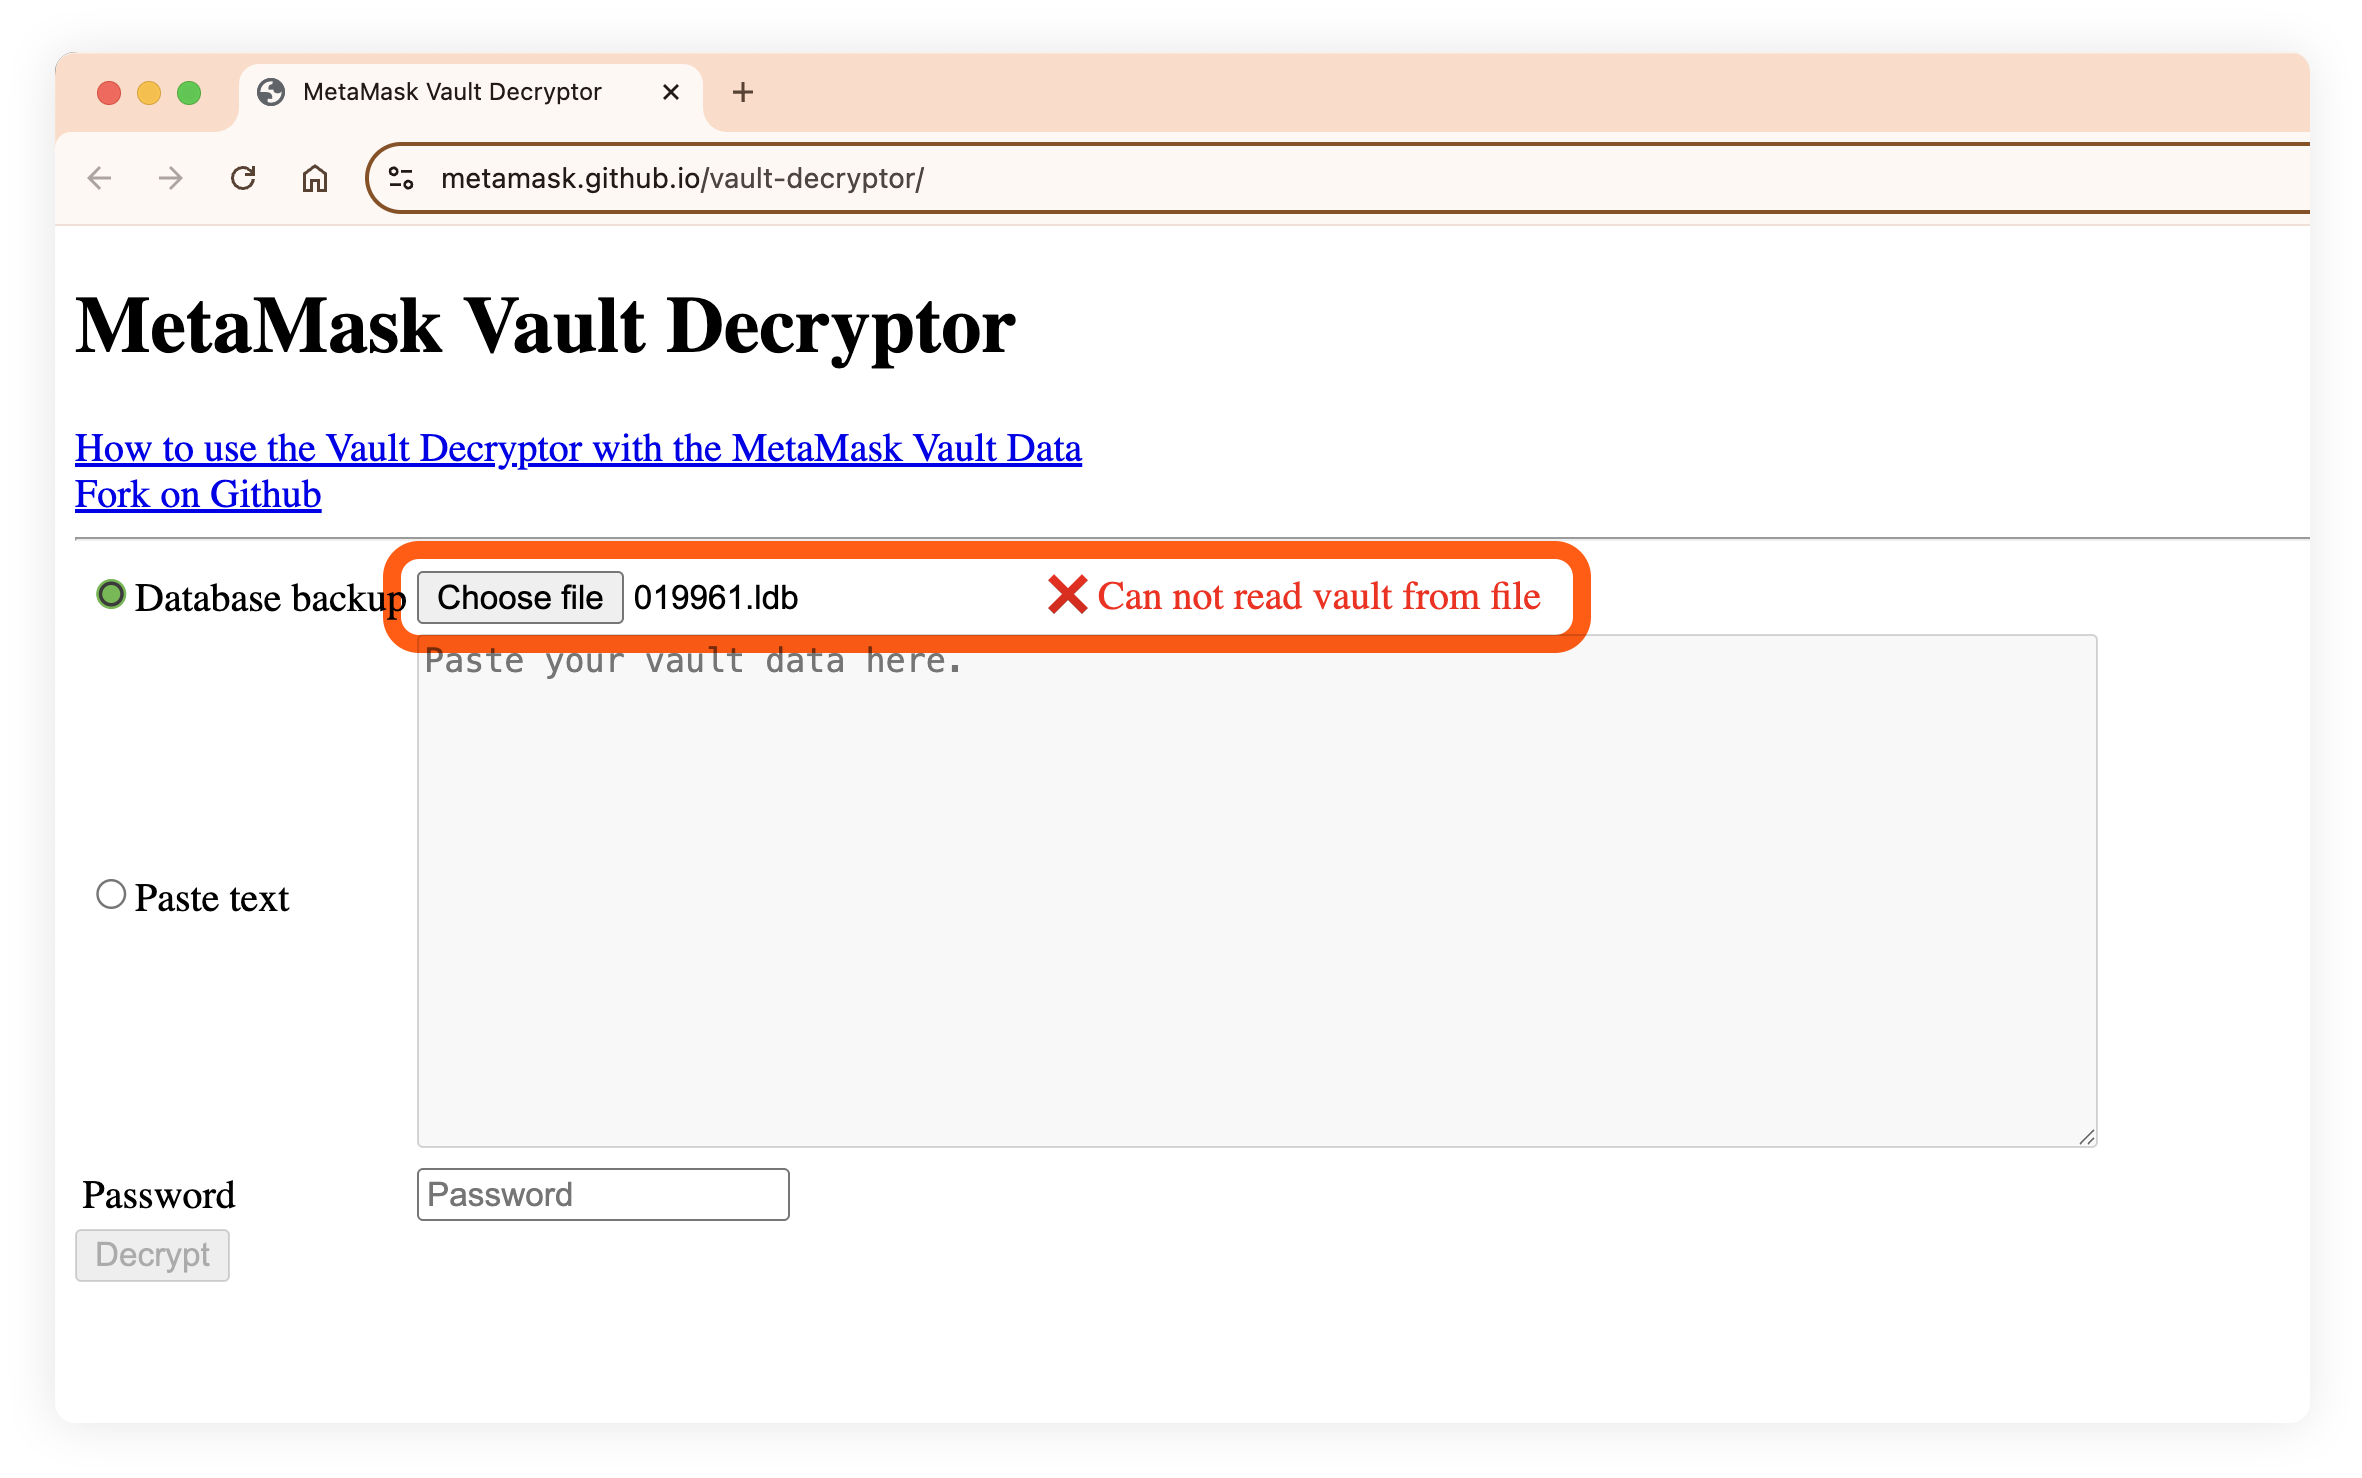
#### Handling multiple vault files {#handling-multiple-vault-files}
If you have imported multiple SRPs into MetaMask on this system--and many of us have--you may have multiple vault files. You can decrypt each one, so long as you know its corresponding password.
**If you imported an SRP into MetaMask, and "lost" the SRP you had in MetaMask previously, that old SRP's vault file may still be on your system. You may be able to recover it using this process, so long as you know the password.**
If you have an idea of what your password was, but can't _quite_ remember, you might want to try using [btcrecover,](https://btcrecover.readthedocs.io/en/latest/) a tool designed to help people manage and recover cryptographic keys. Specifically, it has functionality that automates the process of trying lots of different variations of a password. For an idea of what this process involves, check out [this chapter](https://youtu.be/TzZDcN6SnCU?t=266) of a btcrecover video tutorial.
When handling multiple vault files, keep in mind that they will likely have different numbers, although again, they should be low-value numbers, as stated above. Another important consideration is whether you used MetaMask in different browser profiles. If this is the case, or you think it may be, then it's worth looking. On Windows, this is a few levels up in the folder structure:
`C:\Users\\\your-user-name-here>\AppData\Local\Google\Chrome\User Data`
In that directory, you should see a set of folders, one for each profile created:
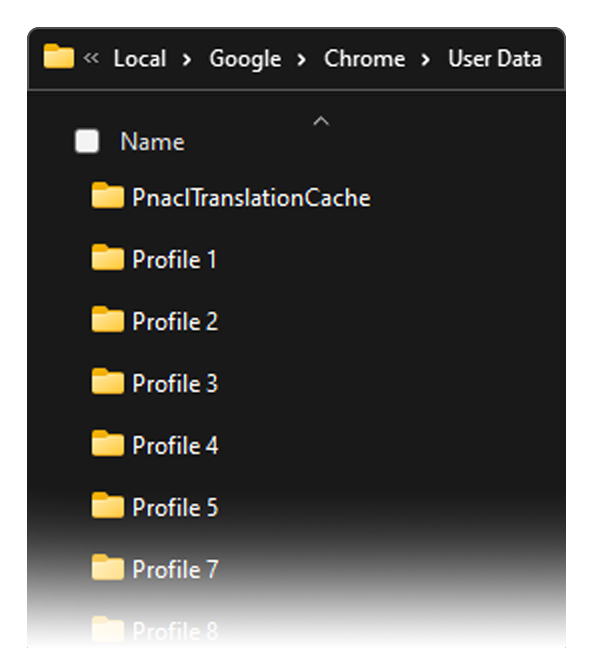
Within each of those directories, navigate to _Extensions_, and you'll see the familiar MetaMask extension ID. Follow the same instructions as above with each one of your profiles until you find the vault you're looking for. Within each of those directories, navigate to _Extensions_, and you'll see the familiar MetaMask extension ID. Follow the same instructions as above with each one of your profiles until you find the vault you're looking for.
**Tip: If you're handling a lot of different vaults, you should probably make a list of which one is where, and which password goes to which!**
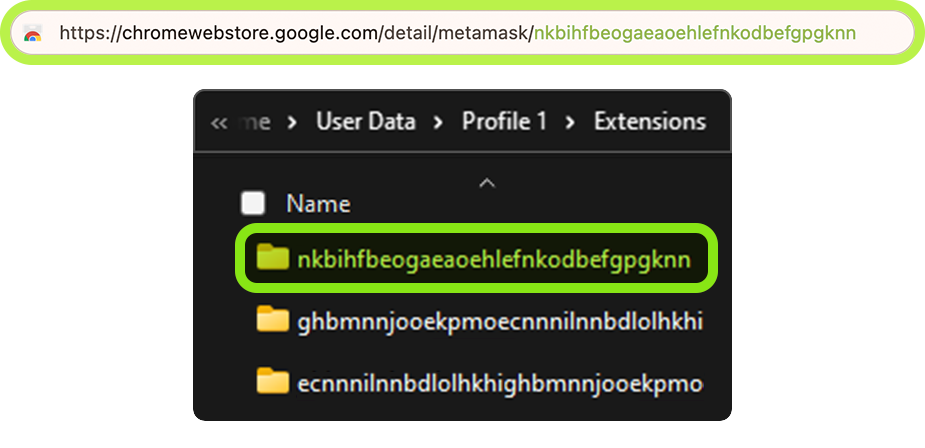
## Step three: decrypt the vault {#step-three-decrypt-the-vault}
This part is easy, so long as you know your password. Simply put in your password, hit "Decrypt", and your Secret Recovery Phrase should appear below the box:
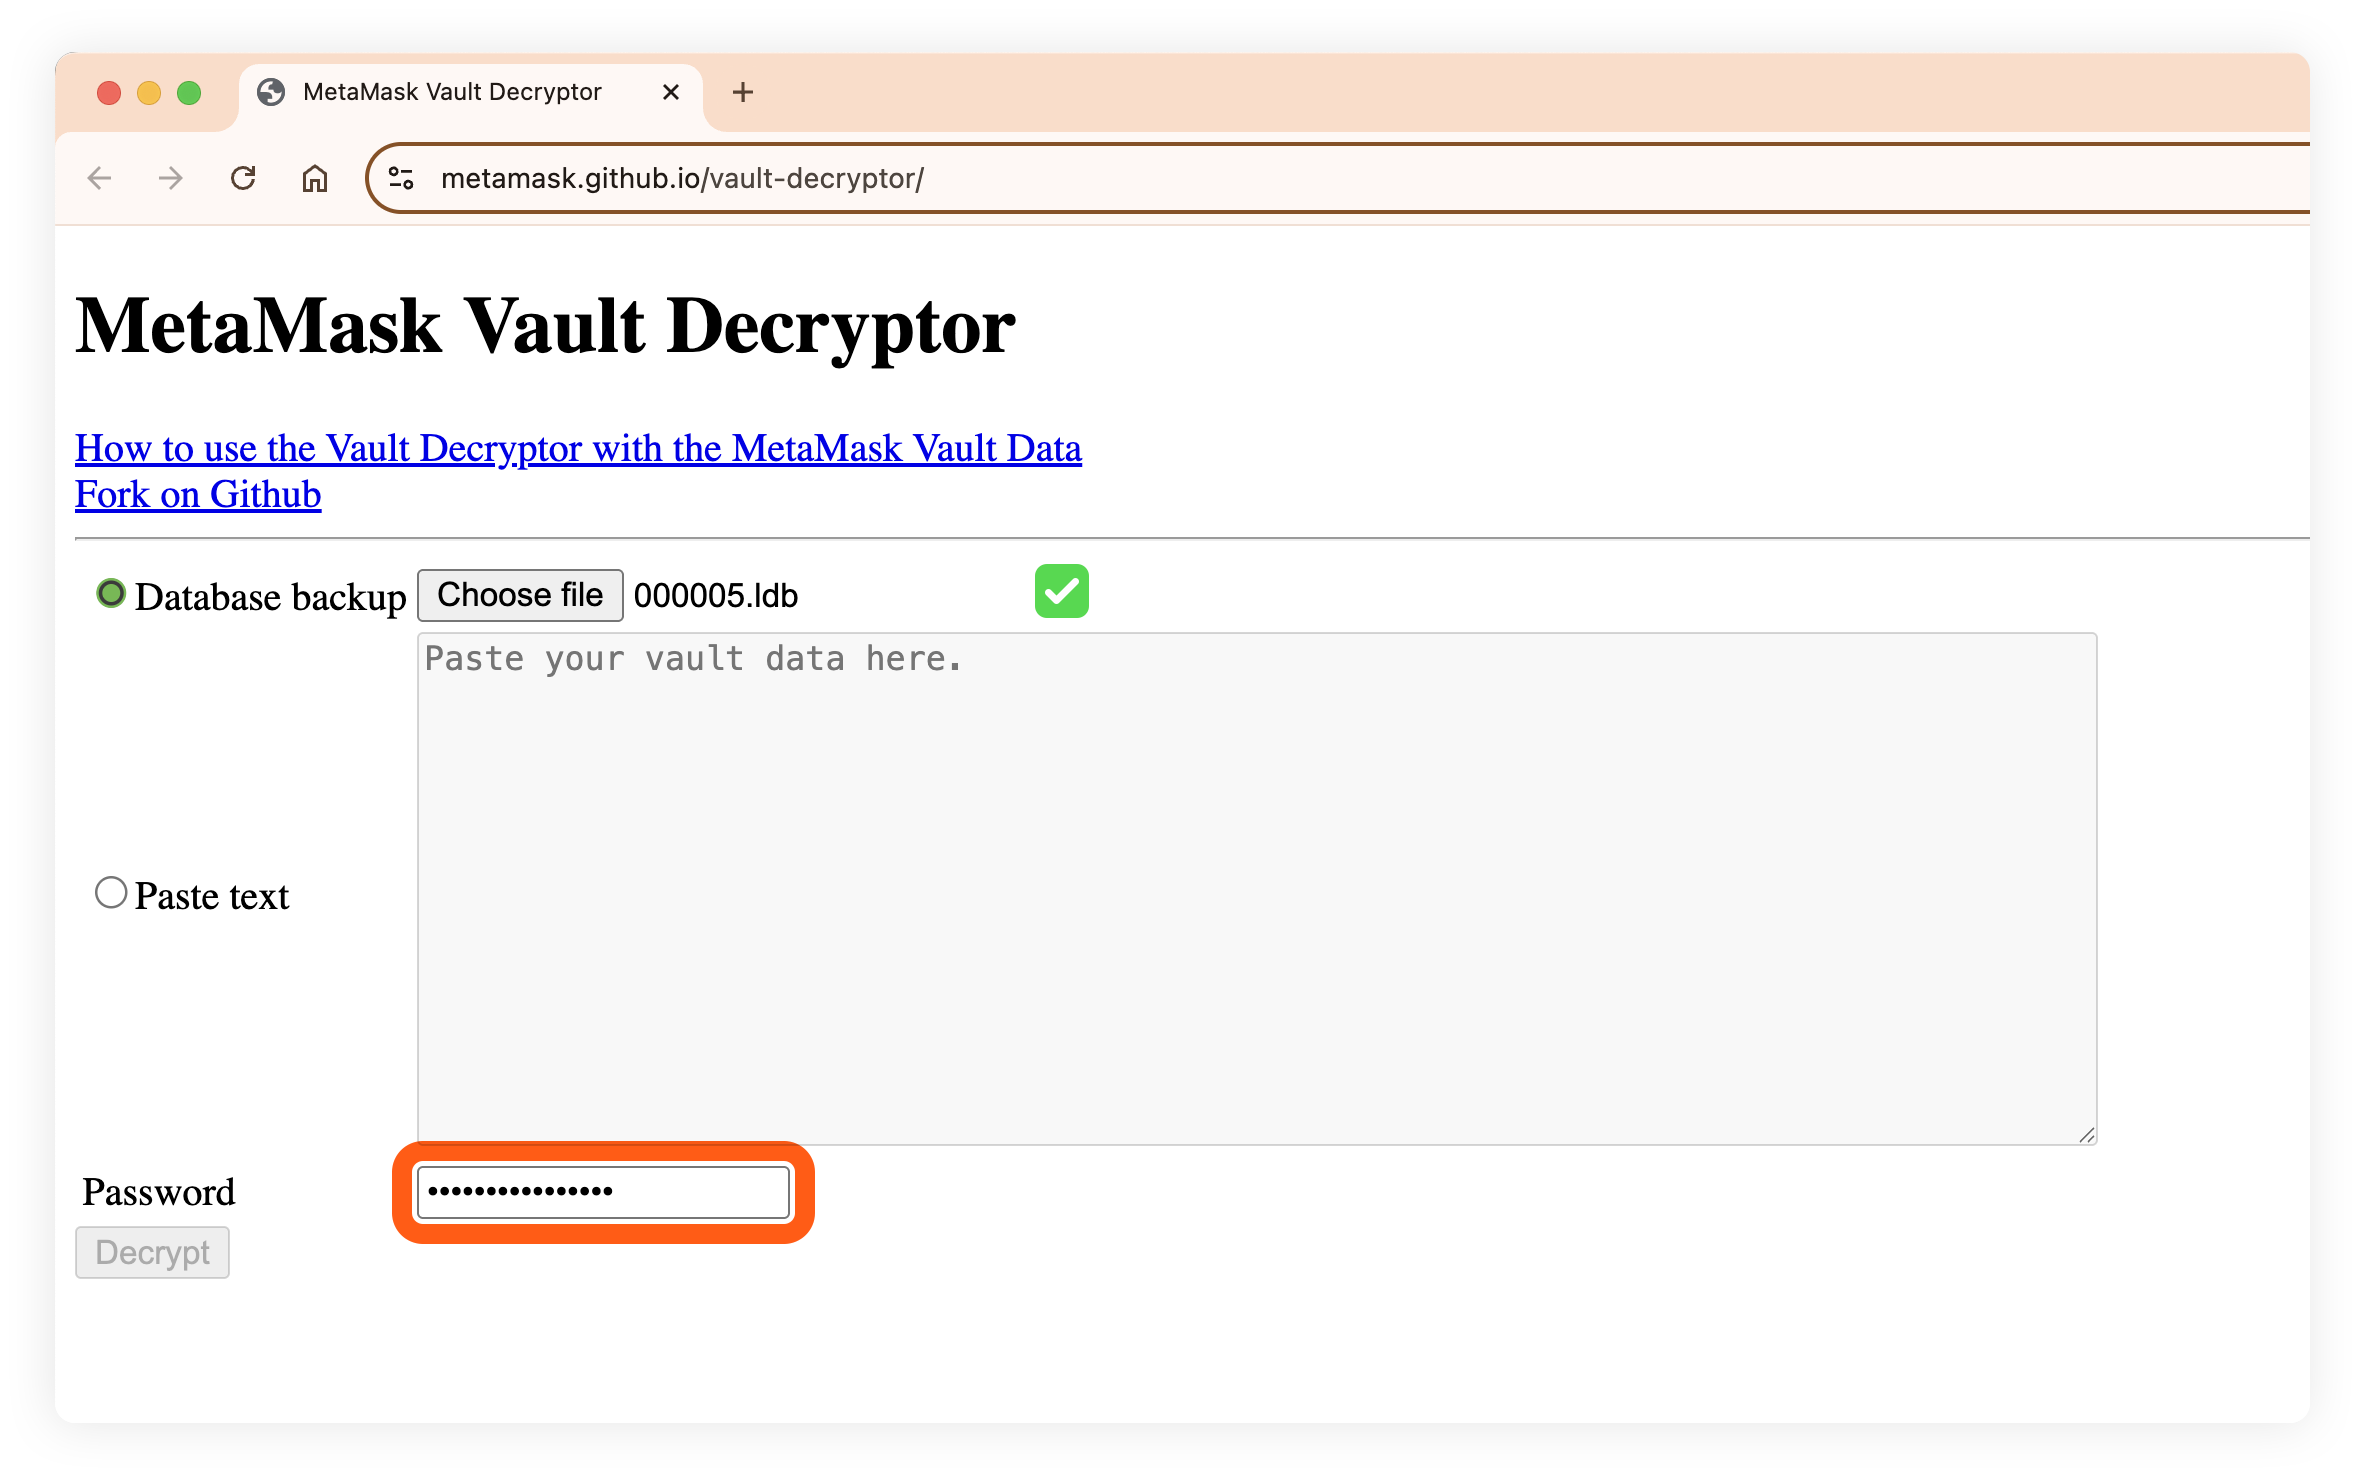
**Now: back up your SRP, _in the order in which the words appear on the screen_, somewhere safe.**
We recommend multiple copies in physical locations, or encrypted, non-Internet connected locations that you trust to be safe.
If you want to know more about a common form of key storage, hardware wallets, follow [our guide here](/more-web3/wallets/user-guide-how-to-use-a-hardware-wallet).
Now that you have your SRP, you can proceed to [import your SRP into MetaMask and restore access to your accounts.](/configure/wallet/how-to-restore-your-metamask-wallet-from-secret-recovery-phrase)
Firefox
#### Limitations {#limitations}
Firefox has implemented changes to its data encoding that have made these instructions of limited use. If you have MetaMask installed in Firefox and know your password, the below instuctions may help solve your problem. If, however, you no longer have access to the browser or are attempting to recover an SRP from an old file system or backup, these instructions may not help, unless you are able to somehow access an instance of Firefox on that file system. As soon as we have a better solution, these documents will be updated.
In Firefox you may need to have the MetaMask extension opened in 'Expanded view' to be able to open the 'Inspect Element' or Web Inspector. Check out this video and follow the instructions below:
Open a new tab in Firefox and enter the following in order to find the extension's `UUID` (Universally Unique Identifier):
**about:debugging#addons**
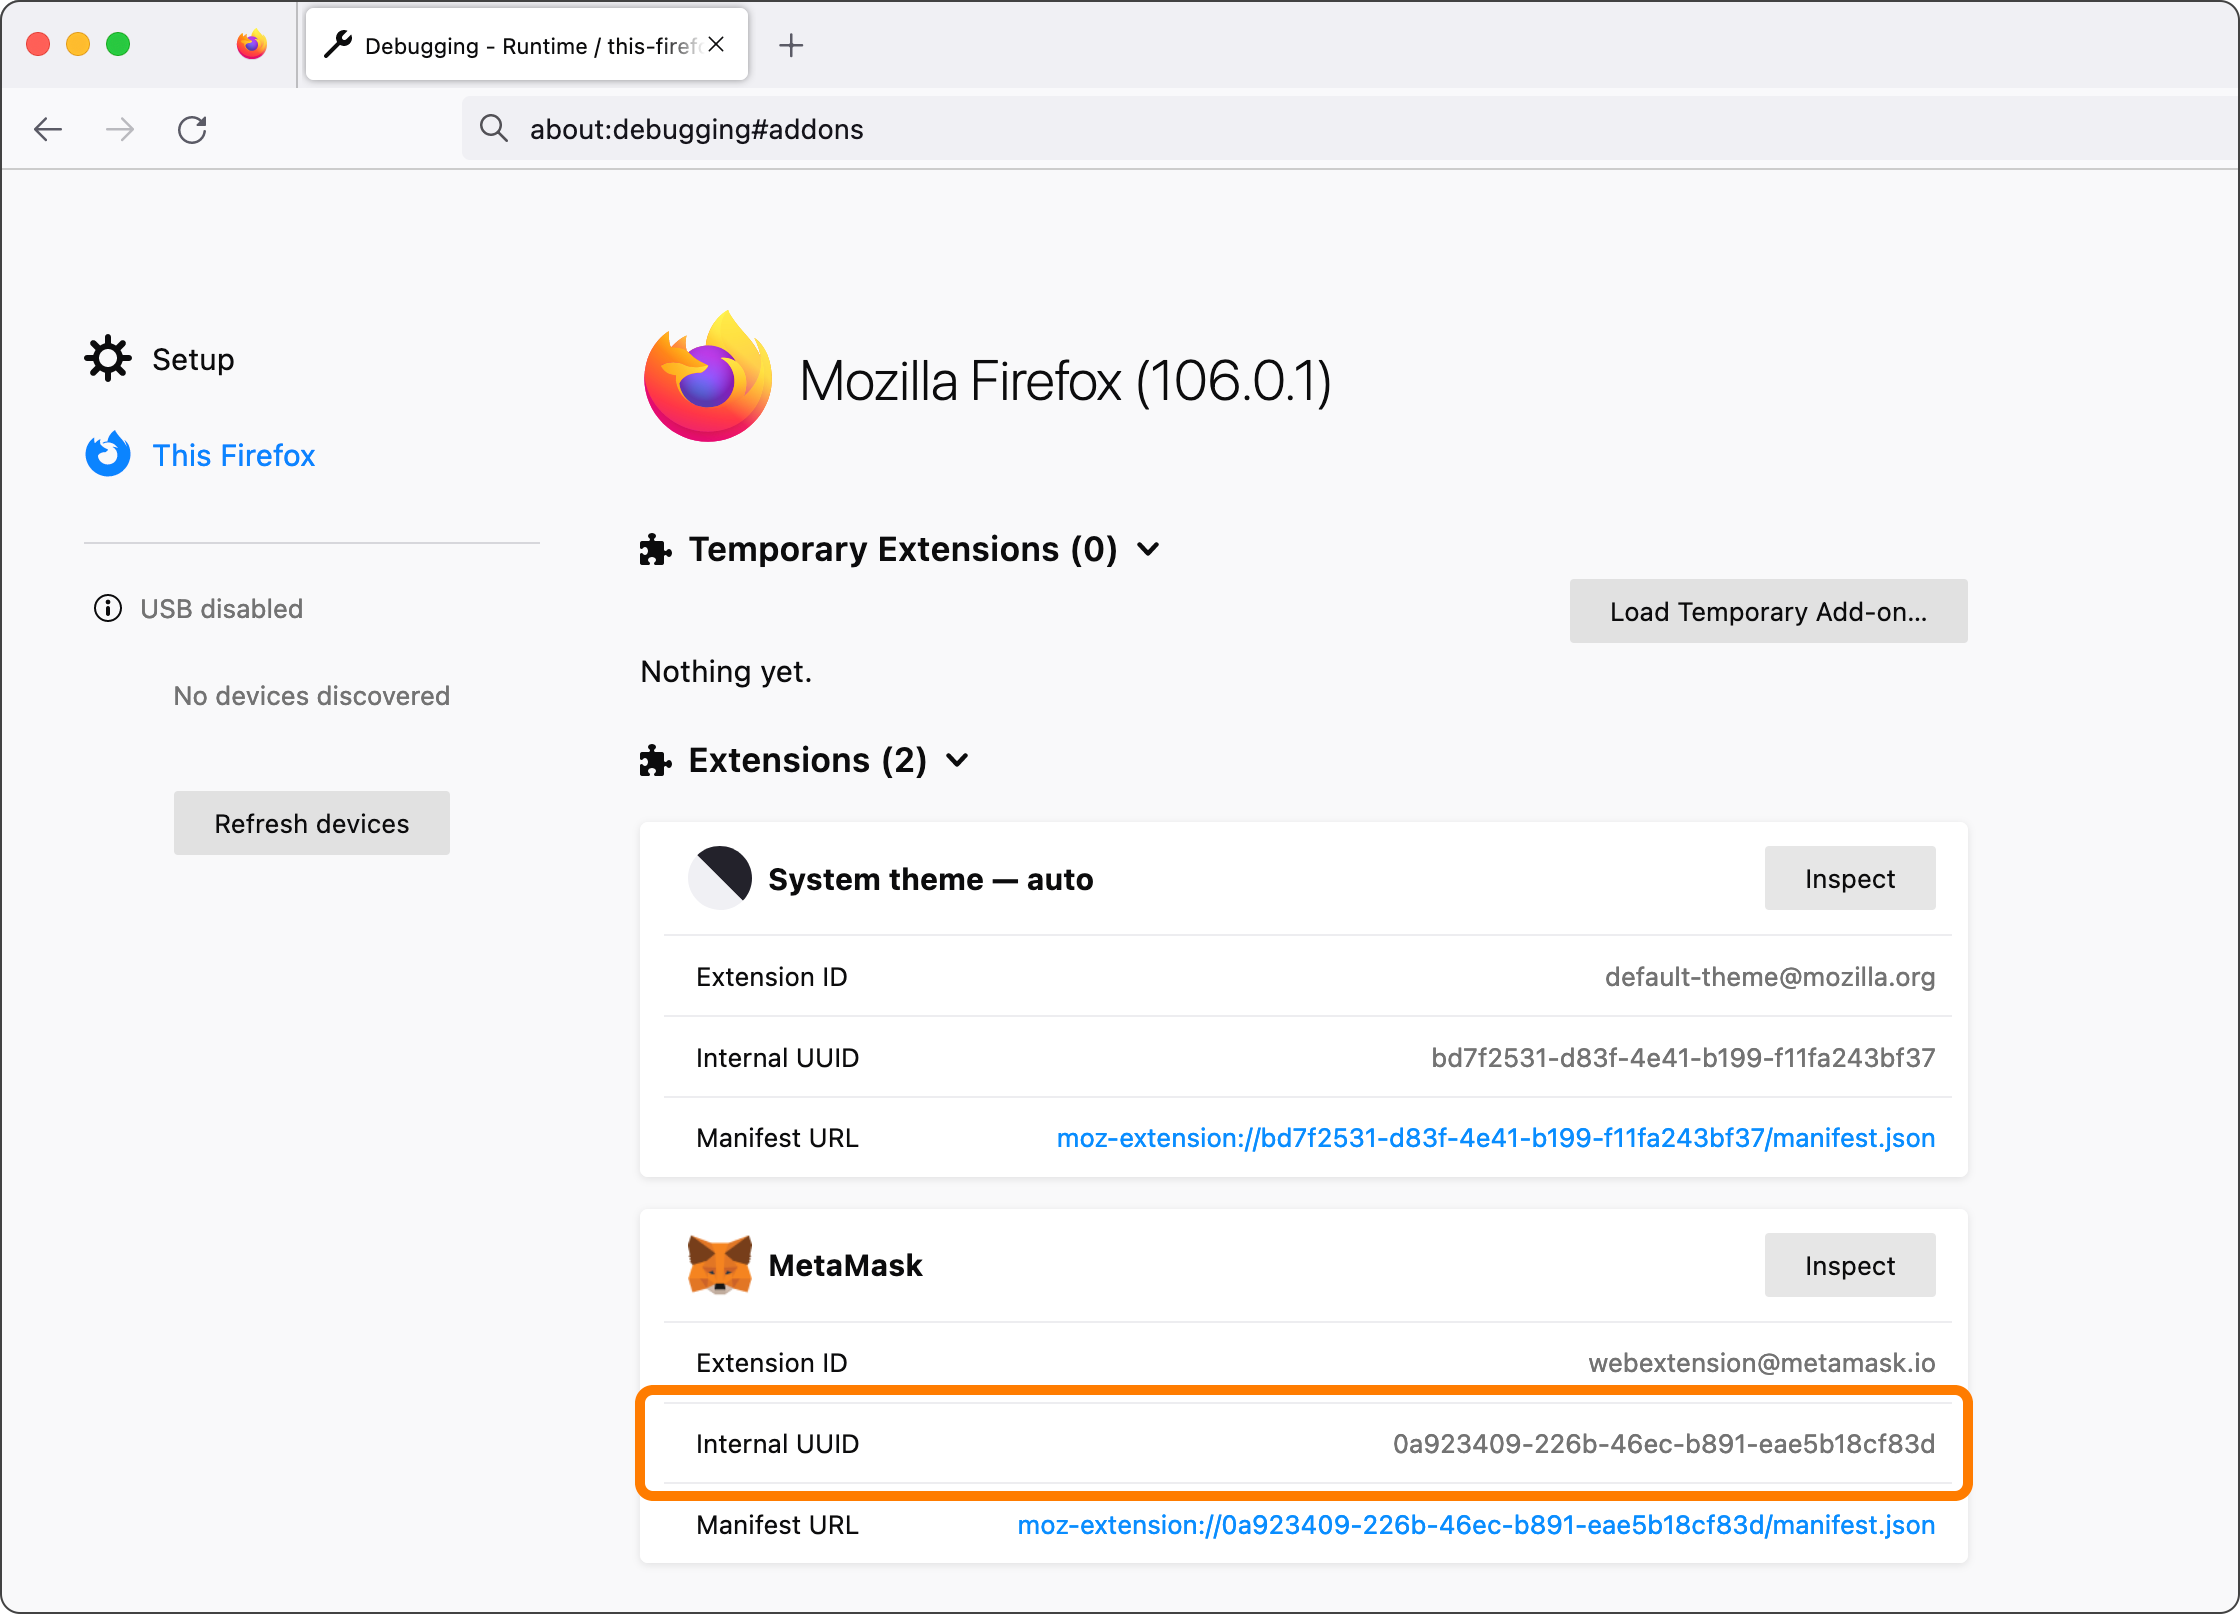
You should be able to see the UUID of the MetaMask extension. Copy it to add it to the following URL (without the spaces):
`moz-extension://\
****/home.html`
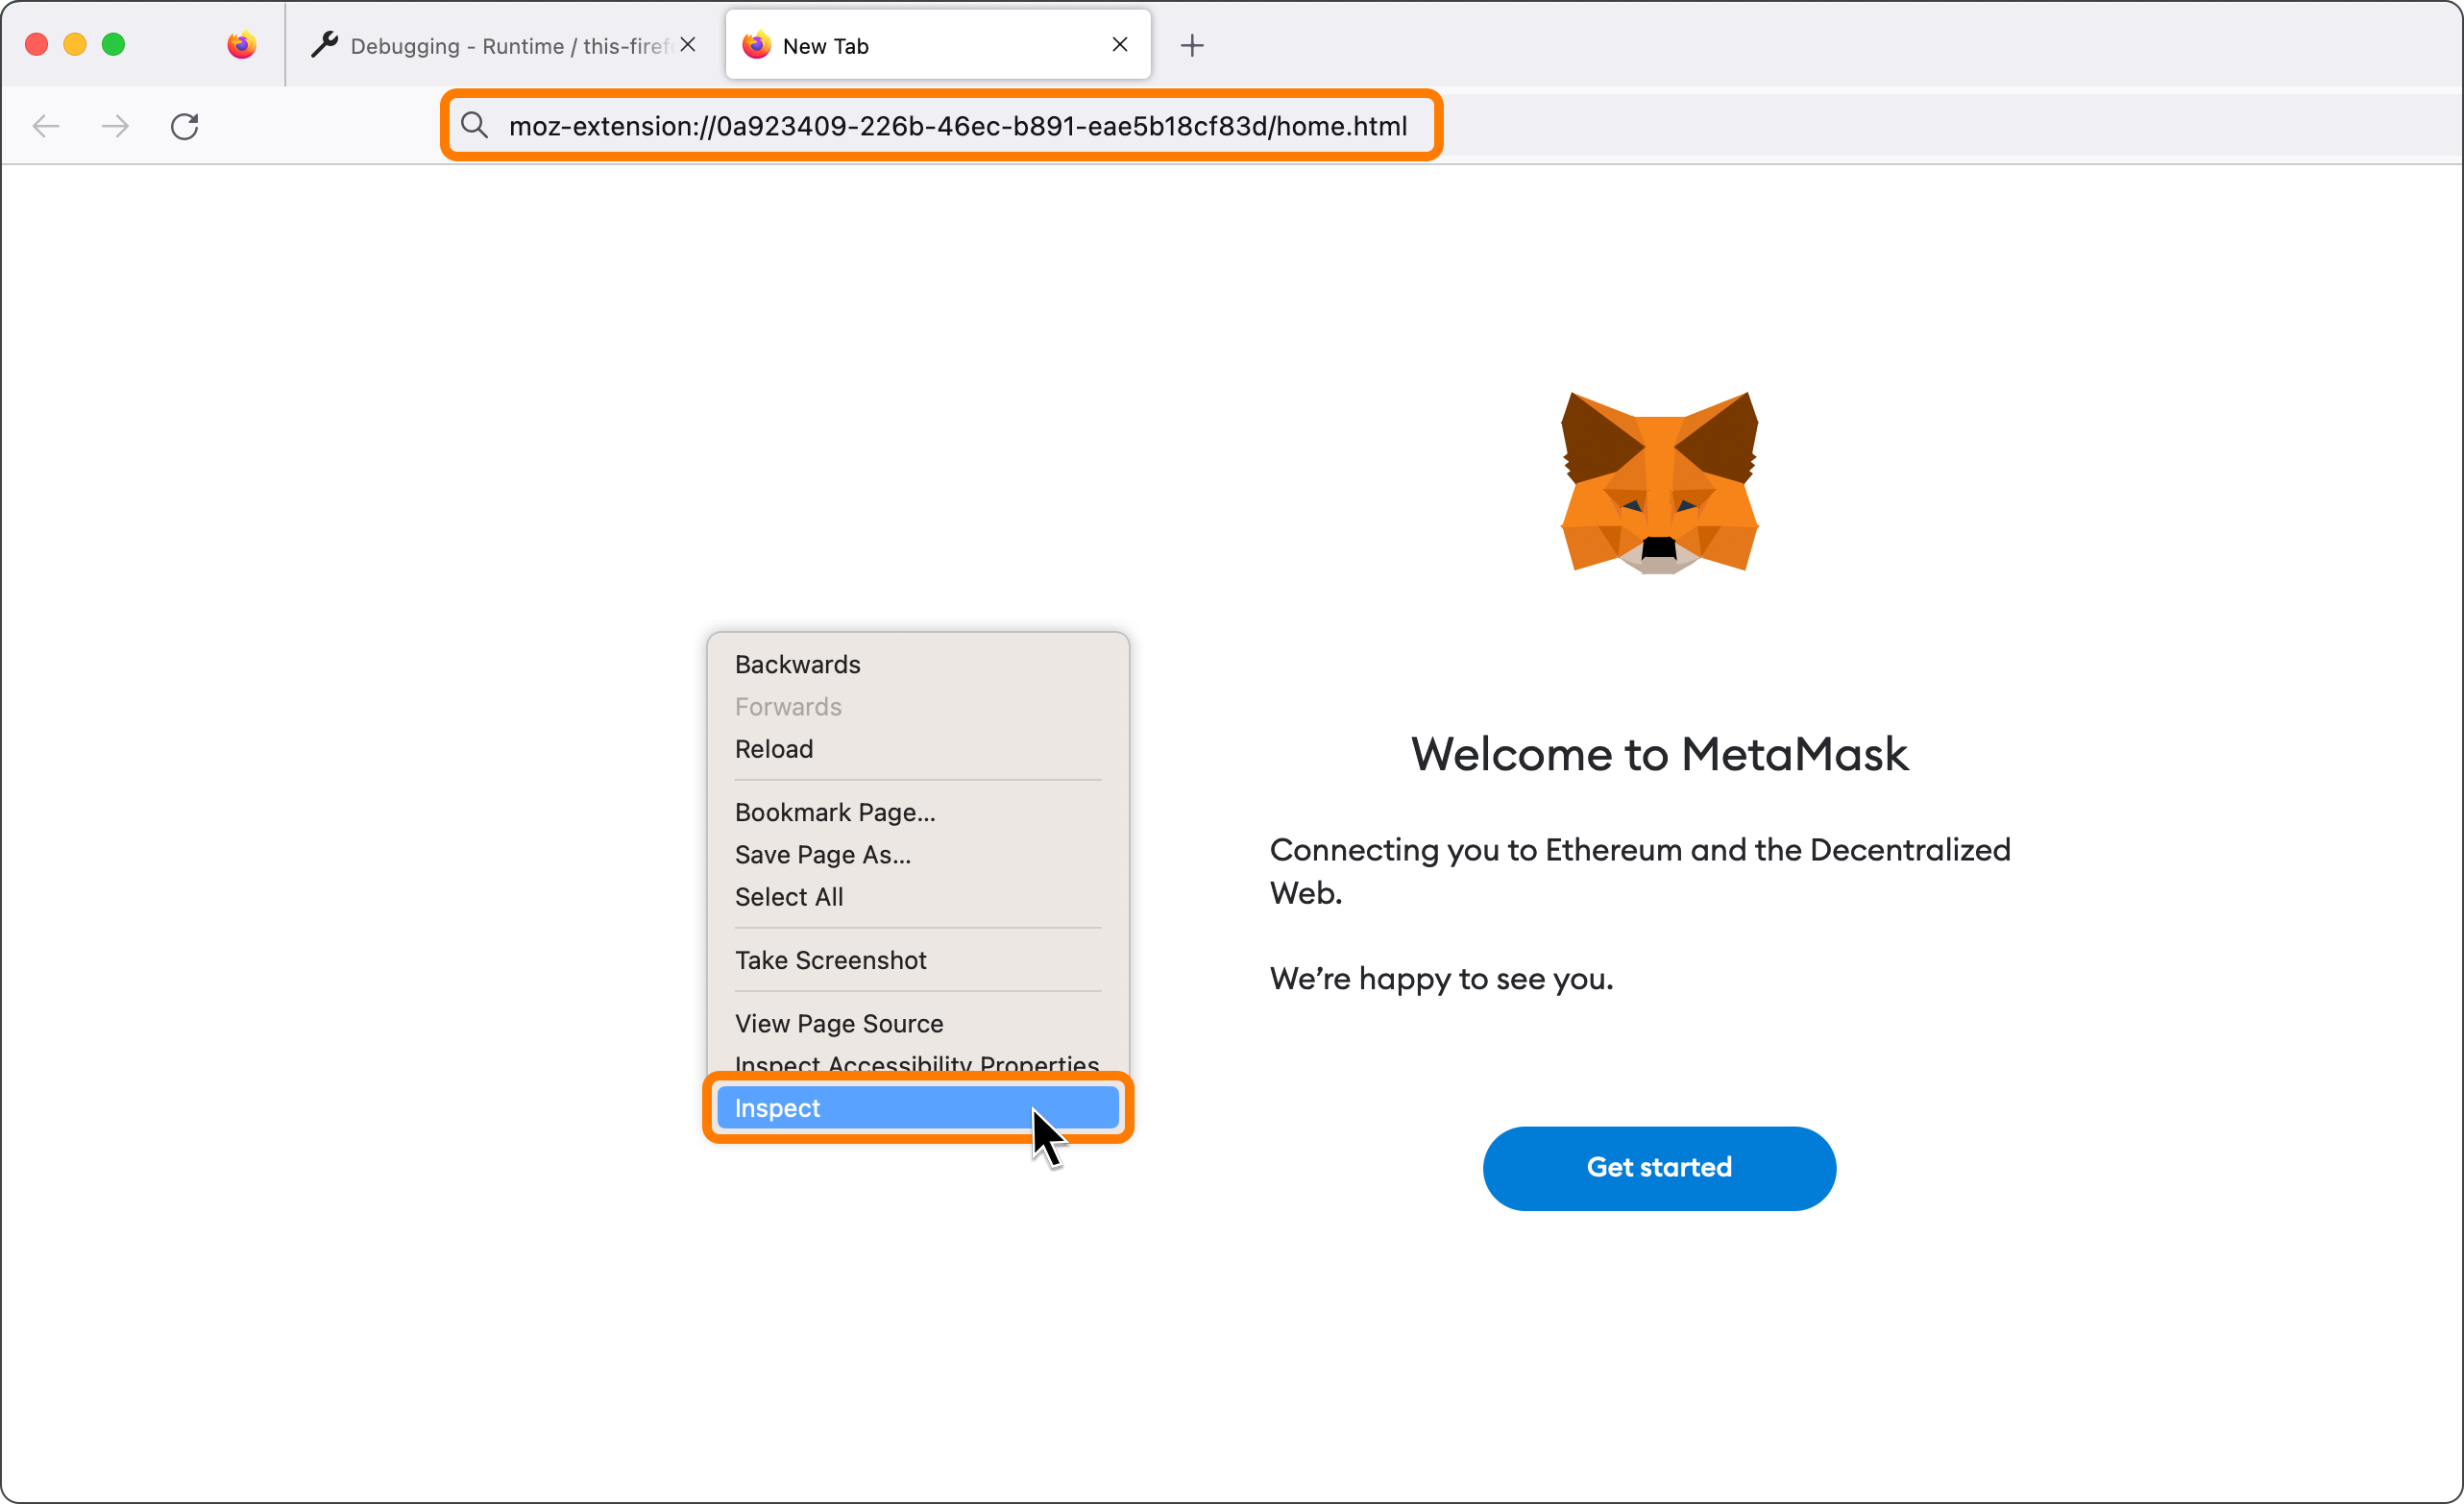
This will open the MetaMask wallet in a browser tab in Firefox.
- Right-click on the MetaMask wallet that's opened in the full-view tab to see the options
- Click the 'Inspect Element' option
- In the opened window, go to the Console tab
- Enter this command in the Console and click enter or return (you can copy+paste the following command):
```
chrome.storage.local.get('data', result => {
var vault = result.data.KeyringController.vault
console.log(vault)
})
```
- This should return a result that begins `_{"data":_`. This is the vault data (which is in JSON format).
- Copy it to your clipboard.
- Proceed to the Vault Decryptor that you can find in the link below and also see the open-source code at [GitHub](https://github.com/MetaMask/vault-decryptor):
[https://metamask.github.io/vault-decryptor/](https://metamask.github.io/vault-decryptor/)
_This Vault Decryptor tool can also be used offline, you just need to use your browser's tool bar > File > Save page as... > MetaMask Decryptor.htm. Then open the **MetaMask Decryptor.htm** file in your browser with your computer disconnected from the Internet._
- On the Vault Decryptor page, paste the _{"data:"}_ part of the vault data and use the password you set for your wallet in the MetaMask Extension and click the "Decrypt" button.
- If successful, you'll see the result below the Decrypt button showing the _"mnemonic"_ 12 Word English Secret Recovery Phrase, along with any other imported _"Simple Key Pair"_ (private key). You can now use the Secret Recovery Phrase (and private keys) to restore your MetaMask wallet.
**We urge you strongly to make sure that you always backup your Secret Recovery Phrase, and any manually imported private keys, so this never happens again.**
Recovering an old SRP after importing another one (Chrome-based)
Did you import an SRP into MetaMask and lose your old one?
MetaMask can't detect multiple vault files, or switch between them--but if you imported an SRP to MetaMask, the vault might still be there, or in a backup of your system made at the time.
Currently, we only have a process for this on Chrome-based browsers, but we're working on it for Firefox, and we'll update this documentation when we have one. Follow the instructions above, under "Chrome-based browsers", and pay special attention to the note at the end of Step 2, regarding 'Multiple vault files'.
Manual extraction method
What if I can't upload my vault file? (Chrome-based browsers **only**)
The Vault Decryptor tool's vault upload feature has built in order to avoid users having to step through a fair amount of manual work involved in finding, formatting, and extracting their vault data. However, if you're in a situation where, for whatever reason, you can't use that feature, the steps below may help.
Keep in mind that this process changes from time to time, without MetaMask being aware; this is due to the fact that Chrome can change the way it saves data to disk, for example; or [how it encodes data](https://blog.hubspot.com/website/what-is-utf-8), which affects this process. **If you notice such a change, please let us know--keeping these instructions up to date is a group effort! ❤️🦊**
:::info[Note]
It is due to exactly these issues, encoding, that we currently **do not** have documentation for this process **in Firefox**. The team is actively working on resolving this, and as soon as we have a process, these documents will be updated.
:::
**In Windows 10 and 11**, you should be able to find the location of the Vault by going to this folder location (you need to be able to see the hidden files):
_C:\Users\USER_NAME\AppData\Local\Google\Chrome\User Data\Default\Local Extension Settings\nkbihfbeogaeaoehlefnkodbefgpgknn_
**On a Mac,** the location of the folder should be:
```
Library > Application Support > Google > Chrome > Default > Local Extension Settings > nkbihfbeogaeaoehlefnkodbefgpgknn
```
If you're having trouble finding this location, try the following:
- Open a Finder window.
- Select **Go > Go to Folder...** in the menu bar.
- Type `~/Library` in the input field and click Go.
In that folder you'll see a file called `000003.ldb` or something similar--**the number doesn't matter, you're looking for `.ldb` files**. Open that file with a text editor or code editor software like Atom (https://atom.io/) or [Sublime Text](https://www.sublimetext.com/).
:::info[note]
**Upon opening the `.ldb` file in Sublime Text,** you may get thousands of lines of something that looks like the following:
```
3936 6538 6365 3964 6261 3434 3338 3463 6433 6166 223a 2230 7835 6563 6156 32511 3266 3137 6439 6663 3322 2c22 3078
```
If this is the case, click on **File > Reopen with Encoding > UTF-8**. At this point, you can search for "vault" and find the data you need.
:::
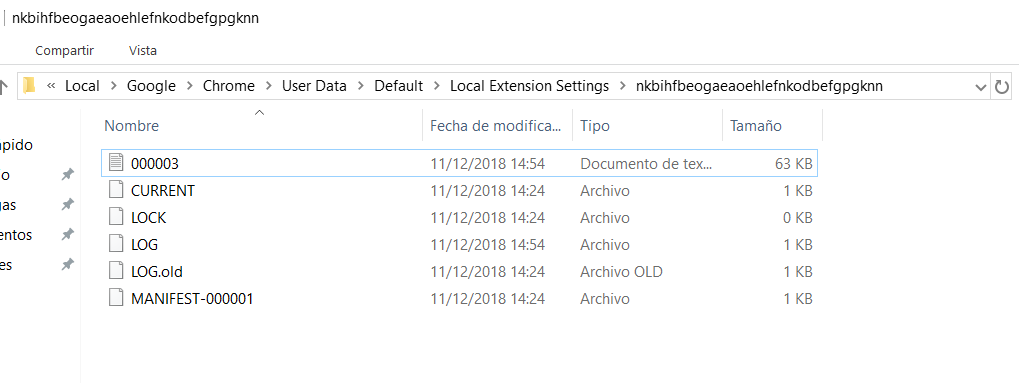
Once you've opened the file, search for the word "keyring". There will be a dense block of text following it (if using SublimeText, it might be easier to view it by clicking on "View" and "Enter Distraction-Free Mode"), which looks like this:
**This is your vault data; however, we will need to re-format certain parts of it in order to be able to decrypt it: We'll need to make sure you have the "data", "iv", and "salt" sections properly labelled.**
In order to do this, we'll need to copy-paste your vault data to a new text editor file. Look at the section following "Keyring" in the text. There's a section that reads **`{\"???'<0x04>\"`**. That's the beginning of your vault data. Now look for the word "salt". Following "salt" there's a long string of alphanumeric characters in quotation marks, and that section ends with **=\\"}** . That's the end of your vault data, so **copy from the opening curly bracket following "Keyring" to the closing curly bracket following the alphanumeric characters after "salt", and paste into a new text editor document.**
Whew! Now's the easy part. I promise.
**"data":**
_You already saw this part of the text: **`{\"???'<0x04>\"`** Keep in mind that yours might look a little different; it might be a different code between the triangle brackets, for example. In any case, make this part of the text look like: **`{"data"`**.
**"iv":**
This isn't always changed; in the screenshot above, for example, they're functional as-is. If your code looks like that, you're good to go!
**"salt":**
Like with "iv", look to make sure "salt" looks like it does in the screenshot above. Additionally, make sure that the entire text block ends like this:
```
="}
```
**not like this:**
```
=\\"}"}
```
**remove slashes:**
Use the Search and Replace feature of the editor to change all the `\` to `"` (removing them). You should now have something like this:
```
{"data":"wwpXXtFCqZkYsWfeEwItZjJ0Cc7mRVjG47Dqh+ztL1PiCG6Izhg+zG0mM+H2ykyjz3X0RNhAE6IVsWFZamcZ47B4sVi4SvUxrMhARm5L3yHPxr3UsyGrOXmthyVMgEGmjwlmnFCNd2nMZ2o8/sRMra8FupurqevnBv57FiYpEEs7gPpFHv6587aL44MmKD8Snv4JLFqiqmlK82Waq5F+Iv9mw2sFVAL9mgZBSgFgbWdB3TsKVB2k","iv":"rkUQlNcGTxBE0My7a/bCXw==","salt":"HcKyNfGzaRALRQ0DlKgcIe5Uk30iI/M//oG6w8vX8Nk="}_
```
**OK! That's it! You're ready to decrypt!**
You can now go to the Vault Decryptor ([https://metamask.github.io/vault-decryptor/](https://metamask.github.io/vault-decryptor/)) and paste the vault data there, then enter the password you set for the extension when you created your MetaMask wallet. You should be able to see your secret Seed Phrase / Secret Recovery Phrase and any manually imported private key below if you click the Decrypt button.
:::danger[iOS method currently unavailable]
We've recently become aware that the iOS recovery method is no longer working. We're investigating the cause and will update this page when we have updated instructions.
However, and like Android, iOS devices now have an automated vault recovery method built-in. With v6.3.0 or later, if MetaMask detects any kind of problem with the vault files required to load MetaMask, the app will initiate an automatic recovery sequence.
Note that this is _not_ like the vault extraction method described above for Chrome-based browsers, and cannot be initiated manually.
:::
**In order to recover your vault data, you will need:**
- You **must have had** iCloud backup enabled in your iCloud settings while the app was being used.
- The password that was used on MetaMask Mobile when the vault was created (or restored on that device)
- MacOS running on a separate computer or laptop, other than the mobile device in question
- An app capable of displaying JSON data in a readable fashion. You may need to download one, for example: [https://imazing.com/download/macos](https://imazing.com/download/macos)
- A WiFi connection or the appropriate cable to sync your phone and your computer
### **Procedure** {#procedure}
- Connect the mobile device to the computer, either via wifi or a physical cable, so that the mobile device appears in your Finder.
- Search for the word "KeyringController"
- Copy and paste that JSON object into a new document. It will look something like this:
- `{\\\\\\\\\\\\\\\\\\\\\\\\"cipher\\\\\\\\\\\\\\\\\\\\\\\\":\\\\\\\\\\\\\\\\\\\\\\\\"JaX8Z80QMzzqA4XMgPsUuleNLIuxvchXZ5q1SO9GO1kuNUmokUke06op9EF0ZU4WXsILfUZ0yKI5kjzYY9H12t5aGb43BOAWJwlKuC8neXWeL5enoD/L05eDC9tzZEBupLwF7cGG6JdPHHQKdRDWWbQM+TUo6EvZv7LClPZQVJ17uowGvPMPB0UwfPea7DP/dE5DYleHmX1rhxAJr1YN4HUPAYpCCReU4W4/2QsaM+E=\\\\\\\\\\\\\\\\\\\\\\\\",\\\\\\\\\\\\\\\\\\\\\\\\"iv\\\\\\\\\\\\\\\\\\\\\\\\":\\\\\\\\\\\\\\\\\\\\\\\\"dcabe6ed590ae3ee8e056c7844c58047\\\\\\\\\\\\\\\\\\\\\\\\",\\\\\\\\\\\\\\\\\\\\\\\\"salt\\\\\\\\\\\\\\\\\\\\\\\\":\\\\\\\\\\\\\\\\\\\\\\\\"h6IkHlWjloB9c9+KiGgYvQ==\\\\\\\\\\\\\\\\\\\\\\\\",\\\\\\\\\\\\\\\\\\\\\\\\"lib\\\\\\\\\\\\\\\\\\\\\\\\":\\\\\\\\\\\\\\\\\\\\\\\\"original\\\\\\\\\\\\\\\\\\\\\\\\"}`
* Back up the mobile device as per the instructions [here](https://support.apple.com/guide/iphone/back-up-iphone-iph3ecf67d29/ios) under 'Backup your iPhone using your Mac'. We recommend using the _encrypted option_, and **making a note of the password for later.**
* Select Manage Backups
* Show in Finder
* Drag the backup folder into the iMazing app, or whichever app you're using to read the backup. **This is the point at which you'll need your password if you encrypted the backup.**
* In the backup tool, navigate to Apps->MetaMask->Documents->persistStore->persist-root
* Open the persist-root file. It will be a lengthy file in JSON format.
* Modify the object to reflect the example below (manually remove all \\\\\ and ensure there are no white spaces):
* `{"cipher":"JaX8Z80QMzzqA4XMgPsUuleNLIuxvchXZ5q1SO9GO1kuNUmokUke06op9EF0ZU4WssILfUZ0yKI5kjzYY9H12t5aGb43BOAWJwlKuC8neXWeL5enoD/L05eDC9tzZEBupLwF7cGG6JdPHHQKdRDWWbQM+TUo6EvZv7LClPZQVJ17uowGvPMPB0UwXPea7DP/dE5DYleHmX1rhxAJr1YN4HUPAYpCCReU4W4/2QsaM+E=","iv":"dcabe6ed590ae3ee8e056c7844c583d7","salt":"h6IkHlWjloBgc9+KiGTYvQ==","lib":"original"}`
* Now you can copy the vault payload into the mobile app.
* Start up the MetaMask app on your iPhone and go to the Wallet Setup screen select “Import using Secret Recovery Phrase”
* In the Import using Secret Recovery Phrase screen, you can paste the vault into the seed phrase text box and then the password you want to try to unlock the vault in the password text boxes (passwords have to be the same). This is the password that was used when this vault was created or restored on this device. If the vault can be decrypted by the password, your wallet will be successfully set up.
- Import using Secret Recovery Phrase (example image):
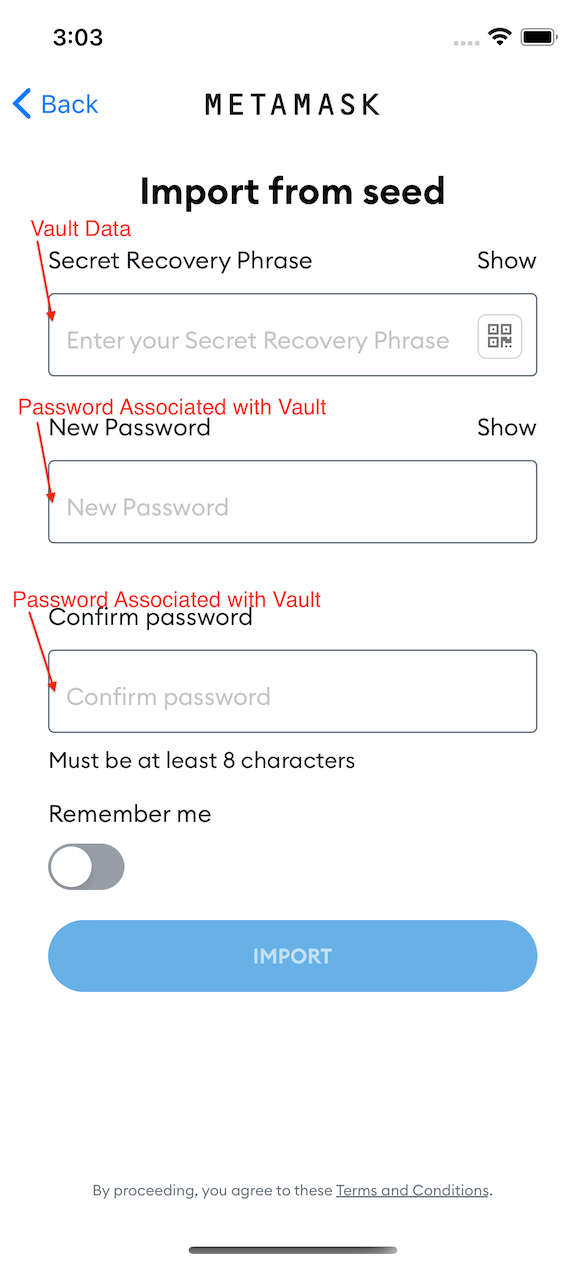
- - On successful setup of your wallet you should **REMEMBER to back up your seed phrase after your wallet is set up.**
We are currently working on a solution for Android; as soon as it is available, we will post it here.
However, and like iOS, MetaMask for Android now has an automated vault recovery method built-in. With v6.3.0 or later, if MetaMask detects any kind of problem with the vault files required to load MetaMask, the app will initiate an automatic recovery sequence.
Note that this is _not_ like the vault extraction method described above for Chrome-based browsers, and cannot be initiated manually.
**We urge you strongly to make sure that you always backup your Secret Recovery Phrase, and any manually imported private keys, so this never happens again.**
---
# How to reset your MetaMask wallet
URL: https://support.metamask.io/configure/wallet/how-to-reset-your-wallet/
> Contact Support first to determine if resetting your wallet is the right step.
**This article describes the MetaMask reset process, which is different from an account reset**. [Click here](/configure/accounts/how-to-clear-your-account-activity-reset-account) to read about resetting your account(s).
## What is a MetaMask reset?
A MetaMask reset (or wallet reset) essentially returns your MetaMask Extension or Mobile app to the state it was in when you downloaded it: it **clears your Secret Recovery Phrases and your accounts from the software**.
_You should be very cautious before proceeding; if you don't have your SRP, or your Google/Apple/Telegram account and password, you will lose access to your accounts, and MetaMask will not be able to recover them for you._
### What's the difference between resetting my MetaMask and resetting my account?
Although similar in name, these two options have different effects.
'**Reset MetaMask**' will completely remove your wallets from the device, requiring you to restore with your SRP. '**Reset account**' will wipe your transaction history, leaving your wallet otherwise untouched. See our [account reset article](/configure/accounts/how-to-clear-your-account-activity-reset-account) for additional detail.
:::info[In summary:]
**Reset account** will wipe your transaction history, but keep your wallet in MetaMask.
**Reset MetaMask** will completely remove your wallets and accounts from this MetaMask install.
:::
_Most users will have no need to reset their MetaMask._
## How do I reset my MetaMask?
To reset your MetaMask wallet, contact Support by clicking the 'Contact Support' on the home page of this site. Our support agents will work with you to help you resolve any issues and determine if resetting your MetaMask is the right step. This will help ensure you don't lose your SRP or private keys, and helps us fix this problem for you and other users.
:::info[Users who access their MetaMask via Google, Apple, or Telegram]
If you access your MetaMask via Google, Apple, or Telegram, you cannot disconnect your wallets and accounts from your Google, Apple, or Telegram login. If you create a new MetaMask instance, and login via your Google, Apple, or Telegram account and password, all of your associated accounts and wallets will be restored to that new instance. Basically, you cannot reset your MetaMask if you access it via Google, Apple, or Telegram, unless you want to move away from logging in via Google, Apple, or Telegram altogether.
:::
---
# How to restore your wallet using your Secret Recovery Phrase
URL: https://support.metamask.io/configure/wallet/how-to-restore-your-metamask-wallet-from-secret-recovery-phrase/
> Restore your MetaMask wallet using your Secret Recovery Phrase or Google/Apple/Telegram account, whether you've lost access or are setting up on a new device.
You have your Secret Recovery Phrase written down, and ready to use.
You have a fresh install of MetaMask, you've forgotten your password, or you're setting up on a new device.
You may need to restore your MetaMask wallet if you've lost access to an existing install, or if you're setting up on a new device. You can restore your wallet using your Secret Recovery Phrase or by logging into a new device with your Google, Apple, or Telegram account and password.
:::danger[warning!]
Before proceeding, make sure you have your Secret Recovery Phrase and any private keys (from hardware wallets or imported accounts) [backed up](/configure/wallet/how-to-reveal-your-secret-recovery-phrase/).
If you have unintentionally reset your wallet, and need to recover an SRP that you previously used in MetaMask, you may still be able to. See [this article](/configure/accounts/can-i-access-my-accounts-without-my-secret-recovery-phrase/) for guidance.
:::
Extension
1. When setting up a fresh install of MetaMask, click 'I have an existing wallet':
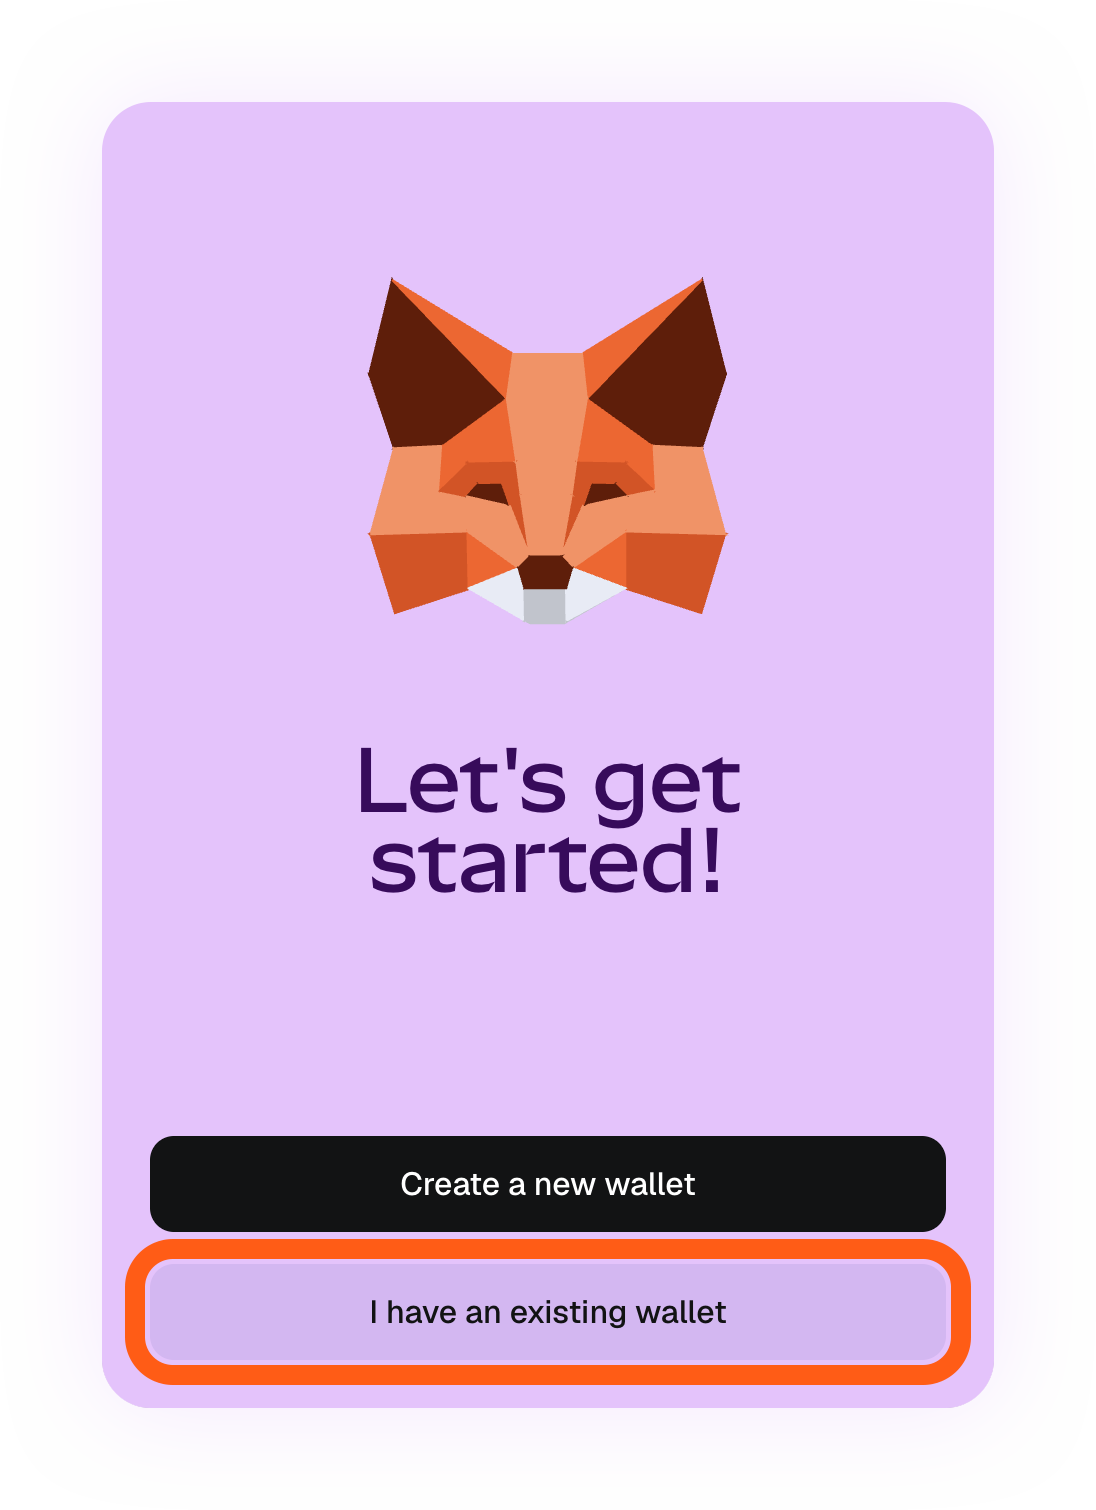
2. Follow the prompts to enter your Secret Recovery Phrase. Enter each word in a separate box, making sure you type each word lower case, and without any spaces.
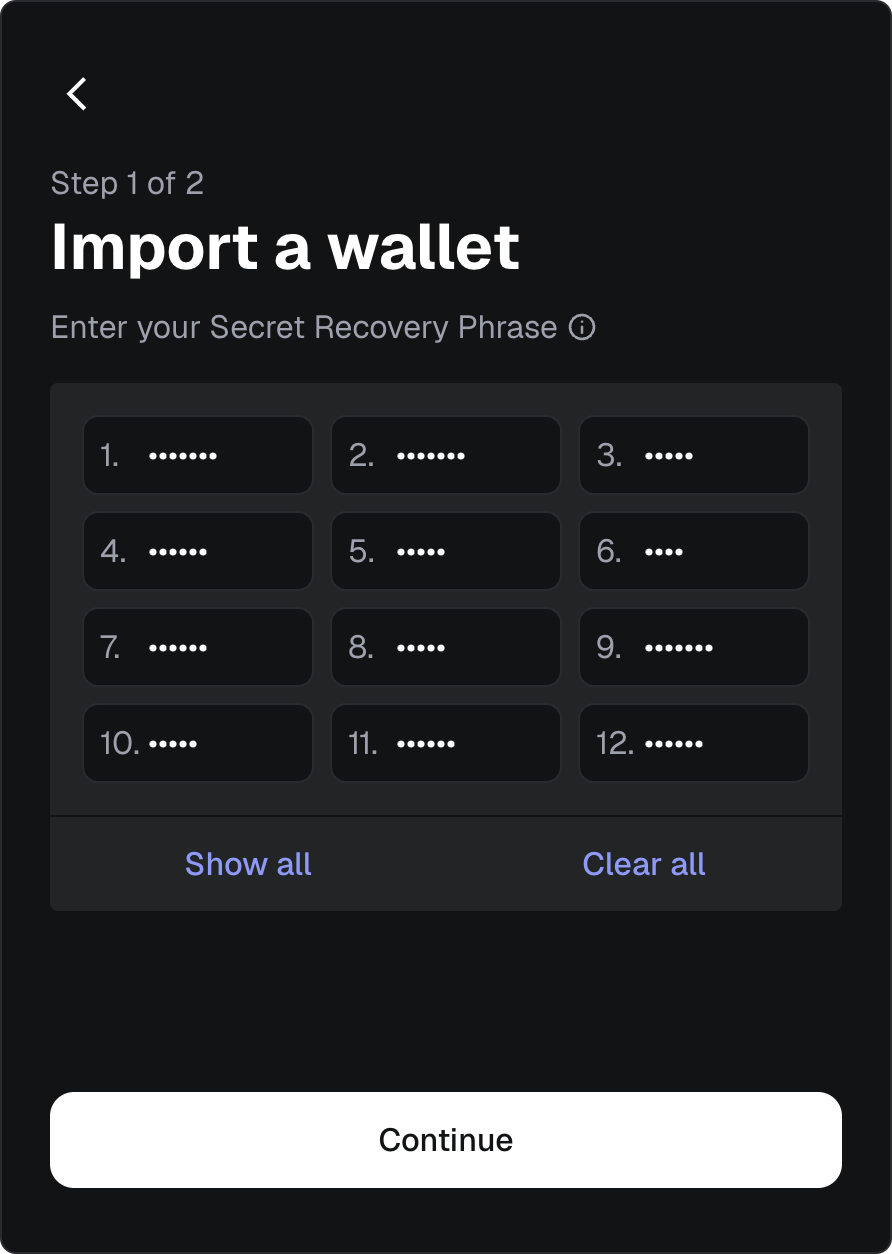
Mobile
1. When you install MetaMask, click on the 'Import using Secret Recovery Phrase' button.
2. Enter the entire SRP in the field. Type all 12 words in the correct order.
If you have an existing MetaMask install, we recommend [importing a new SRP](/start/use-an-existing-wallet/#import-an-existing-wallet), rather than resetting your wallet entirely. Resetting your wallet will wipe all of your accounts and wallets from your device, and you will need to import your SRPs and private keys again to continue using those accounts.
If you absolutely must reset your wallet, check out our guide [here](/configure/wallet/how-to-reset-your-wallet).
## Restoring multiple accounts {#restoring-multiple-accounts}
**If you restore via your Secret Recovery Phrase**, you'll need to set up a new password and re-add any networks or [tokens](/manage-crypto/tokens/how-to-display-tokens-in-metamask) you need. **If you restore via your Google, Apple, or Telegram account**, you won't need to set up a password again, and your networks and tokens will be automatically imported.
MetaMask will attempt to restore all accounts from your SRP by checking them in ascending order — accounts are added if they have a non-zero ETH balance on Ethereum Mainnet. When it hits an account with 0 ETH, the process stops. If you had additional accounts, you can get them back by [re-adding accounts](/configure/accounts/how-to-add-missing-accounts-after-restoring-with-secret-recovery-phrase) until you find the ones you need.
Accounts imported via private keys or from other SRPs will need to be manually re-added.
If you do not see the addresses you are looking for, you either have the wrong Secret Recovery Phrase or have an external JSON or private key that you still need to reimport.
---
# How to reveal your Secret Recovery Phrase safely
URL: https://support.metamask.io/configure/wallet/how-to-reveal-your-secret-recovery-phrase/
> If you have your password, you can reveal your SRP within MetaMask to store it safely offline.
When dealing with crypto assets, it is vital to back up your wallet’s Secret Recovery (mnemonic) Phrase or individual accounts' private keys in case the unexpected occurs.
Remember, your SRP is used to create and restore your entire wallet, including _all_ accounts created in that wallet. Each account derived from the SRP has its own private key. So if you have your SRP, you have access to _all_ your accounts derived from that SRP (example: “Account 1”, “Account 2”, “Account 3”), but if you only have Account 1’s private key, you cannot access the other accounts.
So make sure you have the one true key—your SRP—backed up in a safe place.
For more on seed phrases and your Secret Recovery Phrase, see [here](/start/user-guide-secret-recovery-phrase-password-and-private-keys/).
## Revealing your SRP {#revealing-your-srp}
:::warning
DO NOT share this phrase with anyone! These words can be used to steal all your accounts. You can't edit or change your Secret Recovery Phrase.
:::
If, for some reason, you forgot to record your Secret Recovery Phrase or you lost the original copy, as long as your MetaMask account is still unlocked and you have your password, you can reveal your Secret Recovery Phrase.
**Option 1: Via Settings**
1. Click the menu icon on your homepage and navigate to ‘Settings’ > ‘Security and password’ > ‘Manage wallet recovery’.
2. Select the Secret Recovery Phrase you want to reveal and click ‘Reveal’.
**Option 2: Via the account dropdown**
1. Click the account selector dropdown at the top of your MetaMask interface, then click the three vertical dots next to the account whose SRP you want to reveal.
2. Click ‘Account details’, then click ‘Secret Recovery Phrase’.
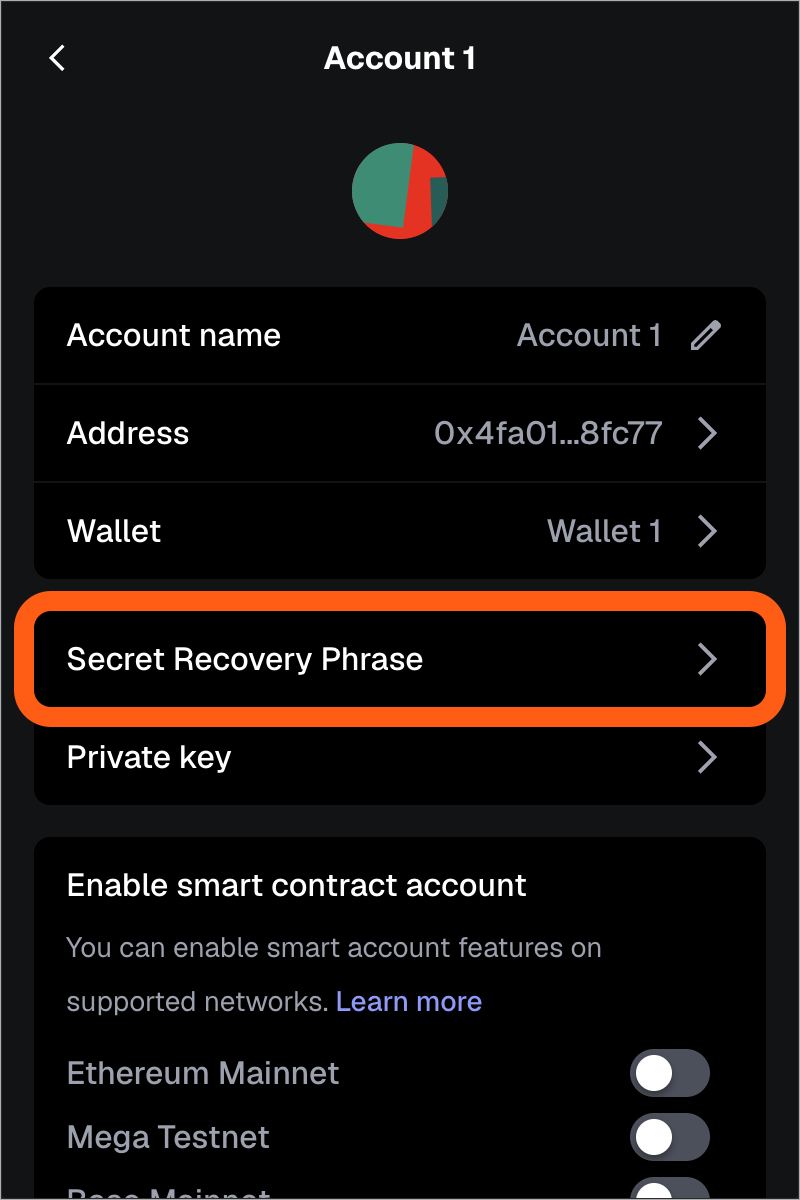
3. Answer two brief questions to confirm you understand the implications of self-custody.
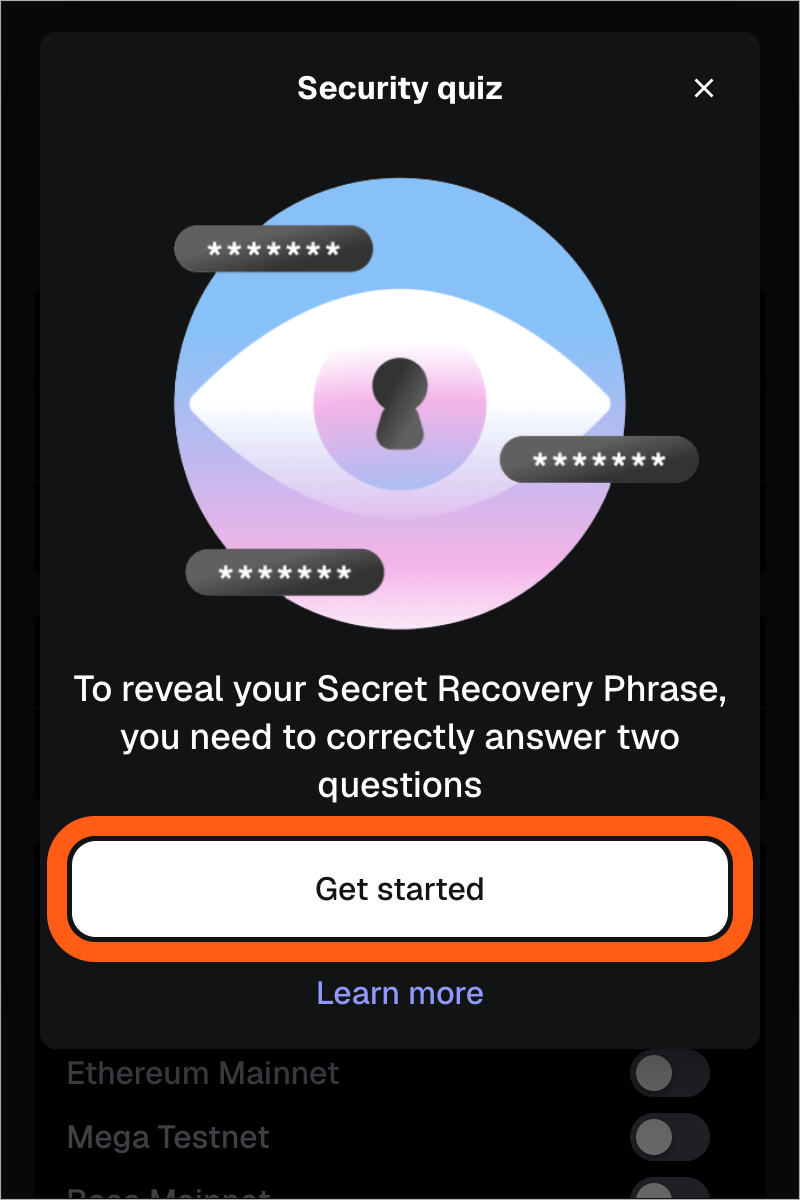
4. With the questions correctly answered, enter your password, and click 'Next'.
5. Press the ‘Hold to reveal SRP’ button to reveal your Secret Recovery Phrase.
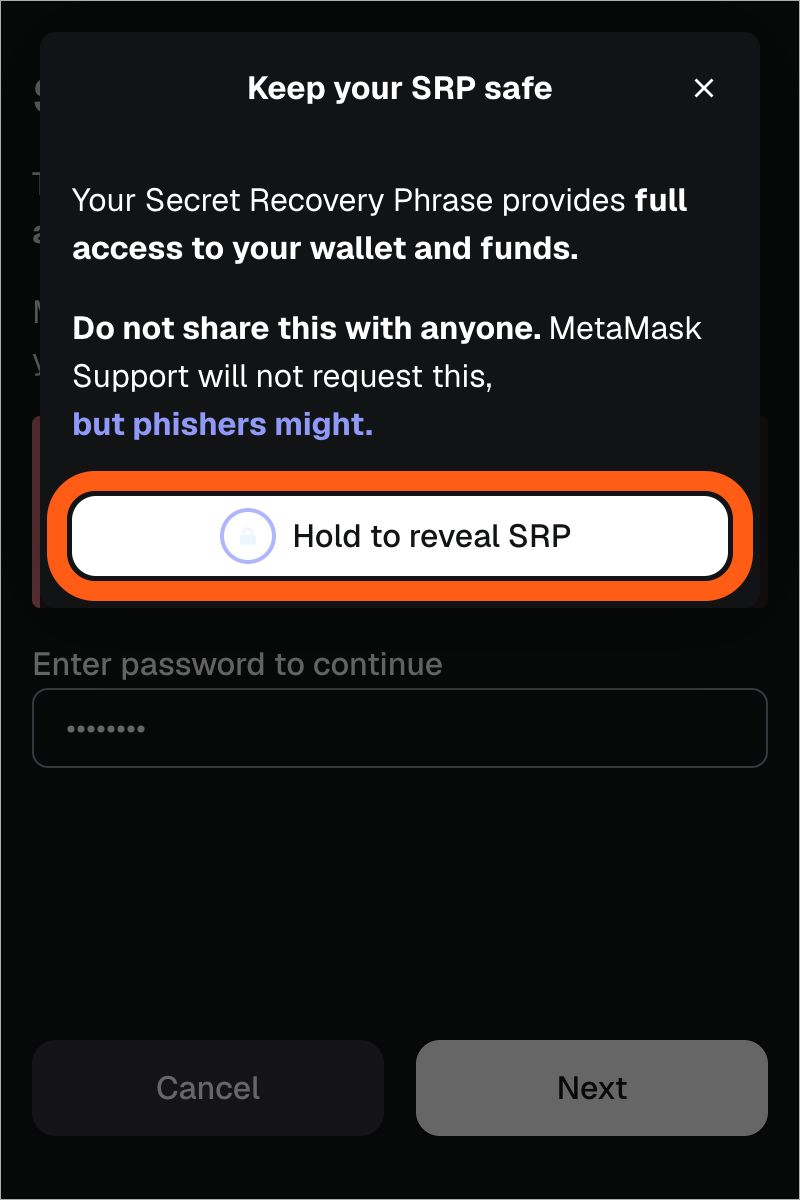
**Option 1: Via Settings**
1. Tap the menu icon in the top right and navigate to ‘Settings’ > ‘Security and privacy’.
2. Tap ‘Reveal Secret Recovery Phrase’ and select the SRP you want to reveal.
**Option 2: Via the account dropdown**
1. Tap the account selector at the top of the wallet view, then tap the three vertical dots next to the account whose SRP you want to reveal.
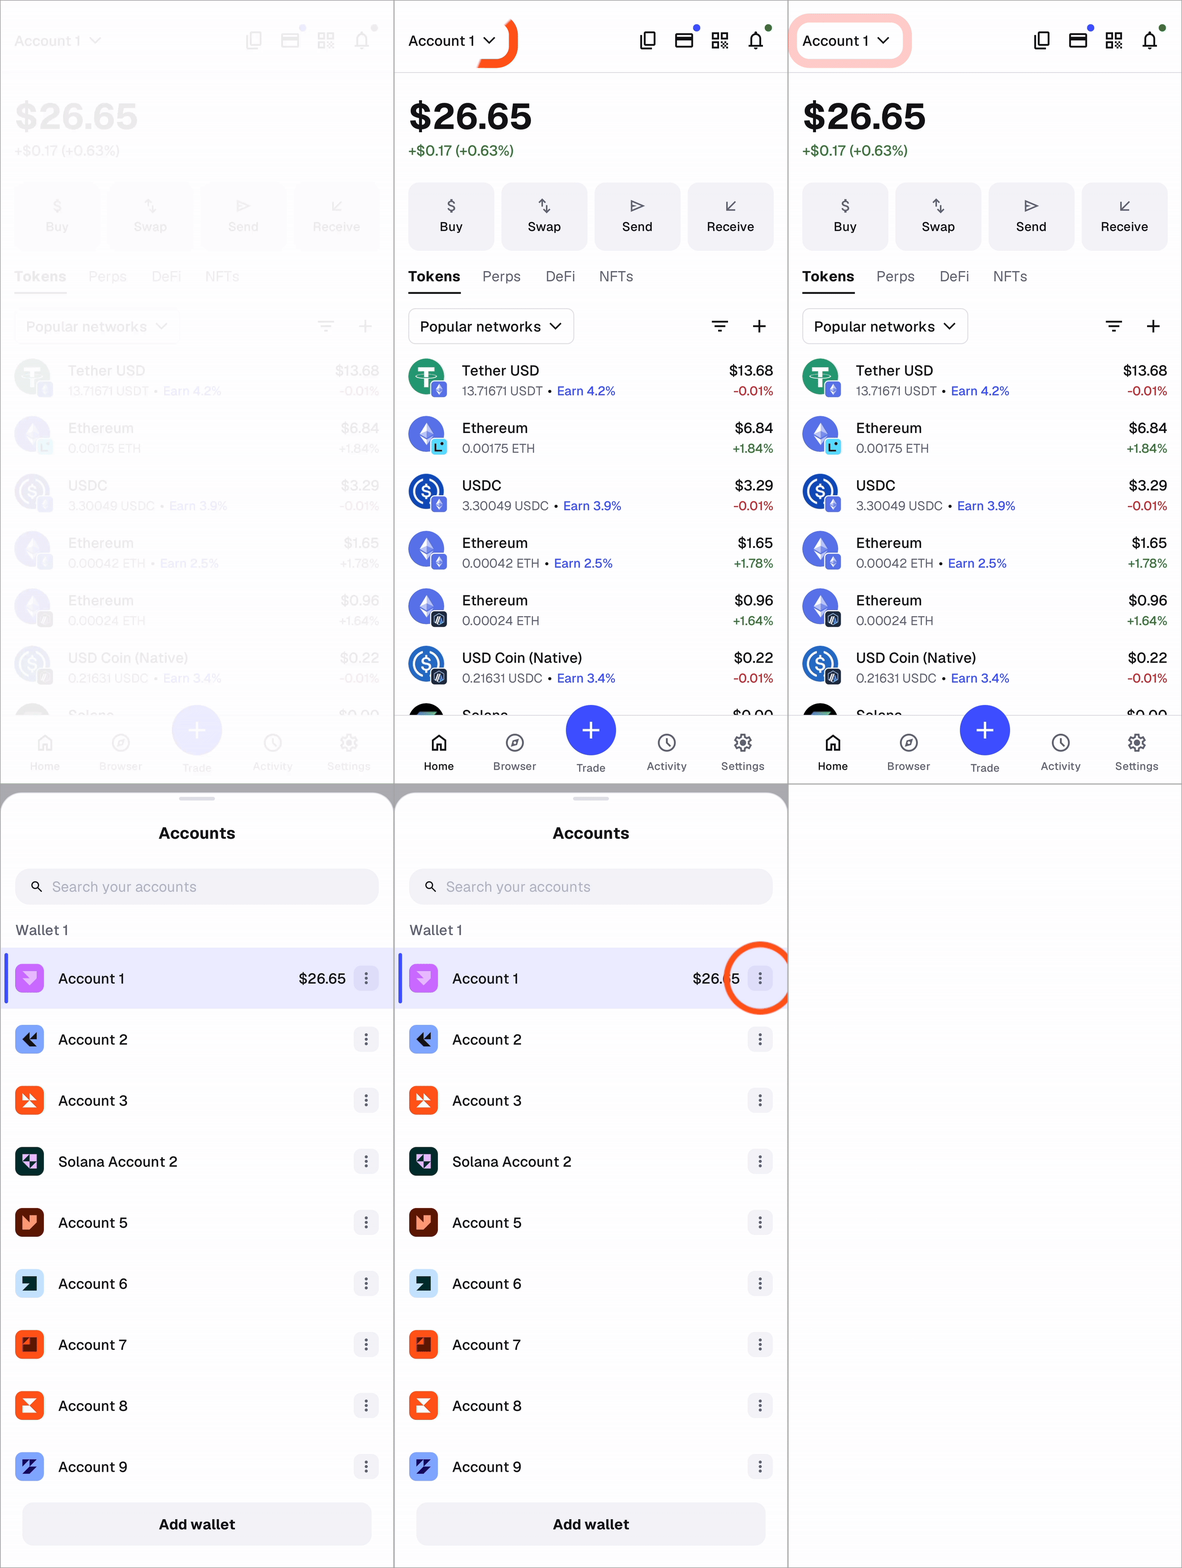
2. Tap ‘Account details’, then tap ‘Secret Recovery Phrase’.
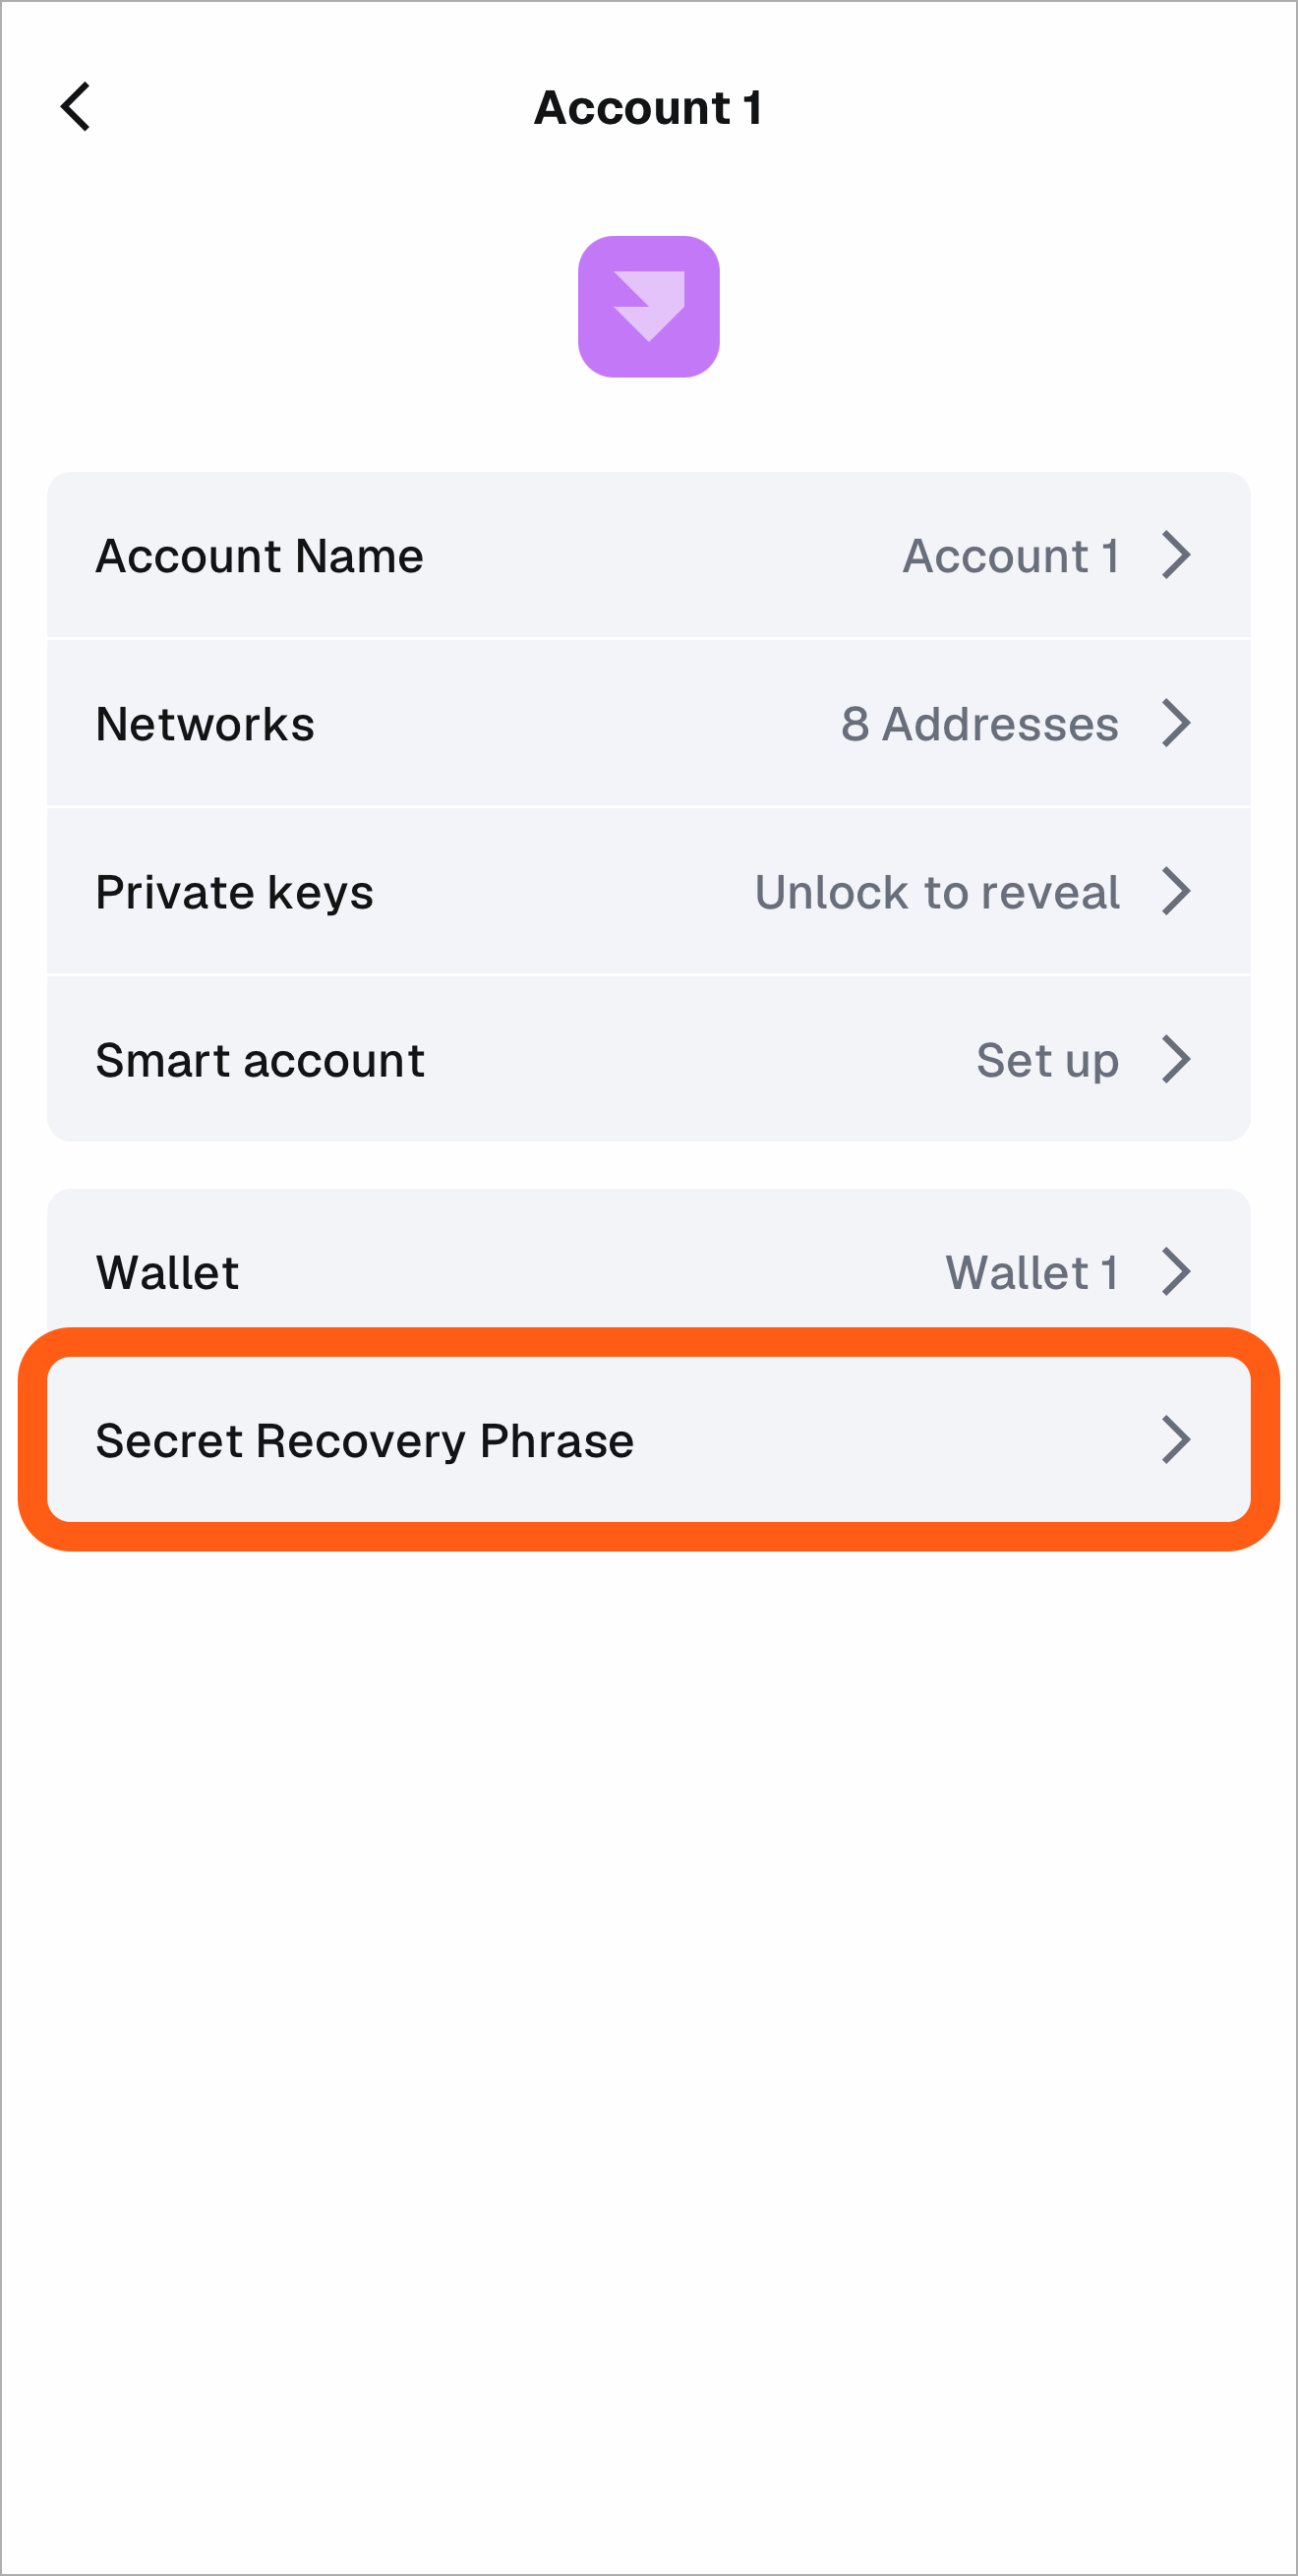
3. Enter your password and tap 'Next'.
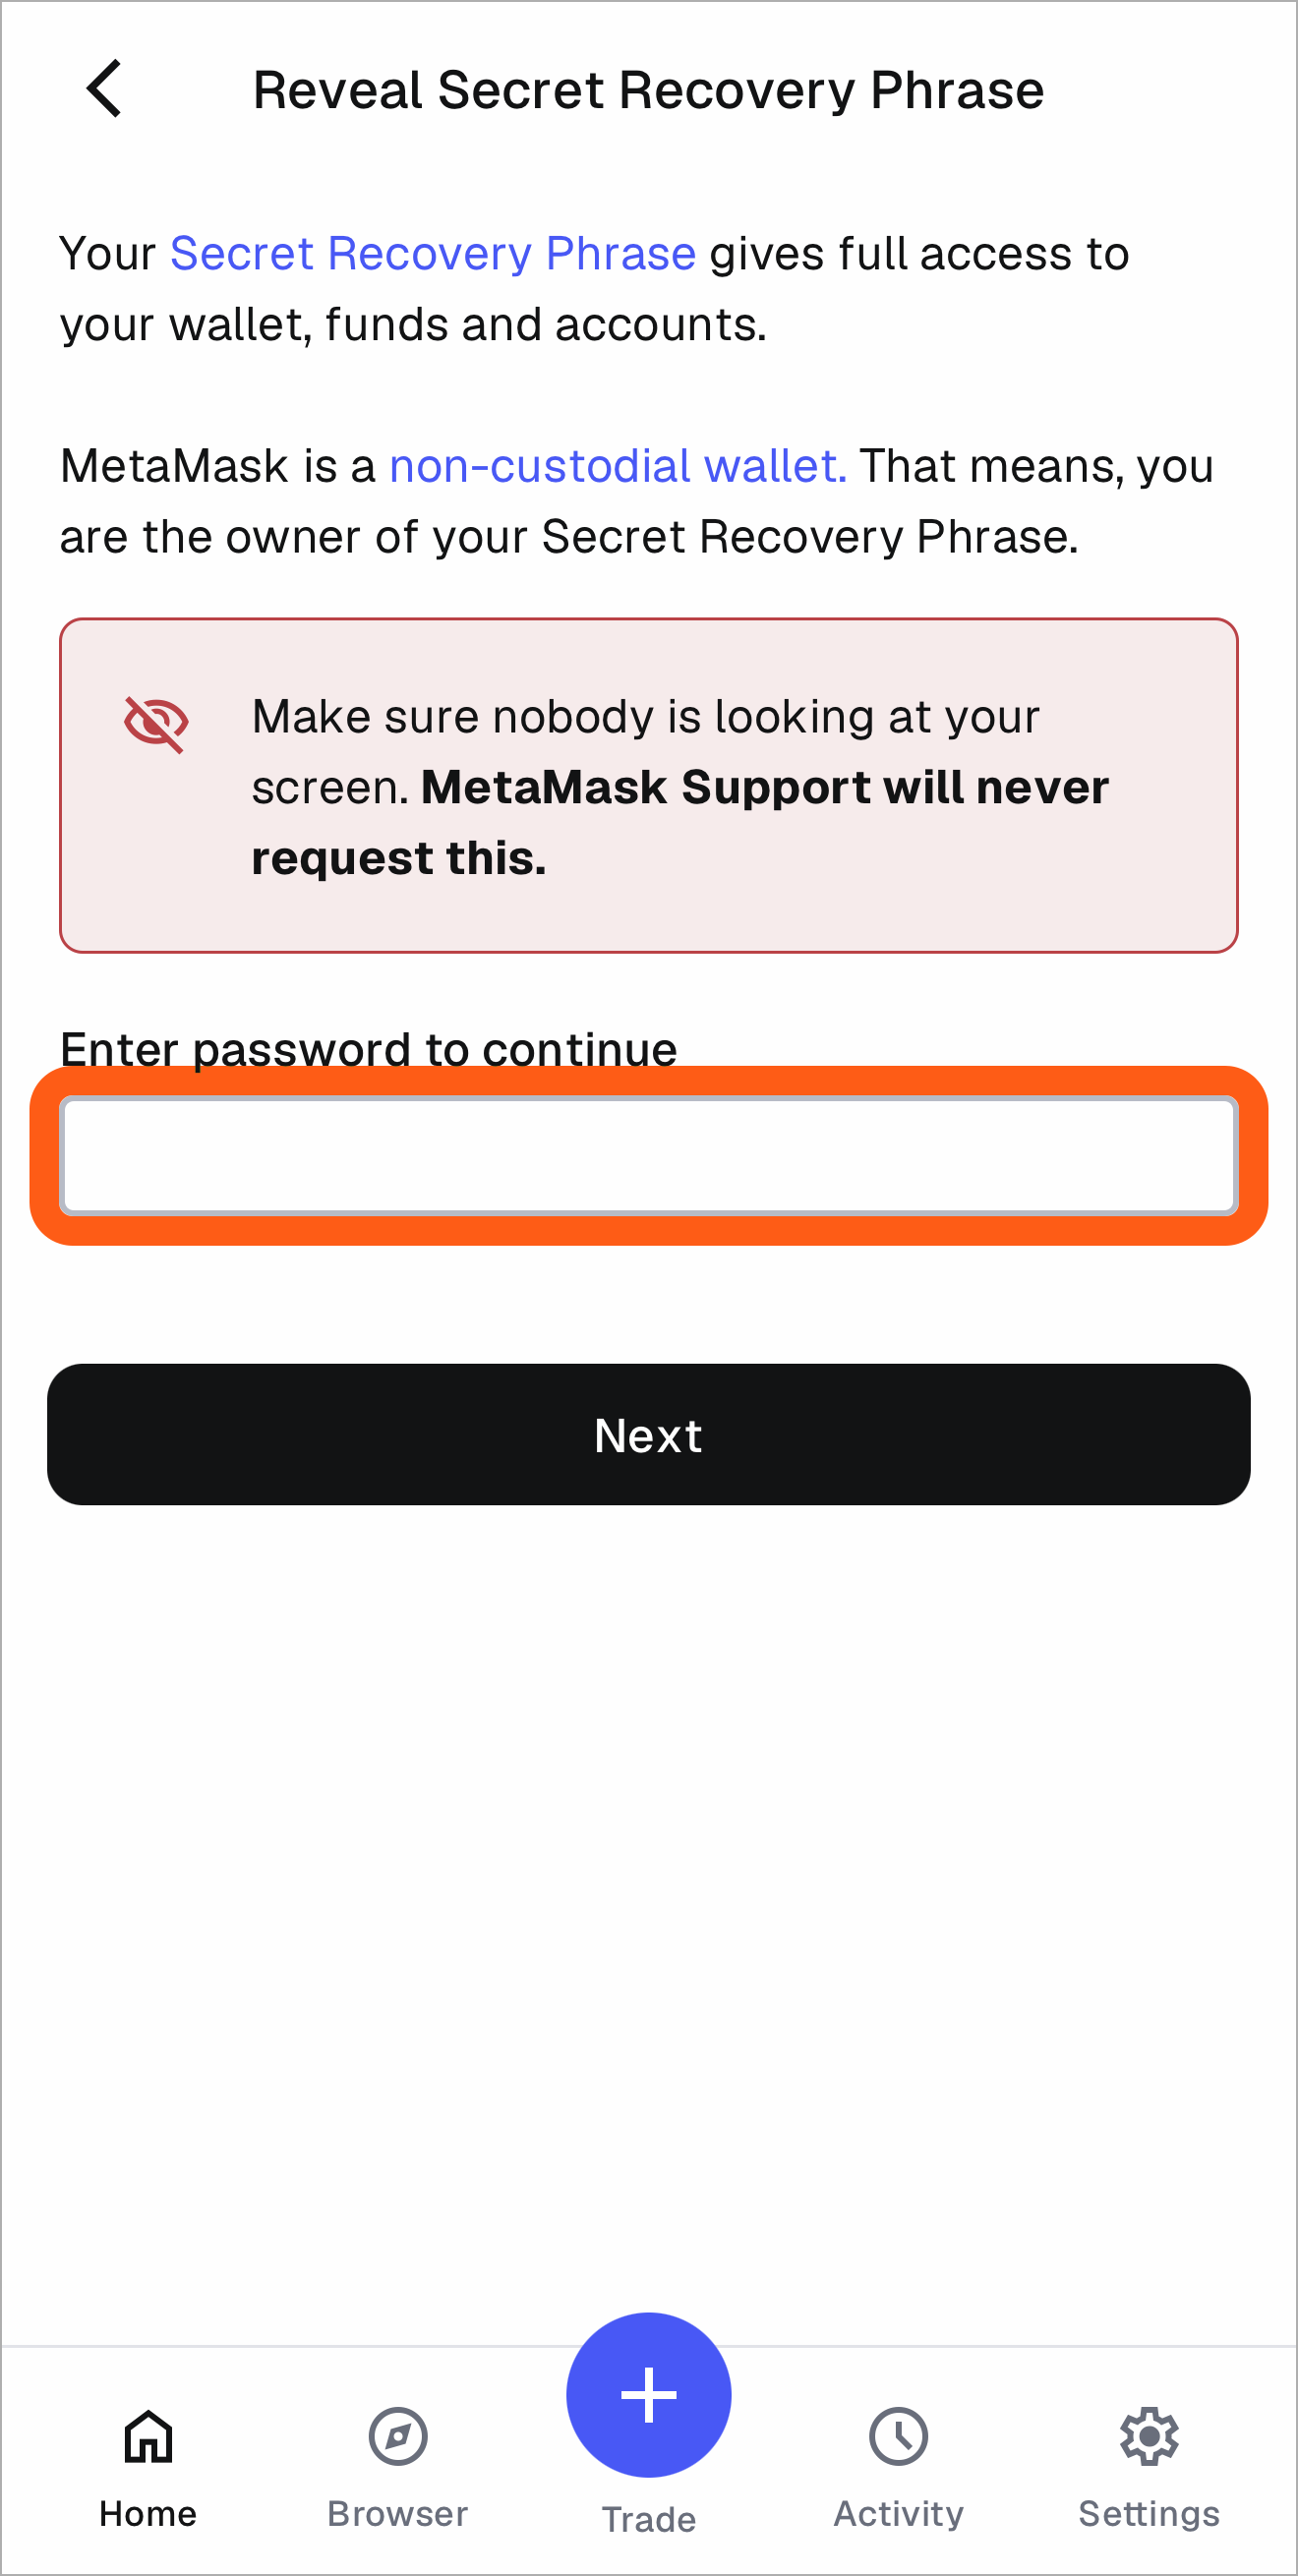
4. Hold the button to reveal your Secret Recovery Phrase.
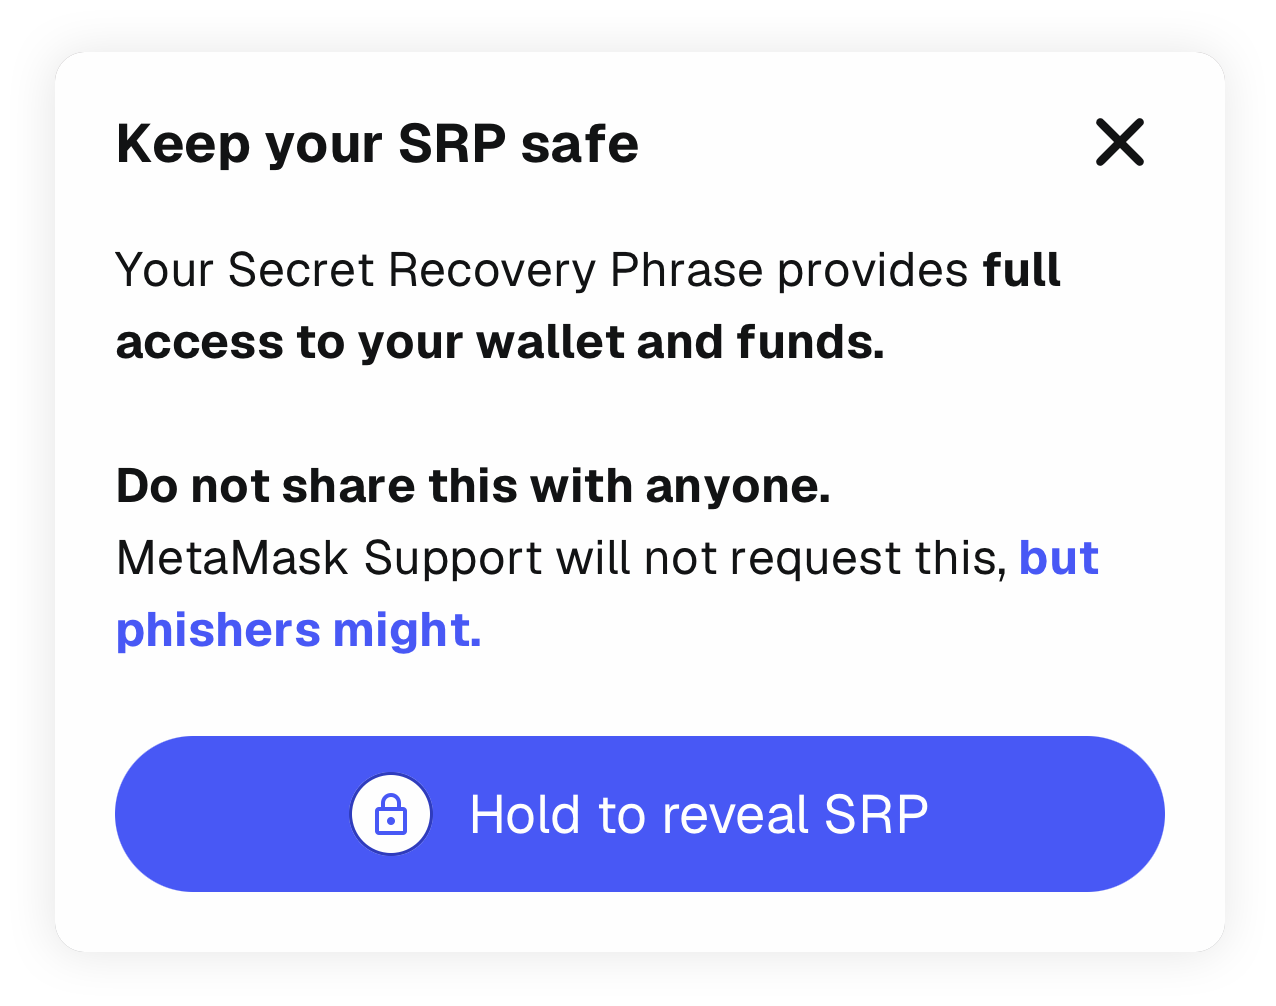
Remember, the responsibility of managing the Secret Recovery Phrase is yours and yours alone. You need to keep it secure and not share it, as MetaMask cannot retrieve it for you if it's lost. Back that phrase up.
---
# How to update MetaMask to the latest version
URL: https://support.metamask.io/configure/wallet/how-to-update-the-version-of-metamask/
> MetaMask automatically updates to the latest version. Learn how to check your version and update the browser or mobile if needed.
Keeping MetaMask up to date ensures you receive the latest security fixes, performance improvements, and new features. MetaMask is designed to update automatically when prompted, or **when the browser is restarted**, but in some cases, you may need to manually update.
**Manual or developer builds do not update automatically.** If you installed MetaMask manually *(for example from a GitHub build)*, see the [section below](#if-you-installed-metamask-manually) for instructions on switching to a production version.
Read below for instructions on how to trigger a MetaMask update.
:::info
To find your MetaMask's current version, navigate to **Settings > About**.
:::
### Automatic update (recommended):
The MetaMask extension updates through your browser. You will see a prompt when an update is available. Restart your browser if you don't see the prompt.
**Restarting your browser means fully closing all browser windows and then opening the browser again to get the latest version.** Putting your computer to sleep, closing your laptop, or closing a single tab or window does not restart the browser.
### Manual update (advanced troubleshooting):
If MetaMask does not update after restarting the browser, you can manually trigger an update using your browser’s extension settings.
:::warning[note]
This method requires enabling Developer Mode, which relaxes important browser security protections. Developer Mode should only be **enabled temporarily** to trigger an update and then **turned off**. Leaving Developer Mode enabled increases the risk of security issues.
:::
**Chromium-based browsers (Chrome, Brave, Edge, etc.):**
1. Right-click on the MetaMask icon in your toolbar
2. Click 'Manage extension'
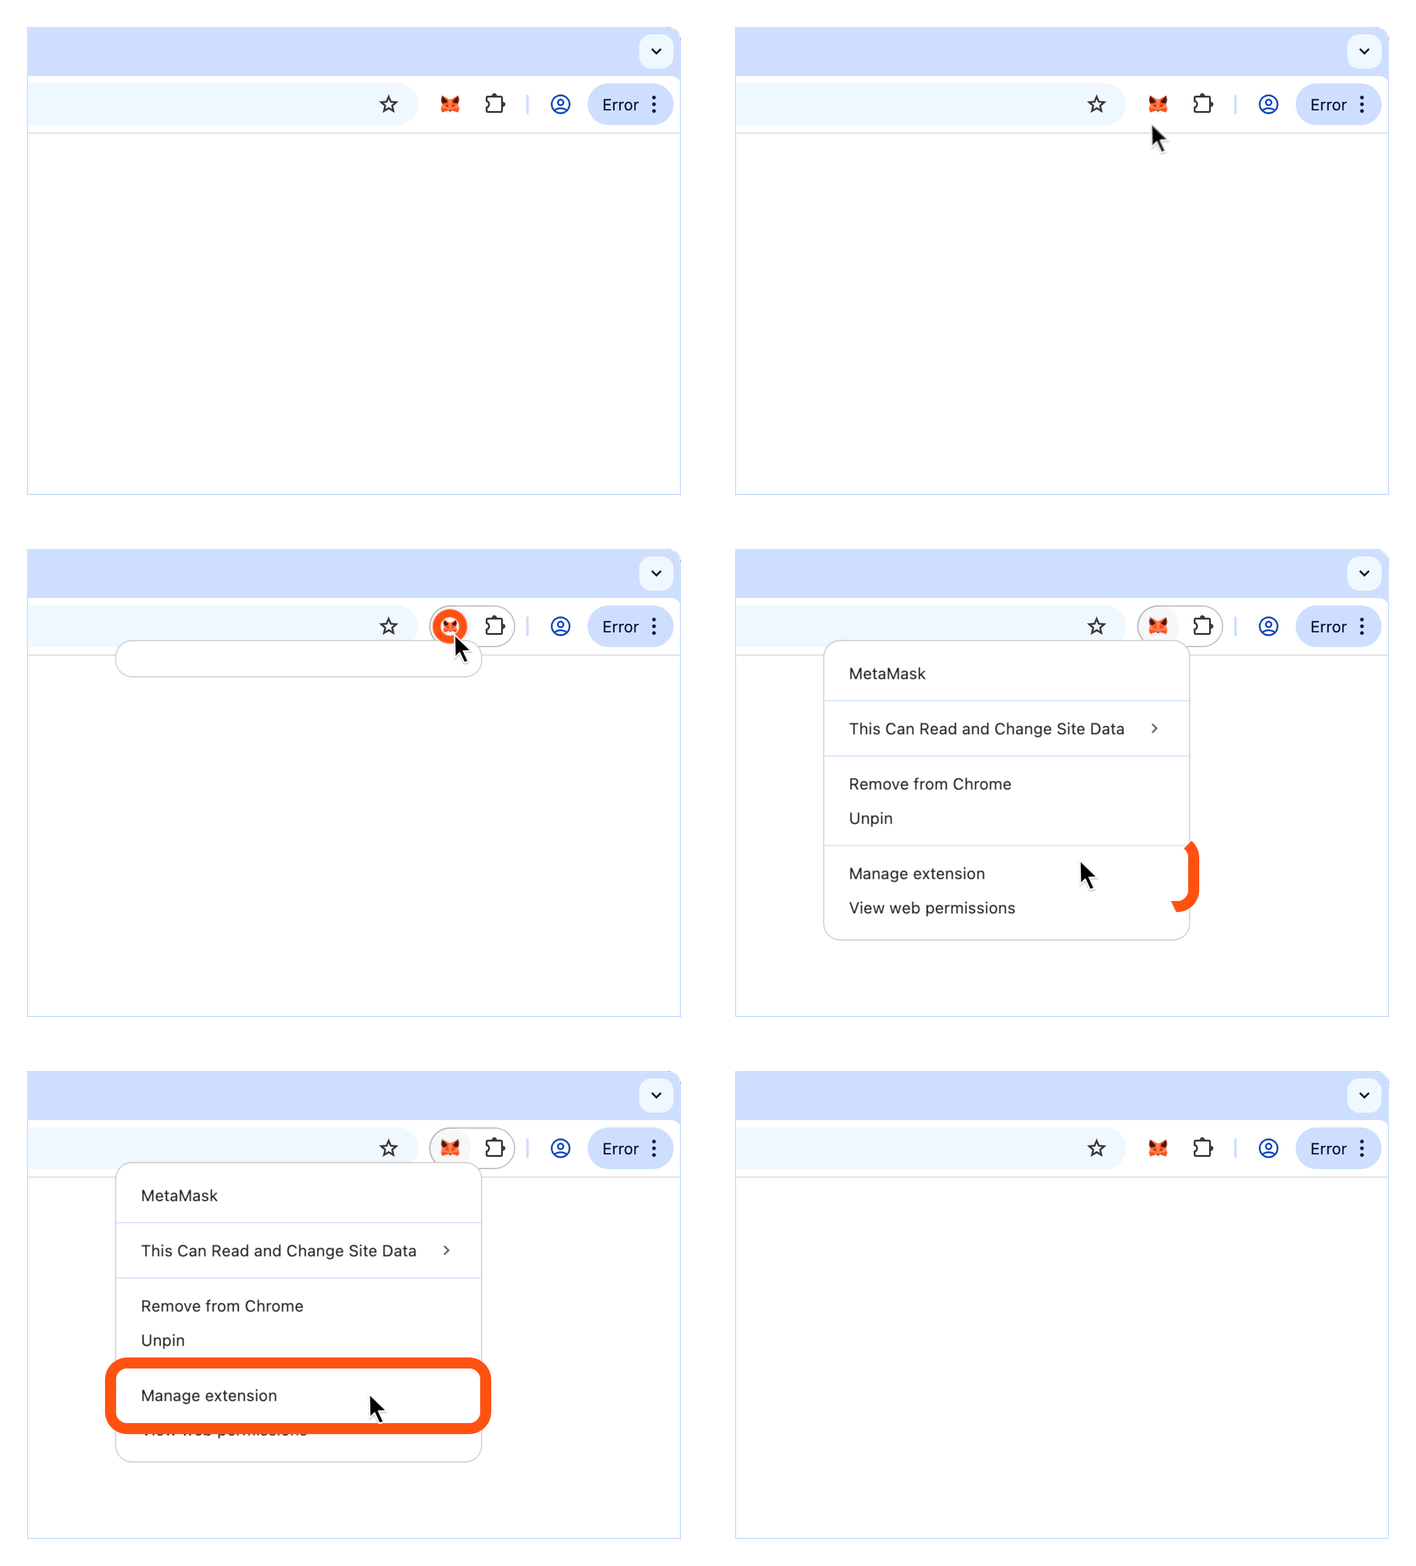
3. On the extensions page, toggle 'Developer mode' ON (top-right corner)
4. Click the 'Update' button that appears
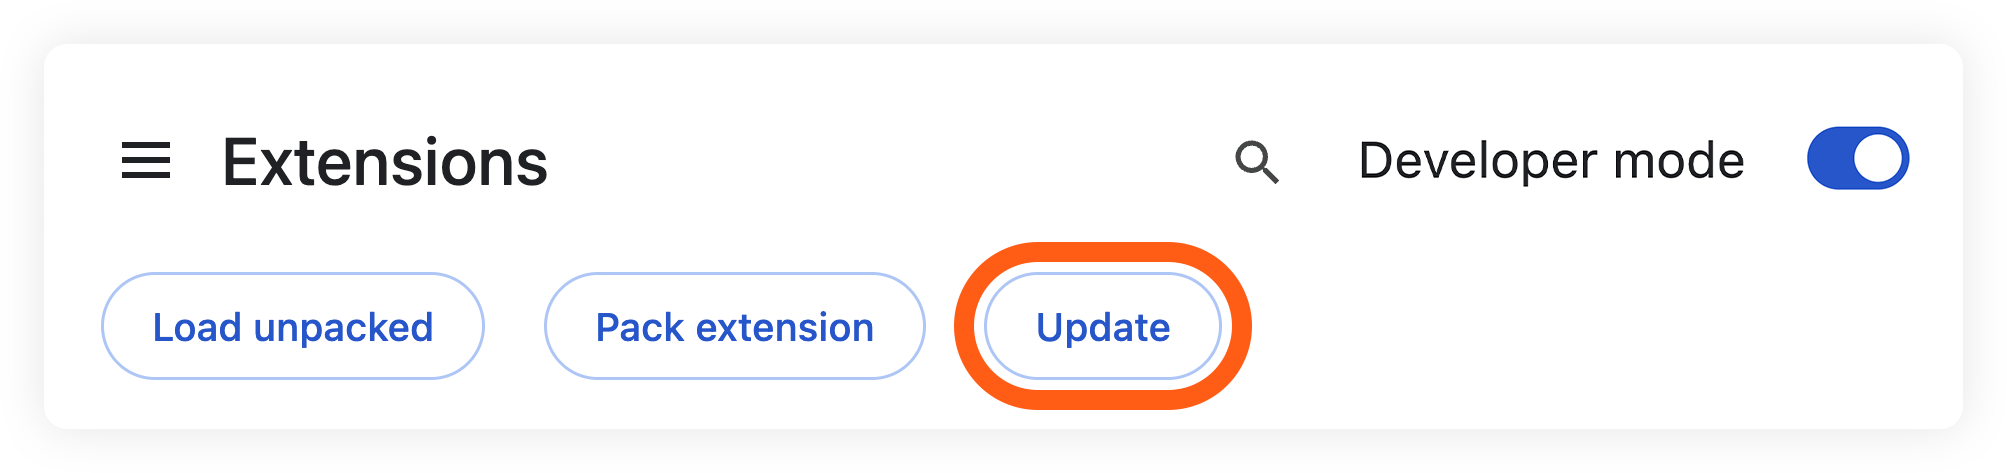
5. Wait for the update to complete
6. Turn 'Developer mode' OFF
MetaMask should now be updated to the latest version.
**Firefox browsers:**
- Click on the settings icon at the top, and then on 'Check for updates'. If there is a new update, you'll be able to manually install it from here.
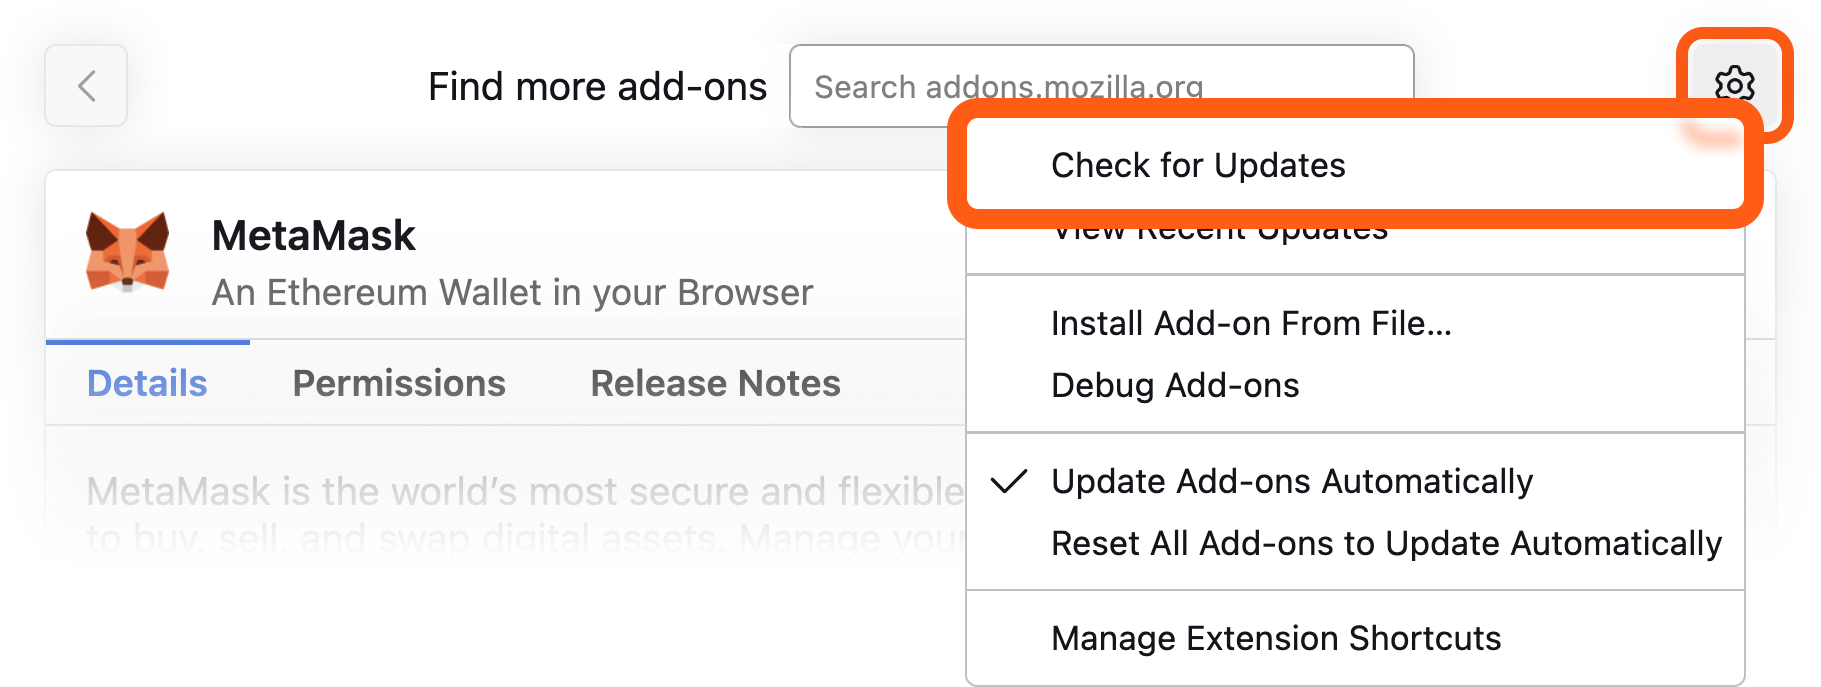
Check your app store for your current version. Based on the mobile device, this could be the **App Store** for iOS, or **Google Play** for Android. Look for the MetaMask app and update accordingly.
Why MetaMask may not update automatically?
MetaMask production updates depend on your browser fully restarting. Updates may be delayed if your browser stays open for long periods without restarting, your computer is put to sleep instead of restarting, or MetaMask or a connected dapp tab is always open.
**Restart your browser or follow the manual update instructions above to trigger an update.**
If you installed MetaMask manually *(for example from a GitHub build or developer version)*, see the section [below](#if-you-installed-metamask-manually) for how to switch to a production version.
### If you installed MetaMask manually:
If you installed MetaMask manually, for example by loading a local build or installing from a GitHub PR, automatic updates will not work, even if you restart your browser or manually check for updates.
This is because manually installed or non-production builds are not connected to the official browser extension update channels. **To receive updates, you’ll need to uninstall this version and reinstall the production version of MetaMask from an [official browser extension store](https://metamask.io/download/).**
:::warning[note]
Before doing this, you MUST have your [Secret Recovery Phrase(s)](/configure/wallet/how-to-reveal-your-secret-recovery-phrase/#revealing-your-srp) backed up. You’ll need it to restore your wallet after reinstalling MetaMask. If you do not have your SRP, you will permanently lose access to your wallet.
:::
#### How to uninstall and reinstall MetaMask:
1. Back up your Secret Recovery Phrase(s) if you haven't already. Instructions can be found [here](/configure/wallet/how-to-reveal-your-secret-recovery-phrase/#revealing-your-srp).
2. Open your browser extension, click the 3 dots next to MetaMask, and select 'Remove from Chrome' (this process will be similar for all web browsers).

3. Install the production version of MetaMask from the [official MetaMask website](https://metamask.io/download/).
4. Click 'Add to Chrome', then confirm by selecting 'Add extension' (this process will be similar for all web browsers).

5. Open MetaMask and click 'I have an existing wallet' to import your wallet.
6. Follow the prompts to enter your Secret Recovery Phrase.
For more information on restoring your wallet, see our guide [here](/configure/wallet/how-to-restore-your-metamask-wallet-from-secret-recovery-phrase/).
Why we recommend installing from an official store
We strongly recommend installing MetaMask only from an official browser extension store. Store-based installations:
- Receive automatic updates and security patches
- Are protected by browser integrity and signature checks
- Reduce the risk of tampering or malicious modifications
Manually installed extensions do not receive these protections and may be more vulnerable to malware or unintended changes.
---
# How to use institutional wallets in MetaMask
URL: https://support.metamask.io/configure/wallet/how-to-use-institutional-wallets/
> Learn how to connect your custodial or institutional accounts to MetaMask Extension.
Funds, organizations, and others with custodial accounts can manage their institutional wallets directly in MetaMask Extension.
:::note
You can manage and initiate transactions on MetaMask after importing your custodial accounts. All signing must happen on your custodian’s platform.
:::
Getting started with your institutional wallet is simple. Don’t have MetaMask installed yet? Download the Extension [here](https://metamask.io/download/).
1. Click the menu icon in the top right corner
2. Select 'Settings' > 'Preferences and display'
3. Toggle on 'Manage Institutional Wallets'
4. Navigate to the account dropdown selector on the homepage
5. Click 'Add wallet' > 'Manage institutional wallets'
- You will not see this in the dropdown until you **activate the functionality within 'Preferences and display' first**
6. Select your desired provider from the list of supported custodians
7. Click 'Connect to MetaMask' within the custodian’s interface
8. Select the account(s) you want to import and click 'Confirm'
The imported accounts will now appear within the account selector.
You can easily remove any account by clicking the three vertical dots next to an account and clicking ‘Remove account.’ To add an institutional account back, repeat the steps above.
### Transacting with institutional accounts {#transacting-with-institutional-accounts}
Institutional accounts function similarly to hardware accounts, where you can initiate transactions on MetaMask Extension, but **you need to sign with your keys—on your custodian’s interface—to complete the transaction**.
To transact, simply:
1. **Confirm in MetaMask** for any transaction you initiate
- _You will receive a notification (click the bell icon) reminding you to continue the process with your custodian_
2. Go to your **custodian’s site to sign and complete** the transaction
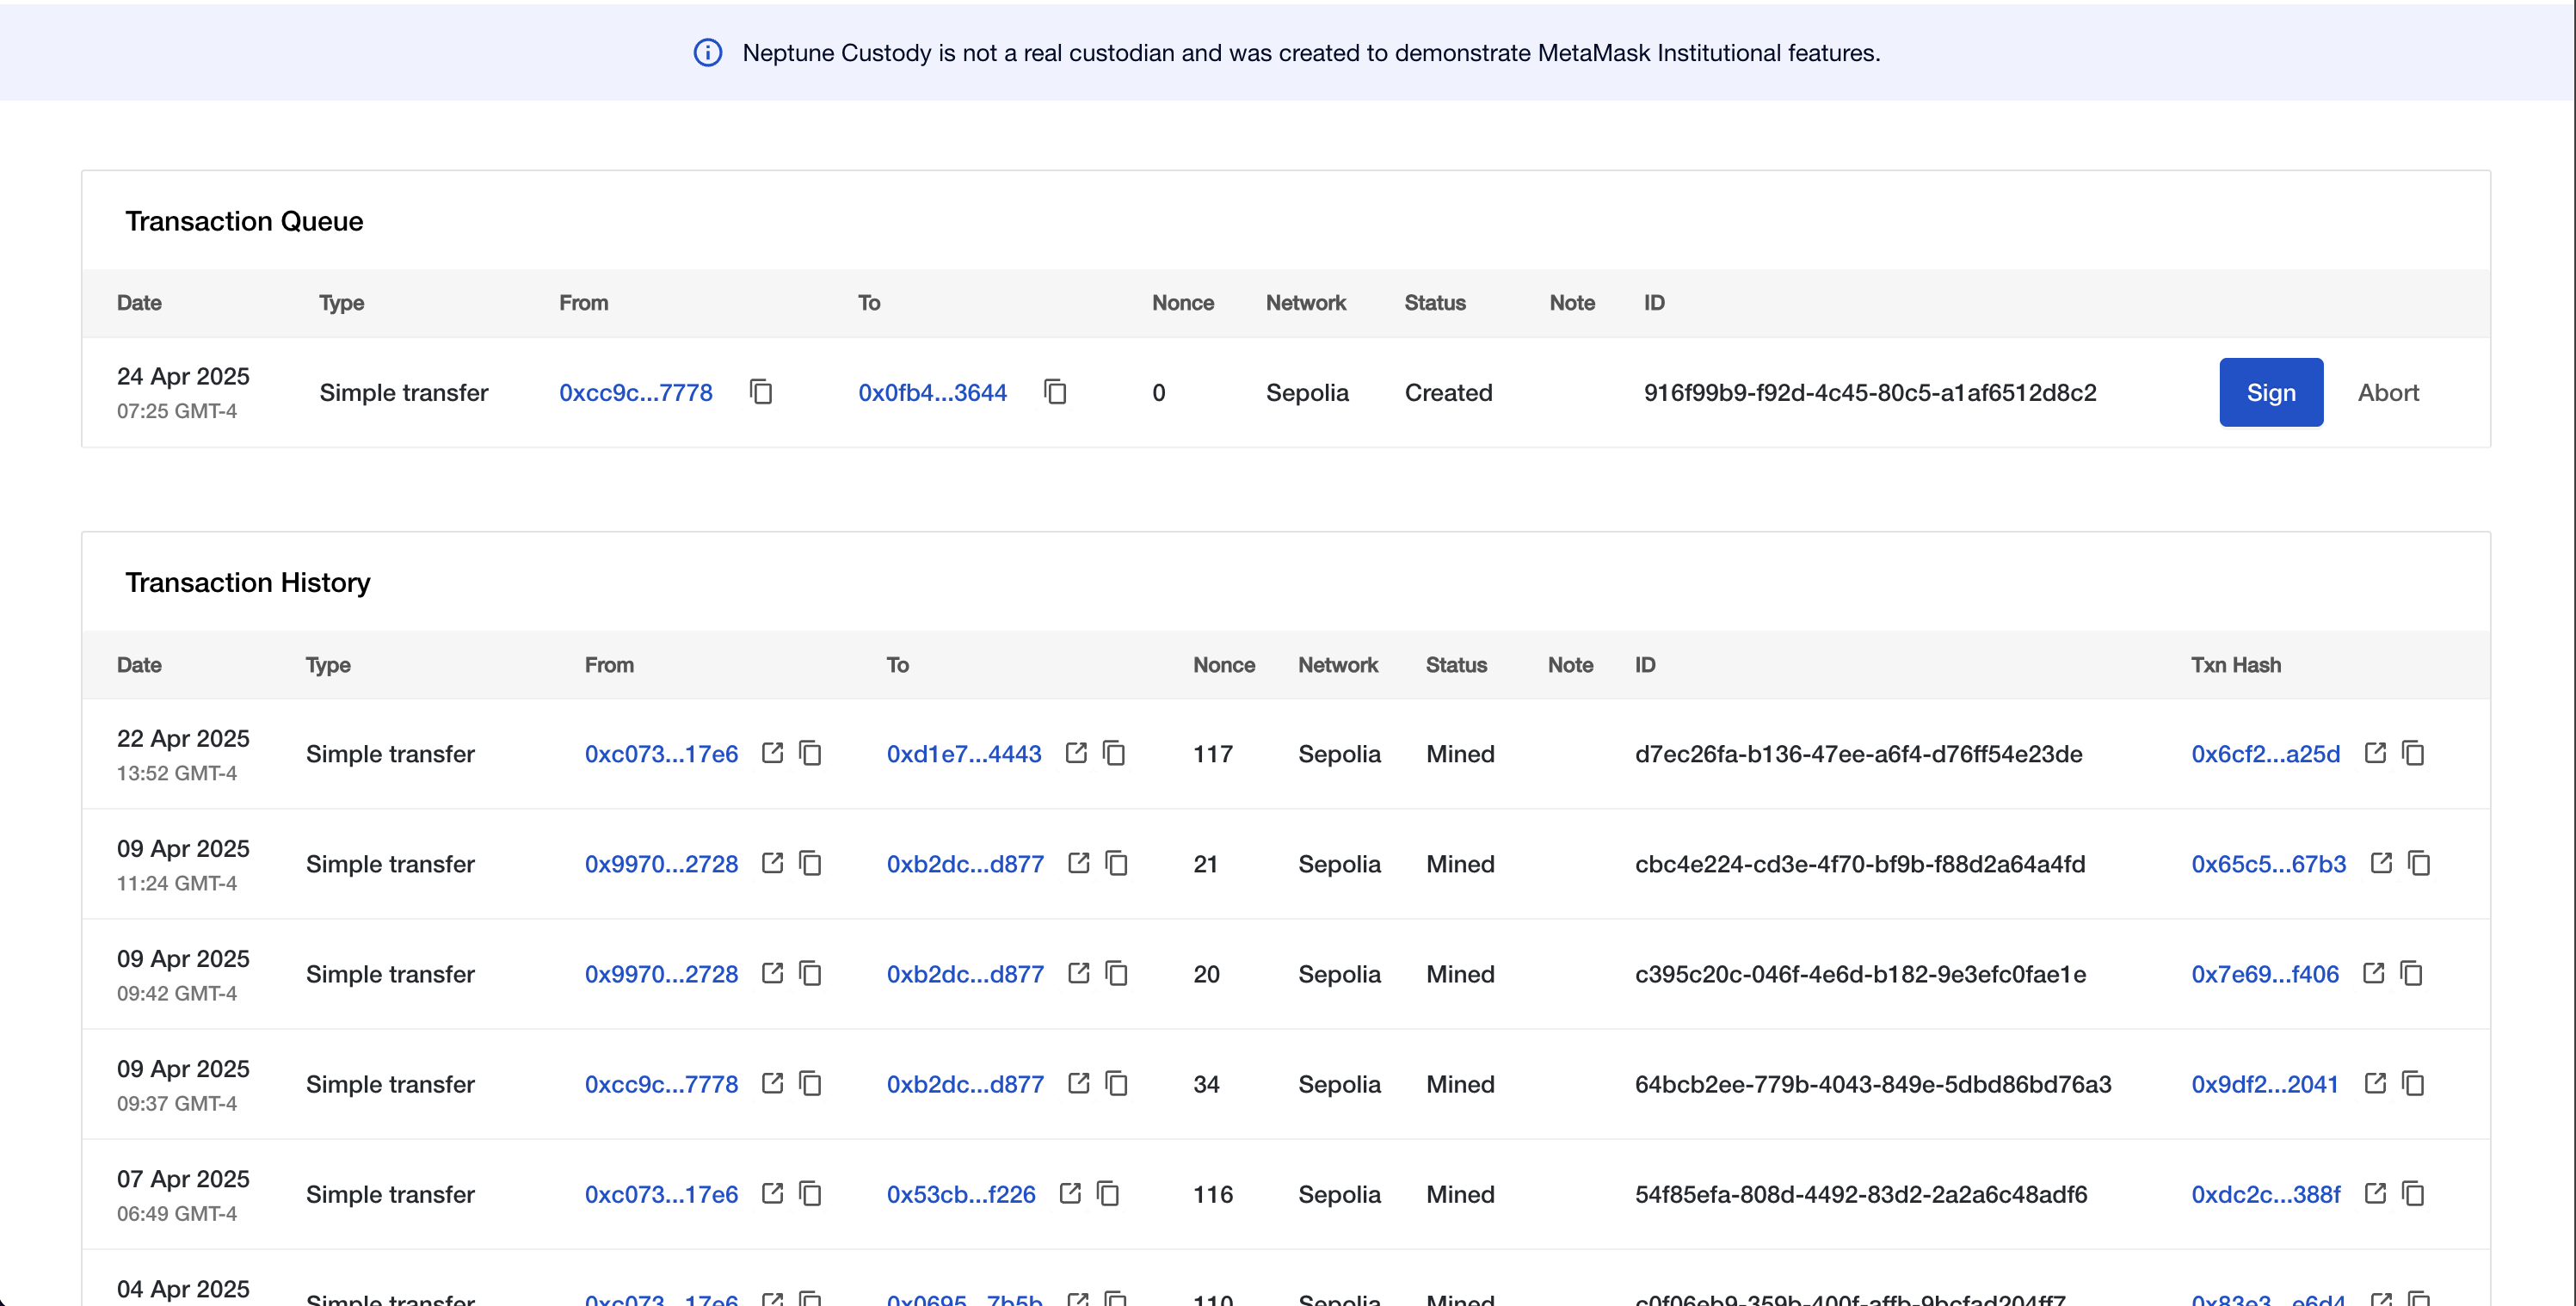
##### What custodian partners are currently supported? {#what-custodian-partners-are-currently-supported}
- [Fireblocks](https://www.fireblocks.com/)
- [BitGo](https://www.bitgo.com/)
- [Zodia](https://zodia-custody.com/)
- [GK8](https://www.gk8.io/)
- [MPCVault](https://mpcvault.com/)
- [Cactus Custody](https://www.mycactus.com/)
##### Does this replace MMI? {#does-this-replace-mmi}
Yes, our previous product MetaMask Institutional (MMI), which provided institutional wallet support as a separate solution, is now embedded directly within MetaMask Extension for a singular, cohesive experience.
---
# How to use the MetaMask mobile browser
URL: https://support.metamask.io/configure/wallet/how-to-use-the-metamask-mobile-browser/
> Learn how to use the built-in MetaMask mobile browser to access dapps securely.
MetaMask Mobile has a built-in browser within the **'Explore'** tab that allows you to access dapps directly on your phone. This article covers how to access the browser and how to add dapps to your favorites list.
1. Tap the 'Explore' tab in the bottom bar

2. Open the browser by tapping the browser icon in the top right, or search for the website you want to visit using the search bar
3. If the website you're visiting asks to connect to your wallet, you can sign in with your selected account by tapping the 'Connect' button
### How to add favorites to the mobile browser
In MetaMask Mobile, you can add dapps to a 'favorites' list.
- Tap the star icon
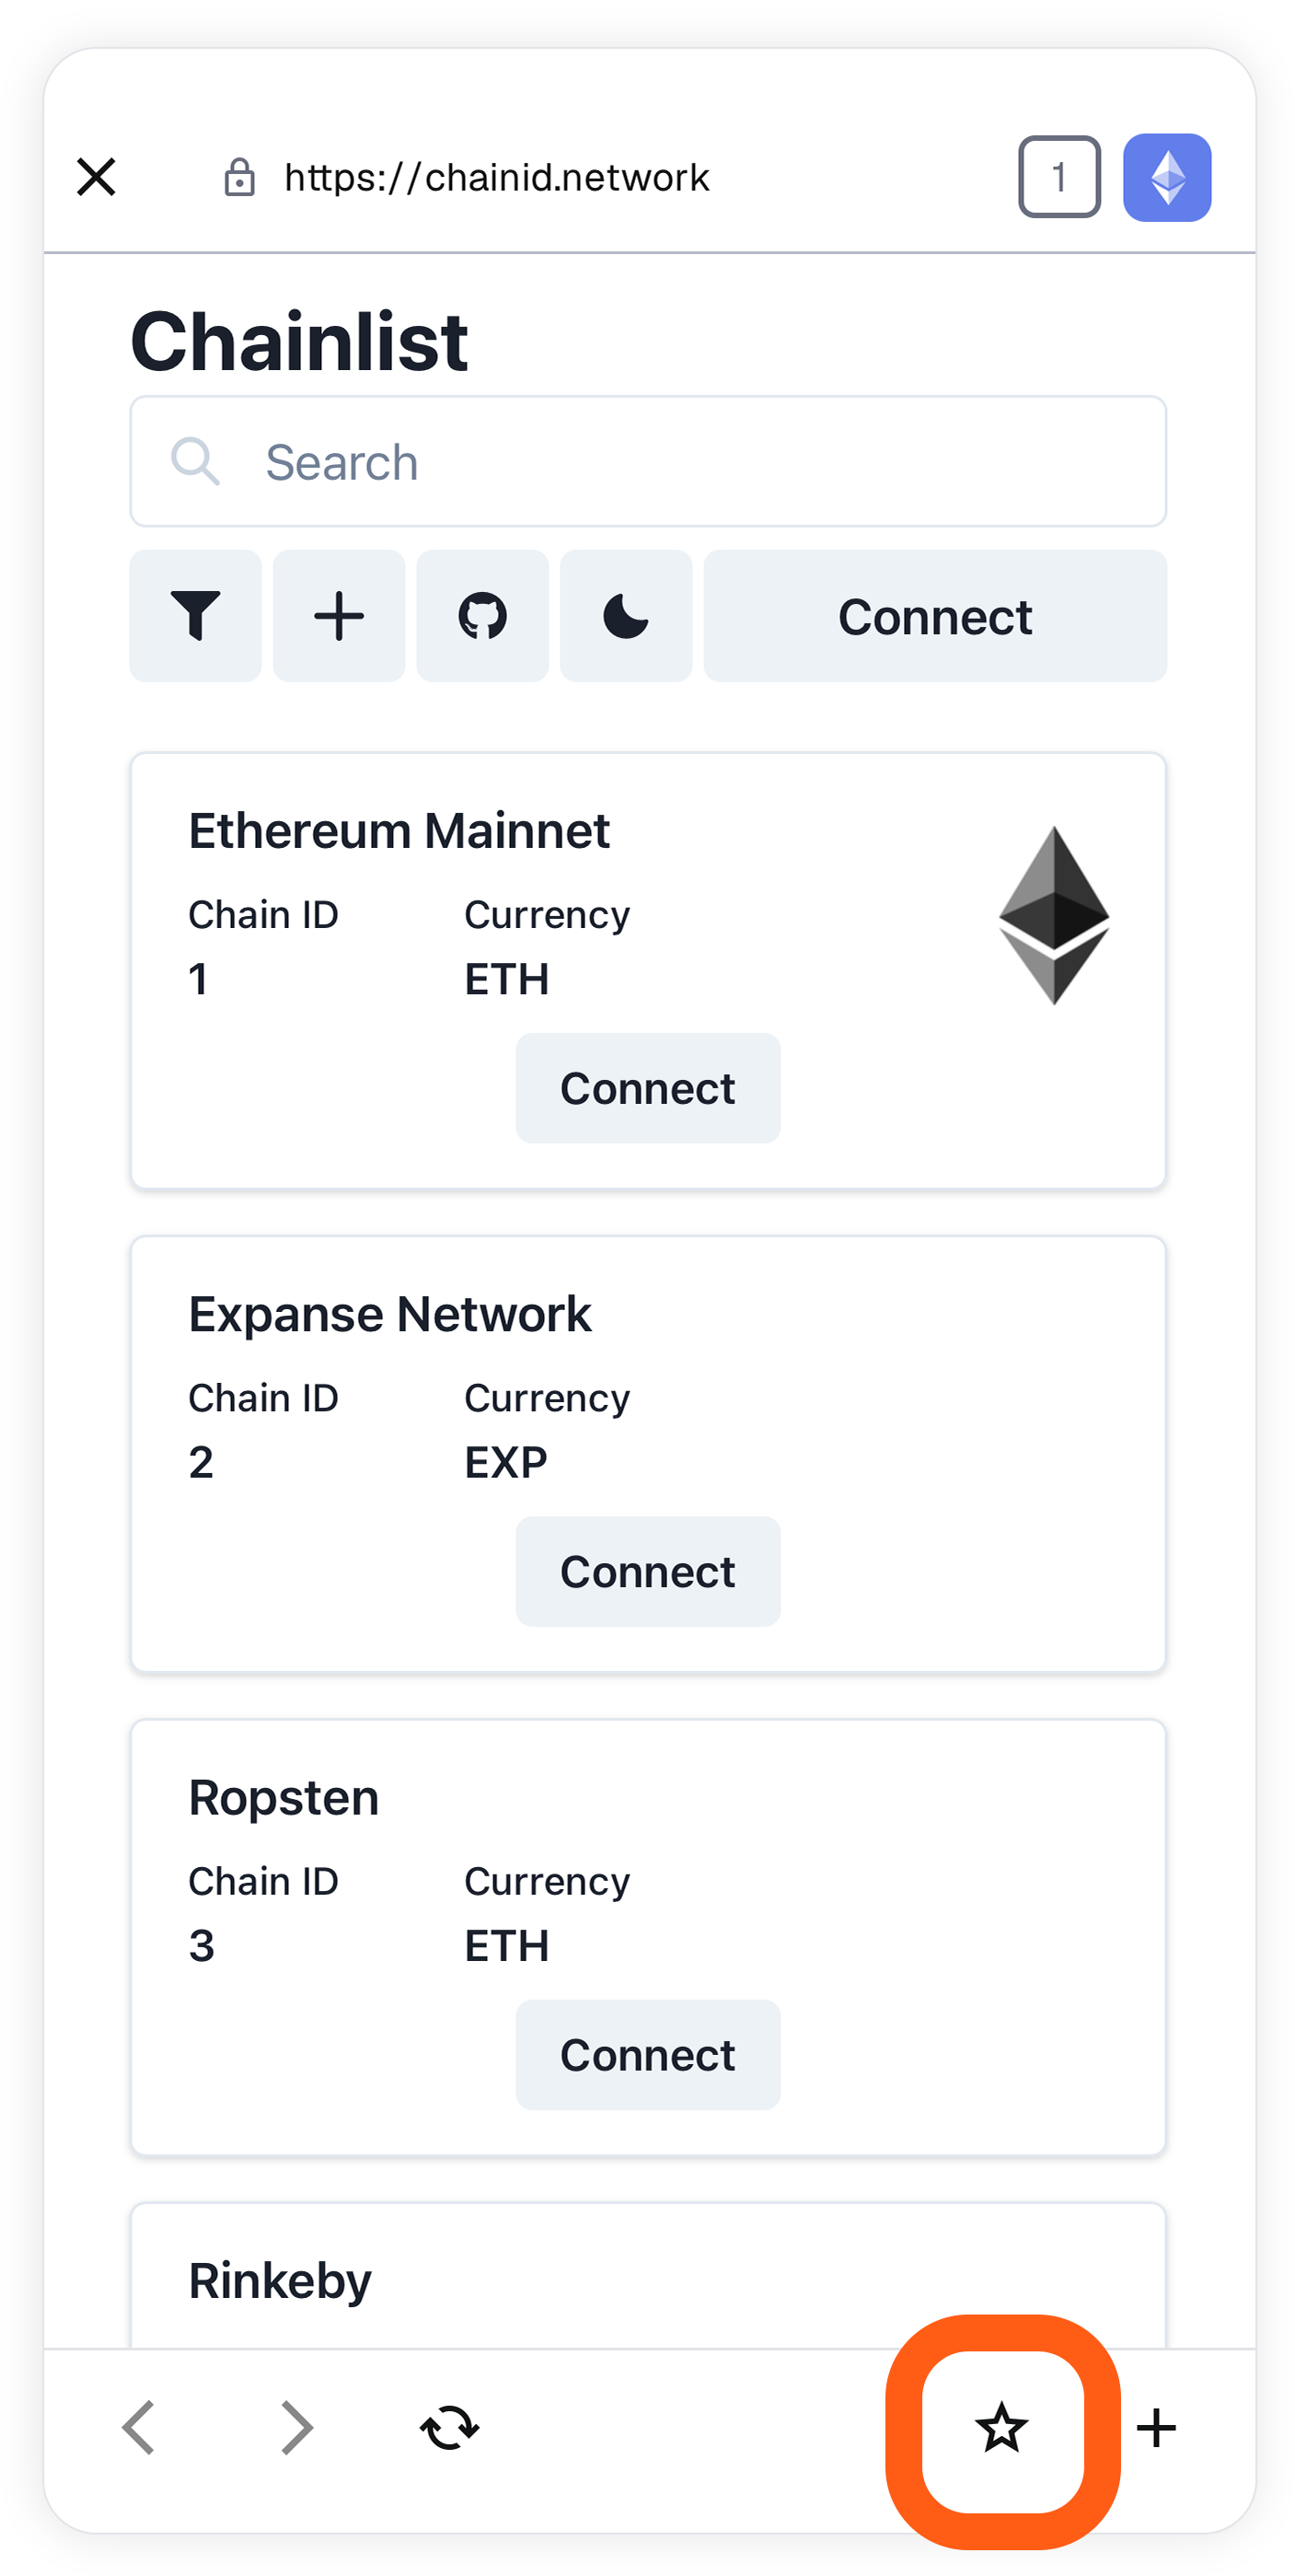
- Update / add a name
- Tap 'Add'
### How to access your favorites
To access your favorites, tap the URL bar when you're on a browser tab and select one of your 'Favorites' from the dropdown under 'Recents'.
:::note
Other mobile browsers will most likely not allow you to connect to dapps using MetaMask, so we recommend using the built-in browser within the app.
Keep in mind that the browser is not as fully-featured as a standalone mobile browser application such as Chrome or Safari. There may be things that don't work. But if you're trying to mint an NFT on the go, or check out a new web3 project that you might want to spend some time on later, it works.
Also, **keep track of what applications you give permissions to**, and **be careful which permissions you give** them. (Though dapp connections are much more innocuous than their potentially dangerous relative, [token approvals](/stay-safe/safety-in-web3/what-is-a-token-approval).) Find out how to manage dapp permissions [here](/more-web3/dapps/disconnect-wallet-from-a-dapp).
:::
---
# How to import a seed phrase from another wallet
URL: https://support.metamask.io/configure/wallet/importing-a-seed-phrase-from-another-wallet-software-derivation-path/
> MetaMask only supports the default BIP-44 derivation path at this time.
:::tip
Looking to import a compatible wallet to MetaMask? Follow [this guide](/start/use-an-existing-wallet/). If you need to export your SRP from another wallet first, see [here](/start/use-an-existing-wallet#how-to-export-srps-from-other-wallets).
:::
When importing a Secret Recovery Phrase (seed phrase), **MetaMask only supports the default BIP-44 derivation path (m/44'/60'/0'/0)**. For more information, see the technical specification [here](https://github.com/bitcoin/bips/blob/master/bip-0044.mediawiki).
Currently, you can only use Ledger's derivation paths when connecting a Ledger hardware wallet (you get options for Legacy derivation MEW/MyCrypto, Ledger Live, or BIP44). The MetaMask team is looking at adding more options and customization; for example, custom networks may use different derivation paths.
At this time, Trezor hardware wallet integration only supports the BIP44 derivation path.
---
# How to customize language settings and display
URL: https://support.metamask.io/configure/wallet/language-settings-and-display/
> Change your language, theme, account icon style, and side panel/popup view in Settings.
You can change your wallet's language, theme, and account icons within settings. On Extension, you can also switch from the default side panel view to a popup if preferred.
## Language {#language}
- Click the menu icon in the top right and navigate to 'Settings'
- Select 'Preferences and display'
- Choose your preferred language from the language dropdown menu
- Tap the menu icon in the top right and tap 'Settings'
- Tap 'General'
- Scroll down to 'Current language' and choose your preferred language from the drop-down list
## Theme {#theme}
- Click the menu icon in the top right and navigate to 'Settings'
- Select 'Preferences and display'
- Choose your preferred theme from the dropdown menu: dark, light, or system
MetaMask Mobile follows your device's display settings — there's no theme toggle inside the app itself. To switch between dark and light mode, update your device settings:
- [iOS: Dark mode](https://support.apple.com/en-gb/HT210332)
- [Android: Dark mode](https://support.google.com/accessibility/android/answer/6151800)
- Xiaomi: Go to Settings > Display > More Dark Mode options and turn off the toggle next to MetaMask.
## Account icon {#account-icon}
Your account icon is the small visual identifier shown next to each account. MetaMask offers three styles to choose from:
- Polycons: modern, geometric shapes
- Jazzicons: colorful, abstract geometric shapes
- Blockies: pixel art icons, a classic early Ethereum style
- Click the menu icon in the top right and navigate to 'Settings'
- Select 'Preferences and display'
- Select your preferred style under the 'Account icon' section
- Tap the menu icon in the top right and tap 'Settings'
- Tap 'General'
- Scroll down and select your preferred style under the 'Account icon' section
## Side panel or popup {#side-panel-or-popup}
By default, MetaMask Extension opens as a side panel docked to the side of your browser. If you prefer the traditional popup window, you can switch at any time.
- Click the menu icon in the top right and select 'Switch to popup'
- To switch back to side panel, simply click the menu icon again and select 'Switch to side panel'
---
# How to manage wallet notifications in MetaMask
URL: https://support.metamask.io/configure/wallet/notifications/
> Learn how to enable, customize or disable wallet activity notifications.
Wallet activity notifications on MetaMask can help you keep up to date with successful transactions, including sending or receiving ETH and tokens, staking and unstaking ETH, and other actions such as bridging, swapping, and buying crypto.
For more information on how this feature works and preserves your privacy, [see here](https://metamask.io/your-metamask-account/).
:::info
Notifications are enabled by default on Extension and Mobile. You can customize these or turn it off within settings.
:::
## How to manage notifications {#how-to-manage-notifications}
MetaMask monitors blockchains for you and sends you push notifications when relevant events occur to your addresses, such as receiving tokens, NFTs, or unstaking.
- Click the menu icon in the top-right of your MetaMask, and select 'Notifications'
- Select the gear icon to access notification settings.
- You can turn off all notifications, product notifications, or only enable activity notifications for certain accounts on this page.
- Tap the menu icon in the top-right of your MetaMask and select 'Notifications'
- Tap the gear icon to access notification settings.
- You can turn off all notifications, product notifications, push notifications, or only enable activity notifications for certain accounts on this page.
- You can sign into [MetaMask Portfolio](https://portfolio.metamask.io/) with your MetaMask wallet and get wallet activity notifications directly within the dapp.
- If you haven't yet opted into wallet notifications, you'll see a popup next to the bell icon in the top-right of the dapp, announcing the option. Click 'Enable' to proceed.
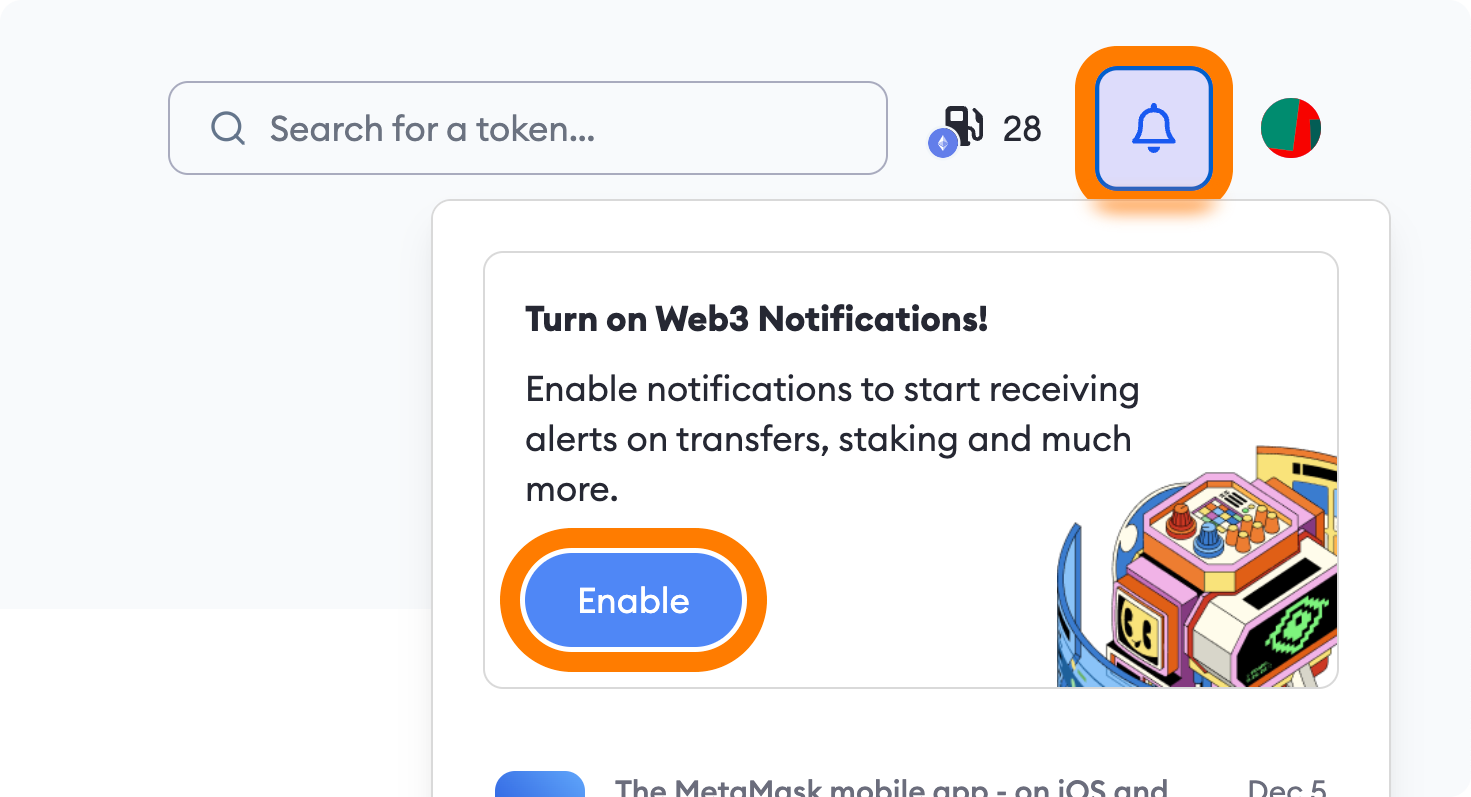
- You can manage your notifications within settings [here](https://portfolio.metamask.io/settings/notifications).
---
# How to set up and use passkeys in MetaMask Extension
URL: https://support.metamask.io/configure/wallet/passkeys/
> Learn how to set up and use passkeys in MetaMask Extension to unlock your wallet with biometrics like Touch ID instead of typing your password.
:::info
Biometric unlock using passkeys is available for **SRP-accessed accounts only**. If you access MetaMask with a Google/Apple/Telegram login, this feature is not currently supported.
:::
Like MetaMask Mobile where you can unlock your wallet using Face ID or your fingerprint, MetaMask Extension now supports passkeys, allowing you to unlock your wallet with biometrics like Touch ID instead of typing your password every time.
This guide explains how to set passkeys up, how they work, and what to expect.
## What are passkeys?
Passkeys are a stronger, simpler alternative to passwords. Unlike a password, which is a secret you type and can be phished, leaked in a data breach, or forgotten, a passkey is a cryptographic key that lives on your device. You never see it or type it. Your device handles everything, and nothing “secret” is ever sent over the internet.
When you unlock MetaMask Extension with biometrics, your device uses your fingerprint or face to confirm it's you, then uses the passkey to unlock your wallet automatically. The passkey is bound to MetaMask specifically, so even if someone tricks you into visiting a fake site, your passkey cannot be used there.
In short: passkeys can't be leaked, can't be phished, and can't be guessed, making them **more secure than a password alone**.
## How to set up a passkey
Passkeys can be set up on MetaMask Extension when creating a new wallet during onboarding, or enabled/disabled within settings at any time.
#### During onboarding:
- Click 'Set up Biometrics'
- Choose the method you want (Google Password Manager, iCloud Keychain, browser profile, etc.)
- Register and validate Touch ID (or the biometric available on your device)
- Done! When you open MetaMask, select 'Unlock with Biometrics' to access your wallet
- You can also fall back to unlocking with your password at any time
#### Within Settings:
- Click the menu icon in the top right
- Select 'Settings' > 'Security and Privacy'
- Toggle 'Unlock with Biometrics', then click 'Set up Biometrics'
- Enter your password to continue
- Choose the method you want (Google Password Manager, iCloud Keychain, browser profile, etc.)
- Register and validate Touch ID (or the biometric available on your device)
#### To disable passkeys:
- Click the menu icon in the top right
- Select 'Settings' > 'Security and Privacy'
- Toggle 'Unlock with Biometrics' to disable it
:::tip
Make sure you know your password before disabling your passkey as it will be the only way to unlock your wallet once touch ID is turned off. If you do not have your password, you will need to use your SRP to restore access to your wallet.
:::
## Your SRP and security
Enabling biometric unlock does not change how your wallet is protected or how recovery works:
- **Your SRP remains the only true recovery mechanism.** If you lose access to your device or need to restore your wallet on a new one, you'll always need your SRP. The passkey cannot substitute for it.
- **Your password is always available as a fallback.** If biometric verification fails or your passkey is deleted, you can still unlock with your password as normal.
- **Your passkey is device- and instance-specific.** Because your vault lives locally on your device, a passkey set up in one MetaMask instance only works for that instance. If you import your SRP into a new MetaMask installation, you'll go through the standard setup flow and can then set up a new passkey for that instance. Your old passkey will not carry over.
:::tip[SRP importance]
Even with biometric unlock enabled, **always keep your SRP stored safely offline**. It is the only way to restore your wallet if you ever lose access to your device.
:::
## Questions
Does my passkey sync across devices?
Not in a way that lets you use it on another MetaMask instance. Depending on your device and OS, your passkey may sync to a cloud account (such as iCloud Keychain or Google Password Manager). However, the encrypted vault it unlocks only exists on the specific device where the passkey was created. A synced passkey from another device won't work with a different MetaMask instance (on a different device). **Each instance requires its own passkey setup.**
Why is it taking so long to load?
If you attempt to unlock with biometrics in the side panel and either cancel the prompt or fail verification, the side panel is not immediately notified that the attempt was unsuccessful. The loading spinner will continue for up to 30 seconds before the ‘Unlock with Biometrics’ button reappears. This is a known limitation that cannot be fixed at this time.
**To retry and load sooner, open MetaMask in full-screen mode and attempt biometric unlock from there.**
How does biometric unlock actually work?
Your passkey is a separate layer that sits on top of your existing wallet security. It doesn't replace your password or touch your Secret Recovery Phrase (SRP) in any way.
- Your password derives a local encryption key that protects your vault — where your SRP and account data are stored, encrypted, on your device.
- When you set up a passkey, it generates a separate wrapping key that encrypts a copy of that local encryption key and stores it locally.
- When you unlock with biometrics, the passkey unwraps the local encryption key, which decrypts your vault — skipping the password entry step entirely.
Your SRP is never involved, and your password always works as a fallback.
---
# How do passwords work in MetaMask?
URL: https://support.metamask.io/configure/wallet/passwords-and-metamask/
> Understand how passwords work in MetaMask, how they differ from your Secret Recovery Phrase, and simple steps to secure and manage your wallet safely.
MetaMask uses passwords in a way that you may not be used to. This mainly has to do with the fact that [MetaMask is a self-custodial wallet](/start/metamask-is-a-self-custodial-wallet) (also called non-custodial, though we're phasing out this term); it's **not** a conventional cloud-based app where we keep track of your username and password.
Your MetaMask password slightly differs in function depending on whether you have connected your Google, Apple, or Telegram account to MetaMask, or if you access your wallet via your Secret Recovery Phrase.
## Accessing your wallet via Google, Apple, or Telegram
If you access your wallet via Google, Apple, or Telegram, your MetaMask password is **crucial** to accessing your wallet. **If you lose your password, you will lose access to your wallet.** It does not matter if you have access to your Google, Apple, or Telegram account, you will not be able to reset your password without being logged into your MetaMask wallet.
If you have biometrics enabled for MetaMask Mobile, you can still access your wallet and reset your password. However, if you have not enabled biometrics, you will not be able to reset your password without being logged into your MetaMask wallet.
## Accessing your wallet via your Secret Recovery Phrase
If you access your wallet via your Secret Recovery Phrase, your MetaMask password helps you access a _specific instance_ of MetaMask. For example, if you download MetaMask Extension, create a new SRP, and import additional accounts, your MetaMask password will log you into that specific instance of MetaMask Extension that has all of those accounts in one place.
If you ever lose your password, you will lose access to that instance of MetaMask, and will have to manually add the accounts into a new instance. However, with your SRPs and private keys, you can easily create a new instance of MetaMask and manually add the accounts you want in the same place.
SRP users on Extension can also enable biometric unlock using a [passkey](/configure/wallet/passkeys).
## Password safety practices
Password safety is critical to your wallet security. Only you can decide the best password for you, but here are some best practices for your password:
- Use a strong, computer-generated password. Computer-generated passwords are more secure than passwords you create yourself.
- Use a unique password. Do not repeat passwords.
- Store your password in a secure, physical location. Do _not_ use a password manager to store your password. While convenient, any password manager or cloud-based service can be hacked, and is not the most secure way to store your password.
- Change your password regularly.
- **Never share your password with anyone.** Anyone who asks for your password is trying to scam you. MetaMask Support will never ask for your password.
## See also: {#see-also}
[How do I reset my password?](/configure/wallet/how-can-i-reset-my-password)
[User guide: Secret Recovery Phrase, password, and private keys](/start/user-guide-secret-recovery-phrase-password-and-private-keys)
[How to use multiple MetaMask wallets](/more-web3/wallets/how-to-use-multiple-metamask-wallets)
[How to restore your wallet using your Secret Recovery Phrase](/configure/wallet/how-to-restore-your-metamask-wallet-from-secret-recovery-phrase)
---
# How to manage security alerts to protect your wallet
URL: https://support.metamask.io/configure/wallet/security-alerts/
> Learn how to turn on security alerts to receive warnings about risky transactions and report false positives.
MetaMask displays trust signals and security alerts to help you make informed decisions when interacting with tokens, wallet addresses, and websites (dapps).
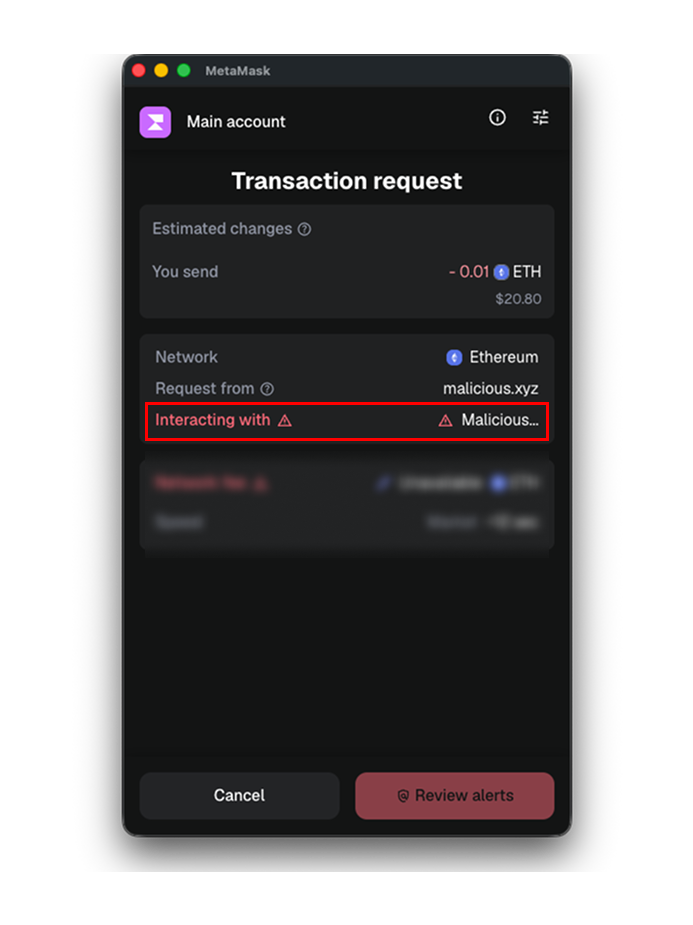
### Trust signals {#trust-signals}
Trust signals help you understand whether a token, address, or website matches the official identity recognized by the ecosystem. For example, a 'Verified' badge indicates that MetaMask has high confidence that the entity corresponds to the legitimate project or organization it claims to represent.
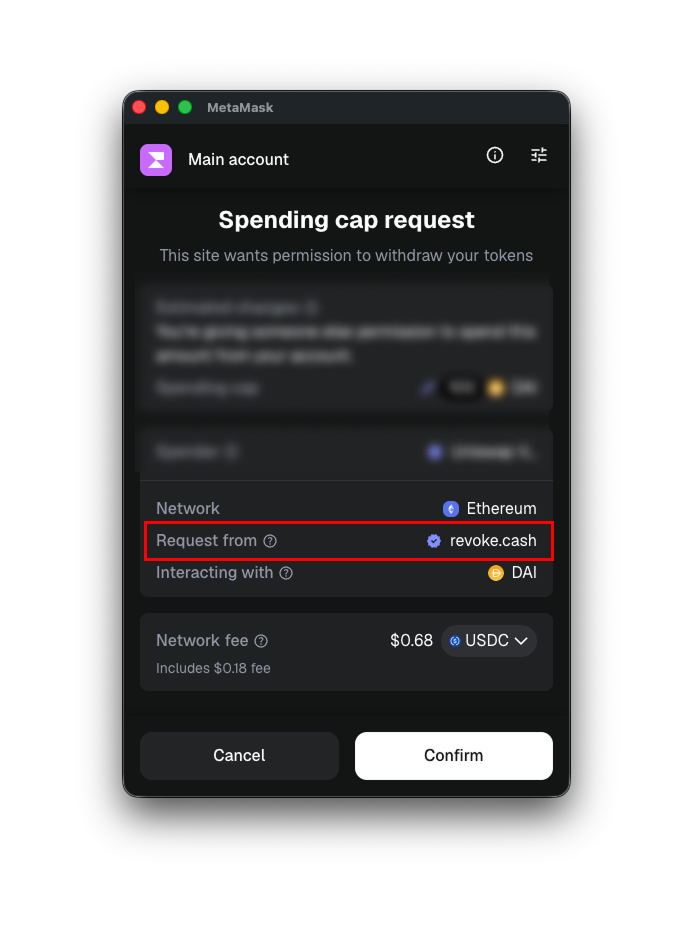
Not all legitimate contracts or websites will have a 'Verified' badge. The absence of a 'Verified' indicator does not automatically mean something is unsafe.
:::info
Trust signals are **informational only** and do not represent endorsement, approval, or a guarantee of safety.
:::
### Security alerts {#security-alerts}
Security alerts warn you when MetaMask detects signals associated with scams, phishing attempts, impersonation, or other harmful activity.
These alerts may appear as:
- 'Warning': Potential risk detected
- 'Malicious': High confidence of harmful activity
Security alerts are designed to help you identify potential threats — but you remain in control of your wallet and transaction decisions.
### How to turn security alerts on or off {#how-to-turn-security-alerts-on-or-off}
Security alerts are enabled by default in MetaMask Extension and Mobile! You can turn this off in settings at any time:
- Click the menu icon in the top-right of your MetaMask
- Click 'Settings' > 'Transactions'
- Toggle the 'Security Alerts' button based on your preference
:::tip[Supported networks]
Arbitrum • Avalanche • Base • Berachain • Bitcoin • Blast • Bsc • Ethereum • HyperEVM • ImmutableZkEvm • Linea • MetachainOne • Monad • OpBnb • Optimism • Polygon • Scroll • Sei • Soneium • Tron • Zksync
:::
### How trust signals and security alerts are generated {#how-trust-signals-and-security-alerts-are-generated}
MetaMask trust signals and security alerts are powered by a combination of on-chain analysis, ecosystem intelligence, and security partners including Blockaid, along with other threat detection providers.
These systems analyze factors such as:
- Known phishing domains and scam reports
- Contract behavior and transaction patterns
- Impersonation signals (for example, tokens or websites mimicking established projects)
- On-chain activity associated with malicious campaigns
- Community and ecosystem reporting
Security classifications are based on risk signals and confidence levels derived from these sources. Classifications are updated over time as new information becomes available.
### Transaction simulation {#transaction-simulation}
When security alerts are turned on, transactions and signature requests are sent to a MetaMask (EVM) or Blockaid (non-EVM) server to check whether a transaction can result in you losing funds.
These simulations enhance security alerts but do not guarantee detection of all threats. Even though a warning is displayed, you can still confirm the transaction if you choose to.
### What should I do if I see a security alert? {#what-should-i-do-if-i-see-a-security-alert}
**If you see a 'Warning'**:
- Double-check the URL or contract address
- Verify through the project’s official channels
Review transaction details carefully and only confirm if you are confident. Fund loss is still a possibility.
**If you see 'Malicious'**:
- Do not connect your wallet
- Do not sign transactions
- Close the site
Malicious classifications indicate a high confidence of scam, phishing, or wallet-draining activity. Interacting may result in loss of funds
### How to report a false classification {#how-to-report-a-false-classification}
If you believe something has been classified incorrectly, there are two options:
Option 1: Report from the alert (if available)
:::info
This option is currently available for **transaction alerts only**. If you received a warning on a URL, token, or address scan, use Option 2 to contact our support team instead.
:::
When a transaction is flagged, click 'See details' to expand the alert banner, then select 'Report an issue'.
This will open a web page allowing you to submit details of the transaction that you were attempting. Click 'Continue' to proceed, and then you'll be taken to a form. Here you can:
- Use the text field to add any details you feel are relevant
- Expand the 'Details' dropdown to view the information about your transaction that will be submitted.
The 'Details' section is automatically populated with data from MetaMask, so you don't need to touch it.
Click 'Submit' to send the report.
Option 2: Contact our support team
If you don't see a way to report an incorrectly classified alert, reach out to our support team for a manual review.
Please include:
- What was flagged (token, address, or URL)
- The network (Ethereum, Linea, etc.)
- Screenshots of the warning or alert
- Any official links that help verify the entity (project website, documentation, or block explorer page)
Please be aware that reports are reviewed on a case-by-case basis and response times may vary.
Reports help improve detection systems and protect the broader ecosystem. Our team reviews reports and updates classifications when appropriate. Reviews may take several business days depending on complexity and verification requirements.
### What do the different alerts mean? {#what-do-the-different-alerts-mean}
Token alerts
- 'Verified': This token matches the official token address recognized by the ecosystem. Verification is not investment advice—it does not mean MetaMask recommends or guarantees the safety or value of the token.
MetaMask does not manually apply the verified token badge on an individual basis. In general, verification for a token can be achieved based on two metrics:
1. The token is available on one or more recognized trading platforms
2. The token has demonstrated sufficient market activity
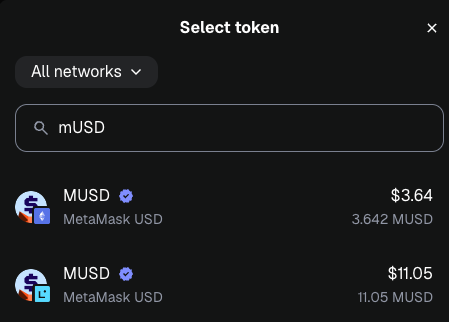
- 'Warning': This token has been flagged for risk indicators, such as impersonation signals, unusual contract behavior (including unexpected fees), or spam-related distribution activity.
- 'Malicious': Strong signals suggest this token may be scam-related or harmful.
Address alerts
- 'Verified': This address is recognized as the official address for an entity (where available).
- 'Warning': This address needs additional review. It may be newly deployed, an unverified contract on a block explorer (such as Etherscan), or lack sufficient information to confidently confirm its identity.
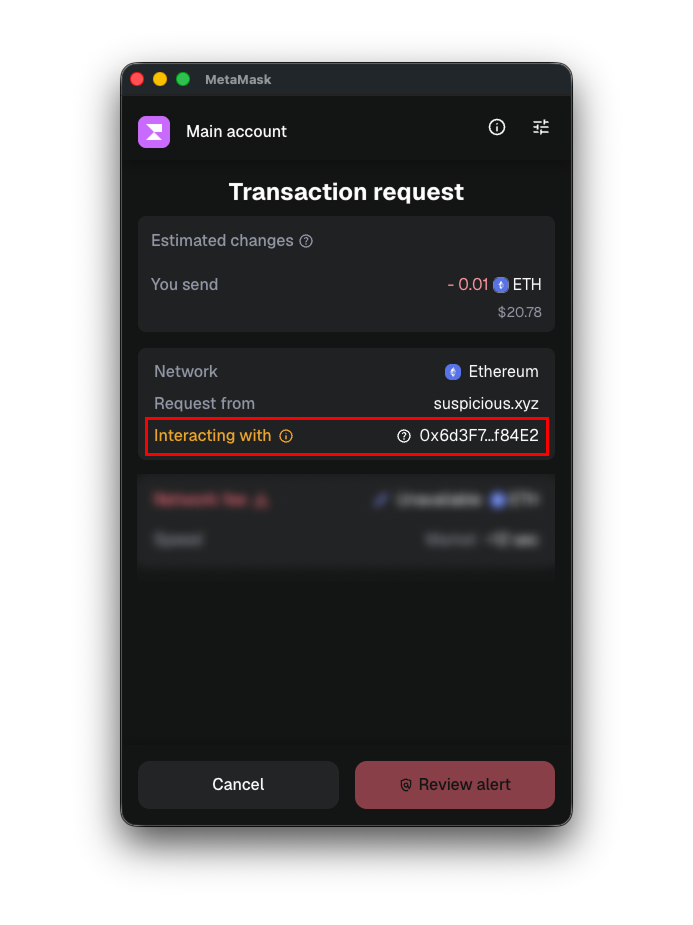
- 'Malicious': Strong signals suggest this address may be associated with scams or harmful activity.
Website alerts
- 'Verified': This domain matches the official website identity recognized by the ecosystem (helps reduce phishing/look-alike domains).
- 'Malicious': Strong signals indicate the site is likely phishing or attempting wallet-draining activity.
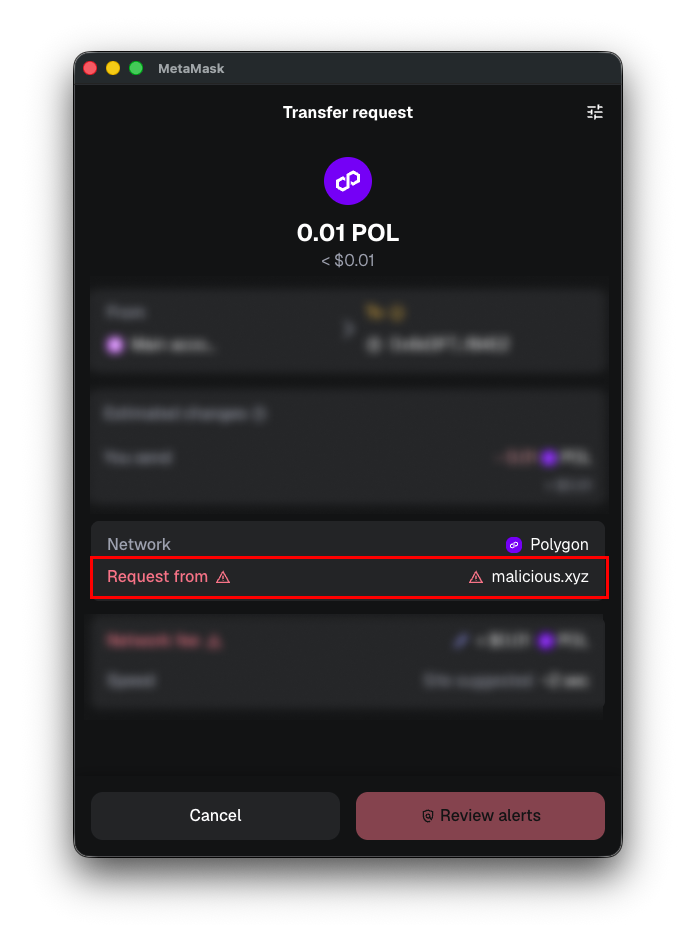
## FAQs {#faqs}
What data is shared when security alerts are on?
For transaction simulation and security checks to work, MetaMask shares certain data points with our security partners. This is data that would normally be shared with the dapp you're interacting with as part of a signed transaction anyway. This includes:
- The **web address (URL)** of the dapp you're using
- The **JSON-RPC method** the dapp is using (the type of request being made to the network)
- The **chain ID** of the network
- The **transaction data** the dapp is sending with its request
MetaMask does not share your Secret Recovery Phrase, private keys, or any other credentials with security providers.
What information do security alerts give me?
Your transaction data is checked against threat intelligence maintained by our security partners. MetaMask then receives and displays the result. The exact message varies depending on what was found — for example, if the data matches a URL flagged as potentially dangerous, you'll see a warning identified as 'Malicious'.
Security alerts are designed to inform your decision — MetaMask does not prevent you from proceeding with a transaction.
---
# How does social login with MetaMask work?
URL: https://support.metamask.io/configure/wallet/social-login/
> Learn more about the technical setup, security, and self-custody considerations when using the Google/Apple/Telegram login option.
:::note
To learn more about creating a new wallet with Google/Apple/Telegram, jump [here](/start/creating-a-new-wallet/#accessing-via-google-or-apple). Read below to dive into the technical setup, security, and self-custody considerations when using MetaMask’s social login flow.
:::
Crypto wallets are necessary to do anything in web3. While Secret Recovery Phrases (SRPs) remain the prevailing industry standard to create one, they pose problems:
- It can be clunky and confusing for new users to write down 12 secret words when creating a wallet
- Many skip backing up the SRP when creating a new wallet, leaving their funds at risk
- Others take shortcuts like screenshotting their SRP, not realizing how insecure that is
- Even those who do write down their SRP at the time of wallet creation can misplace it later
There is no shortage of stories about people inadvertently exposing or losing their SRP, ultimately resulting in the loss of their funds. To support more users, we’ve introduced a self-custodial process that avoids backing up the SRP manually when creating a wallet.
Now, when creating a MetaMask wallet, one has the “Login with Google/Apple/Telegram" option—instead of writing down the SRP during setup, it’s securely backed up online and **protected by both a Google, Apple, or Telegram login and a password you create**.
## The system
At its core, MetaMask’s social login uses a cryptographic primitive called **“Threshold Oblivious Pseudorandom Function” (TOPRF)** alongside a distributed key management protocol to ensure that you remain in custody of your tokens, all while providing a high level of protection against attacks and failures.
:::info[The system components]
- MetaMask clients (your wallet app or browser extension)
- Login providers (Google, Apple, or Telegram)
- Key share holders (Server nodes holding fragments of the cryptographic key)
- Data store (houses encrypted data)
:::
The feature is designed to be self-custodial. **The only instance where a full SRP exists is on your device**, after you’ve successfully authenticated with your login and password.
- When the SRP is backed up, it is stored in MetaMask's backend as encrypted ciphertext
- The encryption key is split across multiple key share holders using [Shamir Secret Sharing (SSS)](https://dl.acm.org/doi/10.1145/359168.359176)
- No single party (not MetaMask, not the data store, not Google, Apple, or Telegram), **other than you**, can reconstruct the SRP in plaintext
- The SRP is obtained in a 2/2 setup: by authenticating with the selected login provider (Google, Apple, or Telegram), *and* supplying the correct password
## Backing up the wallet
This is how the online SRP backup works:
1. You login with Google, Apple, or Telegram and obtain a corresponding access token upon successful login (*Note: this is not a 'token' in the cryptocurrency sense, but instead a bit of backend code.*)
2. You choose a strong wallet password
3. Your device generates a random OPRF key, splits the key into key shares using Shamir Secret Sharing (SSS), and stores the key shares across the key share holders (where access control is governed by your social login token)
4. Your device runs the OPRF locally to derive an encryption key from the OPRF key and your password
5. The encryption key encrypts the SRP and stores it in the data store
## Recovering the wallet
If you lose your device or want to log in to MetaMask on a new device, you can just log in with Google, Apple, or Telegram in that new instance, and input your password.
It will feel just like logging into your wallet, but on a technical level, it’s “restoring your wallet” from the online SRP backup:
1. You log in with Google, Apple, or Telegram on the new device
2. You enter your password
3. Using the password and the authentication token from the login provider, your device runs the TOPRF protocol with the key share holders
4. The encryption key is derived if the password is correct
5. Your encrypted SRP is downloaded from the data store and decrypted
The process fails if the password is wrong. To protect against brute-force attacks, the key share holders employ a rate limiting mechanism to limit the number of password guessing attempts.
## Self custody and security
In typical MetaMask fashion, we didn’t want to compromise on self-custody with social login, even when introducing easier wallet creation flows. For a truly self-custodial solution, there must be a component that is independent of the infrastructure and only accessible to you. In this case, **it’s your password**.
:::tip
**You are required to manage this password as securely as you would manage your SRP.**
:::
With the cryptographic encryption system, we created a solution where the SRP remains protected by the password even if all other system entities are compromised.
- **Key share holder compromise:** If a number of key share holders below the secret-sharing threshold is compromised, full security as described above remains intact. If a number of key share holders above the threshold is compromised, the attacker obtains the OPRF key, but still needs to brute-force the password to derive the correct encryption key.
- **Login provider compromise:** If your Google, Apple, or Telegram login is compromised, then an attacker can engage in the recovery protocol (steps outlined in the “recovering the wallet” section) with the key shareholders. However, the number of password guessing attempts is limited due to the server-side rate limiting.
Using password managers and local keychains secured by biometrics can help to reduce the risk of password loss or theft, but there is still a huge reliance on the password.
That’s the tradeoff for maintaining self-custody, so make sure you keep your password and devices safe! We hope this introduces a more convenient path to create and restore your wallets.
## References
- [TOPPSS: Cost-Minimal Password-Protected Secret Sharing Based on Threshold OPRF | SpringerLink](https://link.springer.com/chapter/10.1007/978-3-319-61204-1_3)
- [How to share a secret | Communications of the ACM](https://dl.acm.org/doi/10.1145/359168.359176)
---
# What are address nicknames?
URL: https://support.metamask.io/configure/wallet/what-are-address-nicknames/
> What is an address nickname, and why might you want one?
Nicknames allow you to get a better grasp of the address you are about to interact with. When making a transaction, you can click on an address to see suggested nicknames or add your own.

## How can I add an address nickname? {#how-can-i-add-an-address-nickname}
Whenever you send a transaction or interact with a smart contract, you’ll notice that MetaMask might display the receiving address in one of three ways;
- Highlighted in gray, indicating that the address does not yet have a nickname set;
- Automatically displayed with a nickname, indicating that the address was already recognized by MetaMask, such as a token contract;
- An address nickname set by yourself.
If you are interacting with an address that MetaMask does not automatically recognize, and the address is highlighted in gray, you can provide a nickname so you can easily recognize it in the future.
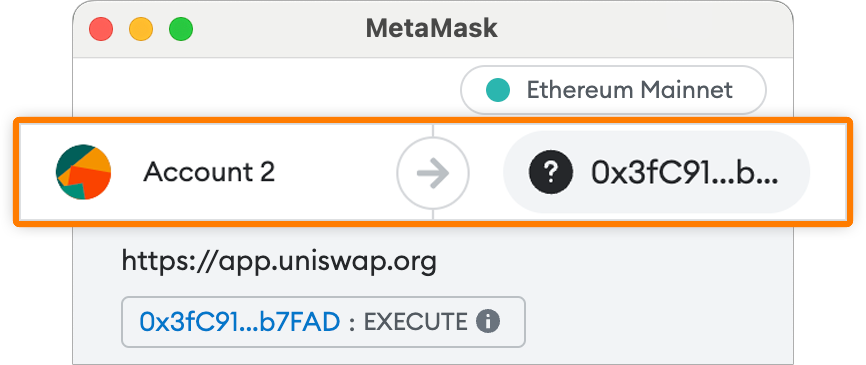
Click the address, and find the ‘Nickname’ field. Enter a nickname of your choosing. MetaMask might also provide some suggested nicknames, which are fetched from sources such as Etherscan, ENS, or Lens.

After clicking ‘Save’, you will notice that the address that was previously highlighted in gray, is now replaced with your newly set nickname.
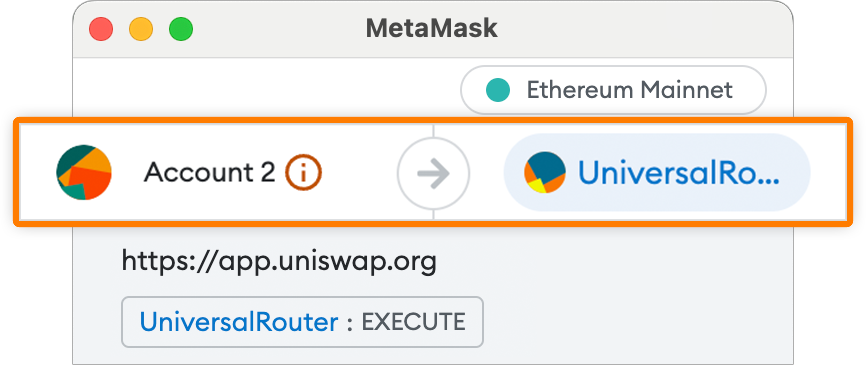
Some addresses, such as those of token contracts, might automatically display a default nickname. If the default nickname doesn’t suit you, you can always rename it to something different.
You will be able to see the address nickname during any new transaction you make, as well as in the ‘Activity’ tab of your account.
We highly recommend setting up a nickname for each address you often interact with; this way, you’ll be certain that you’re interacting with the address that you meant to interact with.
## Can I change an address nickname? {#can-i-change-an-address-nickname}
Yes! Simply click on the nickname and change away. After saving the new nickname, it will immediately be reflected.
---
# Move crypto
URL: https://support.metamask.io/manage-crypto/move-crypto/
> Move your crypto: transfer, bridge, swap, send, receive, and more.
Learn how to move your crypto using MetaMask.
Sending between accounts, bridging across chains, swapping tokens, and avoiding common errors.
---
# Buy
URL: https://support.metamask.io/manage-crypto/move-crypto/buy/
> Buy crypto in MetaMask; step-by-step guides.
Learn how to buy crypto directly in MetaMask.
Choose providers, compare fees, pay with card or bank transfer, and fund your wallet securely.
---
# How to buy crypto on MetaMask using your CEX account
URL: https://support.metamask.io/manage-crypto/move-crypto/buy/buy-crypto-from-cex-account/
> Learn how to buy crypto from your centralized exchange (CEX) account directly in MetaMask.
Have a centralized exchange (CEX) account through Coinbase or Binance? You can now buy crypto through your CEX account directly in MetaMask Portfolio. When you use this feature, you can use the bank account already linked to your CEX account and fund your wallet in fewer steps.
:::info[Prerequisites]
Before you get started, you need the following:
- A CEX account with Coinbase or Binance
- Your CEX account linked to MetaMask Portfolio. Follow our guide [here](/manage-crypto/portfolio/cex-accounts).
:::
## Buy crypto from your linked CEX {#buy-crypto-from-your-linked-cex}
First, navigate to the 'Overview' tab of [MetaMask Portfolio](https://portfolio.metamask.io/). Then, select 'Centralized' from the left-hand menu. You should see your linked Coinbase or Binance account.
Select the account you'd like to use. On that account's overview page, click the 'Buy' button. You'll be guided through a simple flow to make your purchase.
You can also use the 'Buy' dropdown from the overview page of decentralized accounts. Simply select if you'd like to 'Buy from Binance' or 'Buy from Coinbase', and then follow the on-screen prompts.
## Transfer funds from CEX to Portfolio {#transfer-funds-from-cex-to-portfolio}
If you have funds in your CEX account you'd like to transact with, you'll need to transfer them to your MetaMask account. Follow our guide [here](/start/how-to-transfer-assets-from-centralized-exchange) for more information.
---
# FAQs
URL: https://support.metamask.io/manage-crypto/move-crypto/buy/faqs/
> Find answers to common questions about buying crypto in MetaMask.
:::info[Learn more]
For a guide on how to buy crypto in MetaMask, see [here](/manage-crypto/move-crypto/buy/how-to-buy-crypto-in-metamask).
To learn what providers and payment methods are available, see [here](/manage-crypto/move-crypto/buy/providers-and-payment-methods).
If your country or region does not support buying crypto, see [here](/manage-crypto/move-crypto/buy/how-to-buy-crypto-in-metamask#regional-availability).
:::
## FAQs {#faqs}
What regions/countries are covered?
We aim to provide users in as many countries as possible with _at least one_ option to buy crypto.
At present, users in 170+ countries can buy crypto through at least one provider.
I entered $\_\_. Why did I only receive $\_\_?
The fiat value you input into MetaMask will always be more than the value of crypto you end up receiving.
You have to pay a few different fees for each transaction. In addition to the fee that MetaMask charges, you must also pay the provider's fee and the gas fees for the transactions required to get the purchased crypto into your wallet.
The provider's fee is listed as 'processing fee' on the quote. This number includes the fee that MetaMask charges for the service. Gas costs are listed on the quote as the 'network fee'.
Does MetaMask make money from this?
MetaMask receives a 1% fee on every transaction, calculated as a percentage of the fiat value you request.
So if you input $100, we will calculate our share of the fees as $1.
The 1% fee is consistent across all regions, payment methods, providers, and tokens.
Who am I buying from when I use this feature?
MetaMask does not fulfill the transactions you order: it is the provider (e.g. MoonPay, Transak, etc.) that receives your request and executes the necessary steps.
MetaMask's role in this process consists of compiling quotes, enabling you to select one, and then allowing you to order your chosen amount of crypto through the provider.
For a list of providers, see [here](/manage-crypto/move-crypto/buy/providers-and-payment-methods).
How long before I receive my crypto?
To get your ordered crypto into your wallet, the provider you choose must execute transactions on-chain. This means that, as a minimum, you will need to wait as long as it takes for the transactions to be processed by the network (block time).
Once you submit your request, you can see the pending transaction in your MetaMask activity.
If your bank account was charged and there are delays in receiving your crypto, we recommend you contact the provider's support team directly. Pending purchases (not yet confirmed on the blockchain) are usually caused by the provider's pre-authorization processes.
What do I do if my transaction fails?
Since MetaMask does not execute your transaction, the provider will likely be better placed to support than our team. In these situations, we recommend you contact their support teams first.
If you're facing problems using a provider's platform, such as payment limits, payment methods, or KYC, we recommend you get in touch with their support teams directly.
How do I manage/delete the accounts I have created with each provider?
When you buy crypto in MetaMask, you're not buying crypto _with_ or _from_ MetaMask: you're buying with the provider you choose.
If you want to manage any personal information that the providers hold, you must access the provider's platform directly, log into your account, and make the changes there. MetaMask does not collect or hold your login details for providers at any point during or after the buying process.
---
# How to buy crypto using MetaMask
URL: https://support.metamask.io/manage-crypto/move-crypto/buy/how-to-buy-crypto-in-metamask/
> Learn how to buy crypto in MetaMask using your card, bank transfer, or third-party providers.
MetaMask has partnered with Transak to offer a seamless way to buy and top up crypto in MetaMask, using a debit card, wire transfer, or Google or Apply Pay. Users in certain regions will have the option to natively deposit tokens via Transak. This method takes place entirely within MetaMask, and allows you to buy crypto and top-up without leaving the app.
MetaMask continues to offer other providers for buying crypto, supporting other regions and tokens. By selecting your region, you will automatically be presented with the options available to you.
## Buy crypto
:::info[MetaMask Extension and Portfolio]
You can also buy crypto in MetaMask Portfolio by selecting 'Move crypto', and then 'Buy', in the left sidebar. If you use MetaMask Extension, you can find the 'Buy/Sell' button on the left of your MetaMask view, which will redirect you to the MetaMask Portfolio.
You can also buy crypto through your linked centralized exchange (CEX) account directly in MetaMask Portfolio. For more information, see our guide [here](/manage-crypto/move-crypto/buy/buy-crypto-from-cex-account).
:::
The following guide walks you through the process of buying crypto in MetaMask Mobile, using version 7.61 or later. **Your screen may look slightly different based on your region.**
1. Open MetaMask Mobile. Select the 'Buy' button under your account balance on the left of the screen.
2. Click 'Buy'.
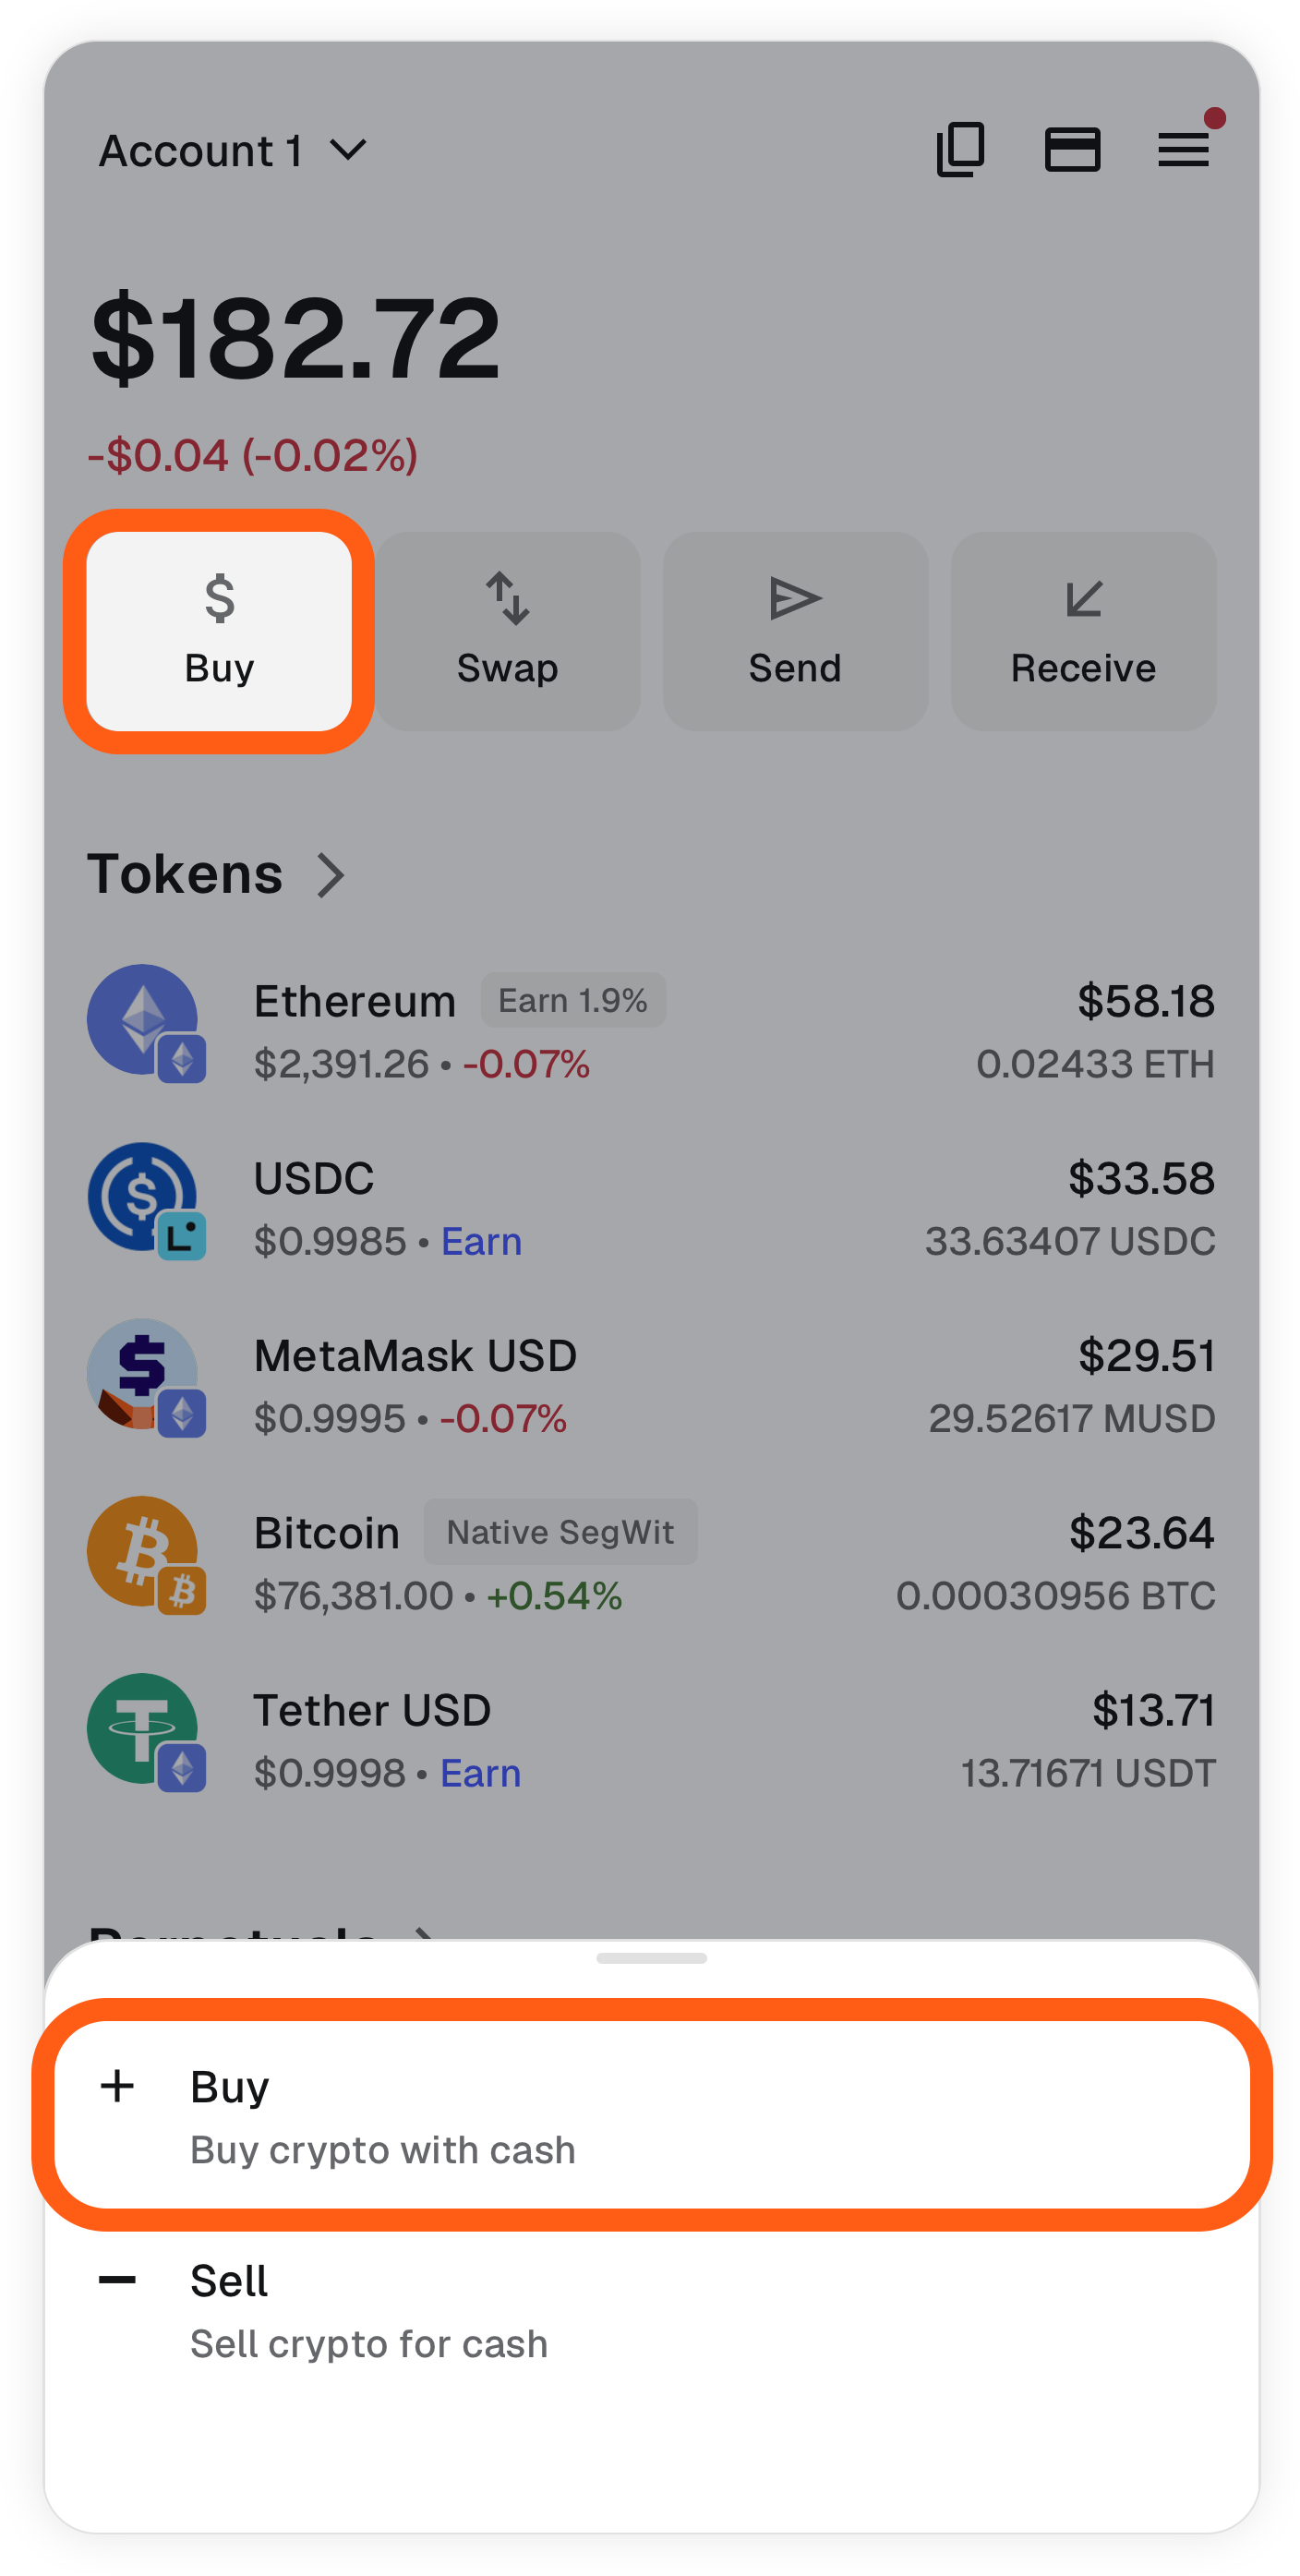
3. On the next screen, you will select the token you want to buy, and the network you want to buy it on. You can search for a certain token by searching its name or address.
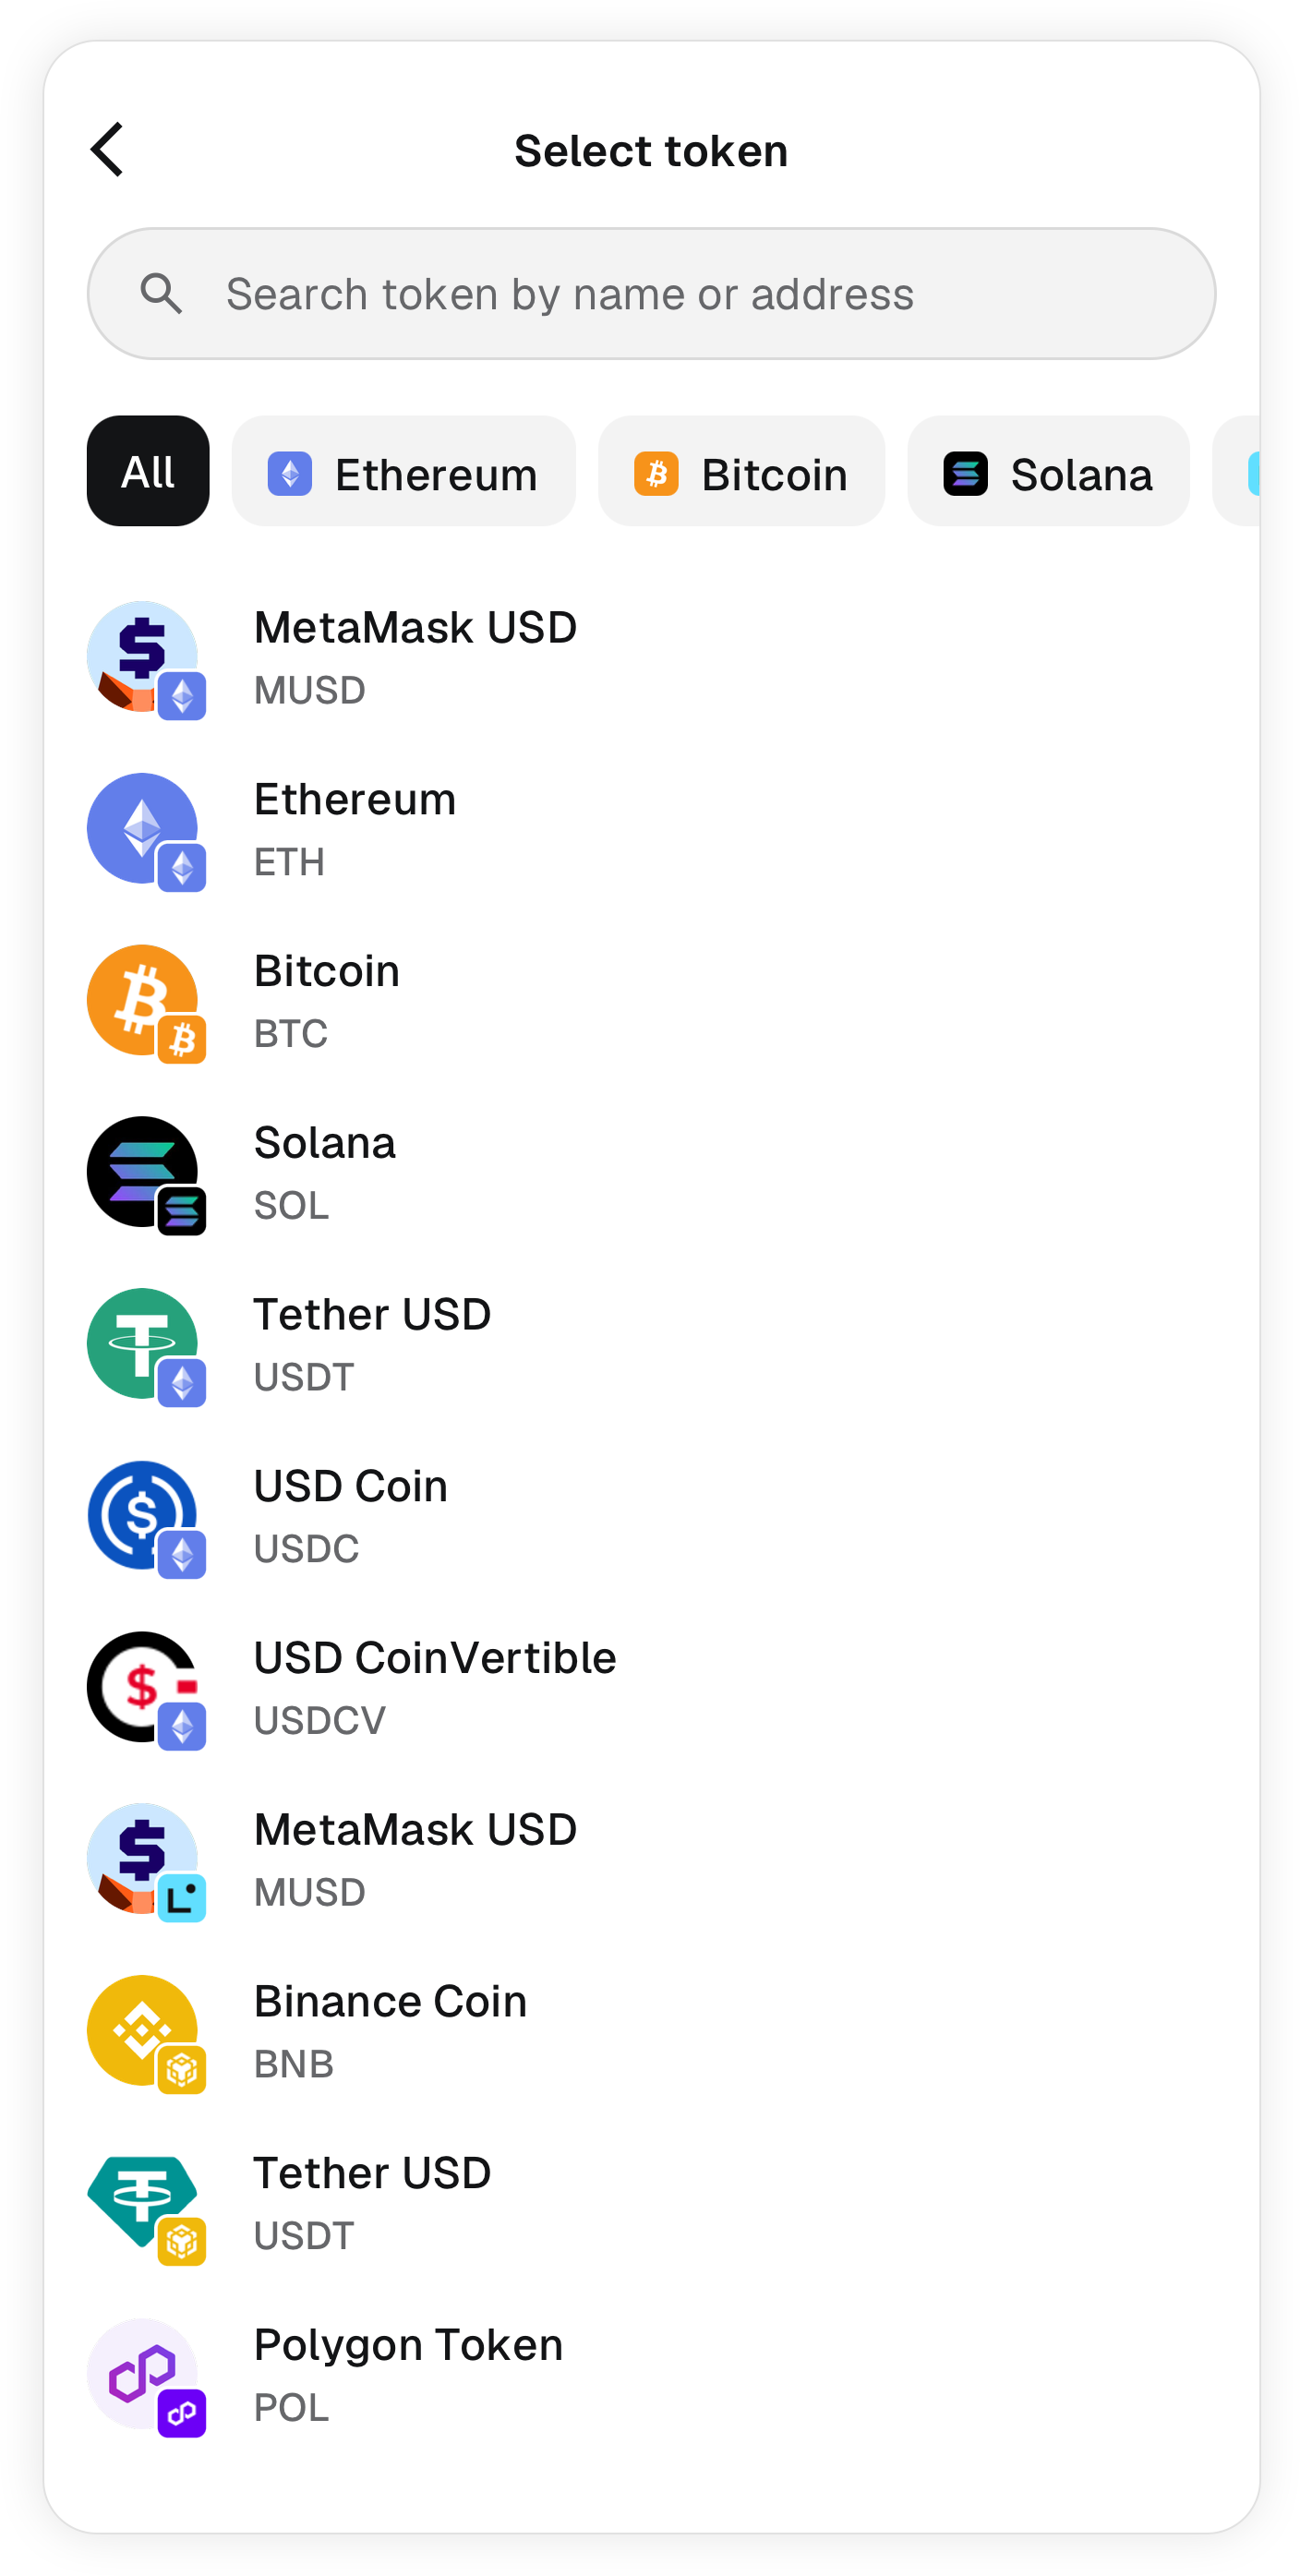
4. Enter the amount you want to purchase.
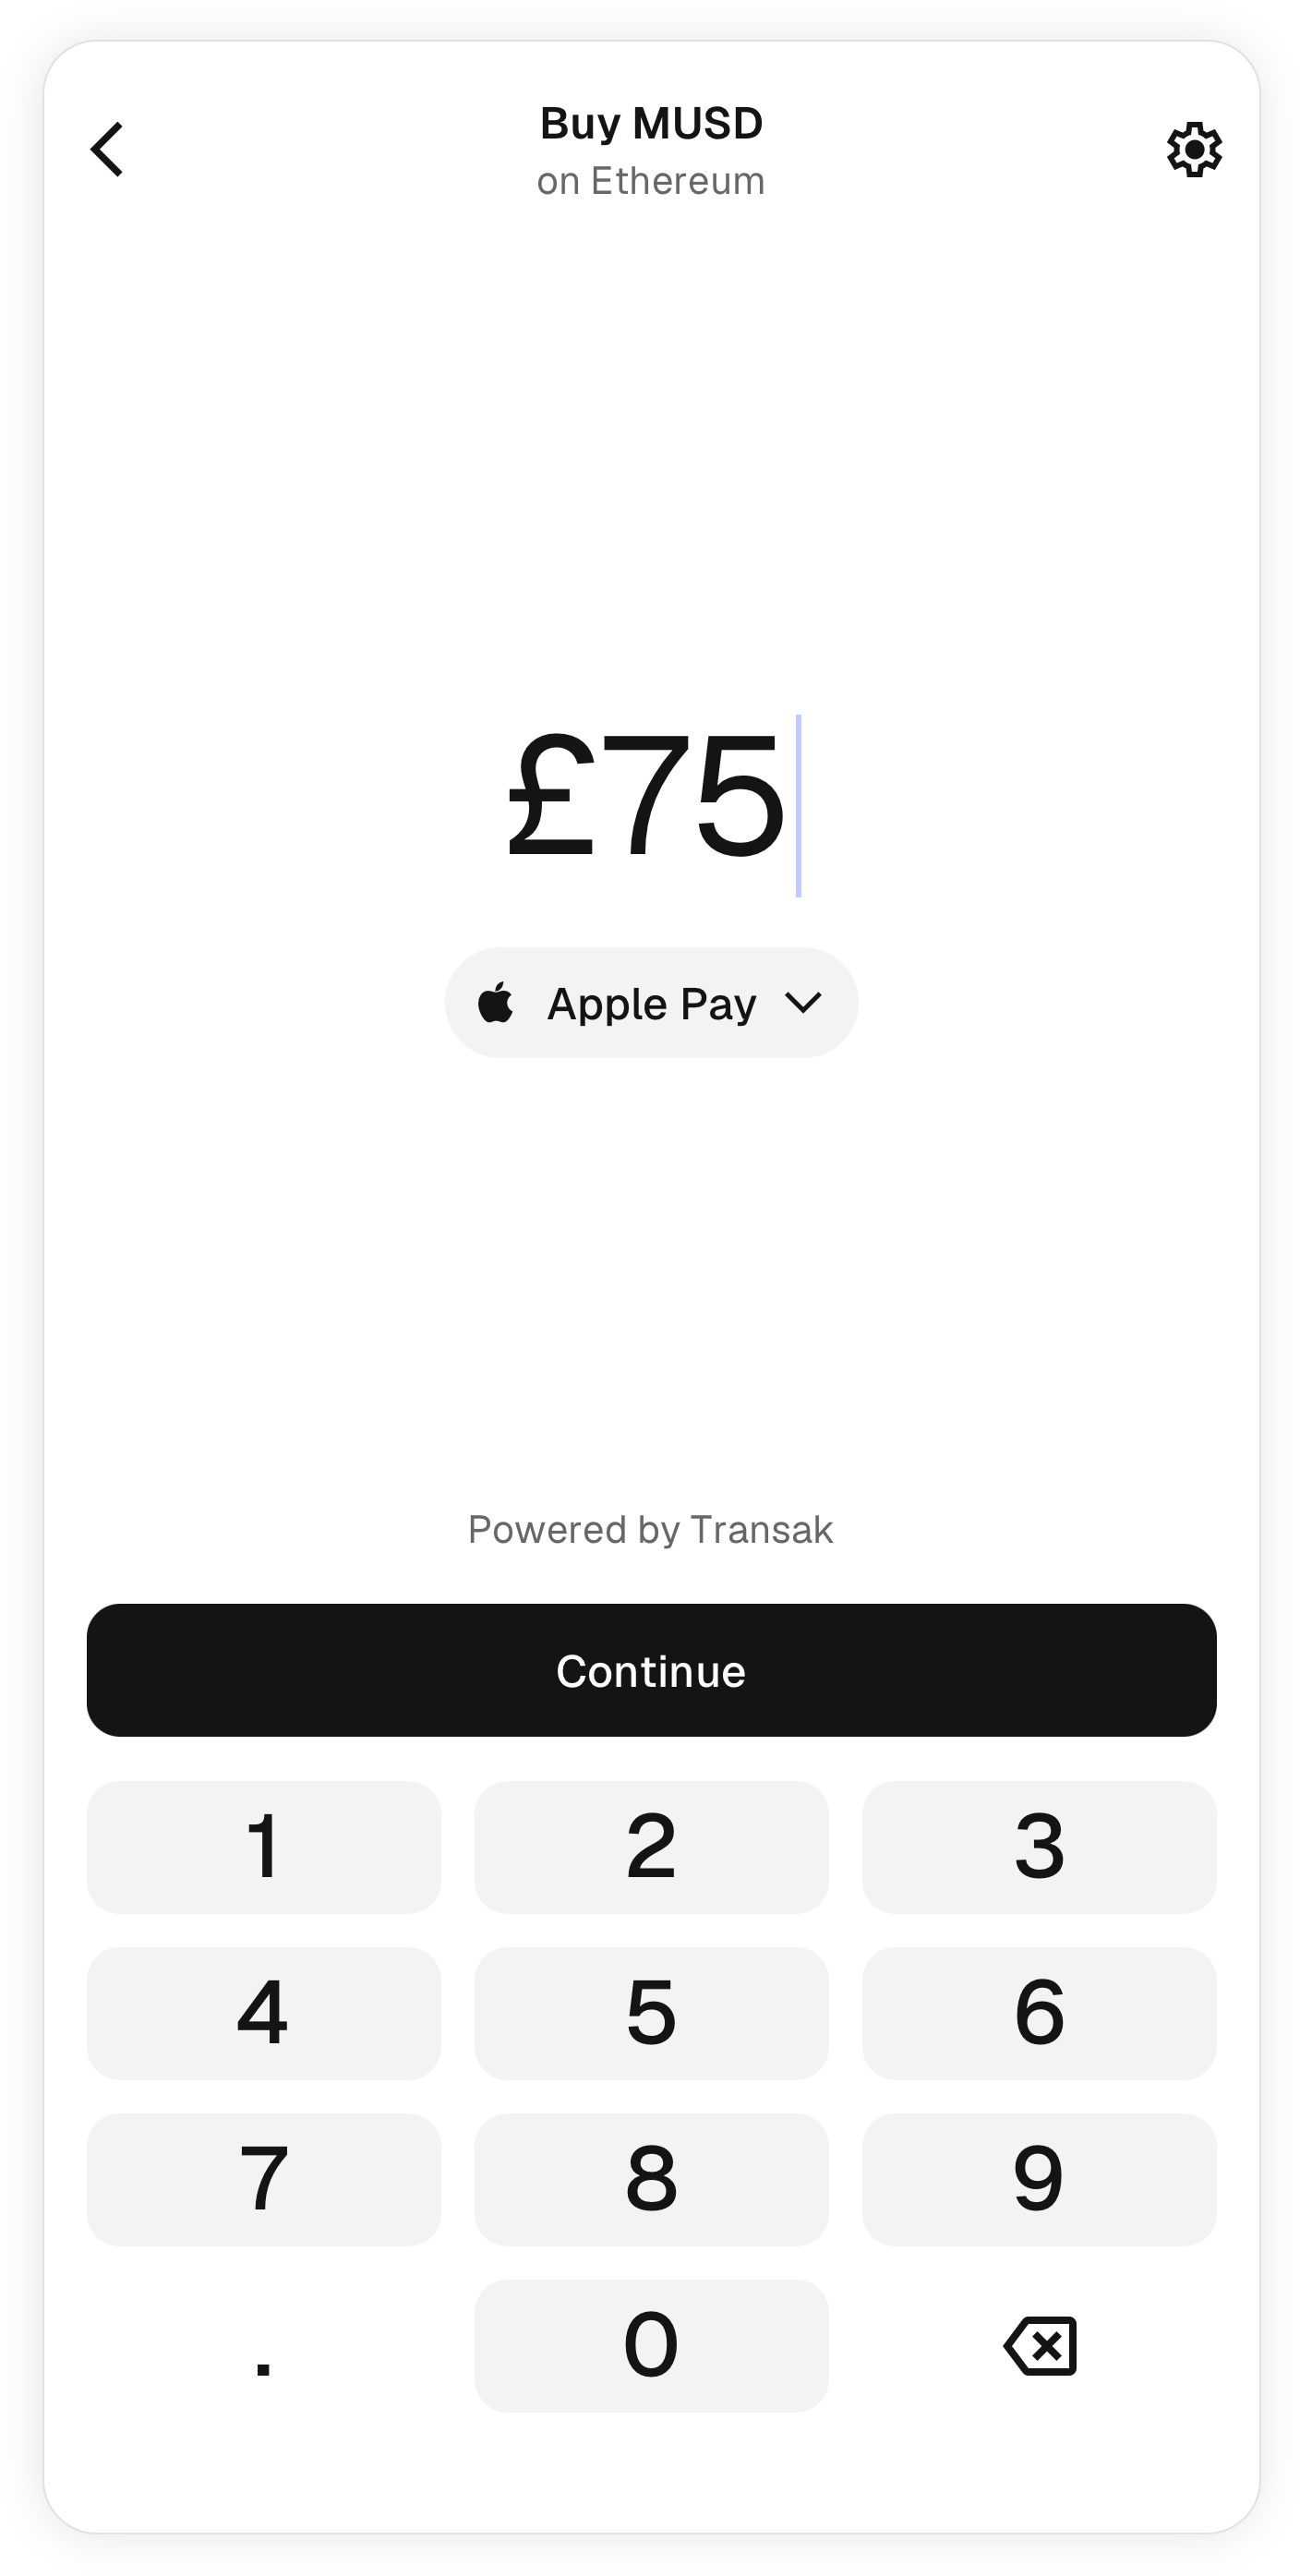
5. Select your payment method. On this screen, you can also change the provider if you wish. Note that the provider selected is based on ease of use and availability in your region.
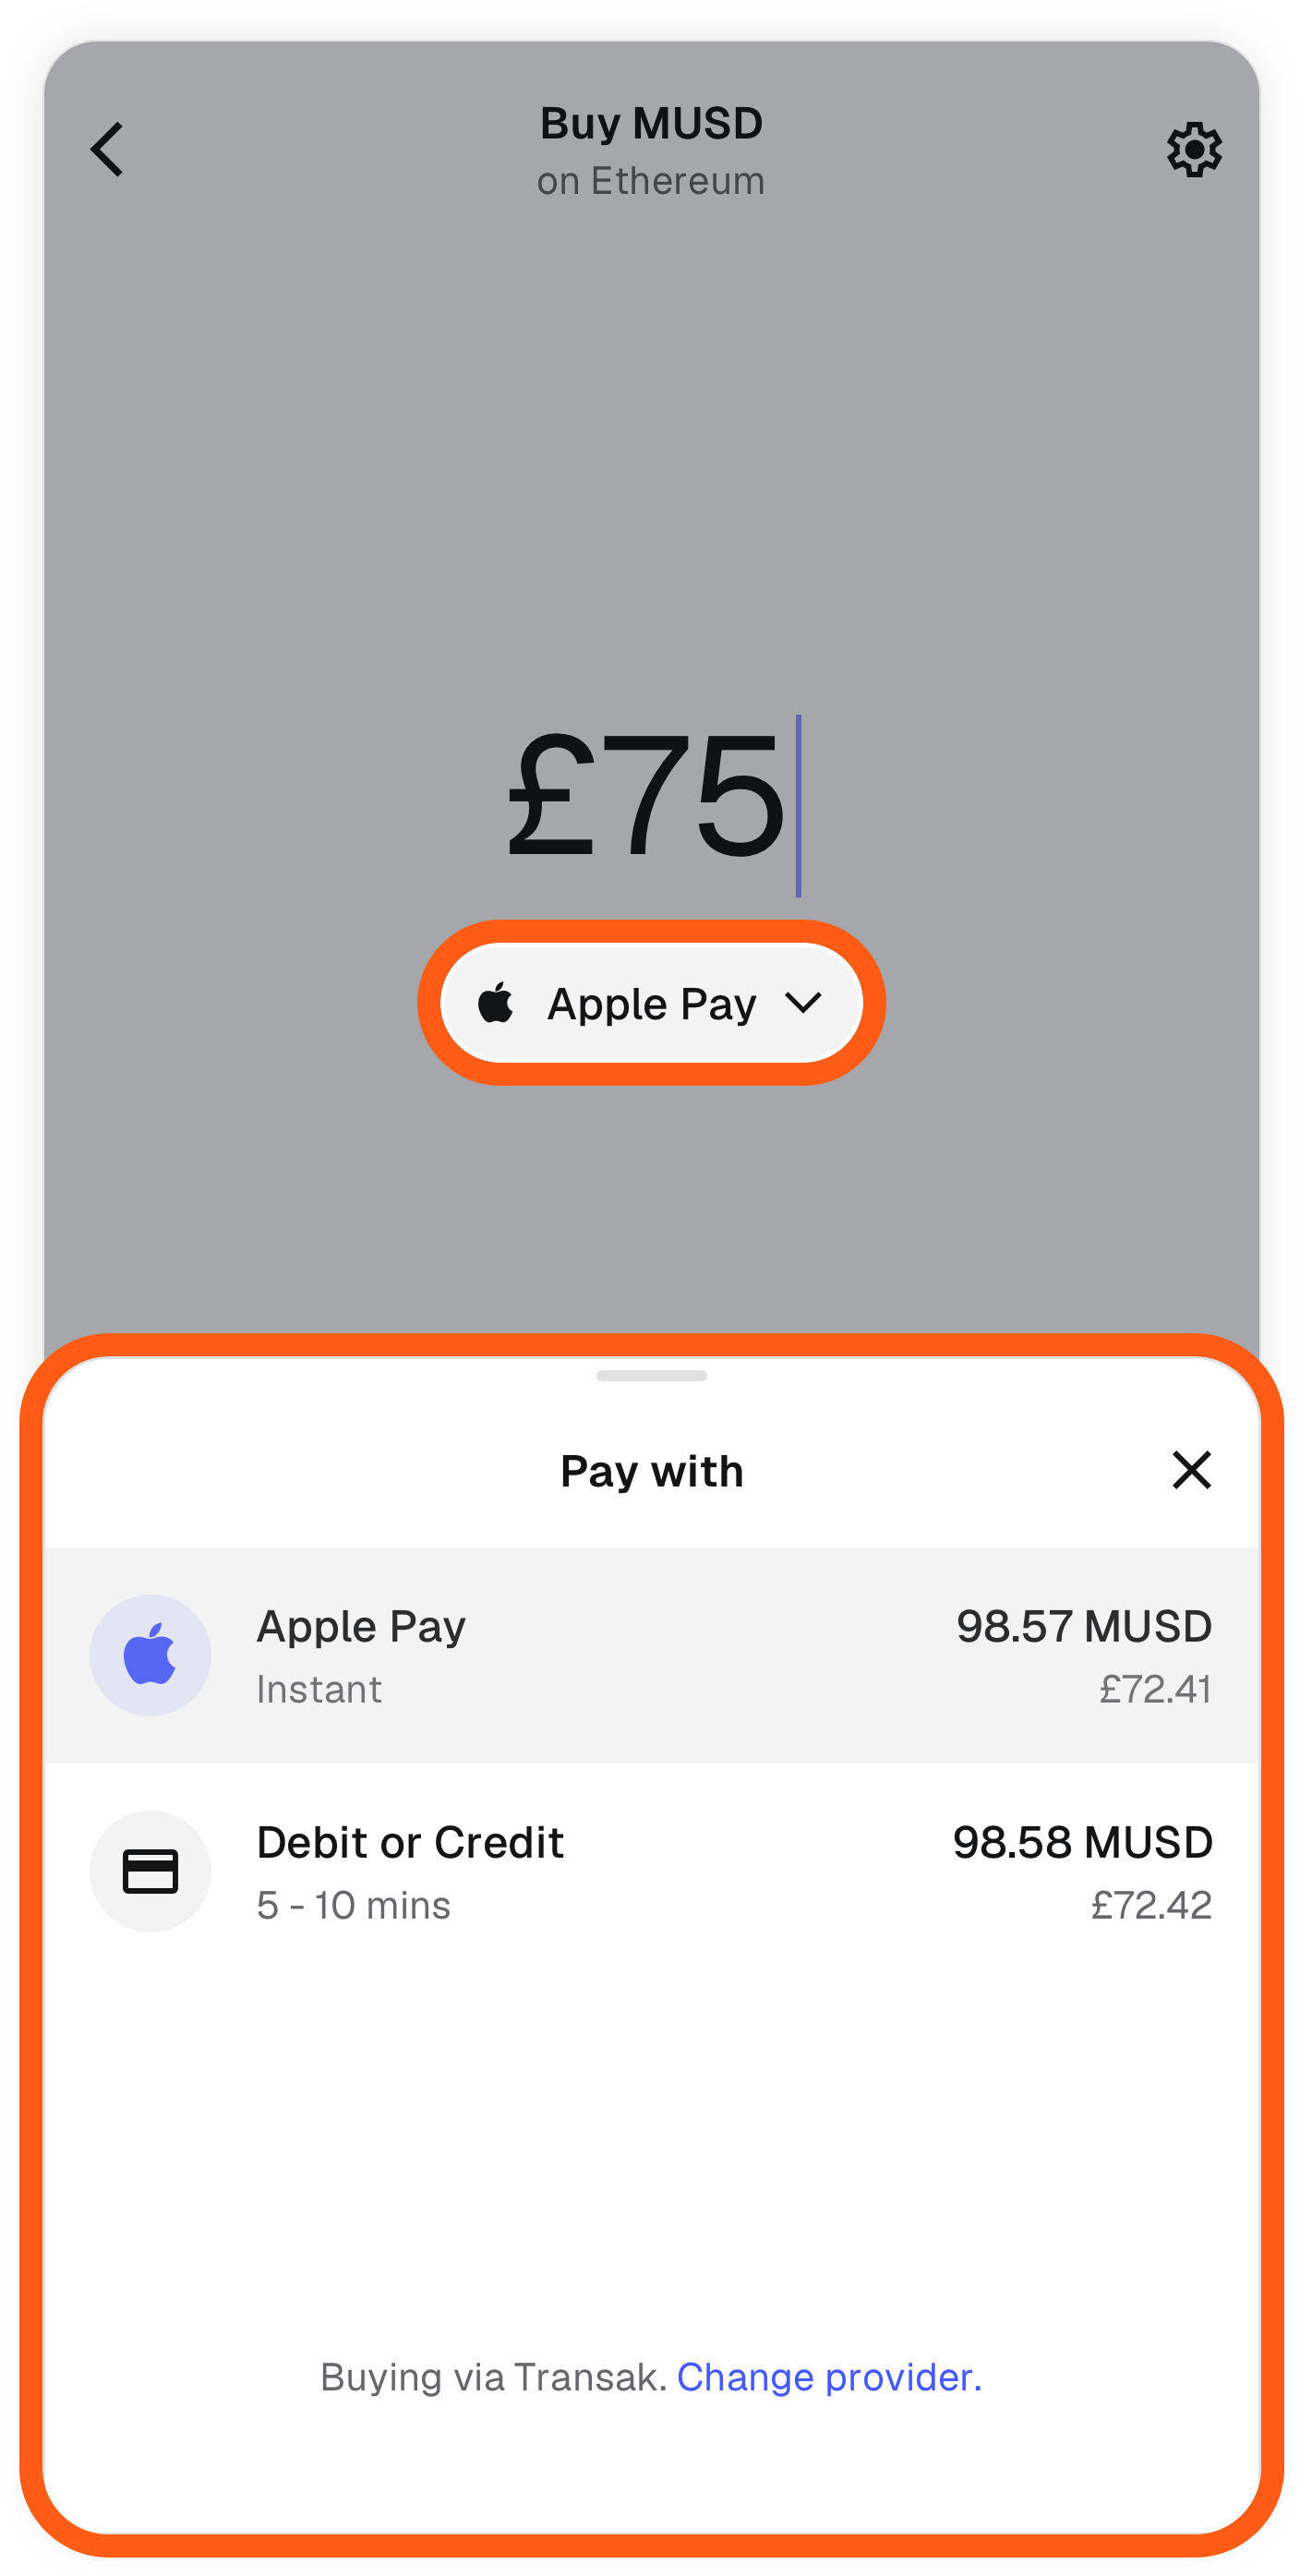
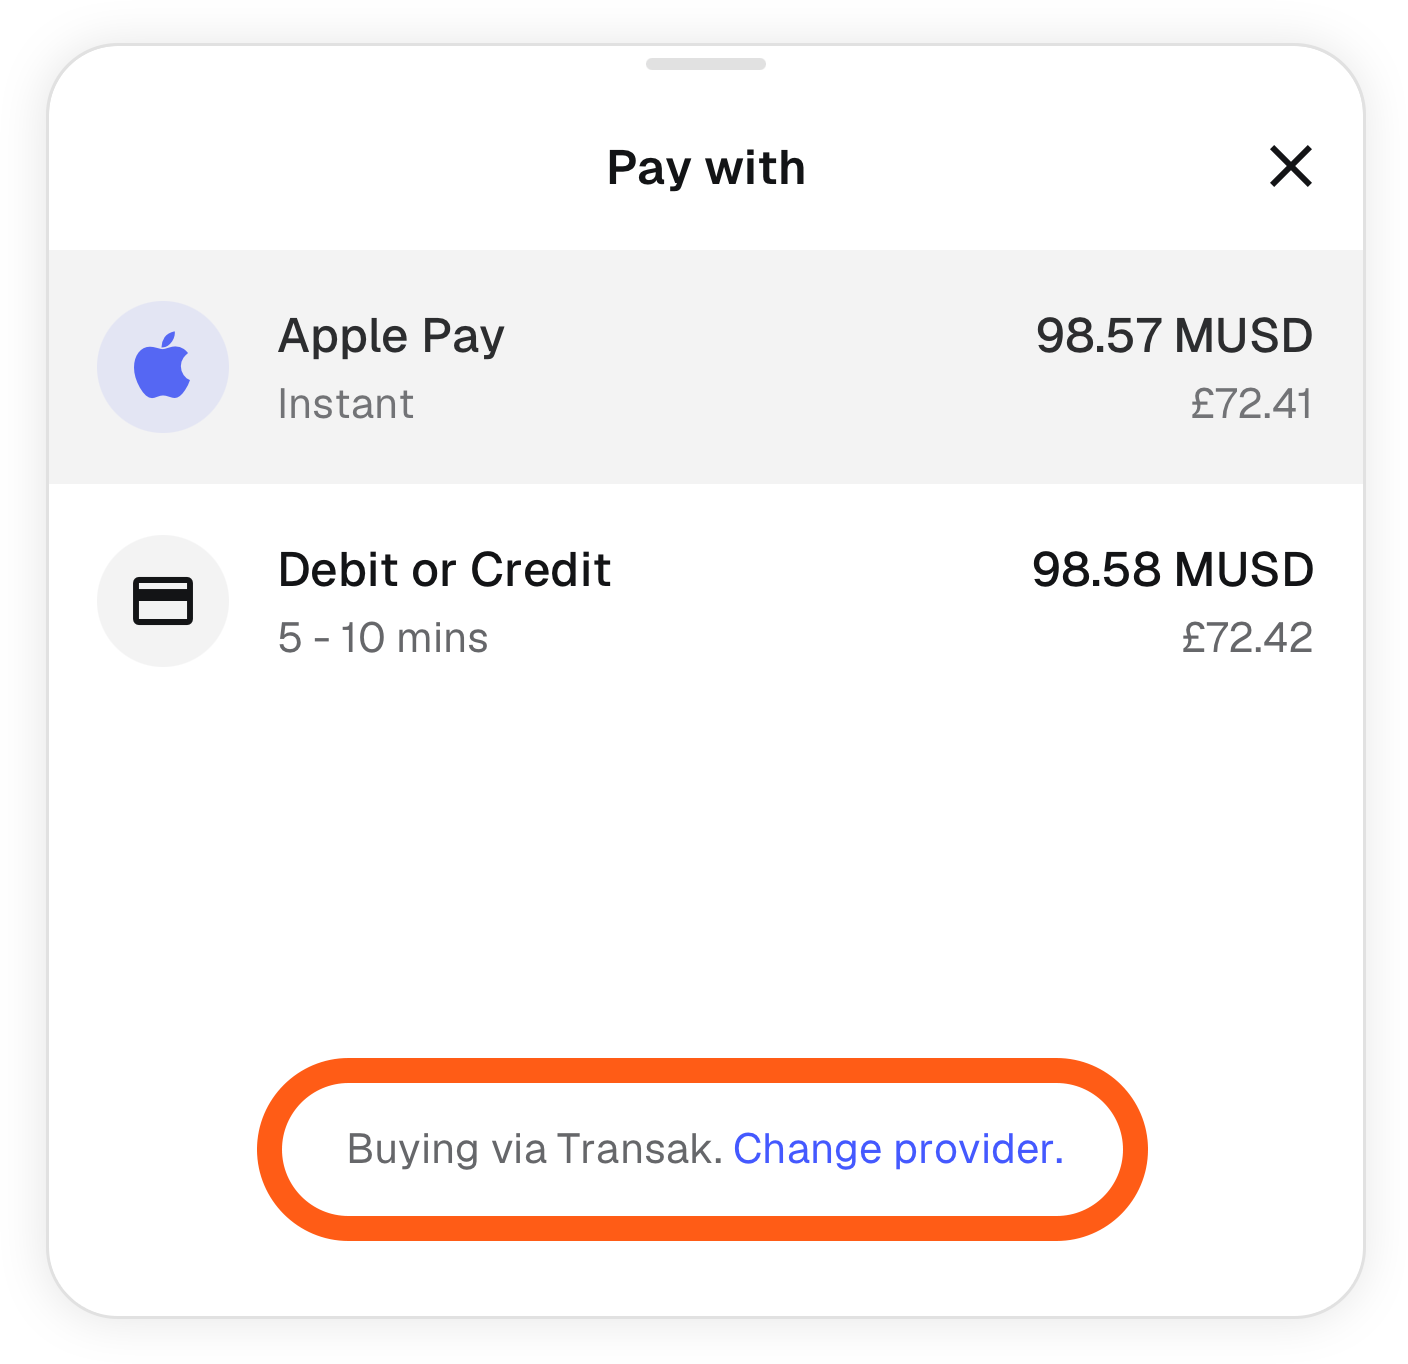
6. If you're buying crypto for the first time in your MetaMask wallet, you will be asked to verify your identity. MetaMask has partnered with Transak to offer a seamless way to buy crypto and top-up without leaving the app. If you are using a different provider, you might be taken to a different platform to complete your purchase.
7. Confirm your order.
8. Your crypto will be deposited into your wallet shortly.
How do quotes work in MetaMask?
When you see quotes while buying crypto in MetaMask, it's because we're using an aggregator of on-ramp providers to provide you with the best possible options.
When you enter how much of a token you want to buy, MetaMask's integrations with our vetted providers will spring into life, and fetch you quotes from each. These quotes automatically refresh every 10 seconds to account for gas price fluctuations, minimizing the potential for failed transactions (if gas prices rise after submitting the transaction, your quoted total may be too low to cover transaction costs by the time the transaction is picked up by the network).
Since you input your region and currency during the process, the quotes you're presented with are automatically configured for your circumstances: so no need to worry about whether you'll be able to use the available payment methods in your region, or whether your region is supported by that provider. If it appears on the quote list, you will be able to buy as quoted. Easy.
## Regional availability {#regional-availability}
While we want to make MetaMask's features accessible to as many people around the world as possible, buying crypto in MetaMask is not available in every country or region.
This is because the companies we partner with cannot operate in every jurisdiction, as their operations are affected by varying laws and regulations.
When you buy crypto in MetaMask, we will automatically show you your options based on what region or country you are in.
I can't buy crypto in my country/region.
If your country/region isn't supported, you may still be able to get tokens into your wallet through other means.
1. One route, for example, could be to buy tokens on a centralized exchange (CEX) and deposit them into MetaMask. See [our guide](/manage-crypto/move-crypto/transfer/direct-deposit-receive-tokens-to-your-metamask-wallet) for more information. Also, bear in mind that this route, like buying crypto directly, will usually require KYC (know your customer) steps, such as proving your identity, and availability may also vary by region. CEXs also differ from MetaMask in that they are custodial — meaning you don't have control of your accounts' [private keys](/start/user-guide-secret-recovery-phrase-password-and-private-keys).
2. You could also arrange a P2P (peer-to-peer) deposit into your account by sending simple transactions.
Regardless of the method you choose, please do your own research before handing over any money, and make sure the platform you're using is safe. Always [practise good web3 security habits](/start/user-guide-secret-recovery-phrase-password-and-private-keys).
## Troubleshooting {#troubleshooting}
Why is the amount I entered different from the amount I received?
The fiat value you input into MetaMask will always be more than the value of crypto you end up receiving.
You have to pay a few different fees for each transaction. In addition to the fee that MetaMask charges, you must also pay the provider's fee and the gas fees for the transactions required to get the purchased crypto into your wallet.
The provider's fee is listed as 'processing fee' on the quote. This number includes the fee that MetaMask charges for the service. Gas costs are listed on the quote as the 'network fee'.
What do I do if my transaction fails?
If your transaction fails, we recommend you contact the provider's support team first, since MetaMask does not execute your transaction.
If you're facing problems using a provider's platform, such as payment limits, payment methods, or KYC, we recommend you get in touch with their support teams directly.
Why is my transaction still pending?
To get your ordered crypto into your wallet, the provider you choose must execute transactions on-chain. This means that, as a minimum, you will need to wait as long as it takes for the transactions to be processed by the network (block time).
Once you submit your request, you can see the pending transaction in your MetaMask activity.
If your bank account was charged and there are delays in receiving your crypto, we recommend you contact the provider's support team directly. Pending purchases (not yet confirmed on the blockchain) are usually caused by the provider's pre-authorization processes.
## Other FAQs
Does MetaMask make money from this?
MetaMask receives a 1% fee on every transaction, calculated as a percentage of the fiat value you request.
So if you input $100, we will calculate our share of the fees as $1.
The 1% fee is consistent across all regions, payment methods, providers, and tokens.
Who am I buying from when I use this feature?
MetaMask does not fulfill the transactions you order: it is the provider (e.g. MoonPay, Transak, etc.) that receives your request and executes the necessary steps.
MetaMask's role in this process consists of compiling quotes, enabling you to select one, and then allowing you to order your chosen amount of crypto through the provider.
For a basic list of providers, see [here](/manage-crypto/move-crypto/buy/providers-and-payment-methods).
How do I manage/delete the accounts I have created with each provider?
When you buy crypto in MetaMask, you're not buying crypto _with_ or _from_ MetaMask: you're buying with the provider you choose.
If you want to manage any personal information that the providers hold, you must access the provider's platform directly, log into your account, and make the changes there. MetaMask does not collect or hold your login details for providers at any point during or after the buying process.
---
# Providers and supported payment methods
URL: https://support.metamask.io/manage-crypto/move-crypto/buy/providers-and-payment-methods/
> Learn which payment providers and methods are supported when buying crypto in MetaMask.
## Providers {#providers}
MetaMask has partnered with a wide range of providers so that you have options when buying crypto. We're always working to integrate new providers, subject to rigorous security and reliability checks.
Provider availability varies based on locale and will be automatically updated based on your country or region. Right now, users in the United States can choose from the following providers:
- Transak
- MoonPay
- Sardine
- PayPal — _note that PayPal must be selected at the payment method screen to use their service._
- Banxa
- Mercuryo
- Link by Stripe
- Ramp
- Robinhood
- Coinbase
## Payment methods {#payment-methods}
Payment methods are determined by your selected region, and there are far too many options for us to exhaustively list here. You can see what's available—without making any commitment to spend—once you've selected your region.
## Supported networks {#supported-networks}
The following networks are supported to buy crypto:
- Ethereum Mainnet
- Binance/BNB Smart Chain
- Polygon
- Avalanche (C-Chain)
- Fantom
- Optimism
- Arbitrum
- Celo
- Harmony
- Cronos
- Moonbeam
- Moonriver
- Aurora
- Palm
---
# How to sell crypto for currency in MetaMask
URL: https://support.metamask.io/manage-crypto/move-crypto/sell/how-to-sell-your-crypto-assets-for-fiat-currency-in-metamask/
> Learn how to sell your crypto assets for fiat currency in MetaMask. Step-by-step guide to cash out tokens securely, choose providers, and withdraw funds to your bank.
You can sell your crypto directly within MetaMask Portfolio or MetaMask Mobile. When you sell crypto assets, the value from the sale is deposited into the bank account of your choice. The supported networks and tokens for this feature vary between countries/regions, and quotes are automatically updated for your locale.
_The availability of providers for selling crypto varies between countries/regions. If you're unable to sell crypto in MetaMask, see [here](/manage-crypto/move-crypto/sell/my-country-region-isnt-supported-for-selling-crypto) for some alternative options._
## How does it work? {#how-does-it-work}
Selling crypto in MetaMask involves using an aggregator of providers, making the process accessible, fast, scalable, and more secure.
When you enter how much of a token you want to sell, MetaMask's integrations with our vetted providers will spring into life, and fetch you quotes from each. These quotes automatically refresh to get the latest exchange rate from the providers, to account for the fluctuations in crypto prices, ensuring you have real-time visibility of market prices.
Since you input your region and currency during the process, the quotes you're presented with are automatically configured for your circumstances: so no need to worry about whether you'll be able to use the available withdrawal methods in your region, or whether your region is supported by that provider. If it appears on the quote list, you will be able to transact as quoted. Easy.
## How do I use it? {#how-do-i-use-it}
1. Head to [MetaMask Portfolio](https://portfolio.metamask.io/) and connect your wallet. You can access the page directly from MetaMask Extension by selecting the 'Move Crypto' menu, and clicking the 'Sell' button. You can also sell in MetaMask Mobile without leaving the app:
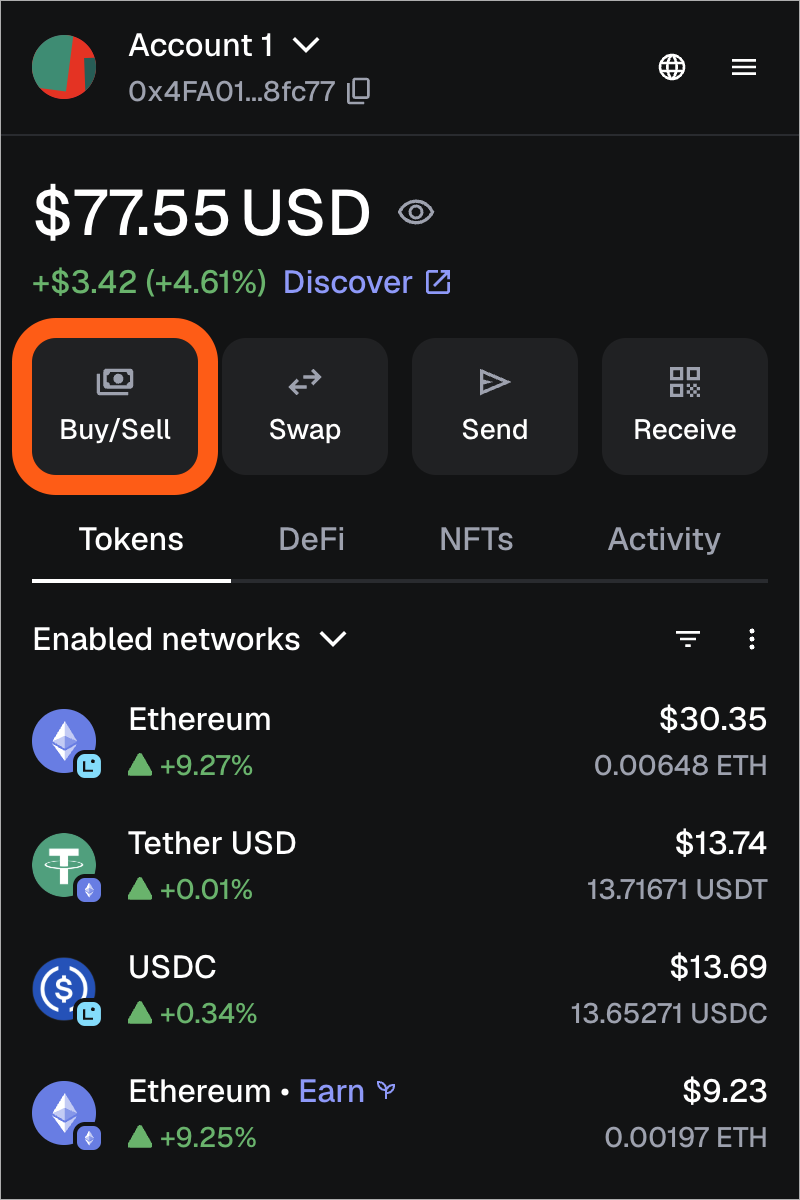
Go to the 'sell' tab and, if it's your first time, click 'Get started':
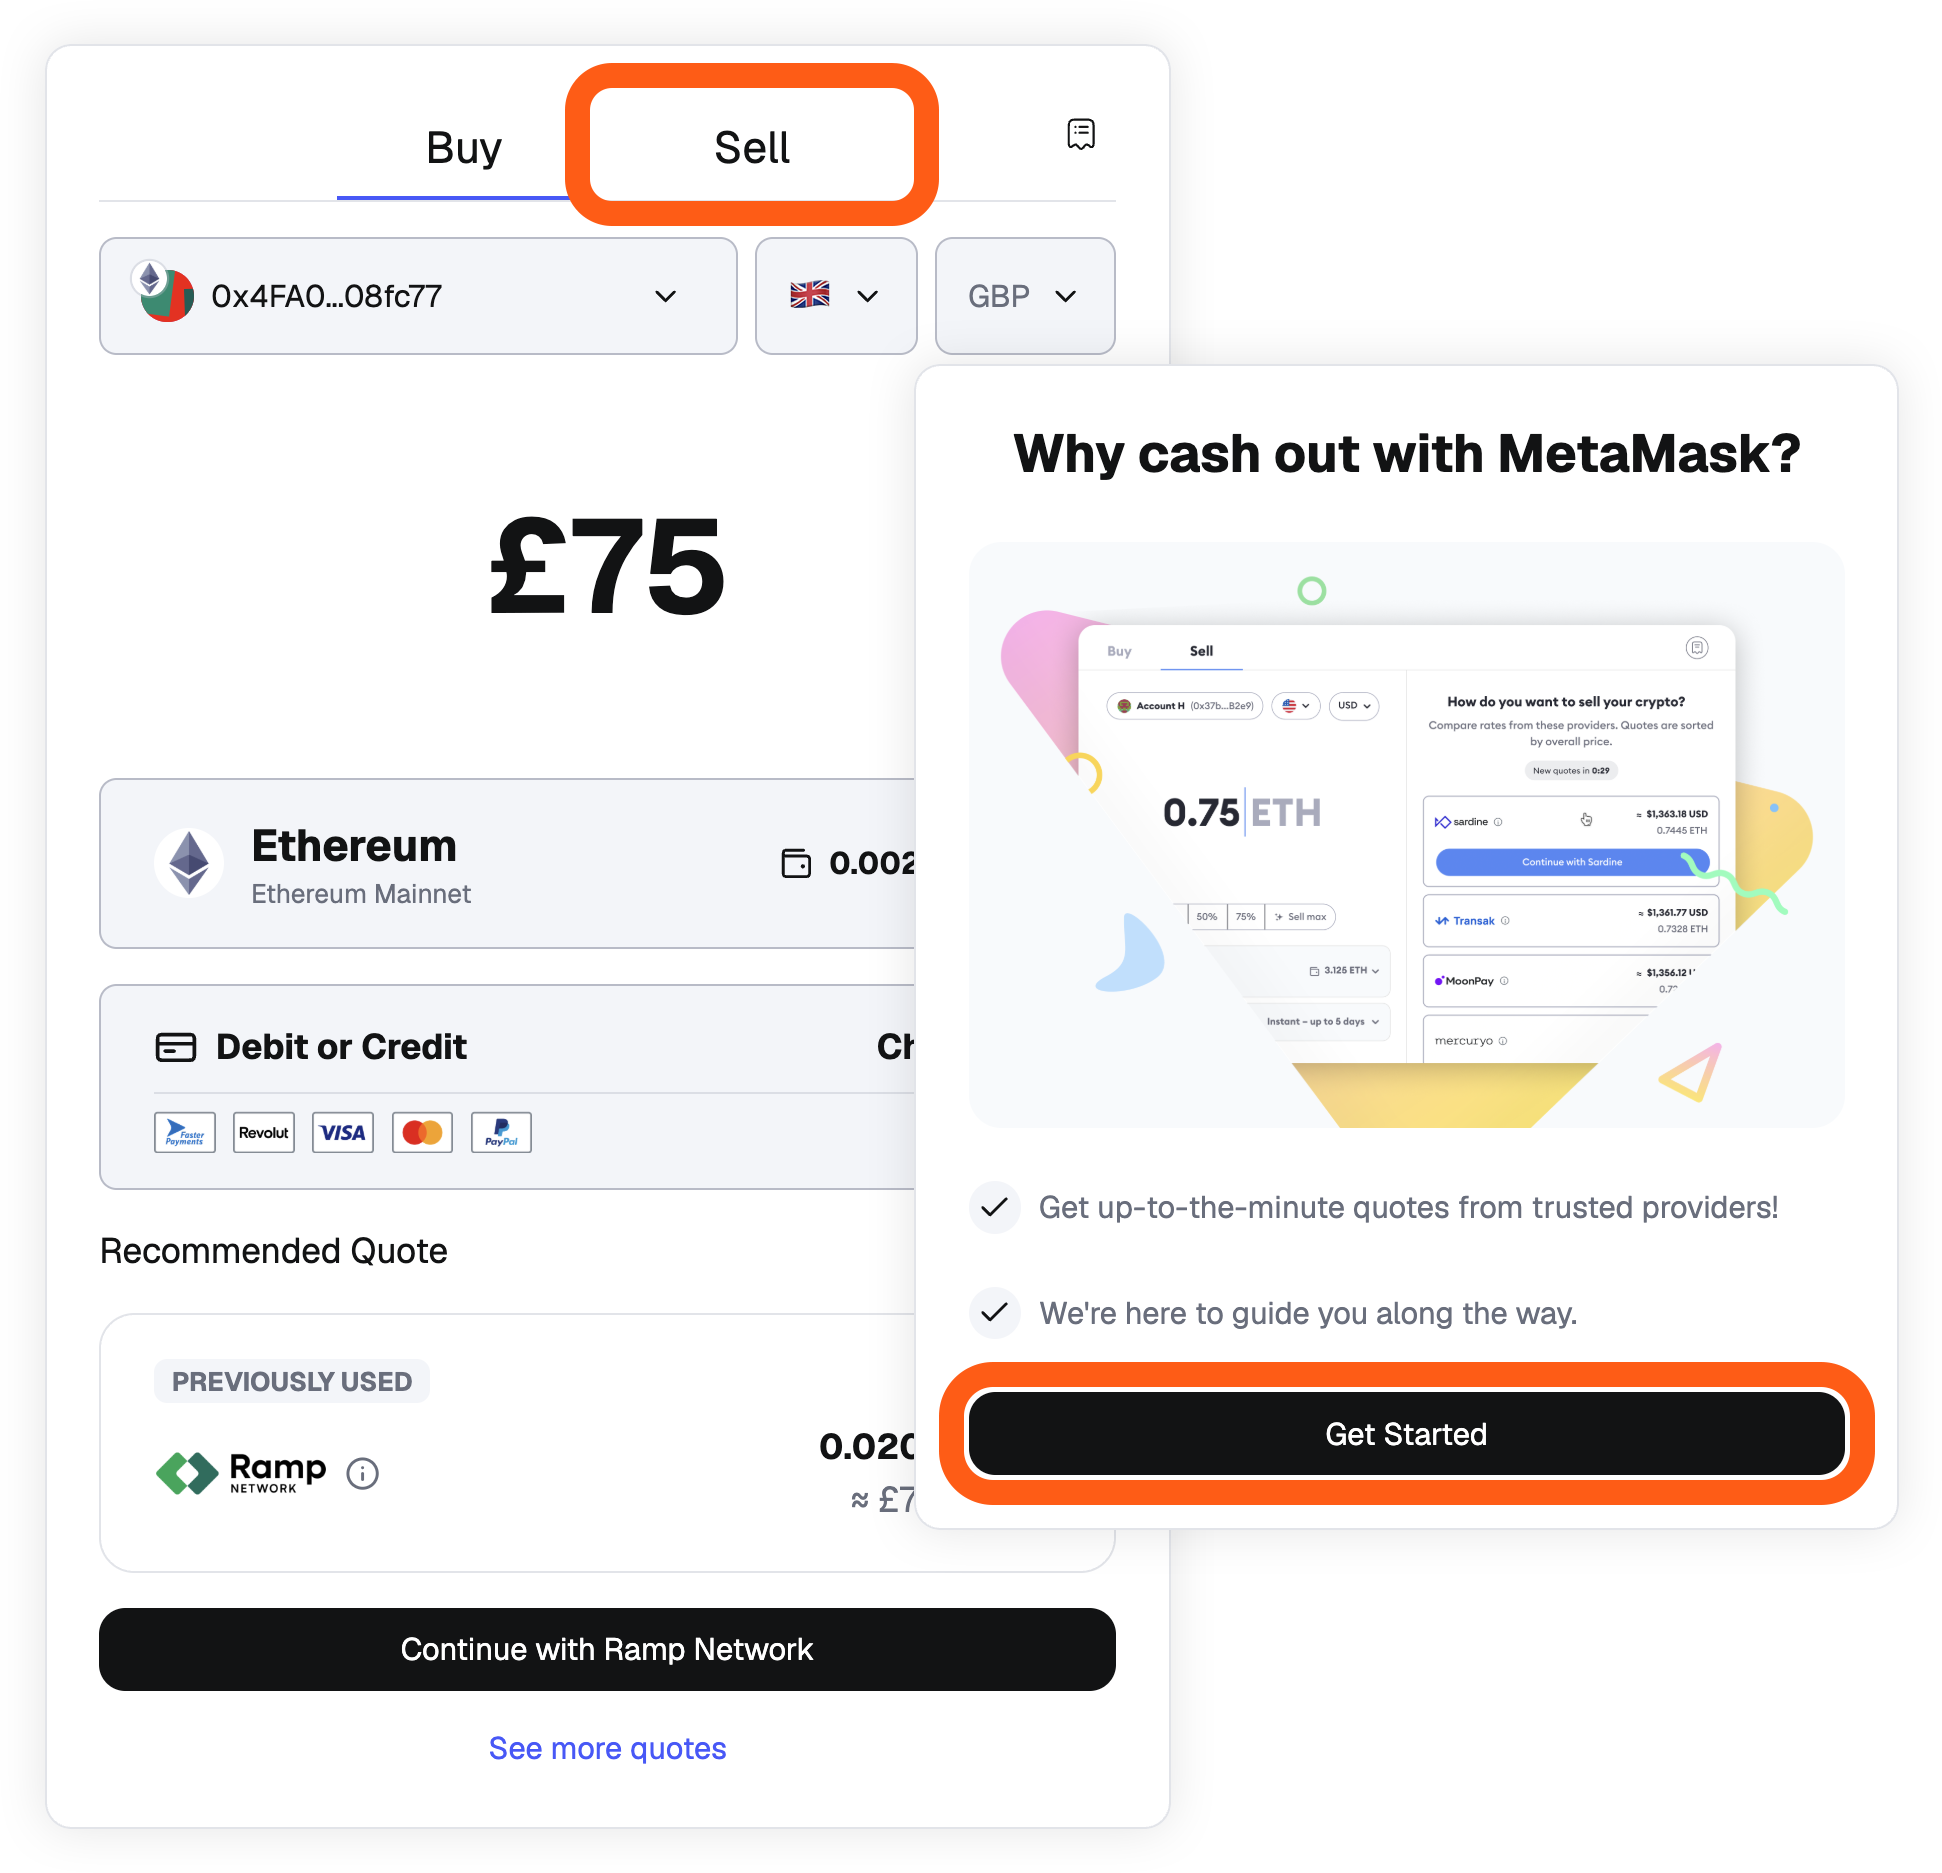
Tap the MetaMask actions button on your homepage, and then tap 'sell'
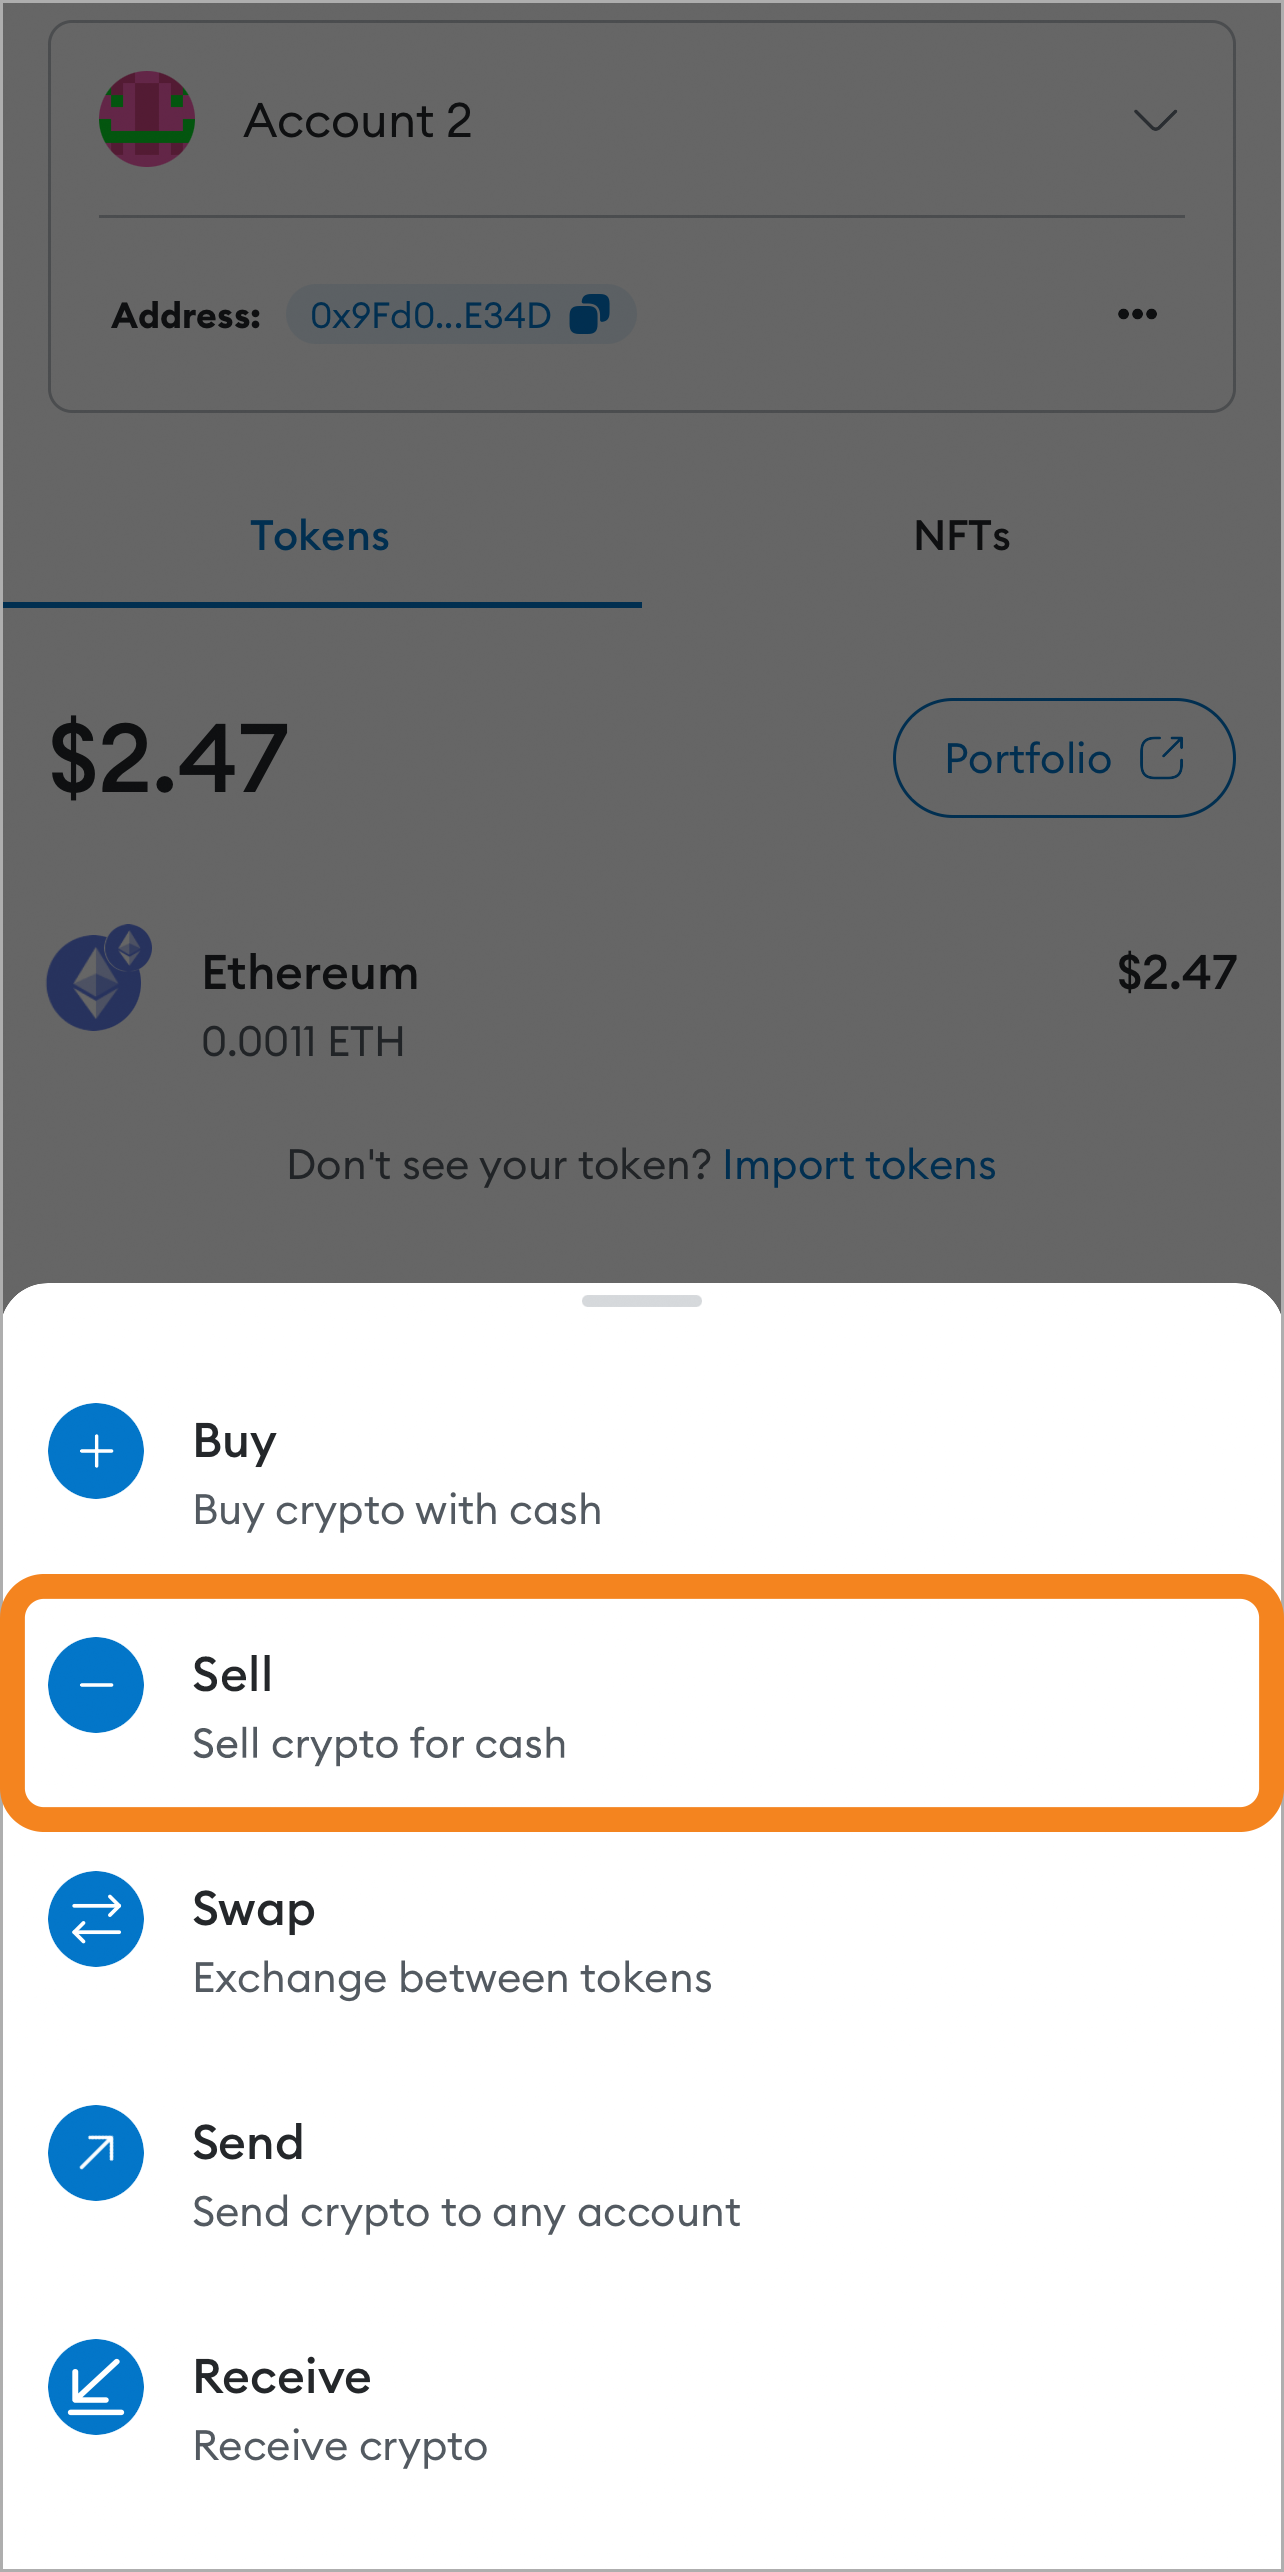
2. If you're a first-time user, you must select your region. If you've used this feature before, the app skips this step and uses the region you selected last time, which is saved in local storage.
From the drop-down menu, search or scroll until you find the **country where your bank account is registered.** US users will then be able to select their state.
If your region is not currently covered by at least one of our providers, we'll let you know at this point. You can read more about other ways to sell crypto [here](/manage-crypto/move-crypto/sell/my-country-region-isnt-supported-for-selling-crypto).
3. Input **the amount** of a token you want to sell and **choose your preferred quote** :
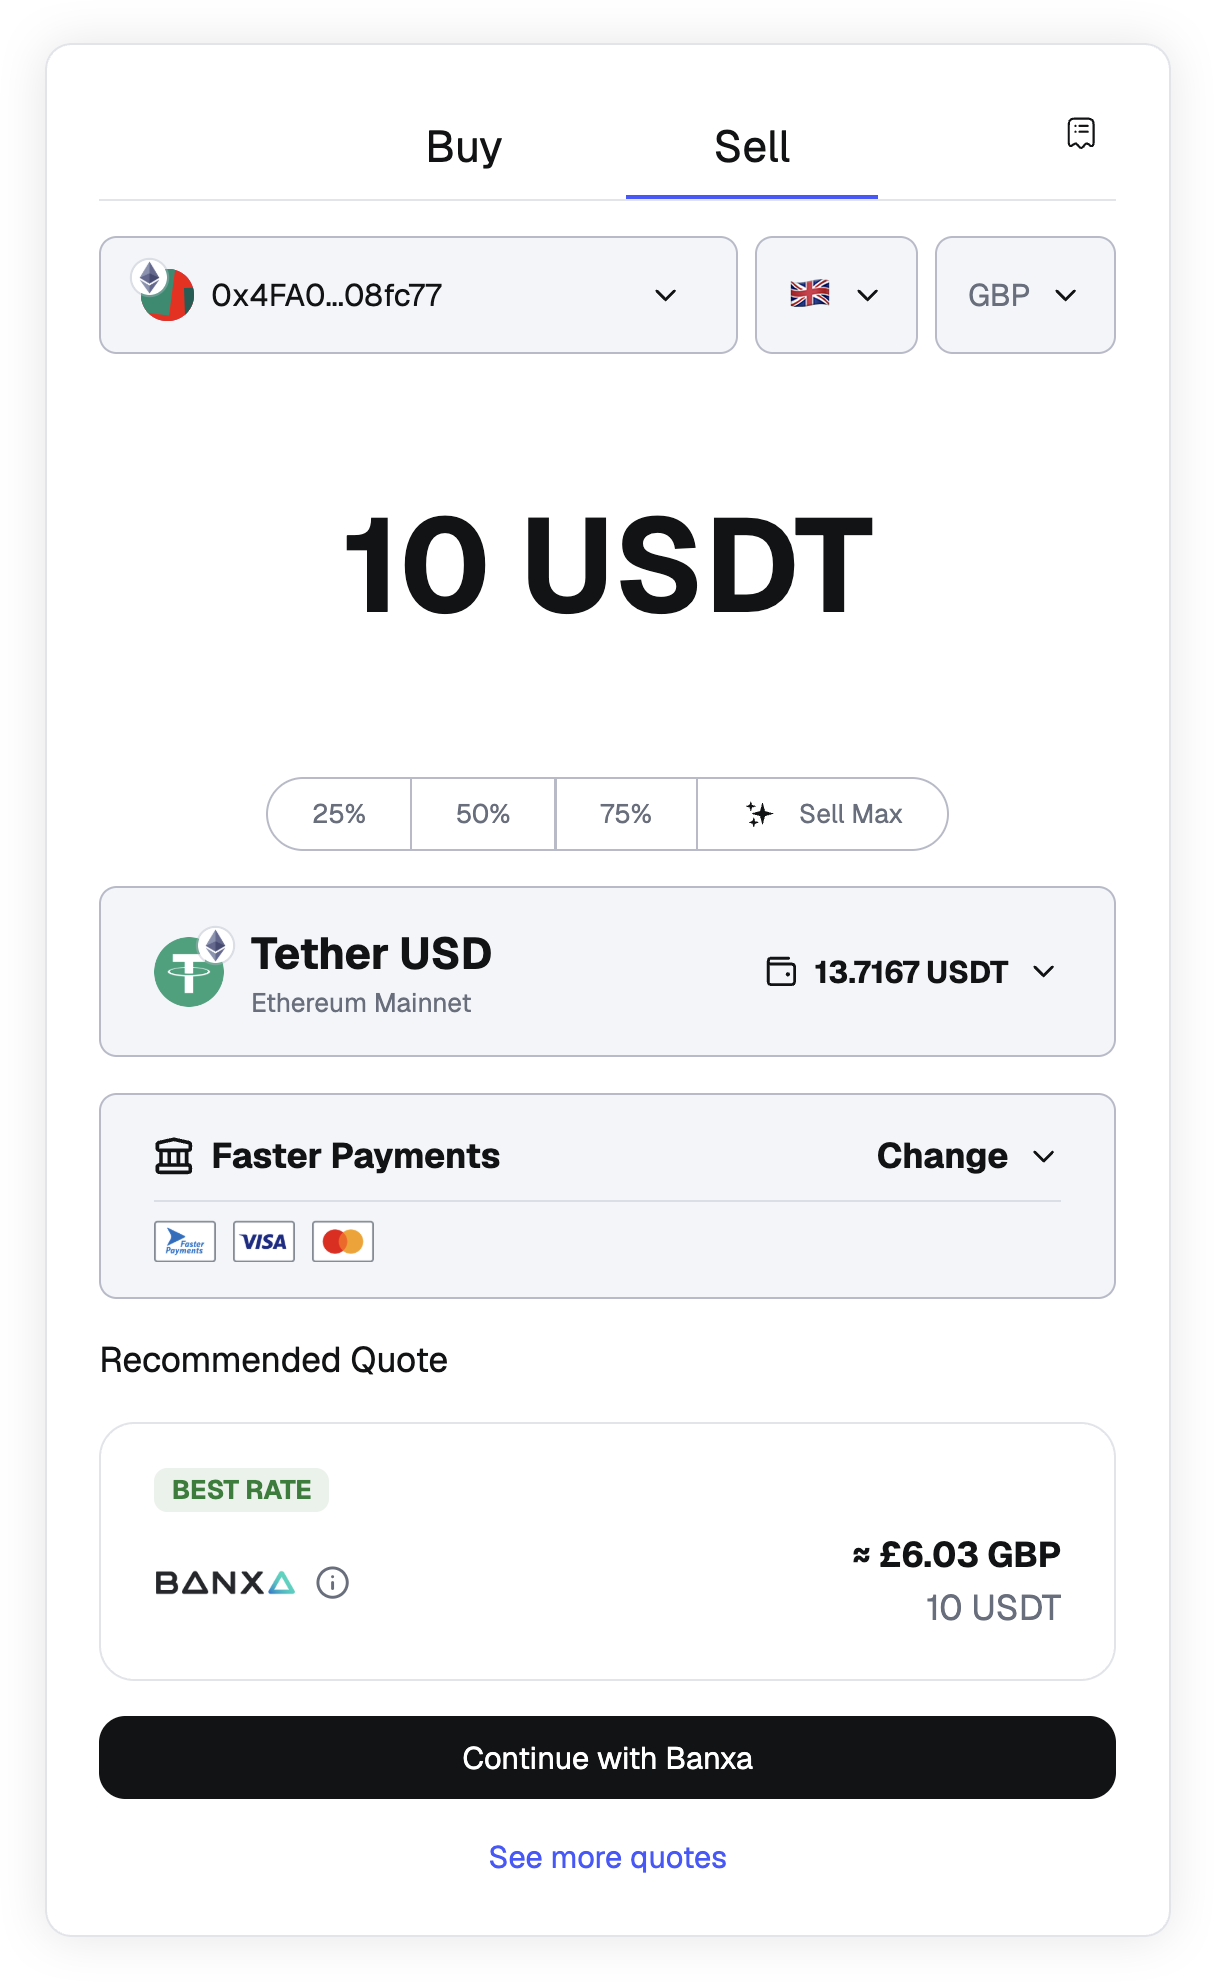
4. You'll be taken to the provider's website, where you may have to complete **KYC** if you've never used their service before, and connect your bank account.
5. Return to Portfolio and click on the 'Send ETH' button:
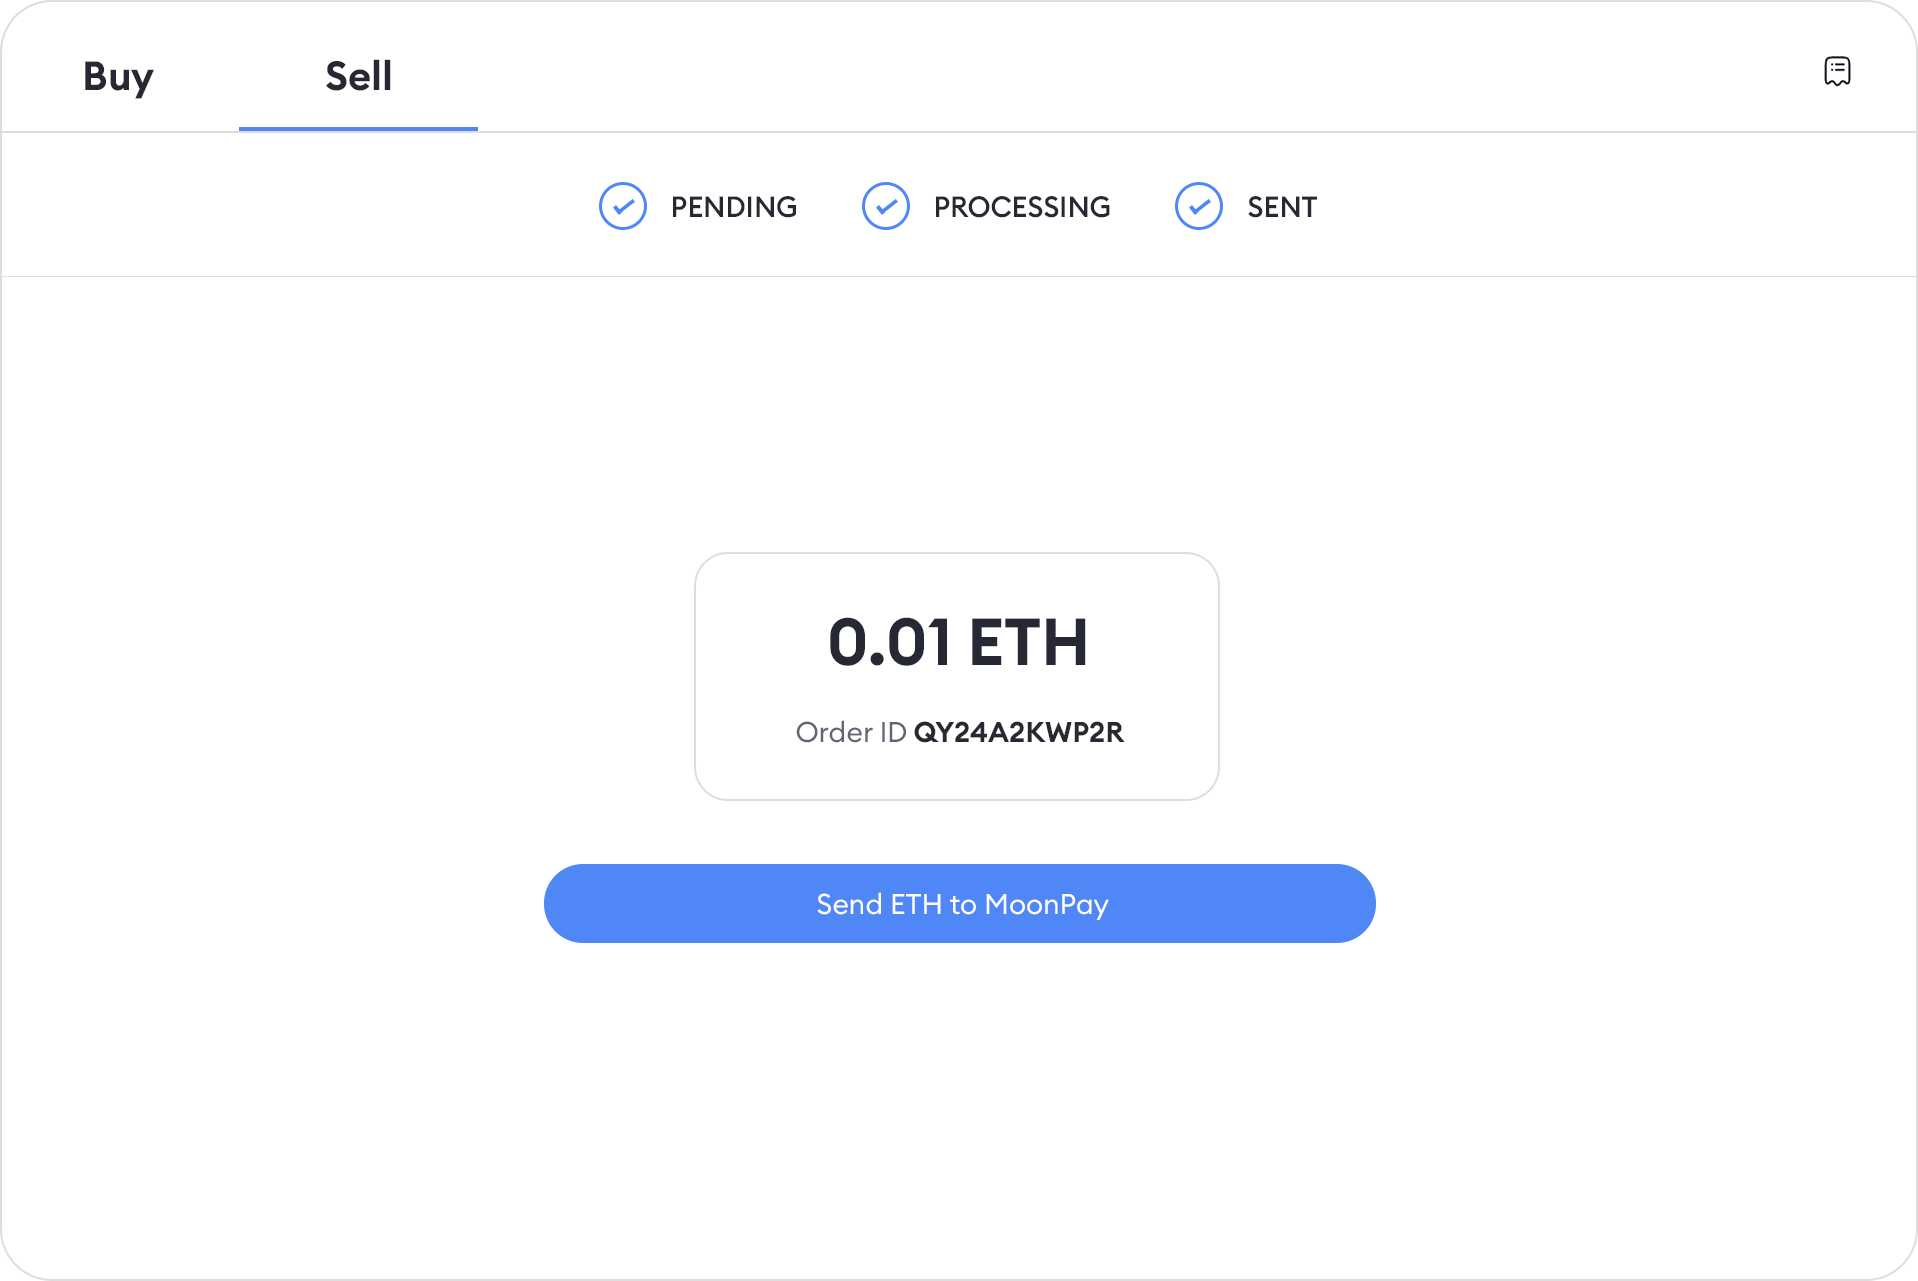
6. Confirm the transaction in MetaMask. Once the order is **complete**, you will see the below screen:
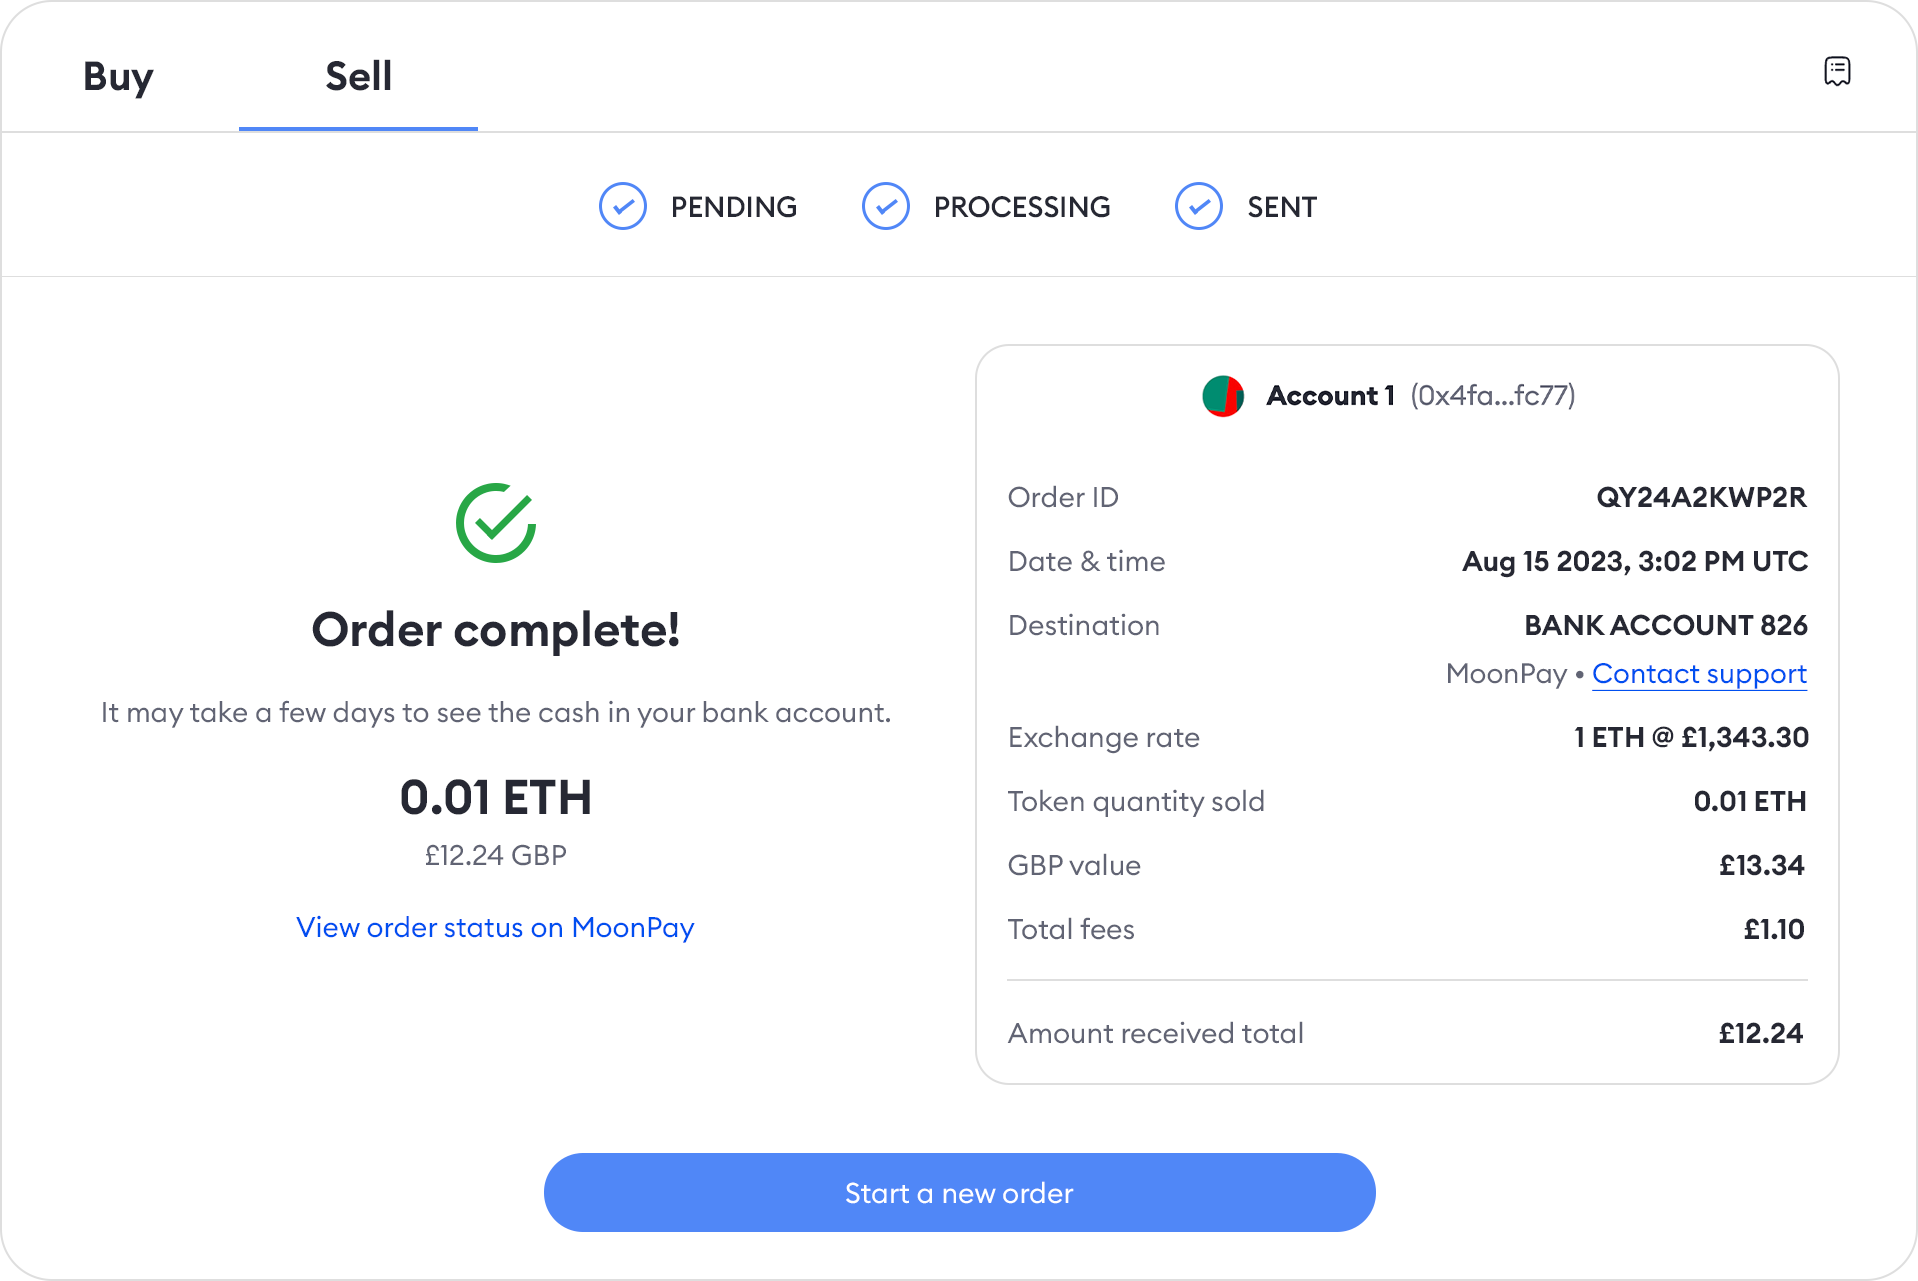
:::info[note]
To check your order history, click on the upper-right button from the 'Sell' or 'Buy' section. Click on any order to see the order details:
:::
## FAQs {#faqs}
How do I deposit money from my crypto assets into my bank account?
To deposit fiat from your wallet into your bank account, you would need to initiate a sale of crypto assets. Follow our steps outlined above to start this process.
What networks and tokens are supported?
Supported networks and tokens vary between countries/regions. To check what is available in your region, navigate to the 'Sell' tab in MetaMask Portfolio or MetaMask Mobile. The quotes are automatically updated for your locale.
What providers are available?
- Transak
- MoonPay
- Sardine
- Banxa
We're always working to integrate new providers, subject to rigorous security and reliability checks.
What regions/countries are covered?
The supported regions are the US, UK and parts of Europe.
Where will I receive my cash?
In the same bank account you added on the provider's website.
Does MetaMask make money from this?
MetaMask receives a 1% fee on every transaction from providers, similar to when you buy crypto using MetaMask.
Do I need to pay gas fees for this process
Yes. Since selling your ETH to the preferred provider occurs on Ethereum Mainnet, you'll need to pay a gas fee in ETH. This will be deducted from your total ETH balance.
How long before I receive my cash?
To get your fiat currency in your bank account, you must first execute a transaction on-chain, to send your ETH to the provider you chose. Then the provider sells the ETH according to the provided quote and sends the cash to your bank account.
It also depends on the payment method used: for SEPA (Europe) and Faster Payments (UK), the cash could be received as soon as the provider completes processing the order, but for the US, you might have to wait 1-3 business days.
If you notice the status of your order is 'Complete ' in MetaMask Portfolio, but the cash is still not reflected in your bank account within a few days, we recommend you contact the provider's support team directly.
What do I do if my transaction fails?
Since MetaMask does not execute your order, the provider will likely be better placed to support than our team. In these situations, we recommend you contact their support teams first.
If you're facing problems using a provider's platform, such as withdrawal destinations, or KYC, we recommend you get in touch with their support teams directly.
---
# My country/region isn't supported for selling crypto
URL: https://support.metamask.io/manage-crypto/move-crypto/sell/my-country-region-isnt-supported-for-selling-crypto/
> Selling crypto in MetaMask may be unavailable in your region due to provider restrictions.
While we want to make MetaMask's features accessible to as many people around the world as possible, selling crypto in MetaMask is not universally available.
This is because the companies we partner with cannot operate in every jurisdiction, as their operations are affected by varying laws and regulations.
If you have ETH that you want to exchange for fiat currency and your country/region is not supported, you will have to do so on an exchange. This means sending the tokens manually to the exchange platform of your choice.
When you do so, please bear in mind:
- **You will use some of your ETH tokens in order to pay gas fees for the sale transaction**.
- **You need to ensure the exchange supports the network and tokens you're using**. Be sure to check the exchange's support documentation to verify if they support Ethereum Mainnet and ETH.
For details on how to send tokens from MetaMask, please check our article on [sending tokens from MetaMask.](/manage-crypto/move-crypto/send/how-to-send-tokens-from-your-metamask-wallet)
---
# Send
URL: https://support.metamask.io/manage-crypto/move-crypto/send/
> Learn how to send crypto from your MetaMask wallet step-by-step.
How to send crypto from your MetaMask wallet | Step-by-step guides
---
# I sent crypto to the wrong place
URL: https://support.metamask.io/manage-crypto/move-crypto/send/funds-sent-on-wrong-network/
> Start here if you sent crypto to the wrong network, a wrong address, or it's not appearing in the recipient's wallet.
If you've sent crypto and it hasn't ended up where you expected, start by checking if the transaction has been confirmed. If the transaction has not been confirmed, and is headed to the right place, you can speed it up. If the transaction has not been confirmed, and is not headed to the right place, you can cancel it.
If the transaction has been confirmed, but you sent it to the wrong network or address, continue with the relevant section below.
- [Sent on the wrong network](#wrong-network)
- [Sent to the wrong address](#wrong-address)
## Confirm the transaction status
If your transaction was made on MetaMask, head to the 'Activity' tab on Extension or Mobile. If you've sent tokens on MetaMask Portfolio, head to the 'Activity' tab on the Portfolio website.
From the 'Activity' tab, find the transaction you're looking for. If the transaction shows as **Pending**, it's still being processed — you can wait, or [speed it up or cancel it](/manage-crypto/transactions/how-to-speed-up-or-cancel-a-pending-transaction) while it remains unconfirmed. You can also check the block explorer from the transaction detail view.
If the transaction shows as **Success**, the tokens reached the destination address.
### The recipient can't see the tokens in their wallet
If the block explorer confirms the transaction was successful but the recipient can't see the tokens, their wallet may simply not be displaying them. Some wallets — MetaMask included — don't always detect tokens automatically, especially newer or less common ones. The recipient may need to add the token manually. See [How to display tokens in MetaMask](/manage-crypto/tokens/how-to-display-tokens-in-metamask) for instructions.
## Sent on the wrong network {#wrong-network}
If you've already sent a token on the wrong network, here's what to know.
### EVM-compatible networks (recoverable)
Your Secret Recovery Phrase generates the same address across all EVM-compatible networks — Polygon, Arbitrum, Optimism, Avalanche, and many others. If you sent tokens to a friend on the wrong EVM-compatible network, the tokens are not lost. Your friend simply needs to switch their wallet to that network, and the tokens will be there. They can then [bridge](/more-web3/learn/field-guide-to-bridges) them to the intended network.
### Non-EVM networks (likely unrecoverable)
**If you sent tokens to an address on a non-EVM network, it's likely your tokens are gone forever.**
The reason is that seed phrases generate different addresses on different networks. An address that exists on a non-EVM network will not correspond to the same address on Ethereum. If you sent tokens on Ethereum to an address derived from an a non-EVM seed phrase, those tokens went to a different address entirely — most likely one that will never be accessed.
:::info
A seed phrase is linked to a specific network; it will not restore the same address on another network.
:::
## Sent to the wrong address {#wrong-address}
If you know who owns the destination address, you can contact them and ask them to send the tokens back via a new transaction. Because addresses are pseudonymous, this is often not possible.
### Sent to a contract address
If you sent tokens to a smart contract address rather than a regular account, [there is no guarantee of recovery](/stay-safe/safety-in-web3/why-am-i-being-warned-about-sending-tokens-to-a-contract). The contract may not be programmed to handle incoming tokens. In some cases the project team may be able to help — it's worth reaching out — but this is not guaranteed.
### MetaMask will not DM you about this
**MetaMask will never contact you directly, and will never ask for your Secret Recovery Phrase.** If someone messages you claiming they can recover your funds or that they're from MetaMask, they are a scammer. Seek help only through [official MetaMask channels](/stay-safe/safety-in-web3/what-are-metamasks-official-support-channels).
---
# How to send assets from MetaMask Portfolio
URL: https://support.metamask.io/manage-crypto/move-crypto/send/how-to-send-assets-from-metamask-portfolio/
> Learn how to send tokens and NFTs directly from your MetaMask Portfolio.
:::info
Looking for how to send tokens in MetaMask?
This article describes sending tokens and NFTs in [MetaMask Portfolio](https://portfolio.metamask.io/), not MetaMask Extension or Mobile. If you're looking for the latter, you should head to [this article](/manage-crypto/move-crypto/send/how-to-send-tokens-from-your-metamask-wallet)
:::
You can send tokens or NFTs directly from MetaMask Portfolio.
1. To get started, head to MetaMask Portfolio at [portfolio.metamask.io](https://portfolio.metamask.io/), and then select the 'Move Crypto' tab on the left. From that menu, click 'Send & Receive'. If you're accessing Portfolio via the [MetaMask in-app browser](/configure/wallet/how-to-use-the-metamask-mobile-browser), click 'Send' from your MetaMask home screen.
2. **Select the account from which you want to send.** If you don't see the account displayed, hit the 'Manage in Accounts Settings' button in the drop-down to configure which of your accounts are connected to MetaMask Portfolio.
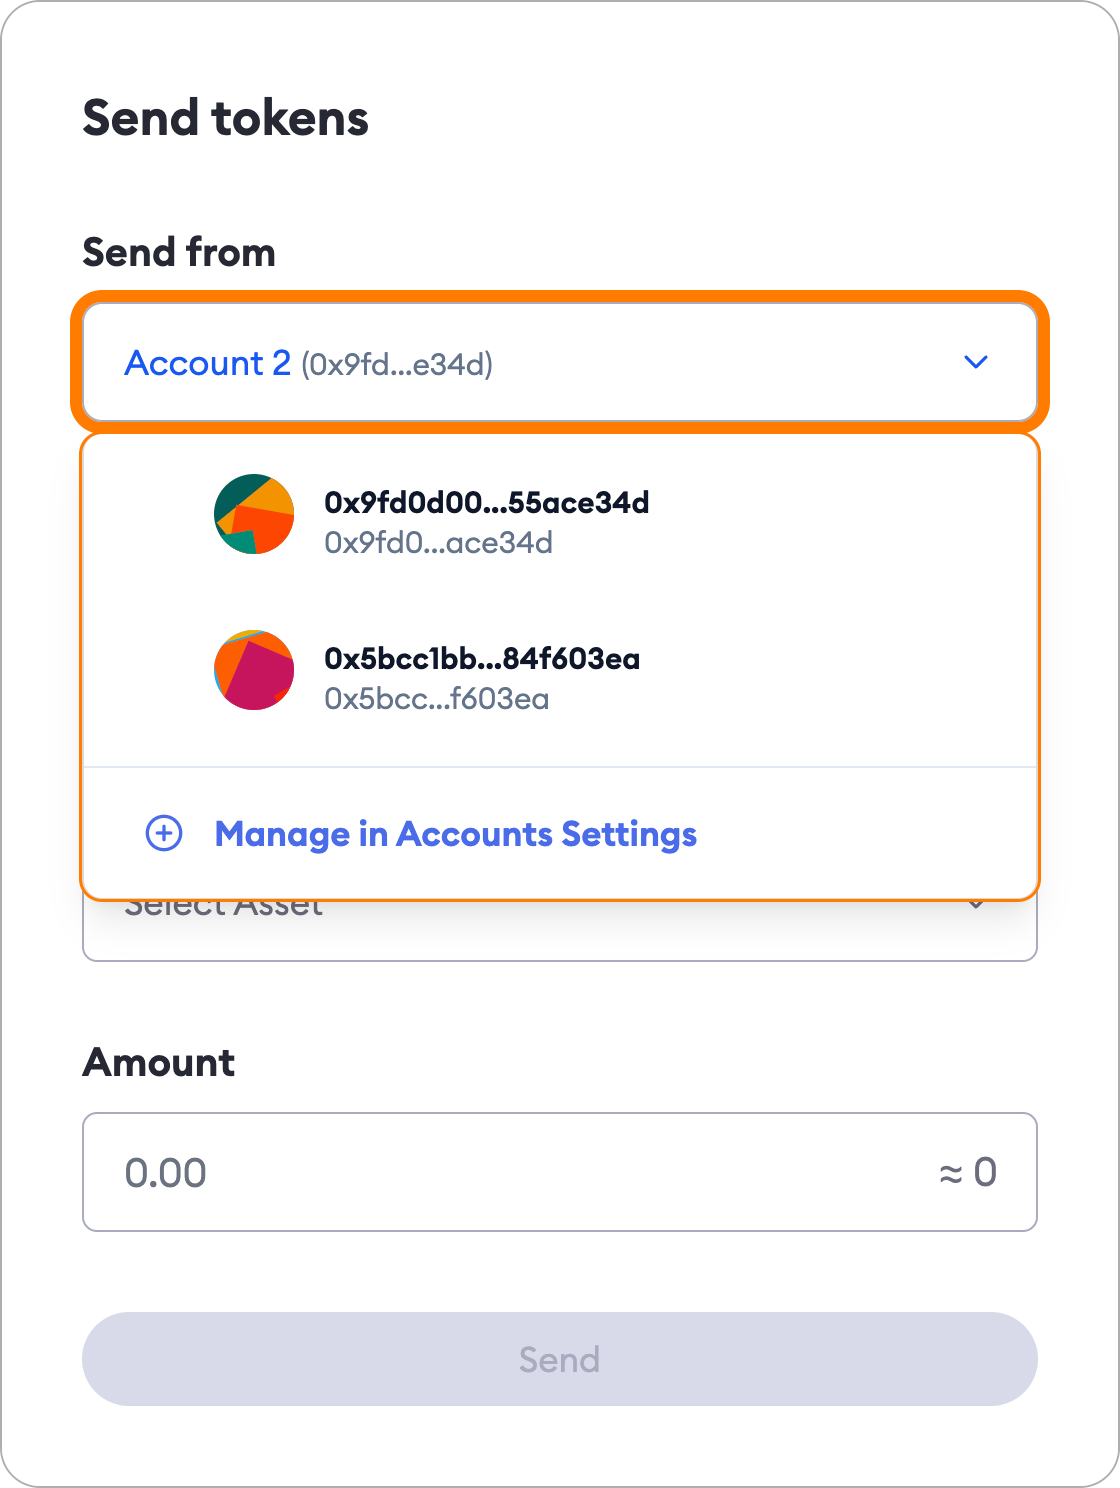
3. Input the recipient (destination) address in the 'Send to' field.
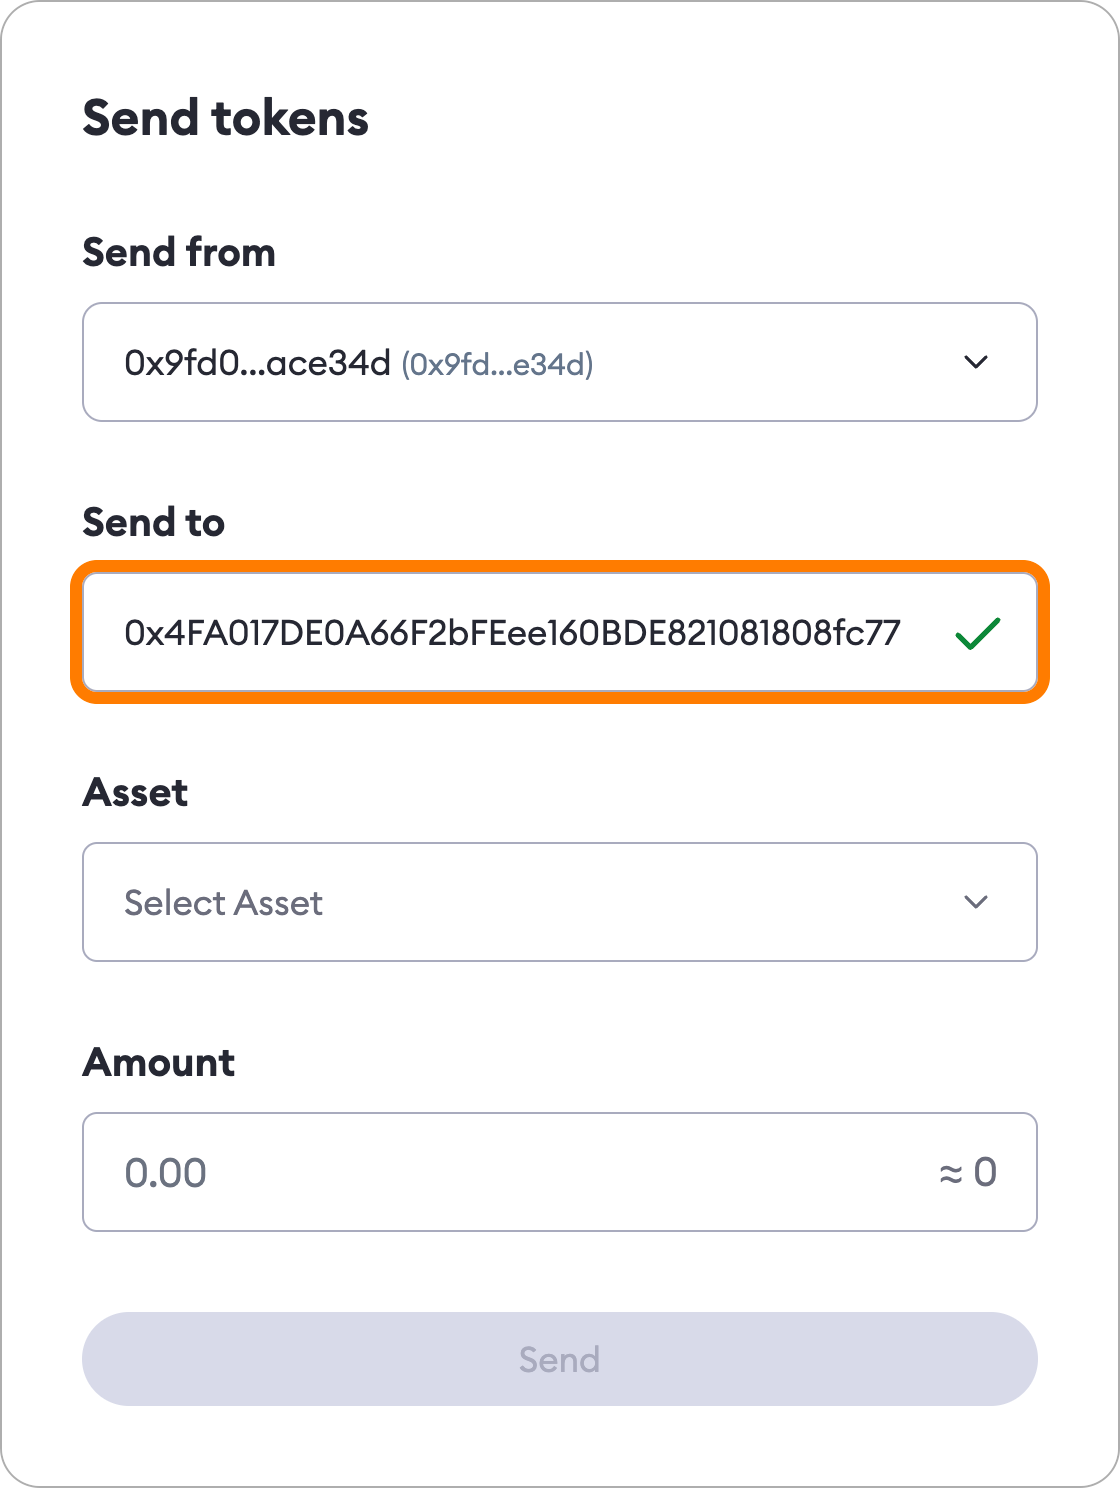
4. **Select the asset you want to send.** Click on the 'Select Asset' field to open a menu where you can
- Filter your tokens by network, using the 'All networks' drop-down in the top right
- Switch between NFTs and tokens using the toggle on the left
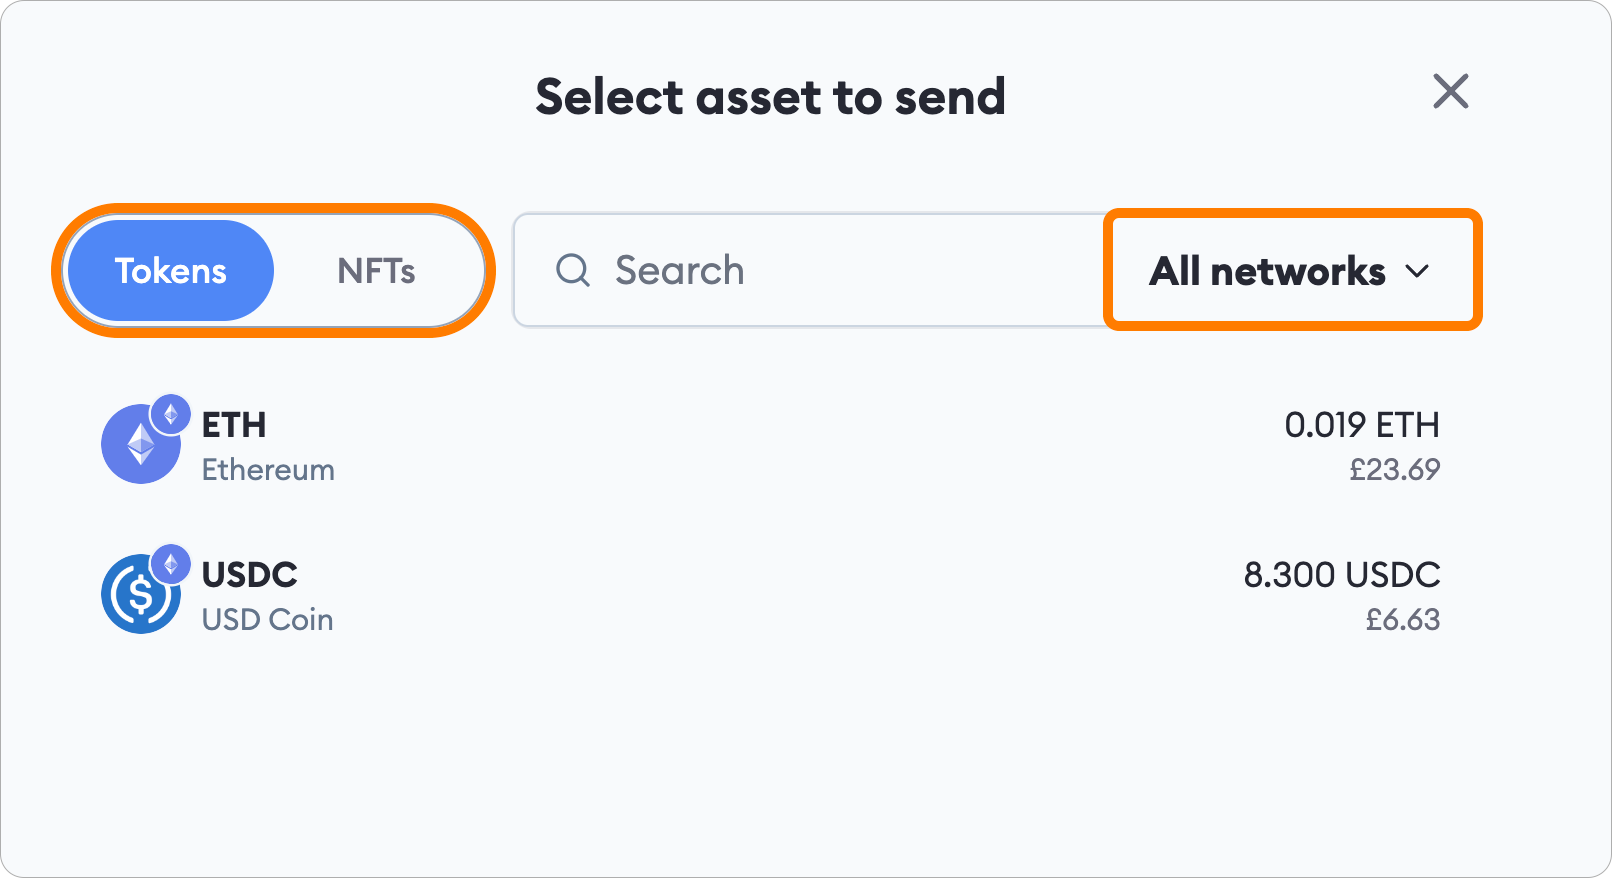
You'll only be able to send tokens that MetaMask Portfolio has detected in your selected account. If the token you want to send is not displayed, you could try [refreshing your balances](/manage-crypto/portfolio/my-metamask-portfolio-dashboard-is-inaccurate-or-not-up-to-date) or [importing the token](/manage-crypto/portfolio/how-to-import-a-token-in-metamask-portfolio).
5. **If you're sending tokens, input how much you want to send.** You can toggle between the token amount or its fiat amount by clicking the pair of up and down arrows on the right hand side of the input box.
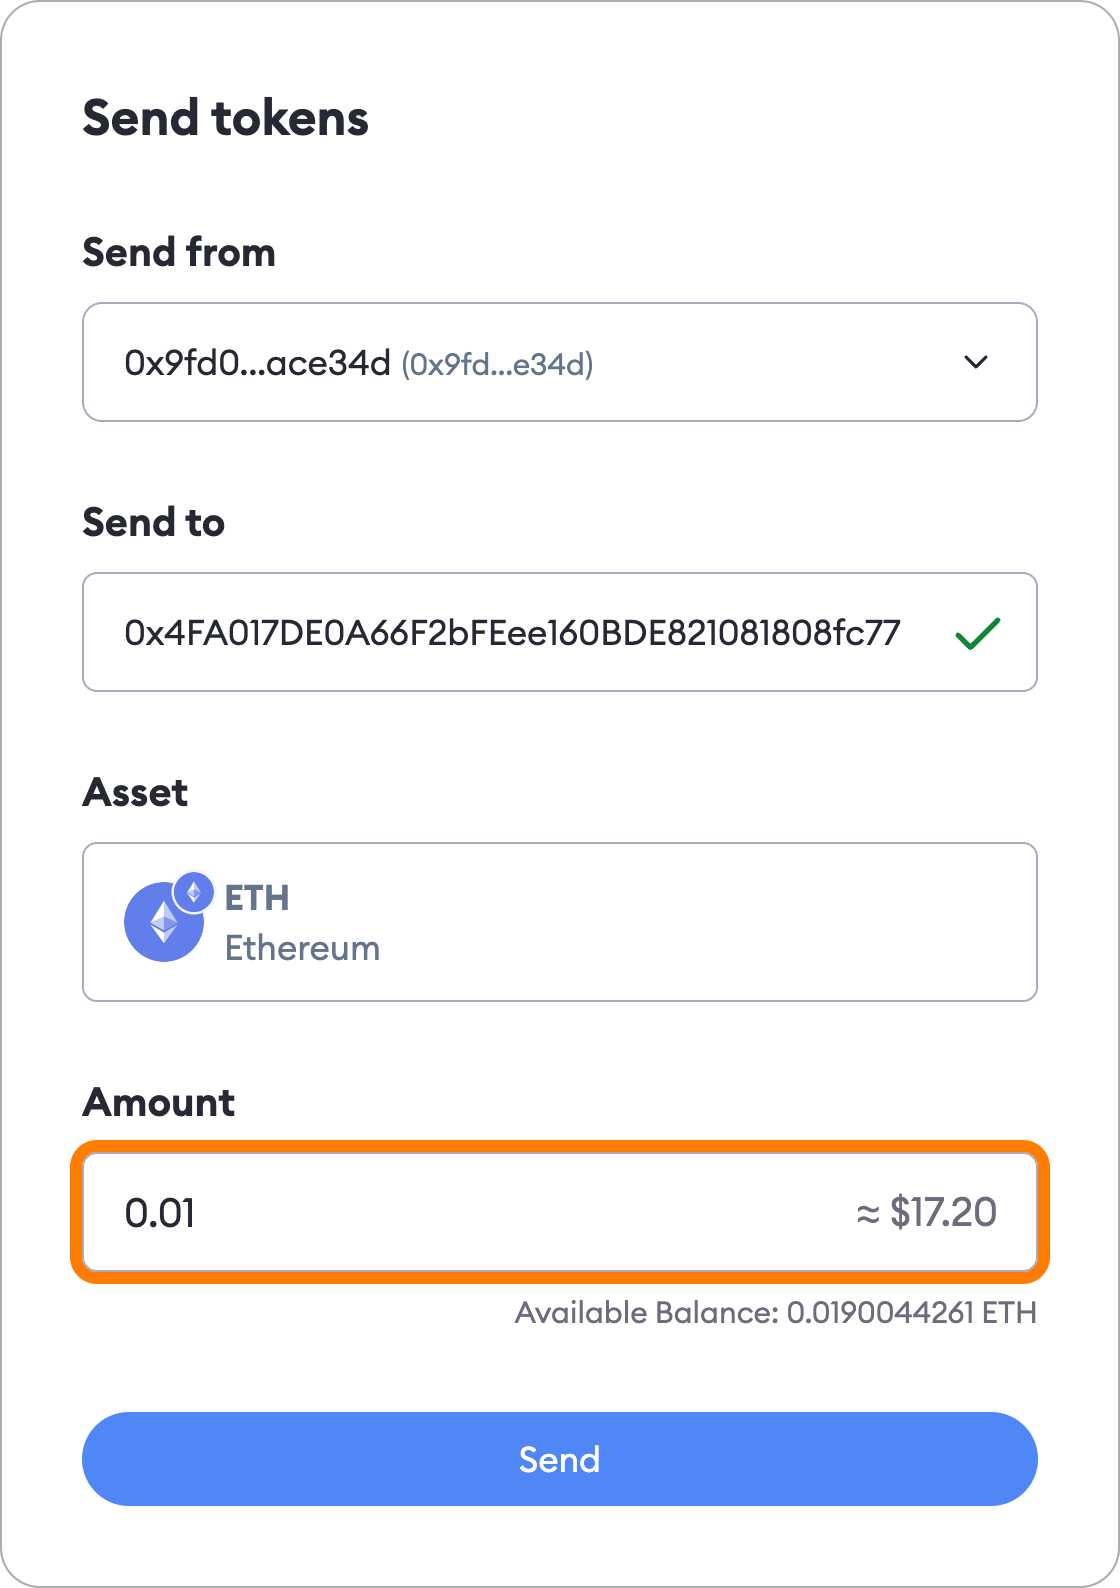
6. **Confirm the transaction in MetaMask.** This is where you'll also be able to see the estimated gas fees. Once you submit the transaction in MetaMask, it should be picked up by a validator and confirmed after a short wait.
---
# How to send tokens from your MetaMask wallet
URL: https://support.metamask.io/manage-crypto/move-crypto/send/how-to-send-tokens-from-your-metamask-wallet/
> Learn how to safely send tokens using MetaMask. Choose the correct network, select your asset, set fees, and complete the transfer securely.
:::info
This article focuses on sending ETH and other tokens that conform to the ERC-20 standard. However, the **process is essentially the same regardless of the network** you're using — just make sure you have enough of the network's native token to pay the network fee for the transaction.
:::
## What you'll need {#what-youll-need}
- The account address of the recipient.
- A sufficient token balance to _send the token of your choice_ and to _cover the network fee_ for the transaction.
When sending transactions on Ethereum Mainnet, BNB Smart Chain, Arbitrum, Base, Polygon, and Linea, you can choose to pay the network fee with tokens other than the network's native token. For more information, see [here](/manage-crypto/transactions/metamask-gas-station).
If you are on other networks, you will need to have enough of the network's native token to pay the network fee.
## How to send tokens {#how-to-send-tokens}
1. Click the 'Send' button on the homepage. To send from a different account, use the account dropdown at the top of the screen to [switch accounts](/configure/accounts/switching-accounts-in-metamask).
2. Select the network and token you want to send.
3. Enter or paste the recipient's address, or select one from your address book.
4. Enter the amount you want to send and click 'Continue'.
5. Review the estimated network fees — you can adjust these if needed. Double-check the recipient address, then click 'Confirm'.
6. You'll be redirected to the homepage, where you can see your recent transactions on the 'Activity' tab. On Extension v13.30+ on Ethereum, Linea, BNB Smart Chain, Arbitrum, Base, and Polygon, a 'Transaction submitted' toast also appears in the sidebar — click it to open the transaction detail view and track status.
1. Tap the 'Send' button on the homepage.
2. Select the network and token you want to send.
3. Enter the amount, or use the quick-select pills (25%, 50%, etc.) to choose a portion of your balance.
4. Tap 'Continue'.
5. Enter or paste the recipient's address, or select one from your address book.
6. Review the transaction details and tap 'Confirm'.
:::tip
Always verify the recipient address carefully before confirming. MetaMask will warn you if the address looks similar to one you've used before or is new to you — learn more about [address poisoning scams](/stay-safe/protect-yourself/wallet-and-hardware/address-poisoning-scams). When sending ERC-20 tokens, also make sure the receiving account supports the token you are sending.
:::
## Send and swap crypto at the same time {#send-and-swap-crypto-at-the-same-time}
Whenever you're sending funds from one account to another, you can choose which token you want to spend and select the token the other person wants to receive. This way, you won't have to first swap one token for another and then create another transaction to send it someone's way; saving you both time and gas.
To use MetaMask's 'Send & Swap' feature:
1. Click 'Send' on the MetaMask Extension homepage.
2. Select the address you want to send funds to.
3. Choose the asset to send _from_ your account.
4. Choose the asset you want the recipient to _receive_.
5. Review the quote and confirm.
Please note that this method does not yet support [Smart Transactions](/manage-crypto/transactions/smart-transactions).
Notes
- The number of tokens and your transaction fees will not be deducted immediately. The transaction status is pending, which means the transaction has been submitted to the blockchain network and is awaiting confirmation.
- When the transaction is successful, you will see the updated amount of the token balances, as well as the status of the transaction updated to 'Confirmed'.
- If you click on the transaction under the **Activity** tab on MetaMask, you can review the transaction's status and information, and you can view the transaction record on the network's block explorer, such as [Etherscan](https://etherscan.io/), [BscScan](https://bscscan.com/) or [Polygonscan](https://polygonscan.com/).
- Sometimes, your transaction may take longer to confirm. When that happens, you'll have the option to **Speed Up** the transaction by re-submitting it with a higher gas fee, or **Cancel** the transaction before it gets confirmed. On Extension v13.30+ on supported networks (Ethereum, Linea, BNB Smart Chain, Arbitrum, Base, Polygon), access these options by clicking the **"Transaction submitted"** toast in the sidebar to open the transaction detail view. Learn more about [speeding up or cancelling a transaction](/manage-crypto/transactions/how-to-speed-up-or-cancel-a-pending-transaction).
- Please see how to [deposit (receive) tokens to your account](/manage-crypto/move-crypto/transfer/direct-deposit-receive-tokens-to-your-metamask-wallet) if you want to receive tokens.
For more information on tokens in general, [see here](/manage-crypto/tokens/user-guide-tokens). For general information regarding transactions on Ethereum, [see here](/manage-crypto/tokens/user-guide-transactions-and-failed-transactions).
---
# How to migrate your assets to a new wallet
URL: https://support.metamask.io/manage-crypto/move-crypto/transfer/account-migration-guide/
> Learn how to transfer your assets to a new wallet, whether your SRP has been compromised or you simply want to rotate your keys.
This guide walks you through moving all your crypto assets to a brand new wallet derived from a fresh Secret Recovery Phrase. This is the right guide if you suspect your SRP has been compromised, noticed unauthorized transactions, or simply want to rotate your keys for peace of mind.
:::note
If you're looking to import an existing wallet into MetaMask or switch from another provider, [see this guide instead](/start/use-an-existing-wallet).
:::
## Before you start
Every transfer happens on-chain, so you'll pay [gas fees](/more-web3/learn/user-guide-gas) for each one. Costs can add up if you have a lot of assets, so it's worth noting everything you own in priority order before you begin — and accounting for things like token lockups or liquidity positions that may need to be exited first.
**Assets you may need to move:**
- ERC-20 tokens
- NFTs (ERC-721, ERC-1155)
- Liquidity provider positions
- Smart contract ownerships (e.g. a Gnosis Safe)
## What assets do I have?
[MetaMask Portfolio](https://portfolio.metamask.io/) is an easy way to get a full picture of what you own across accounts, including NFTs, ERC-20 tokens, and DeFi positions. For NFTs, marketplaces like [OpenSea](https://opensea.io) also list everything held by an address.
For a chain-by-chain breakdown, use a block explorer such as [Etherscan](https://etherscan.io/) or [Ethplorer](https://ethplorer.io). If you're active across multiple chains, paste your address into [Blockscan](https://blockscan.com/) to get links to explorers on every chain where your account has been active.
For DeFi positions and liquidity, [Zapper](https://zapper.xyz/) and [Zerion](https://zerion.io) are good aggregators. No single tool surfaces everything, so it's worth checking a couple before you start moving funds.
## Steps to migrate your assets
First, you need to know whether you connected your MetaMask to your Google, Apple, or Telegram account, or if you access your MetaMask via your Secret Recovery Phrase. The two options have distinct processes, so make sure you know which one you are using before proceeding.
If you connected your MetaMask to your Google, Apple, or Telegram account, and want to move your cryptoassets to a completely new, separate wallet, then _you need to create a brand new instance of MetaMask that is not connected to the original Google, Apple, or Telegram account_.
:::info[Why not?]
If you suspect your MetaMask, Google/Apple/Telegram account, or hardware has been compromised, you need to create new SRPs and private keys that are in _no way associated with your old accounts_.
:::
Your old wallets and accounts are all tied to that Google, Apple, or Telegram account, and **there is no way to disconnect them**. You _cannot_ just create a new wallet or account in the same MetaMask Extension or Mobile app, because that wallet would automatically be connected to the original Google, Apple, or Telegram account.
If you like having a Google, Apple, or Telegram account connected to your MetaMask, you can choose a new account to connect. Keep reading for next steps.
In order to keep your new wallet safe, _you_ need to be in a safe situation.
This means:
- You are not being physically observed
- Your system is free from malware or spyware
- You have a secure medium on which to record your new SRP/password
- You are not being directed to do this by a person you don't trust
- You are not doing this under duress
- Traffic on your Internet connection is not being monitored
- Hint: a VPN connection under such circumstances can be very helpful!
This is easily done using MetaMask.
1. You need to open a new instance of MetaMask. You can do so by creating a new browser profile, downloading MetaMask Mobile (if you only use Extension) or downloading MetaMask Extension (if you only use Mobile).
- For guidance on creating a new browser profile, visit your browser's support page.
2. If using MetaMask Extension, navigate to [metamask.io/download](https://metamask.io/download/) (type in the address: don't click on a web search result).
1. Alternatively, find MetaMask in the [Android](https://play.google.com/store/apps/details?id=io.metamask) or [iOS](https://apps.apple.com/us/app/metamask-blockchain-wallet/id1438144202) stores.
3. Install the extension or application, and decide if you want to connect a new Google, Apple, or Telegram account to your new wallet, or if you want to write down your new Secret Recovery Phrase. If you choose to connect a Google, Apple, or Telegram account, make sure it's a different account than the one you connected your old wallet to, and create a brand new password for your new wallet.
4. **Write down your new password and Secret Recovery Phrase, and keep them somewhere safe.**
1. Follow [the instructions here to copy the public address](/configure/wallet/how-to-copy-your-metamask-account-public-address-) of the default account generated by your new SRP.
2. Have that address at hand on the device that has the "original" SRP; it might help to open it in Etherscan, or you could hold it in a synced note, **because it's a public address--you should never, ever, ever put an SRP in a cloud-synced note app.**
**Note: You can generate as many accounts as you want in your new wallet, and divide up your tokens however you wish among them. Also, if you have [a hardware wallet](/more-web3/wallets/hardware-wallet-hub) on hand, now would be a convenient time to transfer assets to an address generated by [an SRP that is only present on your hardware wallet](/more-web3/wallets/user-guide-how-to-use-a-hardware-wallet).**
This part of the process will vary depending on your specific situation. You may need to do some reading below.
The process is currently manual: you will be sending all of your assets to the new address(es), one transaction at a time. If you're unfamiliar with sending assets, [see how to send tokens from MetaMask](/manage-crypto/move-crypto/send/how-to-send-tokens-from-your-metamask-wallet).
Your network gas tokens (ETH, POL (previously MATIC), etc.) should be the LAST THING YOU TRANSFER. Otherwise, **you'll have no way to pay for the transfer fees** of your other assets.
1. Start with NFTs
1. NFTS are likely to be the most expensive to transfer, so start with these. Currently, you can [use MetaMask Mobile to transfer them](/manage-crypto/nfts/how-do-i-send-receive-or-cash-out-an-nft); also, you can use OpenSea's transfer function.
1. Keep in mind: **if your account has been compromised**, then adding more of the network's gas token to your account in order to transfer assets out of it may result in the new gas token balance being "swept out" before you can take any actions. If this is the case, [read this guide on beating an Ethereum sweeper](https://blog.mycrypto.com/how-to-beat-an-ethereum-based-sweeper-and-recover-your-assets).
2. Move on to other ERC-20 tokens
3. Gas Tokens: First in, Last out. Depending on the contents of your accounts and the network you're on, you may use a significant amount of the network gas token--so don't send it away while you still need it!
1. Remember, **ETH isn't technically an ERC-20 token**, so automated ERC-20 sweeping tools may not automatically include balances of ETH.
**Note: If you transferred an ENS name to your new address**, and you use that ENS name to receive cryptoassets, **make sure you update the routing information in the ENS app** so that assets routed to that ETH name go to the new address, and not the old one!
In order to keep your new wallet safe, _you_ need to be in a safe situation.
This means:
- You are not being physically observed
- Your system is free from malware or spyware
- You have a secure medium on which to record your new SRP
- You are not being directed to do this by a person you don't trust
- You are not doing this under duress
- Traffic on your Internet connection is not being monitored
- Hint: a VPN connection under such circumstances can be very helpful!
This is easily done using MetaMask.
1. You need to open a new instance of MetaMask. You can do so by creating a new browser profile, downloading MetaMask Mobile (if you only use Extension) or downloading MetaMask Extension (if you only use Mobile).
- For guidance on creating a new browser profile, visit your browser's support page.
2. If using MetaMask Extension, navigate to [metamask.io/download](https://metamask.io/download/) (type in the address: don't click on a web search result).
1. Alternatively, find MetaMask in the [Android](https://play.google.com/store/apps/details?id=io.metamask) or [iOS](https://apps.apple.com/us/app/metamask-blockchain-wallet/id1438144202) stores.
3. Install the extension or application, and decide if you want to connect a new Google, Apple, or Telegram account to your new wallet, or if you want to write down your new Secret Recovery Phrase.
4. **Write down your new Secret Recovery Phrase, and keep them somewhere safe.**
1. Follow [the instructions here to copy the public address](/configure/wallet/how-to-copy-your-metamask-account-public-address-) of the default account generated by your new SRP.
2. Have that address at hand on the device that has the "original" SRP; it might help to open it in Etherscan, or you could hold it in a synced note, **because it's a public address--you should never, ever, ever put an SRP in a cloud-synced note app.**
**Note: You can generate as many accounts as you want in your new wallet, and divide up your tokens however you wish among them. Also, if you have [a hardware wallet](/more-web3/wallets/hardware-wallet-hub) on hand, now would be a convenient time to transfer assets to an address generated by [an SRP that is only present on your hardware wallet](/more-web3/wallets/user-guide-how-to-use-a-hardware-wallet).**
This part of the process will vary depending on your specific situation. You may need to do some reading below.
The process is currently manual: you will be sending all of your assets to the new address(es), one transaction at a time. If you're unfamiliar with sending assets, [see how to send tokens from MetaMask](/manage-crypto/move-crypto/send/how-to-send-tokens-from-your-metamask-wallet).
Your network gas tokens (ETH, POL (previously MATIC), etc.) should be the LAST THING YOU TRANSFER. Otherwise, **you'll have no way to pay for the transfer fees** of your other assets.
1. Start with NFTs
1. NFTS are likely to be the most expensive to transfer, so start with these. Currently, you can [use MetaMask Mobile to transfer them](/manage-crypto/nfts/how-do-i-send-receive-or-cash-out-an-nft); also, you can use OpenSea's transfer function.
1. Keep in mind: **if your account has been compromised**, then adding more of the network's gas token to your account in order to transfer assets out of it may result in the new gas token balance being "swept out" before you can take any actions. If this is the case, [read this guide on beating an Ethereum sweeper](https://blog.mycrypto.com/how-to-beat-an-ethereum-based-sweeper-and-recover-your-assets).
2. Move on to other ERC-20 tokens
3. Gas Tokens: First in, Last out. Depending on the contents of your accounts and the network you're on, you may use a significant amount of the network gas token--so don't send it away while you still need it!
1. Remember, **ETH isn't technically an ERC-20 token**, so automated ERC-20 sweeping tools may not automatically include balances of ETH.
**Note: If you transferred an ENS name to your new address**, and you use that ENS name to receive cryptoassets, **make sure you update the routing information in the ENS app** so that assets routed to that ETH name go to the new address, and not the old one!
## What if my address is being actively drained?
If your account has been compromised and a bot is watching the mempool to sweep any funds you deposit, standard transactions won’t work — the bot will frontrun you. You can [submit a request to the Flashbots Whitehat team](https://flashbots.notion.site/2ac6b4a0d876805e825bf95d1db930df) for help creating transaction bundles that bypass the public mempool. For more background on how sweepers work and recovery options, [read this guide](https://blog.mycrypto.com/how-to-beat-an-ethereum-based-sweeper-and-recover-your-assets).
As always, keep your Secret Recovery Phrase safe. It is for your eyes and your eyes alone, and when you ask for help in various places there may be bad actors waiting to reach out to you and attempt to steal your funds.
---
# How to direct deposit tokens to your MetaMask account
URL: https://support.metamask.io/manage-crypto/move-crypto/transfer/direct-deposit-receive-tokens-to-your-metamask-wallet/
> Have tokens already? Deposit them into your MetaMask wallet.
To deposit ETH or ERC-20 tokens to your MetaMask wallet from an exchange or another wallet, you will simply need to submit a transaction pointed to the address of one of your accounts in MetaMask. **Please check the exchanges that operate in your country** **[here](https://ethereum.org/en/get-eth/#country-picker)**.
:::info[Coinbase Pay]
In the MetaMask Extension, you can also deposit tokens into your account directly from Coinbase, eliminating the need to transfer them manually. Scroll down or [click here](https://consensys.net/blog/metamask/metamask-integrates-with-coinbase-pay-for-a-new-way-to-buy-crypto/) for further information.
We're working on adding this feature to MetaMask Mobile as soon as we can.
:::
1. Open MetaMask, and click on your public address to copy it to your clipboard.
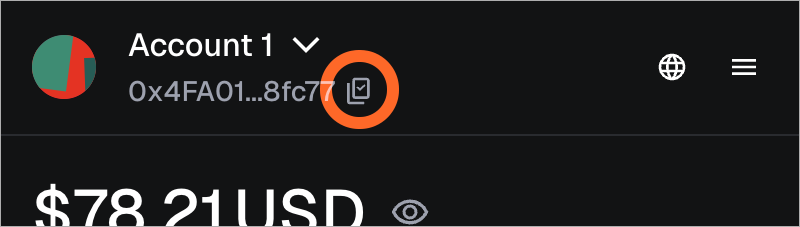
2. Paste your address in the recipient field in the application from which you are sending your ETH or other tokens, or share it with someone who is sending them to you.
3. Select the amount you want to send, along with any other necessary steps to complete and submit the transaction.
1. On your account page, tap directly on your address to copy it to your clipboard. An on-screen prompt will appear to confirm that you've done so.
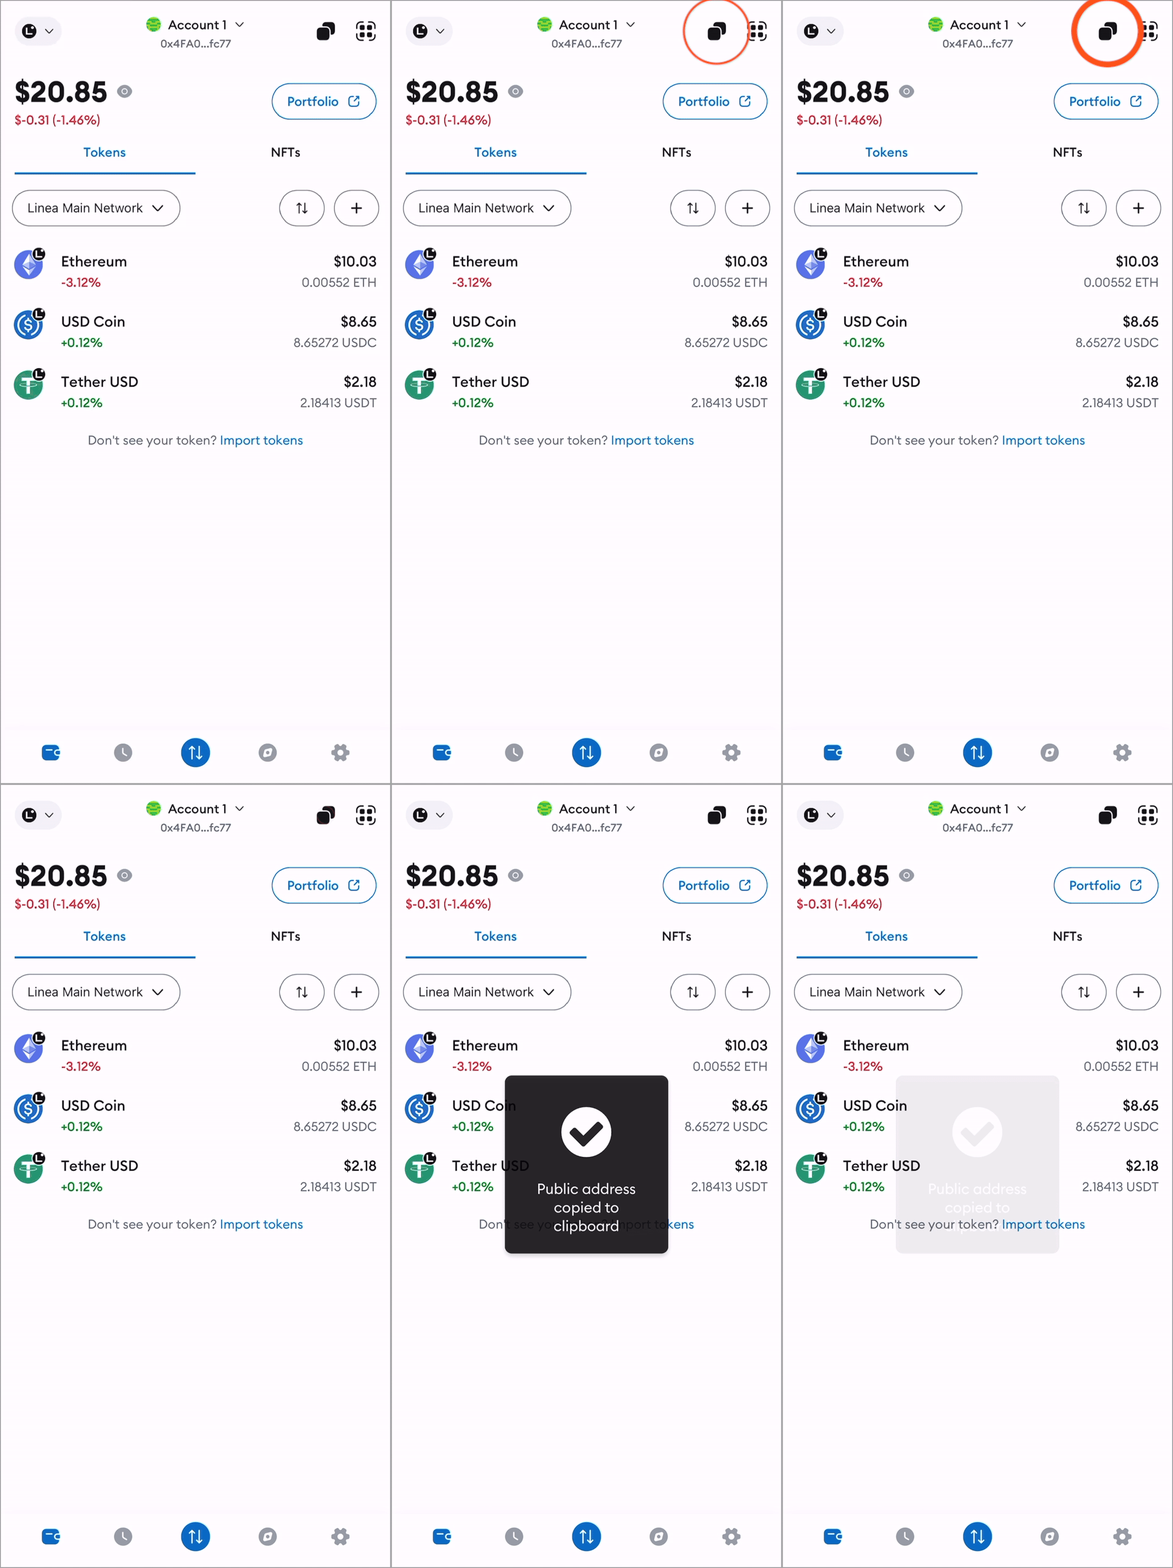
2. Paste the address into the recipient field on the application/platform you're sending tokens from, or share it with someone who is sending to you.
3. Select the amount you want to send, and follow other prompts necessary to complete the transaction.
**Note:** Please consult with the organization of the application you are using for information on how to transfer your ETH/tokens. The user interfaces of different organizations/wallets will vary.
## Other considerations: {#other-considerations}
- **Make sure the token you're trying to send is compatible with the network you're attempting to send to**. For example, you could be attempting to send Polygon-native POL (previously MATIC) to your MetaMask, when you should be sending ERC-20 POL (previously MATIC). Most of the time, exchanges will recognize that your address is incompatible with the token you're attempting to send, and prevent you from proceeding — but still, be wary.
- If you are sending ERC-20 tokens, please review our article [How to display tokens in MetaMask](/manage-crypto/tokens/how-to-display-tokens-in-metamask) to add them to the token list to see the balance of the token in your account.
- The process to send tokens may be different for each application that holds your tokens. We recommend that you review their documentation or contact their support team for additional help on transferring tokens from their application.
- Once the transaction is final, the balance in your account in MetaMask should update. If the balance does not update, please check the status of your transaction on a block explorer like [Etherscan](https://etherscan.io) by searching the txHash (transaction hash) of the transaction that you just submitted.
- Please see [How to send tokens from your MetaMask](/manage-crypto/move-crypto/send/how-to-send-tokens-from-your-metamask-wallet) if you are looking to send tokens out of your account.
## Using Coinbase Pay to deposit tokens {#using-coinbase-pay-to-deposit-tokens}
You can also use Coinbase Pay to seamlessly transfer token balances from Coinbase to MetaMask.
To access this feature, click the 'Buy' button on your home screen and select Coinbase Pay. When inputting your preferred amount, you'll have the option to choose between buying the tokens or using your existing balance on Coinbase.
---
# How to transfer assets from MetaMask to a centralized exchange
URL: https://support.metamask.io/manage-crypto/move-crypto/transfer/how-to-transfer-assets-from-metamask-to-cex/
> Learn how to move crypto from MetaMask to a CEX like Coinbase.
:::info[Want to move crypto _from_ a CEX _to_ MetaMask?]
If you have crypto or other assets in a centralized exchange, you can move them to MetaMask by following our guide [here](/start/how-to-transfer-assets-from-centralized-exchange).
:::
Have assets in MetaMask that you want to transfer to a centralized exchange like Coinbase?
If your country is supported, you can sell crypto directly in MetaMask. To learn how, check out our guide [here](/manage-crypto/move-crypto/sell/how-to-sell-your-crypto-assets-for-fiat-currency-in-metamask). If your region is not supported or you'd prefer alternative methods for selling, you can transfer your assets to a centralized exchange (CEX) of your choice.
Before you start:
Your region is supported by the CEX
The asset you want to send is supported by the CEX
The token's network is supported by the CEX
If any of the three points above are _not_ true, you _will not be able_ to successfully transfer your asset to the CEX, and should stop before you lose funds. For example, while a CEX may accept ETH on the Ethereum network, it might not support ETH transferred from the Linea network. If you send ETH on Linea, you may lose your funds.
If all three are true, you can start your transfer by following these steps:
1. Find your CEX public address. Make sure this address is on the correct network. For help with this, contact the CEX's support.
2. Open MetaMask and click 'Send'. Enter the public address from step 1 in the 'To' field.
3. Select the correct asset and enter the amount you want to send.
4. Confirm the details of your transaction.
All done! Your assets should shortly appear in the CEX account. You can check the status of your transaction on a blockchain explorer like Etherscan.
---
# How to receive funds from Binance
URL: https://support.metamask.io/manage-crypto/move-crypto/transfer/receiving-funds-from-binance/
> Sent funds from Binance to MetaMask? Follow these steps to see them in your account.
If you have sent funds from your Binance exchange account to MetaMask and cannot see them in your account, we recommend you follow these steps:
## Step 1: Check the transaction on a blockchain explorer {#step-1-check-the-transaction-on-a-blockchain-explorer}
First you will need to check which network Binance used to complete the transaction. You can do that by checking the withdrawal details on Binance:
Then you will need to go to the network's explorer. Here are a few examples:
- [Etherscan](https://etherscan.io/) for Ethereum Mainnet
- [Bscscan](https://bscscan.com/) for BSC (Binance Smart Chain)
- [Polygonscan](https://polygonscan.com/) for Polygon
- [Snowtrace](https://snowtrace.io/) for Avalanche
Once on the blockchain explorer, either search for your MetaMask address or for the [transaction ID](/manage-crypto/transactions/how-to-find-a-transaction-id) to call up the transaction's details and confirm that it has been completed.
On the overview section of your account's page in the block explorer, you will be able to see your token balances. If the token is the native token (BNB, ETH, POL (previously MATIC), AVAX) it will appear in the balance section (as in the screenshot above).
If it is not the native token, it will appear in the dropdown menu in the 'Token' section.
## Step 2: Add the network to MetaMask and display the token if required {#step-2-add-the-network-to-metamask-and-display-the-token-if-required}
In order to add a network, please check our guide [here](/configure/networks/how-to-add-a-custom-network-rpc).
After adding the network, if your token is not the native token of that network, you will have to [display it as a custom token](/manage-crypto/tokens/how-to-display-tokens-in-metamask).
On the block explorer, go to the token section and click on the token you received:
In order to add the custom token to MetaMask you will need to:
1. Copy the token's contract address. See [here](/more-web3/learn/what-is-a-token-contract-address) for further guidance; essentially, you need to find the token on the block explorer and get its address from there.
2. Go to MetaMask and click the three dots in the tokens section, then select 'Manage tokens'. Scroll to the bottom and tap 'Add custom token', paste the contract address into the field, click 'Next', then 'Import'.
If you have sent the tokens on the wrong network, you can always use a bridge to get that token on the desired network.
You can use [MetaMask Bridges](/trade/swap/user-guide-swaps) for this, accessible in MetaMask Extension by clicking the 'Bridge' button on the homepage, or by heading to [portfolio.metamask.io](https://portfolio.metamask.io/).
**Note that in order to bridge the tokens, you will need to have funds in the network's native token in order to pay for the gas fees.** These are required for any transaction. For example, on BSC you will need BNB, on Polygon you'll require POL, and for Avalanche you need AVAX.
---
# How to transfer assets to the Binance exchange
URL: https://support.metamask.io/manage-crypto/move-crypto/transfer/transferring-assets-to-the-binance-exchange/
> Learn how to transfer assets from MetaMask to the Binance exchange.
:::info[Note]
This article describes the process for moving assets you hold in MetaMask to the Binance centralized exchange (CEX). This is not the same thing as [moving assets from MetaMask to the Binance Smart Chain.](/trade/swap)
:::
If you are trying to transfer assets to Binance from MetaMask, please make sure you are following the guidelines to avoid a loss.
First of all, you have to understand that Binance is a centralized exchange that functions on a limited number of networks. **(Ethereum Mainnet, Binance Smart Chain, Polygon, etc.)** So please make sure you're certain of:
- The network your tokens are currently on (the one you're sending from)
- Support for that network on the Binance exchange.
:::danger[warning]
If you've already sent the tokens and Binance does not support the network, your funds are most likely gone for good. For further information, please contact Binance at [https://www.binance.com/en/support](https://www.binance.com/en/support).
:::
After making sure that Binance supports the network, you will need to make sure that you have funds in MetaMask for gas fees _on that network_.
Please note that gas fees are paid in the native token of the network, for example:
- ETH for Ethereum Mainnet
- BNB for Binance Smart Chain
- POL (previously MATIC) for Polygon
If you don't have tokens for the gas fees, you won't be able to send the assets to the Binance exchange.
Follow [Binance's instructions here](https://support.binance.us/hc/en-us/articles/360046787054-How-to-Deposit-Crypto) (for the US exchange) [or here](https://www.binance.com/en/support/faq/115003764971) (for outside the US) to obtain the specific address for the token you're depositing within your Binance account. Copy this address and paste it into MetaMask [when you are asked for the destination address.](/manage-crypto/move-crypto/send/how-to-send-tokens-from-your-metamask-wallet)
---
# How to transfer assets between BNB Smart Chain and MetaMask
URL: https://support.metamask.io/manage-crypto/move-crypto/transfer/understanding-bsc-binance-and-metamask/
> Learn how to transfer assets between MetaMask, Binance exchange, and the BNB Smart Chain (BSC). Step-by-step guide to avoid network and token standard mistakes.
If you are using MetaMask in conjunction with Binance, we strongly recommend that you familiarize yourself with [Binance's documentation on the topic](https://docs.binance.org/smart-chain/wallet/metamask.html). That said, there are some technical details you **must understand in order to avoid losses**.
Specifically, **Binance is not just one platform**. It's not even just one blockchain. When people talk about Binance, they may be referring to any one of the following:
- [Binance](https://www.binance.com/en), _the centralized cryptocurrency exchange_
- _Its US-based equivalent_, [binance.us](https://www.binance.us/en/home)
- [The BNB Chain](https://www.binance.com/en/blog/all/binance-chain-blockchain-for-exchanging-the-world-304219301536473088), (formerly Binance Chain) _the blockchain which tracks BNB_
- [The BNB Smart Chain,](https://www.binance.org/en/smartChain) (formerly Binance Smart Chain, still referred to as BSC by most) _designed to 'bring smart contract functionality to the Binance Ecosystem', tracks tokens that comply with the BEP-20 standard and is compatible with Ethereum and other EVM-compatible networks_
The methods for moving assets between these different networks vary depending on what you are trying to move, where. **Not all assets can be moved freely between all chains.**
## What are you trying to do? {#what-are-you-trying-to-do}
### Move assets between the Binance, or binance.us, centralized exchange and an account address via MetaMask {#move-assets-between-the-binance-or-binanceus-centralized-exchange-and-a-wallet-address-via-metamask}
Recommendation: Follow [Binance's instructions](https://www.binance.com/en/support/faq/115003670492).
**Note that if you withdraw BNB as a BEP2 token, it may not function as intended, for example, in dapps on the BNB Smart Chain.** In order to access this functionality, you will need to withdraw your BNB as BEP20 tokens. Additional instructions for [withdrawing here](/manage-crypto/move-crypto/transfer/receiving-funds-from-binance), and [depositing to Binance here](/manage-crypto/move-crypto/transfer/transferring-assets-to-the-binance-exchange).
### Move assets between the BNB Smart Chain and another EVM-compatible network via MetaMask {#move-assets-between-the-bnb-smart-chain-and-another-evm-compatible-network-via-metamask}
Recommendation: Use MetaMask Swaps. [Learn more](/trade/swap/user-guide-swaps).
- Click the 'Swap' button on your homepage.
- Select the token you want to exchange and from what network (Example: ETH on Ethereum)
- Select the token you want and to what network (Example: BNB on BNB Smart Chain)
- Enter the amount you want to exchange
- Review quote and confirm transaction
---
# How to view and claim NFT airdrops and mints in MetaMask
URL: https://support.metamask.io/manage-crypto/nfts/airdrops-mints/
> Discover how to claim eligible airdrops and mint NFTs via MetaMask. Step-by-step guide to find trending mints, check eligibility, and participate securely.
Throughout the course of your web3 activities, you may have interacted with a protocol or chain in a way that made you eligible for an airdrop of some kind. Airdrops are automated transactions that send assets to your account, usually free of charge (excluding any gas fees you may need to pay).
Equally, you may also be eligible to mint an NFT for similar reasons — some action may have placed you on an allowlist.
Portfolio now includes a feature that uses your public address and on-chain transaction history to suggest airdrops and mints that you're eligible for, and delve deeper into web3.
Please note that these features are currently only supported on:
- Ethereum Mainnet
- Optimism
- Arbitrum
- Base
- Zora
- Polygon.
:::warning
Once you are redirected to an airdrop site or NFT mint and leave MetaMask Portfolio, you're engaging with dapps and transactions over which we have no control. Please proceed with caution.
:::
## Claiming airdrops {#claiming-airdrops}
First, connect your MetaMask and choose as many accounts as you want.
Now head to the 'Tokens' page and look for the 'Eligible Airdrops' section (on a mobile device, you may need to scroll):
When you find an airdrop you want to claim, click the 'Claim airdrop' button underneath it. From here, you can inspect basic information about the airdrop, like the network it's on, any conditions, and registration dates.
When you're happy to proceed, click 'Claim' to be redirected to the third-party platform where you can claim the airdrop.
## Finding available NFT mints {#finding-available-nft-mints}
Make sure your MetaMask is connected, and that you've selected the accounts that you want to scan for NFT mint eligibility.
On the 'NFTs' page, scroll to 'Trending NFTs'. Based on your on-chain activity, the category displays any ongoing mints that you can participate in. Click on the NFT to view more information for each, such as the network the NFT will be minted on and its creator:
To head to the site where the mint is taking place, click 'Mint'. From there, follow the prompts on the site to initiate and complete the mint.
---
# Why is my NFT missing, suspicious, or not displaying in MetaMask Portfolio?
URL: https://support.metamask.io/manage-crypto/nfts/an-nft-is-missing-marked-suspicious-or-not-displaying-correctly-in-metamask-portfolio/
> NFT not displaying correctly or marked as suspicious? Find out more here.
:::info
Looking for information on NFTs in MetaMask?
This article is specifically about displaying NFTs in MetaMask Portfolio at [portfolio.metamask.io](https://portfolio.metamask.io/). For information about NFTs in MetaMask Extension or Mobile, see [here](/manage-crypto/nfts/nft-tokens-in-your-metamask-wallet).
:::
An NFT in your account may display in the dashboard as you'd expect. There are a few ways this can occur:
## An NFT is missing {#an-nft-is-missing}
MetaMask Portfolio works by leveraging data indexing services that compile (index) on-chain activity so that we can display it in the application. Sometimes, **NFTs may not display on your dashboard because these services have not yet indexed them**.
In these cases, please wait a short while.
## An NFT is not displaying correctly {#an-nft-is-not-displaying-correctly}
Just like major NFT platforms such as OpenSea, we need to be able to access NFT metadata for the dapp to display the NFT image, GIF, or video. Metadata refers to the various characteristics of the token that define it: aspects such as quantity, rarity, name, description, etc.
The metadata itself should ideally be in a standardized format which our dapp is built to interpret. **If the image metadata (or visual metadata more generally) is not in a supported format, it won't be displayed in the dapp**. We're working on adding support for more formats and ensuring as many NFTs display correctly as possible.
However, if you don't see your NFT image and just a placeholder instead, rest assured nothing has happened to it; it is still safely in your account on-chain.
## An NFT is marked as 'suspicious' {#an-nft-is-marked-as-suspicious}
To protect you, our users, MetaMask Portfolio analyzes NFT metadata and automatically marks assets as'suspicious' if our NFT data providers indicate that it may be malicious.
:::danger
If an NFT is in your 'suspicious' tab and you don't recognize it, we strongly recommend you do not follow its instructions.
Users are increasingly falling victim to scams that airdrop NFTs to your account. Many of these NFTs contain instructions to visit a specific site or URL, either in the image itself or in the 'About' text visible when you click. Inevitably, these airdropped NFTs are trying to direct you to fraudulent sites that will attempt to phish you or compel you to sign malicious transactions.
Read more here: [NFT airdrop scams](/stay-safe/protect-yourself/nfts/nft-airdrop-scams).
:::
If you're confident the NFT is legitimate and you expected it to be in your account, you can mark the NFT as 'not suspicious' by following the instructions [here](/manage-crypto/portfolio/how-to-hide-an-asset-token-or-nft-in-metamask-portfolio).
---
# Does MetaMask support ERC-1155?
URL: https://support.metamask.io/manage-crypto/nfts/does-metamask-support-erc-1155/
> MetaMask can receive, store, send, and display ERC-1155 tokens.
**ERC-1155 tokens are supported by MetaMask**, meaning your wallet can receive, send *(Extension only)*, store, and display assets aligned with this token standard.
:::note[NFTs in MetaMask Portfolio]
The web platform displays all your NFTs in a consolidated portfolio view, and may mean you don't need to add them to MetaMask at all. Give it a try at [portfolio.metamask.io](https://portfolio.metamask.io/) or click the link from MetaMask Extension.
:::
---
# How to send, receive, or cash out an NFT
URL: https://support.metamask.io/manage-crypto/nfts/how-do-i-send-receive-or-cash-out-an-nft/
> Learn how to send, receive, and cash out NFTs using MetaMask on Extension and Mobile.
#### Did you recently acquire an NFT, and you don't see it in the relevant account? {#did-you-recently-acquire-an-nft-and-you-dont-see-it-in-the-relevant-account}
Follow the steps [here](/more-web3/learn/how-to-check-my-wallet-activity-on-the-blockchain-explorer) to look up the account on the block explorer. On the bottom half of the page, click on the tab titled "NFT Transfers"; there you should see a list of all the tokens you have in your account, ordered by when they entered it. If it's on Etherscan, it's in the account. **For more information on making NFTs appear in MetaMask, see [here](/manage-crypto/nfts/nft-tokens-in-your-metamask-wallet).**
#### Did you recently sell an NFT, and you don't see a transaction in your account? {#did-you-recently-sell-an-nft-and-you-dont-see-a-transaction-in-your-account}
Often, the process of selling an NFT is performed through a smart contract (a blockchain program), and as a result, the funds you receive are delivered to you through an **_internal transaction_, which do not show up in your MetaMask activity**. To check internal transactions, [locate your account address on Etherscan](/more-web3/learn/how-to-check-my-wallet-activity-on-the-blockchain-explorer) and about halfway down the page, click on the 'Internal Transactions' tab. The transaction should be there.
Another way to verify that you received funds in exchange for your NFT is by [verifying that your balance is correct](/more-web3/learn/how-to-externally-verify-that-your-balance-is-correct).
## Receiving an NFT {#receiving-an-nft}
When you buy an NFT, it's often transferred to you automatically through a marketplace. If that is not the case, please follow and double-check these steps to ensure it is a successful transaction:
1. Provide the sender with your public address. If you need, learn how to find this [here](/configure/wallet/how-to-copy-your-metamask-account-public-address-)
2. Make sure you have enough of the network's native token *(ETH, POL (previously MATIC), BNB, etc.)* to pay for gas
3. Have the sender send the NFT to your address
4. [View the NFT in MetaMask](/manage-crypto/nfts/nft-tokens-in-your-metamask-wallet).
As long as you're looking at the correct account in MetaMask, the NFTs should appear under the 'NFTs' tab.
## Sending an NFT {#sending-an-nft}
Sending an NFT (ERC-721 and ERC-1155) in MetaMask is very similar to sending conventional tokens (usually ERC-20 tokens, often just referred to as coins or crypto).
To send NFTs in MetaMask Extension, you must be using v10.28.1 or later.
1. Navigate to the 'NFTs' tab on your homepage and select the NFT you want to send to access a page that shows the NFT's details
2. Click the 'send' button and input the recipient's address
3. Hit 'Next' when you're ready and review the transaction details. Click to 'Confirm' to submit the transaction and send your NFT
1. Make sure you have enough of the network's native token to pay for the transaction
2. Tap on the 'NFTs' section on the homepage
3. Tap on the icon of the NFT you wish to send
4. Tap on the 'send' button at the bottom of the screen:
5. Enter the address you wish to send it to, hit 'Next', and follow the standard transaction prompts
For more on gas, and transactions, see [here](/more-web3/learn/user-guide-gas); to learn more about token types, see our [guide](/manage-crypto/tokens/user-guide-tokens).
---
# How to view and manage NFTs in MetaMask
URL: https://support.metamask.io/manage-crypto/nfts/nft-tokens-in-your-metamask-wallet/
> Manage and view your NFTs in MetaMask.
:::info
The easiest way to display your NFTs in wallet is to turn on the NFT autodetect feature, which you can toggle on in Settings > Assets.
**NFT autodetect is available on Ethereum, Base, Linea, SEI, Monad, and Avalanche.**
:::
NFTs are displayed within the **NFT section** on the homepage. You can access detailed information about your NFTs, including the latest pricing data and comprehensive token metadata by clicking into any NFT you own.
The easiest way to display your NFTs is to **turn on the app's NFT autodetect feature**, which you can toggle on in Settings > Assets.
NFTs are displayed in the **NFTs tab** on your MetaMask's homepage. You can access detailed information about your NFTs, including the latest pricing data and comprehensive token metadata by clicking into any NFT you own.
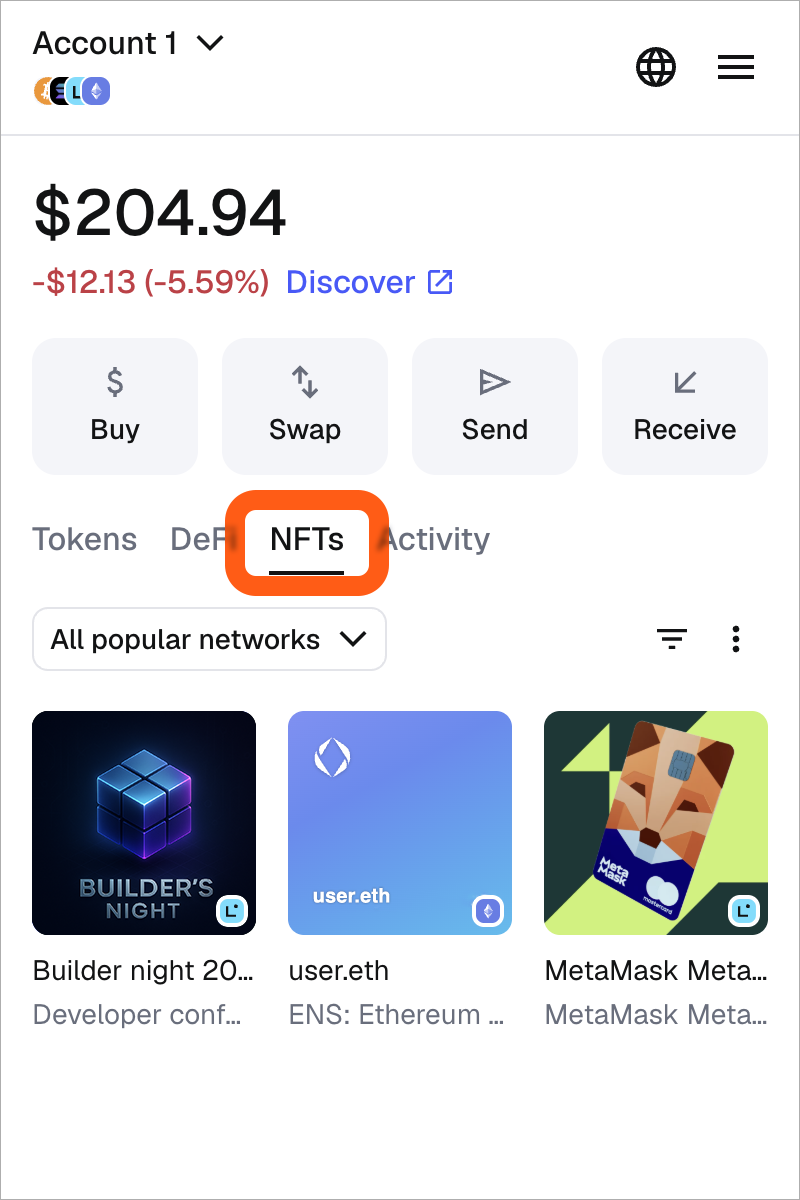
The easiest way to display your NFTs is to **turn on the NFT autodetect feature**, which you can toggle on in Settings > Assets.
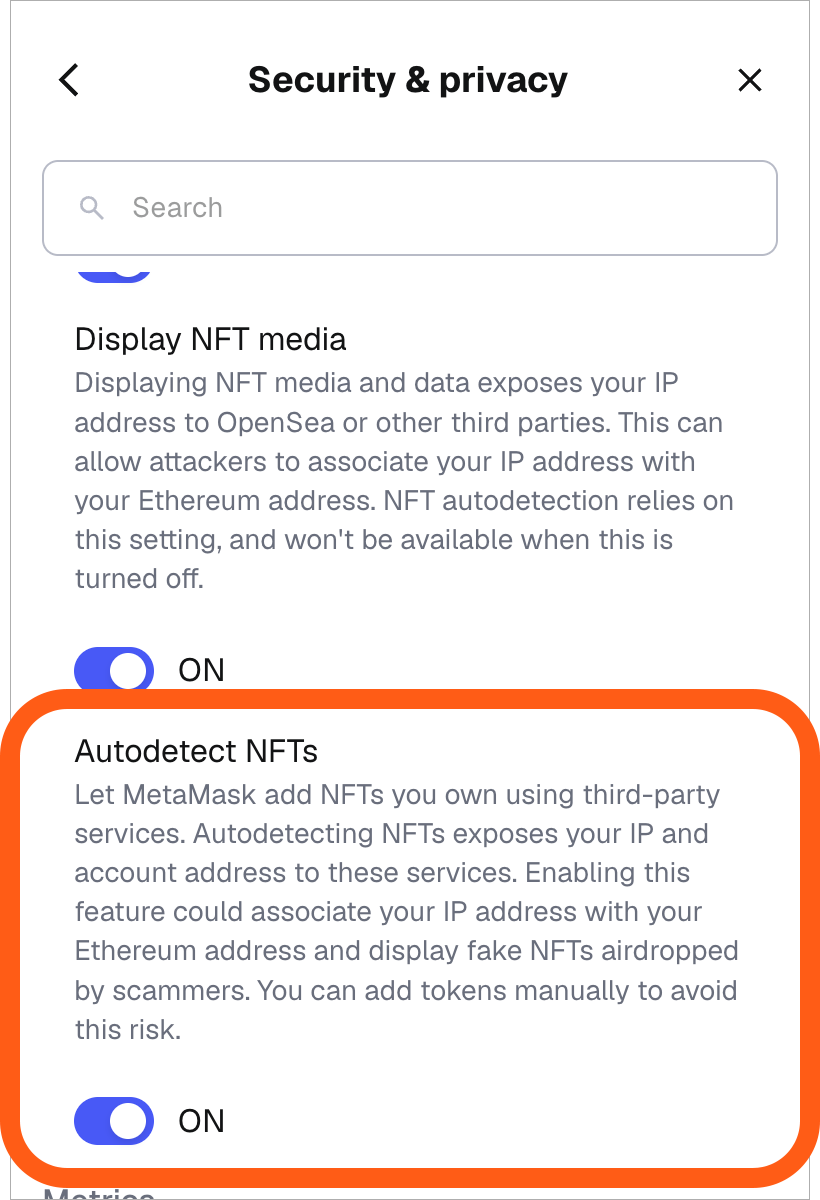
MetaMask Portfolio is a standalone app that complements MetaMask and help you manage your tokens (and NFTs!). To see your NFTs, simply:
- Launch [MetaMask Portfolio](https://portfolio.metamask.io/)
- Sign in with MetaMask to the address you want to see
- Click on the 'NFTs' tab
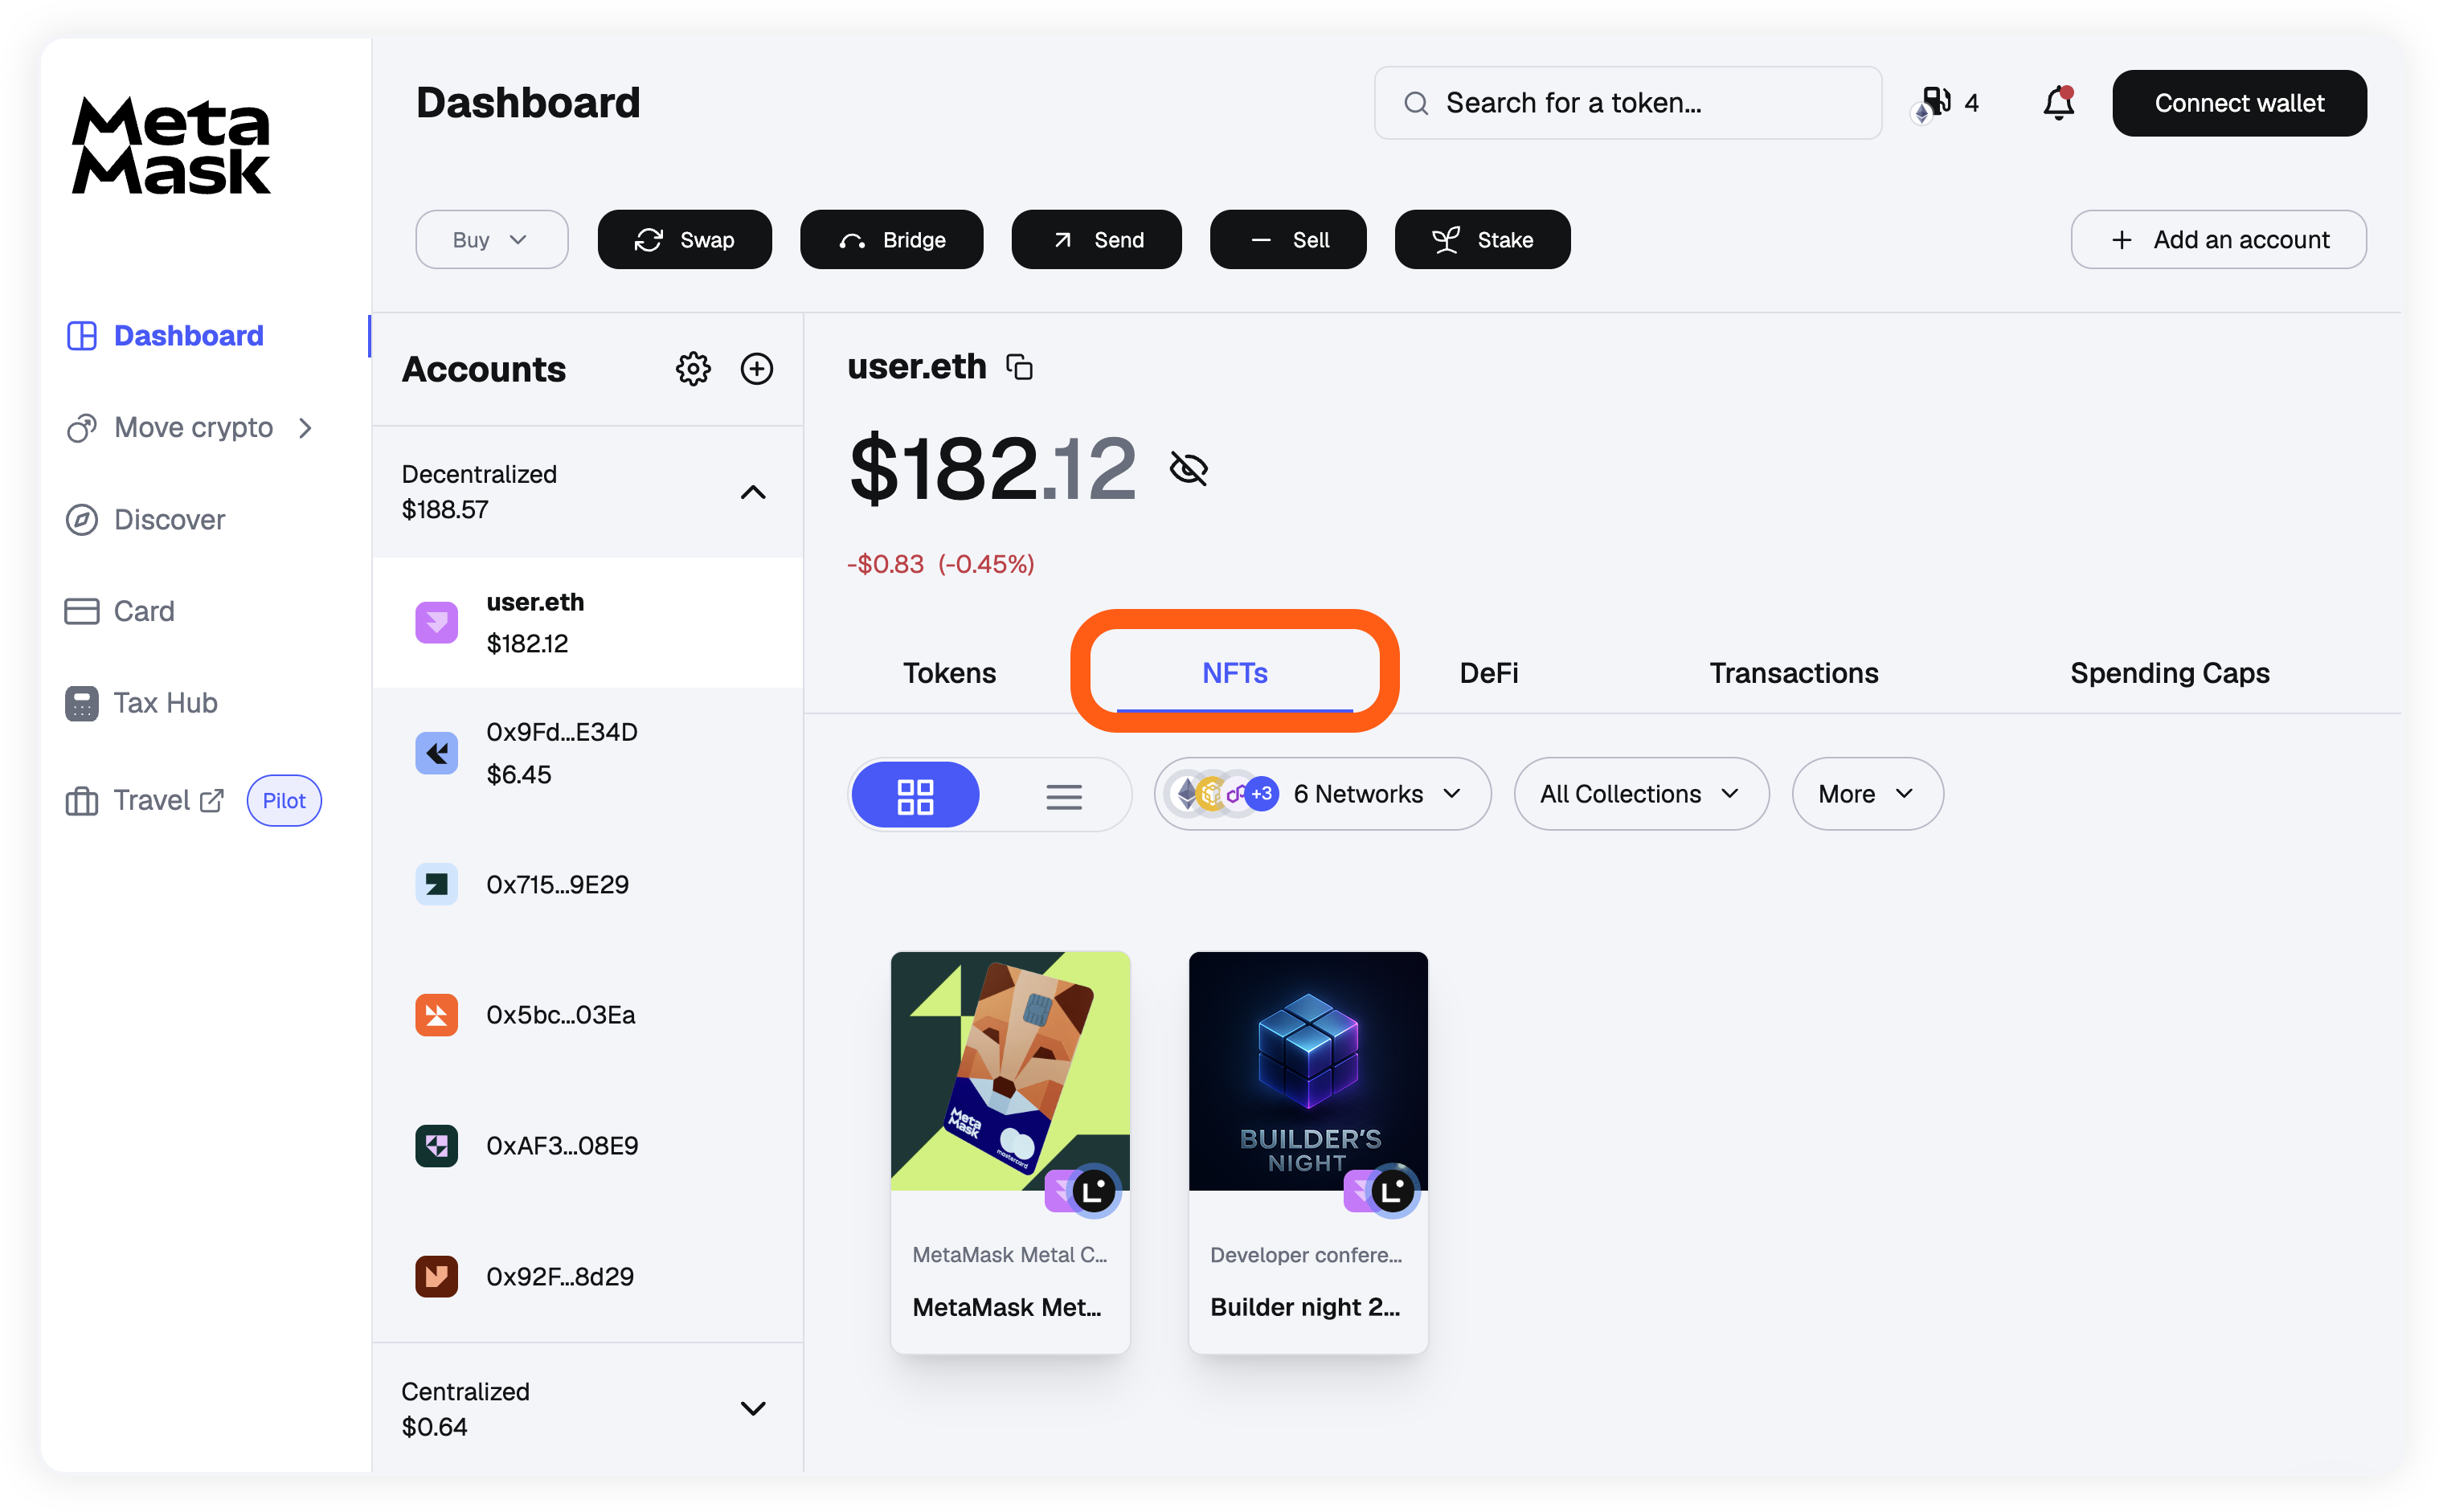
All the NFTs attributable to (owned by) the accounts that you link to the dapp should be displayed automatically. Please note that not all NFTs may display correctly — this is to do with how we're able to retrieve data about them for third-party sources. We are, however, working to maximize compatibility, with the goal of making sure the vast majority of NFTs will be displayed in the dapp.
## FAQs {#faqs}
How do I manually import an NFT?
If autodetect doesn't find your NFTs, you can add them manually using these steps, applicable for MetaMask Extension and Mobile.
1. **Find the NFT's _address._** On OpenSea, for example, on the NFT's page under **Blockchain details**, there is a blue hyperlinked value labelled 'Contract Address'.
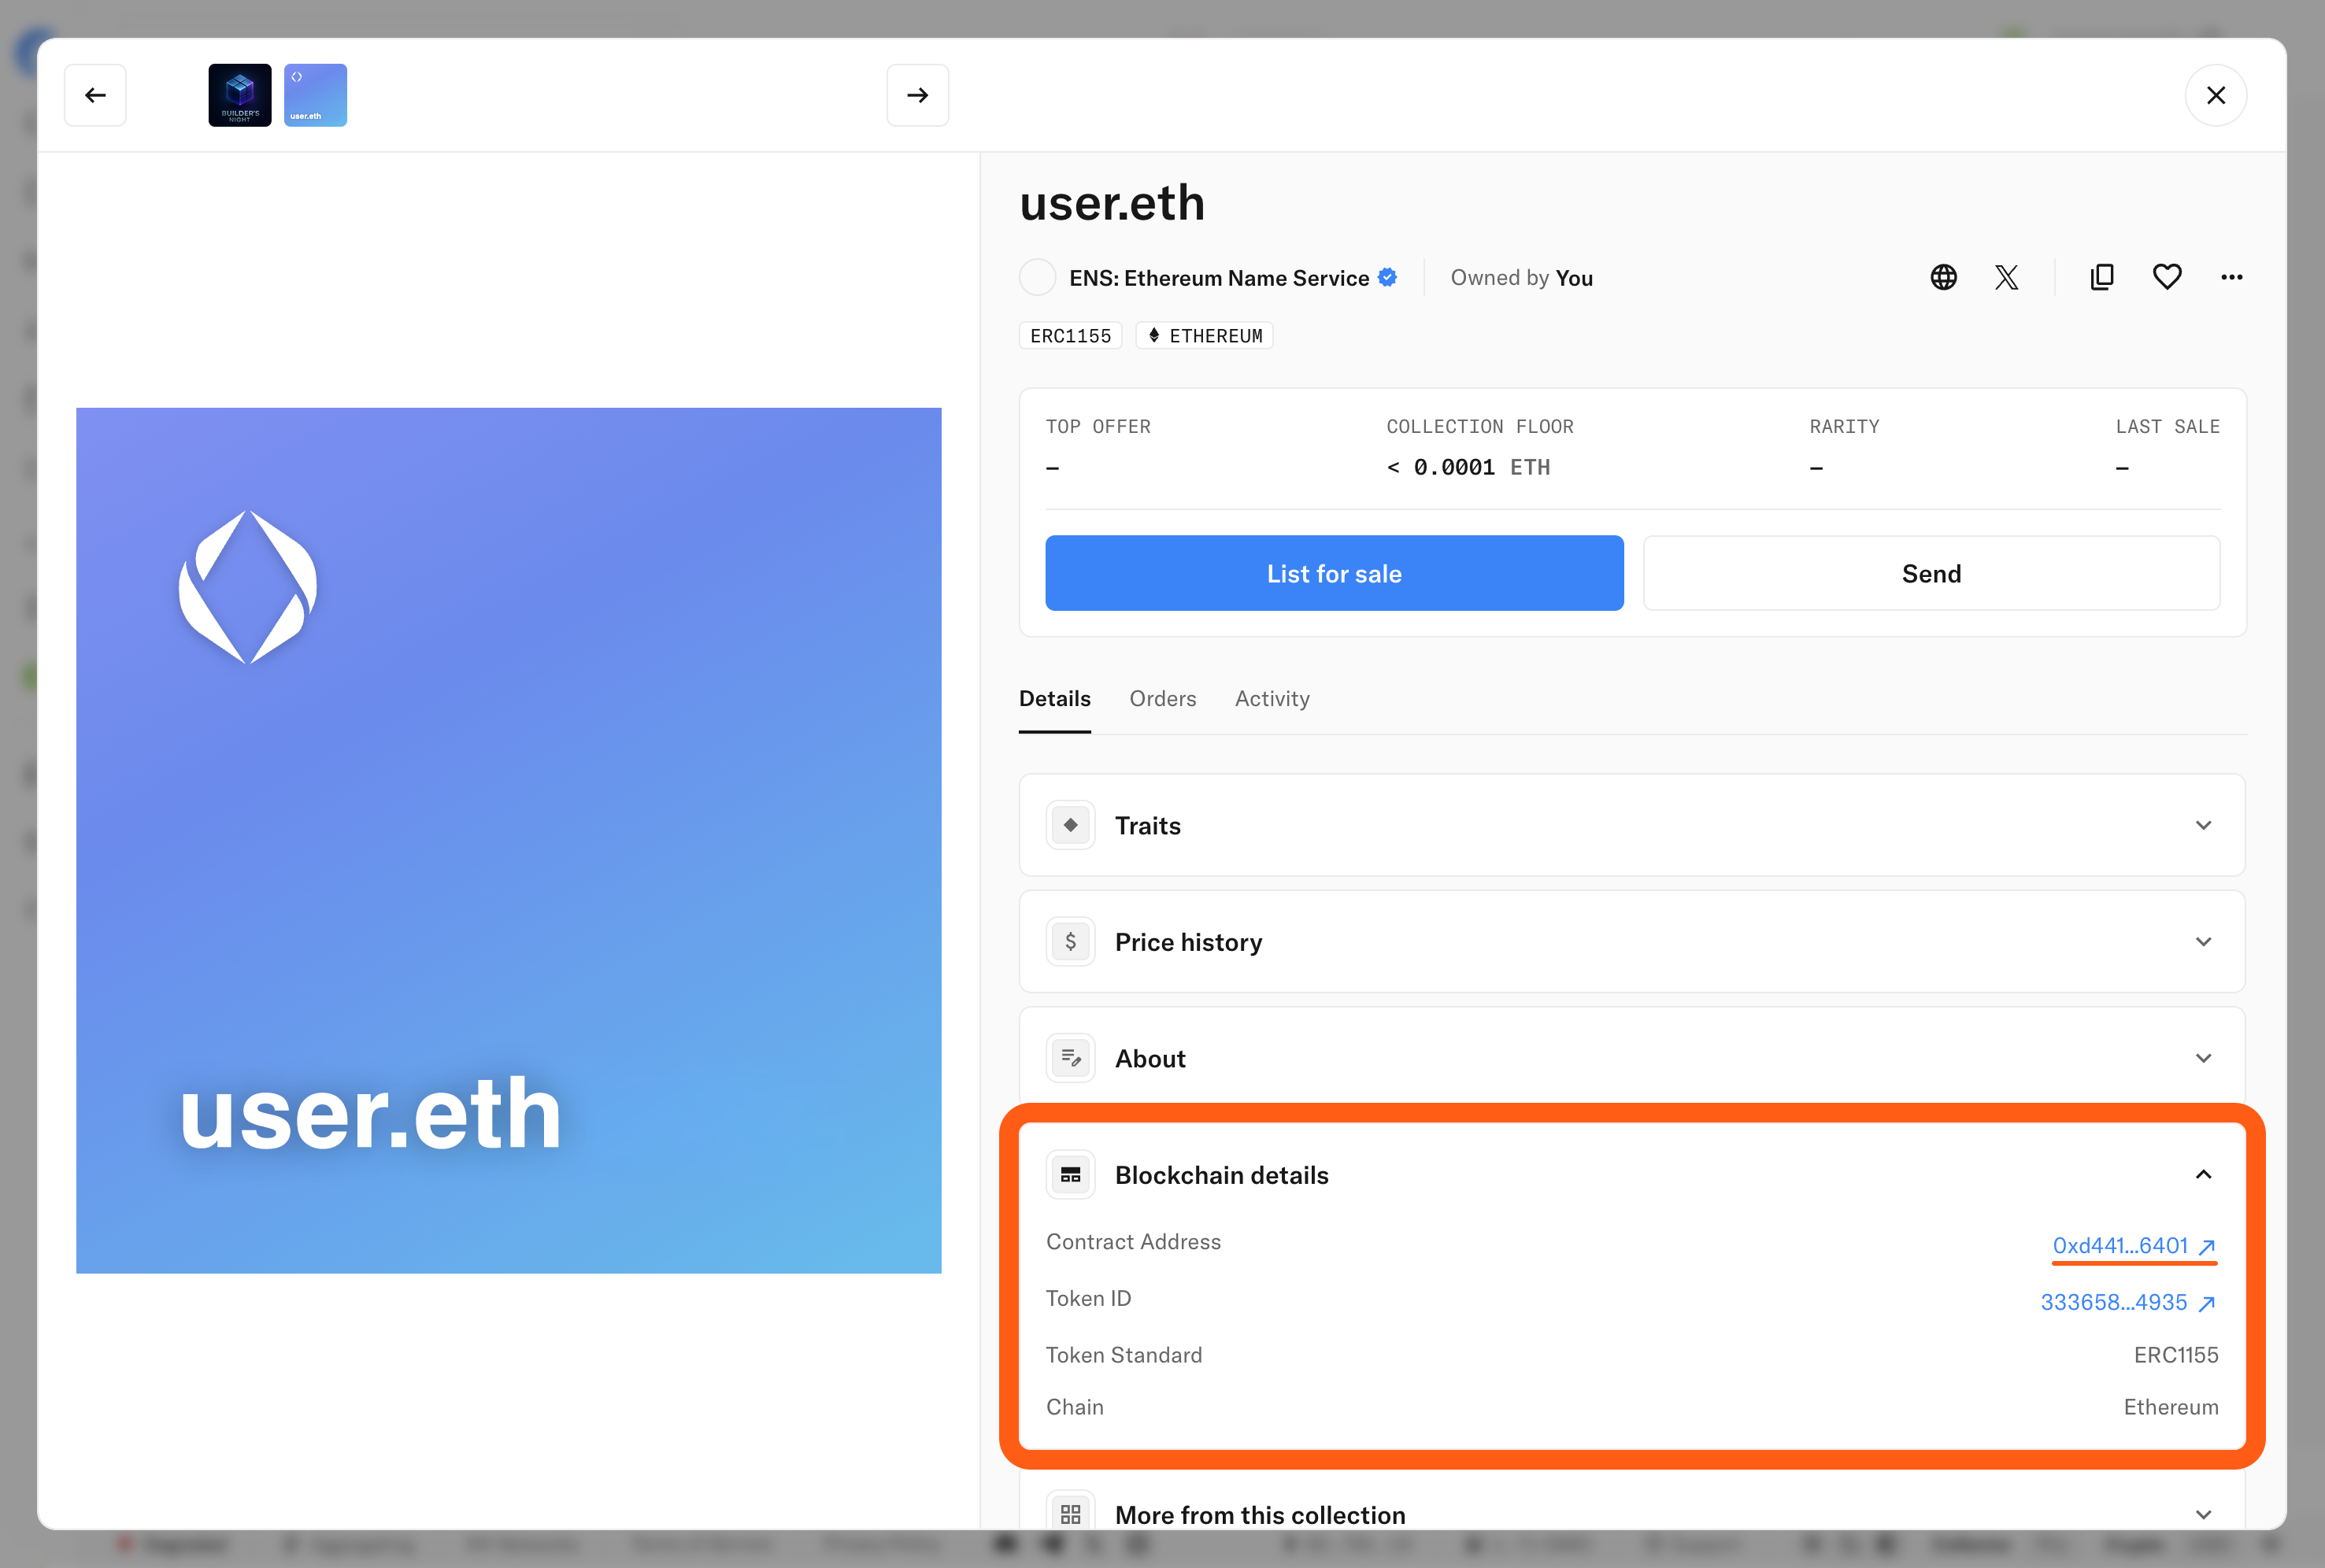
If you click on this, it will take you to the contract's address on Etherscan; at the top-left of that page, there should be an icon labelled 'Contract', and to the right, a long string of letters and numbers. This is the address of the contract that created your NFT. Click on the 'copy' icon to the right of the address, and you'll have it on your clipboard.
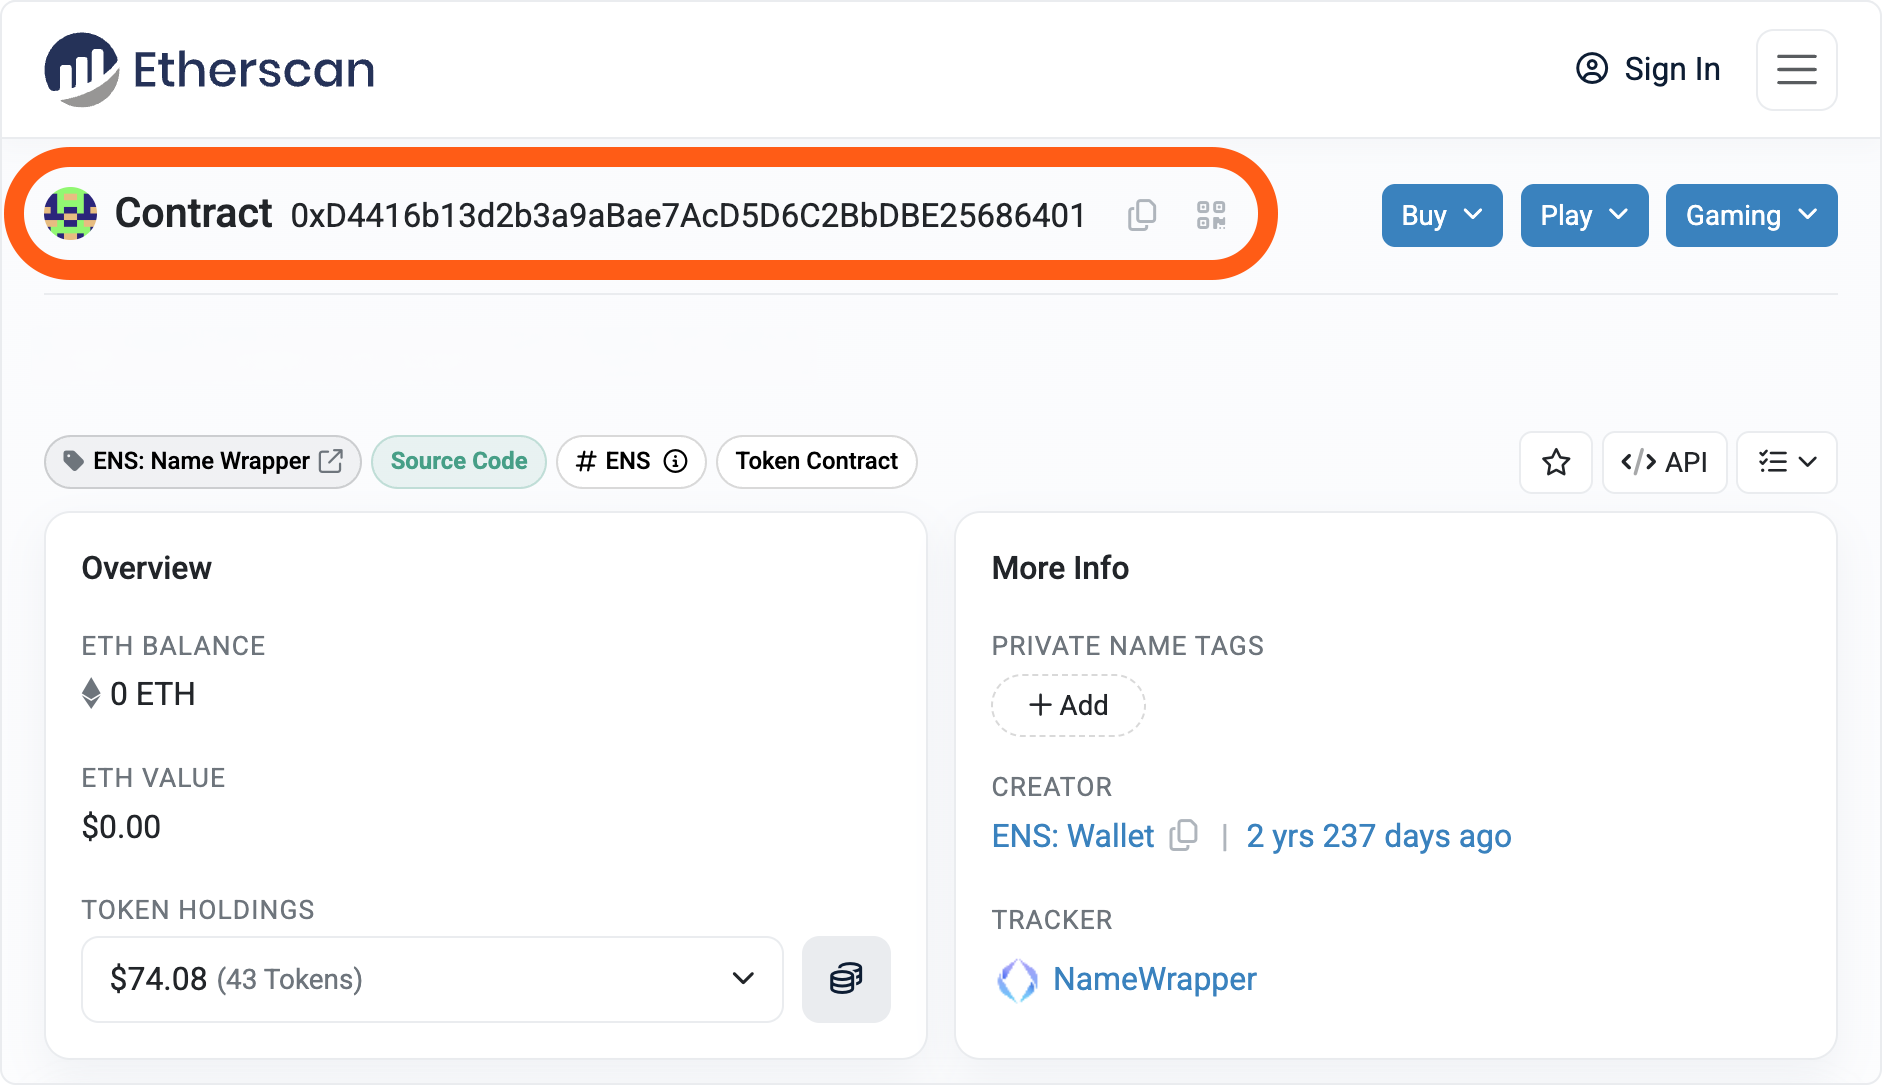
2. In MetaMask Mobile or Extension, navigate to the 'NFTs' section, and select 'Import NFT'.
3. Select the NFT's network, and paste the address from your clipboard into the 'Address' box.
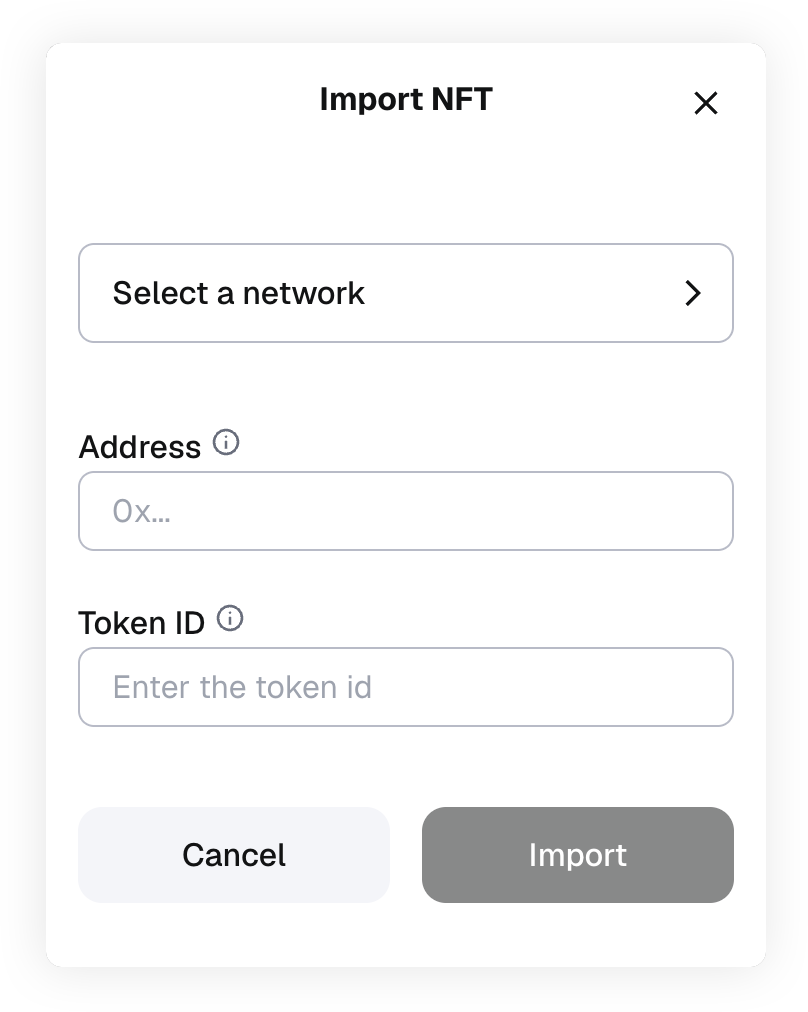
4. **Find the NFT's _Token ID_.** A collectible's ID is a unique identifier since no two NFTs are alike. Again, on OpenSea this number is under 'Blockchain details'. Make a note of it, or copy it onto your clipboard.
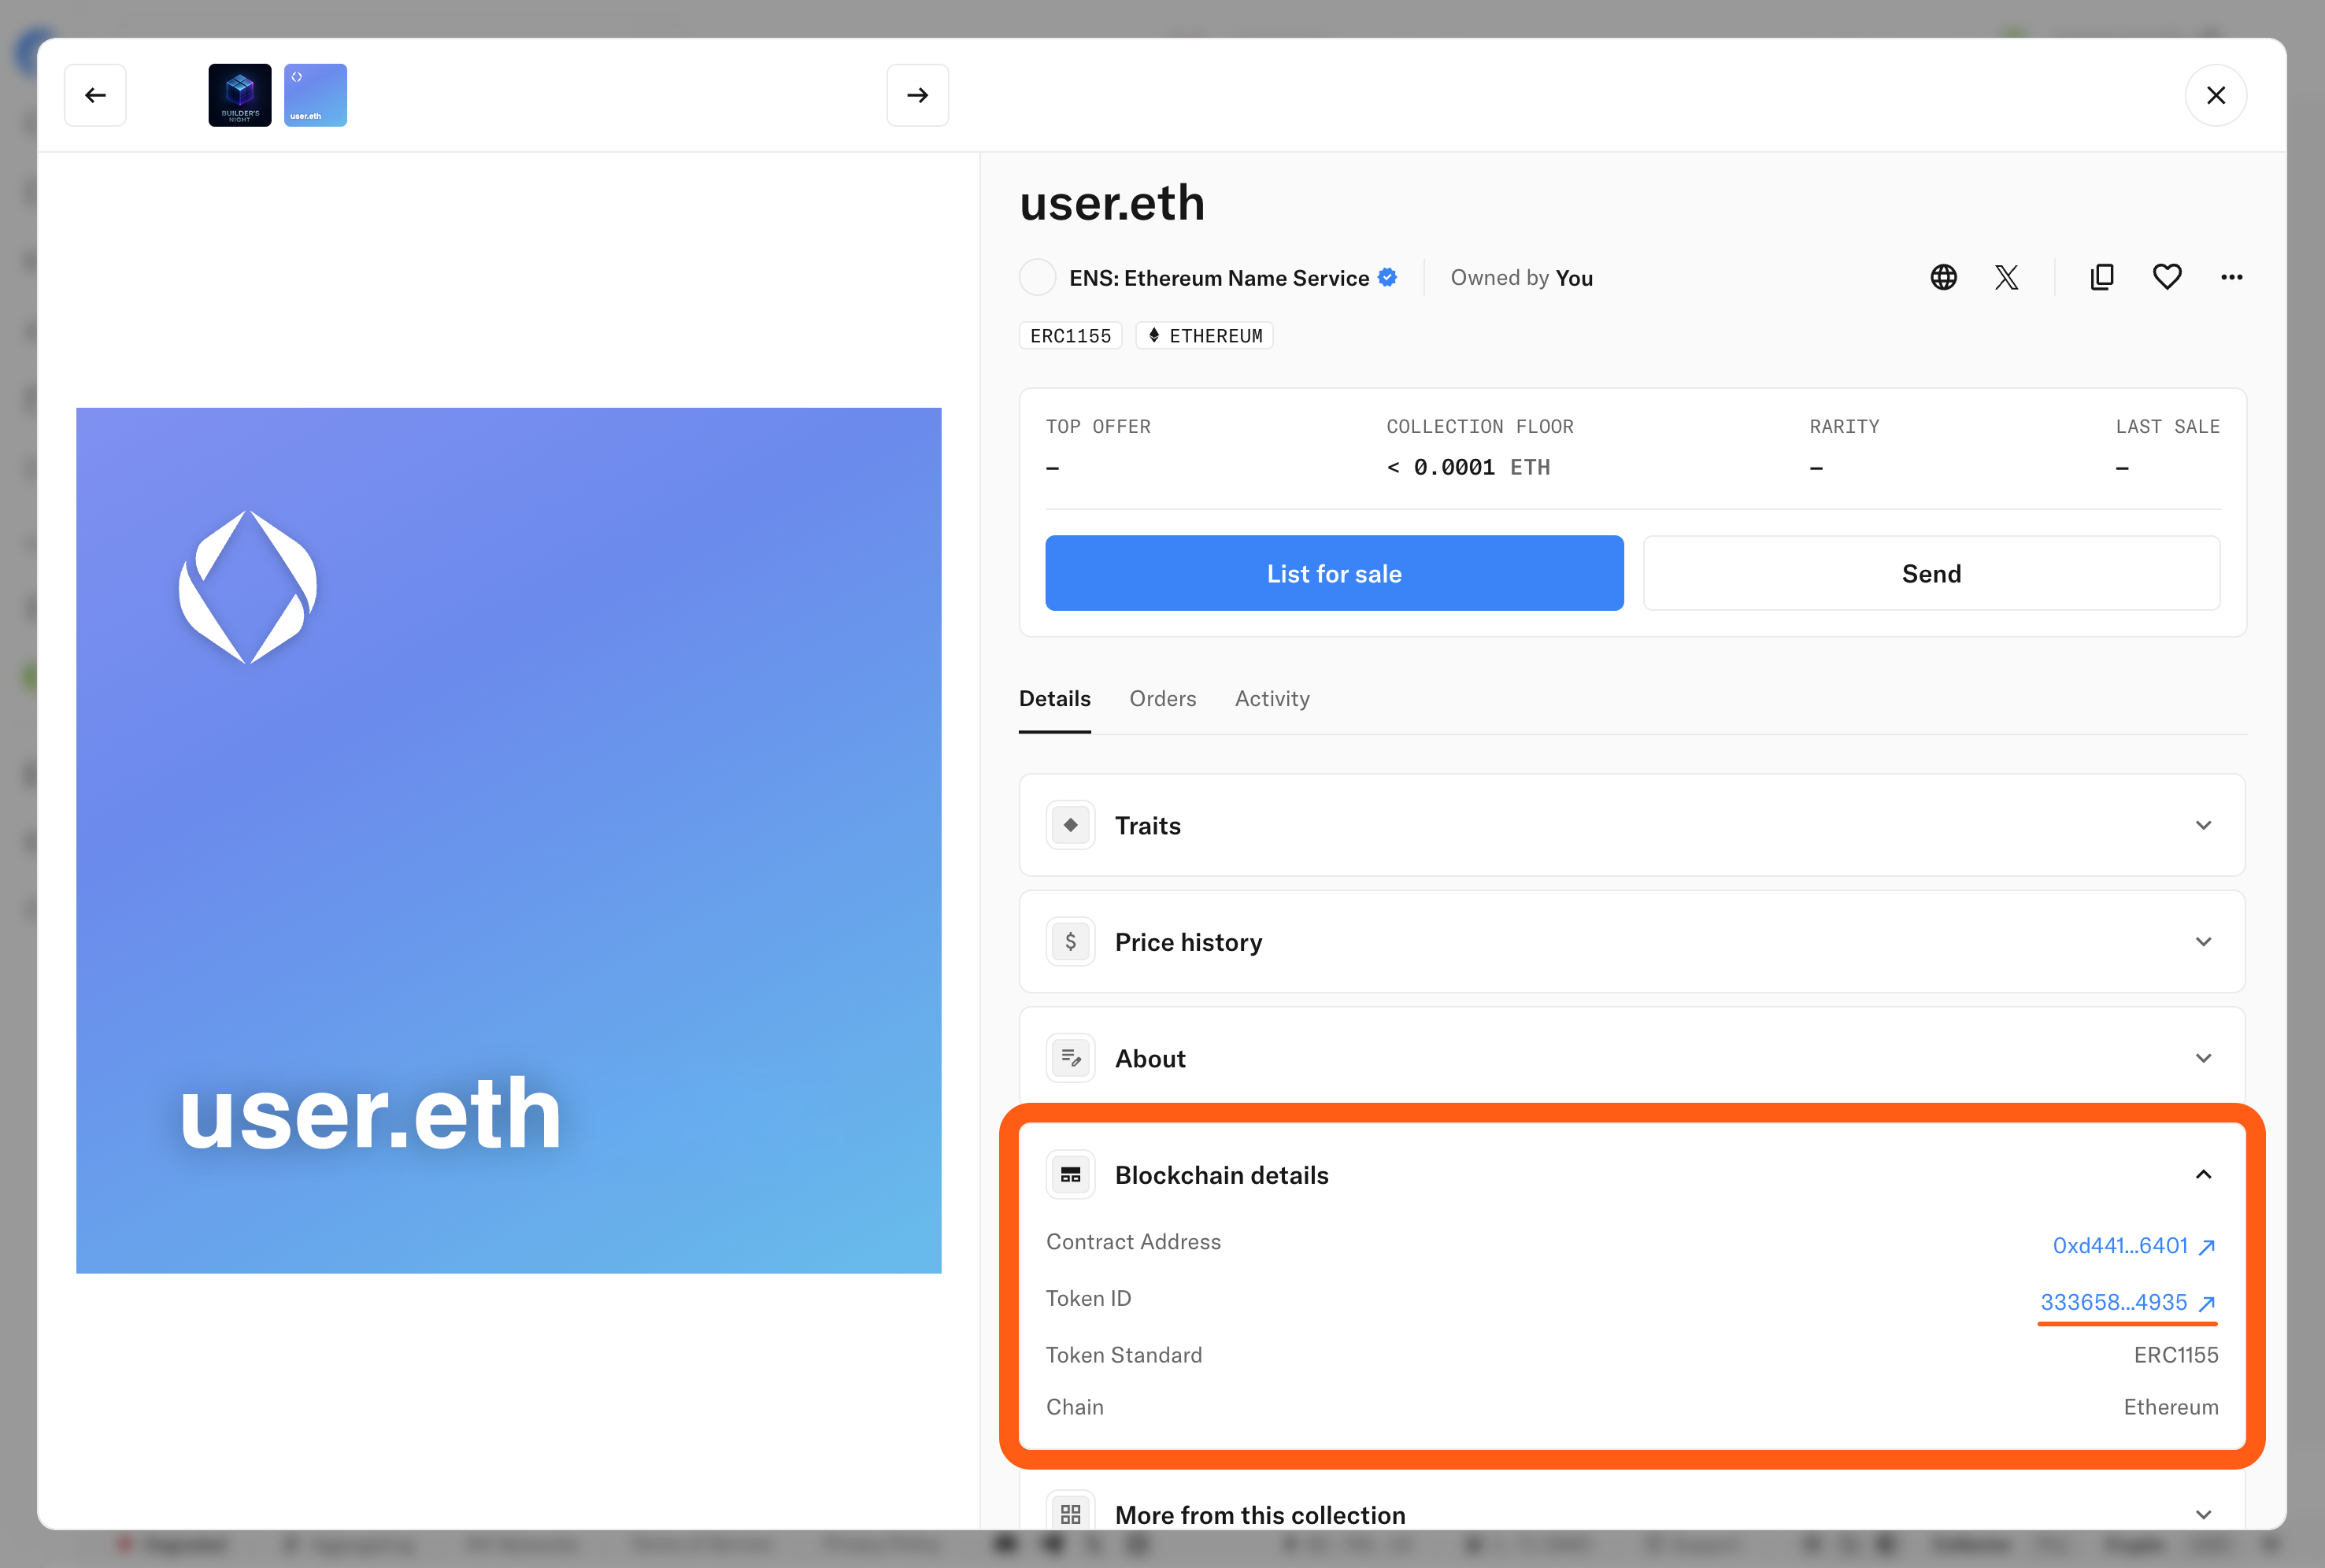
5. Paste the Token ID into the box marked 'Token ID' in MetaMask, tap on the 'Import' button, and your NFT should now appear in the NFT section.
How do I turn on NFT detection?
Navigate to 'Settings' > 'Assets' > 'Autodetect NFTs'.

**Note that 'Display NFT Media' (directly above in the menu) must be turned on as well, otherwise the NFT autodetect switch will be greyed out.**
What NFT types are supported?
You can add both ERC-721 and ERC-1155 NFTs to MetaMask on any network.
At the moment, sending NFTs is only supported for ERC-721 tokens.
"You are not the owner of this NFT" error
If you receive a message telling you that you are not the owner of the NFT, please be sure that you are trying to add the token to the right account. Also, please verify on the network's block explorer that you own the NFT at your account address. See our [guide](/more-web3/learn/how-to-check-my-wallet-activity-on-the-blockchain-explorer) if you're unsure how to check your account on a block explorer.
How do I verify that I actually have the NFT?
[Search for your MetaMask account address on the block explorer](/more-web3/learn/how-to-check-my-wallet-activity-on-the-blockchain-explorer) and review your transactions to see if the transfer of the NFT to your account has been successful. Alternatively, search for the NFT's contract address and check that its location matches your account's address, and that the transaction is complete.
You can see all of the transactions performed with your NFTs by clicking "ERC-1155/ERC-721 Token Txns" tab on the block explorer. If you do not see the NFT here, contact the sender.
"Personal address detected. Input the collectible contract address."
This error appears if you have pasted in an account that doesn't have the format of an NFT smart contract. Follow the instructions under the _Mobile_ tab above to locate the NFT's contract address, and paste this in instead.
---
# Why did my NFT-related transaction fail?
URL: https://support.metamask.io/manage-crypto/nfts/why-did-my-nft-related-transaction-fail/
> NFTs could be subject to the same reasons that regular transactions fail.
NFTs are moved between different addresses in a similar way to other cryptoassets like ERC-20 tokens. This means they could be subject to the same reasons that regular transactions fail. To start with, see our article [here](/manage-crypto/tokens/user-guide-transactions-and-failed-transactions) for more information on failed transactions generally.
Although you'll be able to see a transaction's 'Failed' status in MetaMask, you can get more detail about the specific reason by heading to [Etherscan](https://etherscan.io/) (or the block explorer for the network you're using).
There are several error messages you could see on your transaction on the block explorer:
- **Reverted**: This error is thrown when transactions are not completed and the network essentially reverts to a state that reflects how things would be if you hadn't ever submitted it. This is relatively common on NFT marketplaces — such as OpenSea — as it occurs if someone completes an NFT purchase ahead of you. If this happens, check on the marketplace (or look up the NFT on a block explorer using its address) to see if it has already been transferred to a different account address.
- **Out of gas**: This means your transaction's gas limit was exceeded before the transaction could be completed. A regular transaction needs a minimum of 21,000 gas units; NFT-related transactions such as purchases can be more complex, and require higher gas limits. If you receive this error, you need to try the transaction again but adjust your gas limit in MetaMask. See our article on this error message [here](/more-web3/learn/user-guide-gas#out-of-gas-errors).
- **Dropped and replaced**: This message refers to a situation where one transaction is, for various possible reasons, disregarded by the network in favor of another. Transactions can be dropped from the mempool (where they are held before being added to a block) by Ethereum nodes, potentially due to offering lower gas fees than other broadcast transactions or just timing out. See a full explanation in this [Etherscan article](https://info.etherscan.com/transaction-dropped-replaced/). It can also occur if you deliberately attempt to replace a transaction, such as if it's [stuck or pending](/manage-crypto/transactions/how-to-speed-up-or-cancel-a-pending-transaction).
- **Pending or'stuck'**: When the total gas fee is too low to incentivize validators to pick it up and add it to a block (usually because the priority fee wasn't high enough), you'll get this error message. You can try to 'unstick' your transaction using the methods outlined [here](/manage-crypto/transactions/how-to-speed-up-or-cancel-a-pending-transaction).
---
# How to view CEX accounts in MetaMask Portfolio
URL: https://support.metamask.io/manage-crypto/portfolio/cex-accounts/
> View accounts from centralized exchanges in your portfolio.
Ever used a centralized exchange (CEX) to buy crypto, but had no reason to send it elsewhere?
You can now track assets on your CEX accounts in MetaMask Portfolio, helping you track your web3 holdings in a single location.
Currently supported CEXs include:
- Binance
- Coinbase
:::info[Transfer funds]
This guide details how to monitor the funds in your CEX account. If you'd like to transact with the funds by staking, swapping, bridging, etc., you'll need to transfer them into your MetaMask account.
You can read more [here](/start/how-to-transfer-assets-from-centralized-exchange).
:::
## How it works {#how-it-works}
Since you need to prove you're the owner of the account—and entitled to view its holdings—adding the CEX account requires signing in via the CEX itself. To access the login page of the CEX seamlessly within MetaMask Portfolio, we've integrated a service called [Mesh](https://meshconnect.com/).
### Adding a CEX account to your dashboard {#adding-a-cex-account-to-your-dashboard}
1. First, connect your MetaMask to MetaMask Portfolio. You won't be able to add CEX accounts unless you have a self-custodial wallet such as MetaMask connected first.
2. Head to 'Overview', and locate the 'Accounts' menu on the left:
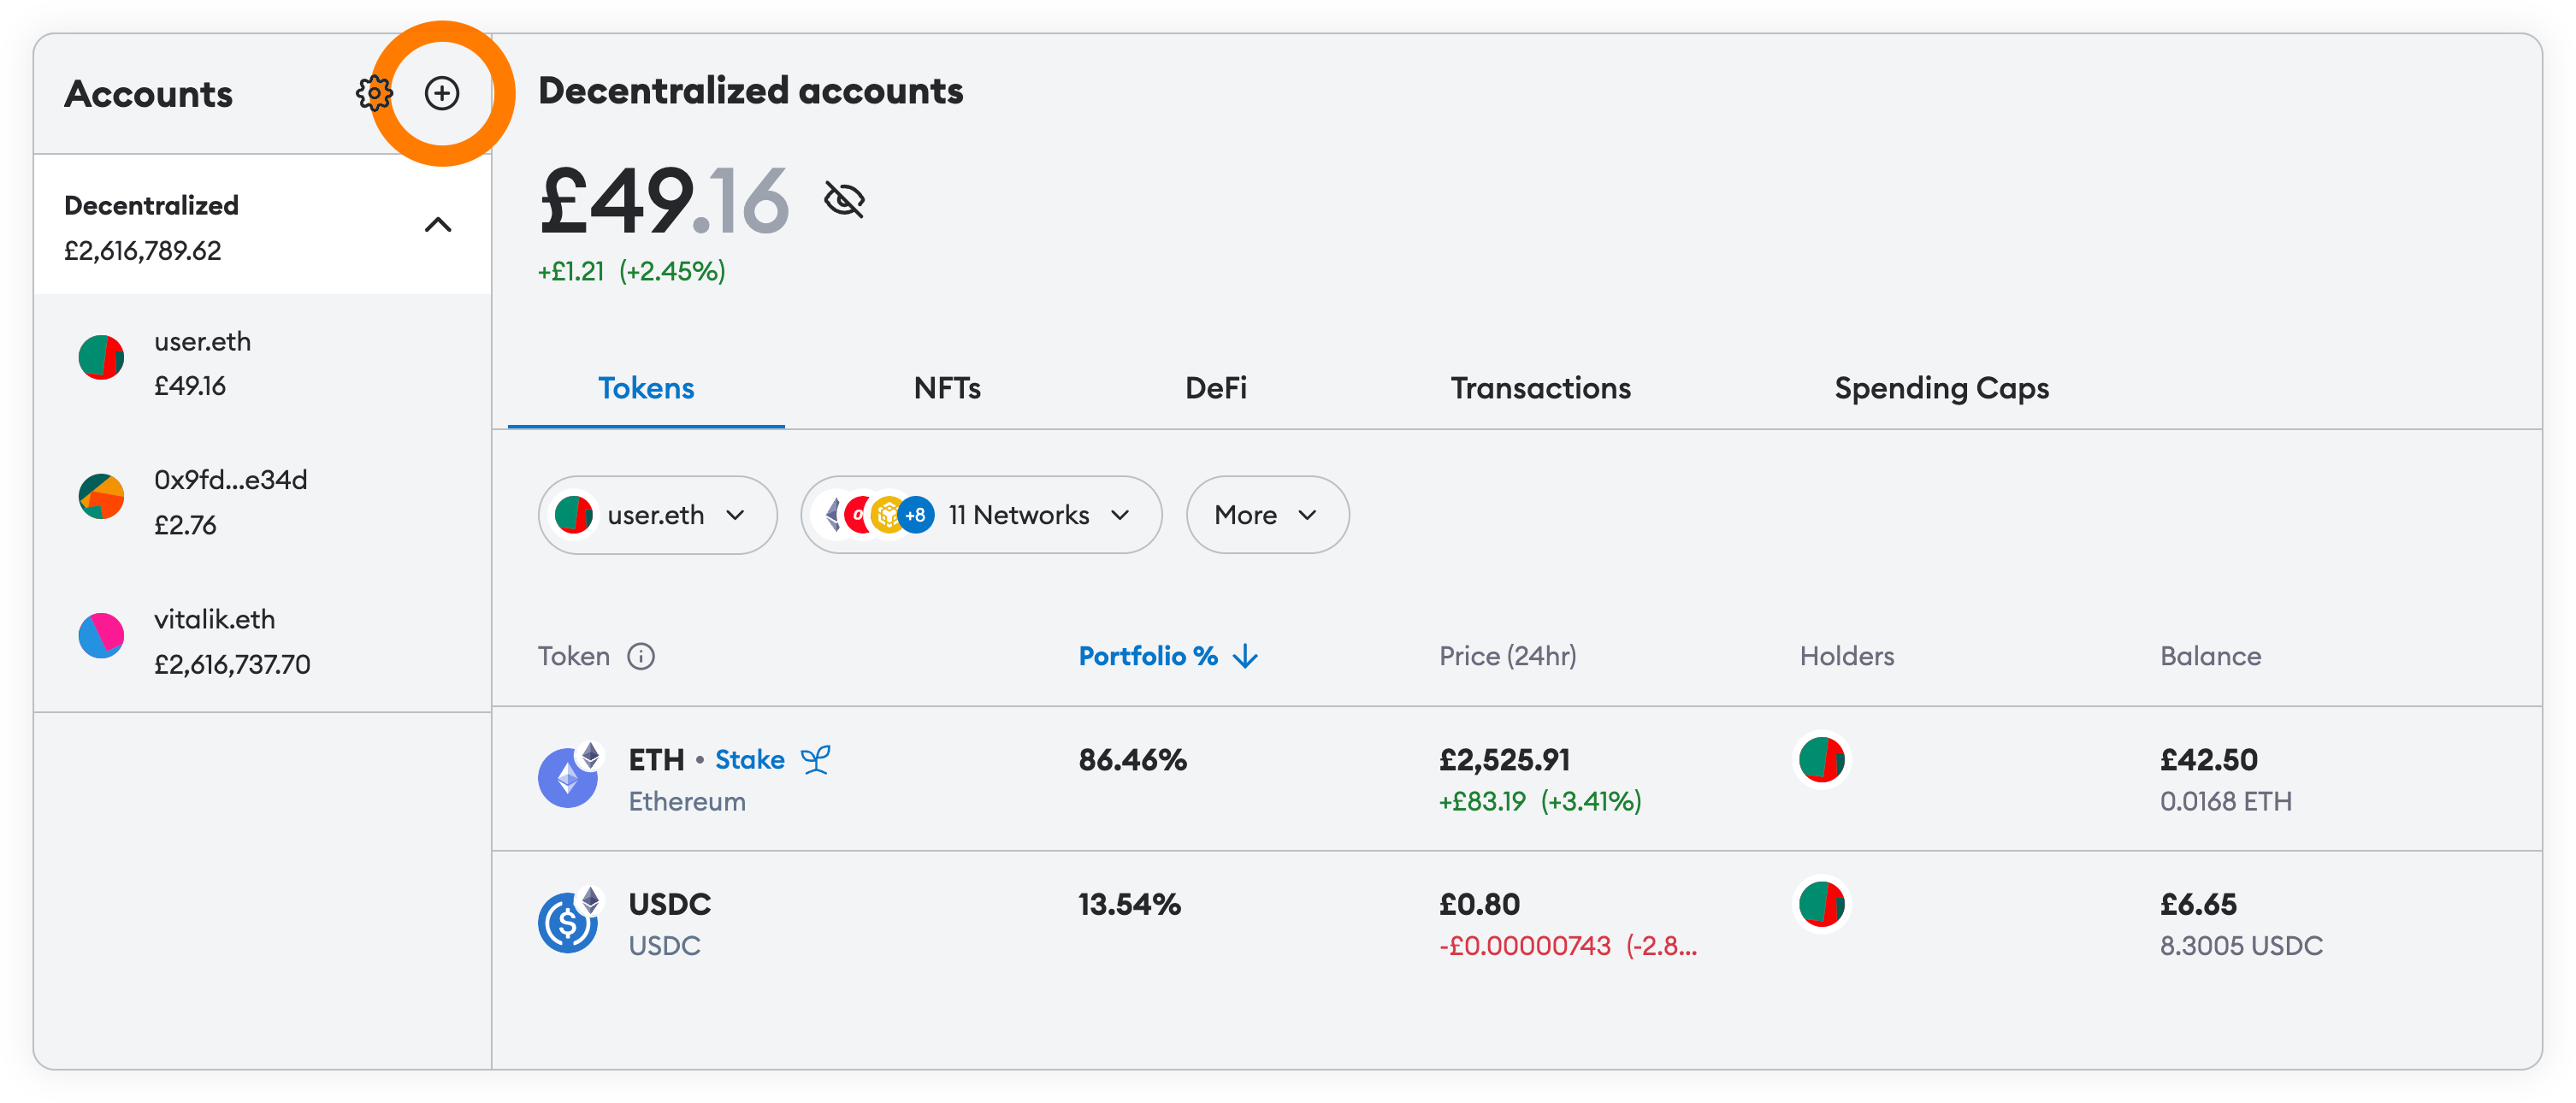
3. Click the plus icon to add an account, and then select the CEX to which you want to connect:
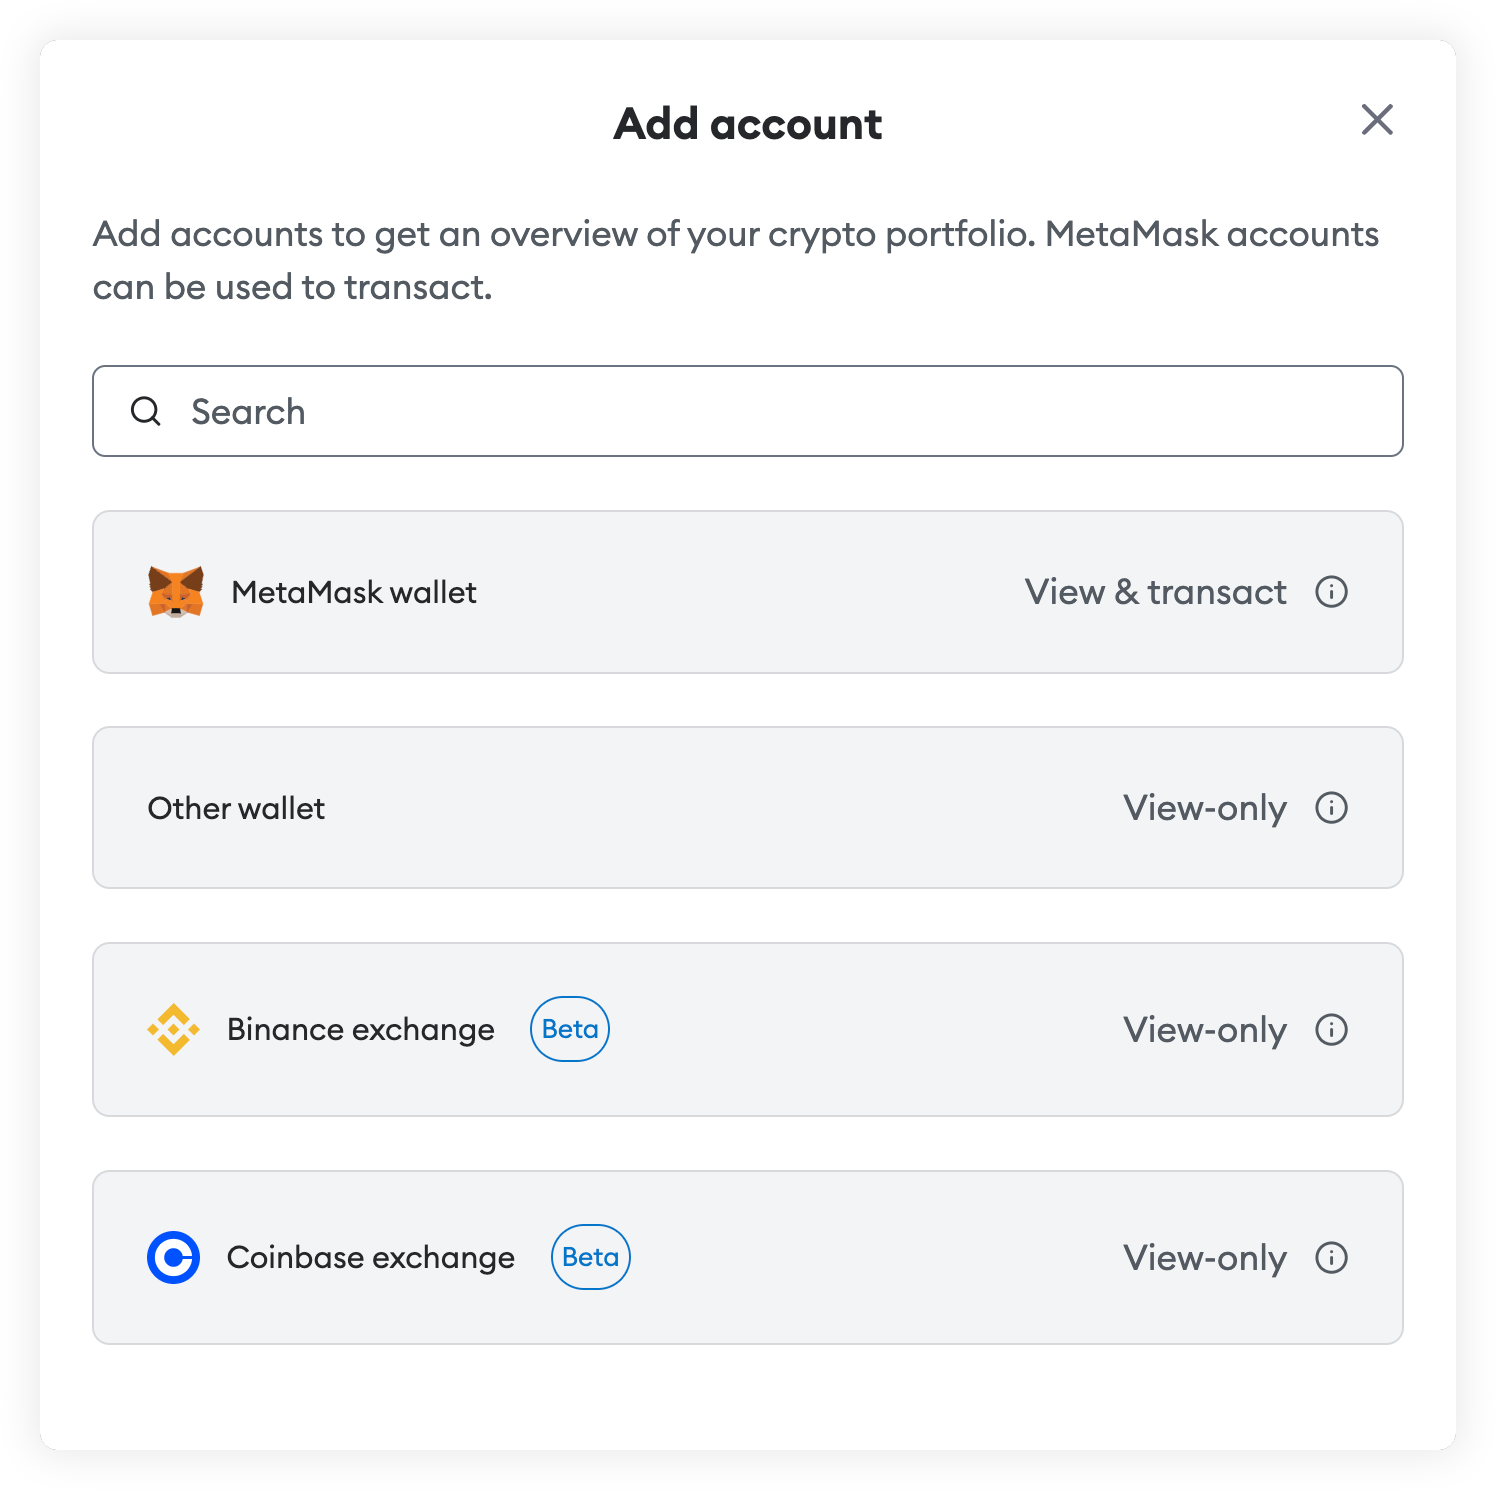
4. You will be redirected to the login flow for the CEX. Note that you will probably need to complete some multi-factor authentication here to proceed (if you don't, we recommend you set it up soon!).
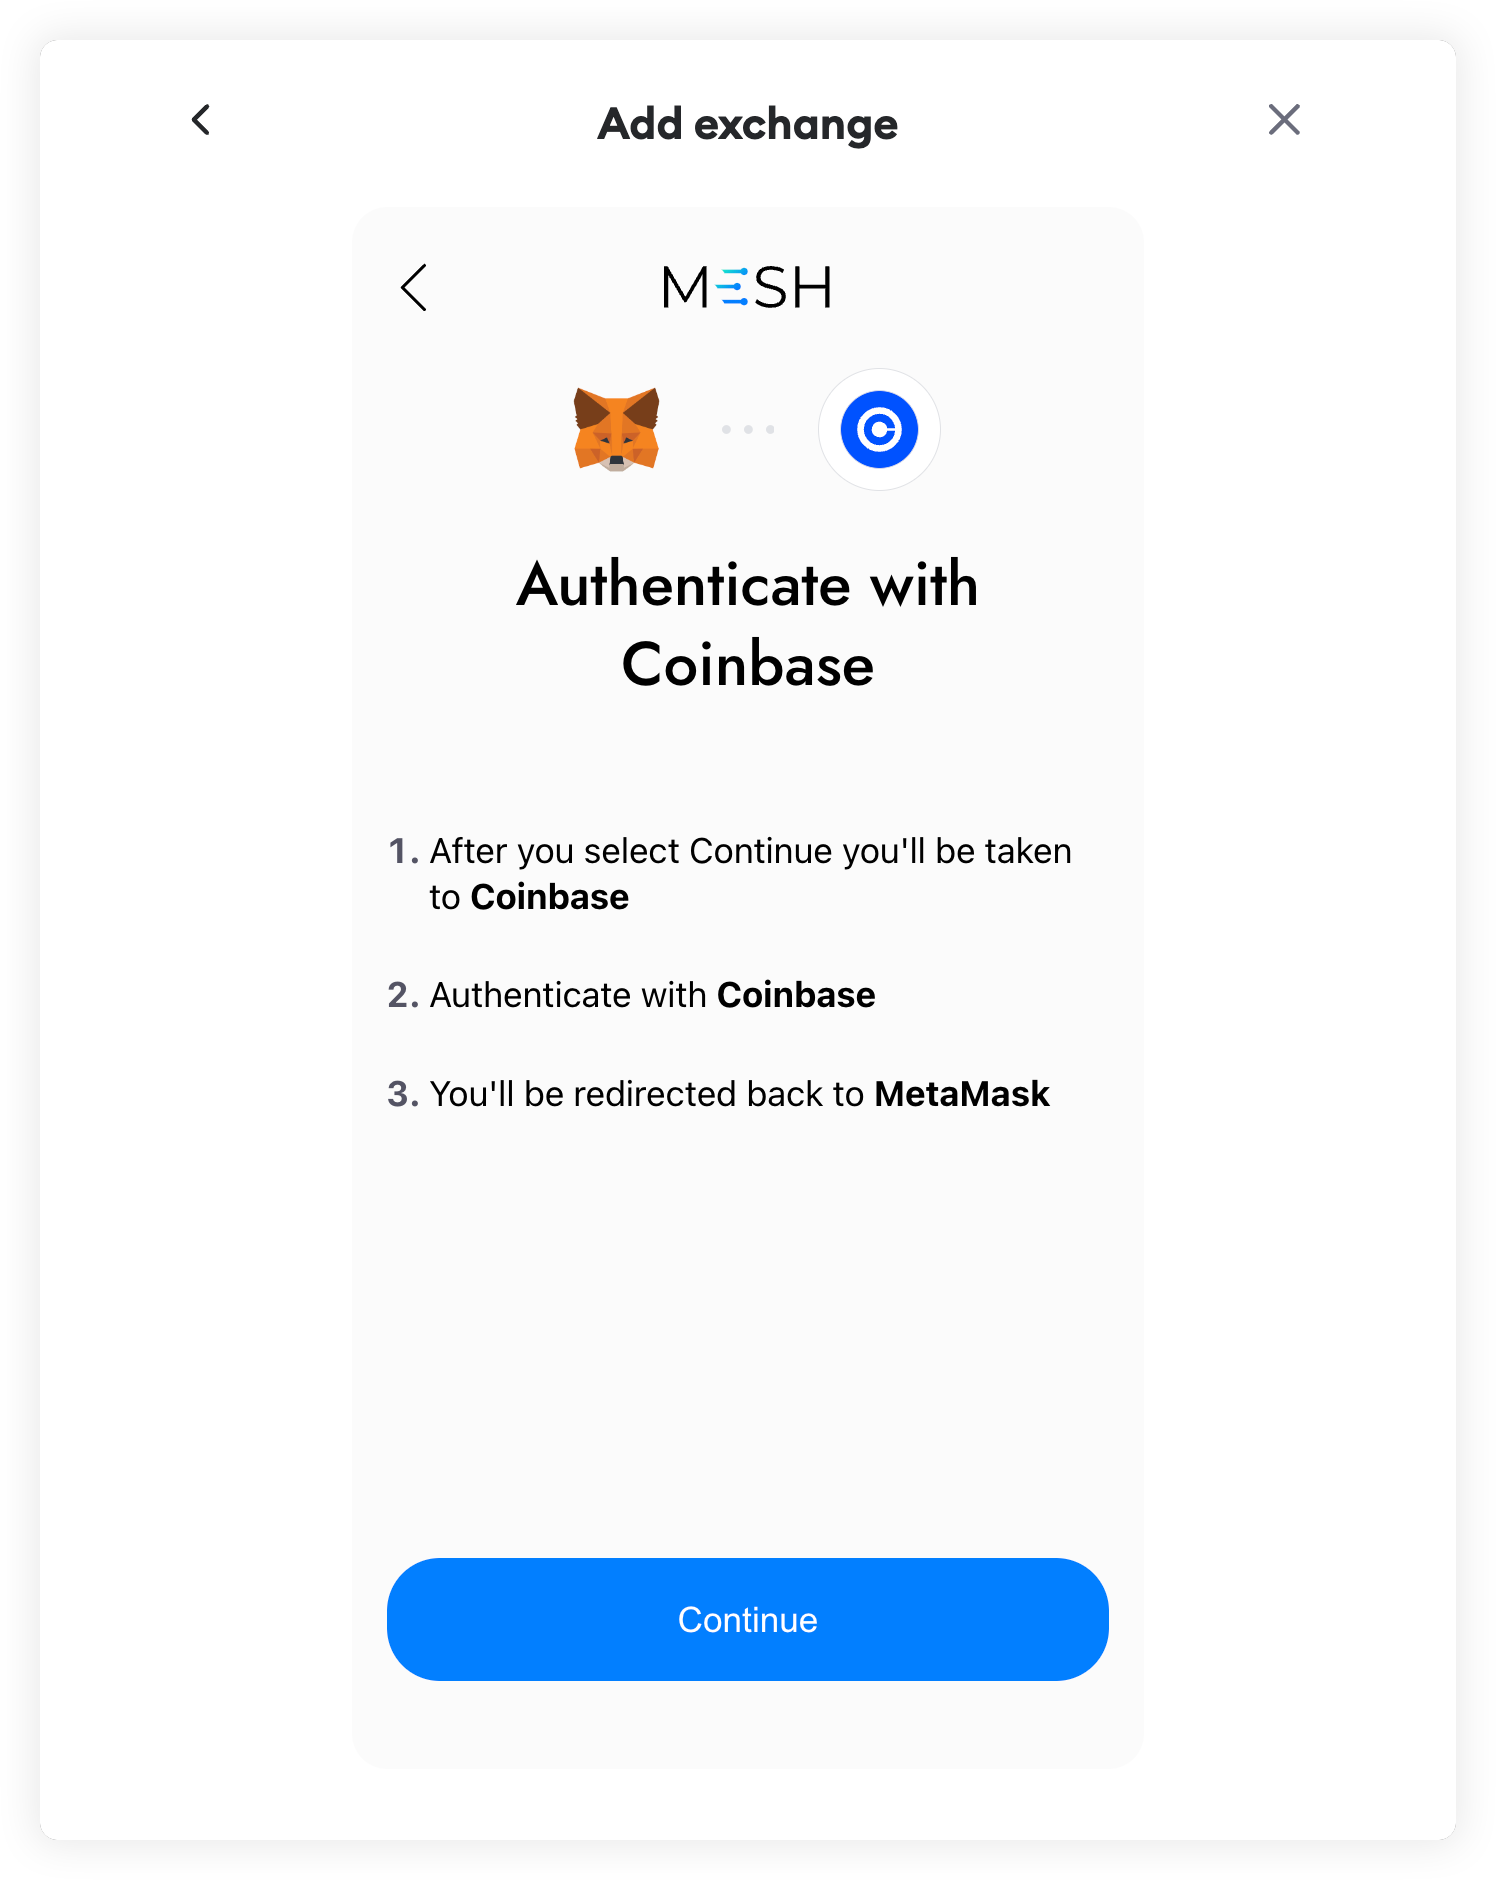
5. If your login is successful, your CEX will be displayed. Optionally choose a nickname, and then click 'Done' to head back to your dashboard.
To see your CEX assets, adjust the accounts menu to 'Centralized'; if your accounts' menu is in the collapsed view, this section is represented by the bank icon.
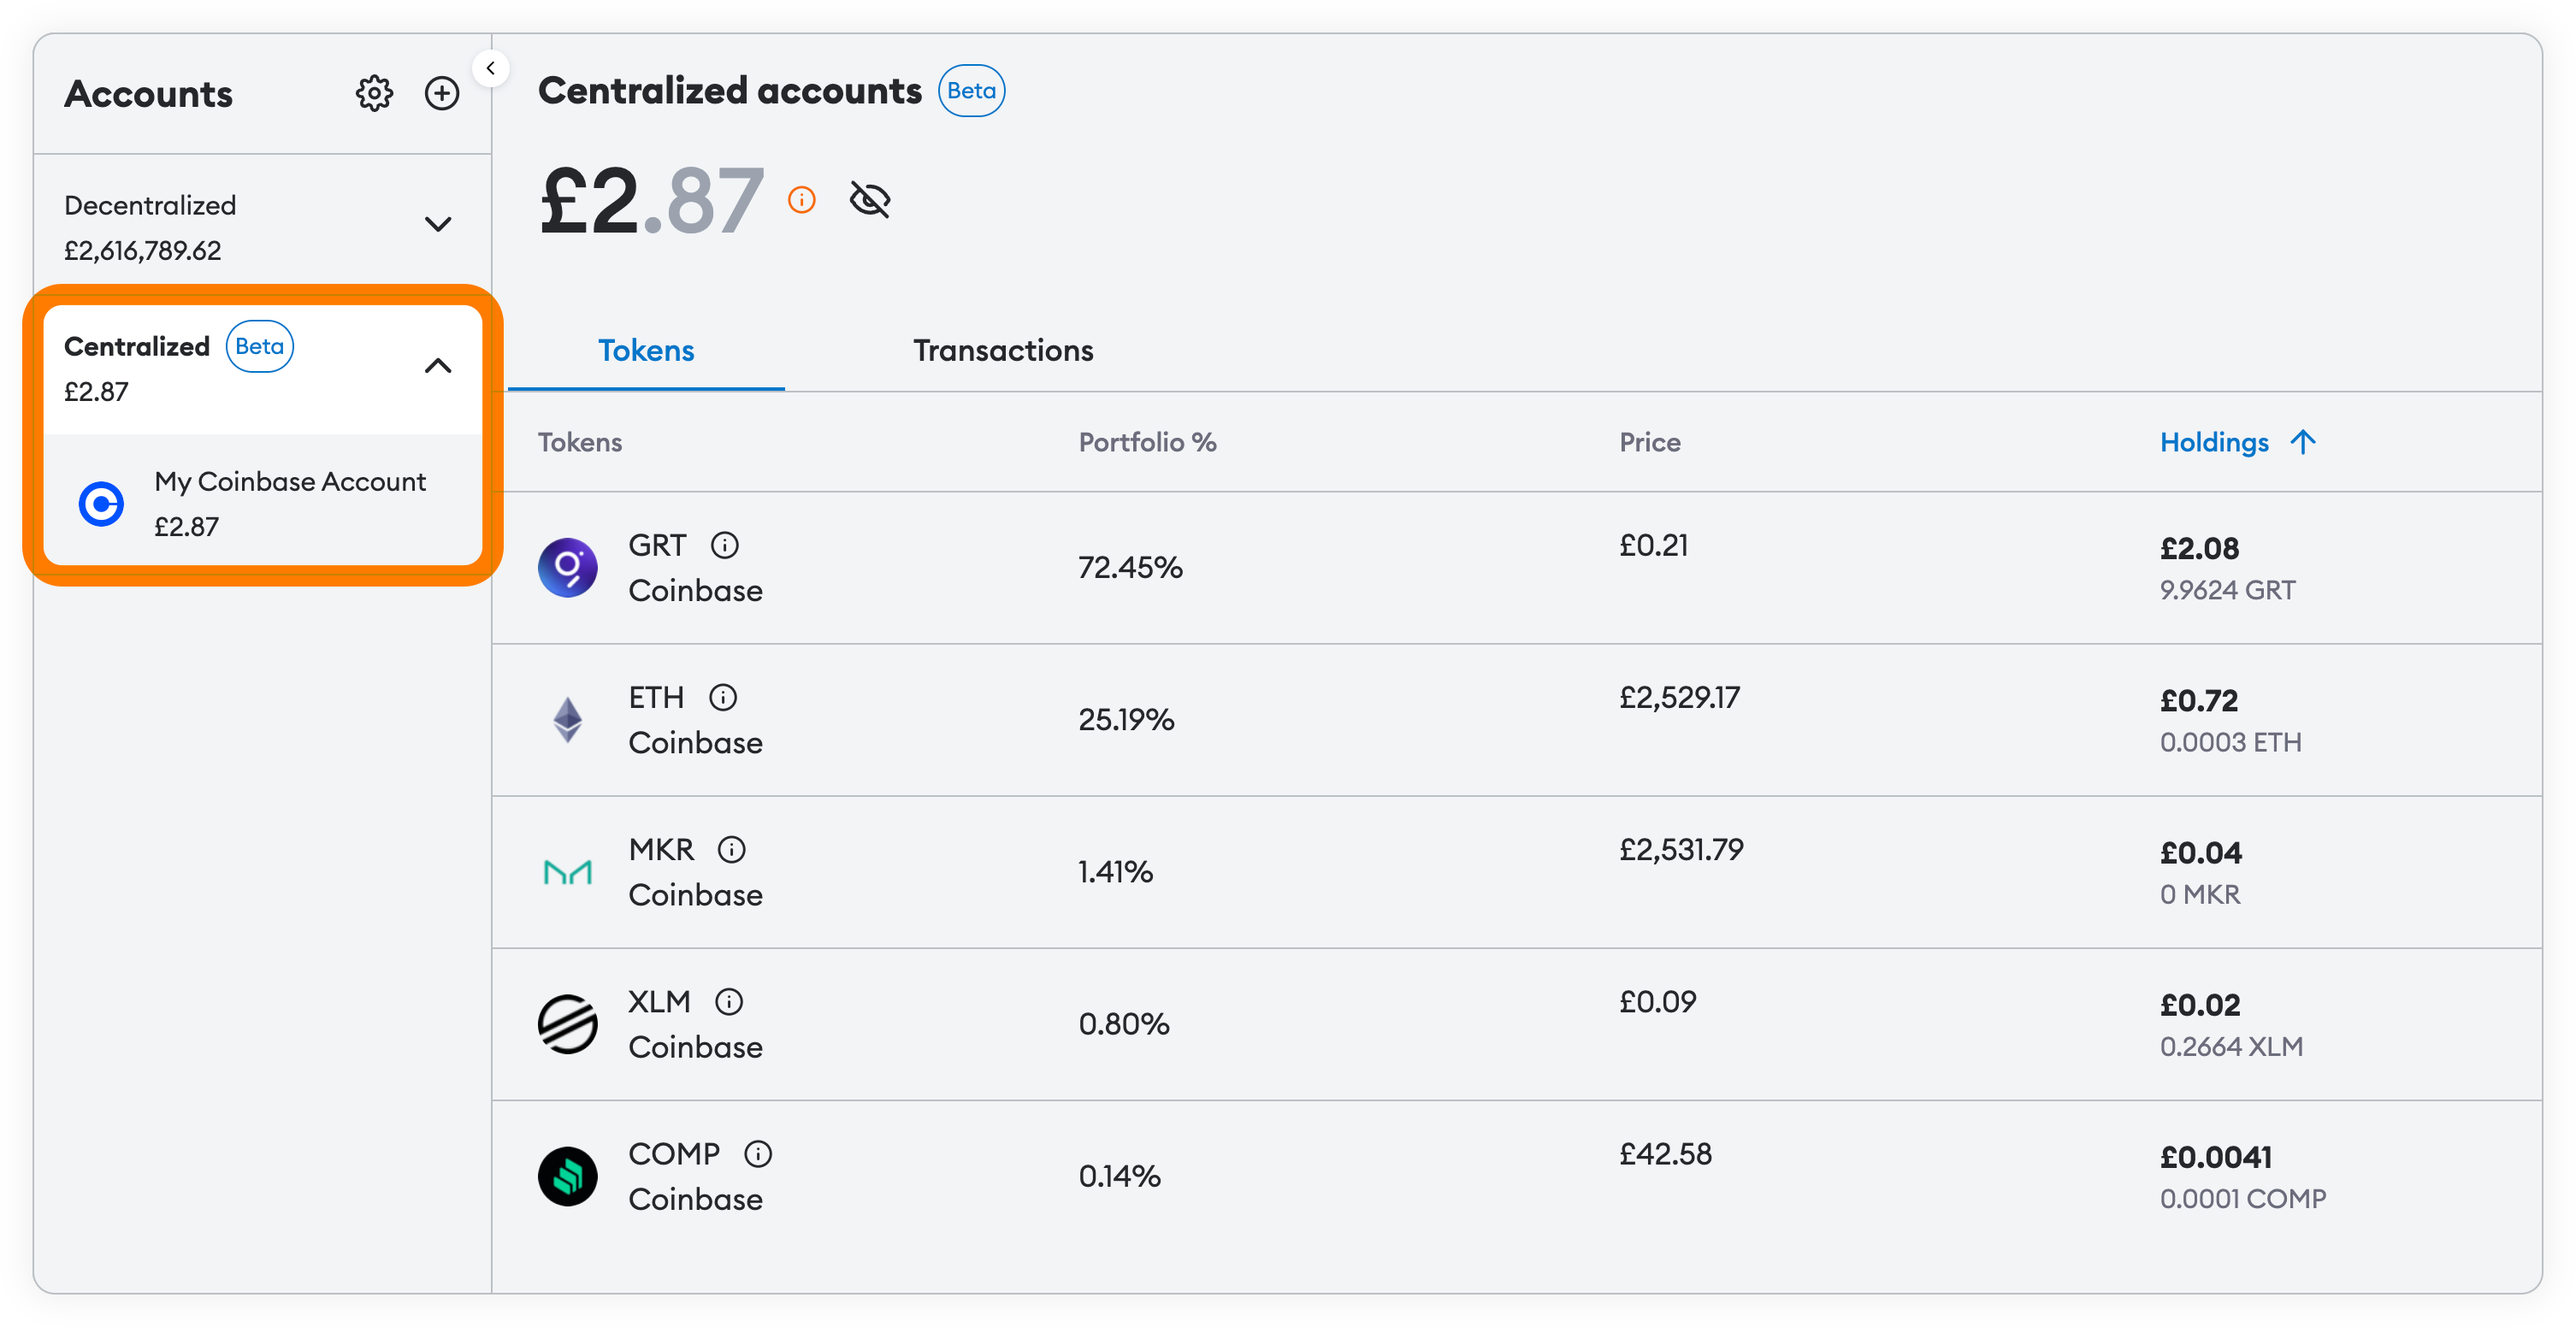
If you think there are any issues with your tokens on CEXs not being retrieved or displaying incorrectly, please let us know by [getting in touch with Support](/start/how-to-contact-metamask-support).
### What can I do with my CEX accounts? {#what-can-i-do-with-my-cex-accounts}
To transact with the tokens in your CEX account, you'll need to transfer them into your MetaMask accounts. You can transfer directly from Portfolio; see our guide [here](/start/how-to-transfer-assets-from-centralized-exchange).
---
# Get started with the MetaMask Portfolio dashboard
URL: https://support.metamask.io/manage-crypto/portfolio/getting-started-with-the-metamask-portfolio-dashboard/
> What is MetaMask Portfolio, and how do I use it?
## What is MetaMask Portfolio? {#what-is-metamask-portfolio}
MetaMask Portfolio is a dapp that lets you view your MetaMask accounts and their assets in one place, and buy and stake your assets.
The hub of MetaMask Portfolio is the dashboard. It aggregates values from up to 10 accounts and shows your total holdings, making it easier to get an at-a-glance summary of their value in your chosen currency.
In MetaMask Portfolio, click 'Overview' to reach your Dashboard. You can also access it here: [portfolio.metamask.io](https://portfolio.metamask.io/). On Extension and Mobile, click 'Portfolio' near your wallet balance toward the top of the screen. It looks like this:
As MetaMask is designed to function as your passport to the multi-chain decentralized web, your dashboard shows assets on multiple Ethereum-compatible networks. Currently, this includes:
- Ethereum Mainnet
- Polygon
- BNB Chain (formerly BSC)
- Fantom
- Arbitrum
- Optimism
- Linea
- Polygon zkEVM
- Celo
- Cronos
- Moonbeam
- Moonriver
- Aurora
We regularly add support for different networks to your Dashboard.
## How do I get set up? {#how-do-i-get-set-up}
1. The first thing you'll need to do is connect your MetaMask. This is as simple as hitting the prompt in the center of the screen; if you want more information, see our [guide](/manage-crypto/portfolio/how-to-connect-your-accounts-to-metamask-portfolio/).
2. Once connected, you can start exploring your portfolio:
- Learn how to switch networks
- Explore details about the assets your hold
- View your NFTs
- Find and [watch additional tokens](/manage-crypto/tokens/how-to-watch-a-token-in-metamask-portfolio/)
- [Add any additional MetaMask accounts](/manage-crypto/portfolio/how-to-watch-an-account-in-metamask-portfolio) you have.
## FAQs {#faqs}
Can I add accounts from wallets other than MetaMask?
At the moment, no. The dapp will only accommodate accounts created in MetaMask, although adding accounts that don't originate from MetaMask is part of our roadmap.
However, you can get around this by [watching the account](/manage-crypto/portfolio/how-to-watch-an-account-in-metamask-portfolio). This enables you to view any Ethereum address in your dashboard.
Why can't I see all my accounts?
You can only view assets from up to 10 MetaMask accounts simultaneously. If your wallet contains more accounts than this, you can only select 10 of them.
Can I add accounts derived from multiple Secret Recovery Phrases?
No. You can only use accounts derived from the Secret Recovery Phrase currently loaded into MetaMask.
What networks are supported?
We support **Ethereum Mainnet, Linea, Optimism, BNB Chain, Polygon, Sei, Base, Arbitrum, Cronos, Gnosis, Fantom, Polygon zkEVM, Moonbeam, Moonriver, Aurora, and Celo.** For a full list of supported networks, see [here](https://portfolio.metamask.io/settings/networks).
Will my dashboard show imported wallets and hardware wallets from my MetaMask?
Yes. Any imported accounts and hardware wallet accounts currently present in your instance of MetaMask (i.e. the browser/device you're using) will be displayed, should you wish them to be.
What's the relationship between MetaMask Portfolio and MetaMask?
MetaMask is a web3 wallet that allows you to manage your digital identity and assets, and access decentralized applications (dapps).
MetaMask Portfolio is a dapp (decentralized application) that you sign into using MetaMask, allowing the dapp to access and display your account details and balances.
MetaMask Portfolio is developed by teams closely affiliated with MetaMask, and is directly accessible from your MetaMask.
Can I use MetaMask Portfolio on MetaMask Mobile as well as MetaMask Extension?
Yes! You can use the dapp on both platforms.
---
# How to connect your account(s) to MetaMask Portfolio
URL: https://support.metamask.io/manage-crypto/portfolio/how-to-connect-your-accounts-to-metamask-portfolio/
> Learn how to connect your accounts to MetaMask Portfolio.
:::info
Looking for how to import accounts into MetaMask?
This article is specifically about _connecting_ accounts to MetaMask Portfolio, at [portfolio.metamask.io](https://portfolio.metamask.io/). To learn how to import (add) accounts to MetaMask, see [here](/start/use-an-existing-wallet).
:::
Connecting your accounts is simple, but the exact flow depends on whether it's the first time you've used the platform, or whether you already have an account (or several) connected.
## New users {#new-users}
The first time you access the dapp, you'll see the option to add your MetaMask account(s) in the center of the page. Click 'Connect MetaMask':
Follow the prompts to open MetaMask and confirm which accounts you'd like to connect:
Once you confirm, the dapp will refresh after a brief pause, and you'll see your full crypto portfolio, encompassing the accounts you connected. You can view and manage your connected accounts at any time by heading to the settings menu by clicking the account icon in the top-right corner, and then selecting accounts:
## Returning users {#returning-users}
From 'Overview', find the 'Accounts' menu on the left side of the page. To add another account, click the plus button:
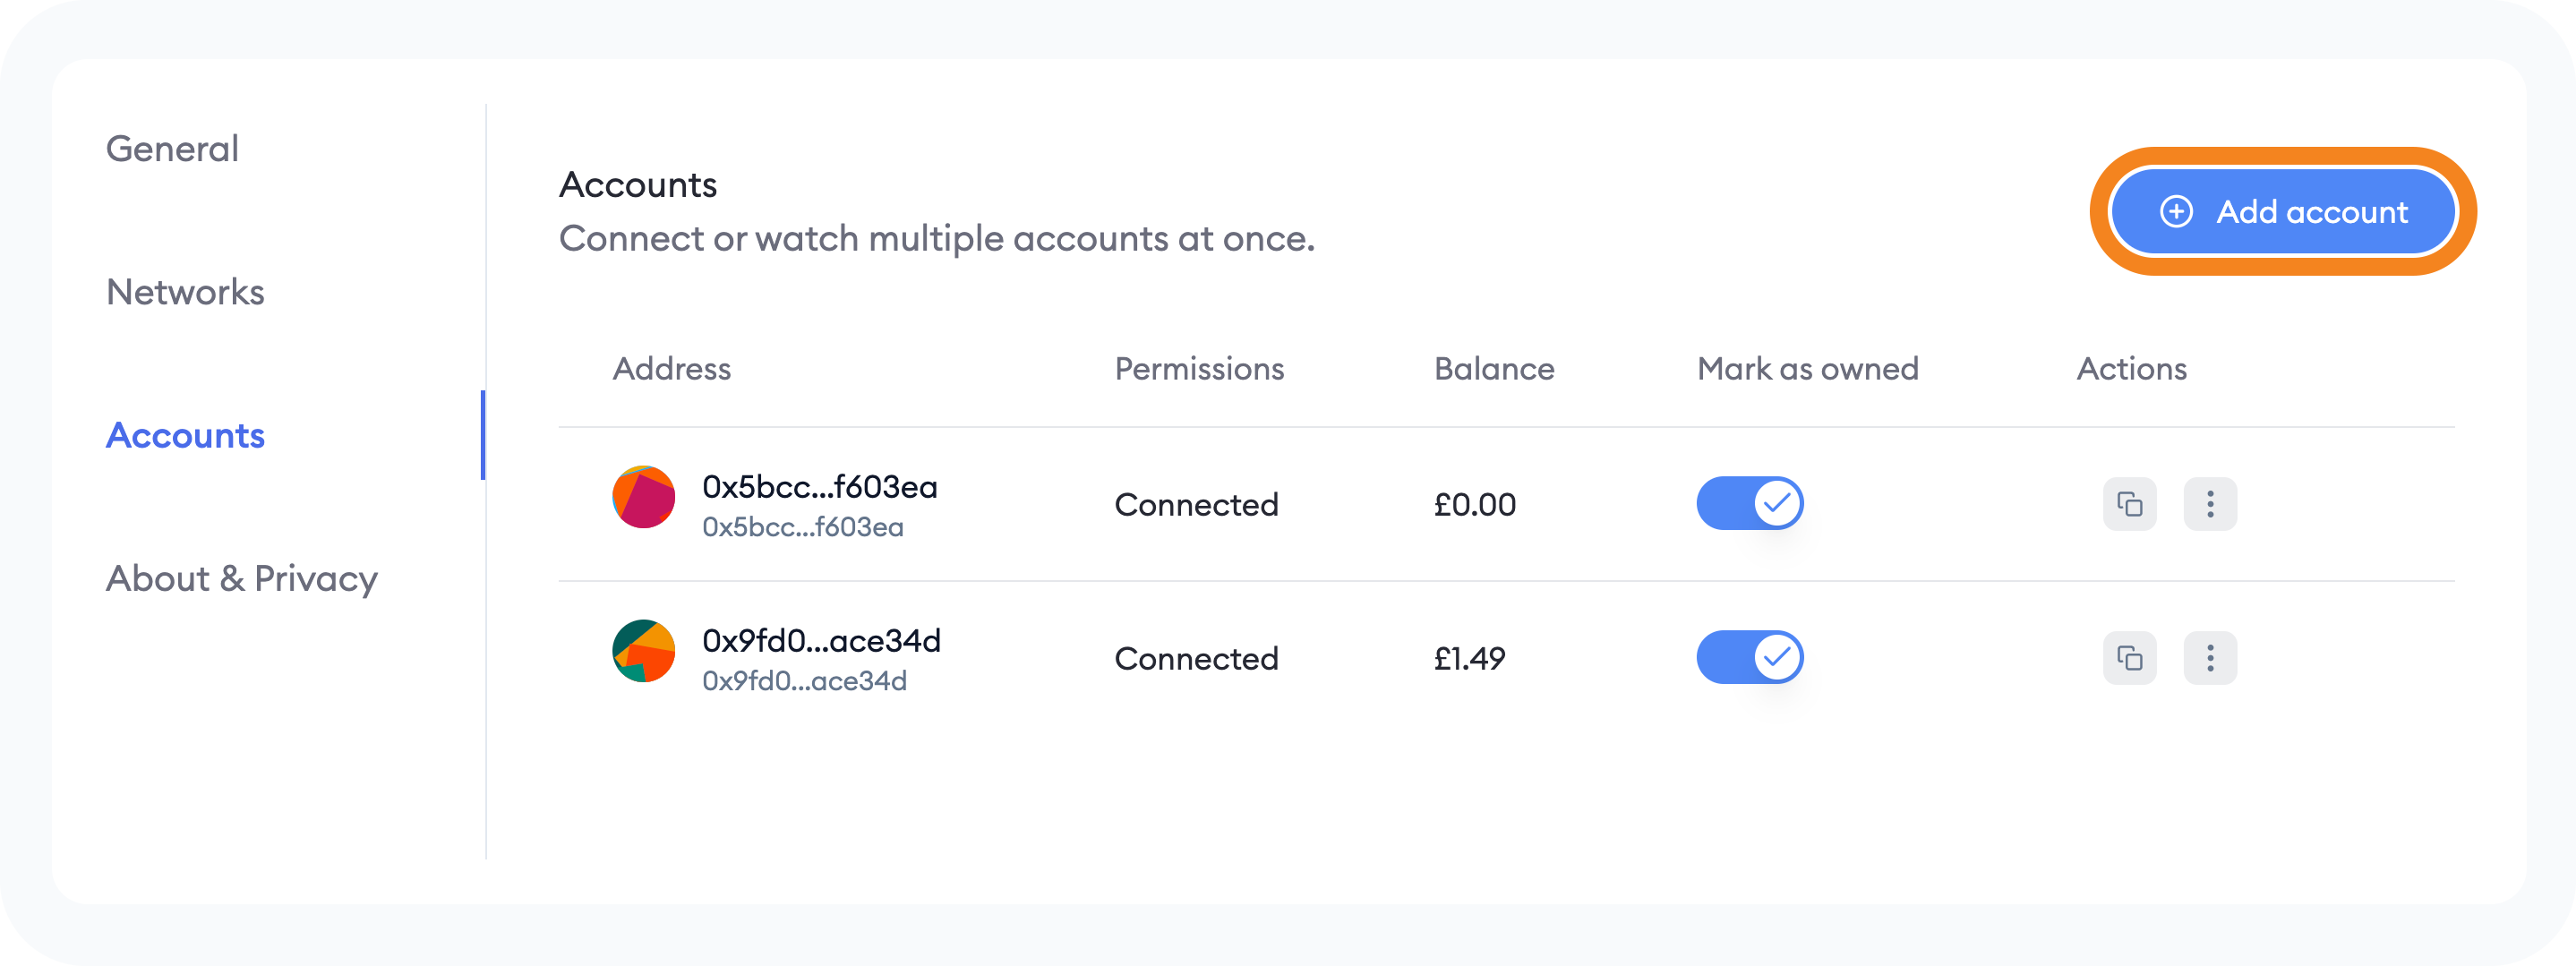
You'll be prompted to connect your MetaMask or simply input the public address or ENS name of a wallet you want to watch:
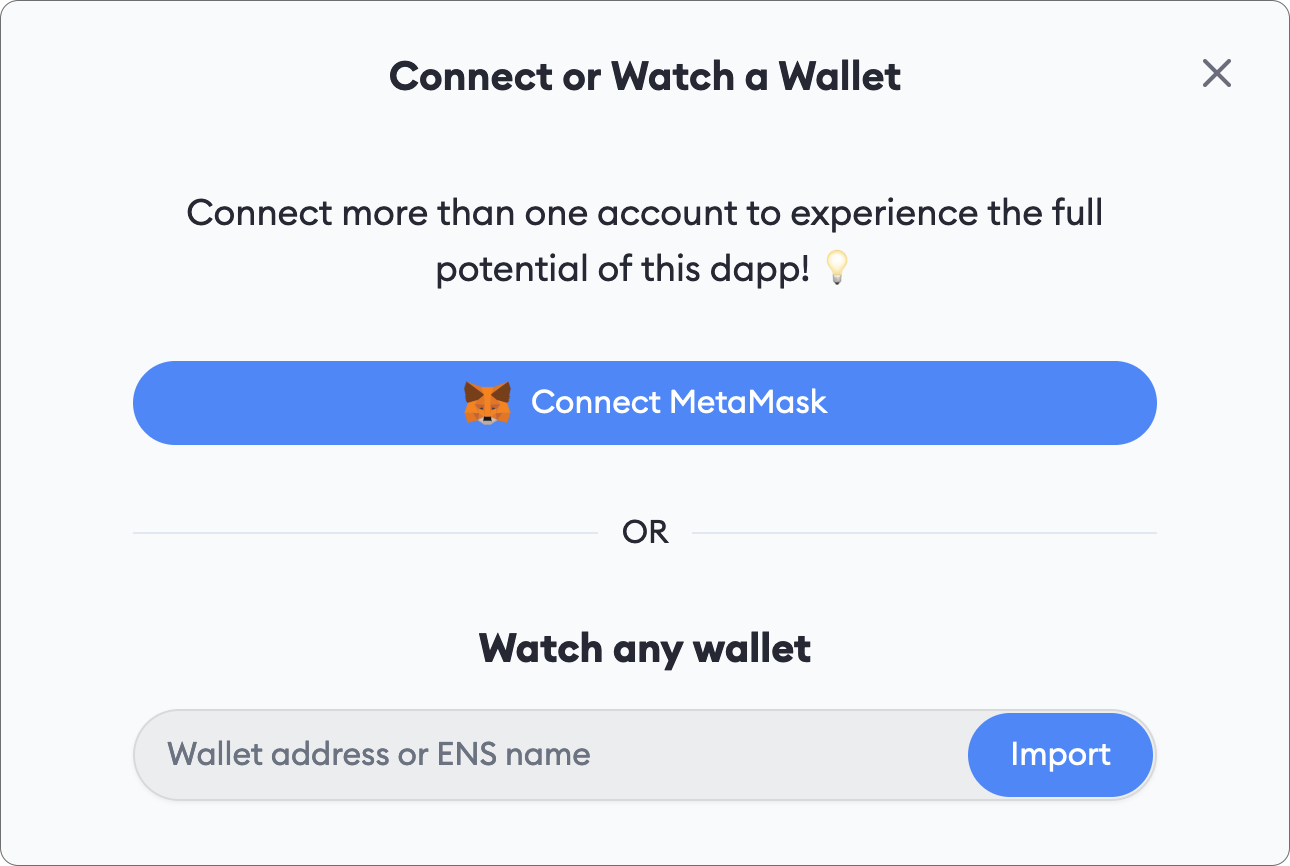
Follow the prompts to complete this process.
---
# How to hide an asset (token or NFT) in MetaMask Portfolio
URL: https://support.metamask.io/manage-crypto/portfolio/how-to-hide-an-asset-token-or-nft-in-metamask-portfolio/
> Hide a token or NFT from MetaMask Portfolio.
:::info
Looking for how to remove tokens in MetaMask?
This article is specifically about managing displayed assets in the MetaMask Portfolio dashboard, available at [portfolio.metamask.io](https://portfolio.metamask.io/). For information on displaying tokens in MetaMask, see [here](/manage-crypto/tokens/how-to-display-tokens-in-metamask). For specific details on removing tokens from MetaMask, see [here](/manage-crypto/tokens/how-to-remove-a-token).
:::
The MetaMask Portfolio dashboard automatically identifies the assets in your account(s) and displays them in your assets list. You can remove a token or NFT from your assets list if you no longer want it included.
For tokens, you 'Hide'; for NFTs, you mark as 'suspicious'.
## Hiding tokens or NFTs {#hiding-tokens-or-nfts}
**Hiding tokens or NFTs does not affect ownership**; the actual balance in your account, as recorded on the blockchain, remains unchanged. Following these instructions hides them in your dashboard.
1. On your 'Tokens' view, find the token you want to hide.
2. When you mouseover the token, three vertical dots appear on the far right. This is the 'Token actions' menu; click it to continue.
3. Select the option to 'Hide'.
4. Confirm your choice in the menu that appears, and the token will no longer be visible amongst your 'Tokens' holdings.
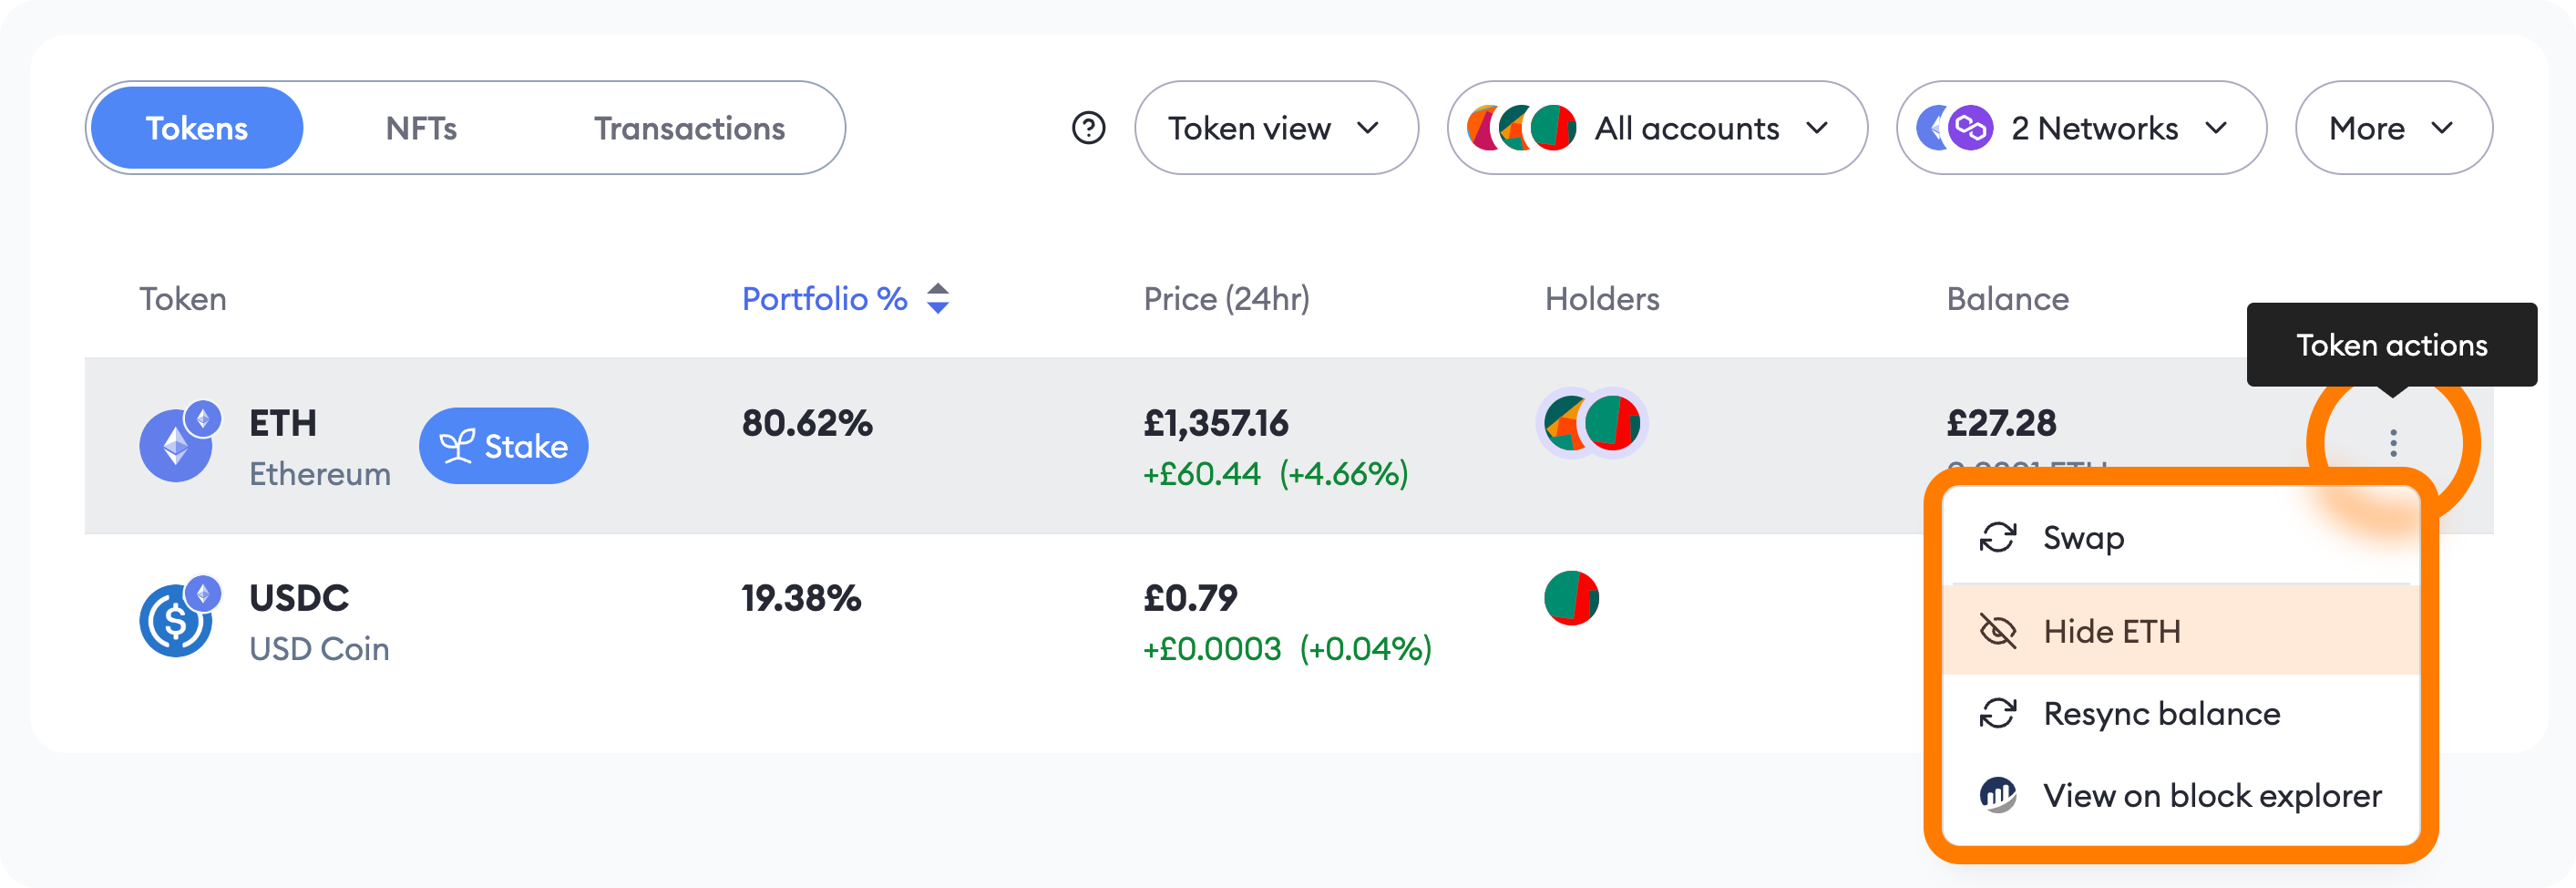
1. Toggle the 'NFTs' view by flicking the switch on the left-hand side.
2. Locate the NFT you want to add to the'suspicious' list. When you mouseover, you'll see an ellipsis labelled 'More options'.
3. Click 'More options', and then'suspicious':
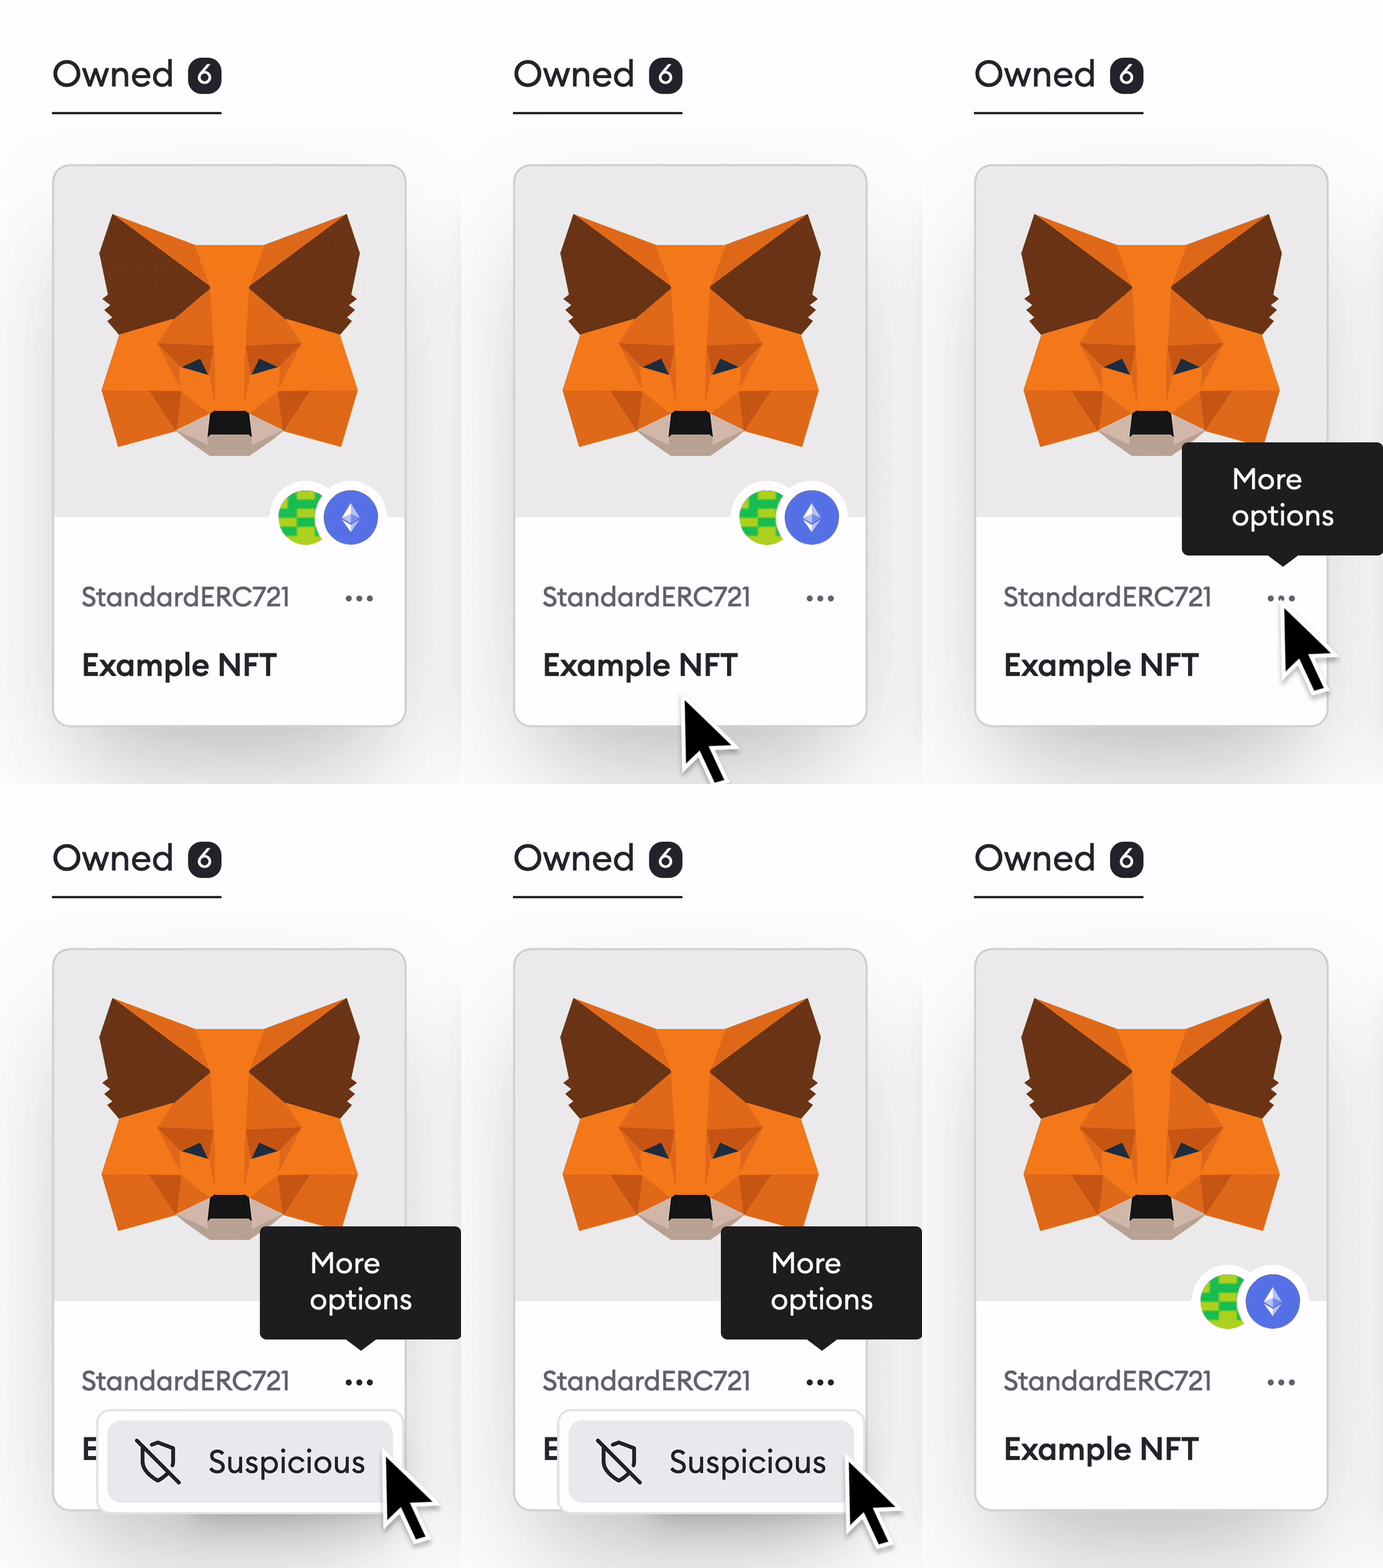
Now you'll be able to select additional NFTs to add to the 'suspicious' list simply by clicking on them, or, if it's just the one you want rid of, click 'Mark as suspicious' in the bar at the bottom of the screen.
## Unhiding tokens and NFTs {#unhiding-tokens-and-nfts}
Hiding assets of both kinds is completely reversible.
To unhide tokens, go to your 'Tokens' view and click on the 'More' button, next to the 'Networks' selector, on the right-hand side. From there, click on 'View hidden tokens'. Click on the 'Token actions' menu, next to the token you want to unhide, and select 'Unhide'.
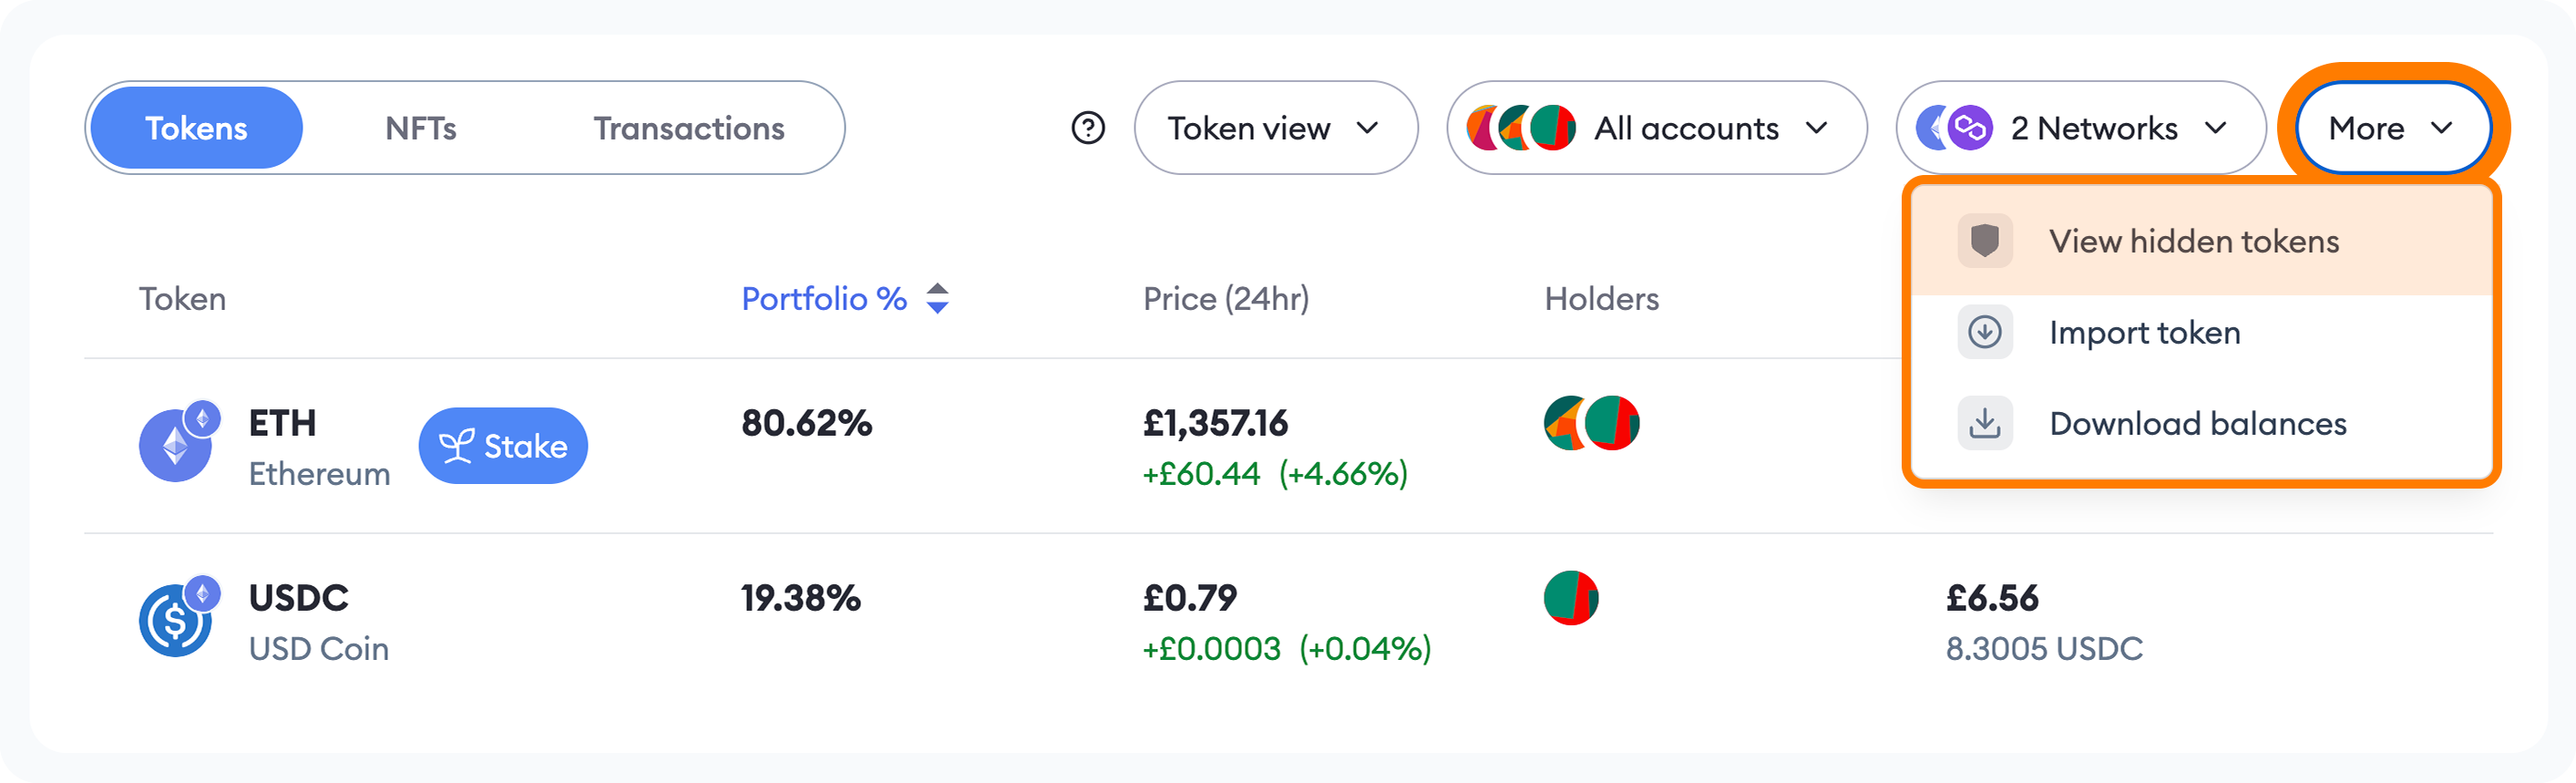
To manage NFTs, go to the 'NFTs' page of your portfolio by flicking the toggle on the left-hand side of the dashboard. Click on 'More' and select 'View suspicious NFTs'.
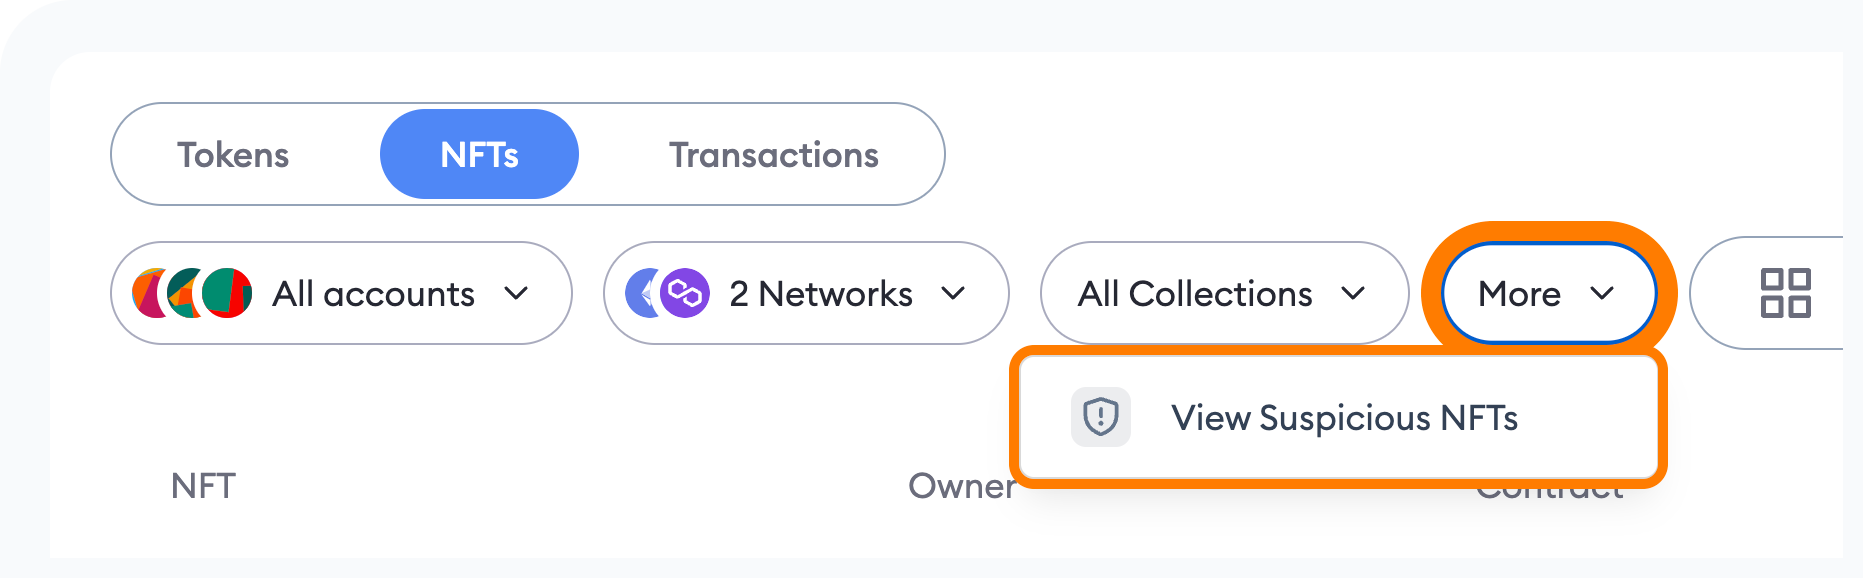
Find the 'NFT actions' button of the NFT you want to unhide and click on 'Mark as not suspicious'.
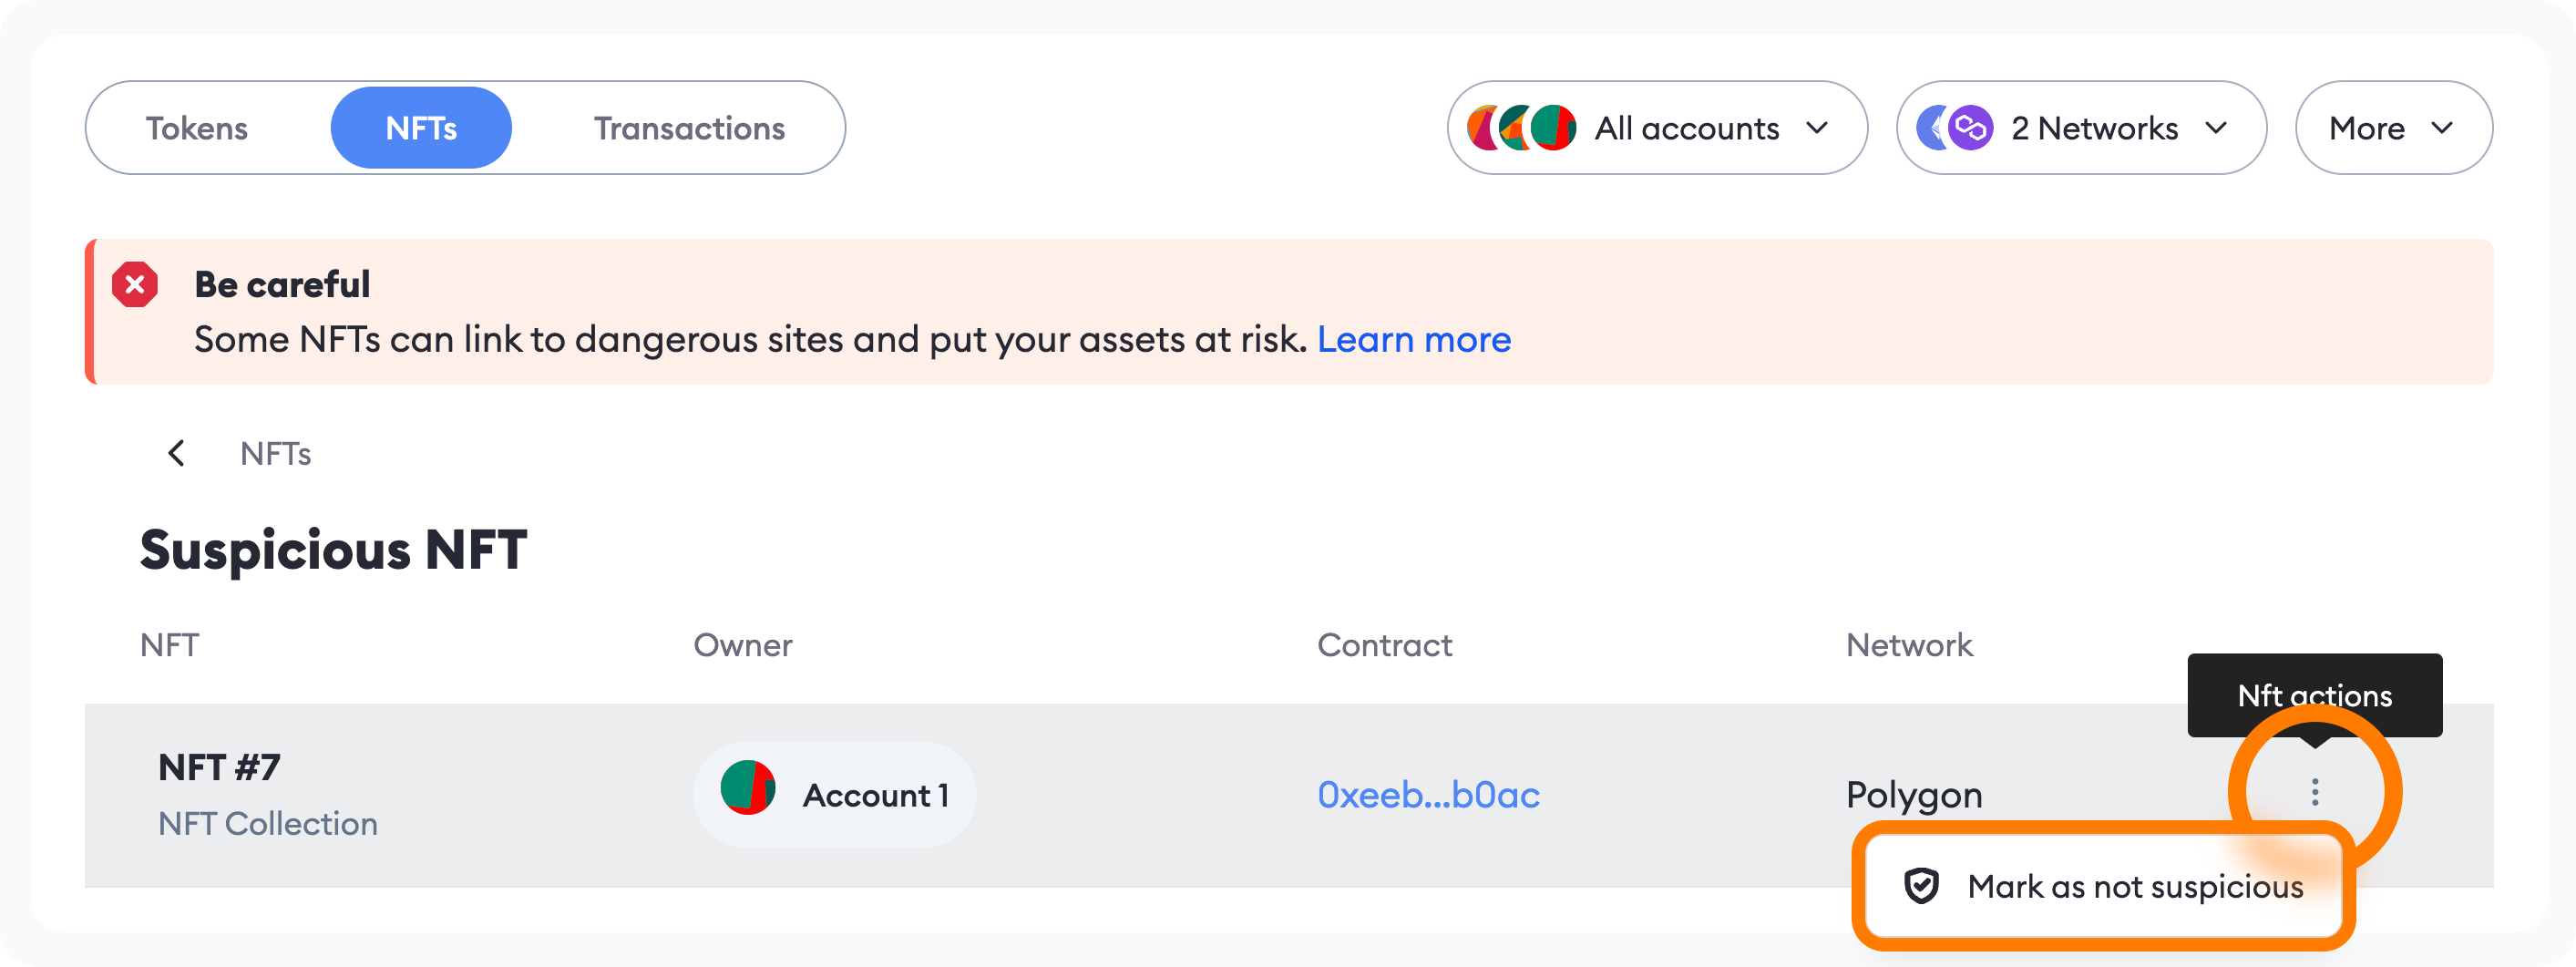
---
# How to import a token in MetaMask Portfolio
URL: https://support.metamask.io/manage-crypto/portfolio/how-to-import-a-token-in-metamask-portfolio/
> Add tokens to MetaMask Portfolio.
:::info
Want to add a token to MetaMask?
This article is specifically about adding tokens to your portfolio in MetaMask Portfolio at [portfolio.metamask.io](https://portfolio.metamask.io/). If you're looking to add tokens to your MetaMask account, see [here](/manage-crypto/tokens/how-to-display-tokens-in-metamask).
:::
When you add your accounts to MetaMask Portfolio, most tokens will be detected automatically and displayed in your dashboard.
If you hold a token in one of your accounts and it doesn't automatically show up in your dashboard, you can add it manually.
Hit the 'More' button, next to the 'Networks' selector:
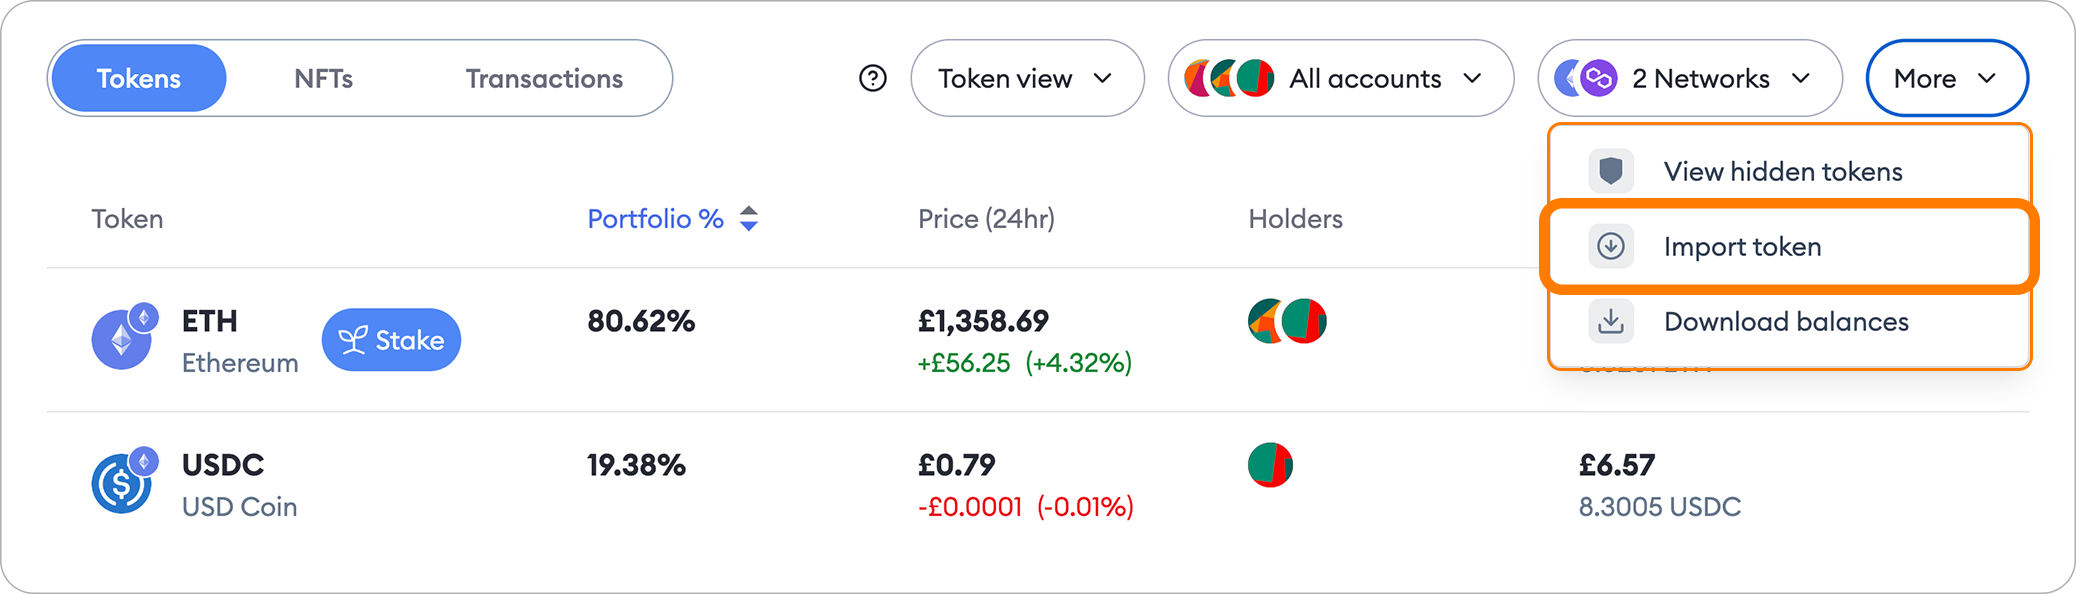
This will bring up a menu that lets you search for the token:
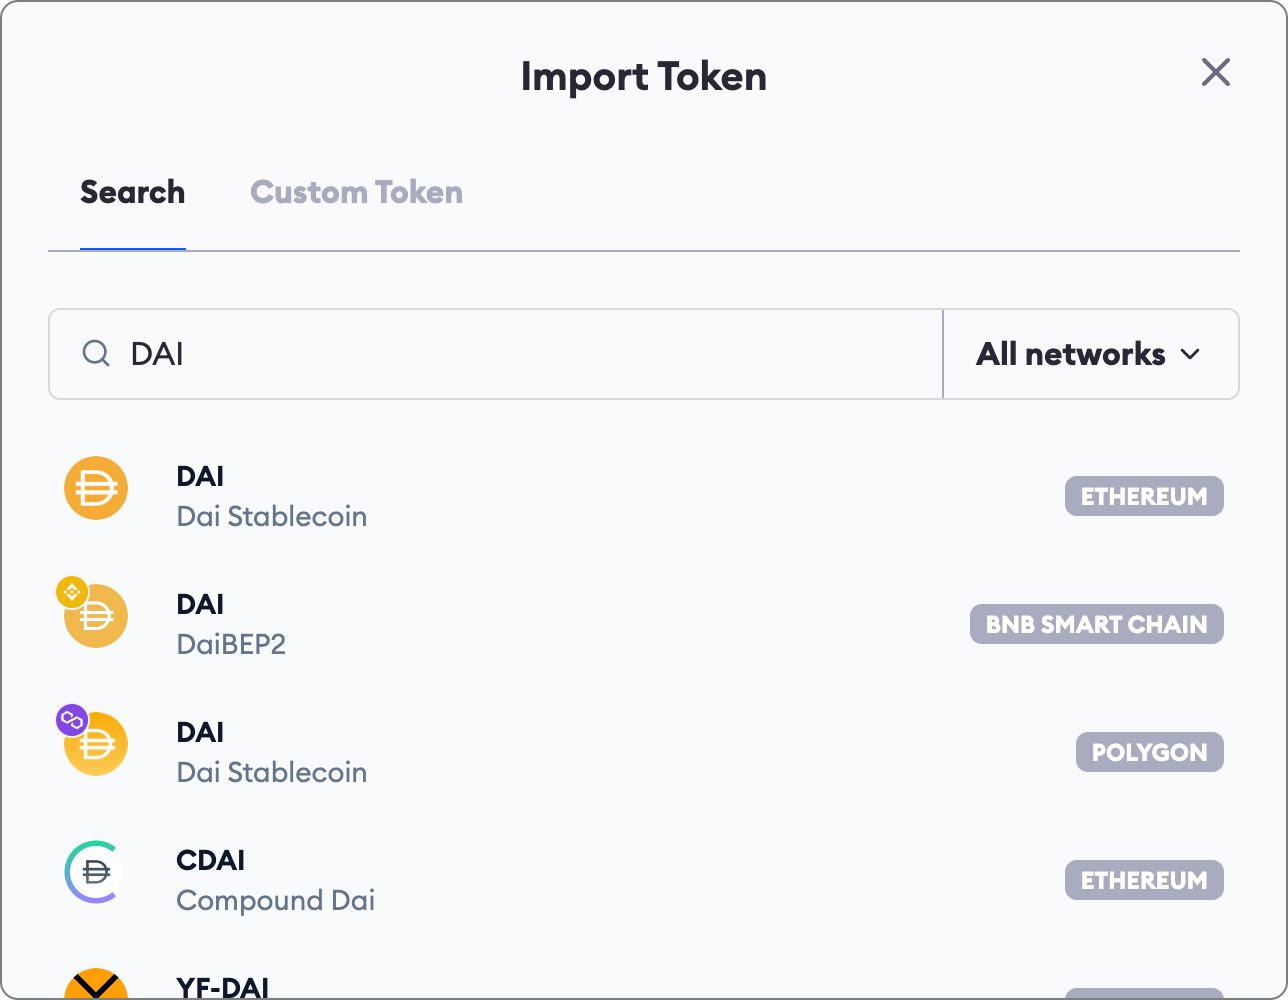
Input its name, click on it, and then follow the prompts to add it to your assets list.
You won't be able to add a token unless you hold it in one of your connected accounts.
Hit the 'More' button, next to the 'Networks' selector:

From here, select the "Custom Token" tab and insert the details of the token you're looking for. If you need to find the details, head to the block explorer of the relevant network and search for the token by its name or symbol.
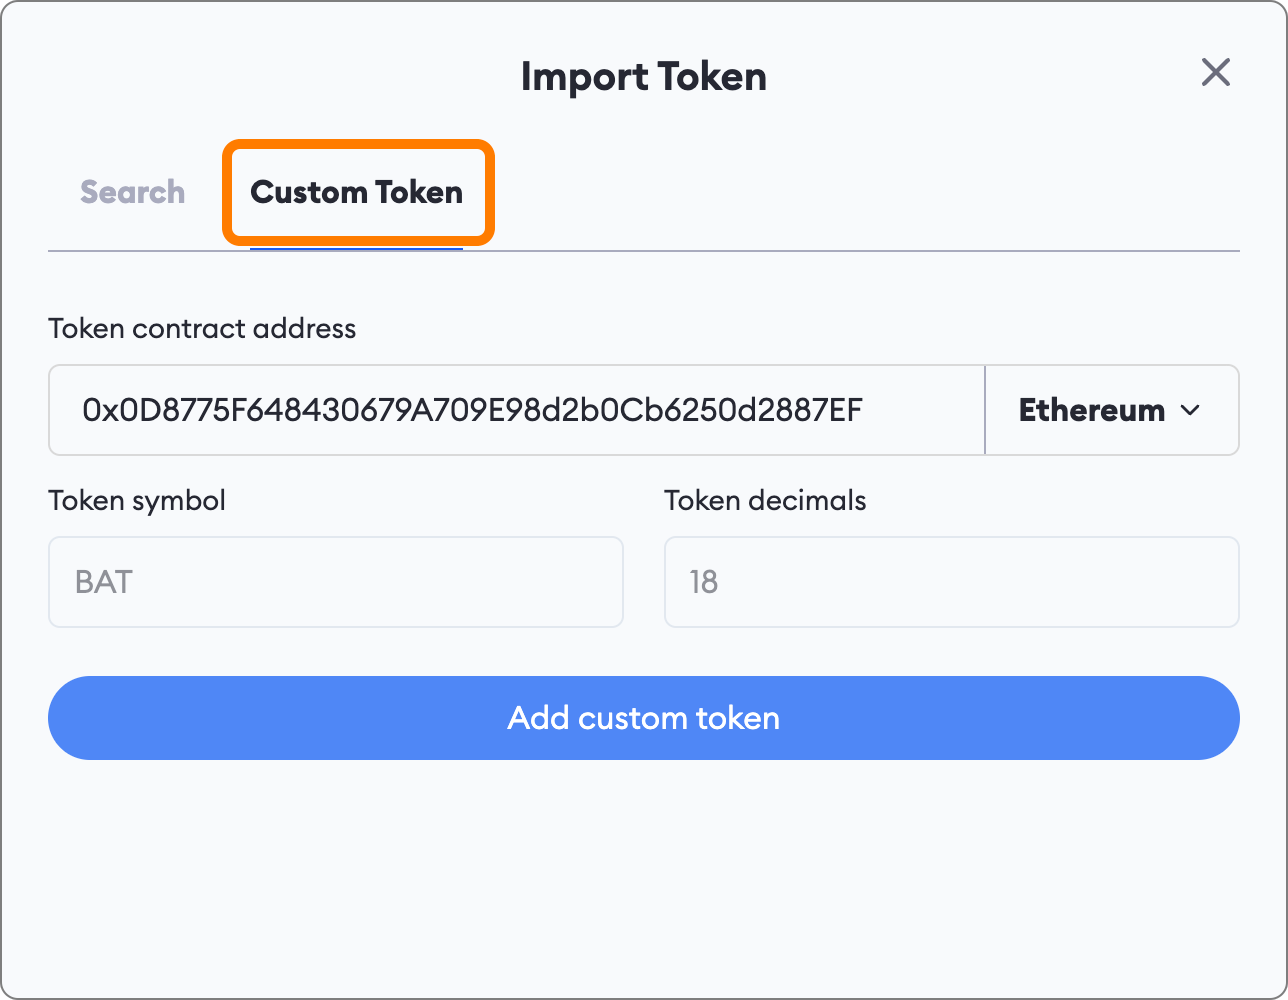
---
# How to remove an account from MetaMask Portfolio
URL: https://support.metamask.io/manage-crypto/portfolio/how-to-remove-an-account-from-metamask-portfolio/
> Remove an account from MetaMask Portfolio.
:::info
Looking for how to remove an account in MetaMask?
This article is about removing accounts from MetaMask Portfolio, at [portfolio.metamask.io](https://portfolio.metamask.io/). For information on removing accounts in MetaMask, see [here](/configure/accounts/how-to-remove-an-account-from-your-metamask-wallet).
:::
Head to Settings > Accounts.

Now, find the account you want to remove and click the three vertical dots next to it to access the 'More actions' menu.
In this menu, simply hit 'Remove account'. You'll be prompted to confirm. When you do, it'll be removed from your dashboard.
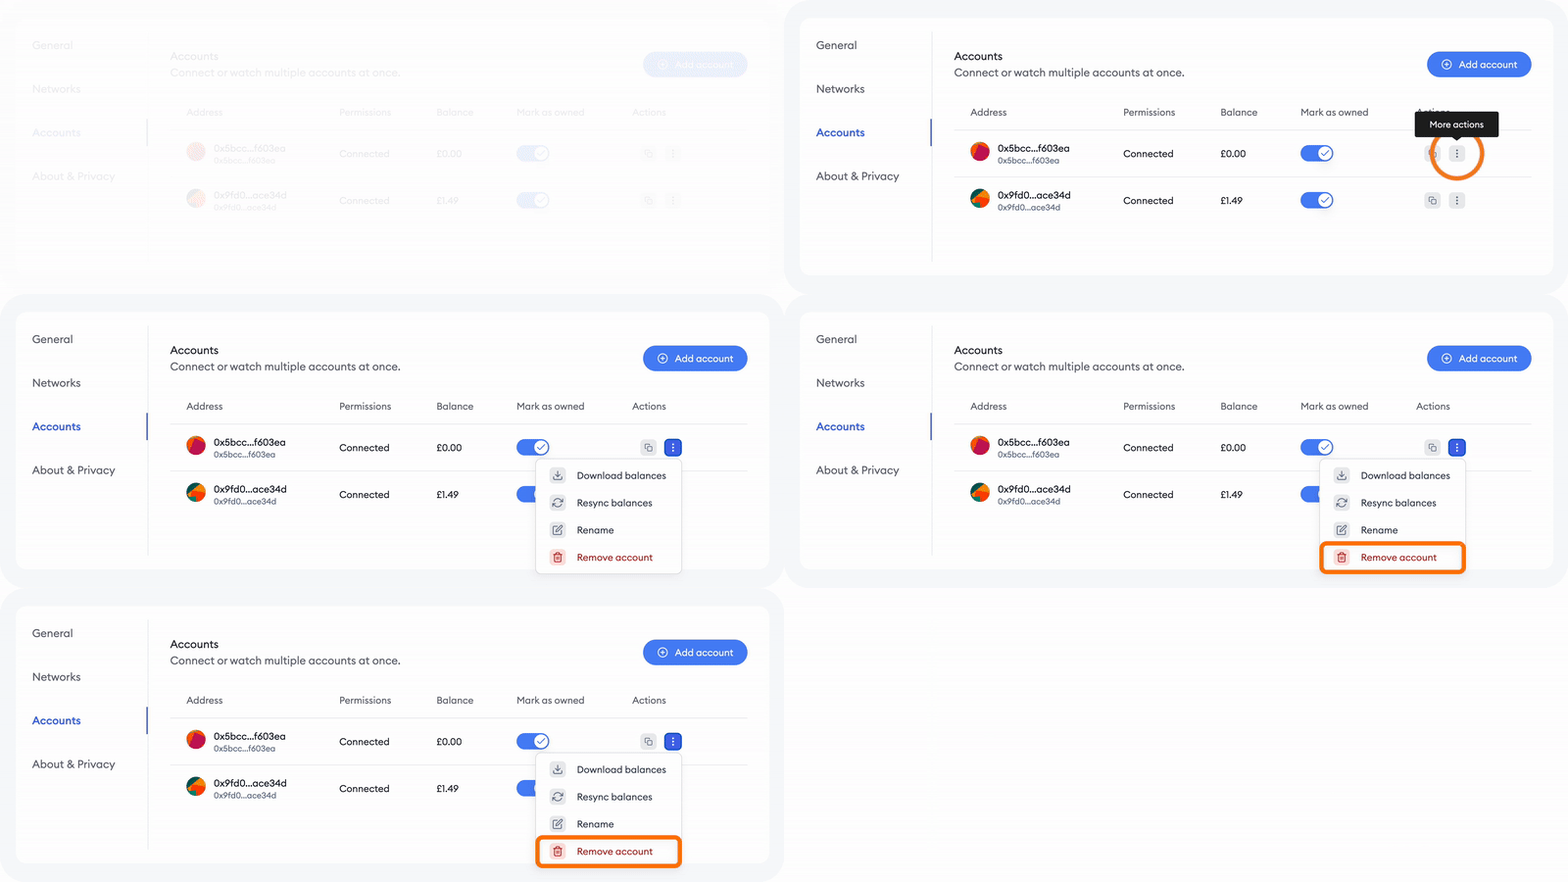
---
# How to use the DeFi dashboard in MetaMask Portfolio
URL: https://support.metamask.io/manage-crypto/portfolio/how-to-use-the-defi-dashboard-in-metamask-portfolio/
> What is the DeFi dashboard in MetaMask Portfolio?
## Get started with DeFi protocols {#get-started-with-defi-protocols}
[Decentralized Finance](https://learn.metamask.io/lessons/finance-decentralized), or DeFi, is the future of finance. While traditional finance relies on banks and other third-parties, DeFi runs on dapps (decentralized applications) and protocols. Protocols are blockchain-based programs that allow users to make direct financial transactions without the need for a third-party. Lend, borrow, invest, swap, trade, and more with DeFi protocols.
There are thousands of DeFi protocols currently available, and this number will continue to grow in the future. Popular protocols include UniSwap, Aave, Curve, and more. As you interact with various DeFi protocols, you need a place to easily view all of your positions.
Powered by an open-source library, you can now monitor all your DeFi protocols and positions on the MetaMask Portfolio Dashboard.
## View your existing positions {#view-your-existing-positions}
To access the DeFi dashboard, head to your dashboard page at [portfolio.metamask.io](https://portfolio.metamask.io/). If you already have your MetaMask connected to the dapp, you'll see a **DeFi tab** immediately beneath your portfolio value:
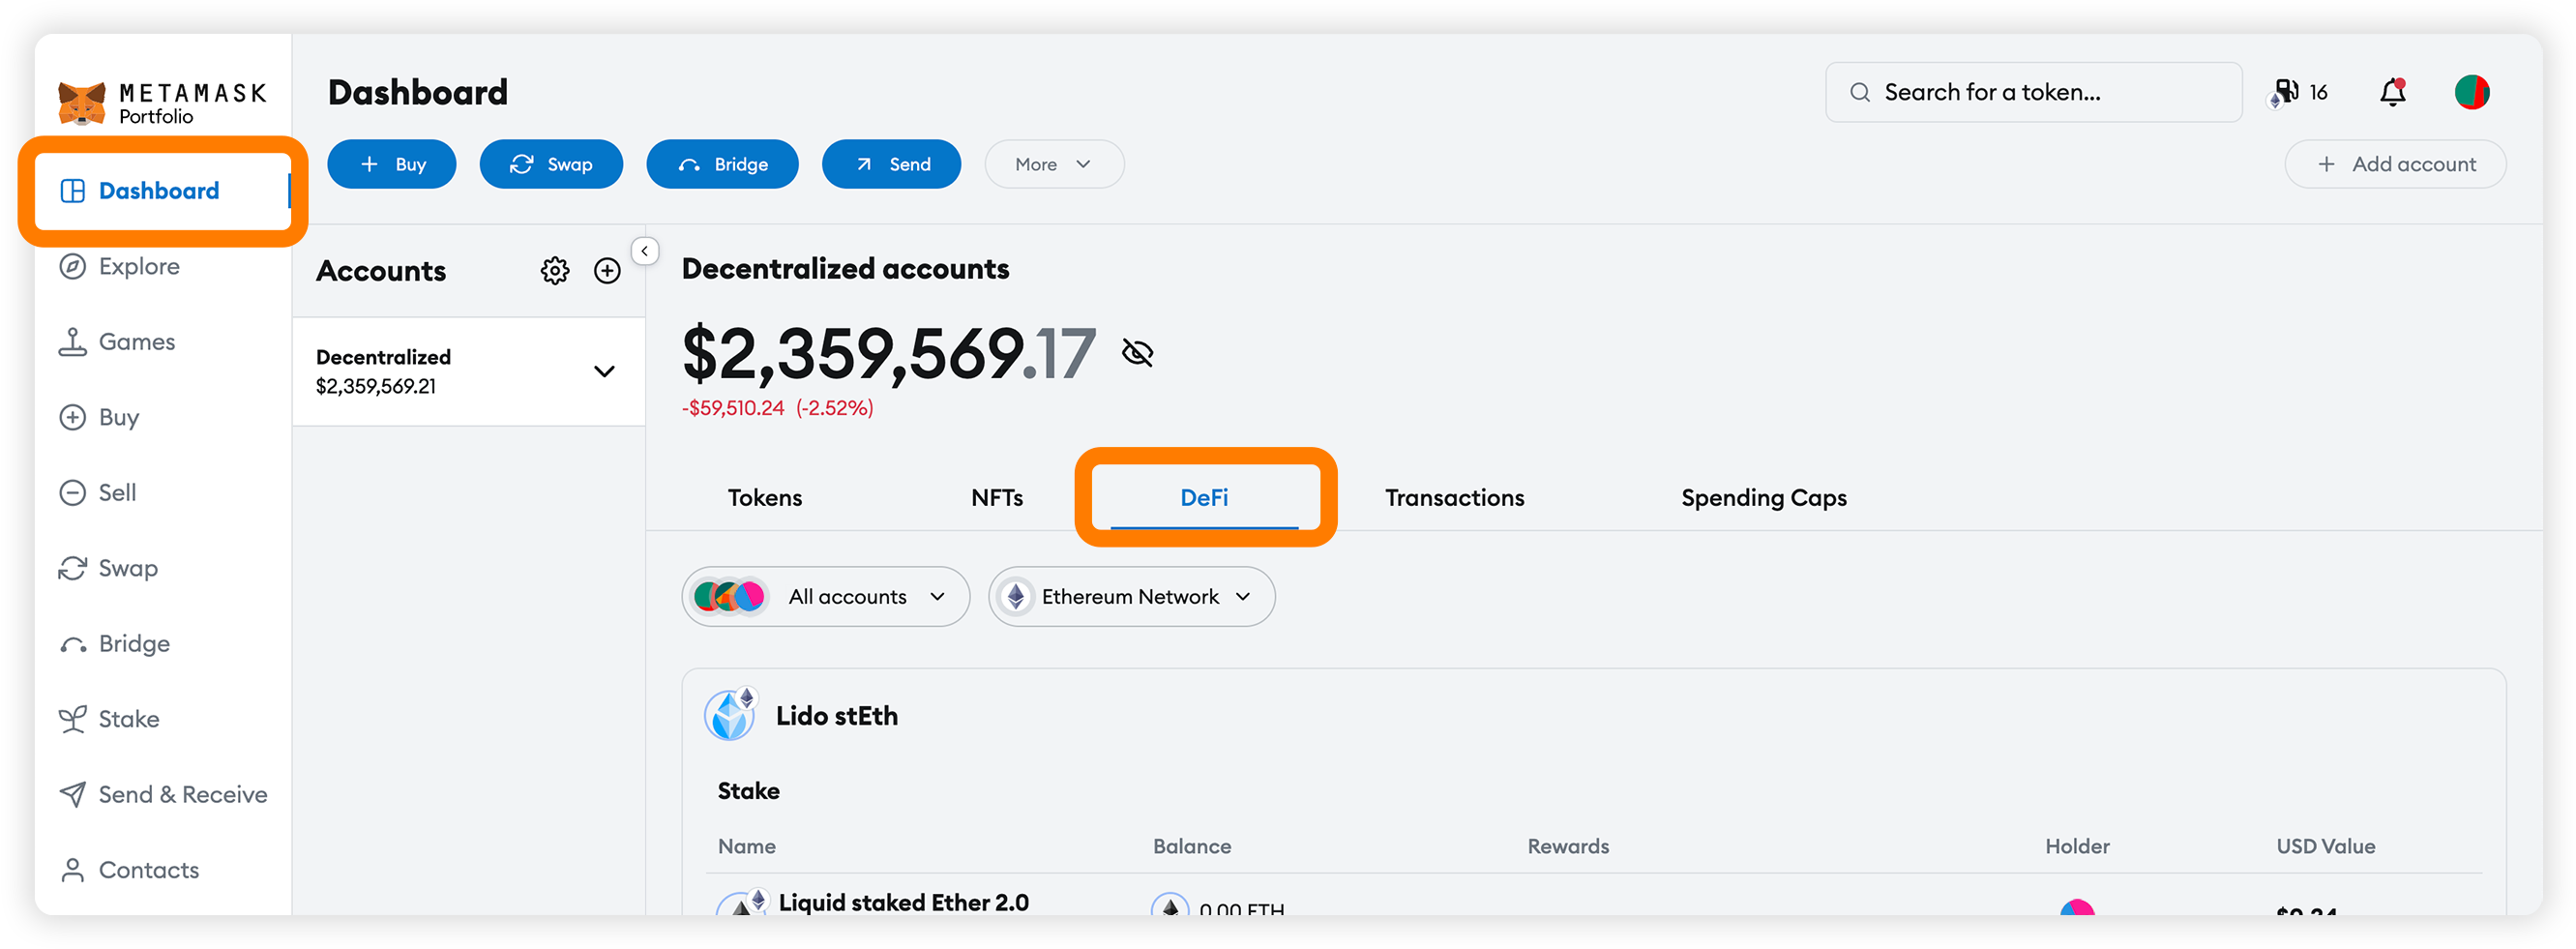
If you haven't already connected your MetaMask, follow [this guide](/manage-crypto/portfolio/how-to-connect-your-accounts-to-metamask-portfolio). If you just want to watch accounts, see [here](/manage-crypto/portfolio/how-to-watch-an-account-in-metamask-portfolio).
Once you're on the DeFi dashboard, you'll see your existing positions on supported protocols.
The DeFi dashboard is organized by protocols. Under each protocol, you will see the name of the corresponding position you hold. After the position name, you will see your balance, rewards, account address, and value:
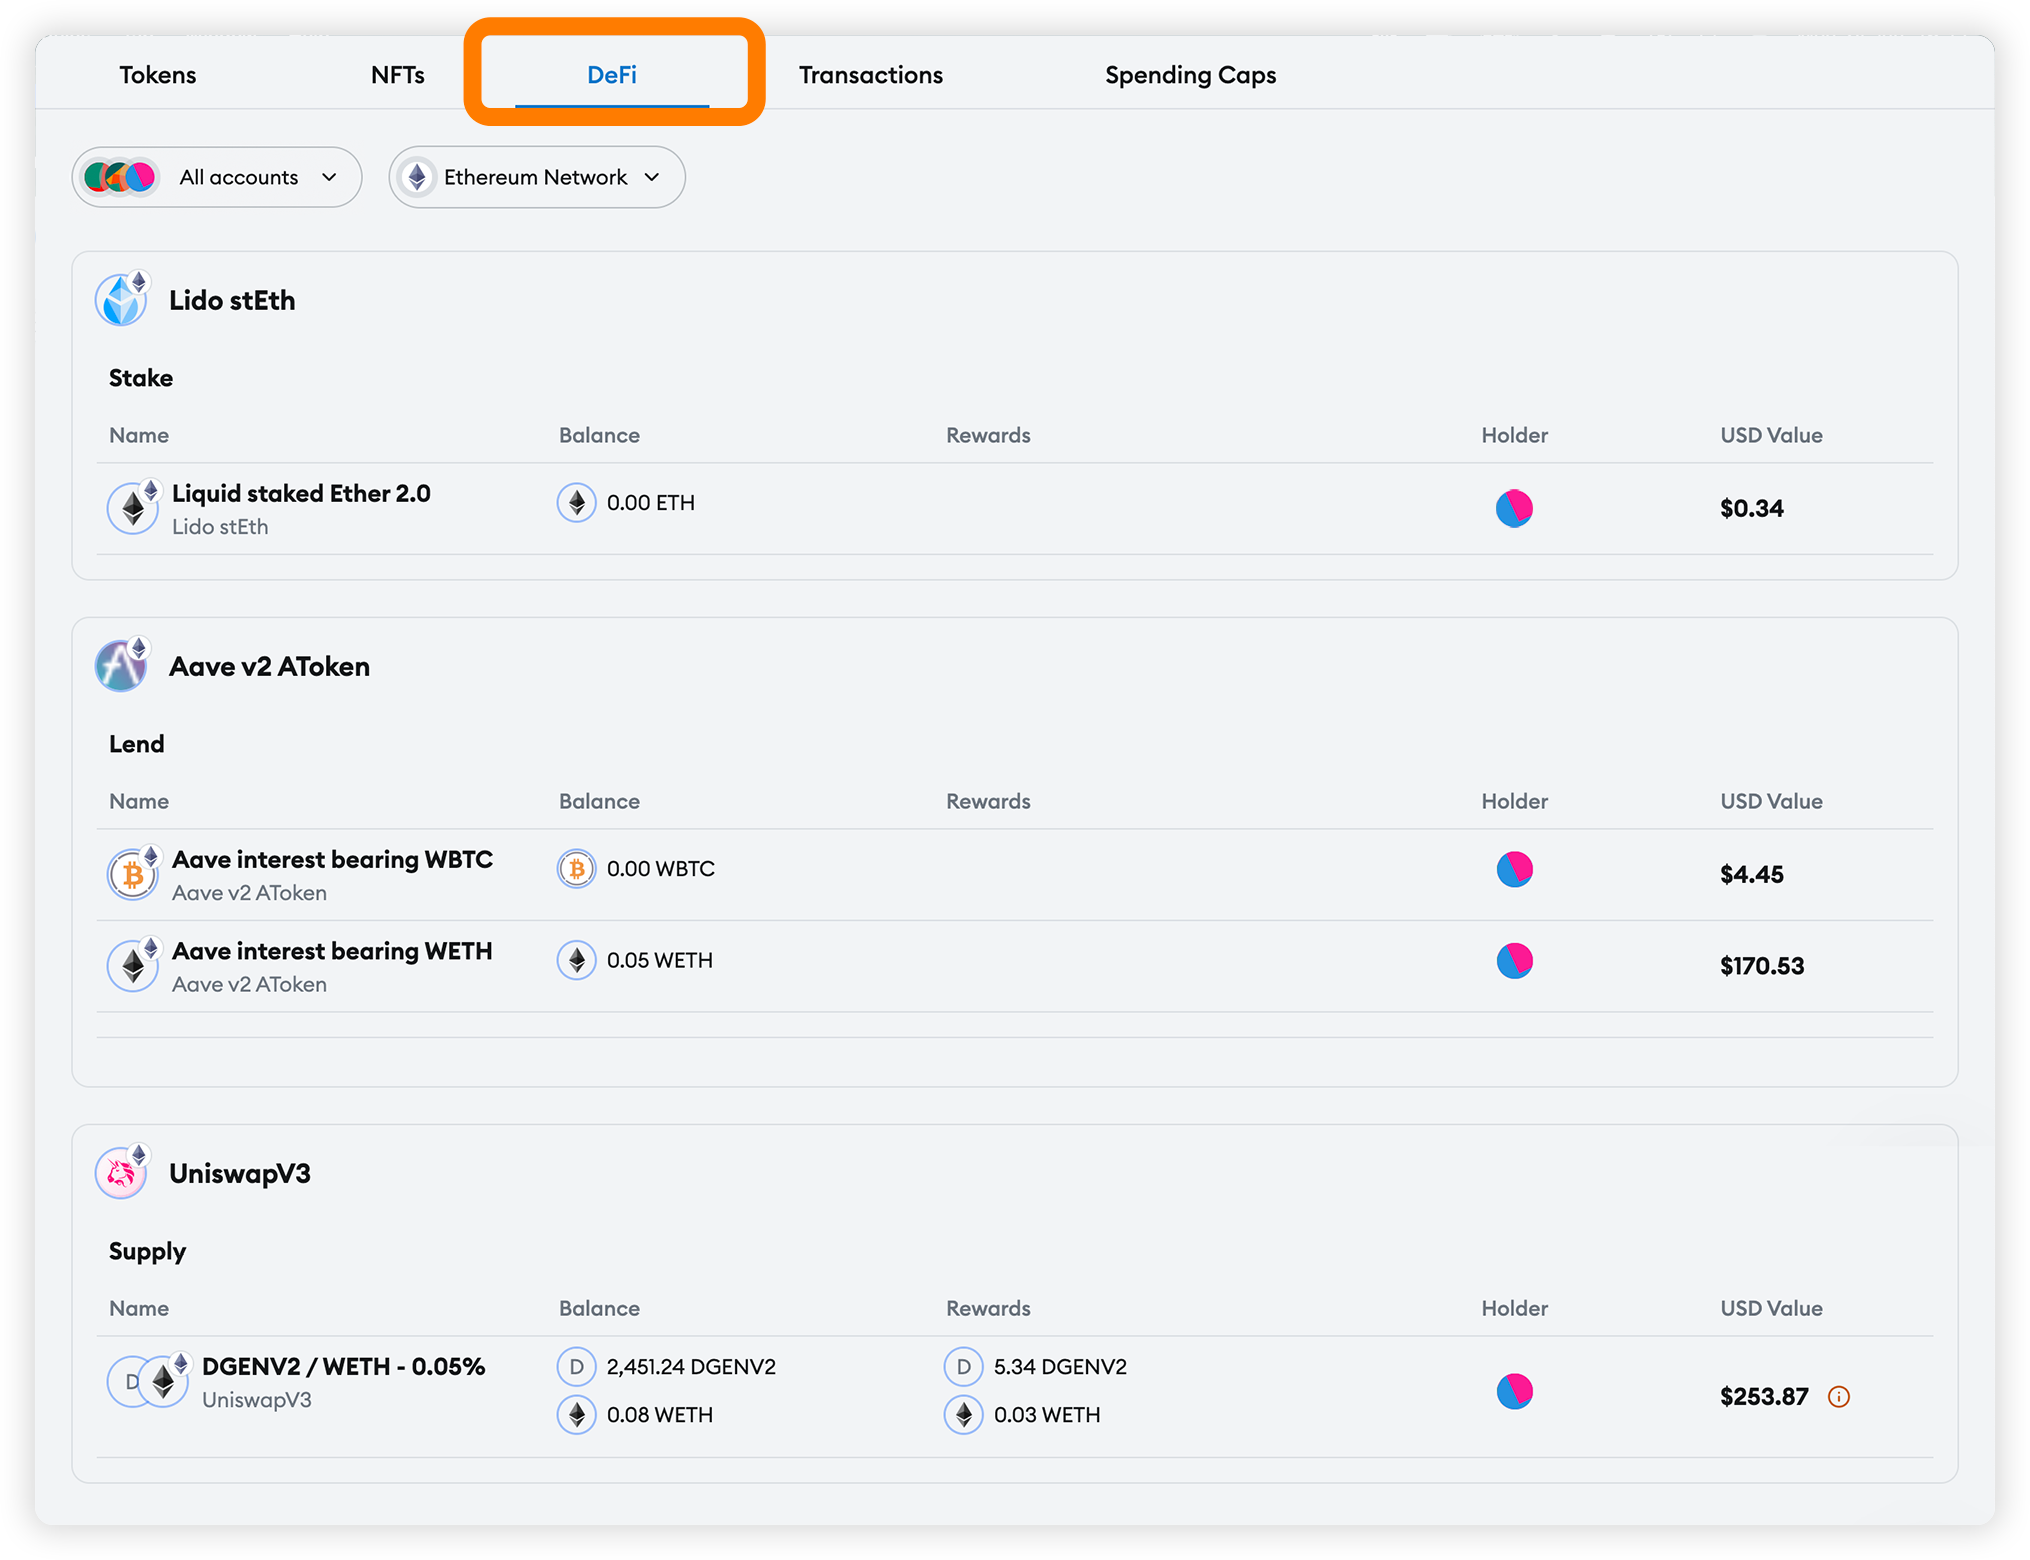
### Manage networks {#manage-networks}
The DeFi dashboard automatically supports the following networks:
- Ethereum
- Optimism
- BNB Chain
- Polygon
- Fantom
- Base
- Linea
- Arbitrum
- Sei
You can manage networks by clicking on the networks dropdown, found above the list of displayed positions. Networks with a checkmark next to them are visible on your DeFi dashboard. To hide a network, click on the network's name. You can show this network at any time by clicking on it again. You can also click 'Select All' to display all active networks.
If you can't find a specific network, it may be listed under 'Inactive Networks'. To enable an inactive network, click 'Manage in network settings', and then toggle the network on. The network will then appear in your 'Active Networks' list.
## Contribute protocols {#contribute-protocols}
If you don't see one of your positions, its protocol likely hasn't been added to the open-source library. Check out the library [here](https://github.com/consensys-vertical-apps/mmi-defi-adapters) to determine if the relevant protocol has been added.
If the protocol hasn't been added, you can add it yourself, or contact the dapp directly to let them know you'd like to monitor your position through MetaMask Portfolio.
---
# How to watch an account in MetaMask Portfolio
URL: https://support.metamask.io/manage-crypto/portfolio/how-to-watch-an-account-in-metamask-portfolio/
> Add an account to watch in MetaMask Portfolio.
:::info
Looking for how to add an account to MetaMask, or import an existing one?
This article is specifically about watching accounts in MetaMask Portfolio, available at [portfolio.metamask.io](https://portfolio.metamask.io/). To add an additional account to your MetaMask wallet, see [here](/configure/accounts/how-to-add-accounts-in-your-wallet); to import an existing account, see [here](/start/use-an-existing-wallet).
:::
Watching an account lets you add it to your dashboard without connecting to it directly, as you do with the [typical method for adding accounts](/manage-crypto/portfolio/how-to-connect-your-accounts-to-metamask-portfolio/). It's important to note, however, that watching an account does not mean you own it. You can watch _any_ Ethereum account that exists, but you can't _restore_ those accounts in your MetaMask if you don't know their SRP or private key.
To watch an account, follow these steps:
1. Head to Settings > Accounts and click on 'Add account':

2. Now, you'll be presented with the option to connect via MetaMask or to watch an account. Pick the latter:
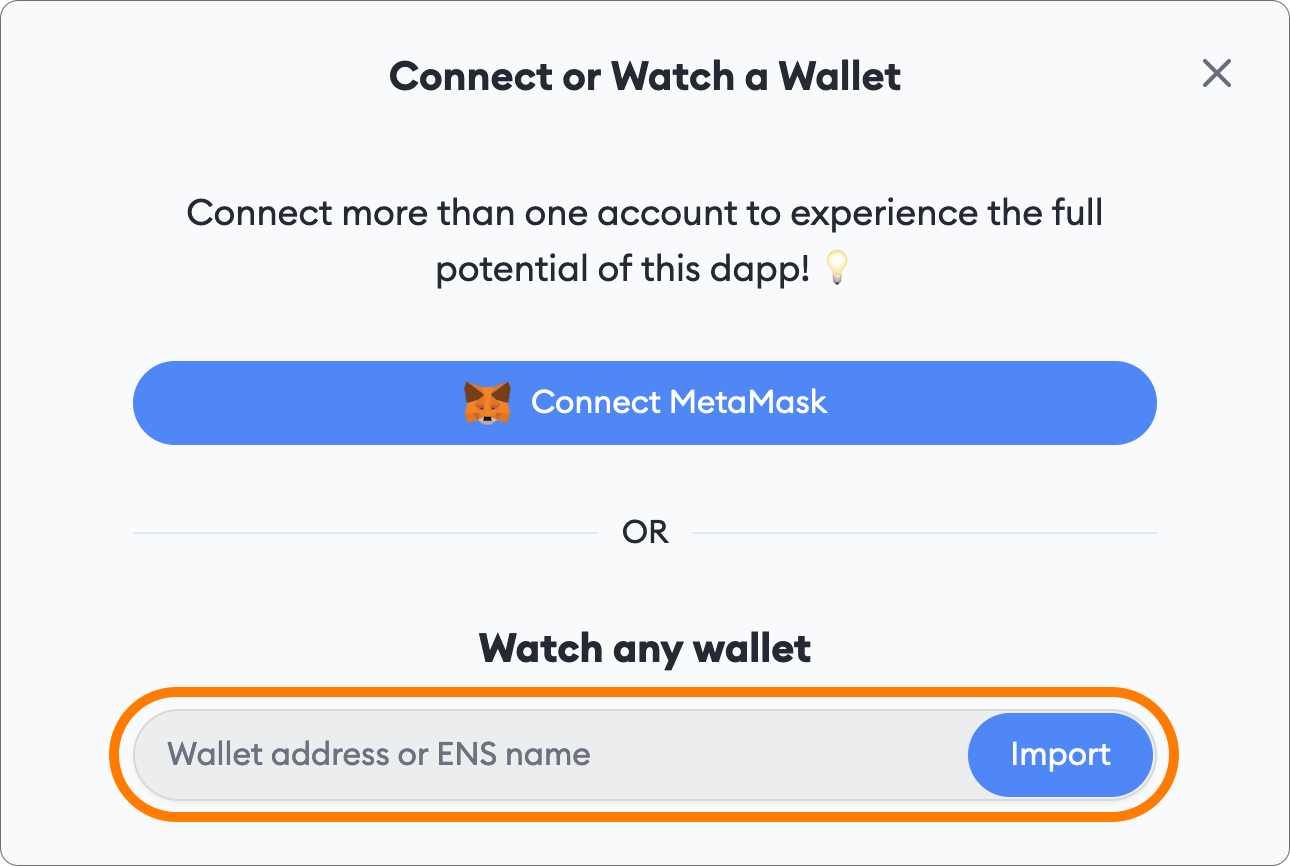
3. Input the ENS name or public address of the account you want to watch, and click 'Import'.
4. The account will be added to your dashboard. You can filter displayed accounts by unchecking them in the account selector.
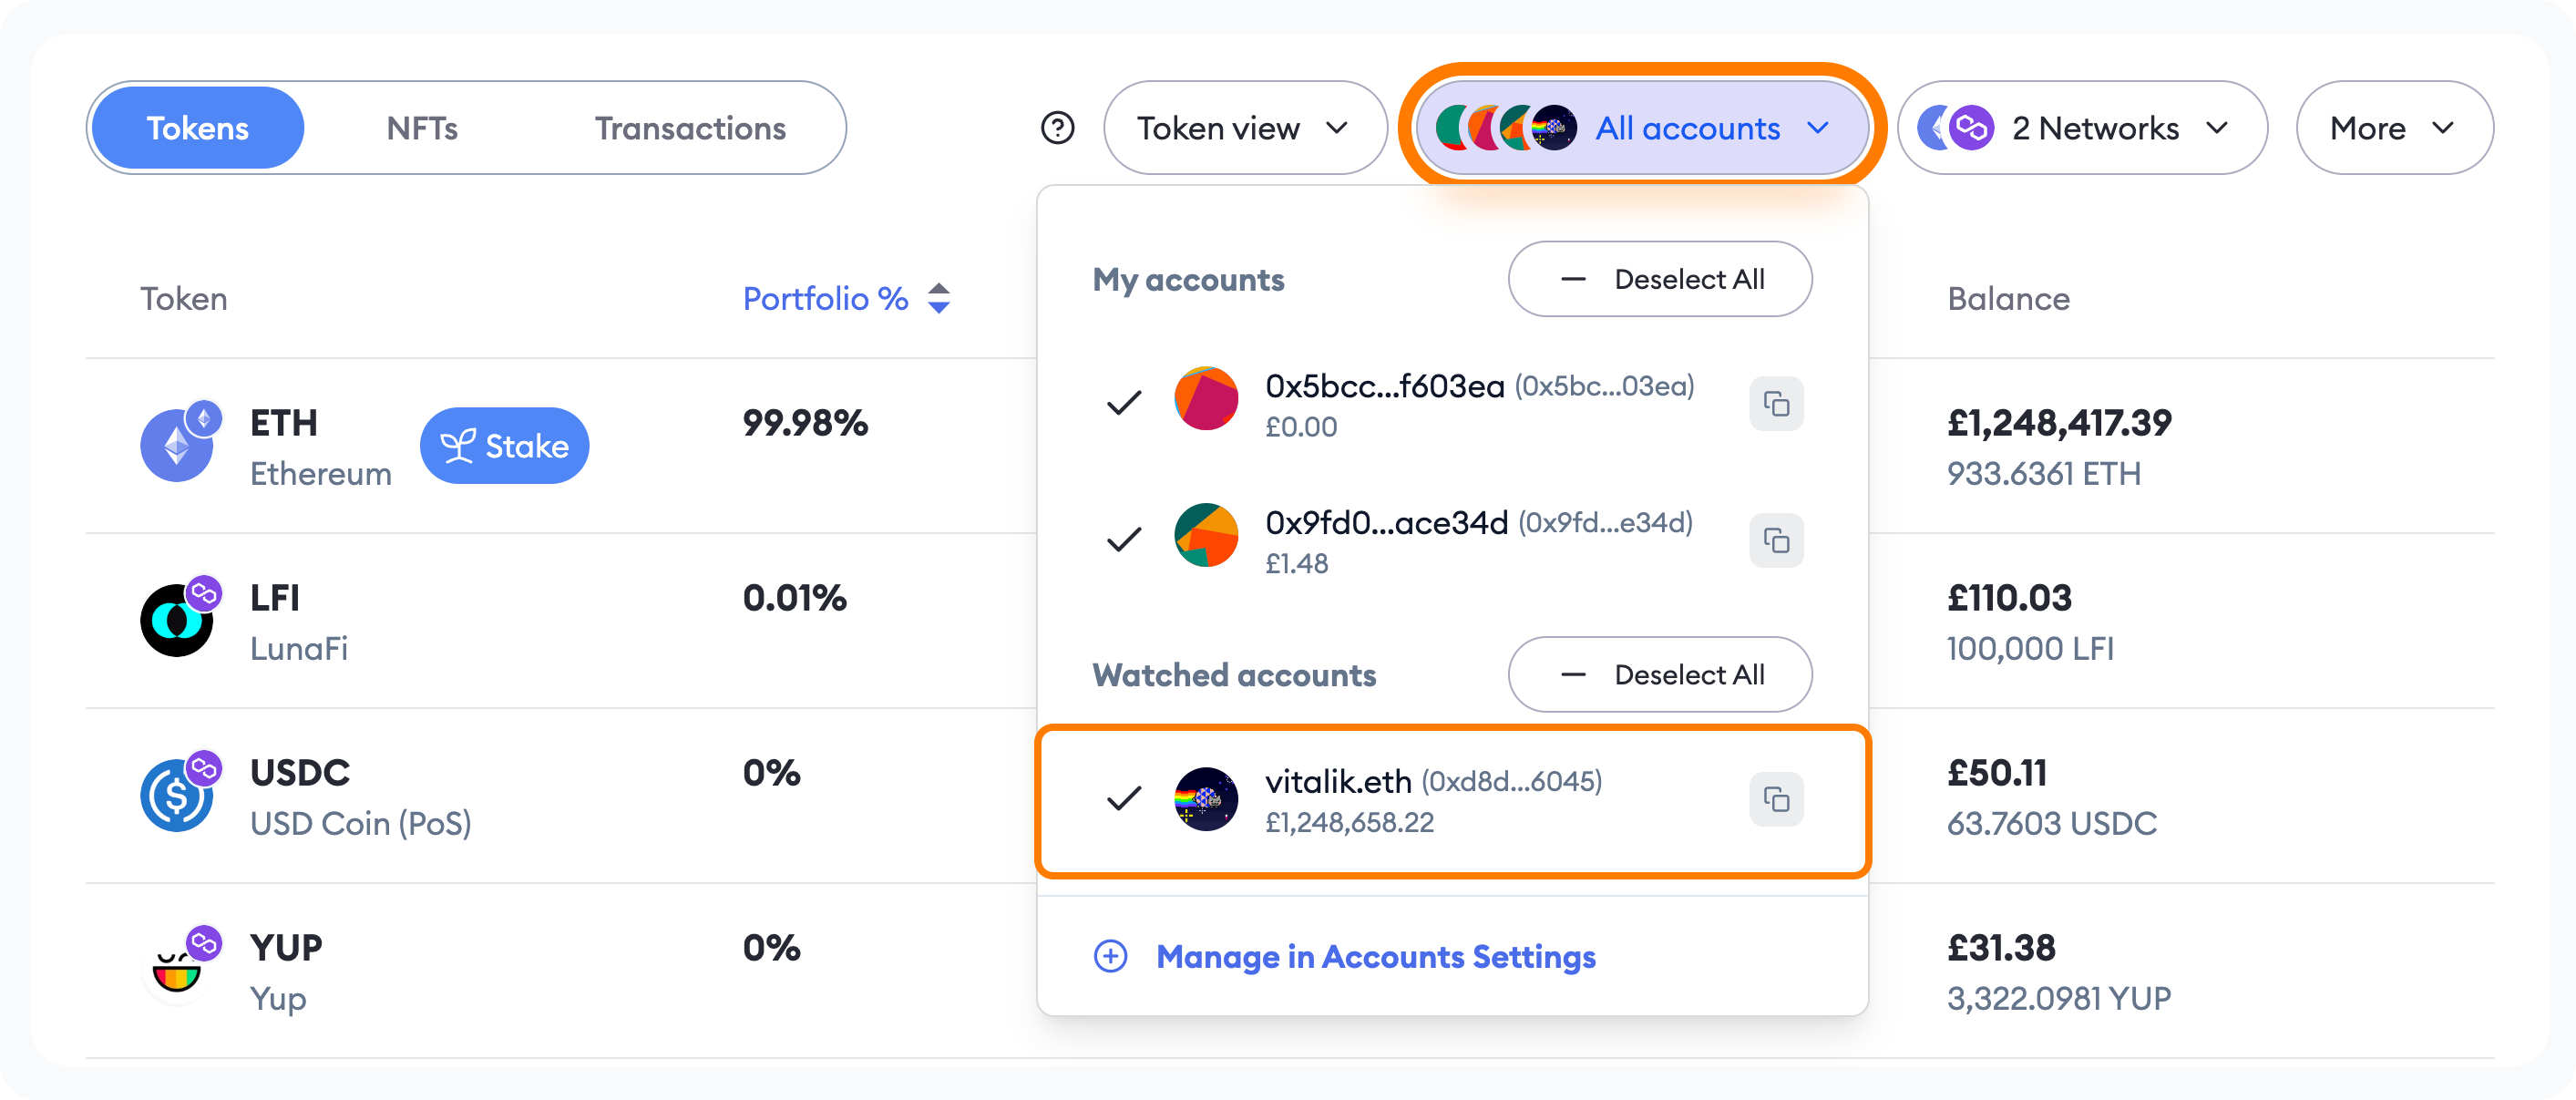
---
# My MetaMask Portfolio dashboard is inaccurate or not up to date
URL: https://support.metamask.io/manage-crypto/portfolio/my-metamask-portfolio-dashboard-is-inaccurate-or-not-up-to-date/
> How to refresh MetaMask Portfolio.
:::info
#### Having issues with your balance in MetaMask? {#having-issues-with-your-balance-in-metamask}
This article is specifically about the balances displayed in MetaMask Portfolio, at [portfolio.metamask.io.](https://portfolio.metamask.io/) For a guide on what to do if your MetaMask balance is incorrect, see [here](/manage-crypto/tokens/what-to-do-when-your-balance-of-tokens-is-incorrect). If tokens are missing completely, see [here](/manage-crypto/tokens/what-to-do-when-your-balance-of-tokens-is-incorrect). If tokens are missing a value, see [here](/manage-crypto/tokens/my-token-is-missing-a-price-or-fiat-value).
:::
We rely on various on-chain data solutions to provide the most accurate, up-to-date balance information for your dashboard. Sometimes, this balance may get out of sync due to a variety of reasons, including [chain reorganization](https://cointelegraph.com/explained/what-is-chain-reorganization-in-blockchain-technology), lag time in data indexing, or incorrect token pricing information. These issues will typically be resolved on their own in a short amount of time as our systems catch up to the latest chain activity.
Even if your balance is out of sync:
- Your actual on-chain token balance has not changed.
- No transactions have been made on your behalf.
## What can I do in the meantime? {#what-can-i-do-in-the-meantime}
First, make sure to disable any other wallet extensions you have installed.
Your dashboard balance will automatically update as the potential issues above are resolved and fresh data is available. If you want to accelerate the process, you can try to resync the balance of a specific token, or try a hard refresh, which affects all tokens displayed in your portfolio.
Resyncing an individual token is quicker than a hard refresh, since much less data needs to be retrieved.
Head to the 'Token actions' button for the token whose balance you want to update, and then click 'Resync balance':
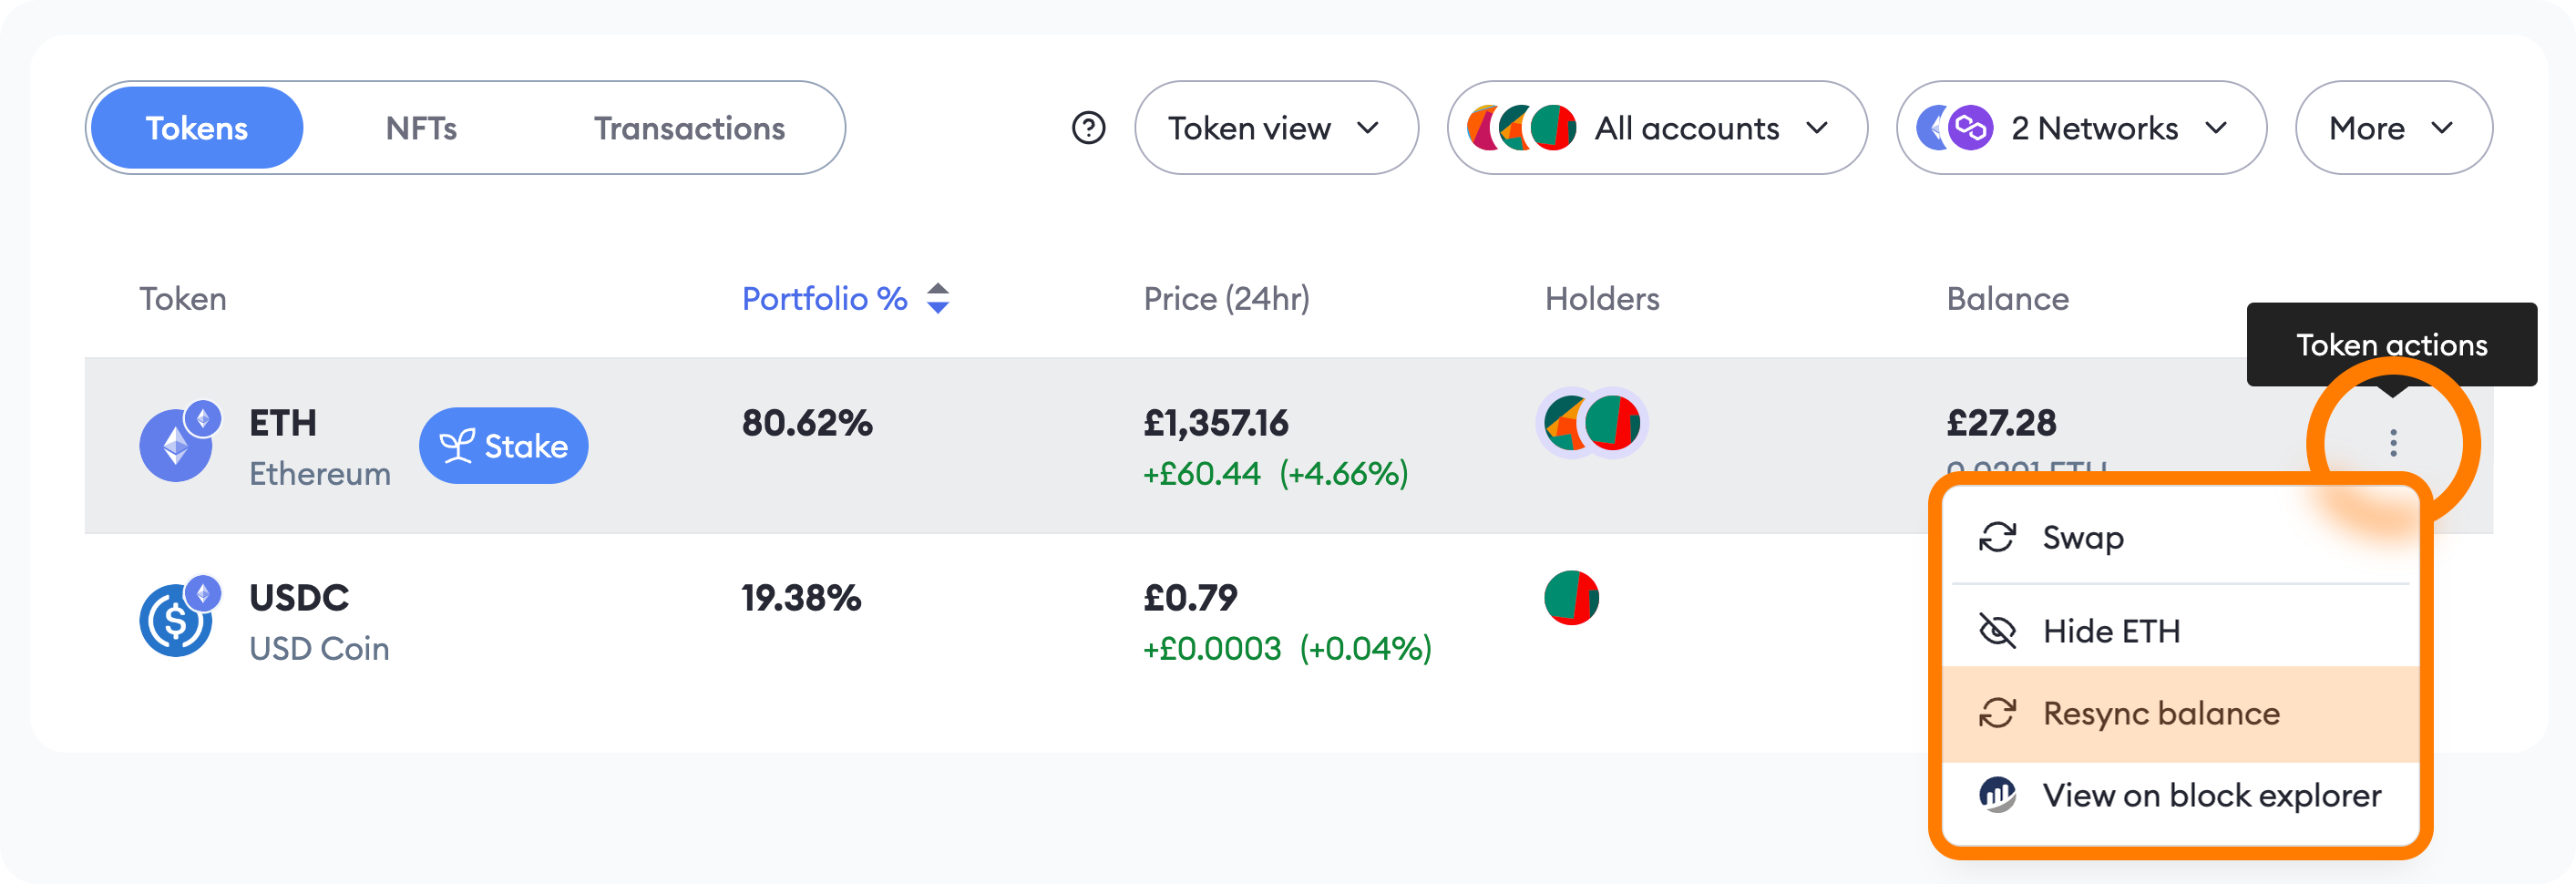
Head to Settings by clicking the account icon in the top-right of the dapp, and then select 'Accounts':

Find the account whose balance you want to refresh and click the three vertical dots next to it when you mouseover. Once in the 'More actions' menu, you'll see the option to 'Resync balances'. Click it to refresh your balances.
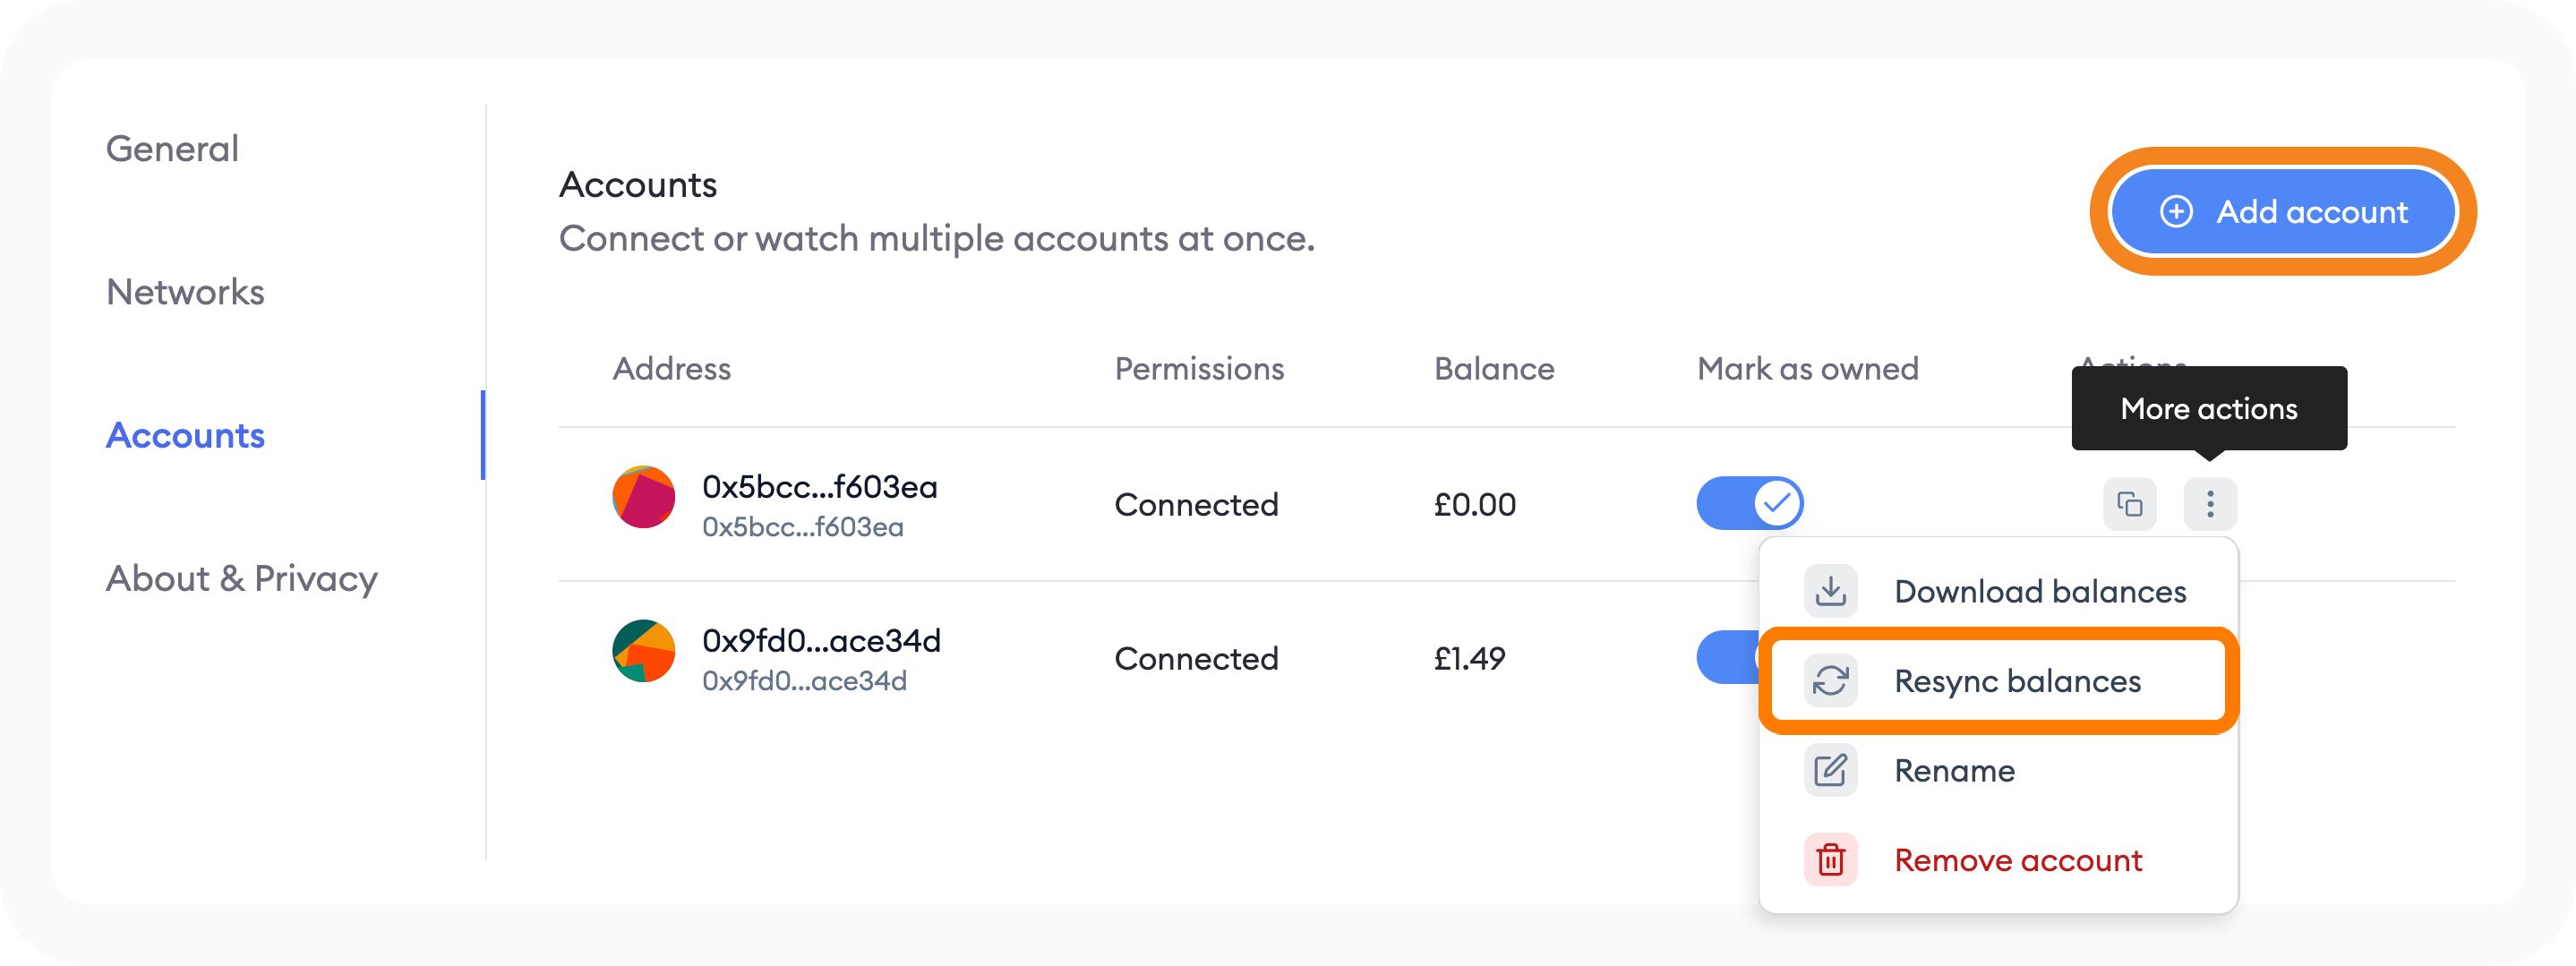
---
# How to manage spending caps in MetaMask Portfolio
URL: https://support.metamask.io/manage-crypto/portfolio/spending-caps-portfolio/
> How to view and revoke spending caps.
You can view and revoke spending caps (also known as token approvals or allowances) in MetaMask Portfolio.
Currently supported networks include:
- Ethereum Mainnet
- Polygon
- BNB Chain
- Optimism
- Base
## What is a spending cap? {#what-is-a-spending-cap}
Spending caps are permissions that you sign to indicate consent for a dapp to access a given number of a specific token type. Usually, this is because you're interacting with a dapp that involves an operation like depositing, sending, staking, etc. — all of which require tokens to be moved _from_ your account and, generally, _to_ a smart contract or another [externally owned account](https://ethereum.org/en/developers/docs/accounts/#types-of-account) (just like yours). **You can read a more in-depth explainer of spending caps [here](/stay-safe/safety-in-web3/what-is-a-token-approval).** (Note that you don't need to sign spending caps for ETH — only ERC-20 and ERC-777 tokens require them.)
Once a spending cap transaction is signed, its existence is recorded on the blockchain, meaning it will be valid until you sign another transaction that revokes it. Each spending cap limits how many tokens of that type the dapp can access. For example, if you signed a spending cap of 1,000 USDC, you could order the dapp to use up to 1,000 USDC tokens in one transaction or many — either way, the permission is valid until you've used up this allowance.
:::warning[unlimited spending caps]
When you sign a token spending cap in MetaMask, you're prompted to specify how many of the tokens you want to allow access to. You can [read more about the process here](/configure/tokens/how-to-customize-token-approvals-with-a-spending-cap). Dapps often request a default value, which in many cases is so large it essentially permits unlimited access. Unlimited spending caps are dangerous — signing one to a fraudulent dapp, or a legitimate dapp that is hacked, can result in all of a certain token type being drained from your wallet without you being aware.
:::
## How to view and revoke spending caps {#how-to-view-and-revoke-spending-caps}
1. Head to [MetaMask Portfolio](https://portfolio.metamask.io/) and make sure your MetaMask is connected.
2. On the 'Overview' tab, switch to the 'Spending Caps' tab:
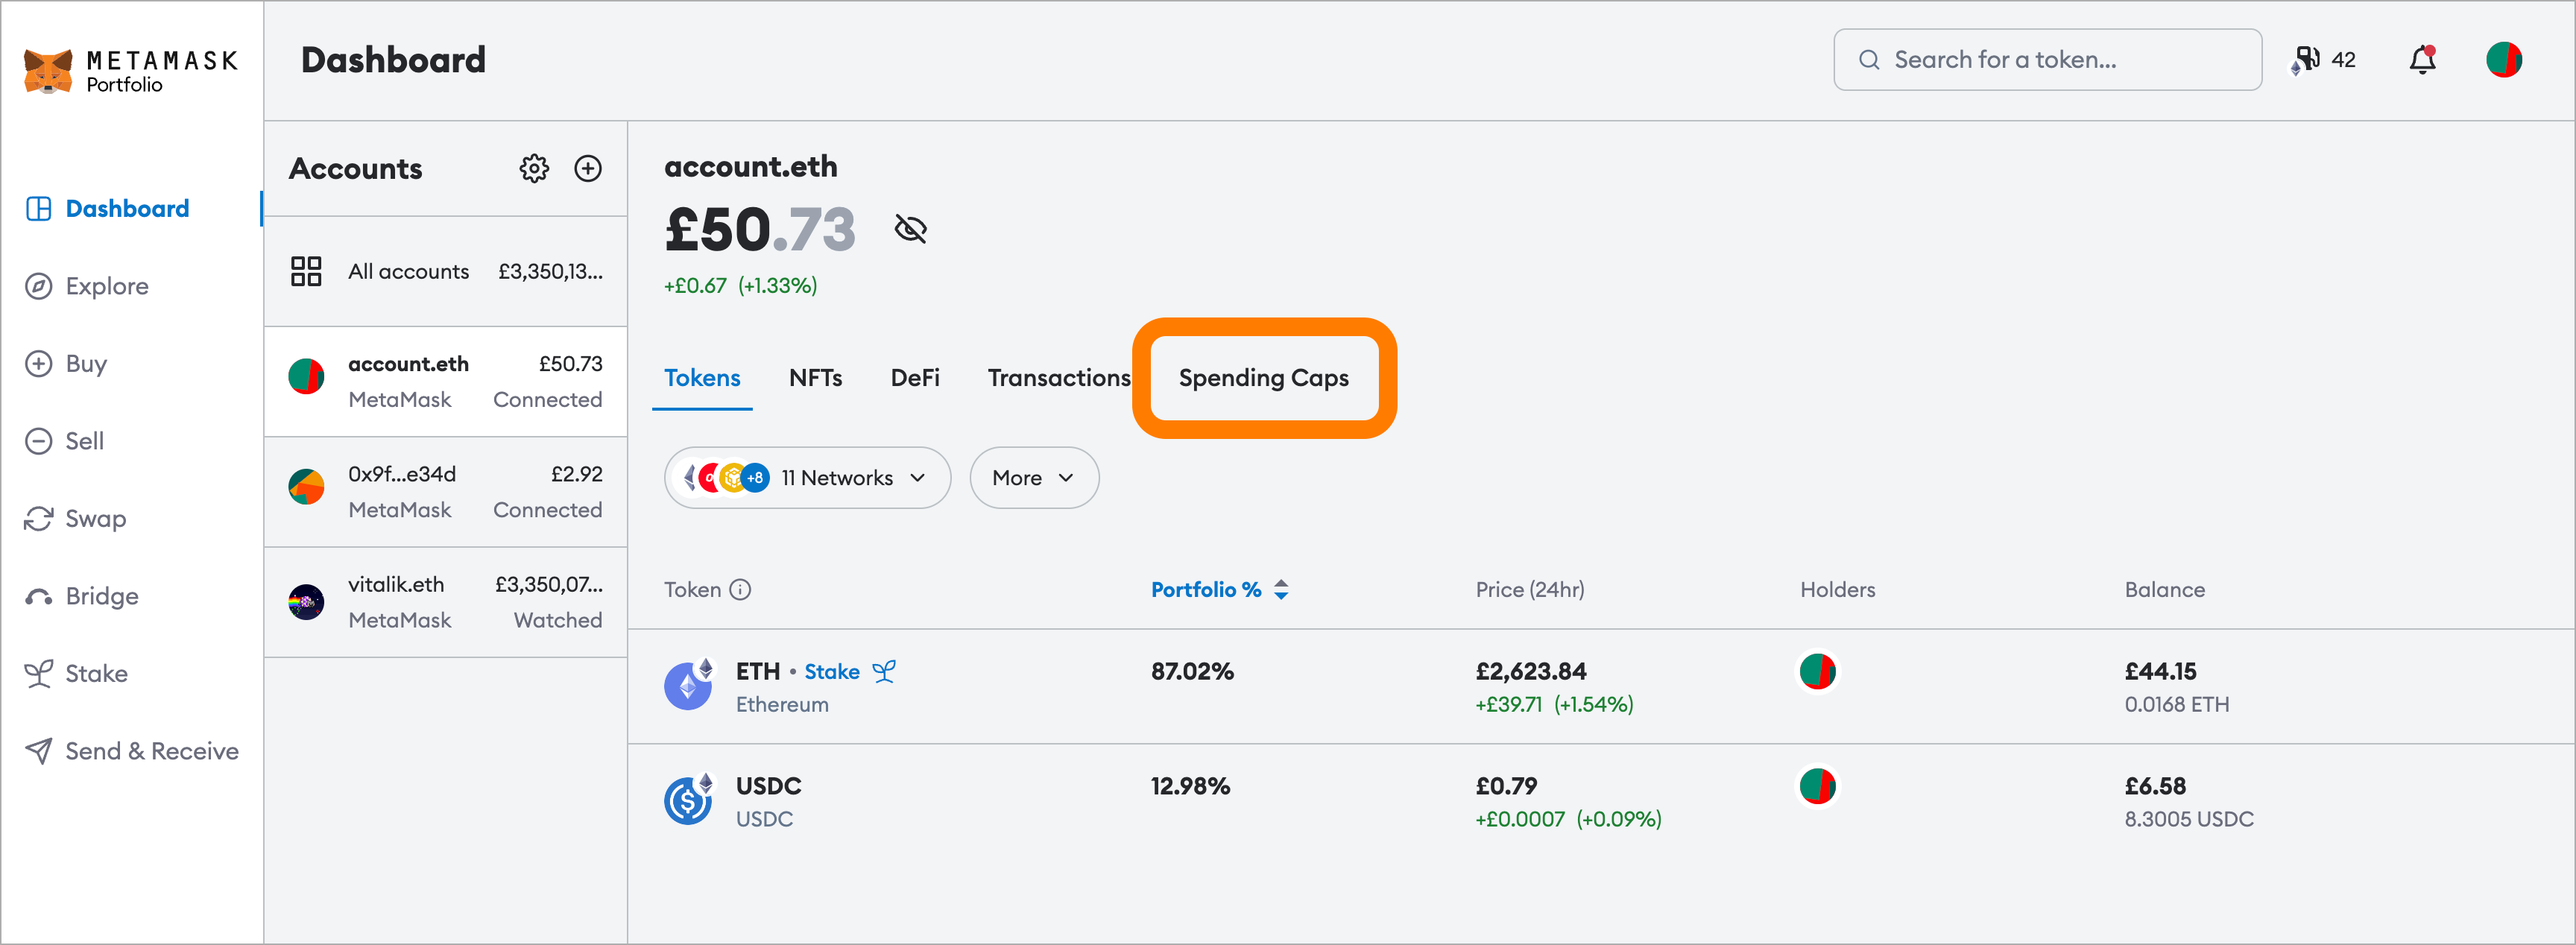
3. You should now see any spending caps on your account(s).
4. To revoke a spending cap, click the revoke button next to it:
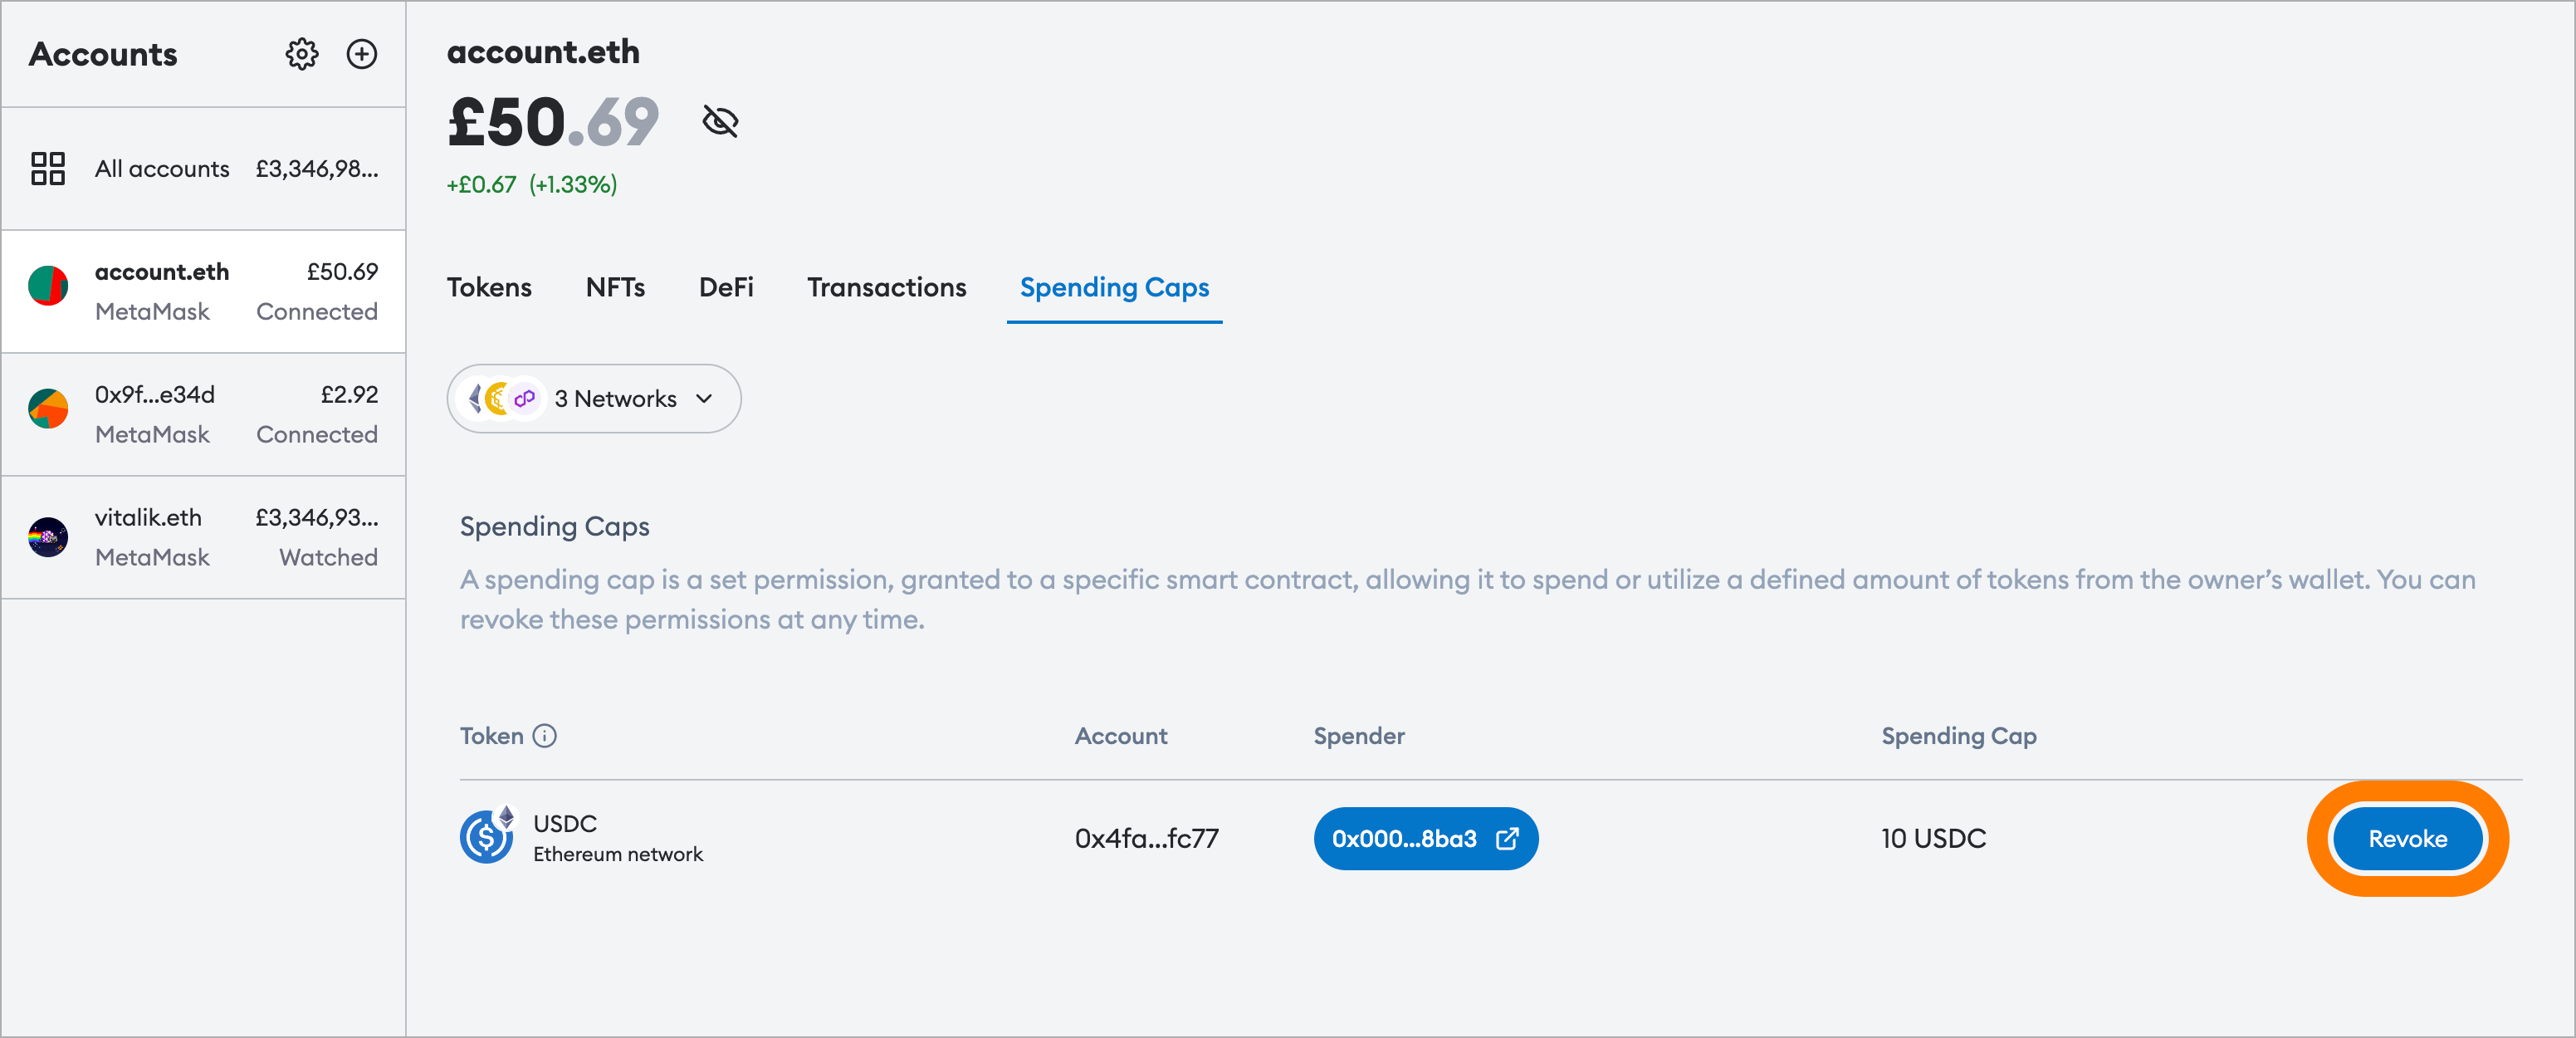
5. Submit the transaction in MetaMask. Since revocation requires submitting a transaction to the network, **you will need pay gas fees to revoke a spending cap**.
---
# What is an unverified token in MetaMask Portfolio?
URL: https://support.metamask.io/manage-crypto/portfolio/what-is-an-unverified-token-in-metamask-portfolio/
> What is an unverified token, and how to safely interact with one.
Once you get comfortable navigating through your [dashboard](/manage-crypto/portfolio/getting-started-with-the-metamask-portfolio-dashboard) and managing your [tokens](/manage-crypto/portfolio/how-to-import-a-token-in-metamask-portfolio) in MetaMask Portfolio, you might notice an info sign next to your token name. If you mouse over it, the following message is displayed, informing you the token is **unverified**.
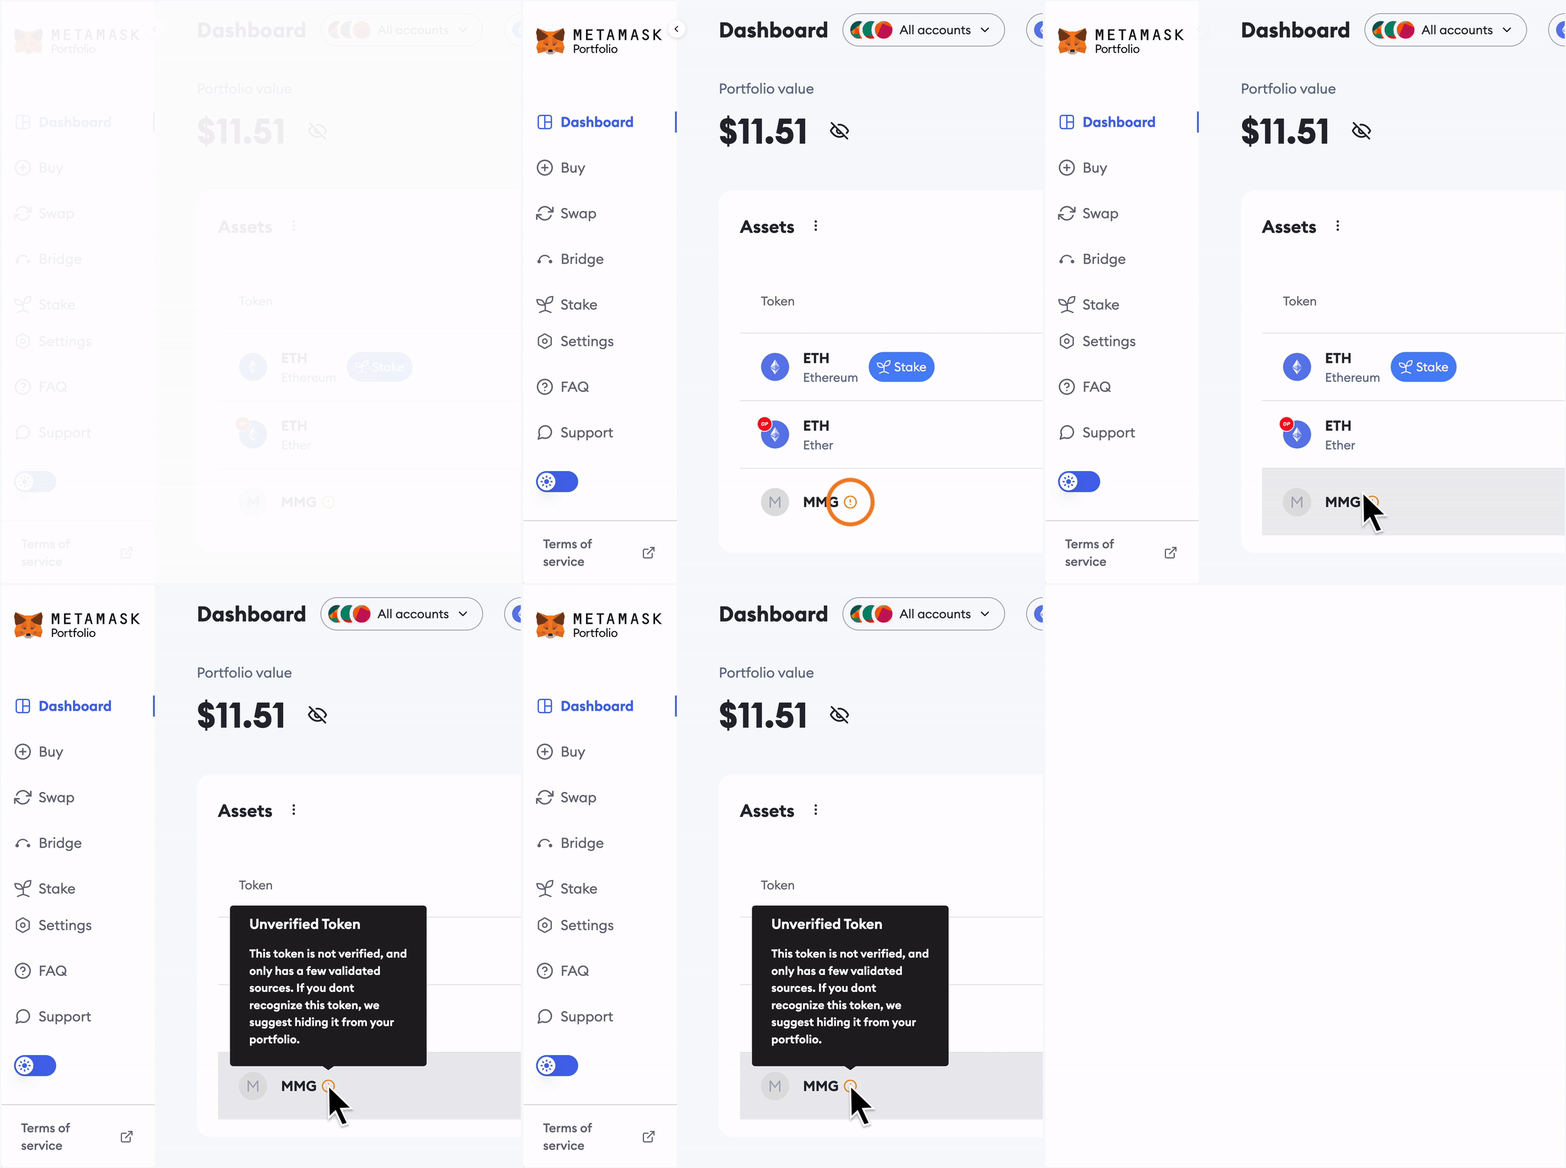
If a token is unverified, that means an insufficient number of sources can attest to its authenticity.
When MetaMask Portfolio sources tokens to display, we review the token **metadata**, which refers to additional information associated with a particular token. While the core function of a token is to represent a unit of value on a blockchain, token metadata provides supplementary details about the token, such as its name, symbol, total supply, decimals, and other attributes. For example, MetaMask Portfolio can use token metadata to show the token's name and symbol instead of its raw contract address.
In other words, an unverified token means **the token does not meet the verified listing criteria of MetaMask Portfolio**.
For a token to display as _verified_ in Portfolio, it must be verified on at least **three** third-party sources to ensure consensus on the correct data.
:::info
An unverified token doesn't necessarily mean the token is unsafe to interact with.
It does not affect your ability to perform transactions. It simply means we did not have enough trusted sources to verify its validity. If you know and trust the token, you can ignore the _Unverified Token_ warning you see displayed in Portfolio. It is important to note, however, that you should always conduct your own research before engaging with any token or project.
:::
MetaMask does not maintain an official list of approved or valid tokens. However, we maintain our own internal record of token metadata for some networks, but it is merged and compared with third-party sources.
---
# MetaMask Card tax implications
URL: https://support.metamask.io/manage-crypto/taxes/card-tax-implications/
> Learn more about what tax obligations you may have using MetaMask Card.
> By Nick Waytula, Head of Tax at Summ
:::info[Disclaimer]
MetaMask doesn’t provide tax advice. This article represents our stance on guidance received to date, which may continue to evolve and change. None of this should be considered as advice or an individualized recommendation, but it’s important to us that our users have relevant information available to them in the most accessible way possible. Please consult a local tax professional regarding your own tax circumstances.
:::
When you use MetaMask Card to make a purchase, MetaMask automatically converts your chosen crypto asset into fiat to complete the payment. In return, you are rewarded with mUSD back.
Generally, in the UK, the US, the EEA, Brazil, Colombia, Argentina, Mexico, and other jurisdictions where the MetaMask card operates, spending crypto on goods and services is a taxable event, which means you may need to report it on your tax return. Here’s what that means:
- Any time you spend crypto on your MetaMask Card, you’re technically selling it
- You must calculate a gain or loss based on the difference between the acquisition cost and the fair market value at the time of transaction (proceeds)
- Using a stablecoin for a purchase does not typically result in a material gain or loss
Depending on which cryptocurrency you choose to spend when you make purchases with MetaMask Card, it may have a significant effect on your tax outcome. Using USDC, USDT, or other stablecoins are generally more favorable than facilitating purchases with other cryptocurrencies.
The following scenarios illustrate a MetaMask Card transaction using either USDC (a stablecoin) or wETH. _Please note: not all assets mentioned may be available in your region_.
:::info[Local regulations]
It's important to check with a tax professional in your jurisdiction for local laws and regulations, as this guide provides general information, and is not financial advice.
:::
## Using a stablecoin {#using-a-stablecoin}
1. I purchase 3,000 USDC for $3,000.
2. I use my MetaMask Card to purchase a TV worth $3,000.
3. At the time of the transaction, 1 USDC is worth $1. Therefore, I used 3,000 USDC to purchase the TV.
4. MetaMask automatically converts my USDC to fiat.
5. I report the sale of 3,000 USDC on my tax return.
1. Cost basis = $3,000
2. Proceeds = $3,000
3. Gain = $0
4. mUSD back (3% using the Metal Card) = $90
6. When I file my tax return I must report the transaction to my local tax office. Because the stablecoin transaction does not result in a gain, there is no tax liability on the sale of USDC.
7. The tax treatment of the USDC rewards varies, so consulting a tax professional is advisable.
## Using wETH {#using-weth}
1. I purchased 1 wETH for $2,000.
2. I use my MetaMask card to purchase a TV worth $3,000.
3. At the time of the transaction, 1 wETH is worth $3,000. Therefore, I used 1 wETH to purchase the TV
4. MetaMask automatically converts my wETH to fiat.
5. I recognize a gain of $1,000 on the sale of 1 wETH to buy my TV.
1. Cost basis = $2,000
2. Proceeds = $3,000
3. Gain = $1,000
4. mUSD back (3%) = $90
6. When I file my tax return, I must report $1,000 of gain for this sale of wETH.
7. The tax treatment of the USDC rewards varies, so consulting a tax professional is advisable.
[Summ's US crypto tax guide](https://cryptotaxcalculator.io/us/guides/crypto-tax-us-guide/)
[Summ's UK crypto tax guide](https://cryptotaxcalculator.io/uk/guides/crypto-tax-uk-hmrc/)
[All Summ's crypto tax guides](https://cryptotaxcalculator.io/se/guides/crypto-tax-guides-by-country/)
_The information provided in this article is not tax, accounting or legal advice. It has been prepared without taking into account your objectives, financial situation or needs. Before acting on this information, you should consider the appropriateness of the information having regard to your own objectives, financial situation and needs and seek professional advice. Summ disclaims all and any guarantees, undertakings and warranties, expressed or implied, and is not liable for any loss or damage whatsoever (including human, computer error, negligent or otherwise, or incidental or Consequential Loss or damage) arising out of, or in connection with, any use or reliance on the information or advice in this website. The user must accept sole responsibility associated with the use of the material on this site, irrespective of the purpose for which such use or results are applied. The information in this website is no substitute for specialist advice._
---
# Common misconceptions about crypto taxes
URL: https://support.metamask.io/manage-crypto/taxes/common-misconceptions-about-crypto-tax/
> Explore the common myths around crypto taxation. Why assets are taxable, the blockchain isn’t anonymous, and why Form 1099s don’t always dictate your obligations.
:::info[Disclaimer]
MetaMask doesn’t provide tax advice. This article represents our stance on guidance received to date, which may continue to evolve and change. None of this should be considered as advice or an individualized recommendation, but it’s important to us that our users have relevant information available to them in the most accessible way possible. Please consult a local tax professional regarding your own tax circumstances.
:::
TL;DR:
- Selling, receiving, spending, or staking crypto are all taxable events that are viewed as either capital gains or income.
- Your transactions on the blockchain are visible to the public and can be tracked by tax authorities.
- In the US, even if you don’t receive a Form-1099, you still need to report all crypto activity on your tax return.
Despite the growing popularity of crypto assets, misconceptions about how those assets are taxed continue to circulate.
With the US tax deadline right around the corner, knowing how to properly report your [crypto taxes](/manage-crypto/taxes/us-tax-guide) will help you avoid difficulties with your tax authorities.
## Misconception: Crypto isn't taxable {#misconception-crypto-isnt-taxable}
As much as we’d all love for this to be true (hello, extra money!), it’s not. In most jurisdictions, crypto is taxed just like any other form of income. In the US specifically, crypto is treated and taxed as property.
If you’ve sold tokens, received crypto as a payment, swapped tokens through a [liquidity pool](/more-web3/learn/how-to-use-liquidity-pool-lp-tokens), staked rewards, or conducted any other transaction where you saw a capital gain or loss, it creates a taxable event that you need to [report to your local tax authority](/manage-crypto/taxes/us-tax-guide).
The only time crypto isn’t taxable is when you don’t receive a capital gain, loss or income. For example, if you bought crypto and held it, without making any other transactions, no taxable event would’ve occurred. Similar to when you buy stocks, you aren’t required to report them to your tax authority until a sale or exchange occurs.
There’s also a misconception that crypto-to-crypto swaps aren’t taxable, which isn’t the case either. When you trade one crypto for another (e.g. trading $BTC for $SOL), you are essentially selling one asset and gaining a new one. **This creates a taxable event**, requiring you to calculate and report any profit or loss based on **the value of the asset when you conducted the swap**. If you’re in the US, you must report each taxable event on [Form 8949](https://www.irs.gov/forms-pubs/about-form-8949).
## Misconception: Blockchains are anonymous {#misconception-blockchains-are-anonymous}
Although the creator of Bitcoin still remains anonymous, public blockchain networks are not. All transactions made on blockchains are available for the public to view and verify. For example, the Ethereum blockchain records every time an individual sends or receives ETH. If you go to [etherscan.io,](http://etherscan.io) you can see all of the transactions occurring on the Ethereum blockchain as well as the address they’re associated with.
Because of the public nature of crypto transactions, the IRS and other foreign tax agencies are able to [analyze transactions on the blockchain](https://cryptotaxcalculator.io/us/blog/irs-knows-your-crypto/) and link these back to your address. And since most major centralized crypto exchanges (CEXs), like Coinbase, Kraken, ByBit, etc., are required to follow know-your-customer (KYC) rules to verify their customers’ identity, **these authorities can easily identify and trace accounts linked to your personal identity**.
Beyond the trackable nature of blockchains, crypto regulation is constantly evolving, including data-sharing agreements. Starting in the US in 2025, all CEXs will be required to report crypto trades to the IRS using [Form 1099-DA](https://www.irs.gov/instructions/i1099da#:~:text=General). Therefore, beginning in the 2026 tax year, a number of digital brokers will have to send crypto users the same form to report proceeds from digital transactions, and then file it with the IRS.
In addition, advances in blockchain analytics and overall better understanding of this evolving technology are anticipated to make DeFi protocols ever easier to trace. That’s why it’s so important to report your crypto transactions to your local tax authority. Failing to properly report can lead to audits, penalties, and even legal consequences.
## Misconception: Airdrops and staking rewards are tax free {#misconception-airdrops-and-staking-rewards-are-tax-free}
Every crypto user and their neighbour has received an [airdrop](/stay-safe/protect-yourself/tokens-and-transactions/how-to-tell-the-difference-between-a-regular-airdrop-and-airdrop-phishing-scams) at some point. You may have been excited to have a free token appear in your account, but unfortunately, it’s not free money. Not in the eyes of the IRS, anyway. If you’re one of many crypto users who have received an airdrop, **you’ll have to report it as income to the IRS**.
The IRS considers receiving airdrops and [staking rewards](/trade/earn/stake/what-is-staking) as income the moment you receive them. This means that you owe taxes based on their fair market value at that point, even if you don’t sell them. But when or if you do decide to sell, you’ll have to calculate the capital gains or losses made on the tokens.
Therefore, in the US, if you’ve made income from an airdrop or staking rewards, you’ll have to report it on [Form 1040 – Schedule 1](http://www.irs.gov/pub/irs-pdf/f1040s1.pdf) under “Other Income.” Any gains or losses that have resulted from selling or trading an airdropped token will need to be reported with your capital gains tax. This may be different in other jurisdictions, such as [Germany](https://cryptotaxcalculator.io/de/guides/crypto-tax-germany/), which under certain conditions views receiving an airdrop as tax-free income. It’s best to check with your local tax authority to confirm how airdrops and staking rewards are treated in your country.
**Bottom line**: Airdrops can be sneaky, because even if a random token popped up in your account, you still may be liable to report it if it has value. So, you may need to check your account regularly to make sure there aren’t any tokens of value in your account you’re not aware of.
## Misconception: You only owe taxes to the IRS if you receive a Form 1099-B {#misconception-you-only-owe-taxes-to-the-irs-if-you-receive-a-form-1099-b}
**No, this isn’t the case.**
If you're unfamiliar with this scenario, here's a brief explanation:
The IRS wants to make sure you’re reporting your digital assets — like crypto – properly. Previously only used for stocks, [Form 1099-B](https://www.irs.gov/forms-pubs/about-form-1099-b) tracks the sale and acquisition of your assets. It shows your cost basis, overall proceeds, and capital gains and losses.
While some exchanges currently choose to issue Form 1099-B, starting with the 2025 tax year in the US, all crypto exchanges are required to send [Form 1099-DA](https://www.irs.gov/instructions/i1099da#:~:text=General) by January 31. This is another variation of Form 1099. It was created in response to criticisms claiming that it was difficult for crypto exchanges to accurately report users’ capital gains and losses. Therefore, if you’re trading on a centralized crypto exchange (CEX), you should expect to receive a version of Form 1099 yearly, starting in 2026.
However, if you don’t receive any variation of Form 1099, **this doesn’t mean you don’t owe any taxes to the IRS**. It could mean that you earned under the reporting threshold of $600, or you’re operating on a digital brokerage that does not yet issue a Form 1099.
Either way, **the IRS requires you to self-report all taxable crypto activity on your tax return**. Even if the exchange you’re trading on did not report your activity to the IRS, your [crypto transactions can still be tracked](https://cryptotaxcalculator.io/us/blog/irs-knows-your-crypto/). So it’s best to properly report all your crypto transactions to avoid any potential legal repercussions down the road.
## Use Summ's tax software with MetaMask {#use-summs-tax-software-with-metamask}
\*\*[Summ](https://portfolio.metamask.io/tax-hub) is the official [tax partner of MetaMask](https://metamask.io/news/metamask-tax-hub-crypto-tax-calculator). Thanks to this integration, with a few clicks, crypto tax compliance has never been easier.
Summ's tax hub can be accessed directly through the MetaMask Portfolio website. All you need to do is create a Summ account, and then connect the MetaMask accounts for which you need tax reports. We have a [full walkthrough of the process](/manage-crypto/taxes/tax-calculator) in this section.
Once you get set up, Summ's tax hub will import your transactions and calculate your MetaMask taxes, including complicated DeFi transactions. You can add as many accounts as you like from other wallets and centralised exchanges, to streamline the tax process and make your life easier.
Summ also provides tax reports that meet the local reporting standards of **dozens of local tax authorities, such as the IRS, HMRC, ATO, CRA, and many others**.
## Bottom line: Always consult a professional {#bottom-line-always-consult-a-professional}
While we do our best to offer accurate and up-to-date information, don't take our word for it.
**This article isn't tax advice. You should always consult a tax professional for personalized advice about your tax situation.**
---
# Common tax scams
URL: https://support.metamask.io/manage-crypto/taxes/common-tax-scams/
> Learn about how to stay safe from common tax scams.
> By Nick Waytula, Head of Tax at Summ
:::info[Disclaimer]
MetaMask doesn’t provide tax advice. This article represents our stance on IRS guidance received to date, which may continue to evolve and change. None of this should be considered as advice or an individualized recommendation, but it’s important to us that our users have relevant information available to them in the most accessible way possible. Please consult a tax professional regarding your own tax circumstances.
:::
## Are requests for tax payments or gas fees to release funds a scam? {#are-requests-for-tax-payments-or-gas-fees-to-release-funds-a-scam}
Yes, requests for prepayment of taxes or gas fees to release funds are almost always a scam. Here’s why:
1. **Legitimate platforms don’t require upfront payments** – Exchanges, wallets, and financial institutions never ask for gas fees or taxes before allowing you to withdraw funds.
2. **Gas fees are deducted automatically** – When making a crypto transaction, gas fees are paid directly from your wallet at the time of the transaction. You never need to send them separately to a third party.
3. **Taxes are handled through proper channels** – In most countries, crypto taxes are reported and paid through government tax agencies, not through random individuals or platforms demanding upfront payments.
4. **Common scam tactics** – Scammers often claim you must pay a “release fee,” “unlock fee,” or “verification tax” to access your funds. These are fake fees meant to trick you into sending money.
## What should I do if someone asks me to pay to unlock my MetaMask? {#what-should-i-do-if-someone-asks-me-to-pay-to-unlock-my-wallet}
If someone is asking you to pay to unlock your MetaMask, **this is a scam**. MetaMask **will never request** any payments, including taxes or fees, to unlock wallets or access funds.
If you get a request like this, here’s what you should do:
1. **Do NOT send any money** – This is a common scam tactic.
2. **Never share your Secret Recovery Phrase** – No legitimate support representative will ever ask for it.
3. **Secure your wallet** – If you’ve already shared any sensitive information, immediately transfer your funds to a new wallet with a fresh Secret Recovery Phrase.
5. **Check for malware** – Scammers often trick users into downloading fake MetaMask extensions or apps. Ensure you are using the official MetaMask site and extension.
If you’re locked out of your wallet, the only way to regain access is with your Secret Recovery Phrase. If you need further help, see [this guide](/configure/wallet/how-to-restore-your-metamask-wallet-from-secret-recovery-phrase) for more instructions.
## How to protect yourself {#how-to-protect-yourself}
Here are some more tips to help you protect yourself from tax scams:
1. **Verify the source** – If someone asks for fees or taxes upfront, it’s likely a scam. Check with your local tax office for legitimacy.
2. **Never send crypto to unknown addresses** – Once sent, crypto transactions are irreversible.
3. **Report suspicious activity** – If someone contacts you unexpectedly, pressures you to pay, and discourages you from seeking advice, it’s a red flag. Report the situation to the relevant authorities for assistance.
:::info[Disclaimer]
MetaMask does not provide tax advice and this article should not be viewed as such. For questions relating to your specific situation we strongly recommend speaking with a tax professional.
:::
---
# Compliance and auditing
URL: https://support.metamask.io/manage-crypto/taxes/compliance-and-auditing/
> Learn about compliance with tax authorities and auditing.
> By Nick Waytula, Head of Tax at Summ
:::info[Disclaimer]
MetaMask doesn’t provide tax advice. This article represents our stance on guidance received to date, which may continue to evolve and change. None of this should be considered as advice or an individualized recommendation, but it’s important to us that our users have relevant information available to them in the most accessible way possible. Please consult a local tax professional regarding your own tax circumstances.
:::
## Will MetaMask send tax forms to me or the government? {#will-metamask-send-tax-forms-to-me-or-the-government}
No, **MetaMask does not send tax forms to you or the government**. As a self-custodial wallet, MetaMask does not collect personal data or track your tax obligations.
However, you may still be responsible for reporting your crypto activity based on your country’s tax laws. We recommend keeping records of your transactions, checking with your local tax authority, and using tools like Summ or consulting a tax professional if needed.
## Will Summ send tax forms to me or the government? {#will-summ-send-tax-forms-to-me-or-the-government}
No, **Summ does not file tax forms** with the government or send them to you. It is a **self-service tool** designed to help you calculate your crypto taxes and generate reports based on the data you provide. You can then use these reports to file your taxes manually or share them with your accountant.
To access your tax reports, navigate to the "Reports" page in the Tax Hub from the MetaMask portfolio sidebar, where you can download them as needed.
If you have any questions about generating reports, visit [Summ's Help Center](https://help.cryptotaxcalculator.io/en/collections/3375429-step-3-get-your-tax-reports) for step-by-step guidance. If you need further assistance, you can also reach out to the **Summ support team** via the chat option in the bottom right corner of the platform.
## What should I do if I receive an audit notice related to my crypto transactions? {#what-should-i-do-if-i-receive-an-audit-notice-related-to-my-crypto-transactions}
It’s always best to keep a complete record of your crypto transactions using a tax tool like Summ. If you haven’t been doing this and received a crypto tax audit notice, don’t panic -- follow these steps.
### Review the notice {#review-the-notice}
- Identify the tax year(s) and specific information requested.
- Note the response **deadline** to avoid penalties.
### Gather your records {#gather-your-records}
- Collect transaction history from all crypto accounts you’ve used, such as exchanges and wallets (both hot and cold).
- Even if only certain years are under review, having your full transaction history ensures accurate tax reporting.
- Use a crypto tax tool like Summ's Tax Hub that specializes in accuracy to generate detailed reports.
### Consult a crypto-savvy tax professional {#consult-a-crypto-savvy-tax-professional}
- A local tax expert can help you ensure compliance and communicate with tax authorities.
### Respond accurately and on time {#respond-accurately-and-on-time}
- Provide clear, factual information backed by records.
- If you need more time, request an extension before the deadline.
### Stay compliant moving forward {#stay-compliant-moving-forward}
- Keep detailed transaction records.
- Use tax software to track crypto activity.
- Stay updated on tax regulations in your country.
## Will I pay lower taxes if I hold my crypto for more than a year? {#will-i-pay-lower-taxes-if-i-hold-my-crypto-for-more-than-a-year}
Possibly! If you hold your crypto for more than one year before selling, you may qualify for a lower long-term capital gains tax rate. This rate is typically lower than the short-term capital gains tax, which applies to assets sold within a year of purchase. It will also depend on your local tax laws.
While holding your crypto for a longer period isn't always practical, it's a simple and effective strategy to reduce your tax liability. Be sure to check your local tax regulations, as tax rates and rules may vary by country.
:::info[Disclaimer]
MetaMask does not provide tax advice and this article should not be viewed as such. For questions relating to your specific situation we strongly recommend speaking with a tax professional.
:::
---
# How to use MetaMask Tax Hub
URL: https://support.metamask.io/manage-crypto/taxes/tax-calculator/
> Use MetaMask's embedded Tax Hub.
> By Nick Waytula, Head of Tax at Summ
:::info[Disclaimer]
MetaMask doesn't provide tax advice. This article represents our stance on guidance received to date, which may continue to evolve and change. None of this should be considered as advice or an individualized recommendation, but it's important to us that our users have relevant information available to them in the most accessible way possible. Please consult a local tax professional regarding your own tax circumstances.
:::
## What is the Tax Hub? {#what-is-the-tax-hub}
MetaMask has partnered with Summ to provide an embedded tax calculator in MetaMask Portfolio. You can use this tax hub to download tax reports and learn more about your tax obligations.
## How to use the Tax Hub in MetaMask Portfolio {#how-to-use-the-tax-hub-in-metamask-portfolio}
Check out this video for a step-by-step guide on how to use the Tax Hub in MetaMask Portfolio, or keep reading for a written guide.
### Get started {#get-started}
1. Open MetaMask Portfolio. From the left-hand menu, select 'Tax Hub', or visit the tab directly at [this link](https://portfolio.metamask.io/tax-hub).
2. Sign in to the Tax Hub via one of the following methods:
- Sign in using your MetaMask.
- Sign in with your existing account details if you already have a Summ account.
- Create a new account with Summ using your email address.
For the purposes of this guide, we will log in using MetaMask.
3. Review the pop-up window asking permission to connect MetaMask with Summ's Tax Hub. Click 'Connect'.
4. Then, sign the confirmation request in your MetaMask by clicking 'Confirm'.
You are now signed in to Summ and can proceed with importing your tax information.
### Import your tax information {#import-your-tax-information}
Once you've signed in, you're ready to enter your information and get a free preview of your crypto taxes.
1. Select your tax jurisdiction. Search for your country in the search bar, or click the 'more' button to scroll through the full list.
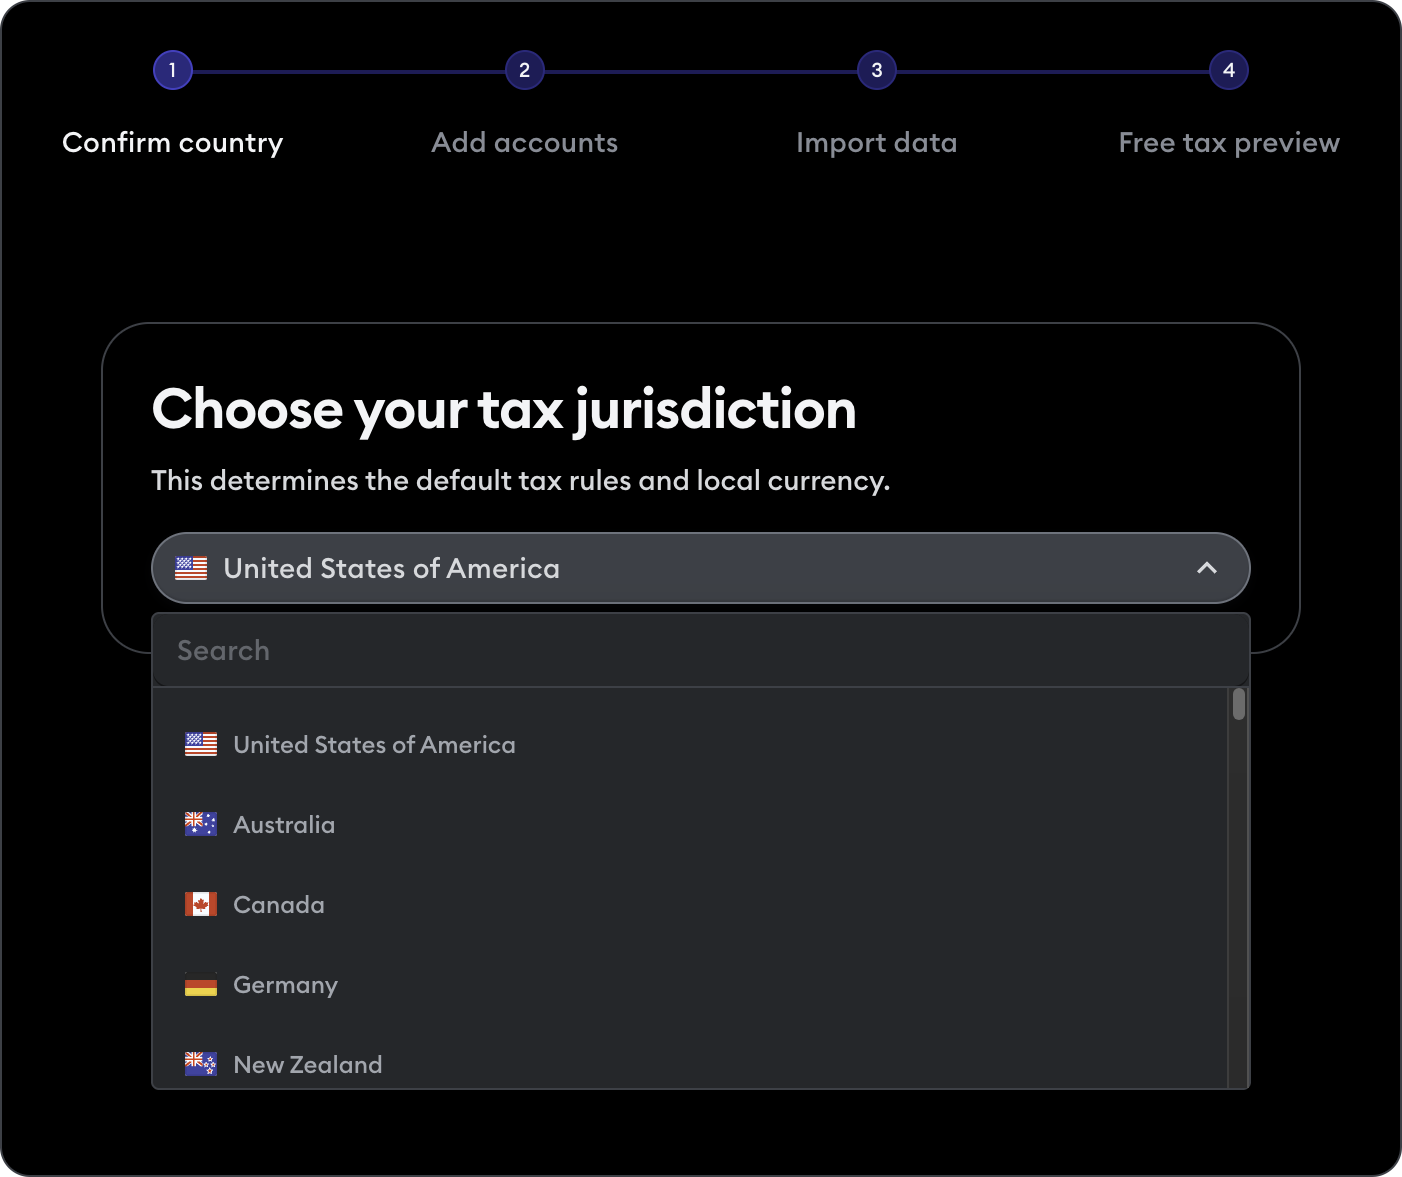
2. Once you select your jurisdiction, a confirmation will open at the bottom of the screen. Click 'Confirm' to proceed.
3. On the next screen, you'll see the public address from the MetaMask account you initially connected. Click 'Import transactions' to import the transactions from this account. You will be able to add more accounts later.
4. Wait for your transaction data to be calculated, then click 'View tax summary'. Note that the wait time depends on the number of transactions you have.
### Review your summary, add accounts, and complete any outstanding tasks {#review-your-summary-and-complete-any-outstanding-tasks}
You are now ready to review your data and get a tax report. For detailed instructions on how to use the Tax Hub, [visit Summ's dedicated guide](https://help.cryptotaxcalculator.io/en/articles/5279548-getting-started-with-crypto-tax-calculator).
1. First, review your summary data. This will give you an overview of your portfolio.
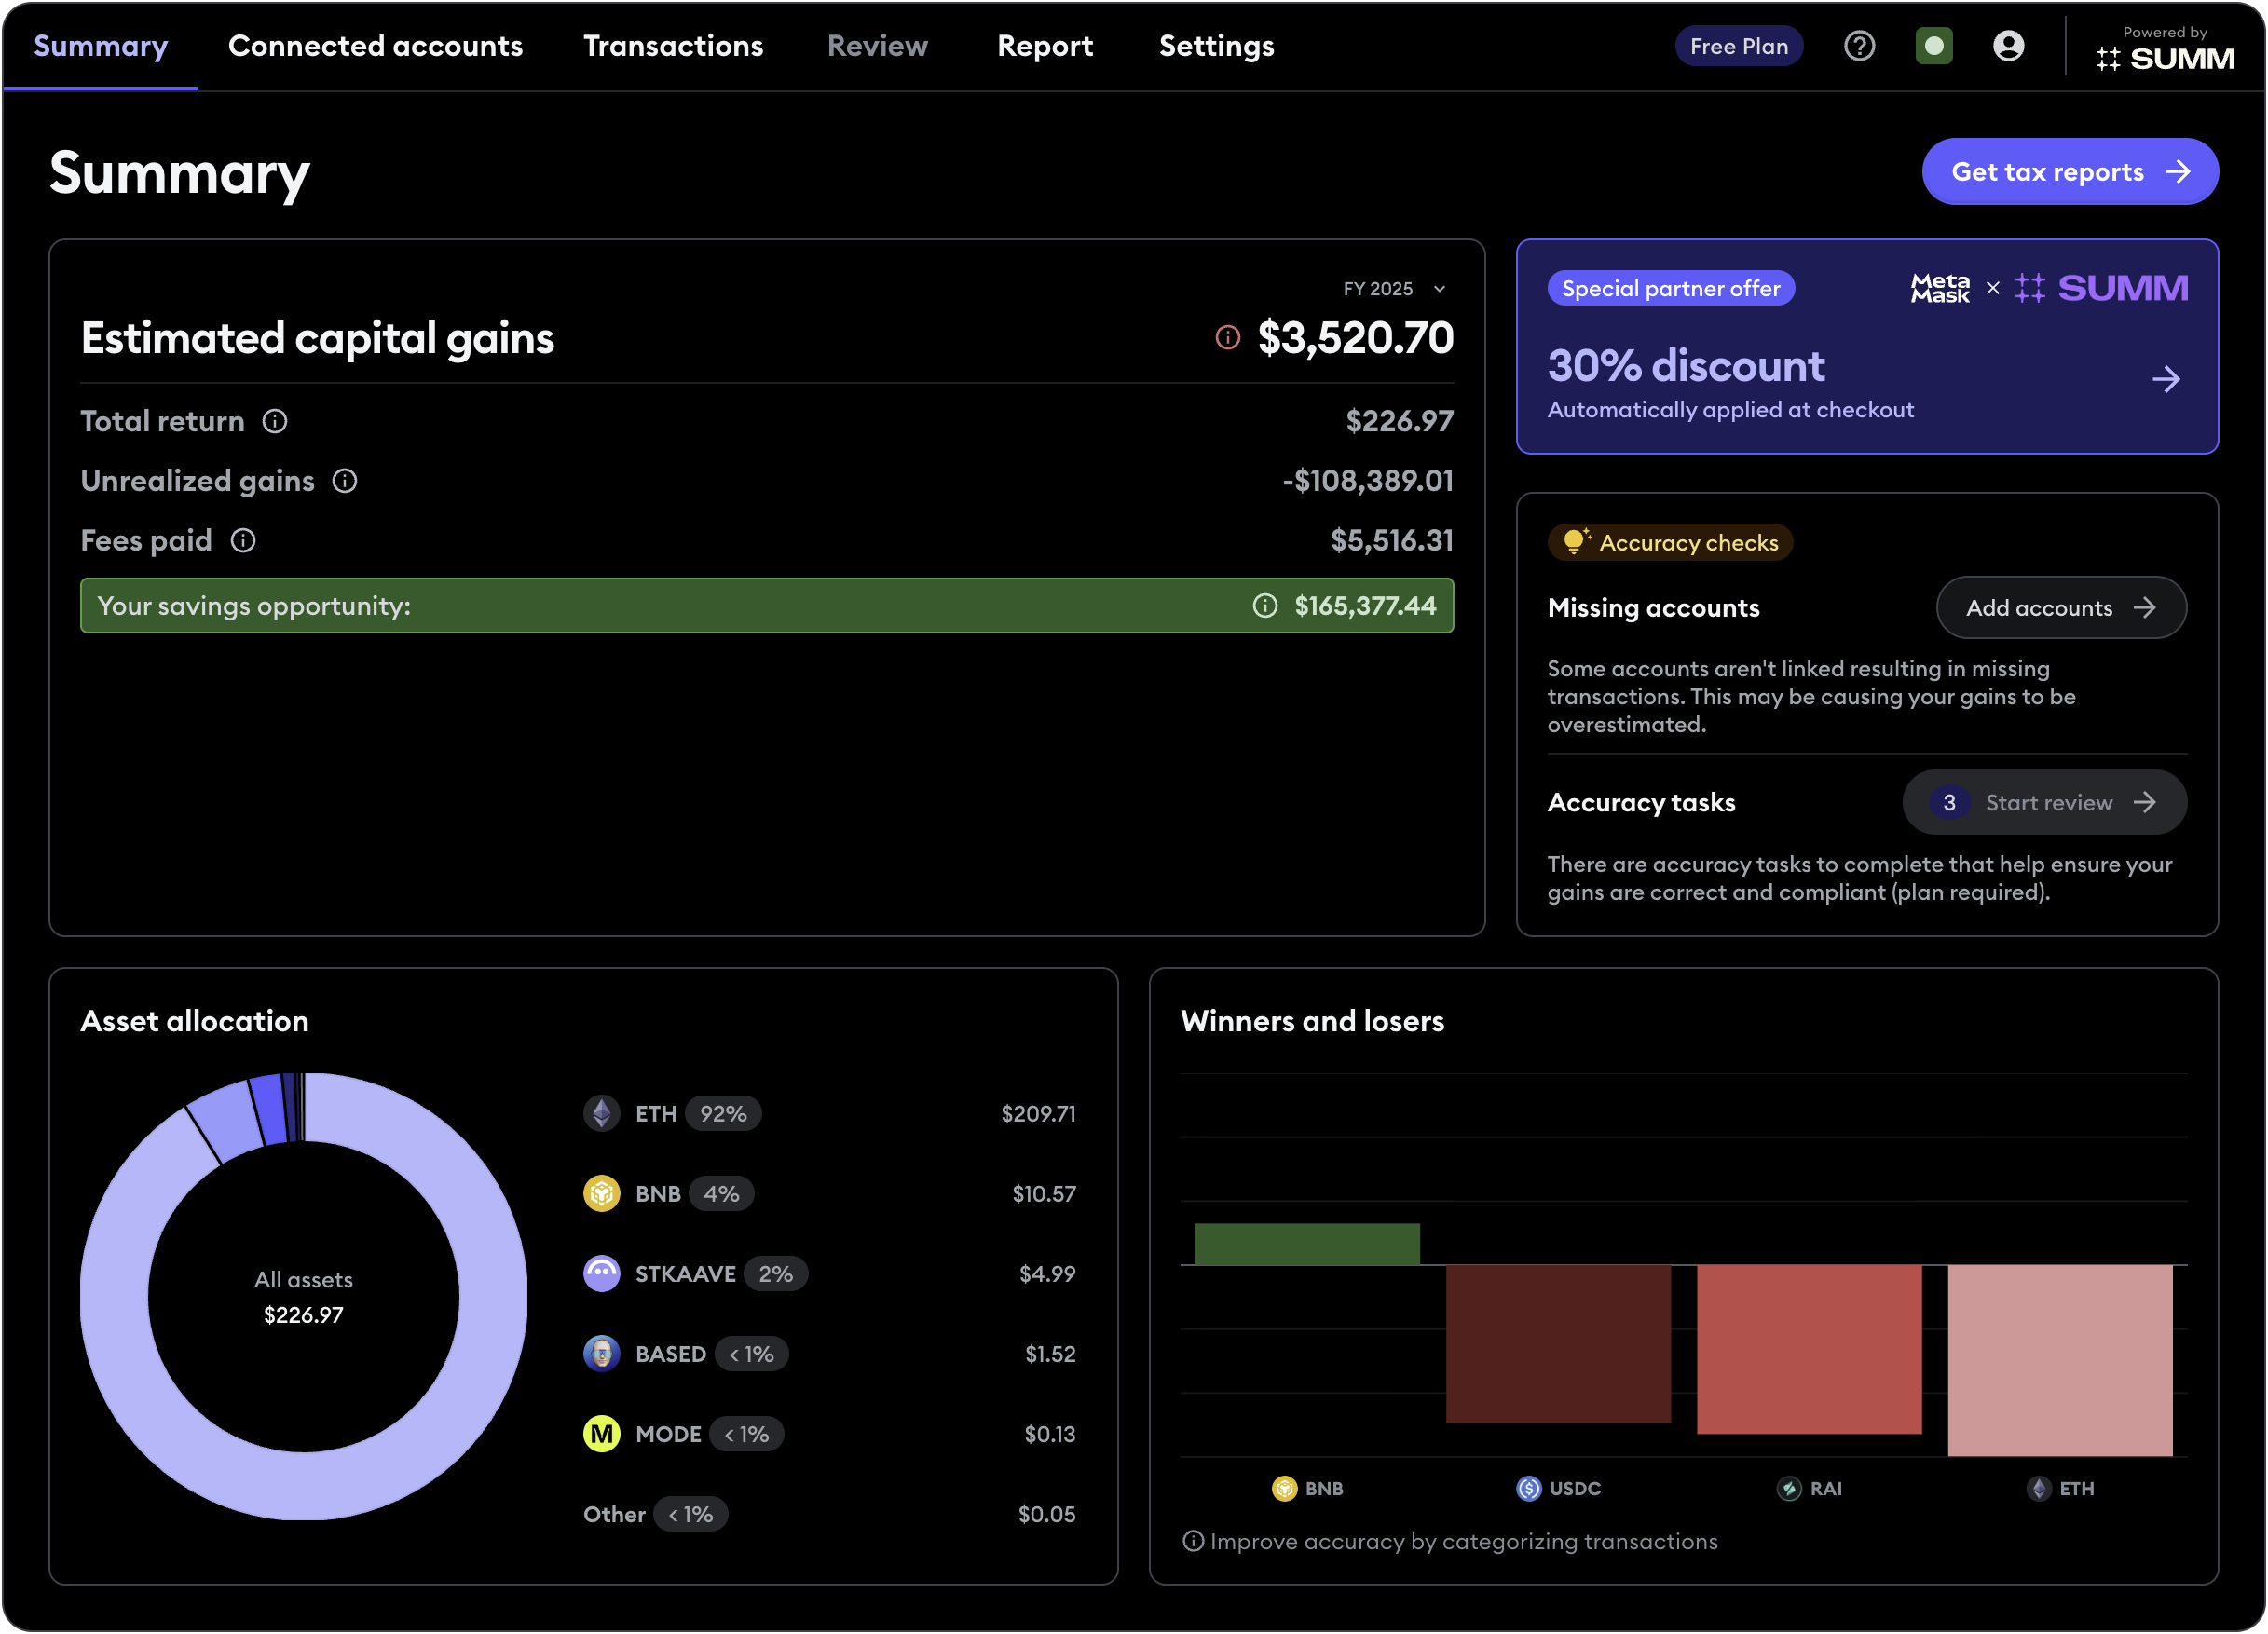
2. If you have additional accounts you want to connect, you can add these here by clicking 'Add accounts'. Summ's Tax Hub also suggests any accounts you may want to connect, such as deposit addresses from exchanges you have interacted with.
:::info[Add all your wallets and accounts]
To receive an accurate tax report, you must add all your wallets and accounts. This ensures an accurate cost basis for your assets and that the correct tax rules are applied to your transactions. Missing accounts or transaction data can lead to errors in reporting.
Summ has put together [a guide that explains how to ensure data completeness](https://help.cryptotaxcalculator.io/en/articles/10335143-how-to-ensure-data-completeness). It includes steps you can take if data is missing due to an exchange insolvency.
Add additional MetaMask accounts
Select MetaMask from the list of options.
You have three options to add more MetaMask accounts.
1. **Sync via API:** Simply paste your public address into the "Enter MetaMask Wallet Address" field and give it a name in the field below.
:bulb: Need help finding your address? [Read our help guide here.](/configure/wallet/how-to-copy-your-metamask-account-public-address-/)
2. **Connect MetaMask:** If you have several accounts in your MetaMask, this will add them in one go.
3. **Upload file:** You can use this option if you want to upload a CSV file containing your MetaMask transaction history.
:::
3. Then, review the "Accuracy tasks" window at the top right of the summary screen for any additional steps you need to take. This is necessary to ensure that you receive an accurate report.
4. Once these actions are completed, click on 'Get tax reports' to see your tax report.
### Choose a plan to view your report {#choose-a-plan-to-view-your-report}
Creating an account using the MetaMask Tax Hub gives you access to a free version of Summ, which is designed to give you an estimate of your tax obligations.
To receive a complete and accurate tax report that is ready to submit to your local tax office, you will need to **select a paid plan**.
As a MetaMask user, you automatically receive **[30% off all paid plans](https://cryptotaxcalculator.io/us/metamask/?coupon=MMCTC30&utm_source=metamask&utm_medium=referral&utm_campaign=blogarticle4)** for your first year when you sign up through the Tax Hub.
Select a plan depending on the number of transactions you require and the features you need. All plans provide unlimited integrations and annual tax reports for 100+ countries, including previous tax years.
**Investor** and **Trader** plans include features that identify several tax savings measures, including a proprietary tax minimization algorithm, multiple inventory methods, a tax loss harvesting tool, and advanced tax reports.
### Download your report {#download-your-report}
You can now return to the reports section of the website and download your report for your desired tax years.
To ensure accuracy, you should complete any [outstanding review tasks](https://help.cryptotaxcalculator.io/en/collections/2975868-step-2-review-for-accurate-results) before you [download a report](https://help.cryptotaxcalculator.io/en/collections/3375429-step-3-get-your-tax-reports).
1. Set your desired tax year or date range in the top left corner.
2. Select the reports you wish to download. These will differ depending on what country you selected as your tax jurisdiction.
3. Click 'Download selected' to download your reports. You can choose to receive them as PDF or CSV files.
Your reports are now ready to use to complete your tax return.
If you still have any questions about using the Tax Hub, you can read Summ's comprehensive [Getting Started guide](https://help.cryptotaxcalculator.io/en/articles/5279548-getting-started-with-crypto-tax-calculator), or reach out to their customer support team. You can contact Summ support by clicking this icon in the bottom right window of the Tax Hub.
If your request is not urgent, then you can browse the Summ [Help Center](https://help.cryptotaxcalculator.io/) or reach out using the [contact form](https://cryptotaxcalculator.io/us/contact/).
## After you've submitted your tax report {#after-youve-submitted-your-tax-report}
As a MetaMask user, you can [enjoy a 30% discount on your first year with Summ](https://cryptotaxcalculator.io/us/metamask/?coupon=MMCTC30&utm_source=metamask&utm_medium=referral&utm_campaign=blogarticle4), applicable to all plans. Once you've filed your taxes, there is still plenty to do with Summ.
You can monitor your portfolio's performance, review profit and loss, and keep track of your tax obligations throughout the year to help make sure you've got some funds set aside for tax time.
Depending on your plan, you may also be able to view actions you can take before the end of the tax year to help reduce your tax liability.
This includes the tax loss harvesting tool, which identifies underperforming assets you can sell to reduce your tax owed.
Make sure to check in from time to time, as new features are added frequently.
## What tax reports can I get from the MetaMask Tax Hub? {#what-tax-reports-can-i-get-from-the-metamask-tax-hub}
MetaMask Tax Hub offers a range of reports to solve your cryptocurrency tax reporting. You can download these reports in CSV or PDF formats for local review or to share with your tax professional. Where applicable, reports can also be exported in country-specific formats or integrated with popular tax software. For example, U.S. users can export reports compatible with IRS Form 8949 and TurboTax.
Refer to [this guide](https://help.cryptotaxcalculator.io/en/articles/5282115-how-to-generate-crypto-tax-reports-in-crypto-tax-calculator) for step-by-step instructions on accessing and downloading your crypto tax reports.
### Common crypto tax reports {#common-crypto-tax-reports}
The embedded tax hub provides various tax reports to assist with compliance and record-keeping. Below are some of the most commonly used reports:
| Report Name |
Description |
| Report Summary |
A high-level overview of your complete trading activity, including capital gains, income, and expenses. |
| Capital Gains Report |
Breakdown of capital gains and losses from buying, selling, and trading crypto, including short- and long-term
classifications.
|
| Income Report |
Details of all crypto income sources, such as staking rewards, mining, airdrops, and interest. |
| Miscellaneous Expense Report |
Records miscellaneous crypto-related expenses, including fees and other potentially deductible costs. |
| Transactions Report |
A detailed ledger of all transactions. |
| Inventory Report |
Summarizes your crypto holdings at the beginning and end of the financial year, reflecting unrealized
gains/losses.
|
| Derivative Trading Report |
Summarizes margin, futures, and derivatives trading profits. |
| Inventory Report |
Opening and closing balances, cost basis, and valuation of holdings. |
| Audit Transaction Report |
Lists all transactions, their source and modifications recorded by users. |
| Outgoing Gift and Lost/Stolen Assets Report |
Detailed record of every outgoing gift and lost/stolen transaction. |
| Start of Year Holdings Report |
Summary of your holdings at the start of the year. |
For country-specific report guides, visit [Summ's Country-Specific Guides section](https://help.cryptotaxcalculator.io/en/collections/3392923-country-specific-guides).
:::info[Disclaimer]
MetaMask does not provide tax advice and this article should not be viewed as such. For questions relating to your specific situation we strongly recommend speaking with a tax professional.
:::
---
# Tax Hub FAQs
URL: https://support.metamask.io/manage-crypto/taxes/tax-faqs/
> Frequently asked questions about crypto taxes.
## Getting started with Tax Hub
Is Summ the same as Crypto Tax Calculator?
Yes! Crypto Tax Calculator rebranded to Summ, but the product and offerings remain the same.
Will MetaMask generate my crypto tax report automatically?
MetaMask shows your wallet activity, but it doesn't calculate your tax position. That's a different job entirely, and it's exactly what Tax Hub is built for.
The MetaMask Tax Hub is a direct integration between MetaMask and Summ. To generate a tax report, you will need to sign up for a Summ account and import your MetaMask transactions to Tax Hub. This can be done automatically, no manual exports or CSV uploading required. From there, the Tax Hub's reconciliation engine handles the calculations and produces the reports you need at tax time.
Does MetaMask provide tax statements or do I need a third-party company?
MetaMask doesn't generate tax statements directly. Instead, MetaMask has partnered with Summ to provide the Tax Hub to help with your tax reporting.
Where do I find MetaMask Tax Hub, and how do I connect to Summ?
You can find the Tax Hub within MetaMask Portfolio. To connect to Summ, follow these steps:
1. Open MetaMask Portfolio and navigate to the dashboard.
2. From the dashboard, click 'Tax Hub' in the left-hand menu.
3. This will take you to the Tax Hub login window.
4. From here, you can either connect with MetaMask or sign up with an email and password.
5. If you sign up with an email and password, you'll be taken through a few onboarding questions before landing inside your Tax Hub account.
Is Summ an app?
Summ is a web based app that can be accessed from any browser. There is also a mobile app that can be accessed from the app store.
What is the cost of a submission-ready tax report?
The Tax Hub is free to sign up and use. You can import all your transactions, preview your portfolio, and see a sample report at no cost. To download a report you can actually file, you'll need a paid plan. The plans are as follows:
| Plan | Transactions | Price (USD/year) |
|------|--------------|------------------|
| Hobbyist | Up to 1,000 | $99 |
| Investor | Up to 10,000 | $249 |
| Trader | Up to 100,000 | $499 |
| Trader | Up to 200,000 | $999 |
| Custom | 200,000+ | Contact support |
One subscription covers all financial years. Pay once and you can download reports going all the way back to 2013, for as many years as you need, for as long as you're subscribed.
MetaMask users get 30% off all plans through the Tax Hub. The MetaMask discount is applied automatically at checkout. No code needed.
How do I get the MetaMask discount for Tax Hub
The MetaMask discount is applied automatically at subscription checkout. No code needed.
## Using Tax Hub
Can you send me my account statement or my full transaction history?
Tax Hub, powered by Summ, has an option to email your reports to you when they are generated. This includes a Transaction report that gives the complete record of your transactions, and an Audit report that shows your transactions and changes that have been made to them.
To send reports to your email, head to the Tax Hub settings.
How do I obtain a fiscal/tax certificate?
Tax Hub reports are formatted to be compliant with tax reporting obligations in your jurisdiction. Simply download the report you need and present it to your accountant or tax authority.
If you are unsure which reports you need, you can download the full report stack at no extra charge with an active subscription. There is also a subscription option to have pre-made packs with common reports needed for reporting.
How do I obtain an API key for tax reporting?
Many exchanges and wallets offer API options for importing the transactional data into Tax Hub. To obtain the API keys needed, head to the 'Accounts' page of Tax Hub and search for your wallet or exchange. If your wallet or exchange is supported, you will be provided with instructions on how to obtain the keys necessary.
How do I sync MetaMask transactions with my accounting program?
To sync your MetaMask transactions in Tax Hub, go to the 'Accounts' page from the menu on the left within Tax Hub.
If you are adding your MetaMask wallet for the first time, add a new integration and search for MetaMask. You will be provided with instructions to import your data, which involves adding in your public wallet address (no API key needed). Tax Hub will then start syncing all your data up till present day.
If you have already imported MetaMask, click the 'Sync' button next to MetaMask to bring in new data since the last import.
Can I generate a CSV report without signing up for Summ in Tax Hub?
No, a subscription is required to access the reports. You can view sample reports to see the format and structure of reports.
Do I need to provide statements to my accountant, and where can I find them?
You can use Tax Hub reports to file without requiring an accountant. If you are using an accountant, you can generate an 'Accountant Report' pack from the 'Reports' page. This will have all the reports an accountant will need to be able to file on your behalf. You can also collaborate with your accountant within the app if you require their assistance in importing and reconciling your data.
Where in Tax Hub can I find CSV files for taxes?
All the files you need for reporting your taxes are found in our 'Reports' page. As long as you have a paid subscription you can come into this page and download as many reports as you need for any tax year. Most reports have a CSV offering and a PDF.
How do I get my tax statement?
1. Open MetaMask Portfolio and navigate to the Tax Hub.
2. Connect your wallet. Tax Hub, powered by Summ, will automatically import and categorize your transactions.
3. Review your transactions to make sure everything looks accurate.
4. Head to the 'Reports' page and download your tax report in PDF or CSV format, ready to file or hand to your accountant.
Where can I download my full transaction history?
You can export your full transaction history from the 'Transactions' page in the Tax Hub. Note: This feature is only available on paid plans.
For a complete ledger-style record, set your date range to cover all activity before exporting. The file will include every transaction within your selected filters:
1. Open the 'Transactions' page and apply any filters you need, such as date range, asset, or account.
2. Click the download icon in the filter bar, or find 'Export Transactions' in the actions menu.
3. Choose to export the current page or all filtered transactions, then download as a CSV.
## Profit and loss reporting
How can I extract gains/losses?
To extract your gains and losses, head to the 'Reports' section of Tax Hub and download your 'Capital Gains Report'. This will show all your realized gains and losses for the selected tax year, and can be exported as a PDF or CSV.
How much % profit have I made?
You can find this on your 'Portfolio' page in Tax Hub. This page gives you an overview of your overall performance, including how much profit you've made across your crypto activity.
How do I pay profit tax?
Tax Hub calculates your crypto tax liability and generates the reports you need, but the actual payment of tax is done directly through your local tax authority. Summ recommends sharing your 'Capital Gains Report' with your accountant, or lodging it through your country's tax portal (e.g., ATO for Australia, IRS for the USA). If you're unsure how much you owe, your reports in Tax Hub will have that breakdown.
How do I get a profit and loss statement?
A report called the 'Capital Gains report' will provide a detailed breakdown of all your capital gains events and their tax consequences. Tax Hub also has a 'Derivative Trading Report' that will show this activity if you have it. These can all be accessed from the 'Reports' page with a paid subscription.
---
# Tax obligations
URL: https://support.metamask.io/manage-crypto/taxes/tax-obligations/
> Understand what tax obligations you may have.
> By Nick Waytula, Head of Tax at Summ
:::info[Disclaimer]
MetaMask doesn’t provide tax advice. This article represents our stance on guidance received to date, which may continue to evolve and change. None of this should be considered as advice or an individualized recommendation, but it’s important to us that our users have relevant information available to them in the most accessible way possible. Please consult a local tax professional regarding your own tax circumstances.
:::
This guide is designed to help you understand the tax obligations you may have. The following information is general in nature. Tax rules vary depending on your jurisdiction. For a list of country-specific tax guides, see [here](/manage-crypto/taxes/tax-obligations/#crypto-tax-guides-by-country).
## Common taxable events in crypto {#common-taxable-events-in-crypto}
Many crypto transactions are considered taxable events, meaning you could end up paying taxes on them.
:::info[Disclaimer]
The tax treatment of specific events will vary depending on your local tax jurisdiction. Different tax treatment may apply if you are trading or investing in cryptocurrency as a business. This information is general in nature, and you should seek professional guidance when preparing your taxes.
:::
The following are some common taxable events:
### Crypto-to-crypto swaps {#crypto-to-crypto-swaps}
A crypto-to-crypto swap is when you exchange one cryptocurrency for another. In most cases, swapping crypto is treated the same as selling it, for tax purposes. If there’s a capital gain, meaning it's increased in value since you purchased it, you could pay taxes on it.
### Staking {#staking}
Staking allows you to earn rewards for locking your cryptocurrency up to support DeFi network operations. Generally speaking, staking rewards may be treated as income when you receive them and then as capital gains if and when you sell them.
### Airdrops {#airdrops}
When you receive an airdrop, you receive free cryptocurrency, usually as a part of a marketing campaign. Sometimes, you’ll have to complete certain actions to earn it, while other times, you won’t have to do anything. Like staking, your airdropped coins may be considered income when you receive them, and also subject to capital gains when you sell them.
### Lending and borrowing {#lending-and-borrowing}
Borrowing cryptocurrency may not have any tax implications. However, lending cryptocurrency could create taxable income in the form of interest.
### Depositing and withdrawing liquidity into a pool {#depositing-and-withdrawing-liquidity-into-a-pool}
Participating in a liquidity pool can result in a taxable event when you deposit and withdraw your funds. However, the tax treatment varies depending on where you live.
### Rewards from liquidity pools and yield farming {#rewards-from-liquidity-pools-and-yield-farming}
Liquidity pools and yield farming are both ways to create liquidity in the crypto market. In both cases, you can earn rewards, similar to how you would when staking. Those rewards are likely to be considered taxable income.
### Wrapping tokens {#wrapping-tokens}
Wrapping tokens is the process of essentially creating a new coin to use on a non-native blockchain. There are different tax treatments for wrapping tokens depending on where you live.
### NFTs {#nfts}
Some tax authorities often treat non-fungible tokens (NFTs) just like cryptocurrency for tax purposes. The treatment of taxable events varies slightly by country.
## Capital gains on crypto transactions {#capital-gains-on-crypto-transactions}
Capital gains on crypto transactions are calculated much the same way as other investments, such as stocks and real estate. To calculate your gains, subtract your cost basis from the sale price. Your cost basis is the original price you paid for the crypto, including any fees. The sale price is the price you sold it for at the time of disposal, minus any fees.
### How to calculate capital gains on crypto transactions {#how-to-calculate-capital-gains-on-crypto-transactions}
1. Determine the cost basis: this is the price you originally paid for the cryptocurrency, including any transaction fees.
2. Determine the selling price: this is the amount you received when you sold the crypto, minus any transaction fees.
3. Calculate the gain or loss: subtract the cost basis from the proceeds
## Taxable events in Australia {#taxable-events-in-australia}
Learn about taxable events in Australia
**Disclaimer:** The following information applies to individual taxpayers and is general in nature. Different tax laws may apply if you are trading or investing in cryptocurrency as a business. You should seek professional guidance when preparing your taxes.
**Selling crypto for AUD or other fiat currencies**
Buying cryptocurrency with AUD isn’t usually a taxable event. However, there are tax implications for **selling** that crypto for fiat currency. In Australia, you are required to[ pay taxes on your capital gains from crypto](https://www.ato.gov.au/individuals-and-families/investments-and-assets/crypto-asset-investments/how-to-work-out-and-report-cgt-on-crypto).
The gain is the difference between the asset's cost base and the amount you sold it for. In Australia, your capital gains are taxed at the same rate as your other income – though you’ll be [eligible for a CGT discount](https://cryptotaxcalculator.io/au/guides/crypto-tax-australia/#the-50-cgt-discount) if you hold the asset for at least 12 months.
If your crypto has declined in value since you bought it, you’ll have a capital loss. You can subtract capital losses from your gains to reduce your net gain for the tax year. Any net capital loss can be carried forward to offset gains in future tax years.
**Crypto-to-crypto swaps**
Swapping one cryptocurrency for another in Australia is[ considered disposing](https://www.ato.gov.au/individuals-and-families/investments-and-assets/crypto-asset-investments/transactions-acquiring-and-disposing-of-crypto-assets/crypto-to-crypto-exchange-or-swap) of your original asset and buying another. As a result, you will have a CGT event and will be taxed on any gain (the difference between your cost base and the fair market value of the asset in AUD at the time of the swap).
For example, if you purchased $10,000 of Bitcoin (BTC) and later swapped it for Ethereum (ETH) when the BTC was worth $15,000, you could pay capital gains taxes on $5,000. Your new cost basis for the ETH is then $15,000.
**Staking**
In Australia, staking rewards are [treated as income](https://www.ato.gov.au/individuals-and-families/investments-and-assets/crypto-asset-investments/transactions-acquiring-and-disposing-of-crypto-assets/staking-rewards-and-airdrops#Stakingrewardsandincometaxtreatment).
You must report their fair market value in AUD as income at the time you received them.
Later, if you sell your staking rewards for more than their initial value, you will trigger a CGT event. If you sell them for less than the original value, you can report this as a capital loss.
**Airdrops**
Airdrops in Australia are [treated the same](https://www.ato.gov.au/individuals-and-families/investments-and-assets/crypto-asset-investments/transactions-acquiring-and-disposing-of-crypto-assets/staking-rewards-and-airdrops#Stakingrewardsandincometaxtreatment) as staking rewards. When you receive an airdrop, the fair market value of the coins at that time is considered taxable income, and you must declare it on your tax return. Later, if you sell these rewards and the value has changed, you will need to report a capital gain or loss.
**Lending and borrowing**
Borrowing cryptocurrency isn’t usually considered a taxable event in Australia. Instead, it’s simply treated as any other debt you must repay. However, loaning your crypto could have several tax consequences.
First, in Australia, loaning out your crypto is considered a disposal event, meaning you could have a CGT event. For example, if your crypto was worth $100 when you purchased it but $120 when you lent it out, you’d likely have a capital gain of $20 that you’d have to pay taxes on.
Additionally, any interest you receive from the loan is considered ordinary income, and you’ll have to pay income taxes on it.
**Depositing and withdrawing liquidity from a pool**
Depositing funds into a [liquidity pool](https://cryptotaxcalculator.io/au/guides/liquidity-pools/) is considered disposing of your crypto, which means you’ll have a CGT event if the asset’s value has appreciated since you acquired it.
When you withdraw your crypto from the pool (typically by exchanging a token representing your stake for your original assets), you may also face a taxable event if there has been a change in value.
**Rewards from liquidity pools and yield farming**
Any [rewards you earn](https://www.ato.gov.au/individuals-and-families/investments-and-assets/crypto-asset-investments/decentralised-finance-and-wrapping-crypto#ato-Liquiditypoolsandproviders:~:text=End%20of%20example-,Crypto%20asset%20DeFi%20interest%20and%20rewards,tokens%20is%20their%20market%20value%20at%20the%20time%20Craig%20acquires%20them) from liquidity pools or yield farming are treated as taxable income in Australia at the time you receive them. You are taxed on the market value of these rewards when they are credited to your account.
Later, if you sell these rewards at a profit, a CGT event will be triggered, much like with other crypto transactions.
**Wrapping tokens**
In Australia, wrapping and unwrapping crypto assets is treated as a crypto-to-crypto swap. You’ll have a CGT event when you wrap your crypto, and another if you decide to unwrap it later.
**NFTs**
The [tax treatment of NFTs in Australia](https://cryptotaxcalculator.io/au/guides/nft-tax-guide-au/) varies depending on several factors.
First, if you hold an NFT as a personal use asset – perhaps you buy it to display in your home – you may be exempt from capital gains taxes.
In cases other than personal use, you may be subject to capital gains or income taxes, depending on how you used the NFTs.
**Bridging tokens**
Bridging tokens allows you to transfer your crypto assets from one blockchain to another. It is generally regarded as a non-taxable event in Australia if you retain ownership of the tokens throughout the process.
However, some investors or tax experts may choose to treat bridging as a crypto-to-crypto swap, which could be considered a CGT event. It’s advisable to seek professional advice on your specific situation.
## Taxable events in the United Kingdom {#taxable-events-in-the-united-kingdom}
Learn about taxable events in the United Kingdom
**Disclaimer:** The following information applies to individual taxpayers and is general in nature. Different tax laws may apply if you are trading or investing in cryptocurrency as a business. You should seek professional guidance when preparing your taxes.
**Selling crypto for GBP or other fiat currencies**
In the United Kingdom, you are [required to pay Capital Gains Tax](https://www.gov.uk/guidance/check-if-you-need-to-pay-tax-when-you-sell-cryptoassets#:~:text=receive%20cryptoassets.-,When%20you%20may%20need%20to%20pay,tax-free%20allowance) (CGT) on the difference between what you paid for the asset and what you sold it for. If you made a profit, you will report a capital gain; if you made a loss, you will report a capital loss. Losses can be used to offset gains, reducing the total tax owed on your capital gains.
You are [eligible for a CGT allowance](https://cryptotaxcalculator.io/uk/guides/crypto-tax-uk-hmrc/#step-8-calculate-your-tax-liability) on the first £3,000 of gains (or £1,500 for trusts) in the 2025 tax year. This means that you won’t pay any tax CGT tax until your total gains exceed this threshold. Note that this applies to all CGT assets, not just cryptocurrency.
**Crypto-to-crypto swaps**
Crypto-to-crypto swaps in the United Kingdom are treated as [disposal events](https://www.gov.uk/guidance/check-if-you-need-to-pay-tax-when-you-sell-cryptoassets#:~:text=receive%20cryptoassets.-,When%20you%20may%20need%20to%20pay,%2C%20you%20may%20need%20to%20pay%20Capital%20Gains%20Tax%20on%20them). When you exchange one cryptocurrency for another, you must calculate your capital gain or loss by comparing your original cost basis with the fair market value of the asset you disposed of at the time of the swap.
**Staking**
In the United Kingdom, staking rewards are [generally treated as income](https://www.gov.uk/hmrc-internal-manuals/cryptoassets-manual/crypto61214#:~:text=How%20the%20return,or%20long-term). This means that when you receive staking rewards, the market value of the tokens in GBP at the time of receipt is added to your income and subject to income tax.
**Airdrops**
Like staking rewards, airdropped coins in the United Kingdom are treated as income. When you receive an airdrop, you must report the market value of the coins in GBP as income at the time of receipt. If you later sell these coins for a profit, you will need to pay Capital Gains Tax on the gain.
**Lending and borrowing**
Borrowing cryptocurrency in the United Kingdom typically does not have any tax implications.
However, if you lend your crypto and receive interest payments in return, those interest payments are usually treated as income and are taxable.
Additionally, if your loan collateral is liquidated due to a decline in its value, that event may be treated as a disposal, triggering a Capital Gains Tax event.
**Depositing and withdrawing liquidity from a pool**
Depositing into a [liquidity pool](https://cryptotaxcalculator.io/uk/guides/crypto-tax-uk-hmrc/#:~:text=subject%20to%20CGT.-,Providing%20liquidity,g.%2C%20%C2%A350)%20earned%20from%20the%20pool%20are%20subject%20to%20income%20tax.,-Events%20subject%20to) is generally considered to be disposing of your crypto asset, meaning you may pay capital gains taxes on the difference between your cost basis and the value at the time of the disposal. Additionally, you could have a capital gains tax even when you withdraw your asset, depending on its value at that time.
**Rewards from liquidity pools and yield farming**
Rewards earned from liquidity pools and yield farming in the United Kingdom are generally treated as income. You must include the market value of these rewards in your income when you receive them. Later, if you sell these assets at an increased value, any additional gain is subject to Capital Gains Tax.
**Wrapping tokens**
The United Kingdom doesn’t provide clear guidance on the tax treatment of wrapping tokens.
However, if you consider wrapping tokens to be the equivalent of exchanging one crypto asset for another, then you would need to pay capital gains taxes on any increase in the value of the original asset that you’re wrapping.
**NFTs**
The tax treatment of NFTs in the United Kingdom is the same as that of cryptocurrency. When you sell an NFT for more than you purchased or received it, you’ll pay capital gains taxes on the portion of the sale that is profit.
**Bridging tokens**
The United Kingdom doesn’t provide clear guidance on the tax treatment of bridging tokens.
However, it explicitly states that you don’t have a disposal – and, therefore, won’t pay capital gains taxes – in any transaction where you retain ownership of the tokens.
Therefore, if you consider that you retain ownership of your tokens in a bridging transaction, you can assume the transaction is not a taxable event.
## Crypto tax guides by country {#crypto-tax-guides-by-country}
Below are local guides from our expert tax partner, Summ. These guides will walk you through the local tax laws in your country and help you prepare a crypto tax report for your local tax authority.
- [United States](https://cryptotaxcalculator.io/us/guides/crypto-tax-us-guide/)
- [United Kingdom](https://cryptotaxcalculator.io/uk/guides/crypto-tax-uk-hmrc/)
- [Australia](https://cryptotaxcalculator.io/au/guides/crypto-tax-australia/)
- [Canada](https://cryptotaxcalculator.io/ca/guides/crypto-tax-canada-cra/)
- [South Africa](https://cryptotaxcalculator.io/za/guides/crypto-tax-south-africa/)
- [Ireland](https://cryptotaxcalculator.io/ie/guides/crypto-taxes-ireland/)
- [Germany (EN)](https://cryptotaxcalculator.io/de/guides/crypto-tax-germany/)
- [Germany (DE)](https://cryptotaxcalculator.io/de/guides/deutscher-krypto-steuerleitfaden/)
- [France (EN)](https://cryptotaxcalculator.io/fr/guides/crypto-tax-france/)
- [France (FR)](https://cryptotaxcalculator.io/fr/guides/taxe-crypto-france/)
- [Sweden (EN)](https://cryptotaxcalculator.io/se/guides/crypto-tax-sweden/)
- [Sweden (SV)](https://cryptotaxcalculator.io/se/guides/sweden-crypto-skatteguide/)
- [Norway (EN)](https://cryptotaxcalculator.io/no/guides/crypto-tax-norway/)
- [Norway (NO)](https://cryptotaxcalculator.io/no/guides/kryptoskatt-norge/)
- [Spain (EN)](https://cryptotaxcalculator.io/es/guides/crypto-tax-spain/)
- [Finland (EN)](https://cryptotaxcalculator.io/fi/guides/crypto-tax-finland/)
- [Belgium (EN)](https://cryptotaxcalculator.io/be/guides/crypto-tax-belgium/)
- [Italy (EN)](https://cryptotaxcalculator.io/it/guides/crypto-tax-italy/)
- [Greece (EN)](https://cryptotaxcalculator.io/gr/guides/crypto-tax-greece/)
- [Austria (EN)](https://cryptotaxcalculator.io/at/guides/crypto-tax-austria/)
- [Japan (EN)](https://cryptotaxcalculator.io/jp/guides/crypto-tax-japan/)
## Other FAQs {#other-faqs}
Do I need to pay taxes on cryptocurrency purchases, or only on sales?
Buying cryptocurrency with fiat currency (aka the legal government currency in your country) isn’t usually a taxable
event. However, there are usually tax implications for selling that crypto for fiat currency, especially if it's
worth more than when you bought it.
How do I report gas fees or transaction fees for tax purposes?
Gas and transaction fees can often be deducted or factored into your crypto tax calculations, depending on your country’s tax laws. Below are some common types of fees and how they may be treated:
- Trading fees (buying/selling crypto) – Usually added to the cost basis or deducted from proceeds.
- Transaction fees for transfers (sending between wallets) – May not be deductible, but some tax authorities allow them as expenses.
- Staking, DeFi, or NFT-related fees – May be deductible as business or investment expenses, depending on local regulations.
While this may seem complex, a crypto tax tool like Tax Hub can automatically track gas fees and categorize them in your tax reports.
Once all fees are recorded, generate the necessary reports and submit them to your tax authorities. If you’re unsure about specific tax rules, consult a local tax professional to ensure compliance.
Do I need to prepay taxes for releasing locked funds?
It depends on how the locked crypto is being released and your local tax laws.
- If the crypto was already yours (e.g., vested tokens, staking rewards unlocking, or time-locked assets you previously owned), you typically don’t need to prepay taxes just to access them. However, you may owe taxes when you dispose of them.
- If you’re receiving new income (e.g., protocol rewards, employer token grants, or locked airdrops becoming available), you may need to report and prepay estimated taxes to your local tax office based on your country’s tax rules.
That said, if someone is asking you to pay taxes upfront before releasing your funds, be cautious—it could be a scam. Always verify with official tax authorities before making any payments.
Since tax rules vary by location, it’s best to check with a tax professional to determine your obligations.
Am I required to pay taxes to access my funds?
No, simply accessing your funds in MetaMask is not a taxable event. As a self-custodial wallet, MetaMask does not report your transactions to tax authorities.
However, depending on your country’s tax laws, you may owe taxes when you engage in certain activities, including but not limited to:
- Selling crypto for fiat (e.g., USD, EUR)
- Swapping one crypto for another
- Using crypto for purchases
- Earning crypto through staking, mining, or rewards
Since tax regulations vary, we recommend consulting a local tax professional or using a crypto tax tool like the Tax Hub to track your transactions and ensure compliance.
:::info[Disclaimer]
MetaMask does not provide tax advice and this article should not be viewed as such. For questions relating to your specific situation we strongly recommend speaking with a tax professional.
:::
---
# How to download your transaction history for tax reporting
URL: https://support.metamask.io/manage-crypto/taxes/transaction-history-reporting/
> Learn how to report your transaction history.
> By Nick Waytula, Head of Tax at Summ
:::info[Disclaimer]
MetaMask doesn’t provide tax advice. This article represents our stance on guidance received to date, which may continue to evolve and change. None of this should be considered as advice or an individualized recommendation, but it’s important to us that our users have relevant information available to them in the most accessible way possible. Please consult a local tax professional regarding your own tax circumstances.
:::
## Use a blockchain explorer {#use-a-blockchain-explorer}
MetaMask does not currently have a built-in feature to export transaction history as a CSV or PDF file, but you can retrieve your data using the following method:
1. **Copy your account address:** Open MetaMask, click on your account name, then tap the **three dots** next to it.
2. **Open the blockchain explorer:** Click **“View on Etherscan”** (or the relevant explorer, such as BaseScan, ArbiScan, etc.).
3. **Export your transaction history:** Scroll to the bottom of the explorer page and click **“CSV Export”** to download your data.
## Use a crypto tax tool {#use-a-crypto-tax-tool}
1. **Connect your MetaMask** to a third-party crypto tax tool like Summ.
2. **Import transactions** by entering your account address.
3. **Generate tax reports** in CSV or PDF format.
:::info[Safety reminders]
- Only use trusted third-party tools and verify their security before connecting your MetaMask.
- **Never share** your **Secret Recovery Phrase** with any platform, service, or individual.
:::
:::info[Disclaimer]
MetaMask does not provide tax advice and this article should not be viewed as such. For questions relating to your specific situation we strongly recommend speaking with a tax professional.
:::
---
# United States tax guide
URL: https://support.metamask.io/manage-crypto/taxes/us-tax-guide/
> Learn about regional tax obligations in the United States.
> By Nick Waytula, Head of Tax at Summ
:::info[Disclaimer]
MetaMask doesn’t provide tax advice. This article represents our stance on IRS guidance received to date, which may continue to evolve and change. None of this should be considered as advice or an individualized recommendation, but it’s important to us that our users have relevant information available to them in the most accessible way possible. Please consult a tax professional regarding your own tax circumstances.
:::
This guide covers common tax obligations in the United States only. For a more general overview of crypto tax obligations, see [this guide](/manage-crypto/taxes/tax-obligations).
## Are crypto-to-crypto trades taxable in the US? {#are-crypto-to-crypto-trades-taxable-in-the-us}
A crypto-to-crypto swap is when you exchange one cryptocurrency for another. In most cases, swapping crypto is treated the same as selling it for tax purposes. If there’s a capital gain – meaning it’s increased in value since you purchased it – you could pay taxes on it.
In the United States, you’ll [pay capital gains taxes](https://cryptotaxcalculator.io/us/guides/crypto-tax-us-guide/#:~:text=Crypto-to-crypto,it%20to%20USD) based on the difference between your cost basis and its fair market value at the time of the swap. Swaps are essentially treated as two different transactions: selling your original crypto and then purchasing a different one for the same amount.
For example, if you purchased $10,000 of Bitcoin (BTC) and later swapped it for Ethereum (ETH) when the BTC was worth $15,000, you could pay capital gains taxes on $5,000. Your new cost basis for the ETH is then $15,000.
## Is selling crypto a taxable event in the US? {#is-selling-crypto-a-taxable-event-in-the-us}
Buying cryptocurrency with US dollars isn’t usually a taxable event. However, there are usually tax implications for **selling** that crypto for fiat currency, especially if it's worth more than it was when you bought it.
In the United States, you typically [pay capital gains taxes](https://www.irs.gov/taxtopics/tc409) on any property that has increased in value since you purchased it. When you sell a cryptocurrency, you’ll pay capital gains taxes on the difference between your cost basis – typically the amount you purchased it for – and the amount you sold it for. You must still report the transaction on your taxes even if you sold for a loss.
The amount you’ll pay depends on how long you hold the crypto. Assets held one year or less are subject to ordinary income taxes, while assets held longer are offered a lower long-term capital gains tax rate.
It’s important to note that if your crypto has declined in value since you bought it, you’ll have a capital loss. You can use capital losses to offset your capital gains and lower your tax burden.
## Is staking crypto a taxable event in the US? {#is-staking-crypto-a-taxable-event-in-the-us}
Staking allows you to earn rewards for locking your cryptocurrency up to support DeFi network operations. In the United States, staking rewards are [treated similarly](https://cryptotaxcalculator.io/us/guides/crypto-tax-us-guide/#:~:text=Receiving%20staking%20rewards,your%20tax%20return) to the interest earned in your high-yield savings account. It’s considered income, meaning you’ll pay income taxes on the rewards based on their value when you receive them.
If you later decide to sell your staking rewards, you may also be subject to capital gains taxes on its increased value. For example, if you received $50 worth of a coin as a staking reward, you’d pay income taxes on that $50. If you later sold the coin for $75, you’d pay capital gains taxes on the $25 value increase.
## How are liquidity pools taxed in the US? {#how-are-liquidity-pools-taxed-in-the-us}
Participating in a liquidity pool can result in a taxable event when you deposit and withdraw your funds. In the United States, [depositing into a liquidity pool](https://cryptotaxcalculator.io/us/guides/liquidity-pools/) is typically treated as if you are disposing of that cryptocurrency. For example, if you deposited $5,000 into a liquidity pool, you could be subject to capital gains taxes on the difference between your cost basis in the crypto and its current $5,000 value.
The same goes when you withdraw from the liquidity pool. You’re often given a token that represents your stake in the pool. When you ultimately exchange that token for your original assets when withdrawing, this creates a taxable event and you could pay capital gains taxes if your asset has increased in value.
### Rewards from liquidity pools and yield farming {#rewards-from-liquidity-pools-and-yield-farming}
Liquidity pools and yield farming are both ways to create liquidity in the crypto market. In the United States, rewards you earn from liquidity pools and yield farming are treated roughly the same as staking rewards. You’ll pay income taxes on your rewards based on their value when you earn them. For example, if you receive crypto rewards equal to $1,000, you’ll pay taxes on an additional $1,000 of income.
In both cases, you may also be subject to capital gains taxes if you eventually sell your rewards for more than they were worth when you received them.
## How are wrapped tokens taxed in the US? {#how-are-wrapped-tokens-taxed-in-the-us}
Wrapping a token involves depositing a coin or token into a smart contract and receiving a new asset with similar properties. In the United States, wrapping tokens is often treated as a crypto-to-crypto swap. You’re swapping your original crypto for the newly created wrapped coin. These transactions have the same tax implications as other swaps. You’ll pay capital gains taxes on the increase in your crypto’s value from its cost basis.
You may also encounter an argument for a more tax-friendly (but also riskier) approach, where there’s no taxable event. Rather than looking at it as a swap, some investors choose to consider it as maintaining their original cryptocurrency. However, the IRS has not provided specific guidance for such an approach. It’s best to consult an accountant or tax agent before interpreting the law this way.
## What is the tax treatment of airdrops in the USA? {#what-is-the-tax-treatment-of-airdrops-in-the-usa}
When you receive an airdrop, you receive free cryptocurrency, usually as part of a marketing campaign. Sometimes, you’ll have to complete certain actions to earn it, while other times, you won’t have to do anything.
In the United States, the[ tax treatment of airdropped coins](https://cryptotaxcalculator.io/us/blog/crypto-airdrop-tax/) is almost identical to that of staking rewards. When you initially receive the airdrop, you’ll pay income taxes on the value of the crypto when you receive it. Then, if and when you eventually sell your airdropped coins, you’ll pay capital gains taxes on their increased value.
## How is lending and borrowing taxed in the US? {#how-is-lending-and-borrowing-taxed-in-the-us}
Lending cryptocurrency doesn’t create a taxable event at the time you give the loan. However, you’ll pay income taxes on any interest you receive upon repayment of the loan, just as you would any other type of interest income.
Borrowing doesn’t create a taxable event when you borrow or repay the loan. However, in some specific situations – such as business-related loans – you may be able to deduct your interest expenses.
There could also be tax consequences if your [loan collateral is liquidated](https://cryptotaxcalculator.io/us/guides/the-ultimate-defi-tax-guide-us/), which sometimes happens if your collateral declines in value and you no longer meet the loan-to-value ratio required by your loan platform. A forced liquidation is treated as if you sold your crypto, which could result in a capital gain or loss. If this results in you now owning the crypto you originally borrowed, a new cost basis is established at the time of the liquidation.
## How are NFTs taxed in the US? {#how-are-nfts-taxed-in-the-us}
The IRS often treat non-fungible tokens (NFTs) just like cryptocurrency for tax purposes (though there are some notable exceptions). The IRS considers NFTs to be property, just like cryptocurrencies. When you sell an NFT, you will likely pay capital gains (or be able to claim capital losses) on the difference between your cost basis and the amount you sell it for. If the NFT was purchased with crypto like ETH or SOL, the purchase of the NFT will result in a taxable event with the cost basis of the NFT equal to the proceeds of the sold crypto used for the purchase, plus any fees.
There could be an important distinction, though. In 2023, the[ IRS and the Department of the Treasury requested feedback](https://www.irs.gov/newsroom/irs-issues-guidance-seeks-comments-on-nonfungible-tokens) on the possibility of treating NFTs as collectibles. Collectibles are subject to a higher 28% capital gains tax rate, meaning you’d pay more for your NFT gains than your crypto gains.
And if you receive NFTs as income for any purpose (i.e. airdrop, fork, payments, etc), you’ll have to claim their value as taxable income on your tax return.
The value of NFTs can often be difficult to define due to their fungible nature and lack of a clear, highly liquid market like crypto. There isn't clear guidance on how to value NFTs right now. For instance –- is its value for income tax purposes the floor price? Is it the most recent sale price? The average price for the day? Average price for the year?
As such, it is best to consult a CPA or Tax Attorney if you have NFTs in your portfolio. They can provide you with guidance and may encourage you to get a professional appraisal.
## Is bridging tokens a taxable event in the US? {#is-bridging-tokens-a-taxable-event-in-the-us}
Bridging allows you to transfer crypto assets from one blockchain to another.
The key consideration with bridging is whether some sort of underlying swap takes place.
If you dispose of one token for another, either by wrapping it or depositing it into a pool, in order to receive a new token (whether wrapped or not) on the new chain, then that would be a disposal and treated as a taxable event.
In this case, you would be subject to capital tax gains, like with a crypto-to-crypto swap.
:::info[Disclaimer]
MetaMask does not provide tax advice and this article should not be viewed as such. For questions relating to your specific situation we strongly recommend speaking with a tax professional.
:::
---
# 'Token already added' error when loading tokens
URL: https://support.metamask.io/manage-crypto/tokens/cannot-load-tokens-due-to-error-message-about-token-being-already-added/
> Troubleshoot this error by following these steps.
If you get an error about a token having already been added when trying to add a token, you can solve it through the following process:
1. Right-click on the MetaMask Extension
2. Select 'This Can Read and Change Site Data'
3. Select 'On All Sites' instead of 'When You Click the Extension'

You may also need to close and re-open your browser, or try a different internet connection entirely.
Note that this only applies to Chromium-based browsers (Chrome, Edge, Brave), and not Firefox. MetaMask Extension on Firefox is configured to request this permission as a requirement of use.
---
# How to display your balance in ETH and other currencies
URL: https://support.metamask.io/manage-crypto/tokens/how-to-display-balance-in-eth/
> Learn how to change your account's balance from fiat to crypto and vice versa.
By default, your account balance per network is aggregated and displayed in USD or another fiat currency you selected when you first set up your wallet. You can change this to display balances in crypto (like ETH) in your settings.
1. Click on the menu icon in the top right corner of the MetaMask extension, and navigate to 'Settings' > 'Assets':
2. Toggle the 'Show native token as main balance' option if you want to display balances in crypto. Toggle it off if you want to display balances in fiat.
1. Tap the menu icon in the top right corner of the app and tap 'Settings'.
2. Tap Settings > 'General'.
3. Select 'Native' to display balances in crypto like ETH. Select 'Fiat' to display balances in fiat like USD.
---
# How to display tokens in MetaMask
URL: https://support.metamask.io/manage-crypto/tokens/how-to-display-tokens-in-metamask/
> Learn how to show your tokens in MetaMask: enable autodetection, search for listed tokens, or add custom tokens manually.
:::info
MetaMask automatically displays popular ERC-20 standard tokens (Ethereum-based [standard tokens](https://ethereum.org/en/developers/docs/standards/tokens/erc-20/)) and SPL-standard tokens (Solana-based standard tokens) you own on your account page.
:::
However, with the proliferation of tokens on Ethereum and other networks, MetaMask doesn't maintain an authoritative list of tokens — you can add any ERC-20-compliant token you hold if you don't see it in your account balance.
There are two different ways to add unlisted tokens to your MetaMask:
- **Enhanced token detection** feature (enabled by default for new users on EVM-networks and Solana).
- **Manually adding a token** with search or address (available on EVM-networks, Solana, and Tron).
## Enhanced token detection {#enhanced-token-detection}
:::info[Only available on certain networks]
Enhanced token detection is available on Ethereum Mainnet, Linea, Avalanche, BNB Smart Chain, Polygon, Arbitrum, Optimism, Base, zkSync, and Solana.
:::
Token detection is enabled by default. To turn it on or off:
- Click on the menu in the top right, navigate to 'Settings' > 'Assets'.
- Make sure the 'Autodetect tokens' toggle is on.
- Once done, go back to your asset list, click the 3 vertical dots in the token homepage and refresh. Hopefully, any tokens you weren't seeing before are there now. If not, try adding the token manually with search or address through the steps below.
- Tap the menu icon in the top right and tap Settings > 'Advanced'.
- Scroll until you find the token detection toggle.
Token detection takes place on Ethereum Mainnet regardless of whether this setting is on or off; enhanced token detection just expands this function to cover the additional networks listed above.
Enhanced token detection uses lists of tokens aggregated from various community token lists; MetaMask doesn't keep a proprietary list of 'accepted' or 'valid' tokens. Keep in mind that you should always exercise caution surrounding unfamiliar tokens:
- Don't interact with or connect your MetaMask to any website that you're not familiar with, you haven't researched and have no reason to believe to be trustworthy.
- Always second-guess an airdropped or unfamiliar token and do your due diligence before interacting with it. See more on best practices for token safety [here](/stay-safe/safety-in-web3/token-safety-practices).
- If you attempt to transact using the token and your transaction fails, and the block explorer displays an error written by the scammer directing you to a website, this is likely a phishing site, so **DO NOT** click this link.
- Keep informed about ways that scammers are trying to steal your funds. Realize there aren't always adequate safeguards in place for the information you're seeing around the web to be worth trusting.
## Adding a token with search or address
- Your tokens should be displayed on the tokens section of the homepage. If they're not, and automatic token detection isn't picking them up, click the three dots and select 'Manage tokens' to add a token through search or address.
- From here you'll see a list of tokens with a toggle next to each one to display or hide it. Use the search bar at the top to find a token by name or symbol, or use the network selector to filter by network.
- If the token you're looking for isn't in the list, scroll to the bottom and tap 'Add custom token'. Paste the token's contract address into the field, click 'Next', then 'Import'.
- Your assets will be displayed in the tokens homepage. If they're not, and automatic token detection isn't picking them up, expand the tokens section then tap on the '+' button to import a token through search or address.
- Type the token name or symbol you would like to search in the bar.
- Tap on the token(s) of interest, and 'Next' to proceed.
- If the token you're looking for isn't in the search results, you can add it manually using its contract address. Toggle to the 'Custom token' tab, paste the token's address into the field, tap 'Next', then 'Import'.
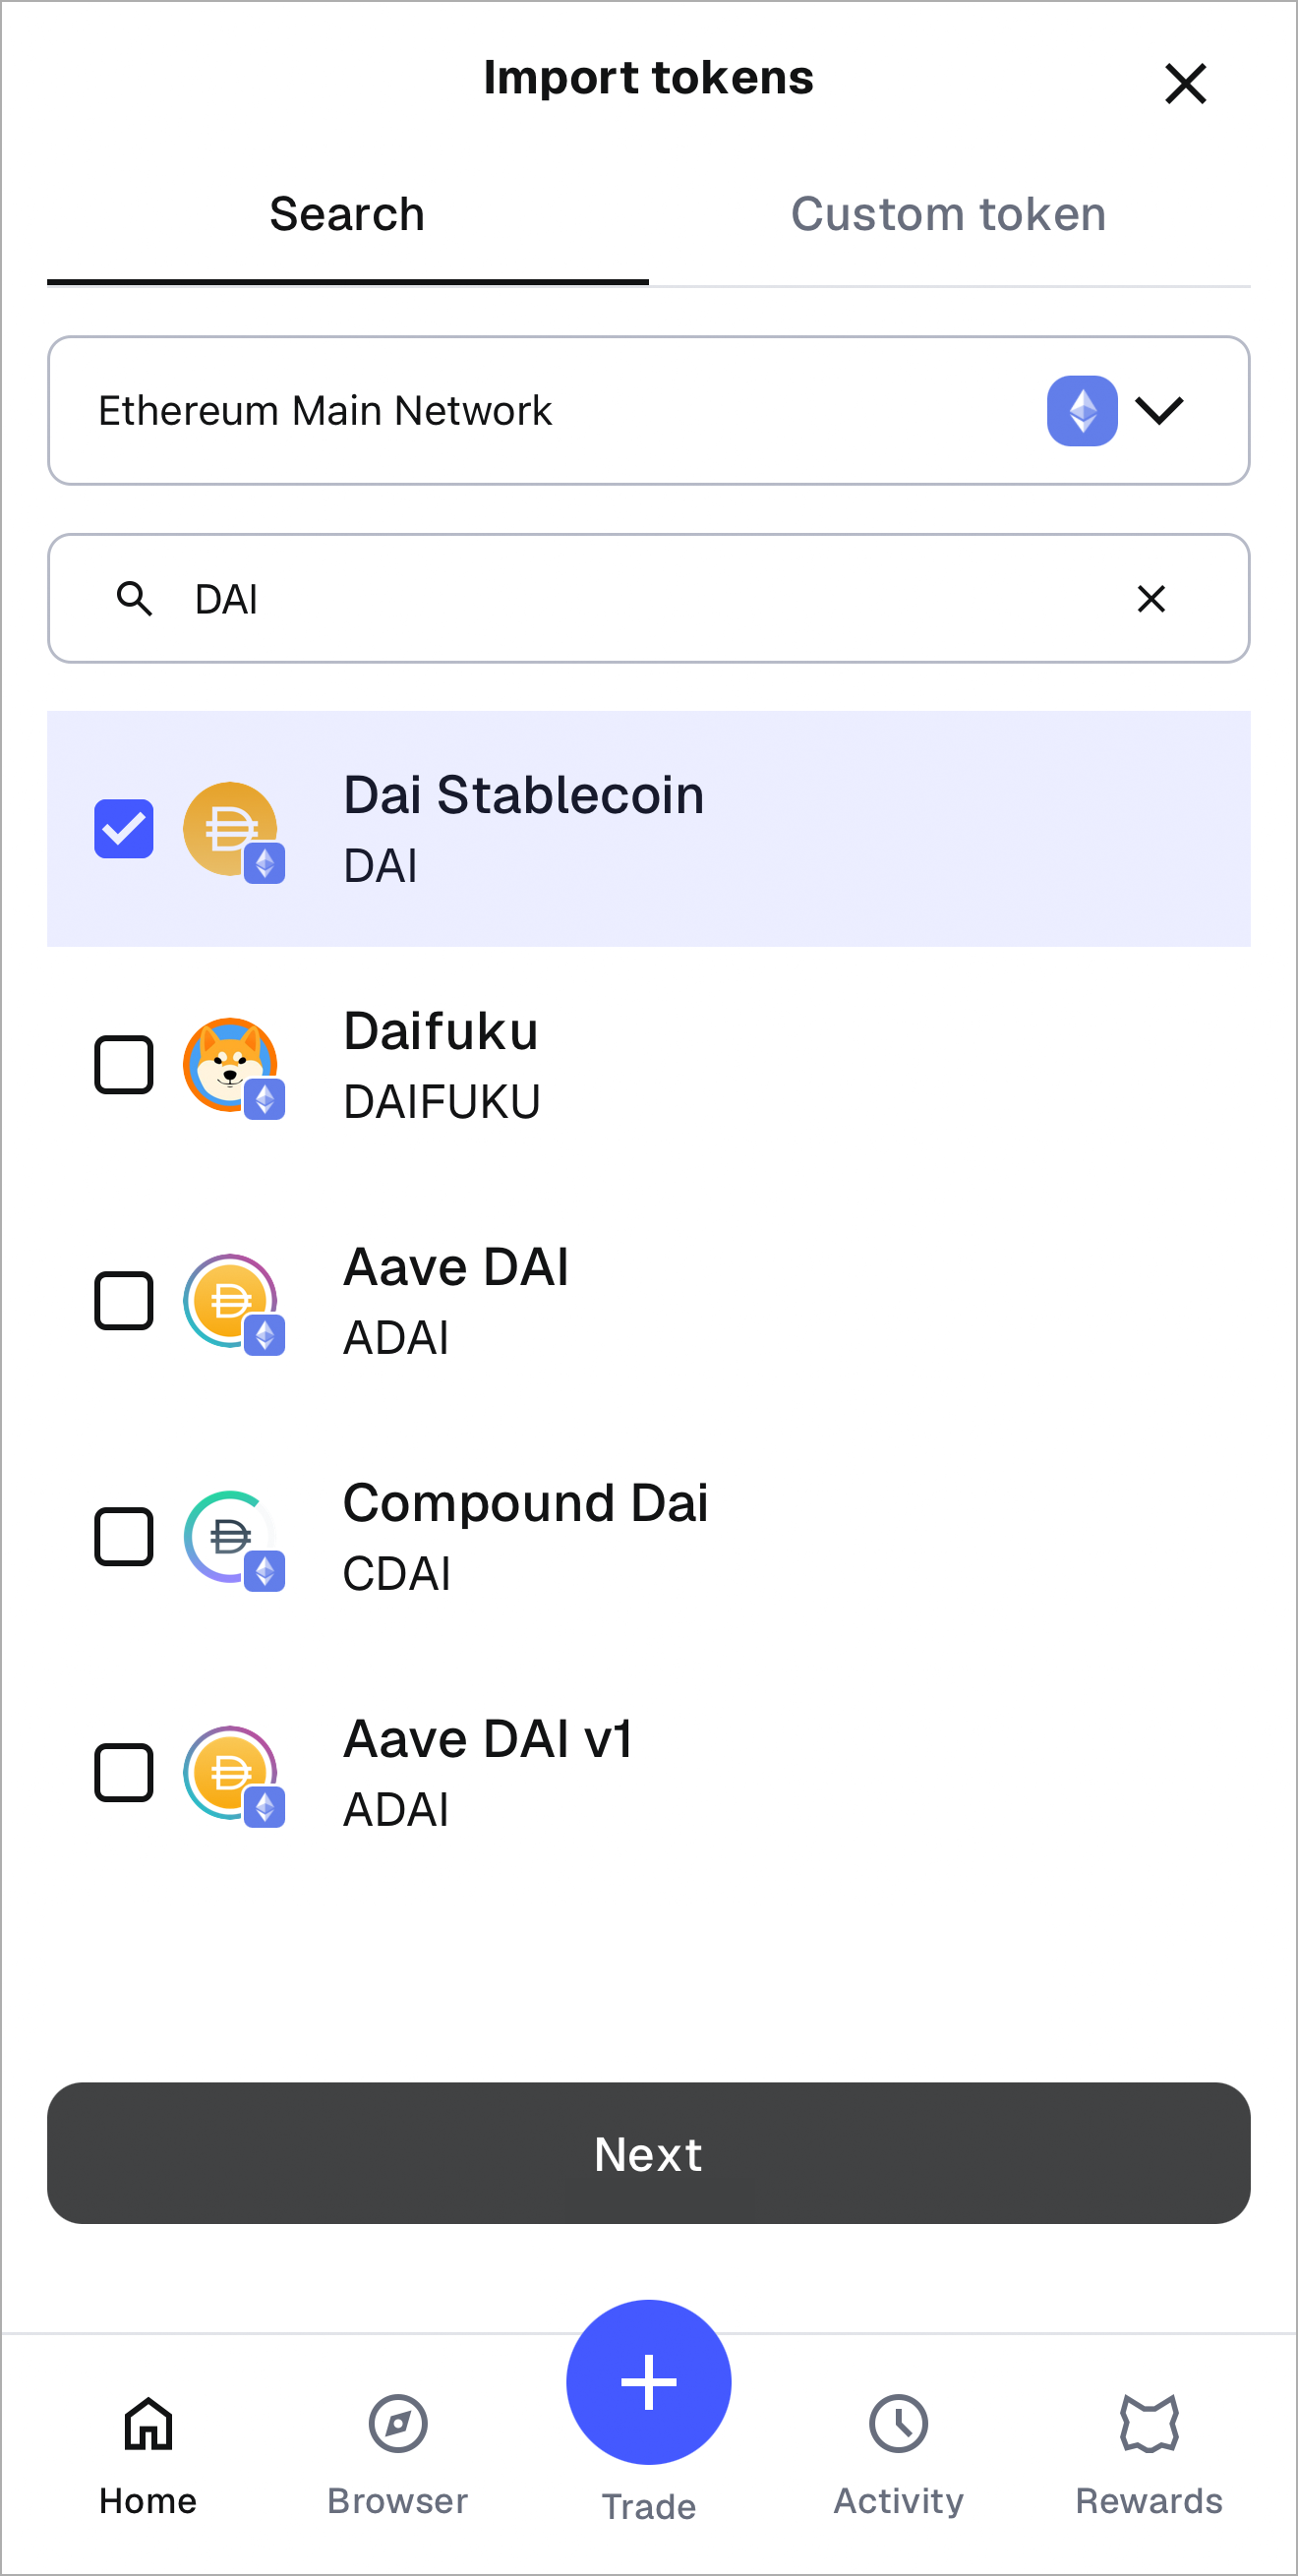
- The token will now be listed under your account's tokens.
## How to find the token address
You can find a token's contract address using a block explorer (such as Etherscan) or a token listing site (such as Coingecko). See [How to find a token contract address](/manage-crypto/tokens/how-to-find-a-token-contract-address) for step-by-step instructions.
:::warning
If someone told you they have sent you tokens, but they are unable to provide you the token address, or the transaction hash (a unique transaction ID), it's possible that they haven't in fact done so. Be cautious and do your due diligence.
:::
## How to add a token using a block explorer
:::note[Note]
In addition to Etherscan, this will work with most major block explorers, including [BscScan](https://bscscan.com/), [Polygonscan](https://polygonscan.com/), [Tronscan](https://tronscan.org/), [Solscan](https://solscan.io/), etc., as they generally share a similar design.
:::
- Go to the block explorer
- Search for your token. You can also go via the 'Tokens' link in the menu bar
- Click the 'More' button in the top right of the token's profile summary
- Click 'Add token to MetaMask (Web3)'
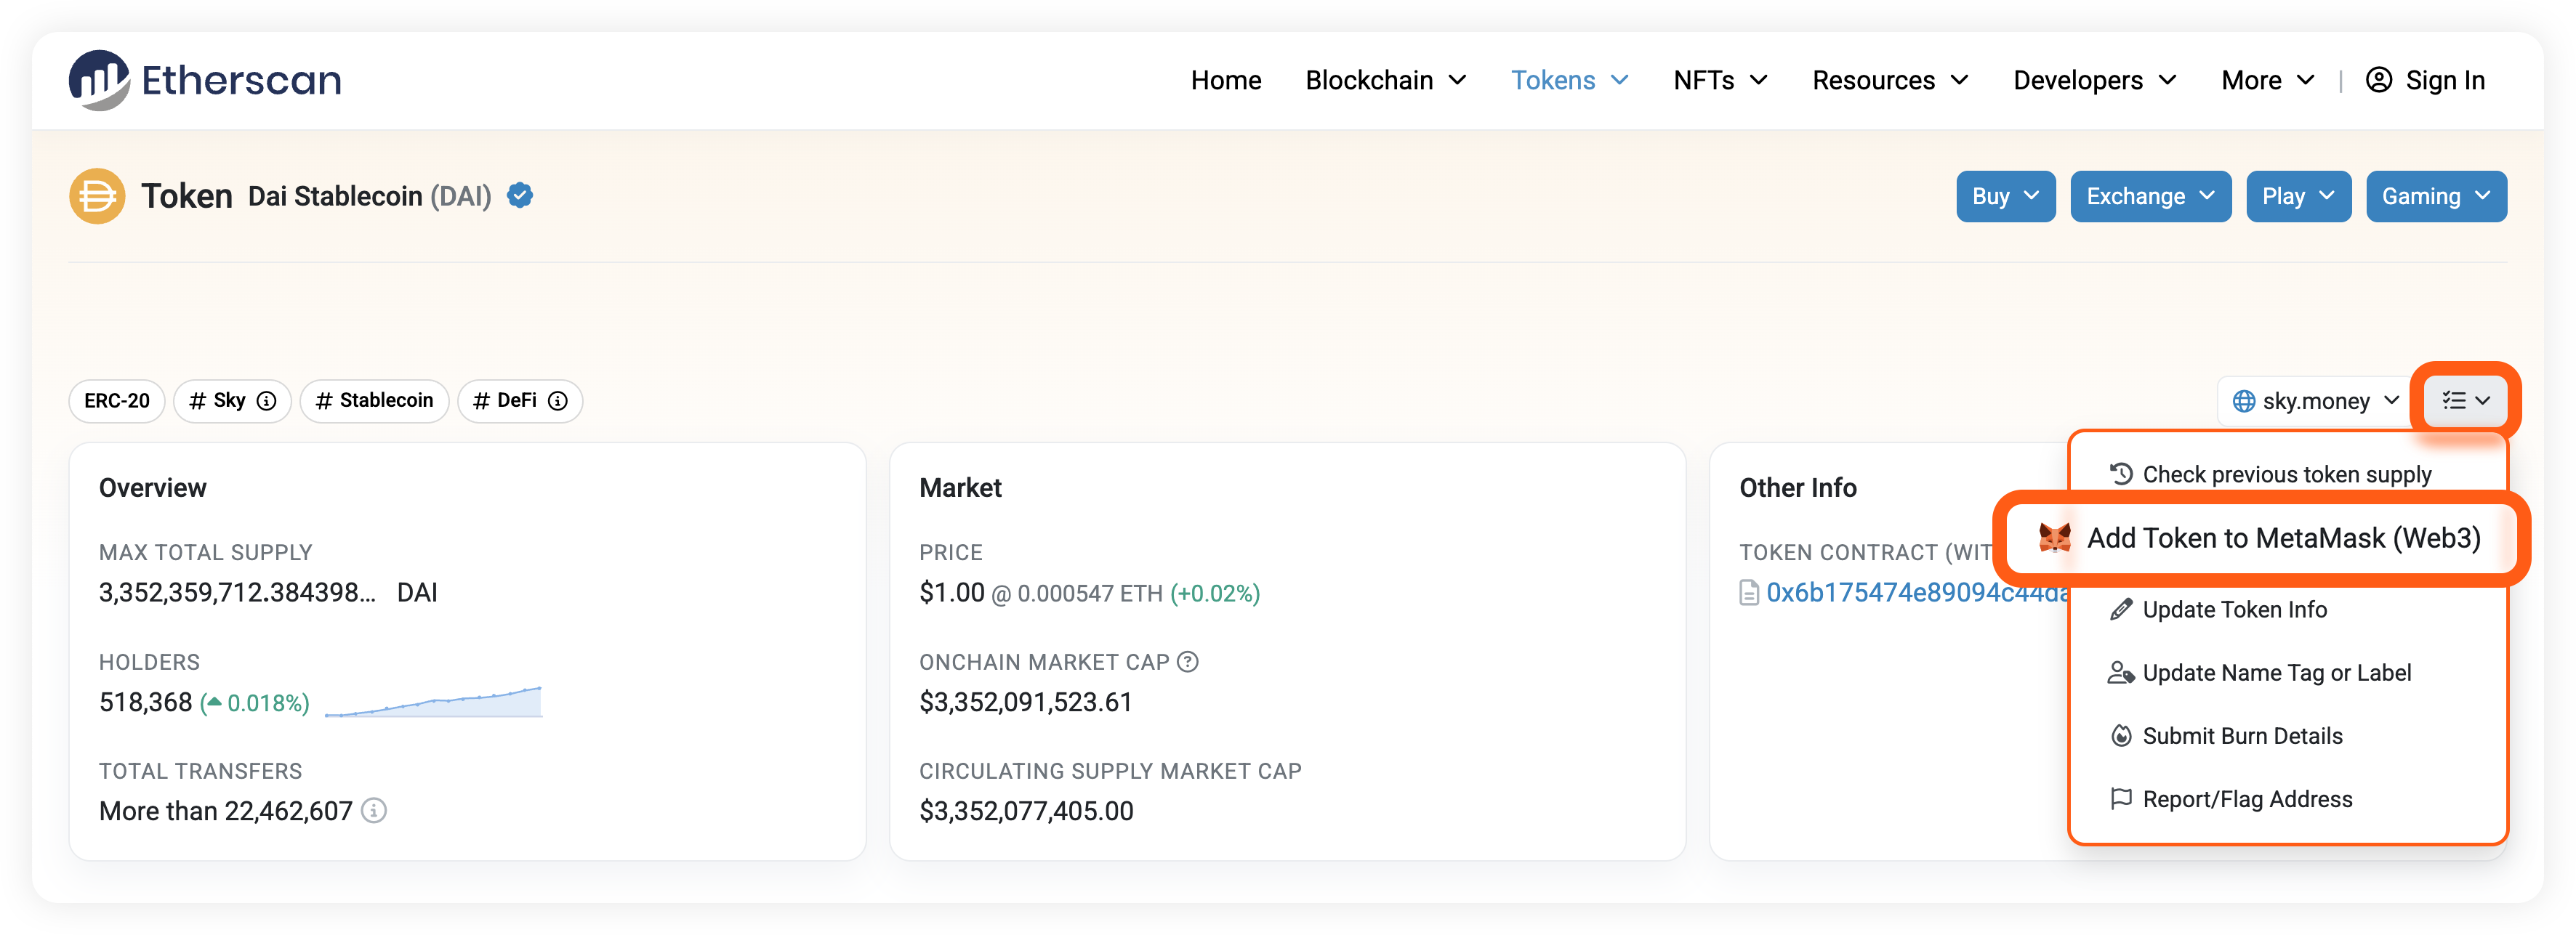
- Confirm in MetaMask to add the token
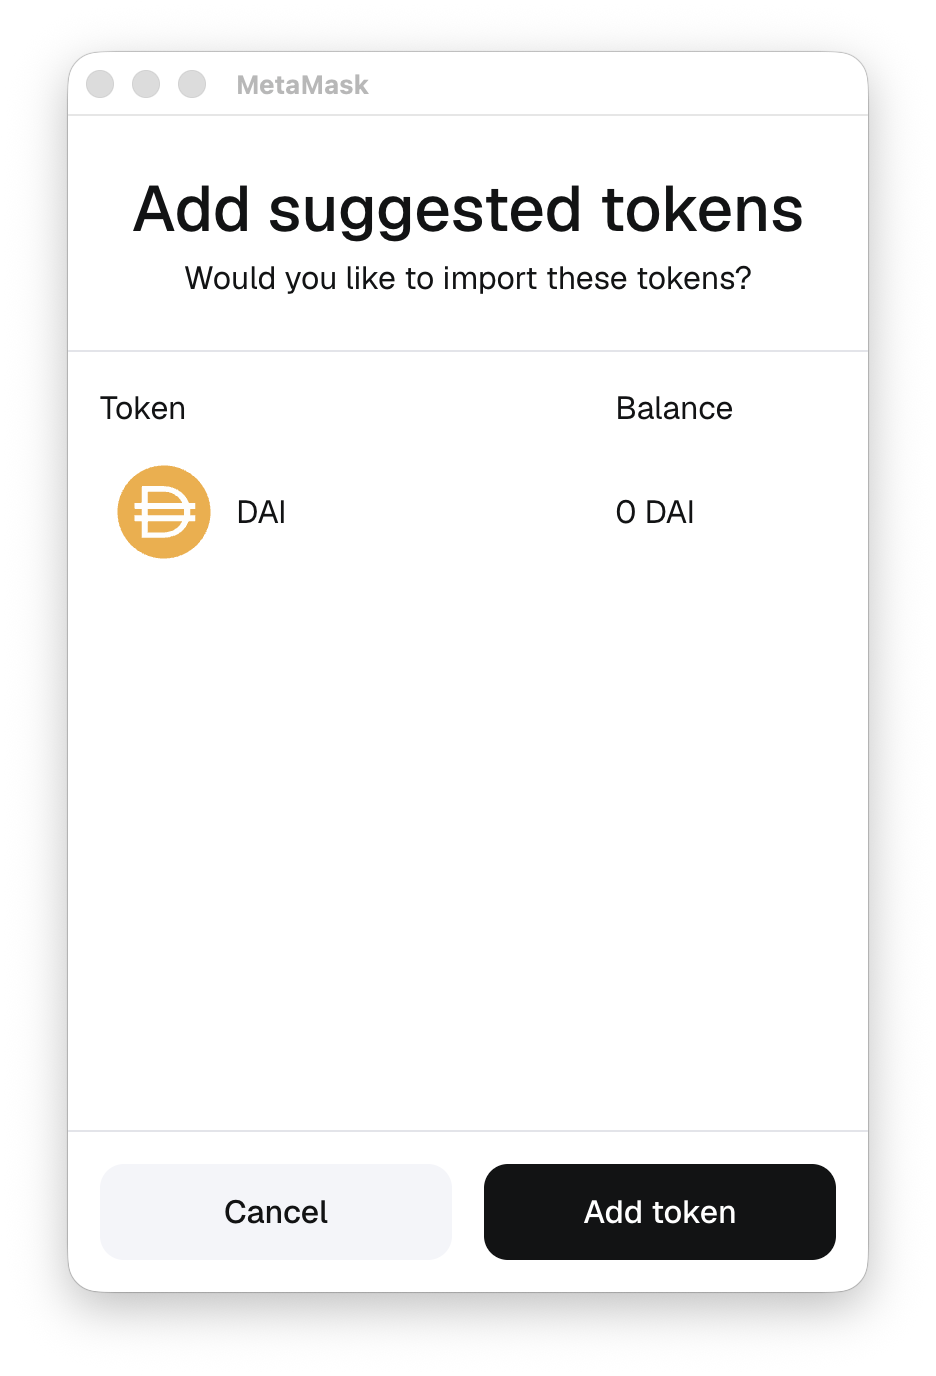
## How to add a token using a coin listing site
Sites such as Coingecko or CoinMarketCap offer MetaMask integration that allows you to add a token to MetaMask directly from its entry on their site.
To access this, simply head to one of these sites and find the token you want to add by using the search bar. Then find the contract address and click the MetaMask fox. A prompt will appear to confirm that you want to add the token to your account.
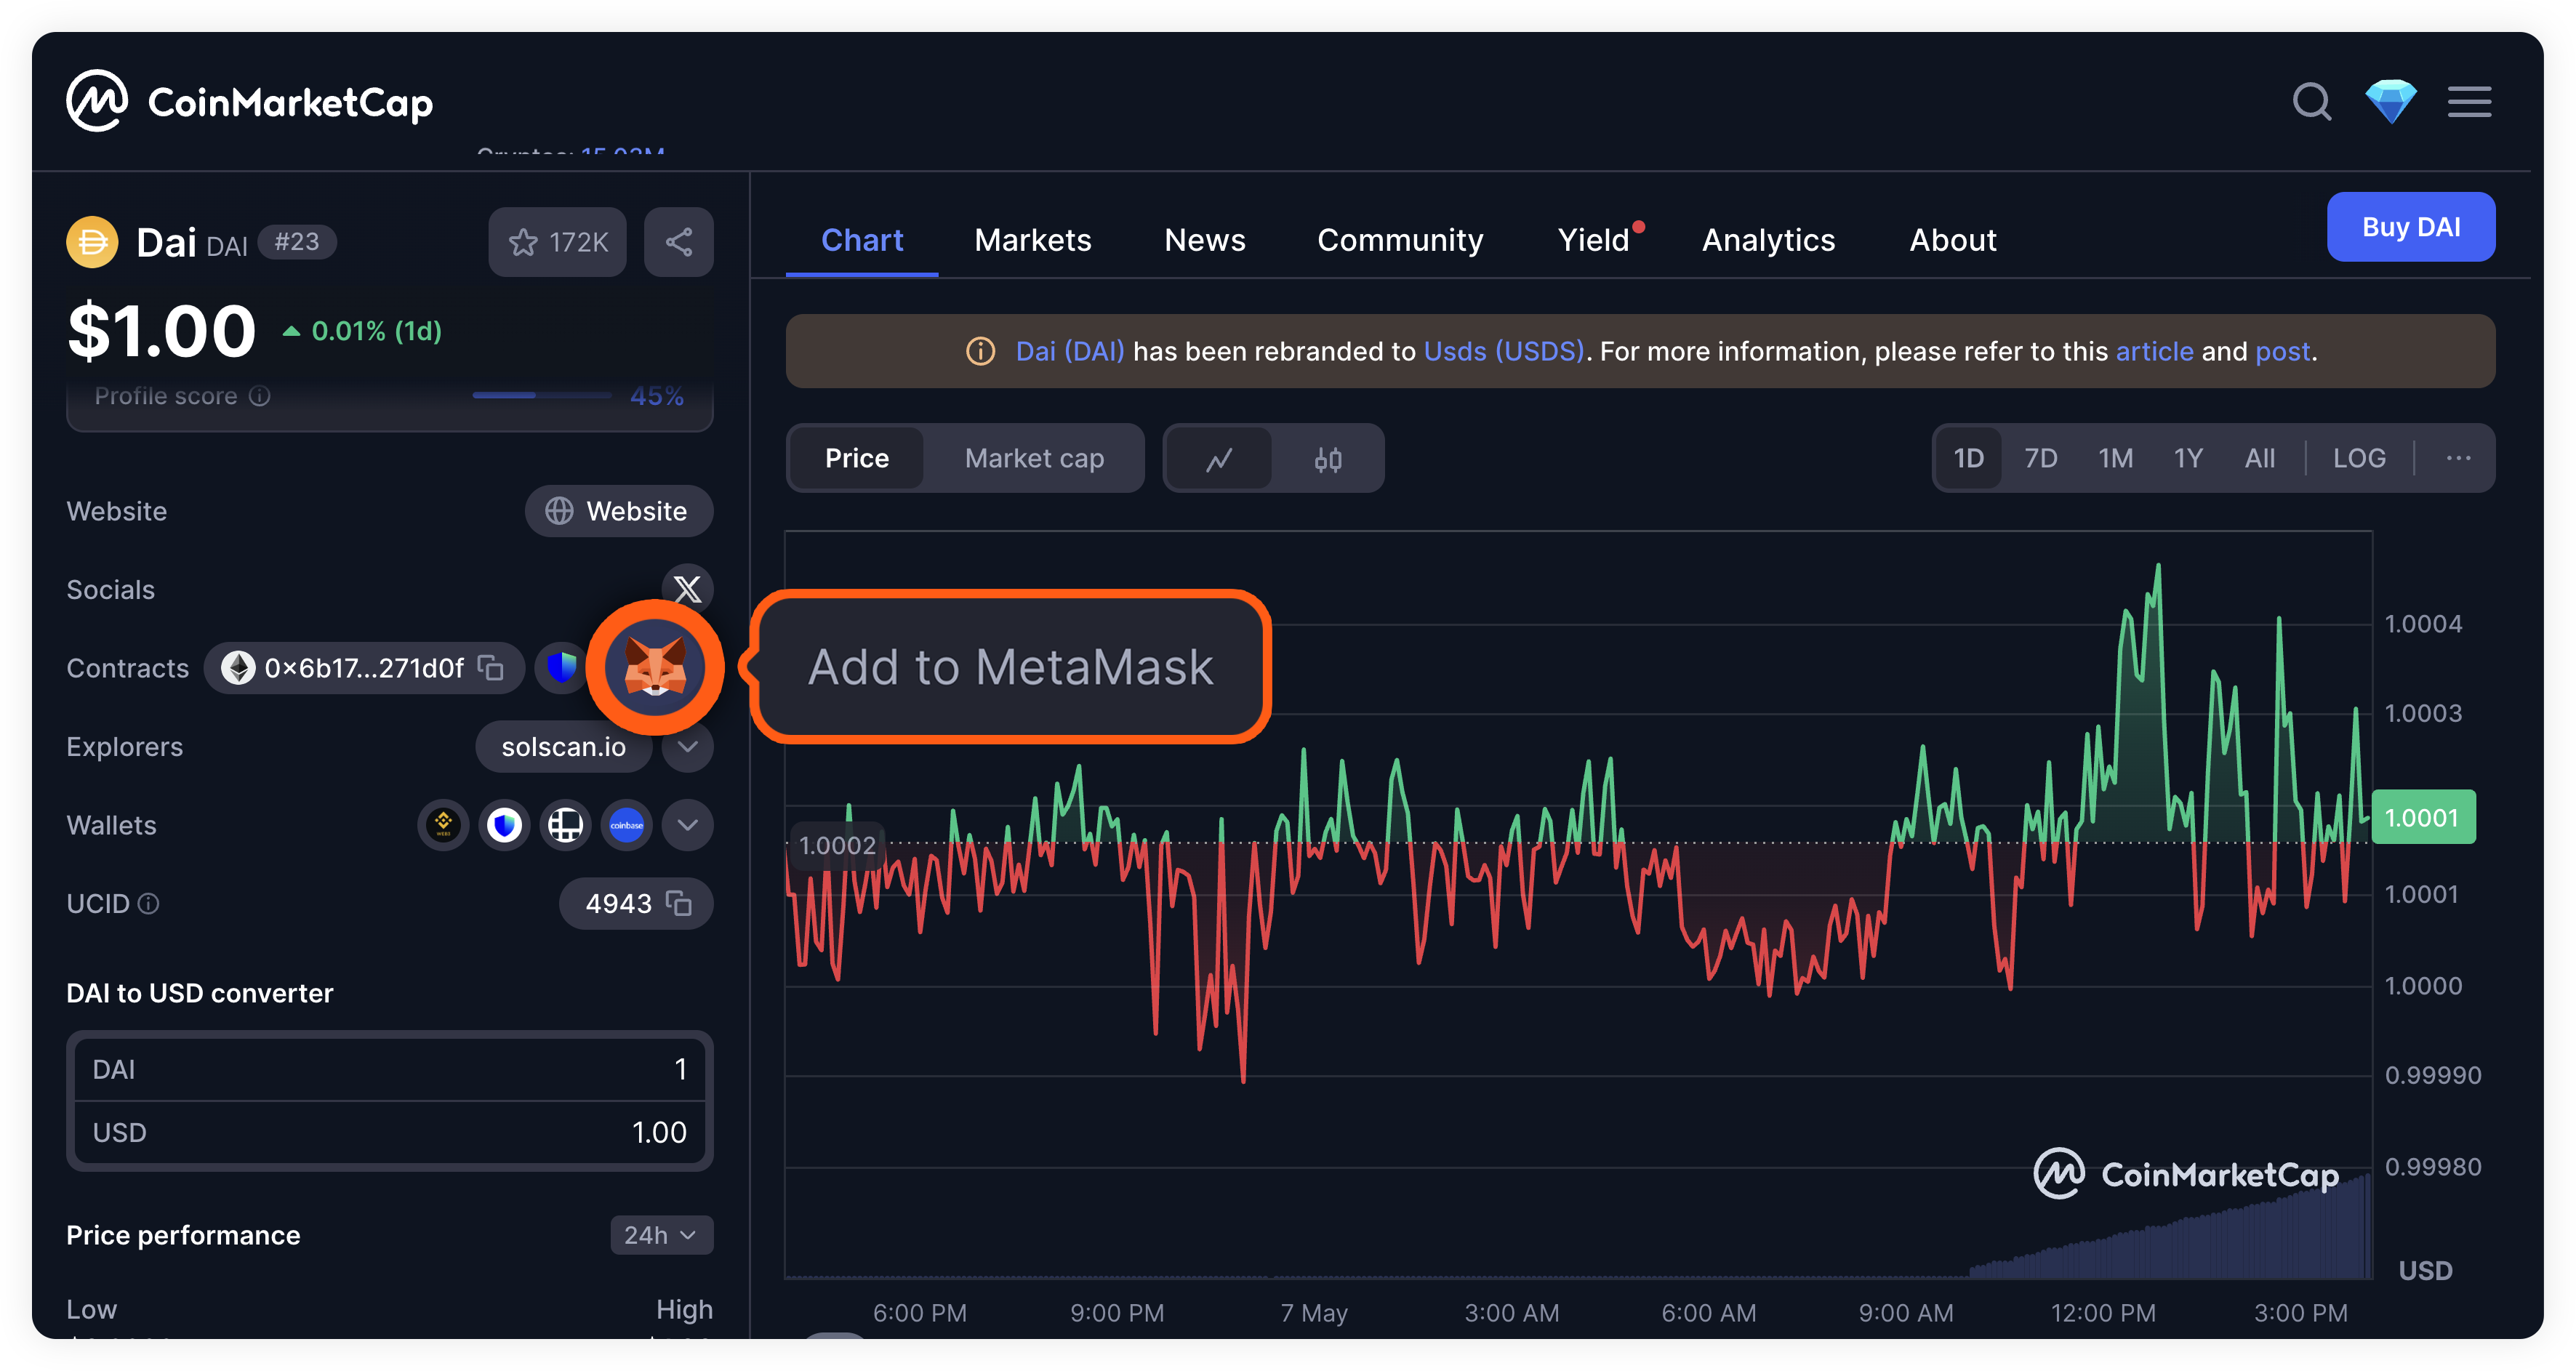
:::info[Note]
**On MetaMask Mobile, make sure you access the site using the in-app browser**, rather than your device's standard browser. This is the only way to access web links that integrate with MetaMask as you can do on your desktop browser using Extension.
:::
This method also allows you to add the token on different networks, depending on whether a corresponding smart contract has been deployed on that network by the token owners. Click the three dots next to the contract address to select a different network, and then click the fox to add the token on that network.
## Using MetaMask Portfolio
[MetaMask Portfolio](https://portfolio.metamask.io/) is a MetaMask-associated platform that aggregates and displays your token balances. Usefully, once you connect your MetaMask it **automatically detects** and displays the majority of tokens.
All you need to do is follow the link and connect your MetaMask. See [our articles](/manage-crypto/portfolio) on how to use the dapp if you need more guidance.
## How to hide tokens {#how-to-hide-tokens}
You can remove tokens from your asset list. Native tokens (the gas tokens for each network, such as ETH) cannot be hidden.
There are two ways to hide a token:
1. Click the three dots in the tokens section and select 'Manage tokens'. Find the token you want to hide and toggle it off in this list.
2. Alternatively, on your account page, click on the token you want to remove, click the three dots in the top right corner, and then 'Hide'.
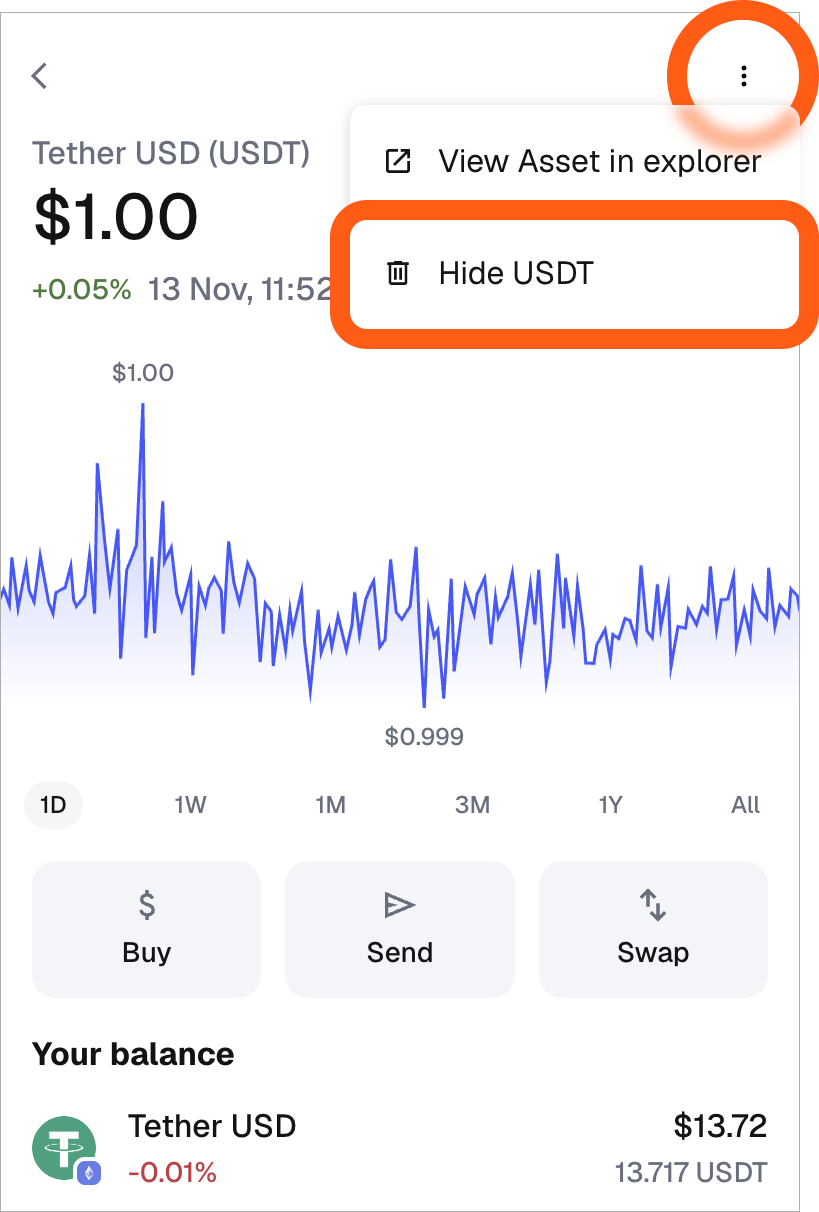
For Apple and Android devices, long press on the token. This will bring up the option to hide it:
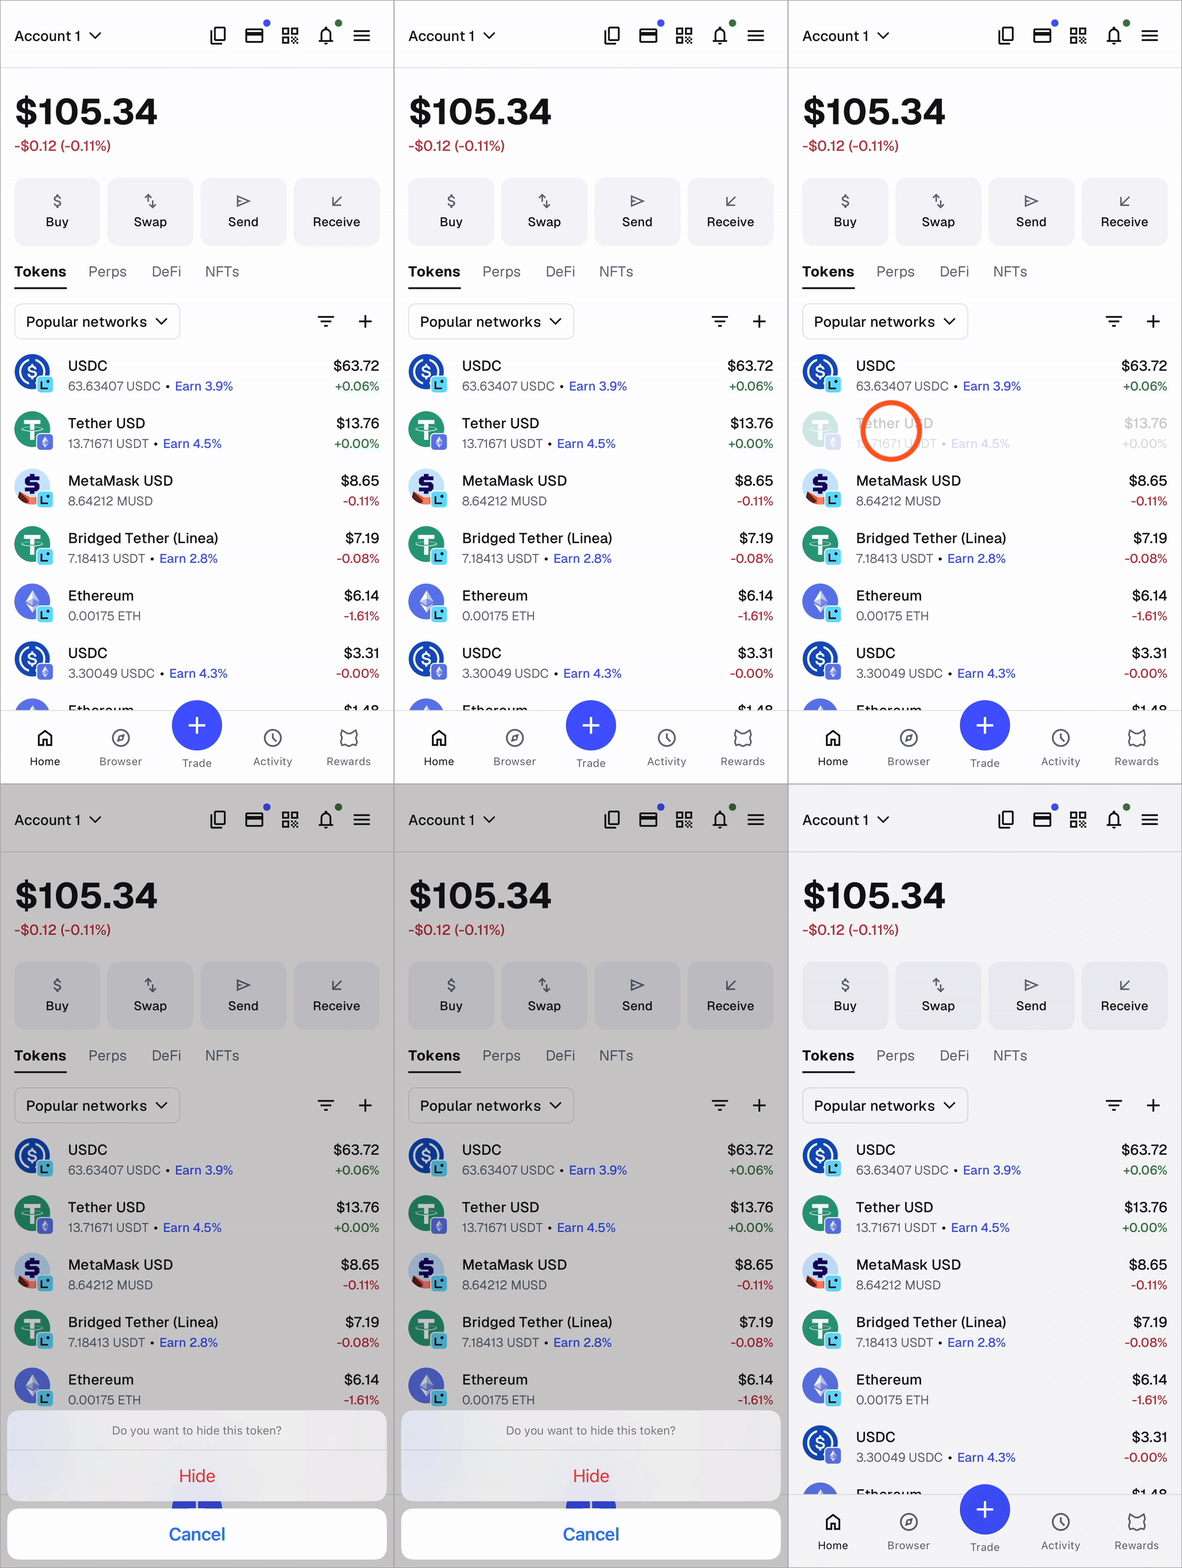
---
# How to find a token contract address
URL: https://support.metamask.io/manage-crypto/tokens/how-to-find-a-token-contract-address/
> Learn what a token contract address is, how to find it using block explorers or token listing sites, and why it matters before adding tokens in MetaMask.
Depending on the method you use, finding a token contract address is one step in the process of adding a custom token to MetaMask. To find out more about adding tokens, head to our [article](/manage-crypto/tokens/how-to-display-tokens-in-metamask) on the subject to see several different methods.
## What is a token address? {#what-is-a-token-address}
As you may be aware, tokens on Ethereum Mainnet generally conform to the [ERC-20 standard](https://ethereum.org/en/developers/docs/standards/tokens/erc-20/#top). This is a set of requirements for any fungible token on Ethereum — meaning one token has to have an identical value as other tokens of the same type, just like how one US dollar = one US dollar. The ERC-20 standard makes it considerably easier for wallets such as MetaMask, dapps, and other platforms to integrate existing and new tokens into their functions. For example, you can add any ERC-20 token to MetaMask. This wouldn't be possible if they didn't all adhere to the same standard.
Every ERC-20 token is created by inputting some details into a template smart contract which then controls and manages the token. In addition to basic functions such as the symbol and name, token creators must also determine total supply and methods for managing the balances of all token holders — one of its core responsibilities.
When the originator first deploys the token's contract on the network, an address is generated that looks similar to the public addresses of Ethereum accounts. This is because the same [cryptographic method](https://en.wikipedia.org/wiki/Ethereum) is used in both situations (with slight nuances).
Think of it this way: if you want to send or receive from your account, you'd use your public address. Similarly, if you want to send or receive a specific ERC-20 token, you have to do it by interacting with the token's address.
:::info[ERC-20 on other networks]
Outside of Ethereum Mainnet, ERC-20 tokens are handled differently depending on the network you're using, and it can quickly get confusing.
Some networks have their own, parallel token standards which essentially equate to ERC-20. BNB Chain/BSC and its [BEP-20](https://academy.binance.com/en/glossary/bep-20) standard is the most prominent example. The equivalence between the two standard means ERC-20 tokens on Ethereum and BEP-20 tokens on BNB Chain are interchangeable. If you transfer 10 ERC-20 tokens to a wallet on BNB Chain, you'll have 10 of the same token on BNB Chain, but in BEP-20 form and 'pegged' to the value of the ERC-20 original.
In other cases, such as Polygon, you can simply use the Polygon bridge (available [here](https://wallet.polygon.technology/) once you connect a wallet) to move tokens across, provided there are smart contracts deployed on both networks.
**If you want to move ERC-20 tokens across different networks, always do your research to make sure you don't lose funds**, and consider using test transactions before sending large sums.
:::
## Where do I find a token's contract address? {#where-do-i-find-a-tokens-contract-address}
There are three main ways to do this:
Block explorers such as [Etherscan](https://etherscan.io/), [BscScan](https://bscscan.com/), or [Polygonscan](https://polygonscan.com/) hold data on ERC-20 tokens and their equivalents on their respective networks.
To find a token contract address, simply head to the block explorer and search for your desired token. The contract address will be clearly indicated on its page. See below for an example from Etherscan:

On a desktop browser, you will see the copy to clipboard icon appear when you mouse over. On mobile, it should already be visible (though please note the exact presentation of the contract address will vary depending on the block explorer you're using).

Most block explorers have a similar format, and all provide information in the same categories -- just specific to their network.
They will also display the same information on a mobile browser as they do on desktop -- so this method applies equally to both MetaMask Extension and Mobile users.
Token listing sites such [Coingecko](https://www.coingecko.com) and CoinMarketCap hold a registry of all existing ERC-20 tokens. Both of these two main options offer the same functions detailed below.
As an example, we've taken the Uniswap (UNI) token page from Coingecko. From the token's page, its contract address is easy to find, although it differs slightly between MetaMask Extension and Mobile.
### Extension {#extension}
**Find the 'Contract' category on the right**. By default this automatically displays the token's address on Ethereum Mainnet, but you can access others by clicking the three dots.
Click the copy button (the overlapping squares/sheets of paper) to copy the displayed address to your clipboard, ready to be pasted into MetaMask.
### Mobile {#mobile}
Open the in-app browser by tapping the hamburger icon in the top left of the homepage, or just open your usual browser, such as Safari on iOS.
Once you're in the browser, find your way to Coingecko, or your preferred alternative. To do this in-app, use the search icon at the bottom of the screen. Search on Coingecko for the name or symbol of the token you're looking to add.
The token page should look like below, with the token address visible in its own category near the bottom:
Like on the desktop browser, you can also click the three dots to see the address for different networks:
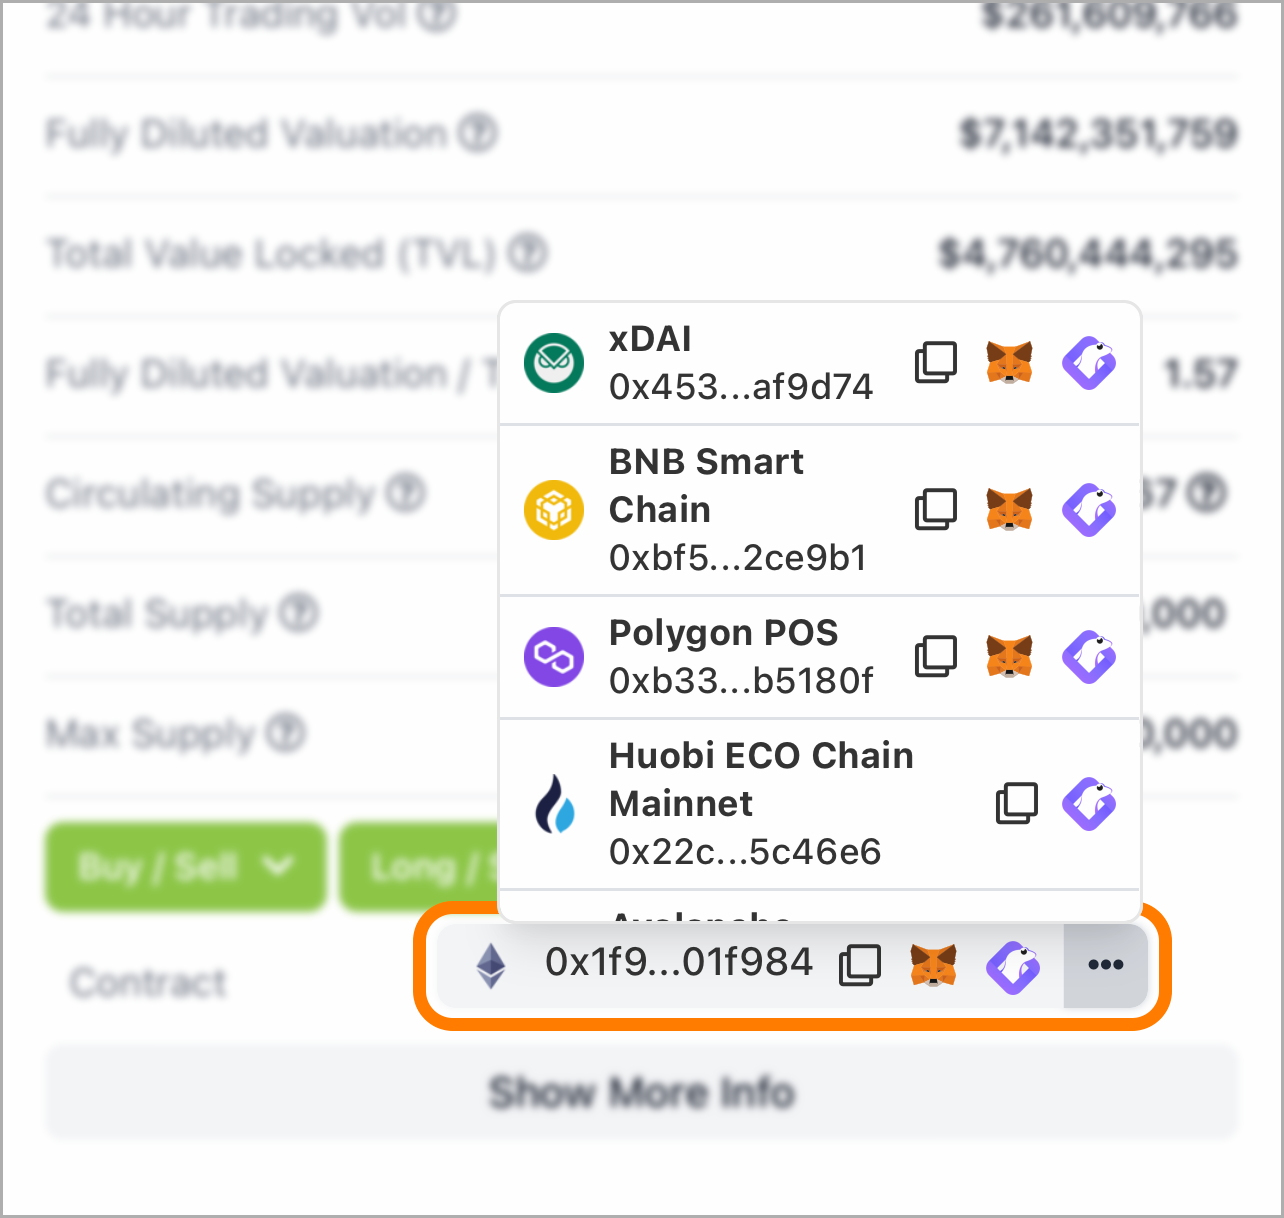
Tap the copy icon next to an address to add it to your clipboard, ready to be added to MetaMask.
On the homepage of MetaMask Extension, under the 'Tokens' tab, click on the token whose contract information you want. Then, click on the vertical three dots menu and select 'View asset in explorer'. This action will take you to the token's contract address on the active network.
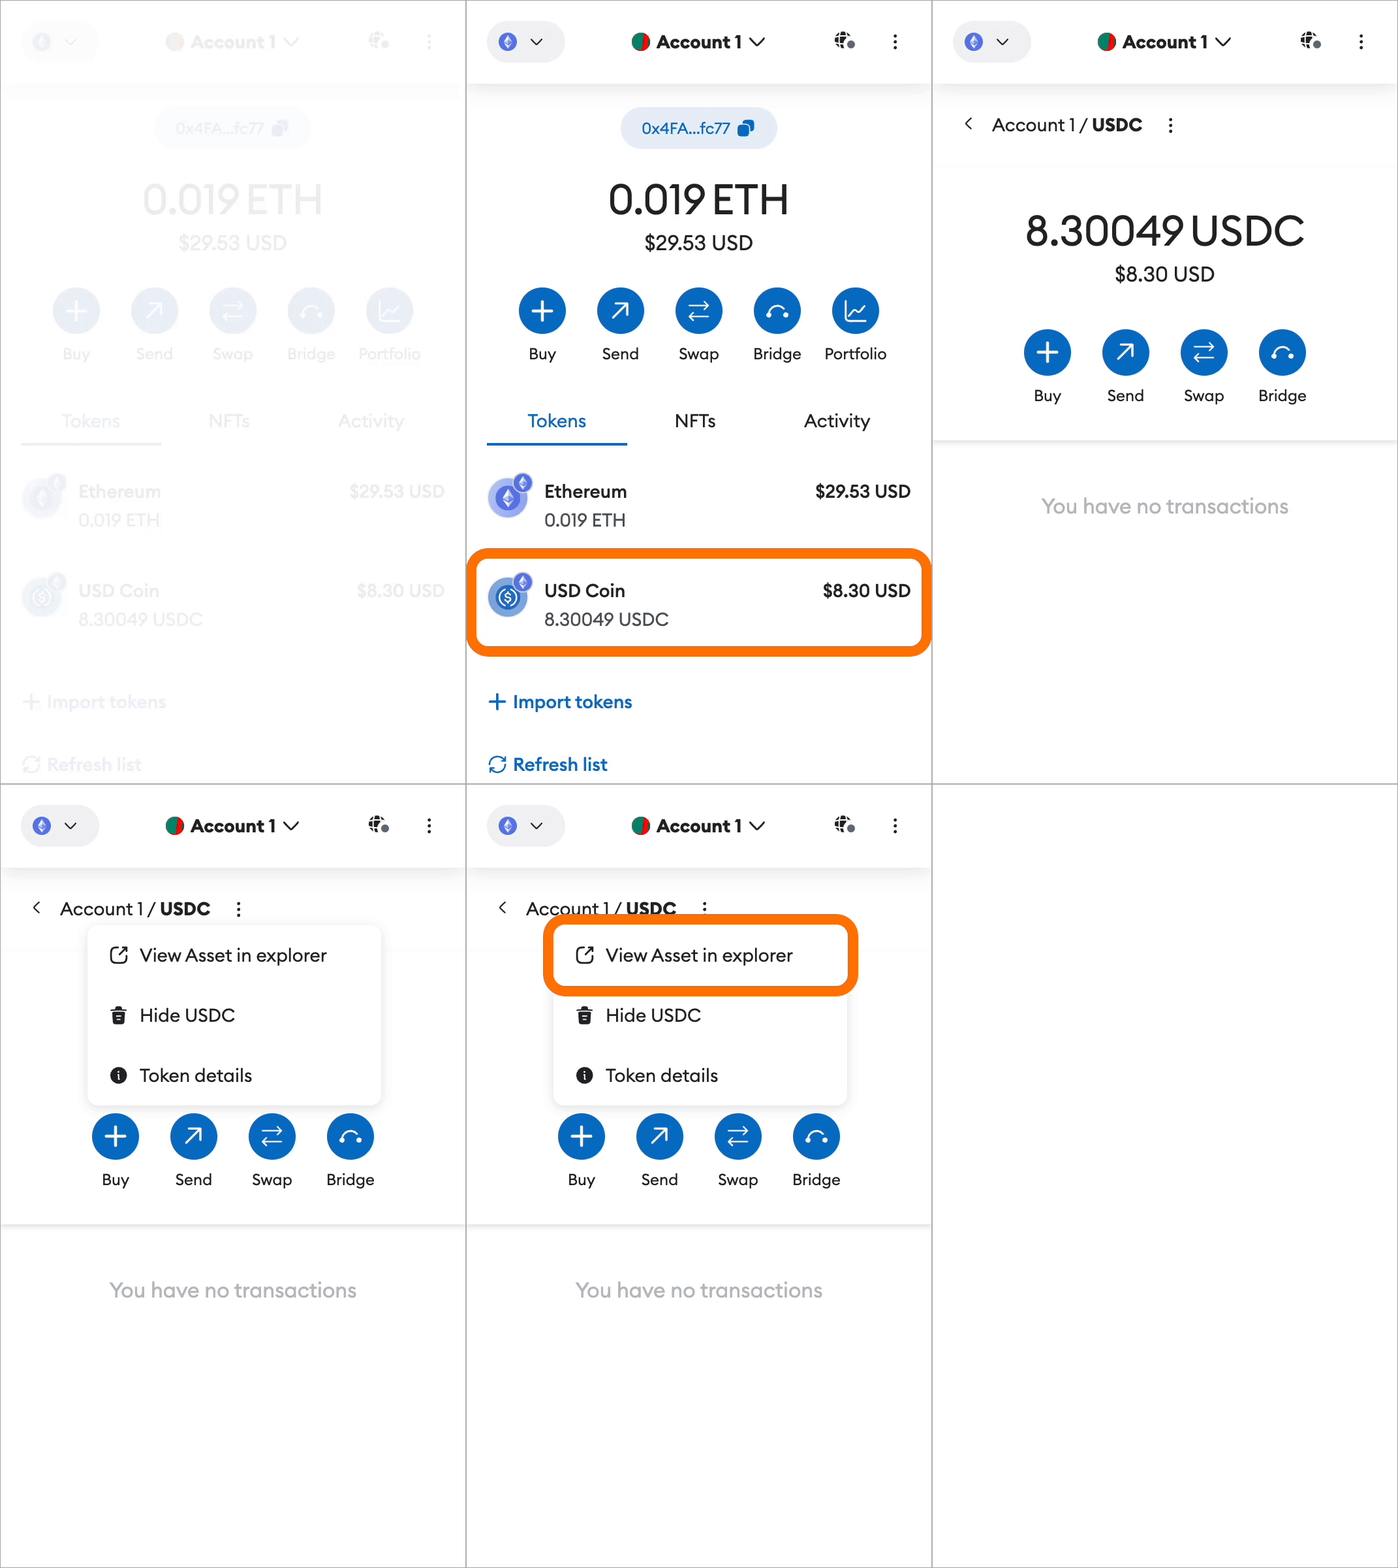
Once you have the token contract address, you're ready to add the token to MetaMask. Head to our [article](/manage-crypto/tokens/how-to-display-tokens-in-metamask) on this for more information.
---
# How to remove a token
URL: https://support.metamask.io/manage-crypto/tokens/how-to-remove-a-token/
> A guide for removing a token from your MetaMask.
:::info
You **cannot** remove or hide the native network token (e.g. BNB on BSC, ETH on Ethereum, etc.) also known as the gas token.
:::
**Please note that this action does not affect the balance of tokens held.** It is simply removing the token from displaying in your MetaMask; so if you did have a balance of USDC, for example, and removed the token from your MetaMask interface, it would not remove the token from your address on the blockchain.
Also, **hiding the token will not affect token allowances** — i.e. permissions you've granted dapps to move tokens to/from your account. See [here](/more-web3/learn/how-to-revoke-smart-contract-allowances-token-approvals) for how to do this.
To remove a token, click on the token within the 'Tokens' section on the homepage.
You will then see a three vertical dots icon in the top right. Click on it to 'Hide'.
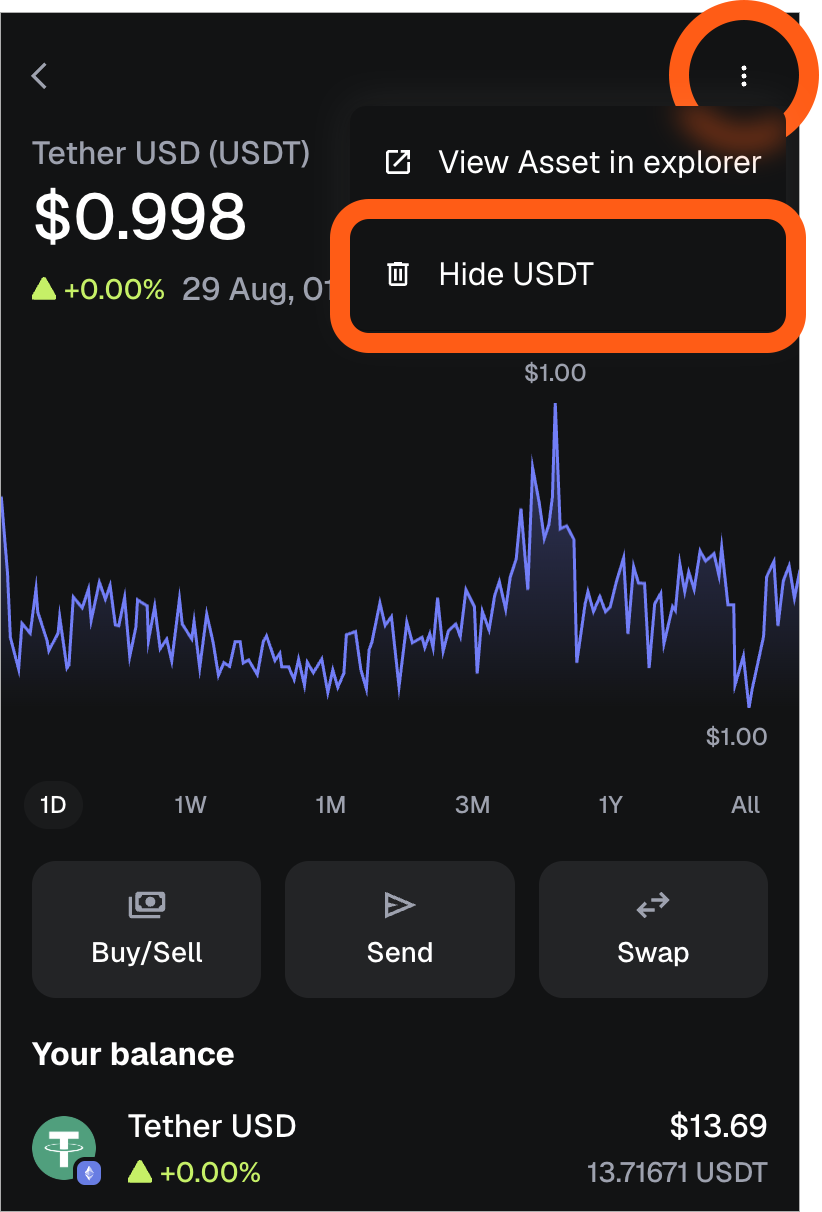
To remove tokens from your asset list in MetaMask Mobile, simply tap and hold on the asset you want to remove and it will bring up the option to hide or cancel.

---
# How to view ETC Ethereum Classic token
URL: https://support.metamask.io/manage-crypto/tokens/how-to-view-etc-ethereum-classic-token-/
> A guide for adding the ETC token to your account.
If you have sent ETC funds to your MetaMask addresses, you could try using the interfaces of MyCrypto or MyEtherWallet if they support switching to the ETC network, to see and send the ETC funds you may have in your addresses.
Alternatively, you can set up a custom RPC server in your MetaMask extension to see the balance of ETC available.
**Before proceeding, familiarize yourself with working with sidechains and custom networks through our [User Guide here](/more-web3/learn/user-guide-custom-networks-and-sidechains).**
### In MetaMask Extension {#in-metamask-extension}
1. Click on the menu icon in the top right corner of MetaMask Extension
2. Navigate to the 'Networks' section
3. Click **Add Network** button
4. Click 'show Show Advanced Options,' and set: **Network name: ETC** **New RPC URL: https://www.ethercluster.com/etc** **Chain ID: 61** **Symbol: ETC**
5. Click Save
6. Select the ETC network you have just added from the dropdown menu
7. Alternatively, you can check: [https://chainid.network/](https://chainid.network/) to auto-connect to ETC network.
You should be able to use the Send button to send ETC to any Ethereum Classic address.
---
# How to view your token balance across multiple networks
URL: https://support.metamask.io/manage-crypto/tokens/how-to-view-your-token-balance-across-multiple-networks/
> View your token balance across multiple networks.
MetaMask now displays all of your tokens across multiple networks in a single aggregated view, allowing you to understand and manage your assets collectively. In this view, the estimated value of your entire portfolio will be displayed for your convenience.
You can view all of your tokens across multiple networks at once in Extension or MetaMask Portfolio.
:::info[Mobile support coming soon]
Mobile support for an aggregated view of your entire portfolio is coming soon.
:::
## MetaMask Extension {#metamask-extension}
If you have MetaMask Extension v12.9 or later, open your Tokens tab to see a default view of your entire portfolio.
You can also change the view to only display tokens on the network you are currently using. To do so, click the network dropdown box labeled "Popular networks", and select the network you are currently on.
To switch back to an aggregated view, click the network dropdown box again, and select "Popular networks".
:::info[Enable networks]
The "Popular Networks" option is only available to users who have two or more networks turned on. To check your enabled networks, click the networks dropdown at the upper left-hand corner of the screen. You will see your list of enabled networks, a list of additional networks to enable, and the option to add a custom network.
:::
## MetaMask Portfolio {#metamask-portfolio}
For MetaMask Portfolio, navigate to the “Overview” tab. Select the correct account, and then open the “Tokens” tab to see a view of your entire portfolio.
You can also individually select two or more networks by clicking each network you want shown in the view.
## Troubleshooting {#troubleshooting}
### I don’t see one of my tokens. {#i-dont-see-one-of-my-tokens}
If you don’t see one of your tokens, try the following:
- Ensure that you have the correct network enabled and selected.
- Check that you have the correct account selected.
- Ensure that you have enabled “Autodetect tokens” in settings. Click on Settings > 'Assets' > 'Autodetect tokens'.
- If you still don’t see your token, follow the guide [here](/manage-crypto/tokens/what-to-do-when-your-balance-of-tokens-is-incorrect).
### The total balance of my token is incorrect. {#the-total-balance-of-my-token-is-incorrect}
If you believe the total balance of one of your tokens is incorrect, try the following:
- Ensure that you have the correct networks enabled and selected.
- Check that you have the correct account selected.
- Externally verify that your balance is correct. Follow the guide [here](/more-web3/learn/how-to-externally-verify-that-your-balance-is-correct/) for more details.
---
# How to watch a token in MetaMask Portfolio
URL: https://support.metamask.io/manage-crypto/tokens/how-to-watch-a-token-in-metamask-portfolio/
> Track a token's price, price changes, market cap, and more.
You can watch tokens in your dashboard to keep track of their current price in your chosen currency, price changes, and market cap (price x supply).
To add a token to your watchlist:
1. Head to the 'Tokens' tab from the menu on the left-hand side of the page. On mobile devices, tap the three dots in the top-left to access this menu.
2. The token list on your 'Tokens' page is immediately visible at the top of the page — switch to the 'Watchlist' tab to see that tokens you've already starred.
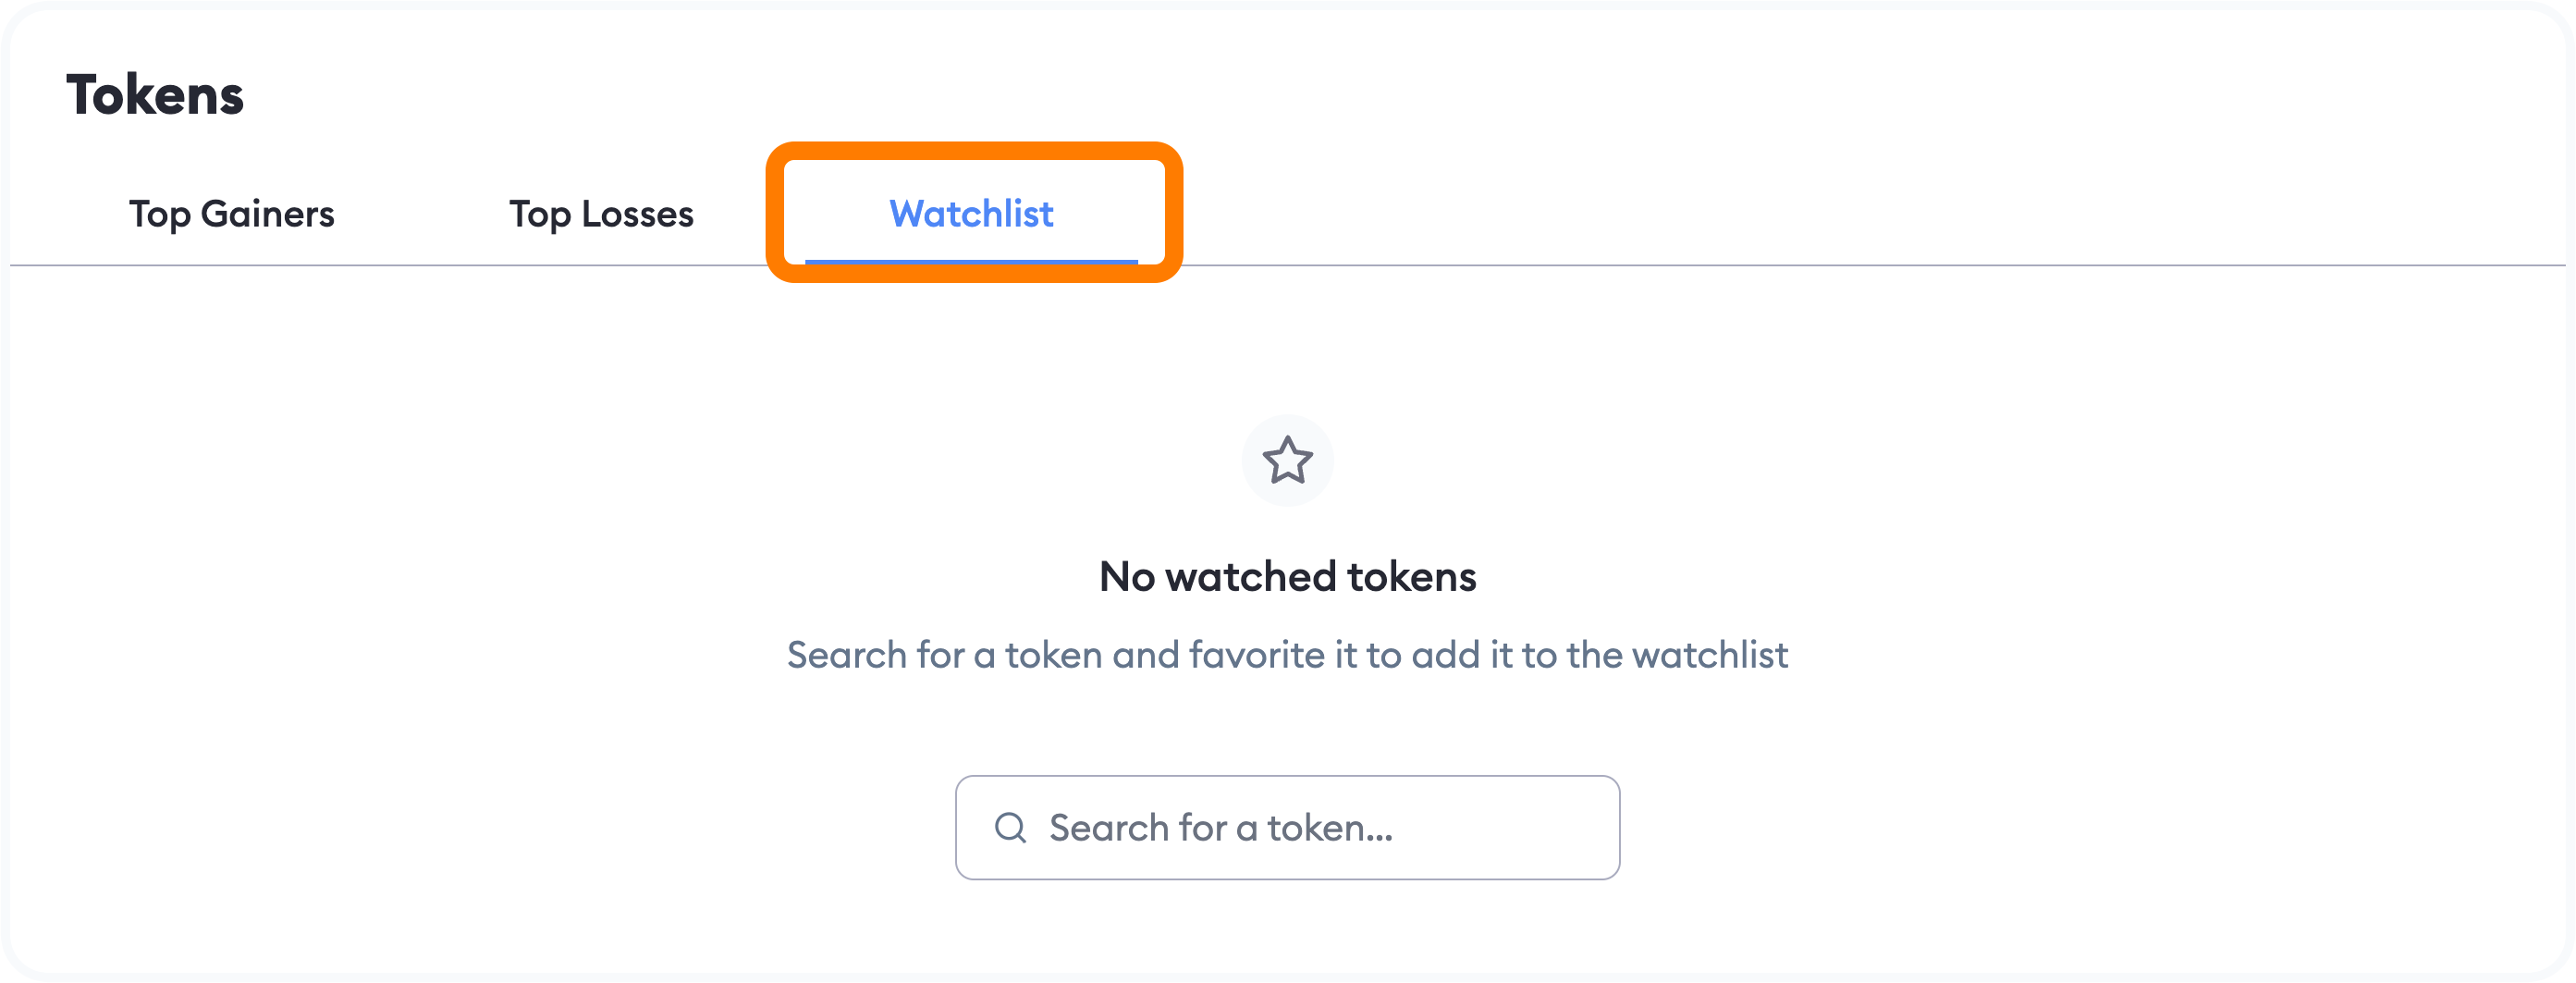
3. To add a token to your watchlist, use the search bar in your empty watchlist or at the top of the dapp. Once you've found the token you want, you can click on it to view more information, or just hit the star button next to it.
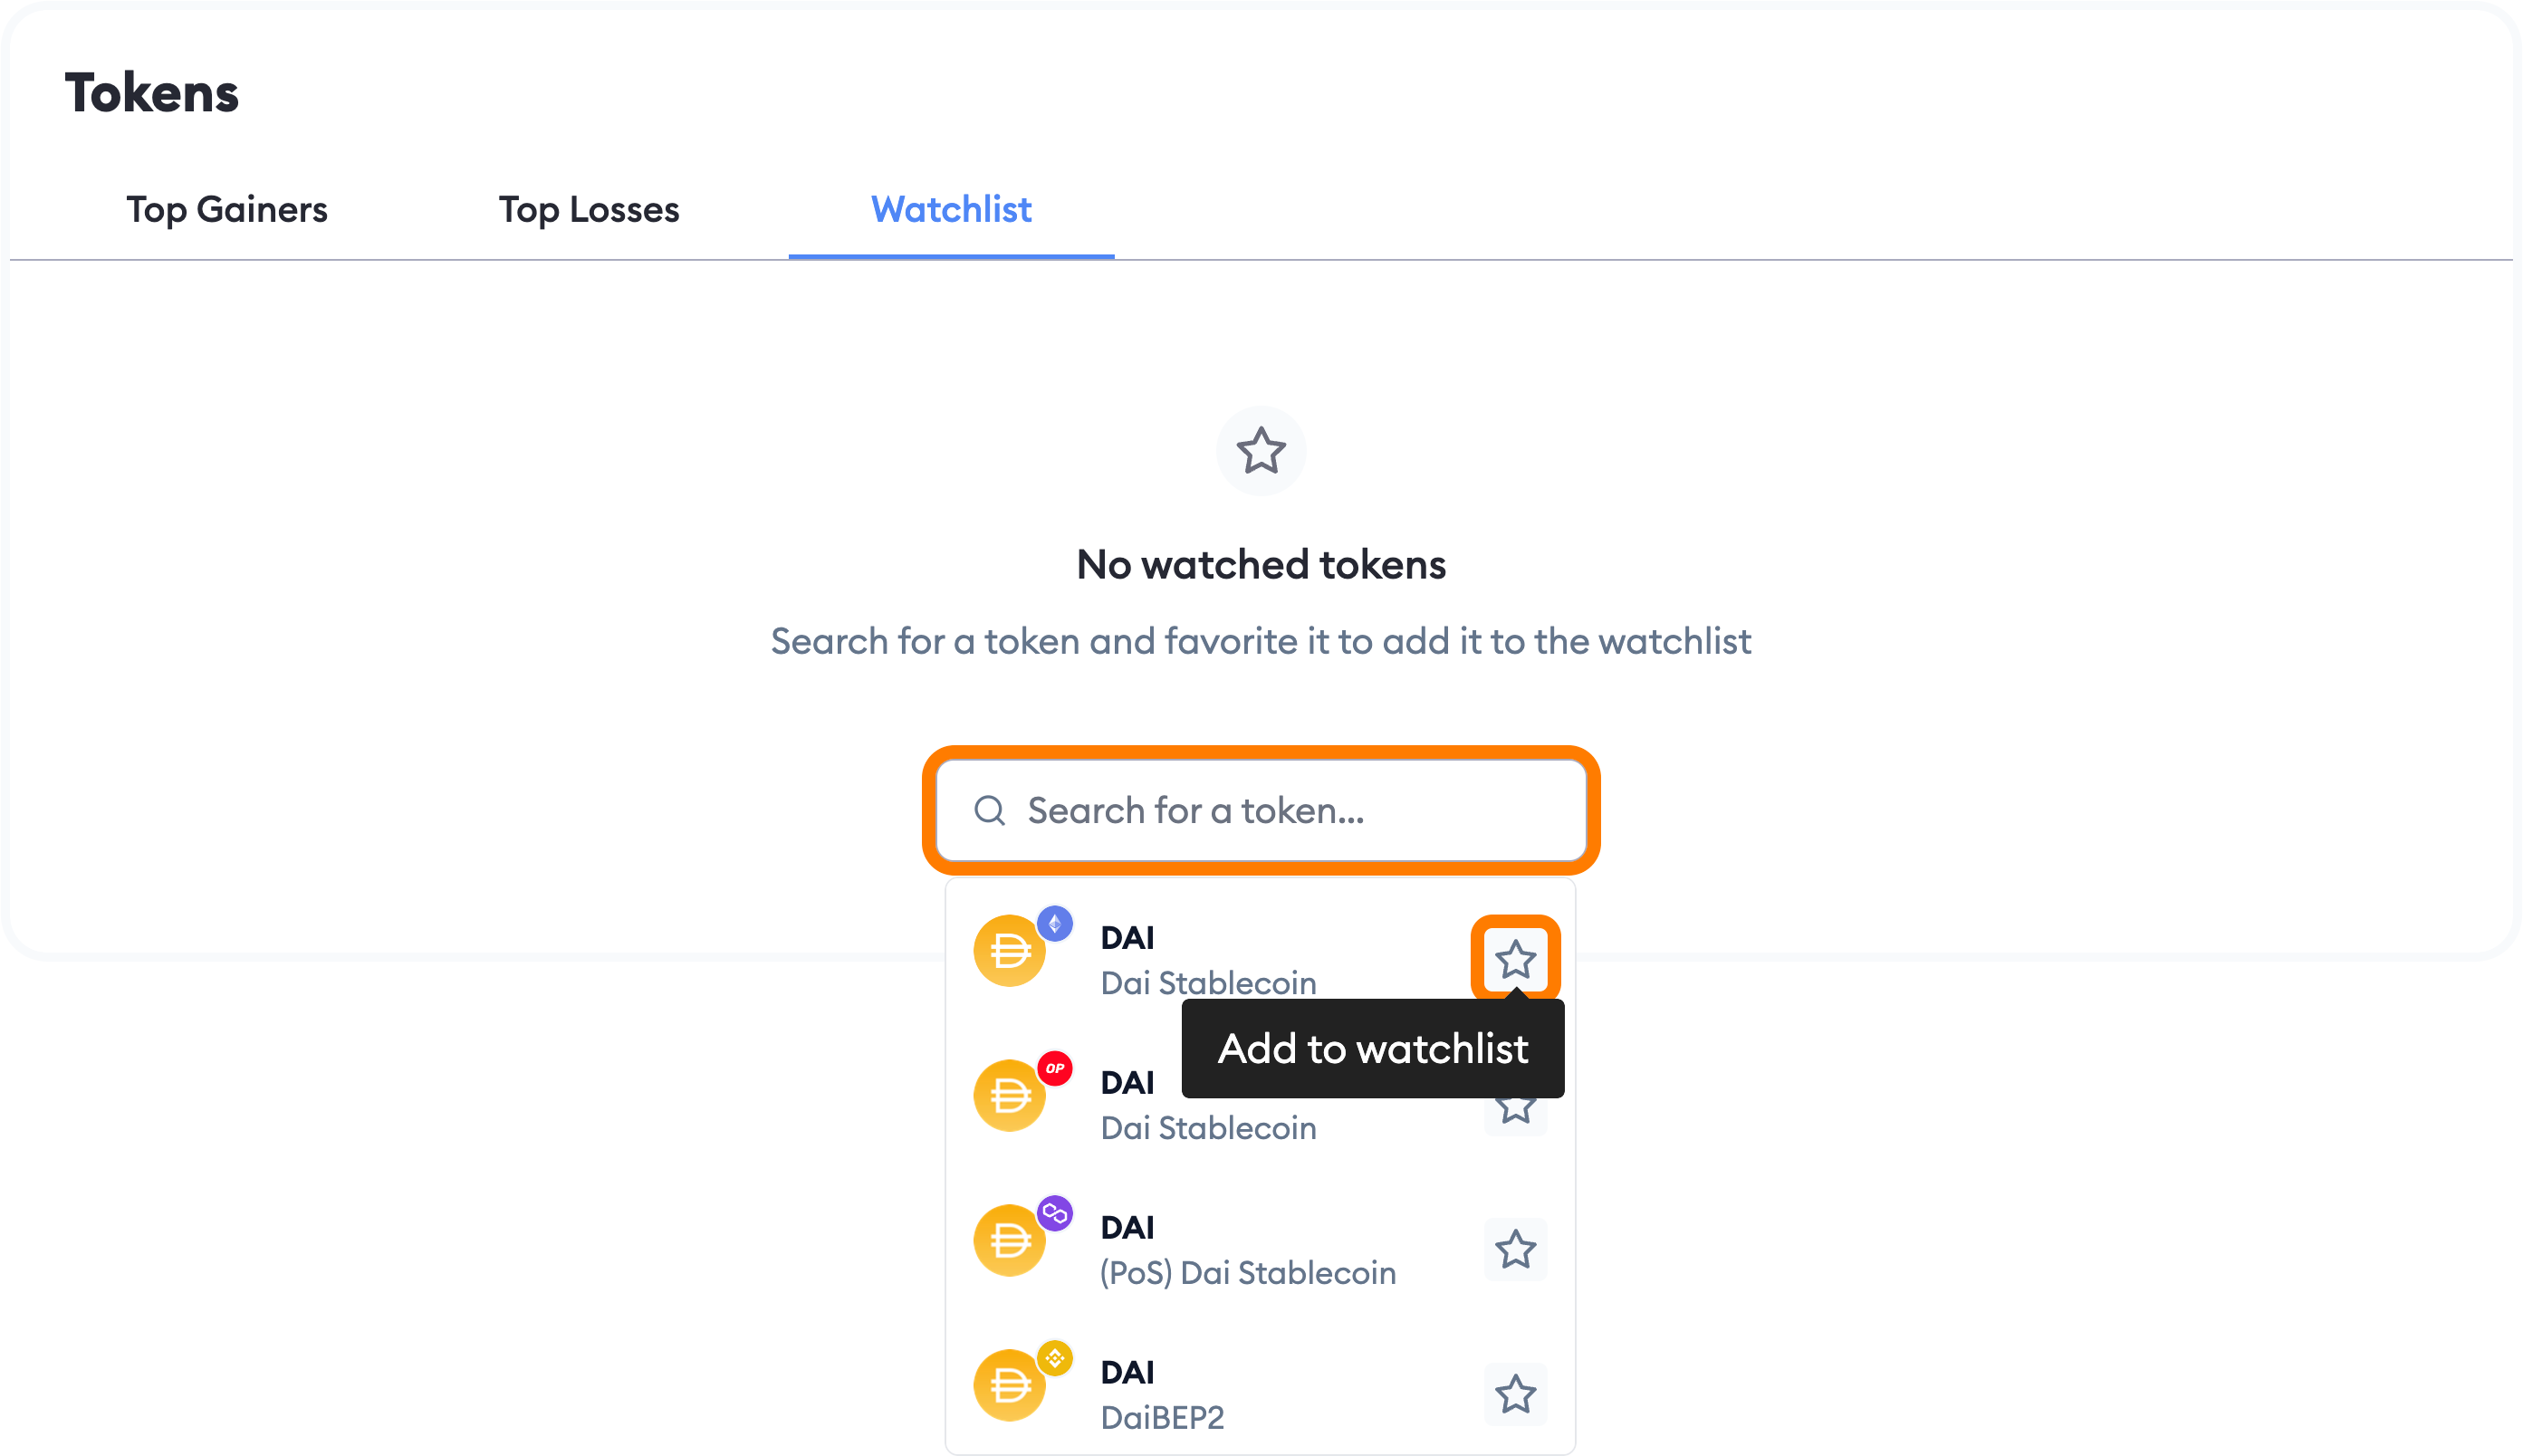
4. Its price data will then be visible in the 'Watchlist' tab:
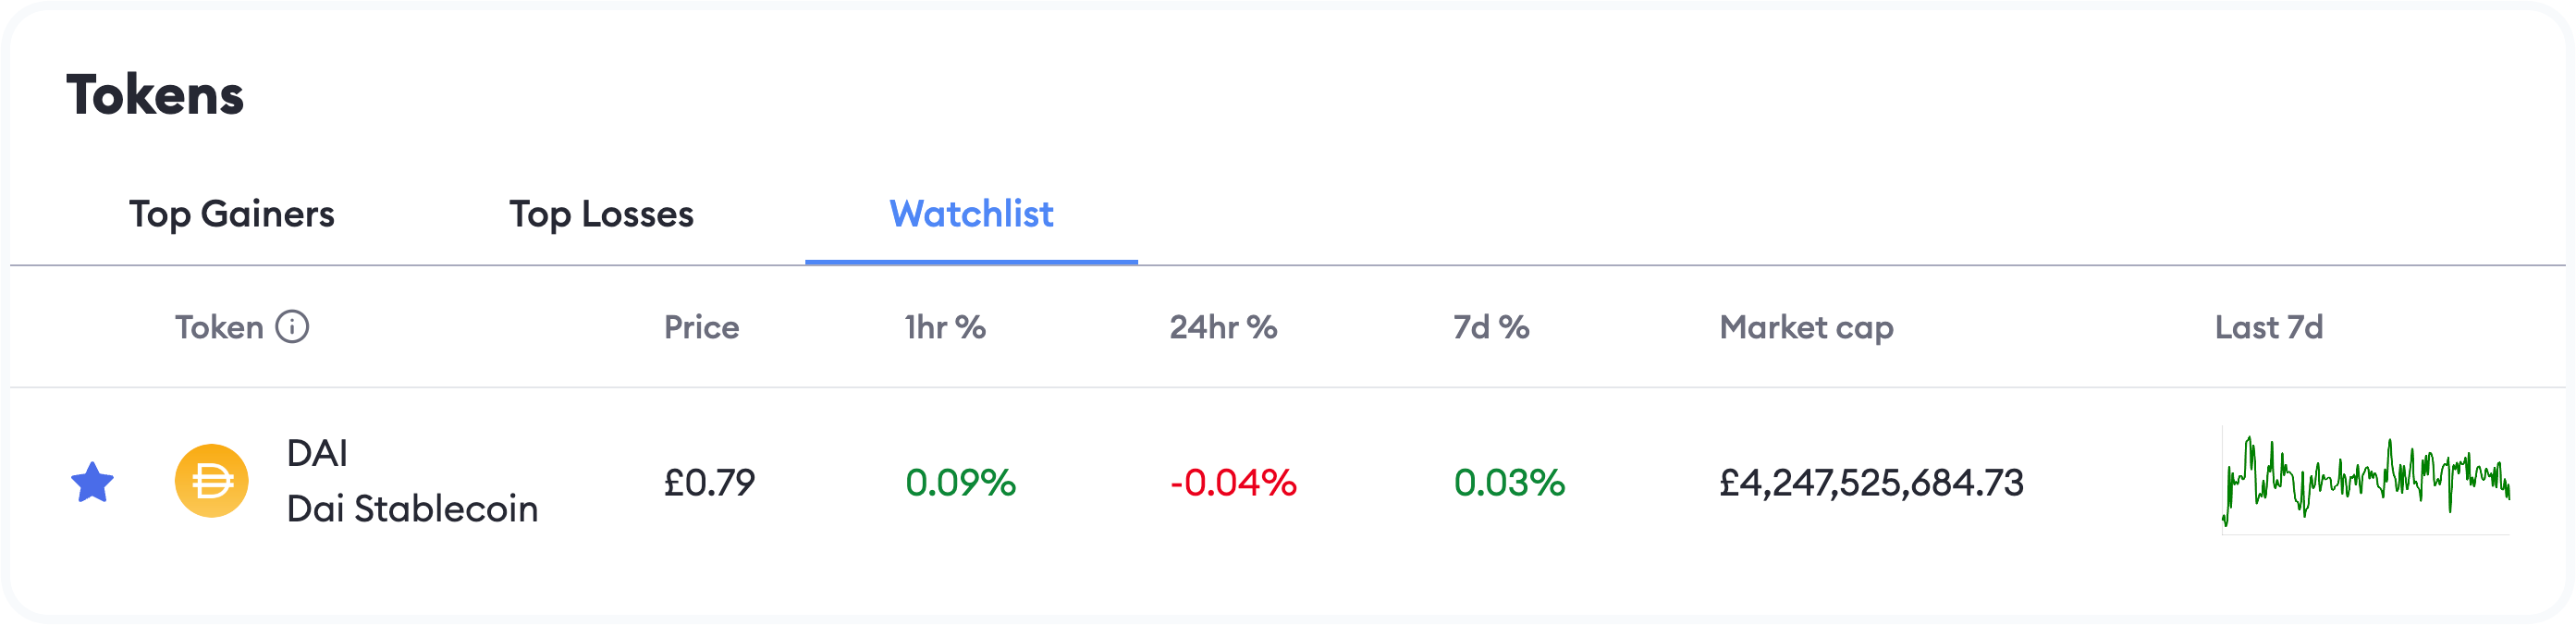
---
# User guide: mUSD
URL: https://support.metamask.io/manage-crypto/tokens/musd/
> Learn how to get mUSD, the official MetaMask stablecoin, and all that you can do with it.
mUSD, or MetaMask USD, is the official MetaMask stablecoin. Pegged 1:1 with the US dollar, mUSD offers the stability of USD with the security of MetaMask. mUSD is created in partnership with Bridge and powered by the M0 protocol.
:::info[What is a stablecoin?]
Stablecoins are cryptocurrencies that are pegged to fiat currencies like the US dollar. This allows their price to remain stable and predictable, which helps take the guesswork and volatility out of cryptocurrency trading.
[mUSD]((https://metamask.io/price/metamask-usd) is backed by the US dollar, so its price will generally remain within a few decimal places of USD.
:::
With mUSD, you can earn exclusive rewards, participate in unique promotions, and transact seamlessly without ever leaving MetaMask.
mUSD is also the official token of [Money Account](/trade/money-account), a new account experience that allows you to earn APY on your mUSD.
## How do I get mUSD?
There are a number of easy ways to get mUSD. For users in eligible regions, the Money Account offers easy steps to get mUSD. Follow the steps in the [Money Account article](/trade/money-account/) to get started.
For other users, you can swap other tokens into mUSD, or buy mUSD directly.
### Swap
You can swap many tokens and stablecoins into mUSD. To get started, head to the MetaMask Mobile homepage. Click ‘Swap’.
Select the token and network you want to swap from.
In the second field, select mUSD and the network you want to swap to.
Enter the amount of the first token that you want to exchange. This will show you how much mUSD you would receive with that amount.
Once you’re satisfied with the Swap details, click ‘Swap’.
### Buy
You can also buy mUSD with cash. From MetaMask Mobile, click ‘Buy’ on the homepage, or from the mUSD tokens detail page.
Select mUSD and the network you’d like to receive the token on, and enter the amount.
Verify which account you’d like to receive the tokens on, and that your region is correct.
Choose your desired payment method.
From there, you’ll be taken to the provider’s platform to complete your purchase, or you will finish your purchase within MetaMask if you’re using Transak.
## What can I do with mUSD?
### Earn APY with Money Account
Deposit your mUSD into Money Account to earn daily APY on your mUSD, powered by MetaMask and the Monad network. Follow the steps in the [Money Account article](/trade/money-account/) to get started.
### Spend and earn with MetaMask Card
mUSD is the official token of MetaMask Card. For every eligible transaction on MetaMask Card, you’ll earn 1% mUSD back, or 3% mUSD back with the Metal card.
You can easily fund your card with mUSD on MetaMask Mobile (version 8.0 or later). Tap ‘Money’ in the bottom navbar to open your Money Account, tap ‘Card’, and then tap ‘Change Asset’ to set a spending limit for mUSD.
### Lend mUSD
You can lend mUSD on Ethereum Mainnet, Linea, and Monad with Aave’s lending markets for rewards.
When you lend mUSD, your loaned tokens will begin earning rewards daily. The loaned tokens will leave your account until you claim them, and in the meantime, you will receive an equivalent number of amUSD tokens.
:::info[What is amUSD?]
Think of amUSD as a receipt for your loaned mUSD. Each amUSD token represents an mUSD token that you loaned at a 1:1 ratio, and returning amUSD allows you to withdraw your loaned mUSD at a 1:1 ratio.
For example, if you lend 100 mUSD, you'll receive 100 amUSD to hold until you're ready to withdraw your loaned mUSD. When you withdraw, you'll enter the amount of amUSD you want to return, such as 50 amUSD, and you'll receive 50 mUSD in return.
As your loaned mUSD earns rewards, the amount of amUSD you hold will automatically increase to reflect the rewards earned.
:::
You can trade your amUSD. For more information on aTokens, see our guide [here](/trade/earn/lending/what-are-atokens).
When you’re ready to stop earning rewards and withdraw your loaned mUSD, you can do so at any time. From the aToken details page, click ‘Withdraw’.
You can see the amount of that token you have loaned; if you’d like to select another token, click the dropdown menu.
---
# My token is missing a price or fiat value
URL: https://support.metamask.io/manage-crypto/tokens/my-token-is-missing-a-price-or-fiat-value/
> Learn more about missing fiat values.
Currently, MetaMask may not have prices (fiat values) for all tokens. Check Coingecko or Coinmarketcap to verify whether your token is currently being traded, or if there is a fiat value for it.
If you don't see a fiat value next to your token, this does not impact your ability to send the token to any destination of your choosing, nor does it impact your ability to swap the token (assuming there are markets with liquidity for the pair you are trying to trade). Please check the "markets" tab for the token on Coingecko or Coinmarketcap if you are unsure about where the token is traded.
Regardless of the token's fiat pricing or lack thereof, you still own these tokens and they are yours to do with what you wish.
---
# User guide: tokens
URL: https://support.metamask.io/manage-crypto/tokens/user-guide-tokens/
> A comprehensive guide to tokens.
:::info[New to Blockchains?]
If you're new to blockchains and the decentralized web, take a read through our [primer](/more-web3/learn/learn-the-basics-of-blockchains-and-ethereum-miners-and-validators-gas-cryptocurrencies-and-nfts-block-explorer-networks-etc); the concepts outlined there will form the basis for the following discussion.
:::
It is important to remember that **MetaMask isn't just used on the Ethereum Mainnet**. It's true, that's where a lot of the most popular applications are, and as the network scales, that should continue to be the case, but from the beginning, MetaMask has been designed to be open and modifiable to the world. This means it can be used on **any Ethereum-compatible blockchain network** — and there are a **lot** of those.
With that in mind, this article will seek to give an explanation regarding tokens that acknowledges this multi-chain reality, especially given how much activity happens on non-mainnet chains through MetaMask.
One of the most basic features of blockchain technology is the ability to track assets moving between parties. For this reason it's also called _distributed ledger technology_: in the end, it's all a series of ledgers being synced across the network. How do we track those assets? Well, they need to be quantified in some way: enter **tokens.**
## Network-Native tokens {#network-native-tokens}
Most blockchain networks, be they fully public or otherwise, utilize some sort of incentivized consensus mechanism to pay for the computing power of the network, and generally there is a default token, or "native currency", that the network uses for those payments. Ethereum Mainnet uses ETH for this purpose, but each network will have its own standard. This is important for the user because **unless they hold some amount of the network's native currency, they may not be able to pay for transactions, gas fees, etc.** Sometimes network-native tokens have significant differences from other tokens on the network (more on the quirks of ETH below), but in general, they're what we call **fungible tokens:**
## Fungible tokens {#fungible-tokens}
Fungible tokens are those which are not unique. They are interchangeable, just like a metallic coin or a paper bill of currency. True, on most networks they're more traceable than a paper banknote — remember, there's a ledger of what tokens go where — but they're intended to be used as a medium of exchange for one purpose or another. The network currency tokens, described above, are an example of fungible tokens.
### Fungible token standards {#fungible-token-standards}
#### ERC-20 tokens {#erc-20-tokens}
As blockchain networks have developed, standards have been put in place as to how tokens should be programmed; how they act, programmatically speaking. On the Ethereum network, many fungible tokens conform to a standard called ERC-20. So, your BNB, USDT, LINK, DAI tokens, to name a few, are ERC-20 tokens.
Let's say you're on Ethereum Mainnet, and you just bought yourself a few tokens of a widely-recognized and traded token. You wait for the swap to settle, and there in your MetaMask, your tokens appear. Magic! ...Not quite.
MetaMask doesn't automatically catalog and load every possible token into a list just in case you buy some of them — at time of writing, there are nearly 650,000 [different ERC-20 contracts out there](https://etherscan.io/tokens). It's impossible to keep up. Instead, MetaMask keeps a list of the most popular tokens, and automatically detects those; but no worries, if you get one that's less common, you can easily [add it manually](/manage-crypto/tokens/how-to-display-tokens-in-metamask).
#### MetaMask and Ethereum {#metamask-and-ethereum}
Here's the really incredible part — **you can use MetaMask on any Ethereum-compatible network, with any Ethereum-compatible token, following the same process.**
Why? Simply put, because Ethereum has served as a roadmap and a standard-creating paradigm for blockchain networks. To put it another way, most people building networks want to make sure that their networks are compatible with Ethereum. So that ends up meaning that MetaMask will work just the same on a new network as it does on Ethereum Mainnet.
MetaMask isn't just a wallet interface, and it isn't just your gateway to the Ethereum network; it's your passport to the decentralized multichain multiverse.
That said, even when travelling through wormholes, you've got to do it right: [make sure you use the right bridges and portals](/more-web3/learn/user-guide-custom-networks-and-sidechains). **Just because you have tokens in your wallet on a different blockchain doesn't mean you can just send them to your wallet on the Ethereum blockchain**. If you do, **you can lose them forever**. We have a few helpful guides to bridging tokens between specific networks in our [Network Profiles section](/more-web3/learn/user-guide-custom-networks-and-sidechains/).
#### ERC-777 tokens {#erc-777-tokens}
This alternate standard was offered as an improvement over ERC-20 tokens, in that it has greater capabilities, particularly the ability to notify smart contracts or wallets when an ERC-777 token is transferred to such an entity. Of course, this means that the receiving entity has to be programmed to receive and work with that notification, which many are not. There are a number of ERC-777 tokens out there, but the ERC-20 standard by far holds predominance.
#### Wrapped tokens {#wrapped-tokens}
While these standards have existed for some time, they did not exist at the inception of Ethereum. As such, ETH itself, Ether, the native currency of the Ethereum Mainnet, is not ERC-20 compliant. This oddity has led to the creation of Wrapped Ether, or WETH: an ERC-20 token that holds an equivalent value of the ETH for which it is swapped, but with ERC-20 functionality.
The wrappers don't stop there, though: wrapping a token is a way of bringing a token from one network to another, like wrapped Bitcoin or POL (previously MATIC) tokens on Ethereum Mainnet.
#### Stablecoins {#stablecoins}
One prominent class of ERC-20 tokens are so-called 'stablecoins', that is, fungible tokens whose value per token is pegged to some external value. Many are pegged to fiat currencies, or commodity markets, or high-value items like gold.
Stablecoins have some considerable nuances and complexities associated with them, due to the fact that in many jurisdictions, they are required to be collateralized; in other words, if you're issuing a coin that is pegged to the US Dollar, you may need to hold in reserve one US Dollar for every coin you issue. Due to these requirements, some stablecoins are controlled by more centralized entities.
Another approach to collateralizing a stablecoins is through depositing value in other cryptocurrencies. This represent a more decentralized option, which some consider closer to the ethos of web3. Due to the volatility of cryptocurrencies, a crypto-collateralized stablecoin may need to hold in deposit a higher amount of value as collateral than a fiat-backed stablecoin.
#### Reflection tokens {#reflection-tokens}
Most users get into DeFi to grow their bags — often through staking, yield farming, liquidity mining, and other complex mechanisms. Reflection tokens are set up to scratch this itch for passive income without the holder ever having to engage in any DeFi activities: you're simply awarded ever more tokens just for having them in your account.
These payments — orchestrated by a smart contract — are proportional to the quantity of tokens the user holds, and are financed through what amounts to taxation on transactions. The advantages are obvious: as the incentive to hold is so strong, the token is protected from large-scale sell-offs. You're also free to use the token in DeFi if you want to, generating yields on top of the redistributive payments.
Reflection tokens are a novel concept, with many current examples having been around for too short a time to derive any conclusions about their long-term sustainability or viability. As always with new crypto projects, DYOR and stay safe.
#### Elastic supply / Rebase / Algorithmic tokens {#elastic-supply--rebase--algorithmic-tokens}
A fascinating and emerging technology, elastic supply financial products seek to eliminate price volatility. Instead, these products experience supply volatility.
Like a stablecoin, many (not all) elastic supply tokens have a 'target price' that references some external value, such as a fiat currency. But instead of being pegged 1:1 in _quantity_ with that external value point, the quantity of tokens expands and shrinks to maintain each holder's _value._ In theory, this fluctuation manages changes in demand, or changes to an external price (a fiat currency, for example) on which the value of the asset is based.
More simply: **an elastic supply token will adjust, or rebase, the number of tokens allocated to each holder** depending on market demand for the token as well as the market value of the fixed external value, in theory, maintaining a steady value.
**_If you hold rebase or elastic supply tokens, you may see the quantity of that token go up and down in your account._**
At least, that's the idea; it doesn't always work that way. Elastic supply products are complex financial instruments in which you should only invest if you truly understand how they might behave.
Many elastic supply tokens are designed to be non-collateralized stablecoins, thus offering a more decentralized, yet stable, option. However, other elastic supply tokens are designed specifically to offer compounded gains on positive rebases, but the reverse will also be true: under a negative rebase, your losses would also be compounded.
_To give you a made-up example: you buy 100 tokens, and demand grows; your 100 tokens are rebased to 120 tokens, and what's more, the value of them is greater because there's more demand; you've experienced a 30% return on your investment--at least, temporarily. Now the flip side: if lots of holders of your elastic token are selling, maybe your 100 tokens are rebased to 80, and the value has dropped; you've suffered a 30% loss._
**This information is offered by way of example and education, and, as always with MetaMask resources, in no way constitutes investment advice. Do your own research and understand the projects in which you are participating.**
## **Non-fungible tokens (NFTs)** {#non-fungible-tokens-nfts}
What's an NFT, you ask? Well, it's there in the name. In contrast with ERC-20, network currency, or other fungible, currency-like tokens, non-fungible tokens are meant to be unique. There may be a series of them, but they are not interchangeable, one for another; each one is different. For this reason, they have been the subject of amazing innovation and creativity since the inception of Ethereum Mainnet; one of the first big surges of usage and adoption of Ethereum was through [CryptoKitties](https://www.cryptokitties.co/), an NFT-based videogame in which players breed and collect unique cats, each one of them tokenized as an NFT.
### Non-fungible token standards {#non-fungible-token-standards}
#### ERC-721 tokens {#erc-721-tokens}
Similar to the dynamic between ERC-20 and ERC-721, there are two main NFT standards, and the first and older of the two is more dominant—although there are plenty of ERC-1155 tokens out there as well. This is the standard that's been used to create CryptoKitties, the Ethereum Name Service (ENS), CryptoPunks, Cool Cats (so many cats)—the list goes on.
#### ERC-1155 tokens {#erc-1155-tokens}
Developed subsequently to the 721 standard, the ERC-1155 standard is incredibly powerful and while used in NFT collections, may come to be used in much more complex and nuanced ways. A smart contract that is coded according to ERC-1155 can issue a number of both fungible and non-fungible contracts. This could be particularly useful in developing a video game, for example: imagine a video game world where the users need life tokens, or currency tokens to spend in the game, which would be fungible; however, the characters themselves could be represented by non-fungible tokens, each one of them unique. With ERC-1155, all of this could be possible with a single smart contract.
#### Side note: POAPs {#side-note-poaps}
As you spend more time in web3, you may hear about POAPs, especially if you attend events related to the ecosystem (in person or virtually). POAP is an acronym that stands for Proof Of Attendance Protocol; it's essentially an NFT that is deployed as a sort of badge, showing that you attended a given event. In other words, in addition to any value they may have in monetary terms, they carry bragging rights, too.
If you're interested in using POAPs at your own event, Consensys' own Clemens Wan has written [an excellent walkthrough.](https://clemens-wan.medium.com/end-to-end-poap-guide-for-enterprises-e63ec22734fb)
## Summary {#summary}
Remember, all the types outlined above are the Ethereum-native standards. Other networks, if they develop tokens that use Ethereum standards as a blueprint, may refer to them in similar, but different ways, for example keeping the numbers but changing the letters: XYZ-20 tokens, ABC-721 tokens.
Tokens can store an incredible amount of real-world value. Read more about how to keep that value safe [here](/stay-safe/safety-in-web3/token-safety-practices).
# FAQs:
[NFT tokens in your MetaMask](/manage-crypto/nfts/nft-tokens-in-your-metamask-wallet)
[How to find a token contract address](/manage-crypto/tokens/how-to-find-a-token-contract-address)
[How to display tokens in MetaMask](/manage-crypto/tokens/how-to-display-tokens-in-metamask)
[How to remove a token](/manage-crypto/tokens/how-to-remove-a-token)
[A token is missing from my account](/manage-crypto/tokens/what-to-do-when-your-balance-of-tokens-is-incorrect)
[How to check my account activity on the blockchain explorer](/more-web3/learn/how-to-check-my-wallet-activity-on-the-blockchain-explorer)
---
# User guide: transactions
URL: https://support.metamask.io/manage-crypto/tokens/user-guide-transactions-and-failed-transactions/
> Learn what leads to failed crypto transactions in MetaMask, how to diagnose issues like gas limits and network errors, and how to fix them step-by-step.
:::note
New to crypto and web3?
Head to [MetaMask Learn](https://learn.metamask.io/) for a straightforward learning experience designed specifically for newcomers to web3. It's completely free, available in multiple languages, and includes useful tools such as simulations to help you find your feet with MetaMask.
:::
## Anatomy of a blockchain transaction {#anatomy-of-a-blockchain-transaction}
When we talk about 'transactions' on a public blockchain network, we're usually talking about interactions between two addresses; in other words, tokens, be they fungible or non, or other crypto assets being 'sent' from one address to another. There are also transactions referred to as "internal transactions", which are interactions that occur between smart contracts, and for the most part fall outside of the scope of this article.
### Want more info? {#want-more-info}
For more on blockchain networks and how they work in general, check out our [intro article here](/more-web3/learn/learn-the-basics-of-blockchains-and-ethereum-miners-and-validators-gas-cryptocurrencies-and-nfts-block-explorer-networks-etc), and if you get stuck on any unfamiliar words, our [glossary is always available](https://consensys.net/knowledge-base/a-blockchain-glossary-for-beginners/).
For clarity's sake, nothing is actually being _sent_ anywhere. A smart contract-enabled blockchain network like Ethereum has a number of different components, or functions. One of these is what we would call a "computer": the Ethereum Virtual Machine, or EVM, which is capable of running programs ('smart contracts'). The backbone of the system, however, is a _distributed ledger_: **imagine a spreadsheet that contains, on one side, every single Ethereum account address, and each address has a column for each type of crypto-asset that it holds.**
Let's use an example for illustration. Say that Guillaume wants to send a transaction to Dolores. Guillaume has 1.36 ETH in his account, and he plans on sending Dolores 0.5 ETH. Sounds like a good day for Dolores, even in a bear market.
Guillaume opens up his MetaMask, enters Dolores' address, configures the gas parameters that he's comfortable with paying, and hits'send'.
At this point, the transaction enters a local temporary holding status, known as the _local memory pool_, or _local mempool_. The transaction will then get 'picked up' by the closest node in the network; depending on Guillaume's [gas settings](/configure/transactions/how-to-customize-gas-settings), his transaction will be prioritized (**the more Guillaume is willing to pay per [unit of gas](/more-web3/learn/user-guide-gas), the faster his transaction will be processed**), and propagated to other nodes in the network. The nodes will do the work of verifying that Guillaume has the ETH to spend, and then will actually perform the 'transaction': **the ledger will be modified; 0.5 will be debited from Guillaume's balance, and 0.5 will be credited to Dolores'.**
_'The moving hand, having writ, moves on':_ ETH didn't move through a network per se; it wasn't an email sent from Guillaume's computer to Dolores' MetaMask inbox or anything of the sort. Guillaume sent a request, **authenticated by his [private keys through MetaMask](/start/user-guide-secret-recovery-phrase-password-and-private-keys)**, to the network to debit his account and credit Dolores', and after the verification process programmed into the network's protocols, this was done.
_That's all there is to a transaction: a request to the ledger to reallocate something from one address to another._
## When things go wrong {#when-things-go-wrong}
Things can go wrong for a number of reasons. Often, they're 'software in nature': MetaMask has a bug, or something was misconfigured regarding the network you're trying to use; there was a connectivity error.
A **common issue is that the user, in an attempt to pay less for their transaction, sets a very low gas limit**, and network conditions are so congested that there isn't space in any blocks for such a "cheap" transaction, sometimes for a very long time: eventually, this transaction will become "stale" and will have to be cancelled by the user.
**If you've sent a transaction and it hasn't been finalized**, its status will be shown as "pending" in MetaMask.
**If you sent a transaction, and it failed, the most likely cause is a lack of gas**: you "ran out of gas", in other words, the transaction had a cost in gas that, when multiplied by the gas price, resulted in a total amount of the network's native currency that was greater than what you had in your account.
### Info {#info}
For more on calculating gas, consult our [gas guide here](/more-web3/learn/user-guide-gas).
This can happen for a number of reasons, but one thing to consider is what the transaction is that you're trying to carry out. Minting an NFT during peak network traffic times can be very gas-intensive; if you're trying out a new or experimental transaction, it may be worth trying on a test network before paying real live network fees.
:::info[Confirmed transactions cannot be reversed]
Once a transaction is confirmed and shows as successful, it is final and permanently recorded on the blockchain. There is nothing MetaMask or anyone else can do to revert it.
If you need to recover funds from a confirmed transaction, the only option is to contact the receiver and ask them to return the tokens via a new transaction.
You can only cancel a transaction while it is still **pending** — see [How to speed up or cancel a pending transaction](/manage-crypto/transactions/how-to-speed-up-or-cancel-a-pending-transaction).
:::
## Fixing the problem {#fixing-the-problem}
### Key Factor #1: local or broadcast to network {#key-factor-1-local-or-broadcast-to-network}
As you go about diagnosing your transaction issue, especially when it comes to a pending transaction, you need to look at whether the transaction is still in your local mempool, or whether it has made it to the network and is stuck there for whatever reason. If it is just in your local mempool, the solution could be as simple as locking, and unlocking, your MetaMask (**make sure you know your password and have your Secret Recovery Phrase backed up before you do**). If it's made it to the network, the solution could be more complicated.
For more on fixing these problems, see the links below.
### Key Factor #2: Nonce {#key-factor-2-nonce}
This word can mean a few different things. It's a contraction of "number only used once", and in this context, it roughly means 'transaction number', starting from the first transaction made by the sending address. You can get yourself into real trouble if, for example, you're firing two different transactions from different instances of MetaMask with the same account address at the same time. **Your address' transactions need to be in increasing order according to their nonce.** However, just as nonces are capable of causing a stuck transaction, they can be the key to getting a transaction unstuck.
For more on that technique, [see here](/manage-crypto/transactions/how-to-speed-up-or-cancel-a-pending-transaction).
## Next steps {#next-steps}
If you have a failed or pending transaction, consult the following resources for assistance.
[How to send tokens from your MetaMask account](/manage-crypto/move-crypto/send/how-to-send-tokens-from-your-metamask-wallet)
[How to speed up or cancel a pending transaction](/manage-crypto/transactions/how-to-speed-up-or-cancel-a-pending-transaction)
[Uniswap Troubleshooting](/more-web3/dapps/uniswap-support-and-troubleshooting-tips)
[User Guide: Gas](/more-web3/learn/user-guide-gas)
## FAQs {#faqs}
_Q: One account in my wallet has a pending or in-queue transaction. Can I start another transaction from a different account within the same wallet?_
A: Yes, you can. The nonce is counted per account, not per wallet.
---
# Why is my balance incorrect or missing a token?
URL: https://support.metamask.io/manage-crypto/tokens/what-to-do-when-your-balance-of-tokens-is-incorrect/
> Token missing entirely or showing the wrong amount in MetaMask? Check transaction status, network, token detection, and troubleshoot balance display issues.
Whether a token is missing entirely or showing the wrong amount, start with these:
- **Has the transaction been confirmed?** Blockchain transactions are generally fast but not instantaneous. If a token was recently transferred to you, it may still be confirming. [Check on a block explorer](/more-web3/learn/how-to-check-my-wallet-activity-on-the-blockchain-explorer) to see whether the transaction has completed.
- **Are you on the correct network?** The token will only appear on the network it was sent on. Make sure MetaMask the network is [one MetaMask supports](/configure/networks/how-to-add-a-custom-network-rpc).
- **Verify the balance on the block explorer.** Copy your account address and paste it into the block explorer for your network — Etherscan for Ethereum Mainnet, Arbiscan for Arbitrum, and so on. For detailed instructions, see [here](/more-web3/learn/how-to-check-my-wallet-activity-on-the-blockchain-explorer). Compare what you see there with what MetaMask is showing.
## Token not showing at all {#token-not-showing}
If the block explorer confirms the token is in your wallet but MetaMask isn't displaying it, MetaMask may not have detected it automatically. You may need to add it manually. See [How to display tokens in MetaMask](/manage-crypto/tokens/how-to-display-tokens-in-metamask) for instructions.
## Balance is showing but incorrect {#balance-incorrect}
If MetaMask is showing the token but with the wrong amount, try the steps below.
:::info[Does the token have built-in mechanisms that affect supply or value?]
Some tokens are designed to dynamically change supply or value according to various conditions:
- [Rebase tokens](/manage-crypto/tokens/user-guide-tokens), where token supply is adjusted periodically
- Tokens with 'taxes' applied to transactions of different kinds (e.g. simple transfer, swap, sell). These are sometimes referred to as 'fee on transfer' tokens.
Before continuing, check whether any of these apply to your token. You can usually find this information in the project's white paper or documentation.
:::
**Before proceeding, make sure that you have your [Secret Recovery Phrase](/start/user-guide-secret-recovery-phrase-password-and-private-keys) backed up in a safe place.**
Try the steps below one by one until your balance displays correctly.
1. Check that your internet connection is strong and stable. If not, MetaMask may be unable to load the correct balances.
2. Close down your browser where you have the MetaMask extension installed and open it again.
3. Try switching off any ad blockers you have installed, or, if you're using a VPN, try using MetaMask with it turned off.
4. Switch to a different network and back again. To do this, click on your current network at the top of the app. Select a different network, and then switch back to your original network again.
5. Make sure you're not experiencing a [browser permissions issue](/configure/troubleshooting/metamask-states-balance-may-be-outdated-displays-in-orange-or-eth-not-added-to-balance).
6. Try a different RPC URL, if there is more than one available for the network you're using. You can edit the RPC URL by going to Settings > Network, and then clicking the network in question. See our [article on adding networks](/configure/networks/how-to-add-a-custom-network-rpc) for more information.
Try the steps below one by one until your balance displays correctly.
1. Make sure your internet connection is strong and stable. If it isn't, token values may not be up to date.
2. Change to a different network and then switch back again.
3. Change the RPC URL of the network you're on to an alternative, where possible. See our [article on adding networks](/configure/networks/how-to-add-a-custom-network-rpc) for more information.
4. Hide the token, following instructions [here](/manage-crypto/tokens/how-to-display-tokens-in-metamask#how-to-hide-tokens), and then re-add the token, following instructions [here](/manage-crypto/tokens/how-to-display-tokens-in-metamask).
**If the token in question is a network native token for a network other than Ethereum** (BNB, AVAX, POL (previously MATIC), etc), try [deleting the network](/configure/networks/how-to-remove-networks) and then [re-adding it](/configure/networks/how-to-add-a-custom-network-rpc).
---
# Where does MetaMask source the token's price?
URL: https://support.metamask.io/manage-crypto/tokens/where-does-metamask-source-the-tokens-price/
> MetaMask gets token data from CoinGecko.
MetaMask gets token data from [CoinGecko](https://www.coingecko.com/en). You can visit their site to find exchanges actively trading specific tokens.
---
# Understanding gas sponsorship
URL: https://support.metamask.io/manage-crypto/transactions/gas-sponsorship/
> Your network fee may be covered if your transaction is eligible and on supported chains.
Gas sponsorship is a feature that **covers your network fees on certain chains**, courtesy of MetaMask.
:::info[What is gas sponsorship?]
Gas sponsorship allows you to make some transactions gas-free. This means that you don't pay a gas fee, or network fee, for eligible transactions. The gas fee is sponsored by MetaMask, with no additional steps required on your end.
When a transaction is eligible for gas sponsorship, you will see "Paid by MetaMask" next to the network fee in the confirmation screen.
:::
Currently gas sponsorship is available for certain transactions on the following networks. Each network differs in terms of eligible transactions and requirements. Keep reading for more details.
Eligible networks:
- Monad
- SEI
- Solana
### Monad
To qualify for gas sponsored transactions on Monad, you must:
- Submit a Monad transaction (e.g. a swap, send, or dapp interaction within the Monad network).
- Have at least **10 MON** remaining in your wallet after the transaction, if MON is the source token. This does not apply to ERC20 swaps or sends.
Transactions between Monad and other networks are not eligible.
### SEI
To qualify for gas sponsored transactions on SEI, you must:
- Submit a SEI transaction (e.g. a swap, send, or dapp interaction within the SEI network).
Transactions between SEI and other networks are not eligible.
### Solana
The following transactions are eligible for gas sponsorship on Solana:
- Swaps on Solana with a minimum swap size of $200 in value.
- Cross-chain swaps originating from Solana, with a minimum swap size of $200 in value.
### How gas sponsorship works
Gas sponsorship relies on [smart accounts](/configure/accounts/what-is-a-smart-account/#benefits-of-smart-accounts) (EIP-7702). If your account hasn’t been upgraded yet, it will automatically convert to a smart account when you submit your first eligible transaction on a supported network.
Currently, you **cannot opt out of sponsorship**. If smart accounts are [manually disabled](/configure/accounts/switch-to-or-revert-from-a-smart-account/#how-to-switch-back-to-a-standard-account), they will automatically **be re-enabled when you submit an eligible transaction.**
### How long will my transactions be sponsored?
Gas sponsorship is currently available on select networks but not guaranteed to continue indefinitely. Availability may change at any time.
### Why isn’t my transaction sponsored?
Sponsored transactions are only available on Monad, SEI, and Solana. Your transaction may not be sponsored if:
- It isn't an eligible transaction type
- It doesn't meet all requirements (such as minimum balance)
- It exceeds 5,000,000 gas (5M gas units)
- You’re using a hardware wallet account (like Ledger or Trezor), which isn’t currently supported
If your transaction doesn’t qualify, you will need to pay the network fee as usual.
---
# How to find a transaction ID
URL: https://support.metamask.io/manage-crypto/transactions/how-to-find-a-transaction-id/
> Find the transaction ID (hash) for any transaction in MetaMask Extension or Mobile.
Every single transaction on the blockchain is assigned a unique **transaction ID**, also known as a _transaction hash_ (or _tx_/_txn_ for short). In simple terms, the hash is a condensed form of the transaction's data — including the addresses involved, the timestamp, and the quantity of tokens exchanged.
You can find and copy the transaction ID (hash) easily through a token's details page or the 'Activity' tab on Extension or Mobile.
### Option 1: Via token activity {#ext-option-1}
1. On the 'Tokens' tab, click the desired token.
2. Scroll down to 'Your activity'.
3. Click the transaction to open its details.
4. Click the copy icon next to 'Transaction ID'.
### Option 2: Via the Activity tab {#ext-option-2}
1. Go to the 'Activity' tab.
2. Scroll to find the transaction, or filter by network.
3. Click the transaction to open its details.
4. Click the copy icon next to 'Transaction ID'.
You can also select 'View on block explorer' at the bottom of the panel to see full transaction details — block explorers refer to the transaction ID as the transaction hash.
### Option 1: Via token activity {#mob-option-1}
1. On the homepage, tap the desired token within the 'Tokens' section.
2. Scroll down to see the token's activity.
3. Tap the transaction to open its details.
4. Tap the copy icon next to 'Transaction ID'.
### Option 2: Via the Activity tab {#mob-option-2}
1. Tap the clock icon on the homepage to go to the 'Activity' tab.
2. Scroll to find the transaction, or filter by network or type.
3. Tap the transaction to open its details.
4. Tap the copy icon next to 'Transaction ID'.
You can also tap 'View on block explorer' at the bottom of the panel to see full transaction details — block explorers refer to the transaction ID as the transaction hash.
---
# How to find a transaction nonce
URL: https://support.metamask.io/manage-crypto/transactions/how-to-find-a-transaction-nonce/
> A nonce is a unique number assigned to every transaction.
A nonce is a unique number assigned to every transaction. You can find a nonce in MetaMask by clicking or tapping on the transaction in question.
## Finding the nonce in MetaMask {#finding-the-nonce-in-metamask}
On your MetaMask homepage, head to the 'Activity' tab and find the transaction you're looking for. To find it, you can search for it using the search bar, scrolling to find it, or filtering by network or transaction type.
Next, click on the transaction you're looking for and locate the nonce in the list of details:
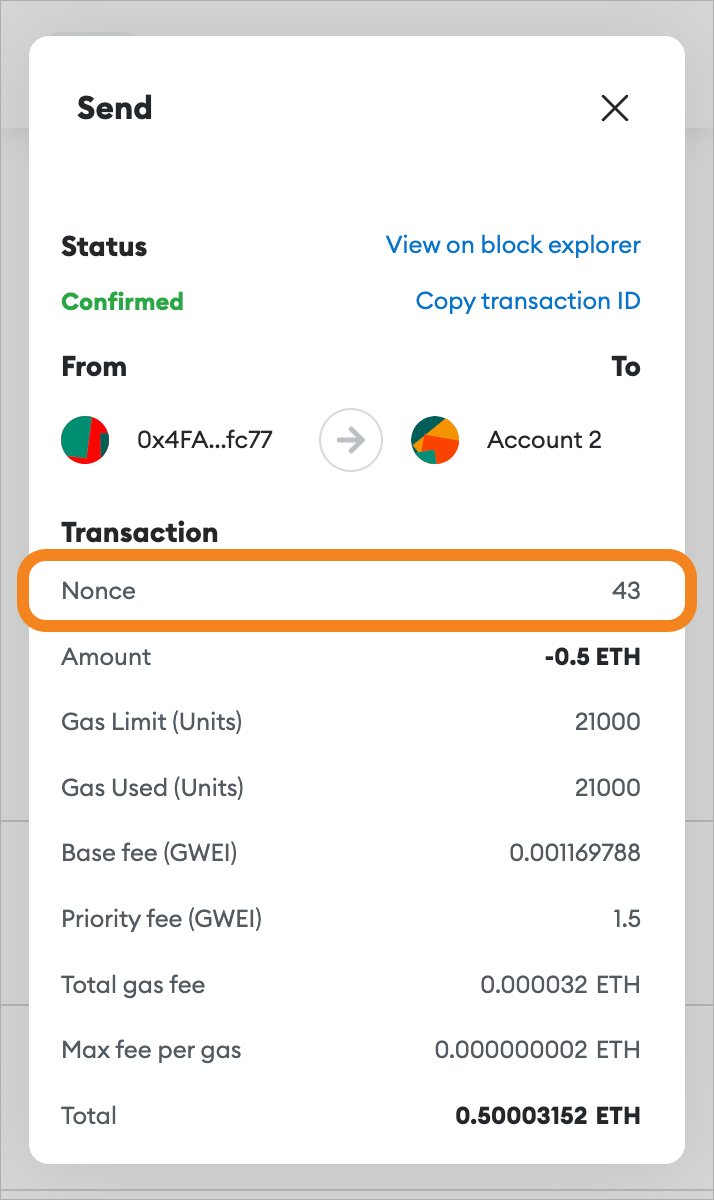
On Mobile, you can either see all of the account's transactions or narrow them down by asset to find the transaction you're looking for.
To view all transactions, tap the clock icon in the tab bar to view all of your activity:

To view transactions for a specific asset, head back to the account view's 'Tokens' tab and tap it. Scroll down a little past the token's price chart to see your activity.
In either case, tap on the transaction to see the nonce:
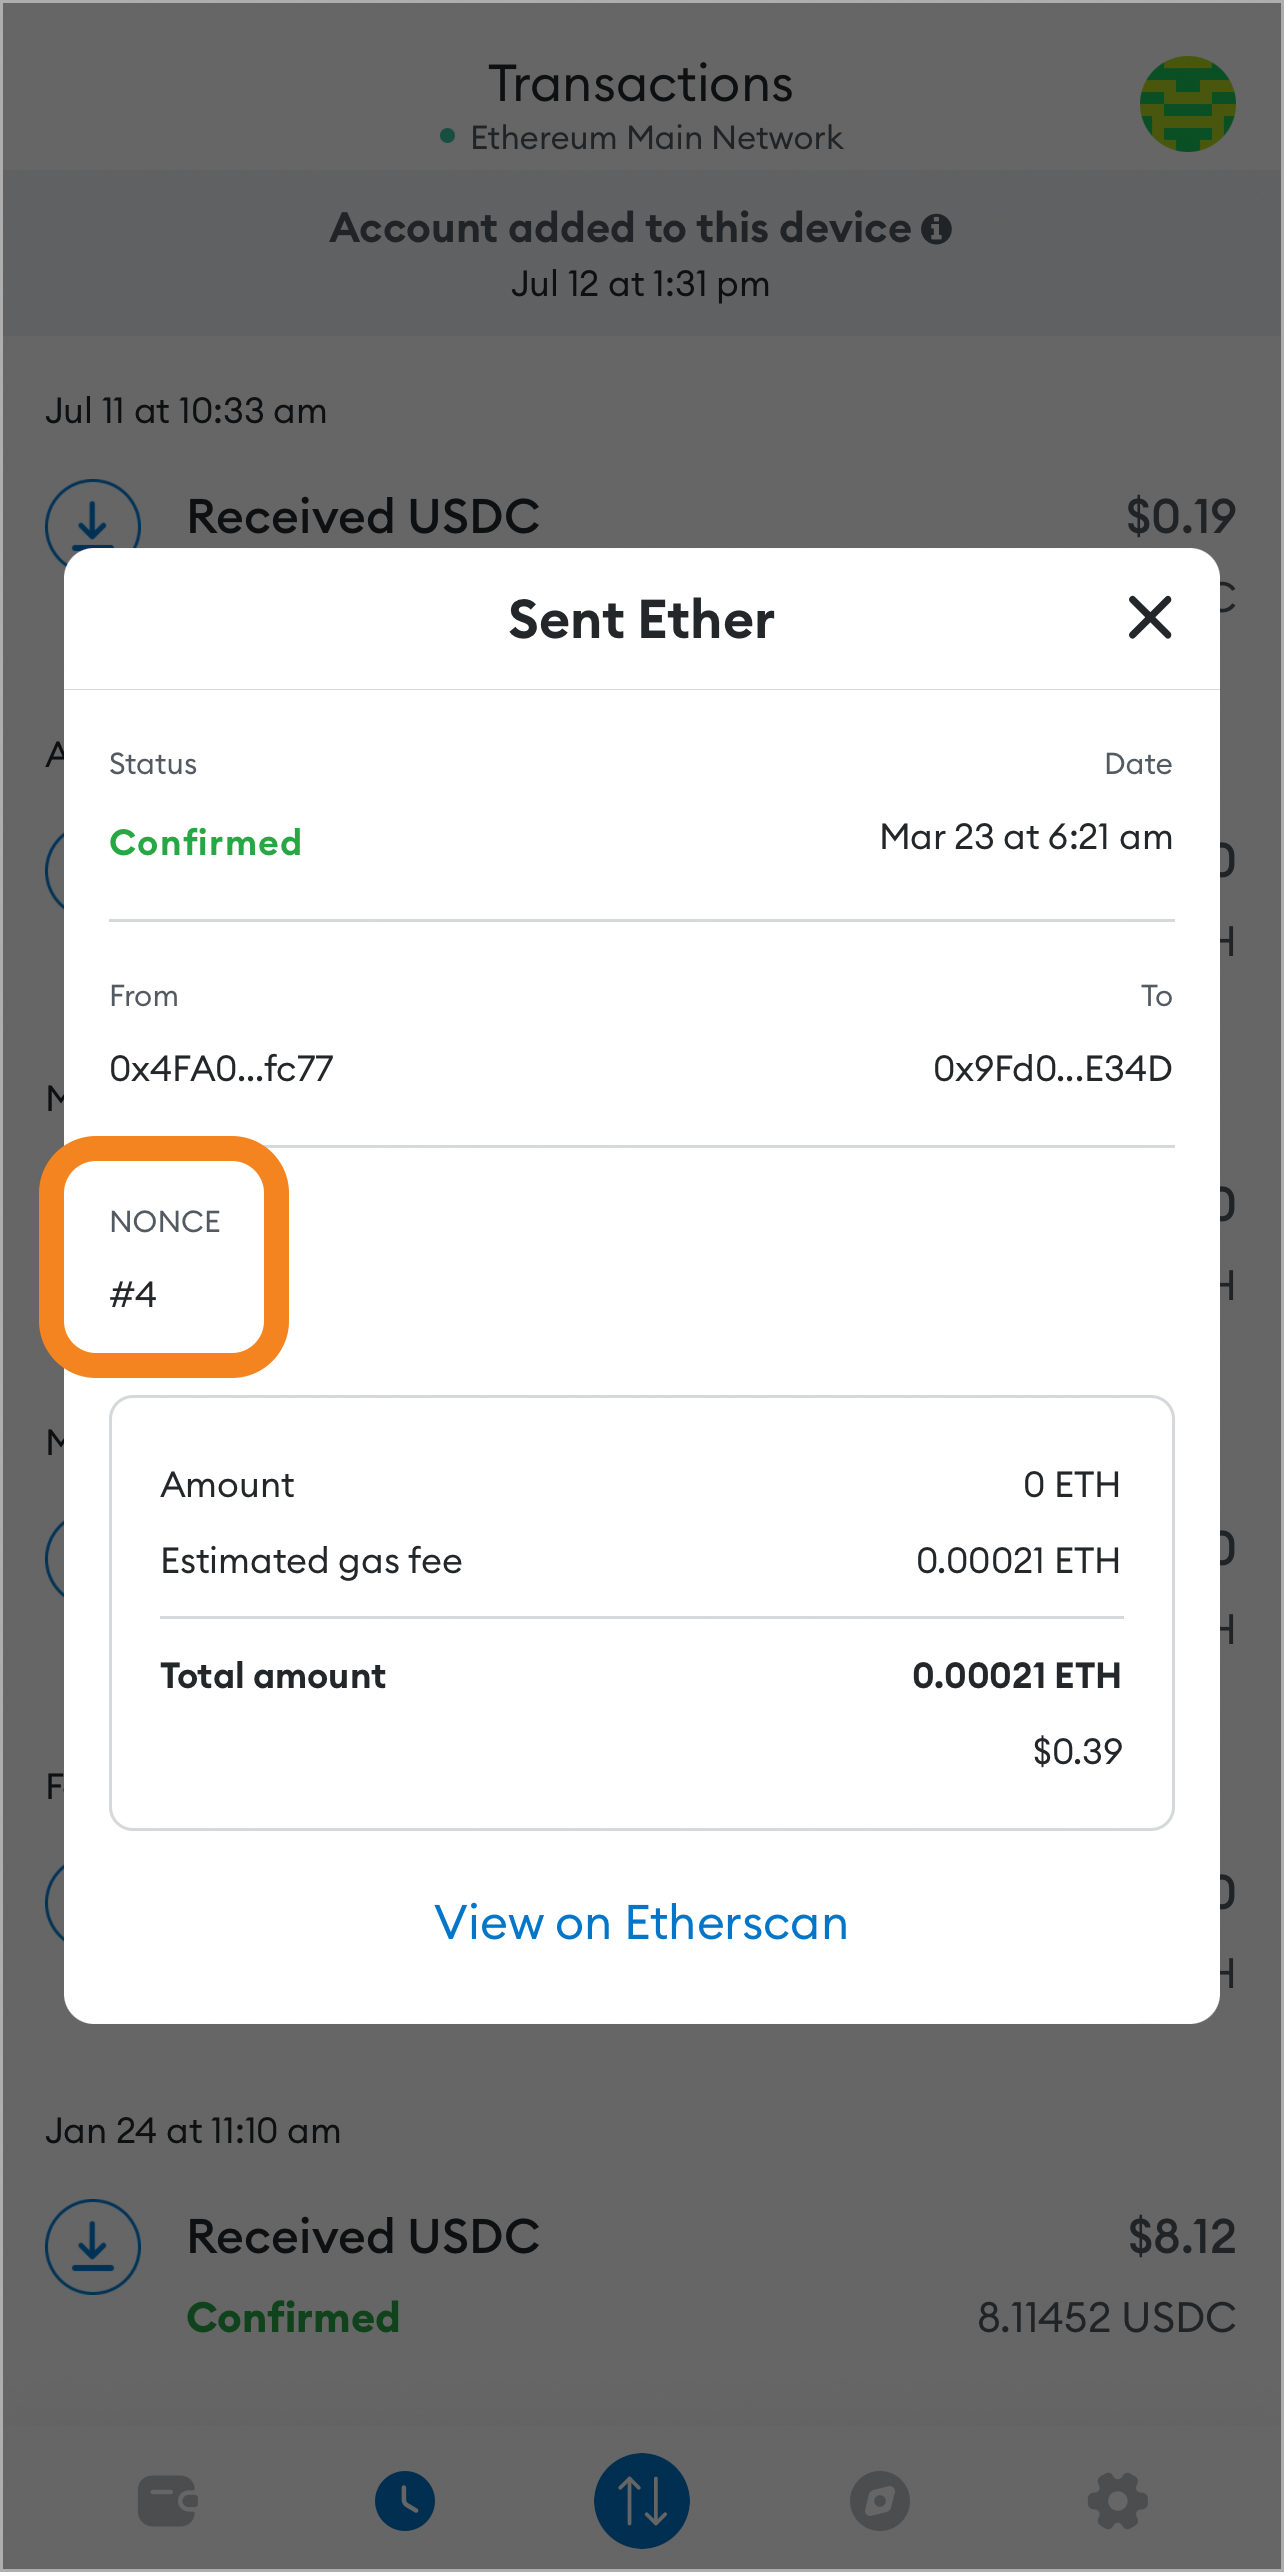
## Finding the nonce in the block explorer {#finding-the-nonce-in-the-block-explorer}
Block explorers are websites that retrieve information about your accounts and transactions from the blockchain and display it for reference.
Nonces are essential to how Ethereum and Ethereum-like blockchains operate, which is why you can find them on block explorers. Here's how:
1. Find and click on the transaction on the block explorer. See [here](/more-web3/learn/how-to-check-my-wallet-activity-on-the-blockchain-explorer) for more information.
2. On the transaction page, scroll down until you see the 'More details' section. (This is how it's labeled on Etherscan; the exact wording may differ between block explorers.)
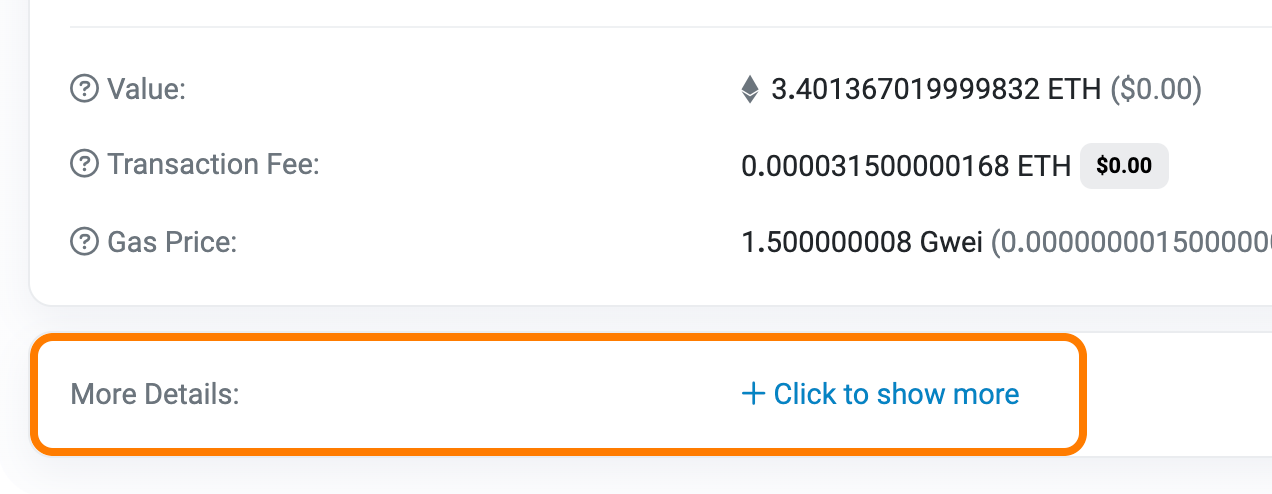
3. Look for the nonce listed under 'Other Attributes':

You can also find the nonce more quickly by clicking the eye icon in your account's transaction list:
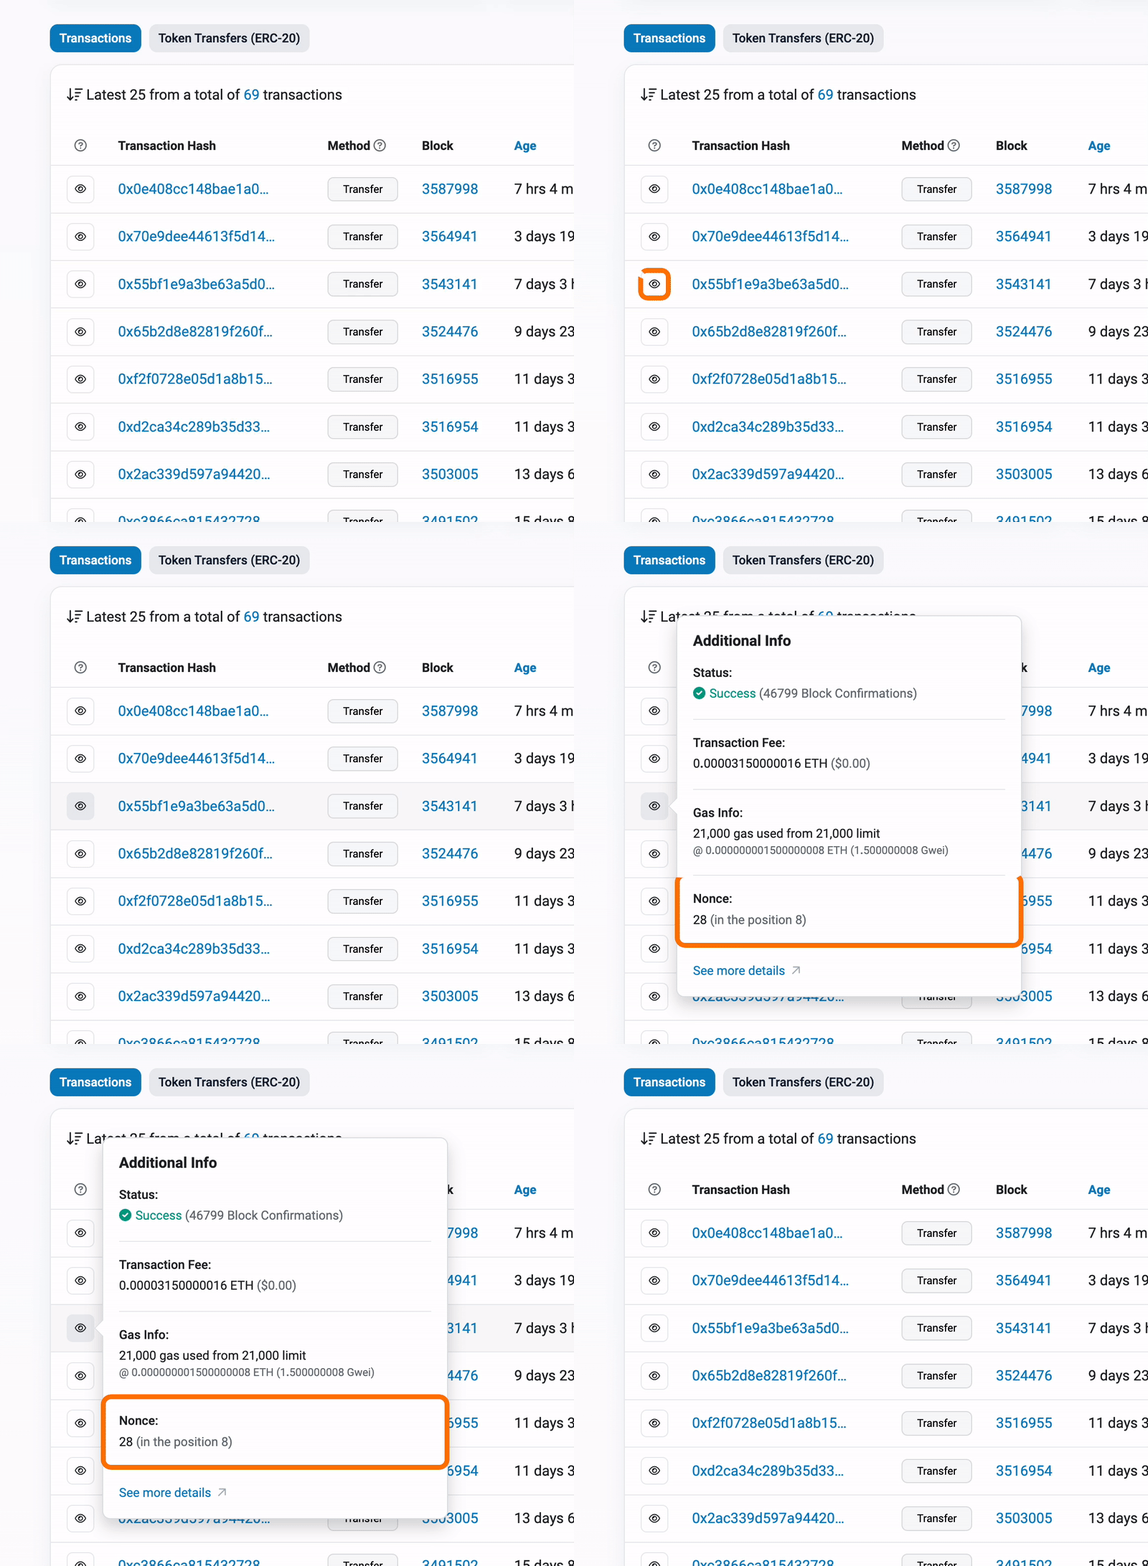
---
# How to speed up or cancel a pending transaction
URL: https://support.metamask.io/manage-crypto/transactions/how-to-speed-up-or-cancel-a-pending-transaction/
> Bear in mind that speeding up the transaction will increase the gas fee you're spending for the transaction.
**Before you take any further action, your first step should be to exit and close your browser completely, reopen it, and unlock MetaMask (on mobile, just close the app and reopen it). If that doesn't solve the problem, continue with the following.**
:::note
When you submit a transaction on Ethereum or a compatible network, part of the gas you pay is a bid to the network to process your transaction sooner — this element is known as the priority fee.
Although MetaMask will assist you by calculating a total gas fee likely to have your transaction picked up, you can end up waiting a long time if you submit with a low gas price. For advice on what gas prices will result in a transaction being finalized in a reasonable amount of time, please refer to sources such as [Etherscan's gas tracker](https://etherscan.io/gastracker), or a similar tracker for whichever network you're using.
Additionally, there are sometimes circumstances where something goes wrong, and a transaction is just stuck, or pending for a very long time.
No matter how you got to this point, there are a few different ways to address it.
:::
:::info[MetaMask Extension v13.30+]
On MetaMask Extension version 13.30 or later, the full-screen post-transaction page has been replaced with **notifications** for transactions made on Ethereum, Linea, BNB Smart Chain, Arbitrum, Base, and Polygon.
After submitting a transaction on these networks:
- A **"Transaction submitted"** toast appears in the sidebar.
- Click the toast to open the **transaction detail view** in the side-panel, which shows the date, account, network, amount, and a block explorer link.
- While the transaction is still **pending**, the detail view lets you speed up or cancel your transaction as needed.
- When your transaction is confirmed, you will see a "Transaction confirmed" notification.
- If your transaction fails, is cancelled, or is dropped, a **red badge** appears on the MetaMask icon and a **'Transaction failed'** notification with a 'Try again' option is shown.
This is an intentional UX change, not a bug.
This change affects **Extension only**. MetaMask Mobile and Portfolio are not in scope.
:::
## Speeding up a transaction {#speeding-up-a-transaction}
Try one of the options below:
- Wait until the network is willing to process transactions at this price
- If you haven't done so already, click that button that says '**Speed up**'. On Extension v13.30+ on supported networks, you'll find this in the transaction detail view — click the **"Transaction submitted"** toast in the sidebar to open it. This will let you re-submit the same transaction, but with a higher gas fee that should allow the transaction to be processed faster. Since this process re-uses the same nonce as the original, you do not need to pay for gas twice.
Bear in mind that **speeding up the transaction will increase the amount you're spending for the transaction**.
## Canceling a transaction {#canceling-a-transaction}
### Method 1: In-app cancellation {#method-1-in-app-cancellation}
To cancel the transaction, select **Cancel**. On Extension v13.30+ on supported networks, open the **transaction detail view** by clicking the **"Transaction submitted"** toast in the sidebar, then select **Cancel**. Please note, **a cancellation can only be _attempted_ if the transaction is still pending on the network.** Transactions that have already been confirmed cannot be reversed.
### Method 2: Custom nonce {#method-2-custom-nonce}
:::note
To make the custom nonce box visible, you need to turn off the [Smart Transactions](/manage-crypto/transactions/smart-transactions/) feature. You can do this by going to 'Settings' -> 'Transactions' and toggling the feature off. After clearing the pending transaction, you can easily re-enable Smart Transactions by toggling it back on.
:::
This process involves sending a new transaction with the same nonce (an identifying number for every transaction, derived from the phrase 'number only used once'). The transaction does not actually have to have any value — e.g. you could send 0 ETH. What matters is that you pay enough gas for the network to prioritize it.
When using this method, **you will need to work backwards from the oldest pending transaction in the queue that you want to cancel**. For example, you cannot attempt to cancel a transaction with a nonce of 10 before canceling nonce 9.
Note also that you _may_ be able to cancel multiple transactions at once if they have the same nonce. Since a nonce—by definition—can only be used once, cancelling one of them will cancel all that have the same nonce.
_The screenshots below were taken at different times, so the gas fees shown in them can vary, even from step to step. Don't let this put you off! When you do this yourself, MetaMask will automatically update in real time to show market rates._
1. In the transaction review window, toggle "Show advanced details" in the upper right corner. You'll need this turned on so you can send a replacement transaction (using the same nonce). Find out how to locate a transaction's nonce [here](/manage-crypto/transactions/how-to-find-a-transaction-nonce). If you have Smart Transactions enabled, and the transaction is on Ethereum Mainnet or BNB Smart Chain, you'll need to [turn Smart Transactions off](/manage-crypto/transactions/smart-transactions/#how-do-i-manage-my-smart-transactions-settings) before you can customize the nonce. Make sure to turn Smart Transactions back on after you've finished customizing the nonce.
2. **Send a new transaction**. In the new transaction, send **TO** yourself, meaning your MetaMask public address. **Fill in 'Custom Nonce' with the same nonce as the transaction that is still pending**:
3. Next to the estimated fee on the transaction confirmation screen, you'll see a pencil icon to edit the fee. Click the edit icon and then select 'Advanced' at the bottom:
To make sure your cancellation request is picked up as a priority, and before the original, **you will need to pay more for gas**. On this screen, follow these instructions:
- Set your **gas limit** _comparable to or slightly higher_ than your original transaction.
- Set your **priority fee** to _at least 10% higher_ (in Gwei) than the gas fee of the original (pending) transaction (e.g. if that transaction had a gas fee of 30 Gwei, set the max priority fee in the replacement/cancellation transaction to 33-35 Gwei).
- Make sure your **max fee** is at least 30% higher than the max fee of the transaction you're replacing. For example, if your previous fee was 150 Gwei, choose something nearer 200 Gwei this time.
Check a gas tracker such as [Etherscan's](https://etherscan.io/gastracker) for guidance on recommended max fees.
1. In Settings > Advanced, turn on **'Customize transaction nonce'.**

2. **Send a new transaction.** In the new transaction, send TO yourself, meaning your MetaMask public address. **[Set the nonce](/configure/transactions/how-to-customize-a-transaction-nonce) to the same nonce as the transaction that is still pending**.
To find the custom nonce setting in the app, get to the transaction confirmation screen, which appears after you've entered the token quantity and recipient. Hit 'Edit' to change it:
3. Now you need to make sure your gas settings are configured so that your replacement transaction is processed. From the transaction confirmation screen, tap the highlighted gas value:
Now access 'Advanced options' from the menu that appears.
4. From here, you can precisely adjust gas to make sure your transaction is picked up. You'll now be looking at a screen that looks like this:
From here, adjust the gas settings. Follow these instructions to make sure your transaction is picked up:
- Set your **gas limit** _comparable to or slightly higher_ than your original transaction.
- Set your **max priority fee** to _at least 10% higher_ (in Gwei) than the gas fee of the original (pending) transaction (e.g. if that transaction had a gas fee of 30 Gwei, set the max priority fee in the replacement/cancellation transaction to 33-35 Gwei).
- Make sure your **max fee** is _at least 30% higher_ than the max fee of the transaction you're replacing. For example, if your previous fee was 150 Gwei, choose something nearer 200 Gwei this time.
Check a gas tracker such as [Etherscan's](https://etherscan.io/gastracker) for guidance on recommended max fees.
---
# How to use gas included transactions
URL: https://support.metamask.io/manage-crypto/transactions/metamask-gas-station/
> MetaMask helps you cover the network or gas fee in a different token.
MetaMask offers you the ability to include the gas fee (also known as the network fee) in your transaction, without needing to hold the network's native token. This feature is referred to as gas included transactions.
Networks like Ethereum typically require a small fee to cover the cost of processing your transaction. If you don't have enough of the network's native token, like ETH, to cover this fee, your transaction will fail.
With gas included transactions, MetaMask covers the network fee as part of your transaction, and you can **select a different token** to cover the network fee.
Gas included transactions are currently available on **Ethereum Mainnet, BNB Smart Chain, Arbitrum, Polygon, Linea, Base, and Tempo** for the following transactions:
- Send
- Dapp transactions
'Smart Transactions' enabled
'Estimate balance changes' enabled
You can manage both of these features within settings.
## Use gas included transactions
When you’re confirming a dapp transaction, contract interaction or using MetaMask’s send feature, MetaMask gives you the option to select what token you’d like to use to pay the network fee. The token options depend on what network you're on, but most popular tokens are supported.
If you don’t have enough of the network's native token to pay the network fee, MetaMask will automatically select an eligible token for you. If you would like to use a different token, click the token dropdown menu next to ‘Network fee’.
You’ll see the eligible token balances you have on the transaction’s network and the estimated network fee for each token, including a small MetaMask fee.
Select your preferred option, and the transaction screen will update to reflect your choice.
## Tempo
Tempo does **not** have a native gas token, gas fees are paid using supported stablecoins instead.
When you confirm a transaction on Tempo, you will be prompted to choose which token to use for the network fee. Supported tokens include pathUSD, USDC.e, and USDT0.
:::info[Smart account required]
When you transact on Tempo, your account is automatically upgraded to a [smart account](/configure/accounts/switch-to-or-revert-from-a-smart-account) if it is not already.
:::
## Frequently asked questions {#frequently-asked-questions}
Can I use gas included transactions on other networks?
Gas included transactions are only available on Ethereum Mainnet, BNB Smart Chain, Arbitrum, Polygon, Linea, and Base at this time, with other popular networks to come in the
future. For other networks, MetaMask offers the ability to purchase tokens with fiat via the MetaMask Buy feature,
or you can swap tokens from another network using the bridge.
What tokens are available to pay gas with, when using gas included transactions?
You can pay gas with the following tokens using gas included transactions:
**Ethereum**
- ETH
- mUSD
- USDT
- USDC
- USDcv
- DAI
- wETH
- wBTC
- wstETH
- wSOL
- sUSDS
- cbBTC
- rETH
- weETH
**BSC**
- BNB
- DAI
- wBTC
- USDT
- USDC
- anyUSDC
- wBNB
- ETH
**Polygon**
- POL
- USDT
- USDC
- USDC.e
- DAI
- WETH
- wSOL
- wBTC
- rETH
**Arbitrum**
- ETH
- ARB
- USDT
- USDC
- USDC.e
- DAI
- WETH
- WBTC
- USDe
- USDS
- sUSDS
- cbBTC
- weETH
- MIM
**Linea**
- ETH
- mUSD
- USDT
- USDC
- DAI
- WETH
- wBTC
- wstETH
**Base**
- ETH
- cbETH
- USDC
- USDT
- USDS
- DAI
- wstETH
- wETH
- weETH.base
- wBTC
- cbBTC
- rETH
**Tempo**
- pathUSD
- USDC.e
- USDT0
Can I use gas included transactions if I have enough gas already?
If you’re executing a dapp transaction or a send and have enough gas, you can always choose to select a different token
to cover the network fee in.
---
# My transaction is successful but the amount I received is far lower than the amount confirmed
URL: https://support.metamask.io/manage-crypto/transactions/my-transaction-is-successful-but-the-amount-i-received-is-far-lower-than-the-amount-confirmed/
> You may have been subject to a tax. For further details please refer to the token issuer documentation.
If you have completed a transaction successfully but you've noticed a discrepancy between the amount confirmed in your account and the amount you received (and displayed in the [block explorer](/more-web3/learn/how-to-check-my-wallet-activity-on-the-blockchain-explorer)), please check if the token you received is subject to a "tax".
As an example, a 10% tax applies on SAFEMOON transactions, and OKTA transactions are subject to an 8% tax.
For further details please refer to the token issuer documentation.
If you want to read more about potential reasons why your tokens aren't displaying correctly, see our articles [here](/manage-crypto/tokens/what-to-do-when-your-balance-of-tokens-is-incorrect).
---
# Can gas fees be refunded?
URL: https://support.metamask.io/manage-crypto/transactions/refunding-gas-fees/
> Due to blockchains' immutable nature, transaction fees cannot be refunded.
[Gas fees](/more-web3/learn/user-guide-gas) (also known as transaction fees) refers to the cost of carrying out a transaction or executing a contract on Ethereum (and many other networks). This fee is consumed by the parties running the network in order to process a transaction (that can either succeed or fail). It is the cost of computation, and is not charged or collected by MetaMask.
**Due to the nature of the blockchain, transaction fees cannot be refunded!**
For more details on high gas fees, check out this article: [Why are my gas fees so high?](/more-web3/learn/why-are-my-gas-fees-so-high)
---
# What are transaction simulations?
URL: https://support.metamask.io/manage-crypto/transactions/simulations/
> Learn how MetaMask's enforced simulations work, and how 'Added protection' keeps your funds safe.
When you're about to transact, MetaMask will try to predict the estimated balance changes to your account, allowing you to get a better understanding of the outcome of the transaction you're about to submit. You may see a preview of what will happen; for example, how much ETH you'll receive or which tokens will move.
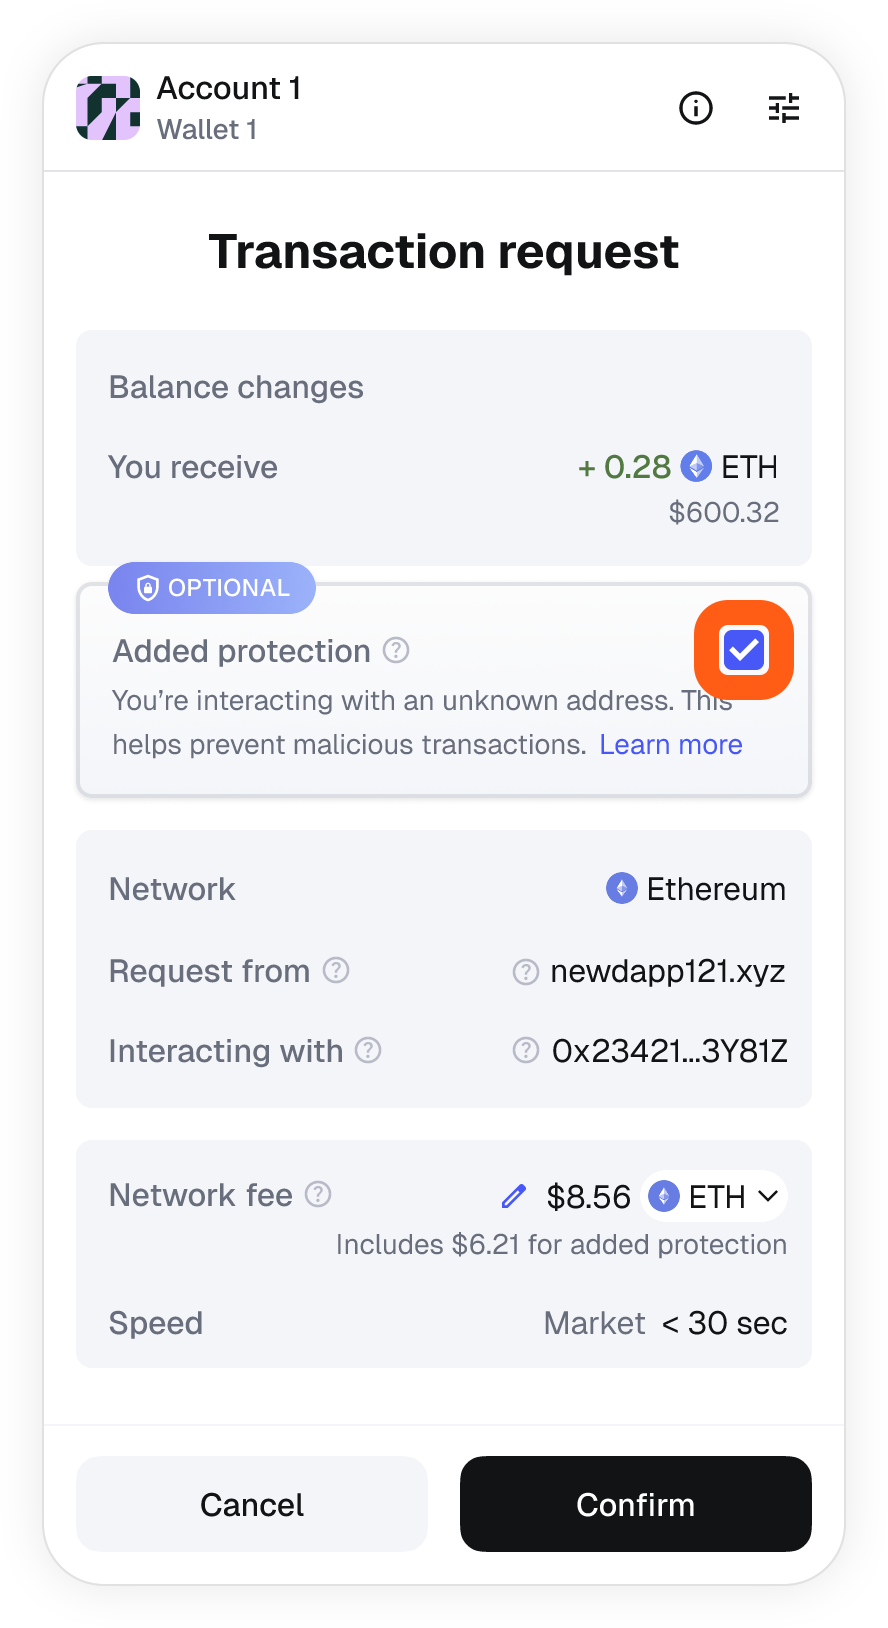
A transaction simulation is a test run of your transaction. These standard simulations are an added safety feature that is enabled by default. You can manage this toggle within 'Settings' > 'Security & Privacy'.
When simulations are conducted offchain only (as almost all transaction simulations today), they are vulnerable to sophisticated phishing attacks like red-pill attacks (see below for more). In order for simulations to truly be helpful, they must be **enforced onchain**. MetaMask smart accounts on Extension support this added protection by default. Learn about [smart accounts here](https://support.metamask.io/configure/accounts/switch-to-or-revert-from-a-smart-account/).
:::info[Networks supported for onchain simulations]
Ethereum, Optimism, BNB, Polygon, Monad, HyperEVM, Sei, Tempo, MegaETH, Robinhood, Arc, Base, Arbitrum, Avalanche, and Linea.
:::
## Added protection: how enforced simulations keep you safe {#added-protection-how-enforced-simulations-keep-you-safe}
Standard (offchain) simulations are helpful, but they rely on the assumption that contracts behave the same way in simulation and onchain execution.
Unfortunately, that's not always the case. MetaMask developed an environment to counteract sophisticated phishing attacks through enforced (onchain) simulations, available by default when interacting with a non-trusted contracted.
With enforced simulations enabled:
- The transaction is simulated before signing
- The same simulation conditions are enforced onchain
- If the real execution does not match the simulation, the transaction automatically reverts.
This means that what you see in the confirmation screen is **guaranteed** to match what happens onchain because if it doesn't, the transaction does not go through. Your funds are protected (you only pay the network fee).
What are "red pill" attacks?
Red pill attacks are a sophisticated scam technique that creates a false sense of safety where malicious contracts behave differently during simulation vs. real execution.
Standard transaction simulations that happen offchain run in a controlled environment (like a preview) and do not execute on the blockchain. Malicious contracts can detect this environment and respond differently:
- A contract detects it is being simulated
- During simulation, it behaves harmlessly (example: shows "You will receive 0.1 ETH")
- But once executed onchain, it switches behavior and instead drains your funds after you approve the transaction.
The preview **looks** legitimate, but the real transaction is malicious. This tricks both users who see a safe preview and wallet providers that rely on the controlled environment to warn users.
Enforced simulations prevent this entirely by ensuring that **if onchain behavior does NOT match the simulated behavior, the transaction fails**.
## Why does gas increase when 'Added protection' is enabled? {#why-does-gas-increase-when-added-protection-is-enabled}
You may notice a higher network fee when 'Added protection' is checked in the transaction confirmation screen. This is **expected** as enforced simulations add an onchain verification step. This:
- Re-checks that execution **matches** the simulation
- Adds **additional computation** to the transaction
- Uses **more gas** as a result.
That additional gas cost is effectively paying for strong protection against advanced scams and **guaranteed execution integrity** to prevent wallet-draining attacks.
If a mismatch is detected, the transaction reverts, meaning your funds stay safe and you only lose the network (gas) fee.
:::note
MetaMask does not collect any fee when this feature is enabled; you are only paying the **network fee** for the transaction to go through.
:::
## When should I use 'Added protection'? {#when-should-i-use-added-protection}
Remember, standard simulations are not guaranteed to match what happens onchain. Only enforced simulations, or 'Added protection', does this. In general, a good rule of thumb is to use extra caution and check that 'Added protection' box when:
- Interacting with new or unknown dapps
- Signing complex transactions
- Moving significant amounts of funds.
## What kind of transactions are supported? {#what-kind-of-transactions-are-supported}
At this time, transaction simulations are available for contract interactions, and you will be able to see balance changes that involve ERC-20 tokens, as well as ERC-721 and ERC-1155 NFTs being transferred in and out of your account.
:::note
Enabling the estimated balance changes feature involves using a centralized MetaMask server to simulate the transaction and obtain necessary data. Leave this feature disabled if you do not want transaction data and/or IP address exposed. Note that disabling this feature also disables 'Added protection'.
:::
---
# MetaMask Smart Transactions risk disclosures
URL: https://support.metamask.io/manage-crypto/transactions/smart-transactions-risk-disclosures/
> This page relates to the Smart Transactions feature.
_This page relates to the Smart Transactions feature explained [here](/manage-crypto/transactions/smart-transactions/)._
Using MetaMask Smart Transactions comes with risks that you should understand before you use the offering. We are not required to provide the information set forth below but are doing so in order to encourage you to educate yourself about the risks of using this offering, to determine for yourself whether it makes sense for you in light of the risks, and to understand that you, and you alone, are responsible for any losses that may occur. The risks set out below are not comprehensive nor discussed in any depth. Use this information as the starting point for further inquiry. Your use is also subject to Consensys's [Terms of Use](https://consensys.io/terms-of-use), which you agree to when using this offering.
- **Third parties** — This offering relies upon third parties that Consensys does not control or even regularly monitor. You should familiarize yourself with how transaction searchers, block builders, and block proposers interact and together create blocks of transactions to be added to the blockchain. You should also be aware of differences between submitting your transaction request to a private mempool as opposed to a public mempool. Consensys does not guarantee the activity of any third party and is not responsible for any losses due to the actions of a third party. We are not responsible for taking any specific steps to prevent any third party from injuring you or mitigating any such injury. You use Smart Transactions at your own risk that these third parties will engage in inappropriate or even malicious behavior.
- **Intermediation** — This offering requires off-chain software and information flows to function properly. There is a risk that these processes, a number of which are novel, will fail or even be manipulated in a way that results in a loss to you. If these processes are unavailable, using this software for a transaction would be the same as using MetaMask without Smart Transactions activated. We are not responsible for losses that may occur due to interruptions in the offering's functionality.
- **Legal uncertainty** — Based on our current understanding,this offering is not regulated activity in any jurisdiction where the legal framework in that jurisdiction would restrict Consensys from engaging in this activity. However, as the law changes going forward, the law may come to require licenses or other legal measures to be taken for this offering to be offered and/or used in certain jurisdictions. Changes in the law or in the application of current rules and regulations may negatively affect your use of this offering, which may result in a loss to you. Consensys has no obligation and will not notify you of any relevant changes in the law. You are solely responsible for ensuring that your use of this offering is lawful.
---
# What is 'Smart Transactions'?
URL: https://support.metamask.io/manage-crypto/transactions/smart-transactions/
> This MetaMask feature is designed to optimize transactions.
MetaMask Smart Transactions is a comprehensive update to the transaction experience. You will now have better insights into the status of your submitted transaction and benefit from a new way to land your transaction on the blockchain that keeps your transactions safe from fails and reverts. Smart Transactions utilize a more efficient process to land on chain, improving the safety and reliability of your transactions.
Smart Transactions means saving money on gas, getting better execution for token swaps, and having peace of mind knowing that transactions are using the most advanced system to be submitted on-chain.
:::info[MEV protection]
MEV protection is available in MetaMask when you use Smart Transactions on supported networks. It is also available by default for all transactions using the Infura RPC on Ethereum and all transactions on Solana. For more information on Infura MEV protection, read our article [here](/develop/building-with-infura/general-knowledge/mev-protection-infura).
:::
### When can I use Smart Transactions? {#when-can-i-use-smart-transactions}
Smart Transactions is available on MetaMask Extension and MetaMask Mobile when using Ethereum Mainnet, Linea, Base, Arbitrum, and BNB Smart Chain.
:::note
Configuring a custom Ethereum, Linea, Base, Arbitrum, or BNB Smart Chain RPC within your network settings will override Smart Transactions.
:::
### How do I manage my Smart Transactions settings? {#how-do-i-manage-my-smart-transactions-settings}
1. To begin, click the menu in the top-right corner.

2. Go to Settings > Transactions.

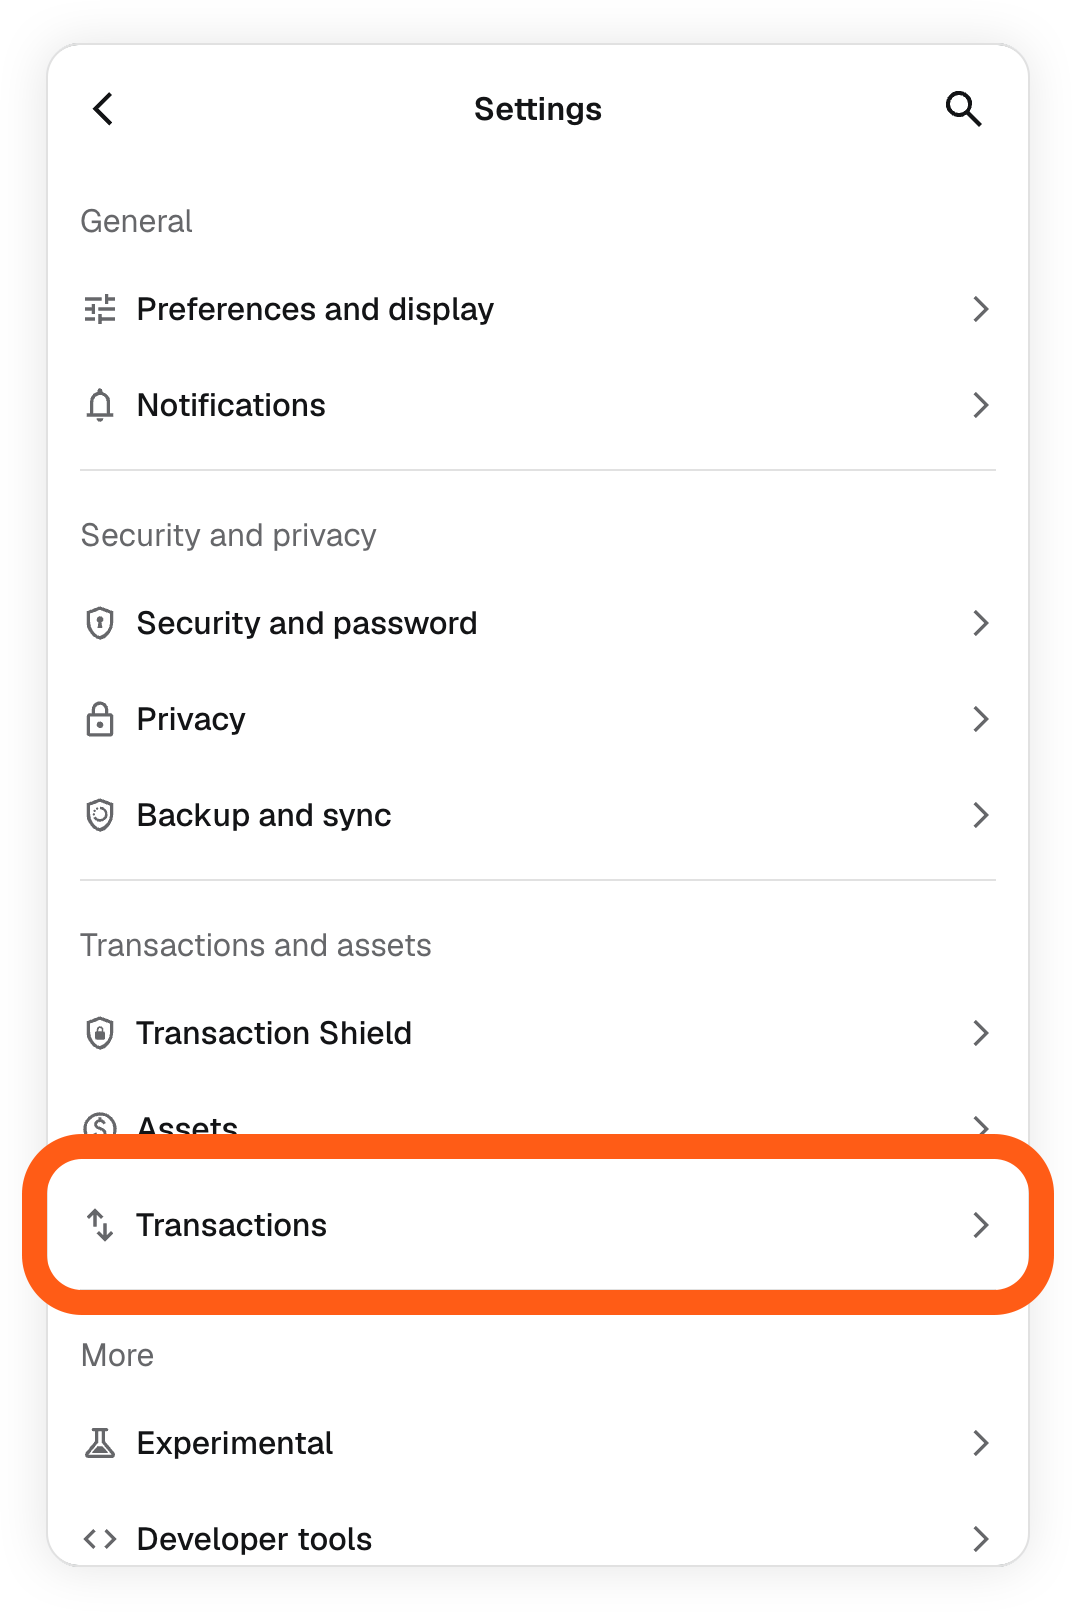
3. From there, you can toggle Smart Transactions on or off.
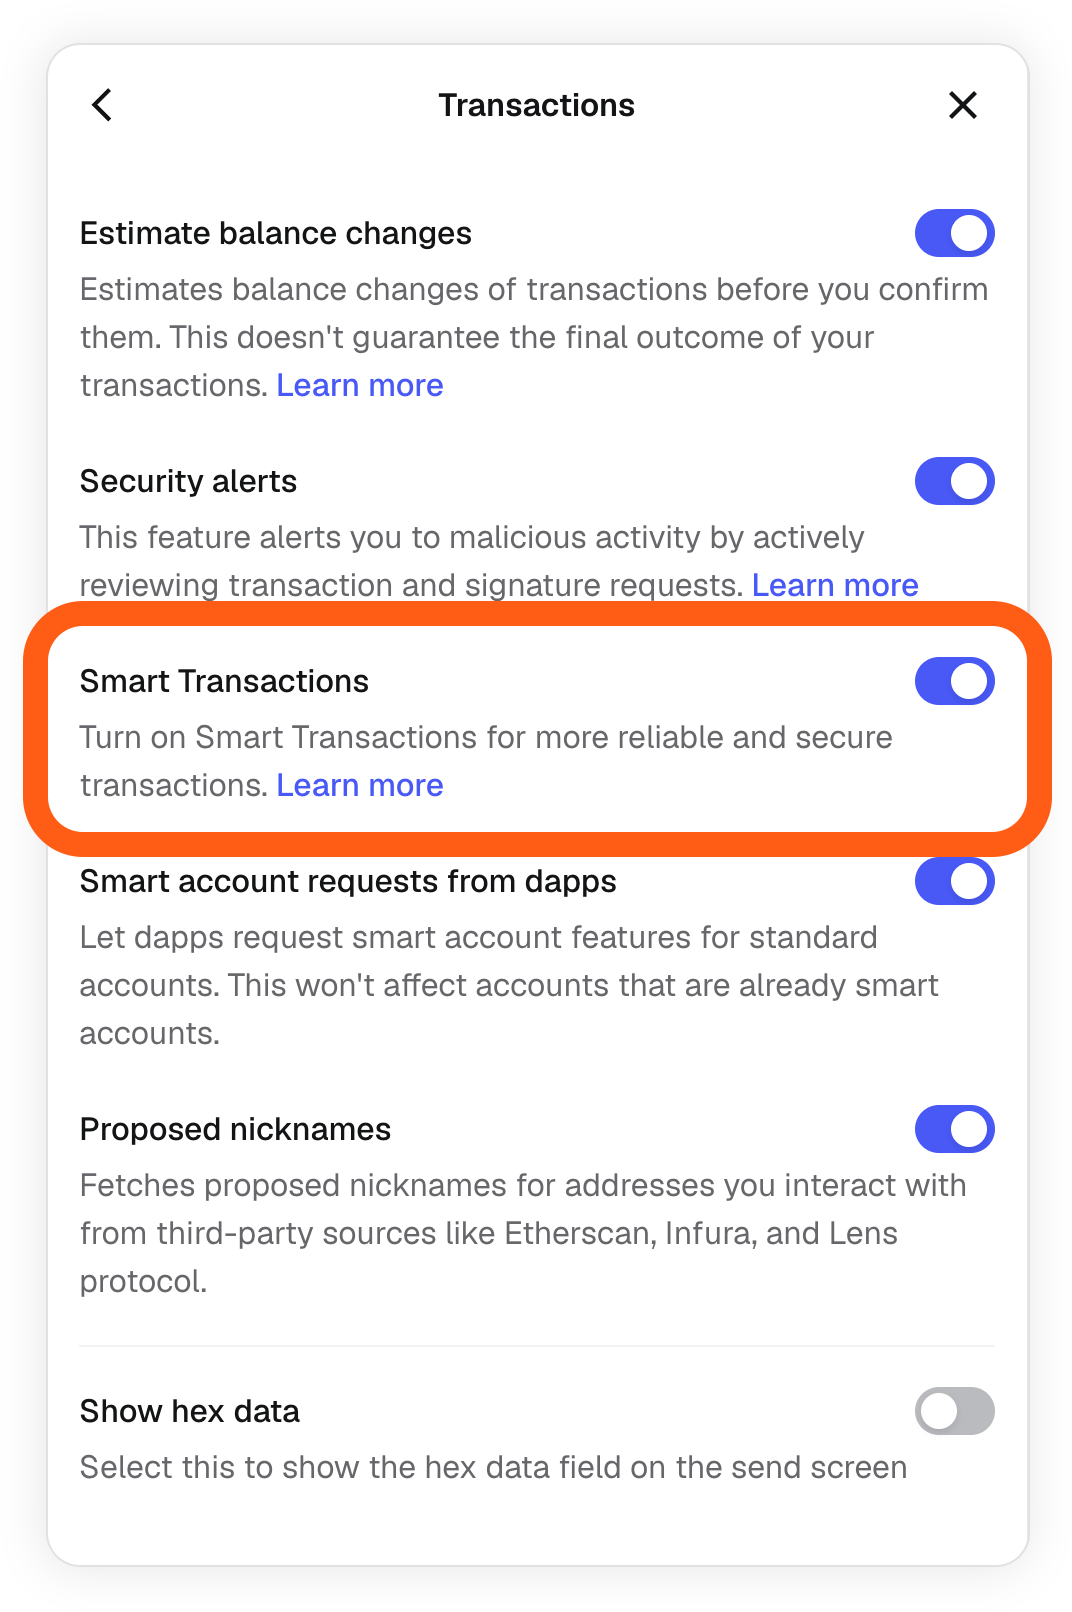
### Is there a fee for Smart Transactions? {#is-there-a-fee-for-smart-transactions}
The Smart Transactions feature is optional and completely free. We’re able to offer this capability by auctioning transactions to a network of trusted block builders, who may bid for the opportunity to include them in a block. Block builders can earn money from some transactions by backrunning them, which doesn’t affect the price of your trade. Backrunning involves bringing liquidity pools back to equilibrium after a trade is completed.
### Are there risks to using Smart Transactions? {#are-there-risks-to-using-smart-transactions}
Smart Transactions is designed to be safer, more reliable, and more efficient than regular transactions, providing additional protections against MEV. While the system substantially lowers the risk of negative outcomes associated with [MEV](https://ethereum.org/en/developers/docs/mev/), no system can eliminate these risks entirely.
For more information on the risks associated with Smart Transactions, please refer to our [risk disclosures](/manage-crypto/transactions/smart-transactions-risk-disclosures).
Currently, Smart Transactions can not be manually canceled or ‘sped up’.
### Can I view pending transactions when using Smart Transactions? {#can-i-view-pending-transactions-when-using-smart-transactions}
When you’ve sent a transaction using Smart Transactions, you’ll be able to view its status in MetaMask Extension and [MetaMask Portfolio](https://portfolio.metamask.io/). Note that you might not be able to view transactions on third-party block explorers while they’re still pending confirmation; these will be visible once confirmed on the blockchain.
### I'm a block builder or transaction backrunning searcher on Ethereum Mainnet or other chains. How can I participate in the MetaMask Smart Transactions Auction? {#im-a-block-builder-or-transaction-backrunning-searcher-on-ethereum-mainnet-or-other-chains-how-can-i-participate-in-the-metamask-smart-transactions-auction}
Please reach out to `contact_smg@consensys.net` if you're interested in participating in the auction.
---
# How to protect your transactions with Transaction Shield
URL: https://support.metamask.io/manage-crypto/transactions/transaction-shield/
> Learn how to sign up for Transaction Shield and get up to $10,000 in transaction protection.
Transaction Shield is a new subscription from MetaMask that pairs Transaction Protection with priority support. Transaction Protection covers up to $10,000 in assets while you navigate and transact in web3.
Subscribing to Transaction Shield is $9.99 monthly or $99 yearly, and includes:
* Transaction Protection of up to $10,000 per month for eligible interactions
* Clear coverage details before you sign any transaction
* One subscription for all supported EVM accounts in your wallet
* Coverage of up to 100 transactions per month
* 24/7 priority access to expert support
Want to get started? Try it free for 14 days. Early access is now available on MetaMask Extension.
## How does Transaction Shield work?
Transaction Protection covers up to $10,000 on MetaMask Extension for a range of supported interactions on popular networks. Subscribers receive clear in-app alerts when a transaction is covered.
Each time you transact in web3, MetaMask automatically evaluates if the transaction seems safe or not, based on a variety of factors such as smart contracts and assets involved. Based on this evaluation, the transaction will be shown as ‘Covered’ or ‘Not Covered’ by Transaction Shield.

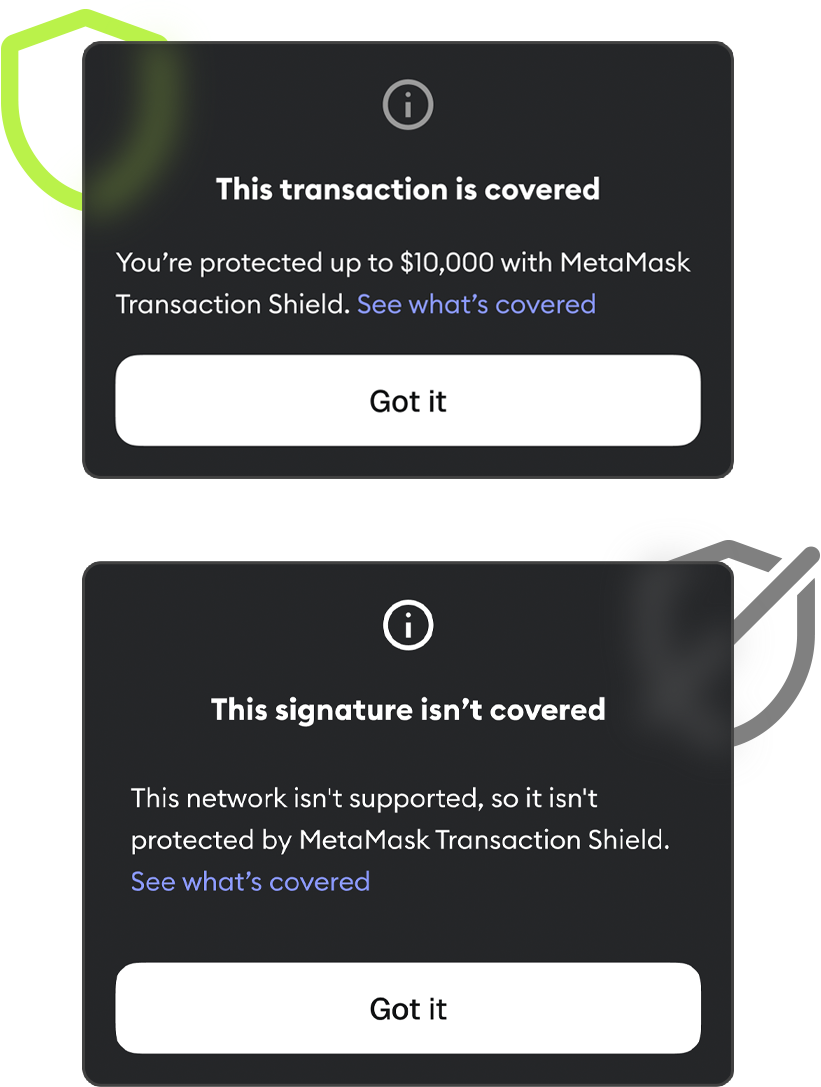

:::info[Security checks]
MetaMask’s security stack conducts automated checks and simulations each time you transact. When a transaction passes our security checks, it’s deemed safe, and when it doesn’t, it’s deemed unsafe. All MetaMask users receive clear, in-app alerts when a transaction is deemed unsafe.
Transaction Shield subscribers benefit from an additional layer of protection – if an eligible transaction passes our security checks, Transaction Protection will reimburse up to $10,000 in asset loss.
For more information on transaction eligibility, see ["What is covered?"](/manage-crypto/transactions/transaction-shield/#what-is-covered).
:::
If a transaction is covered, but results in asset loss, Transaction Shield will reimburse up to $10,000 of assets involved in the transaction. To start the reimbursement process, simply [submit a claim](/manage-crypto/transactions/transaction-shield/#submit-a-claim) and provide the relevant transaction information outlined below.
If a transaction is not covered by Transaction Shield, the rationale for why it is not covered will be shared on the confirmation screen. If you choose to complete the transaction anyway, you do so at your own risk, and without Transaction Protection.
### What is covered?
To be eligible for Transaction Protection, a transaction must be:
* On MetaMask Extension
* On a supported network
* A supported transaction type
* On an account with an active subscription
Supported networks include:
* Ethereum, Linea, Arbitrum, Avalanche, Optimism, Base, Polygon, BSC, Sei, HyperEVM, MegaETH, Monad, and Robinhood.
Supported transaction types include:
* Dapp interactions, DeFi trading, NFT mints and sales, airdrop claims, signatures, and batch transactions.
:::info[What accounts are covered?]
Transaction Shield covers all supported EVM accounts present in the user’s wallet at the time of transacting, including imported accounts.
:::
If your transaction meets all of the above requirements, you will see the ‘Covered' status on the confirmation screen.
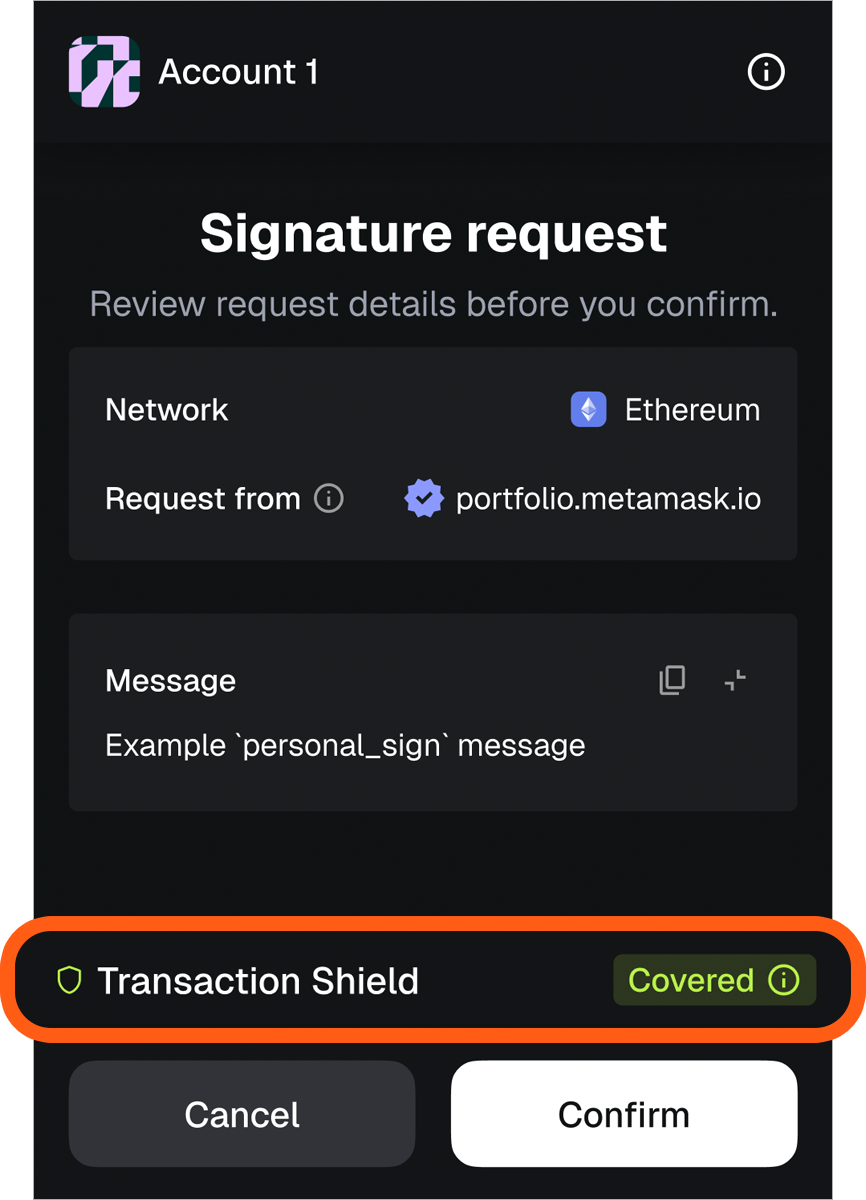
If your transaction is covered, and results in unintended loss from a malicious actor, your transaction is eligible for a reimbursement claim.
I think my transaction should be eligible for Transaction Shield, but I don’t see if the transaction is covered or not.
To start, make sure you are using an account covered by Transaction Shield, and that your transaction is a supported type. On the transaction’s confirmation page, you should see a symbol for Transaction Shield and whether or not the transaction is covered.
### What is not covered?
When a transaction is not covered by Transaction Shield, you can view more details on why it is not covered by clicking the information icon.
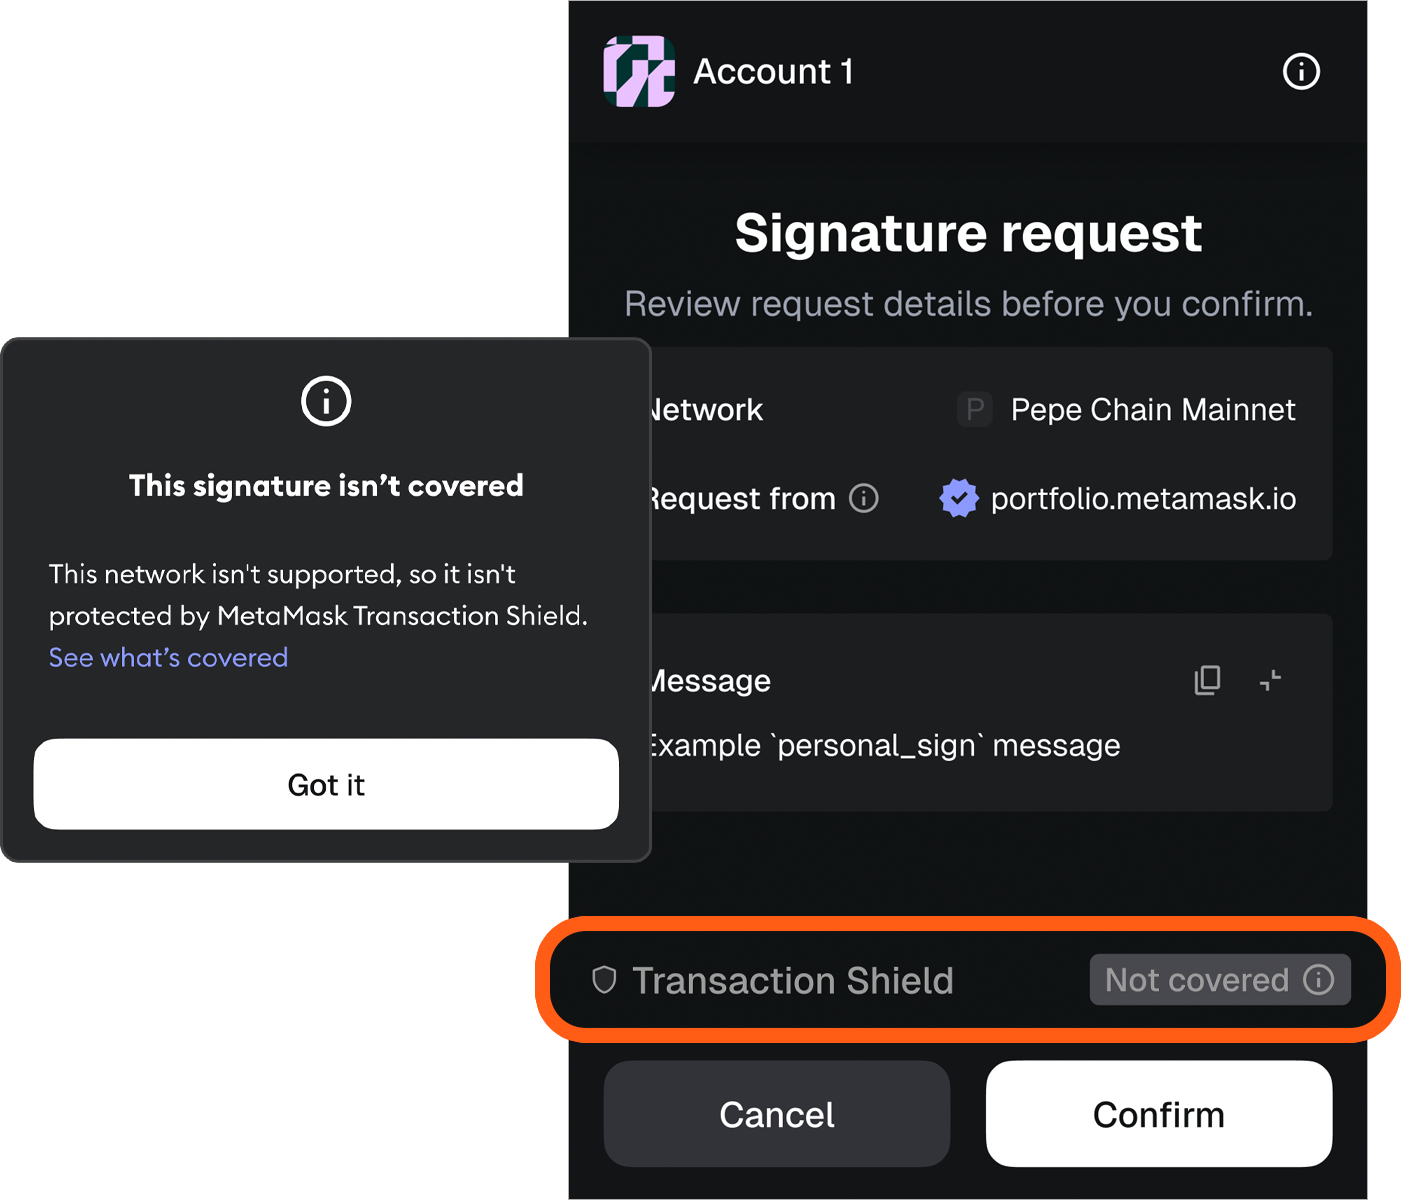
There are two primary reasons a transaction is not covered: the transaction is deemed as high risk and potentially malicious by MetaMask, or the transaction does not meet Transaction Shield criteria and is thus ineligible.
#### High risk transactions
Transaction Shield does not cover transactions deemed malicious by MetaMask. These transactions will be clearly identified as risky and potentially unsafe before you confirm them.

If you decide to proceed with the transaction, you do so at your own risk.
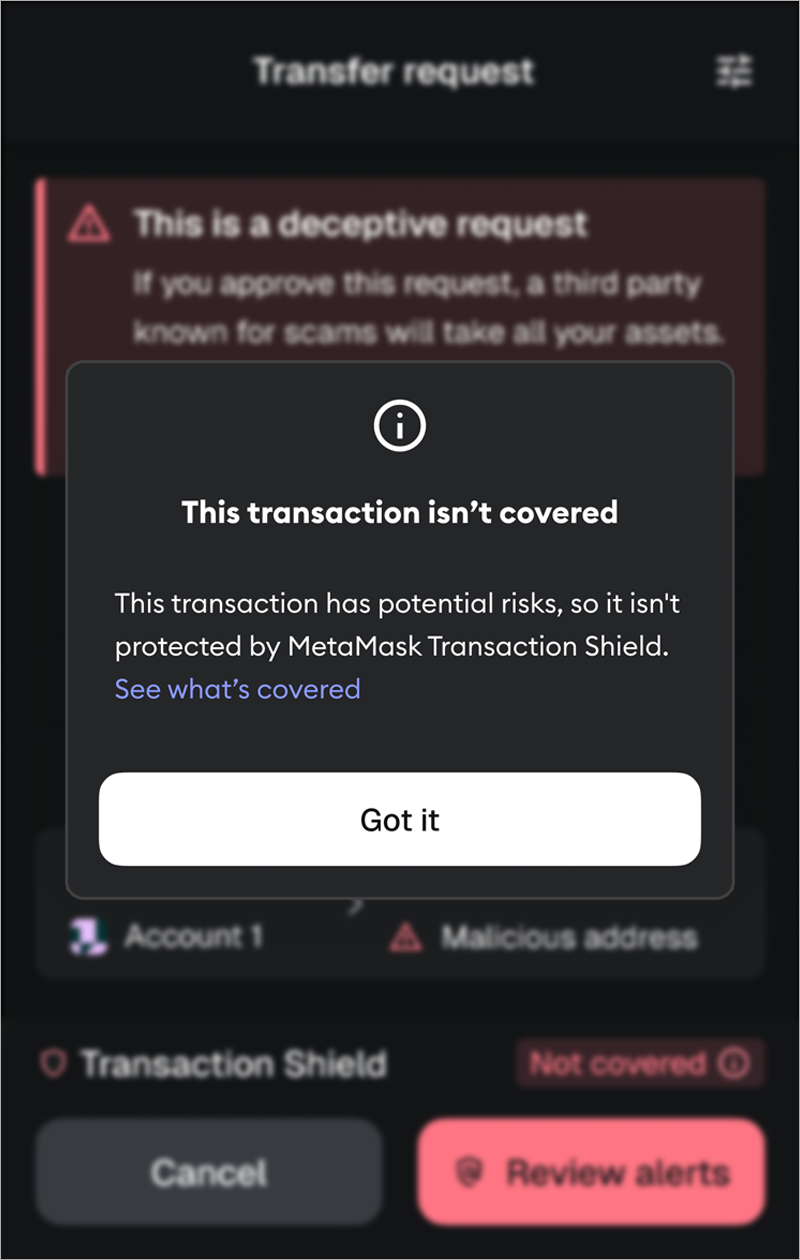
#### Ineligible transactions
To be eligible for Transaction Shield, a transaction must be on a supported network and a supported transaction type.
Supported networks include:
* Ethereum, Linea, Arbitrum, Avalanche, Optimism, Base, Polygon, BSC, and Sei.
Supported transaction types include:
* Dapp interactions, DeFi transactions, NFT mints and sales, airdrop claims, and signatures.
#### Examples
The following is a non-exhaustive list of asset loss that is **not** covered by Transaction Shield:
* You have your Secret Recovery Phrases (seed phrases) or private keys compromised.
* Non-exhaustive examples include: phishing, sharing keys, losing keys, improperly storing keys and/or malware.
* You have sustained speculative and economic loss.
* Non-exhaustive examples include: your transaction and MetaMask behaved as expected, but you have sustained a financial loss due to the transaction which you have undertaken. This could include interacting with a honeypot or tokens that dropped in value.
* You incur a loss due to a hacked protocol.
* E.g. where the protocol or smart contract has a vulnerability and funds are stolen through an exploit outside MetaMask’s control.
* You incur a loss from a peer to peer (P2P) transaction.
* Peer to peer transactions are not covered by Transaction Shield.
To be eligible for Transaction Protection, the transaction or signature must be on MetaMask and under an active subscription. The following is a non-exhaustive list of asset loss that is **not** covered by Transaction Shield due to eligibility issues:
* You sustain a loss from a wallet other than MetaMask. Only transactions or signatures cryptographically signed within MetaMask are covered.
* You incur a loss due to your MetaMask wallet being tampered with in any way not specifically endorsed by MetaMask.
* Non-exhaustive examples include: you make changes to the code or functionality of MetaMask either directly or indirectly.
* You incur a loss from the signature that was submitted on-chain after 5 mins of the signature.
* You incur a loss whose proximate cause occurred outside an active Transaction Shield subscription.
* Non-exhaustive examples include: you have entered into a transaction prior to having an active subscription and the losses that occur as a result of that transaction occur during the subscription period. Examples may include granting permissions to token contracts prior to a subscription, which are later exploited during a subscription.
Finally, MetaMask will use sole discretion to determine whether your use of MetaMask services is in violation of applicable laws or regulations. You can view the full list of what’s covered or not [here](https://consensys.io/transaction-shield-supplemental-terms-and-privacy-notice).
## Start your subscription
To get started with Transaction Shield, open MetaMask Extension, and open the account you want to use to pay for your subscription. Your subscription will cover all accounts in your MetaMask Extension, including imported accounts.
Click on the Transaction Shield banner, or navigate to your notifications and click on Transaction Shield. You can also navigate directly to the Transaction Shield page from Settings.
You can choose monthly or yearly plans, and cancel at any time. You can sign-up using crypto stablecoins on Ethereum Mainnet (mUSD, USDC, USDT), as well as your credit card or debit card.
When you’re ready, click ‘Start free trial’ to start the free trial, or start your subscription if you’ve already used your free trial.
### Crypto payments
If you choose to pay with stablecoins, you will be prompted to provide an approval for the subscription.
If you sign up for the monthly subscription, you will sign a transaction approving payments for 12 months. This transaction requires a minimum stablecoin balance equivalent to 12 months (i.e., $9.99 × 12 = $119.88) to pay via crypto.This is simply so you only have to sign one transaction; you will be charged one month at a time. At any time you can cancel, and you will not be billed for any future months.
The free trial also includes gas sponsorship, so you won’t have to pay a network fee.
## Submit a claim
Reimbursement claims must be submitted within 21 days of the transaction’s confirmation to be eligible.
To submit a claim, sign in to your MetaMask Extension. Go to ‘Settings’, and click on ‘Transaction Shield’.
From your plan page, click ‘Submit a claim’.
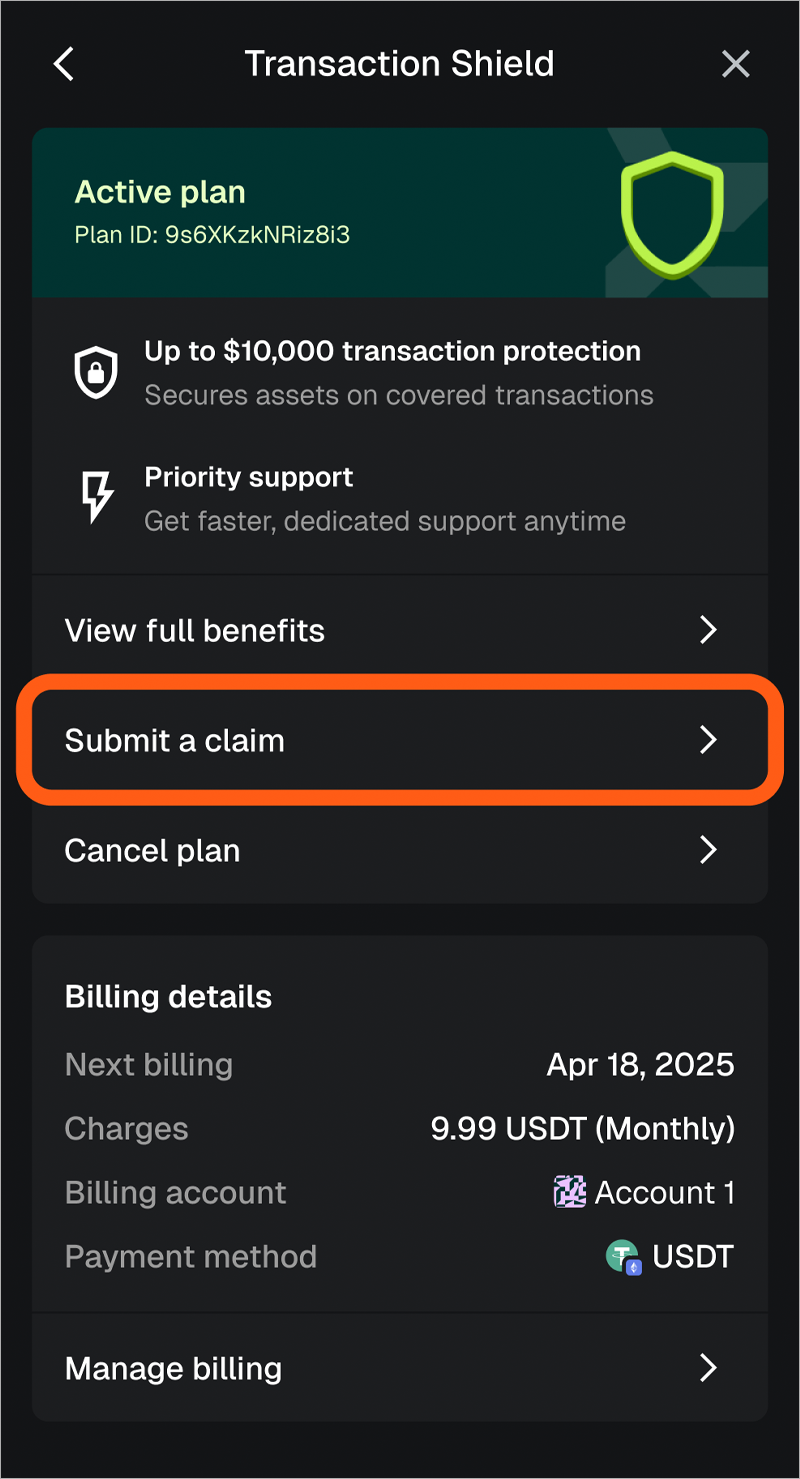
You will need to enter the following information to submit your claim:
* Your email address for communication
* An account address for reimbursement
* Incident details
* The impacted account address
* The transaction hash
* Network
* A description of the case
* Optional images with additional information
The claim form automatically checks your transaction history in MetaMask’s internal records. You will not be able to submit claims where you were shown the ‘Not Covered’ status for your transaction or signature.
Once you submit a claim, you can expect an initial response from MetaMask within 48 business hours.
Note: Each user is allowed only 3 active claims.
### How are claims evaluated?
Once you’ve submitted your claim, MetaMask will start the evaluation process by reviewing your submission and investigating the claim. The claim should meet the conditions mentioned in our terms of use [here](https://consensys.io/transaction-shield-supplemental-terms-and-privacy-notice).
We may ask you to provide certain information as required by the law, such as identifying information or KYC, to facilitate reimbursement.
If your case qualifies for Transaction Shield, MetaMask will reimburse you 100% of the value you lost in mUSD, based on the market value at the time of loss. MetaMask reserves the right to determine the final loss amount, and the reimbursement amount cannot exceed $10,000 USD, including gas costs.
If your case does not qualify for reimbursement, MetaMask will send you an explanation for our decision.
## Other FAQs
What accounts are covered by Transaction Shield?
All EVM accounts in your MetaMask Extension wallet (associated with one SRP) are included in the subscription. For example, if you signed up to Transaction Shield while on Account 1, all accounts in your wallet will be covered.
Imported accounts and wallets are also covered. If you ever reinstall MetaMask Extension, make sure to log in with your main wallet, and then import any additional accounts and wallets to be covered by Transaction Shield.
How do I access priority support?
From your MetaMask Extension, click the menu in the top right corner, and then click ‘Support’. The support site will automatically detect you are a priority user.
Is my subscription automatically renewed?
Yes, your subscription will be automatically renewed, but you can cancel at any time. For crypto payments, you'll be asked to confirm your approval again after 12 months.
Can I cancel my subscription or free trial at any time?
Yes. To cancel your membership:
* Sign in to your MetaMask Extension.
* Navigate to the "Settings" page.
* Click on "MetaMask Shield" to view your membership details.
* Select "Cancel Membership" and confirm.
Note: On cancelling your membership, you will retain access to the subscription perks until the end of your current billing cycle. Refunds aren’t available for subscriptions.
If you’re using the free trial, you will need to cancel before the end of the trial to not be billed.
Are there any limits?
Transaction Protection is limited to $10,000/month across eligible transactions, for up to 100 transactions per month.
Who is eligible to subscribe to Transaction Shield?
Transaction Shield is not available to parties based in Afghanistan, Belarus, Burundi, Congo, Cuba, Eritrea, Guinea Bissau, Iraq, Iran, Liberia, Mali, Myanmar, North Korea, Russia, Somalia, South Sudan, Sudan, Syria, the following regions of Ukraine: Crimea, Donetsk and Luhansk Regions, Venezuela, Yemen or any parties who are subject to sanctions by the United States Government.
Can I get reimbursed for a transaction made before I subscribed to Transaction Shield?
No, you can not get reimbursed for a transaction made or asset loss that occurred **before** you subscribed to Transaction Shield. Only asset loss that occurs **after** you subscribed to Transaction Shield may be eligible for reimbursement.
---
# Where do I find my gas history?
URL: https://support.metamask.io/manage-crypto/transactions/where-do-i-find-my-gas-history/
> You can find your gas history on a block explorer like Etherscan.
If you need to find your gas history, you can access it on [Etherscan.io;](https://etherscan.io/) there are two ways of accessing the information.
## Option 1: {#option-1}
- Navigate to your account address, and locate the "TxnFees" section under the "Analytics" tab on your address page:
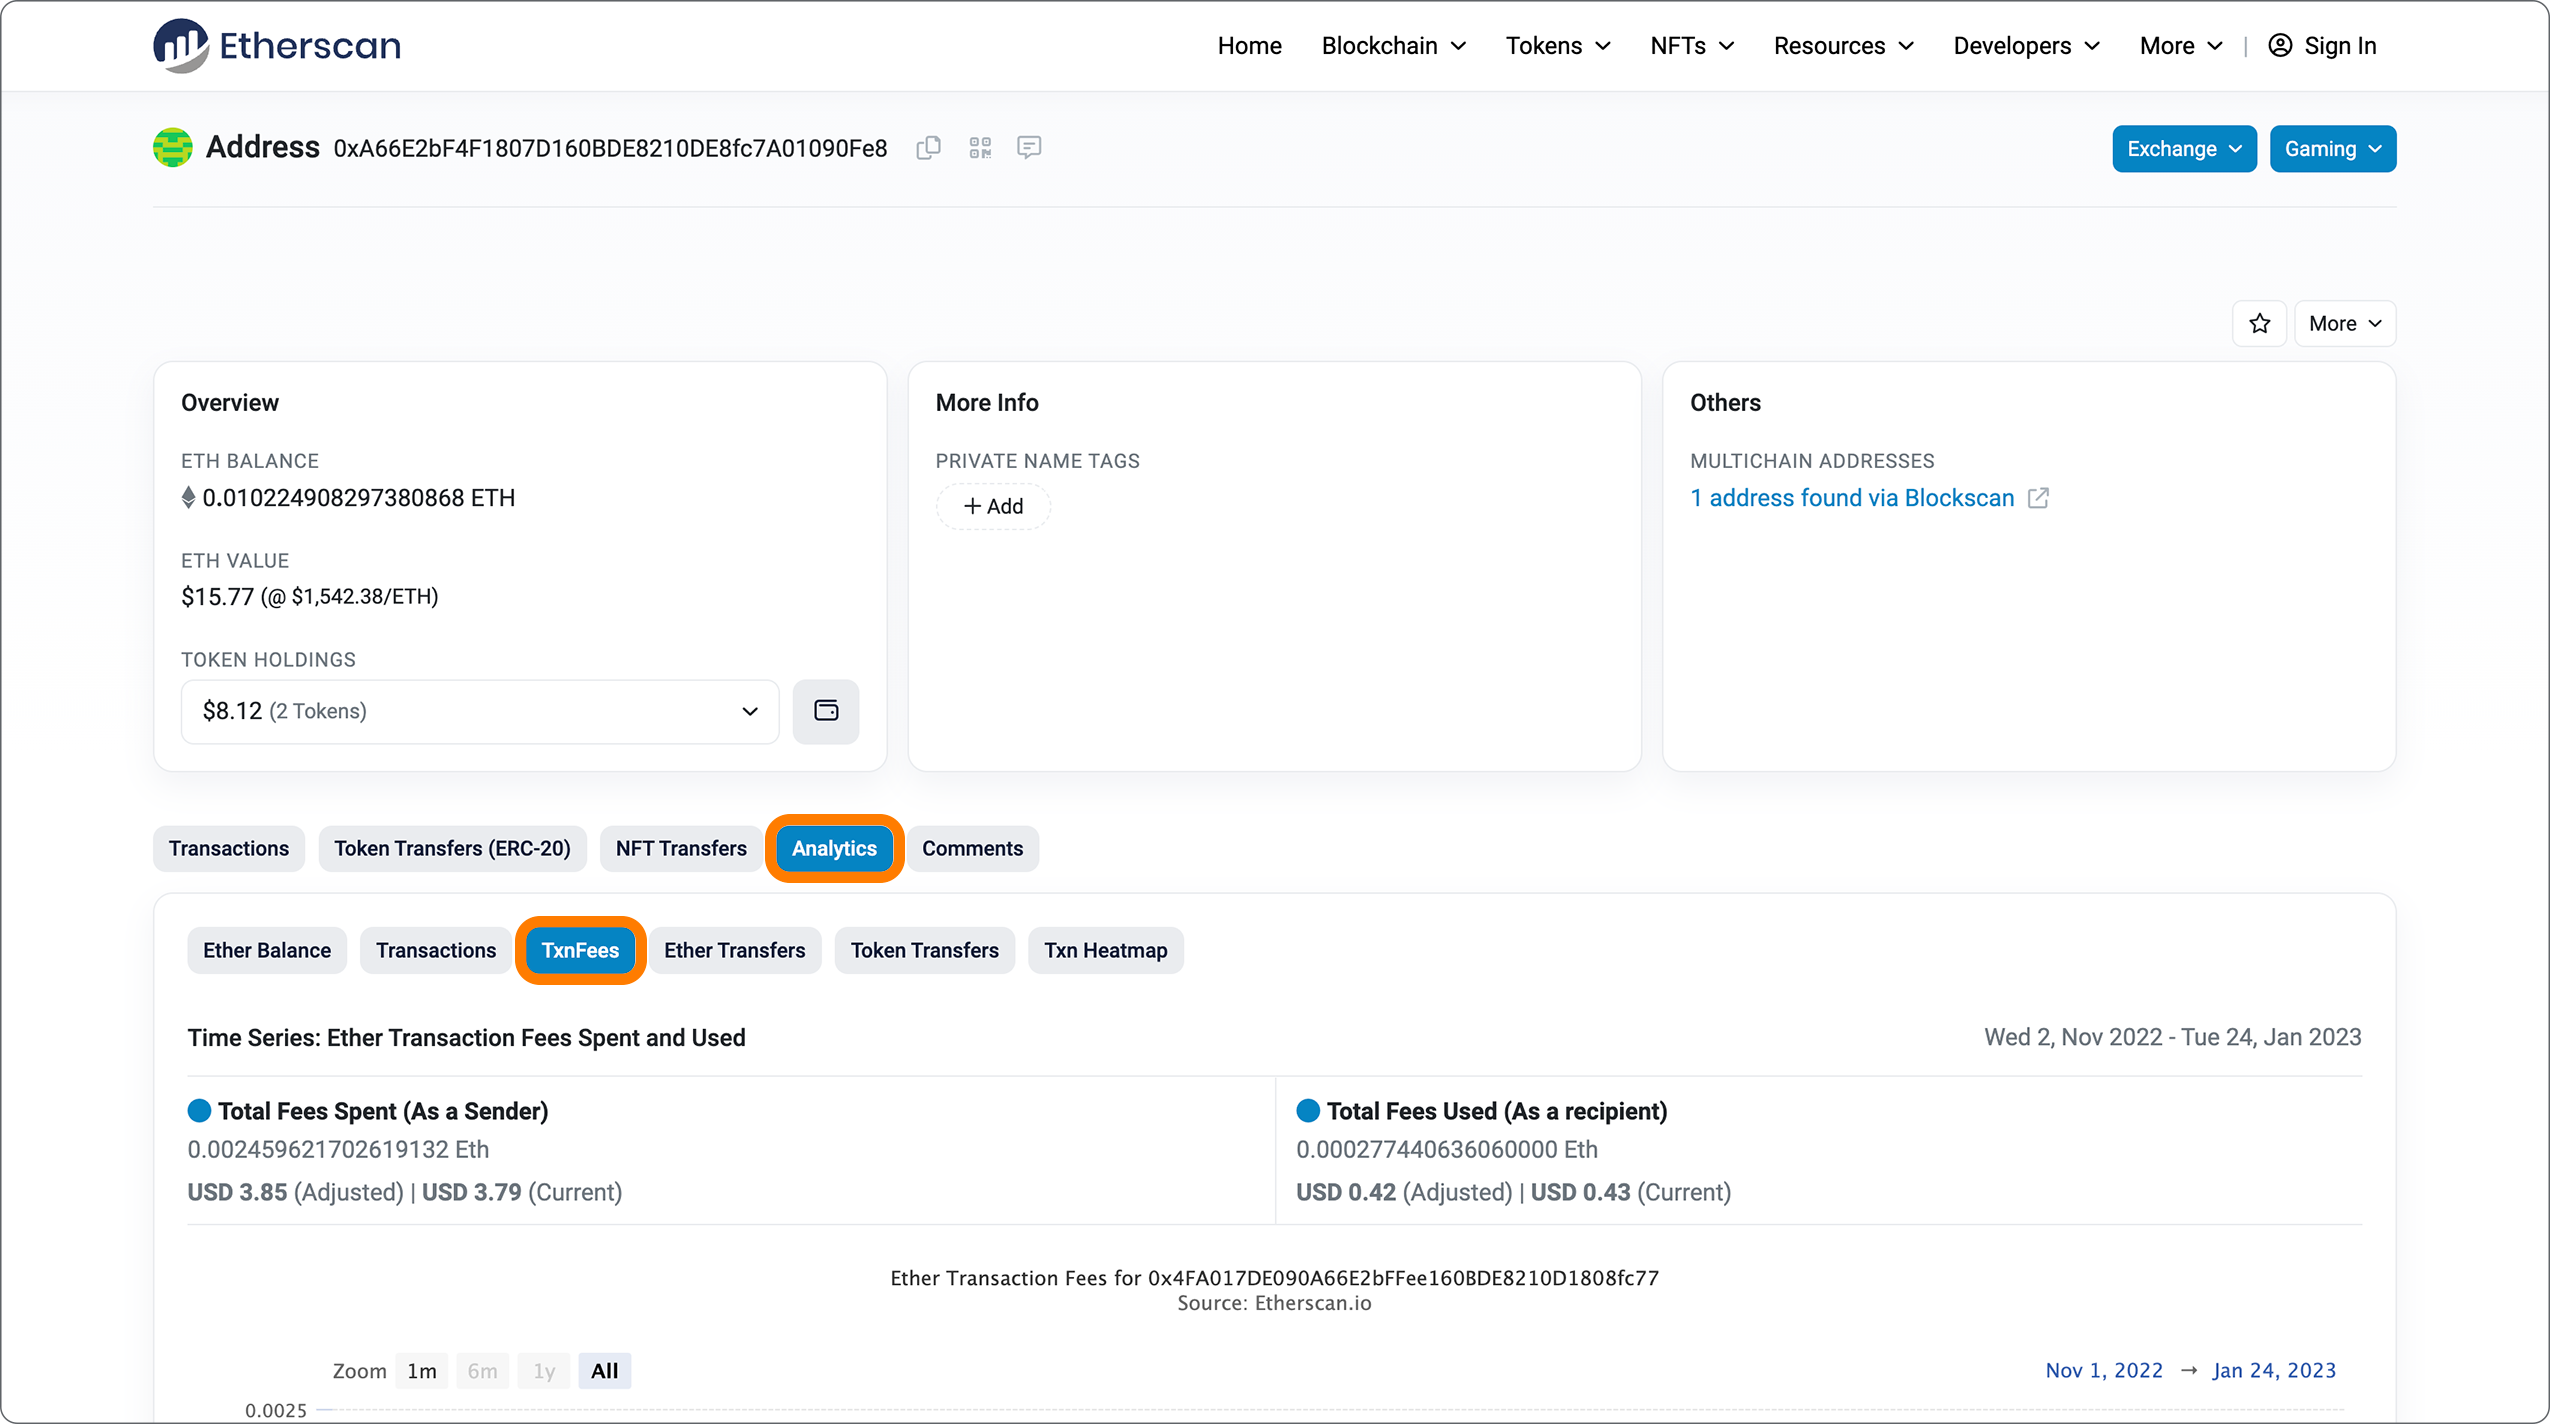
## Option 2: {#option-2}
- Click on the 'Transactions' tab on your address page.
- Scroll down, and you will see a button in the lower right labelled "Download CSV Export".
- This will allow you to download your transaction history in .CSV format (accessible as a spreadsheet), so you can manually calculate the fees.
---
# Why can't I replace a pending transaction?
URL: https://support.metamask.io/manage-crypto/transactions/why-cant-i-replace-a-pending-transaction-/
> Understand why replacing a pending transaction fails when you have multiple pending transactions outstanding.
#### Looking for how to resolve pending transactions? {#looking-for-how-to-resolve-pending-transactions}
Pending transactions that are displaying as such on the blockchain (make sure to [check a block explorer](/more-web3/learn/how-to-check-my-wallet-activity-on-the-blockchain-explorer)) can be replaced by sending another transaction with the same nonce, using the method [here](/manage-crypto/transactions/how-to-speed-up-or-cancel-a-pending-transaction). This article should be your first destination if you're looking for how to replace a pending transaction.
One of the most common reasons your replacement pending transaction will fail is because you **already have multiple pending transactions**.
In these cases, you need to **replace the oldest transaction first, and proceed through them in reverse order** (from oldest to newest).
Age is determined by the transaction's nonce, a unique number (_number used only once_) that is assigned to every transaction sent from your account. Nonces are assigned in ascending order — so the smallest pending transaction nonce you can find is the oldest.
:::note
#### How do I find pending transactions? {#how-do-i-find-pending-transactions}
If a transaction is pending, it will be marked as such in your MetaMask transaction history. You can also inspect your history on a [block explorer](/more-web3/learn/how-to-check-my-wallet-activity-on-the-blockchain-explorer).
:::
If you try to replace a pending transaction before resolving older outstanding pending transactions first, your new transactions will continually fail. This is because you need to resolve the oldest first.
---
# Understanding advanced permissions
URL: https://support.metamask.io/more-web3/dapps/advanced-permissions/
> Explore how ERC-7715 enables safer, flexible interactions with dapps, giving you more control over your tokens.
Advanced permissions let you grant **limited**, **time-bound**, and **condition-based** access to your tokens, allowing dapps to act within those boundaries without requiring repeated approvals.
This is made possible by [ERC-7715](https://eip.tools/eip/7715), a standard that enables dapps to request flexible permissions instead of relying on basic token approvals.
These permissions give you more control over:
- How much of a token a dapp can use
- How often it can access your tokens
- How long the permission lasts
This helps reduce risk while enabling new use cases like subscriptions and streaming payments.
:::info
Advanced permissions are still a new standard and only appear in some dapps that support ERC-7715, unlike dapps that use basic token approvals.
:::
## How they work
[ERC-7715](https://eip.tools/eip/7715) defines how dapps can request permissions from your account and perform actions within the limits and conditions you approve.
Instead of approving each transaction one by one, you can grant permission once with clear limits, and the dapp can act within those boundaries.
For example, you could allow an app to spend up to 10 USDC daily, and it can automatically spend within the time limit you set without requiring you to sign a transaction every day.
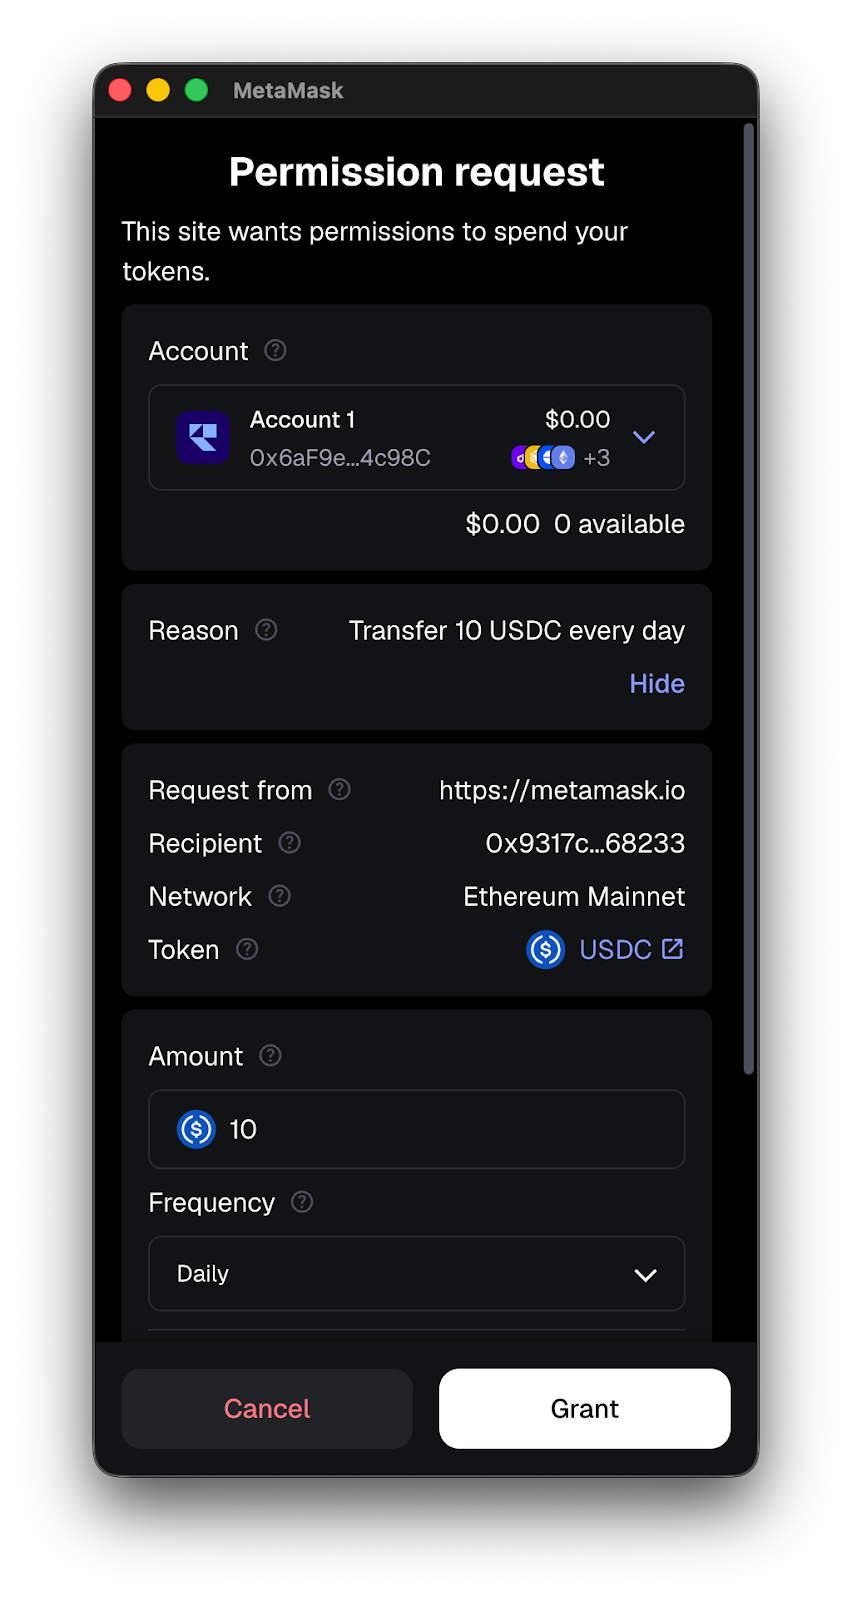
This relies on your MetaMask smart account capability which is enabled by default. Learn more about managing your smart account settings [here](/configure/accounts/switch-to-or-revert-from-a-smart-account/).
:::info[With advanced permissions, you can customize:]
- **Spending limits** (for example, up to 10 USDC)
- **Recurring or periodic access** (for example, a monthly allowance)
- **Streaming payments** (continuous transfers over time)
- **Expiration dates** (automatic end time)
:::
This is an important shift as most dapps today use [basic token approvals](/stay-safe/safety-in-web3/what-is-a-token-approval), which often:
- Grant more access than needed
- Do not expire automatically
- Require manual revocation
Advanced permissions improve this by allowing more **limited**, **time-bound**, and **condition-based** access.
## A different request flow
Advanced permissions (ERC-7715) introduce a new interaction model where you can review a request from a dapp first *before* connecting your wallet or sharing your address. The dapp proposes permissions first and can only act after you’ve granted access.
This results in a smoother and safer experience since you can grant flexible, controlled access and let the dapp act within those limits without repeated popups.
:::tip[Building an app]
If you’re developing an app, you can use advanced permissions to request flexible, condition-based access. Learn how to implement ERC-7715 permissions [here](https://docs.metamask.io/smart-accounts-kit/guides/advanced-permissions/use-permissions/erc20-token) for a smoother user experience.
This unlocks examples like subscriptions and recurring payments that work natively onchain, as well as trading strategies like passive investments or limit orders that execute without requiring a signature each time.
:::
## FAQs
What does “total exposure” mean?
Total exposure is the maximum amount of tokens a dapp can access within a permission. Example: 25 USDC over the course of 1 month.
Do I need a smart account to use advanced permissions?
Yes. Advanced permissions rely on smart account functionality. Smart accounts are enabled by default, but if disabled, MetaMask will prompt you to upgrade your account when permissions are requested.
Learn more about managing your smart account settings [here](/configure/accounts/switch-to-or-revert-from-a-smart-account/).
Can I revoke advanced permissions?
Yes. You can revoke permissions at any time or let them expire automatically if an expiration date is set. Navigate to ‘Dapp connections’ in the menu to manage your permissions.
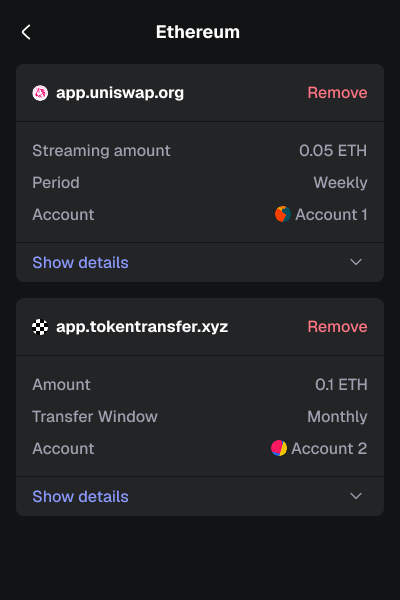
What is ERC-7715?
ERC-7715 is the [standard](https://eip.tools/eip/7715) that powers advanced permissions. It defines how dapps can request permissions from your account and perform actions within the limits and conditions you approve.
---
# How to connect to a dapp
URL: https://support.metamask.io/more-web3/dapps/connecting-to-a-dapp/
> Learn how to connect to a dapp using MetaMask.
The easiest way to connect to a dapp is to let the dapp prompt you to connect with MetaMask.
:::note
MetaMask cannot guarantee the safety or reliability of any dapp. Always do your own research and exercise caution when connecting your wallet. Remember to never share your Secret Recovery Phrase (SRP).
:::
1. Oftentimes, dapps will have a ‘Connect’ button—or something with similar wording—allowing you to connect your MetaMask with that dapp. Click 'Connect' and select MetaMask when prompted.
2. You will notice a prompt in MetaMask asking if you would like to connect MetaMask to the dapp. This prompt will display the **account** that the dapp is requesting to connect to. By clicking 'Edit accounts' you can select which account(s) you would like to connect to the dapp.
3. Clicking on the 'Permissions' tab provides an overview of the accounts and enabled networks. Selecting 'Edit' next to these will allow you to fine-tune the selected accounts and networks.
The dapp will be able to see the addresses of the selected accounts and can suggest transactions for those specific accounts (e.g., a swap or trade if you have initiated one). You will still have to manually approve these transactions, of course. Your enabled networks will be automatically selected, but you can manually select which networks do and do not have permissions by tapping on the network. A dapp that uses multiple networks will be able to seamlessly switch between the enabled networks without needing to prompt you to switch manually.
If everything looks good, click ‘Connect’ to connect the selected accounts and networks with the dapp. You’re now set!
1. Oftentimes, dapps will have a ‘Connect’ button—or something with similar wording—allowing you to connect your MetaMask with that dapp. Tap 'Connect' and select MetaMask.
2. You will notice a prompt in MetaMask asking if you would like to connect MetaMask to the dapp. This prompt will display the **account** that the dapp is requesting to connect to. By tapping 'Edit accounts' you can select which account(s) you would like to connect to the dapp.
3. Tapping the 'Permissions' tab provides an overview of the accounts and enabled networks. Tapping 'Edit' next to these will allow you to fine-tune the selected accounts and networks.
The dapp will be able to see the addresses of the selected accounts and can suggest transactions for those specific accounts (e.g., a swap or trade if you have initiated one). You will still have to manually approve these transactions, of course. Your enabled networks will be automatically selected, but you can manually select which networks do and do not have permissions by tapping on the network. A dapp that uses multiple networks will be able to seamlessly switch between the enabled networks without needing to prompt you to switch manually.
If everything looks good, tap ‘Connect’ to connect the selected accounts and networks with the dapp. You’re now set!
In the future, if the dapp wishes to connect to another account or network for which you have not yet granted permission, it can prompt you to grant these additional permissions. You can [modify the granted permissions](/more-web3/dapps/manage-dapp-permissions) for the selected accounts and networks anytime.
---
# How to connect to dapps with EIP-6963 (multi-wallet discovery)
URL: https://support.metamask.io/more-web3/dapps/connecting-to-dapps-with-eip-6963-multi-wallet-discovery/
> Learn how EIP-6963 improves the multi-wallet experience.
MetaMask is compatible with the [EIP-6963](https://eips.ethereum.org/EIPS/eip-6963) standard. This standard represents an ecosystem-wide improvement to how browser extension wallets coexist.
## What does EIP-6963 mean for me? {#what-does-eip-6963-mean-for-me}
There are a range of other web3 wallet clients out there that work similarly to MetaMask — they act as a communication channel between web apps and the blockchain network.
Previously, however, there wasn't a standard in place outlining how each of these wallets would coexist when more than one is installed and active in the browser. This made it difficult to ensure that the preferred wallet interacted with the dapp, as there was no way of choosing which wallet would take precedence. As the EIP itself describes, the last wallet to load was usually the one that came out on top — that is, became usable.
For users who deliberately use multiple extension-based wallets for different purposes, this was problematic. Instead, **EIP-6963 means you can choose which wallet you want to connect to the dapp**.
## What does it look like when implemented in dapps? {#what-will-it-look-like-when-implemented-in-dapps}
When you visit a dapp that supports EIP-6963, you'll be presented with a list of wallets, and you can choose which one you want to connect:
That's it! Once you select your preferred wallet client, connecting to a dapp works as usual.
You can head to [this site](https://eip6963.org/) for a simple demo of how an EIP-6963 implementation might look in a dapp.
You can read more about MetaMask's EIP-6963 support [here](https://metamask.io/news/developers/improving-the-multi-wallet-user-experience-with-eip-6963/).
---
# How to disconnect a wallet from a dapp
URL: https://support.metamask.io/more-web3/dapps/disconnect-wallet-from-a-dapp/
> How to disconnect your MetaMask wallet from a dapp on Extension and Mobile, and what disconnecting does and doesn't do.
Looking to disconnect your wallet from a dapp?
Below are the methods for both MetaMask Extension and MetaMask Mobile. For more detailed information about permissions surrounding dapps, see our guide [here](/more-web3/dapps/manage-dapp-permissions), our [token approvals explainer](/stay-safe/safety-in-web3/what-is-a-token-approval) or this [blog post](https://consensys.net/blog/metamask/the-seal-of-approval-know-what-youre-consenting-to-with-permissions-and-approvals-in-metamask/).
:::info
#### Disconnecting vs. revoking approvals: **not the same thing** {#disconnecting-vs-revoking-approvals-not-the-same-thing}
Following the steps below will only disconnect your wallet from the dapp. Depending on what it originally requested, this will prevent it from viewing your public address, wallet contents, transaction history, and even the ability to initiate transactions.
It **will not revoke any [token approvals](/stay-safe/safety-in-web3/what-is-a-token-approval)** that you have in place with that dapp, meaning that **even if you disconnect the dapp, it may still be able to access and move your tokens**. For more information on revoking approvals, see [this article](/more-web3/learn/how-to-revoke-smart-contract-allowances-token-approvals), or [our Twitter thread](https://twitter.com/MetaMask/status/1499848000549515265).
:::
1. Within the Account view, click on the menu in the top right-hand corner and select 'Dapp connections'.
2. You'll see a list of connected dapps:
3. Click on the dapp and select 'Disconnect' to remove your account(s) from the dapp.
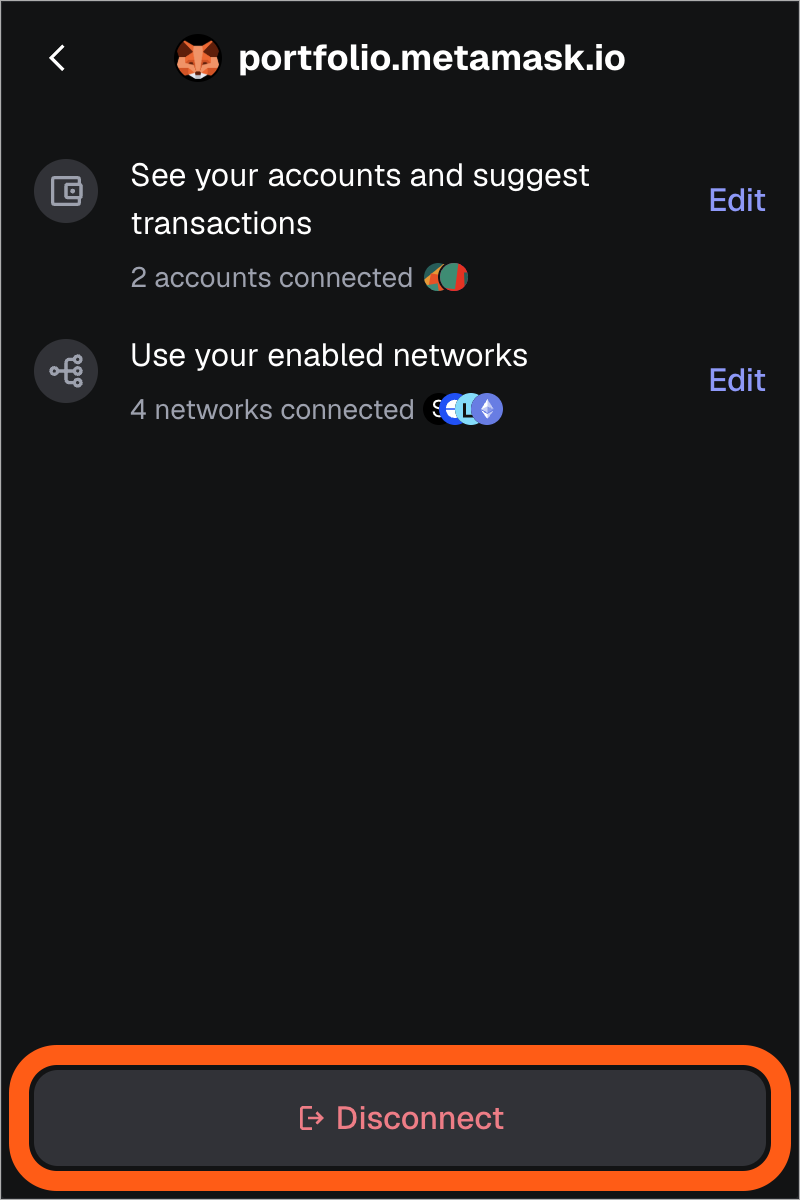
### Disconnecting from a dapp {#disconnecting-from-a-dapp}
1. Open the 'Explore' tab.

2. use the search bar or type the URL of the site whose permissions you want to manage.

3. Once on the site, tap the account icon in the top right-hand corner. This will display accounts and permissions for the dapp that are granted.

4. Tap 'Disconnect all' to remove the connection between the dapp and your account(s).
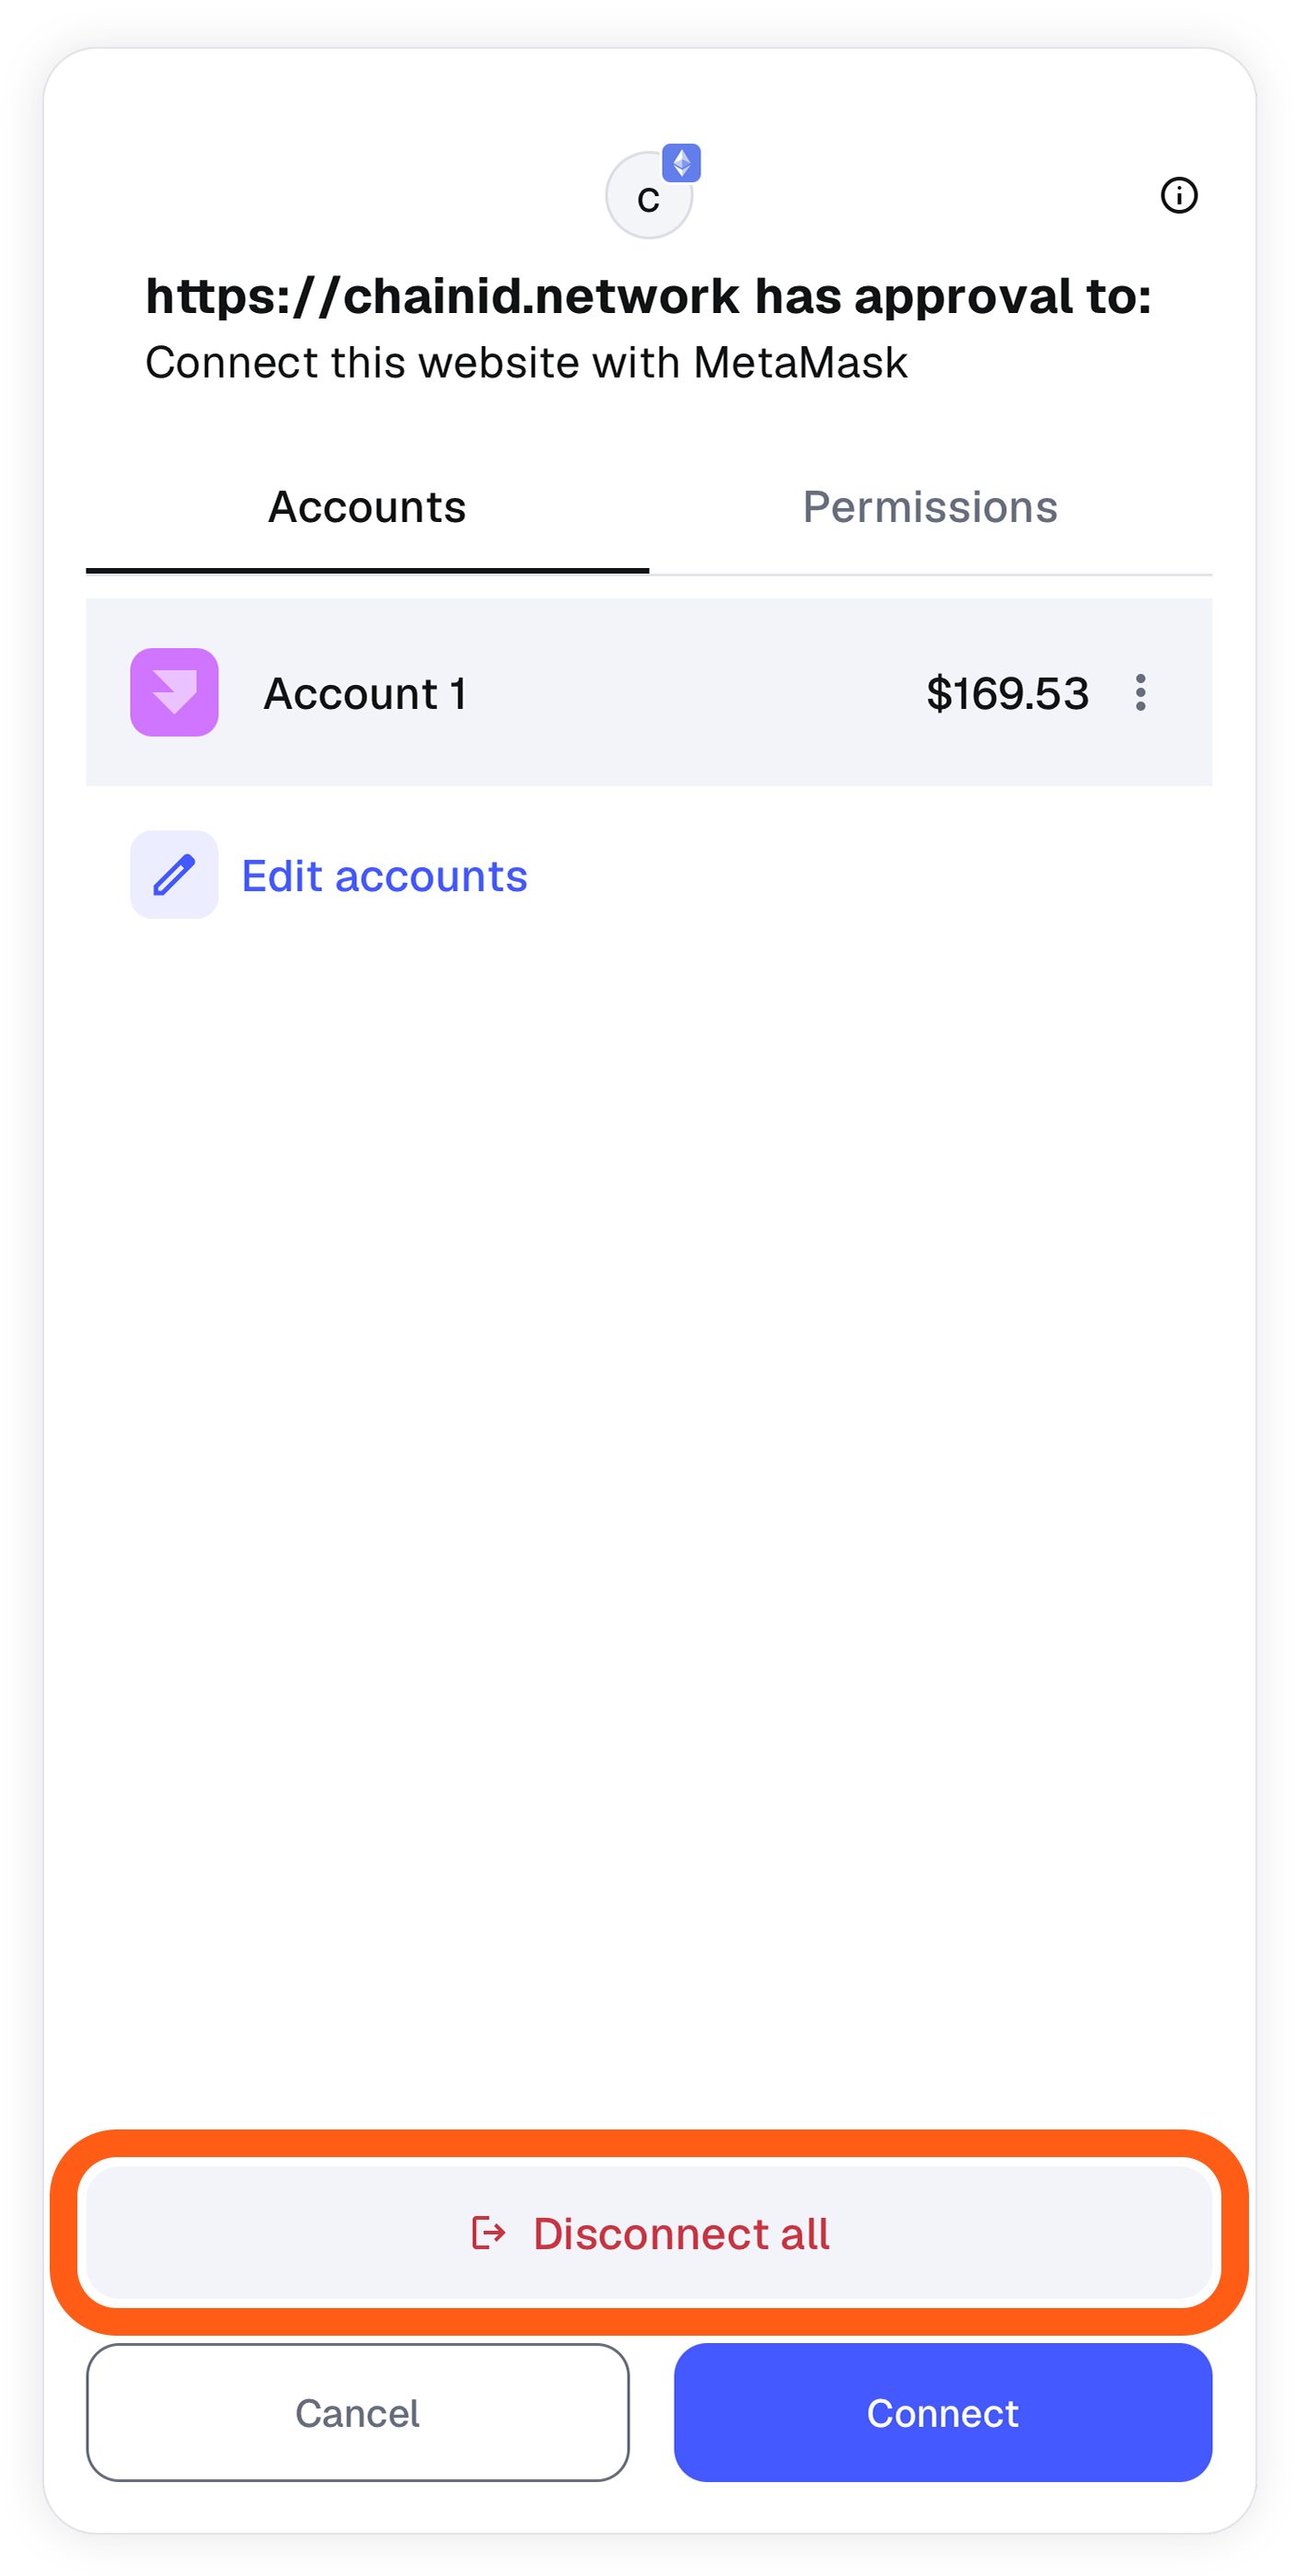
To use this dapp in future, you must connect your account(s) again.
### Disconnecting from all dapps simultaneously {#disconnecting-from-all-dapps-simultaneously}
Head to **Settings > Security & Privacy > Clear privacy data** to remove, with one tap, any dapp connections/permissions in place for the currently selected account.
**See also:**
[Connecting to a dapp](/more-web3/dapps/connecting-to-a-dapp)
---
# How to interact with NFTs, OpenSea, and Rarible
URL: https://support.metamask.io/more-web3/dapps/how-to-interact-with-nfts-opensea-and-rarible/
> View and interact with your NFTs using MetaMask Portfolio, OpenSea, Rarible, and other platforms.
MetaMask is capable of holding, sending, and minting NFTs.
There are, however, some minor differences between MetaMask Mobile and Extension when interacting with NFTs: on MetaMask Mobile, you can see your NFTs in-app, while on the extension you cannot see them natively.
The best way MetaMask offers of viewing your NFTs is currently in MetaMask Portfolio, available at [portfolio.metamask.io](https://portfolio.metamask.io/). All you need to do is connect your wallet, and your NFTs should be viewable. Easy!
Alternatively, third party websites such as Etherscan, OpenSea or Rarible may enable you to view NFTs.
For more information, see our article [NFT tokens in your MetaMask wallet](/manage-crypto/nfts/nft-tokens-in-your-metamask-wallet) and check out the [NFT section](/manage-crypto/nfts) of this help center.
---
# I can't connect MetaMask Extension to a dapp
URL: https://support.metamask.io/more-web3/dapps/i-cant-connect-metamask-extension-to-a-dapp-/
> You may have more than one browser-based wallet installed and active. Follow this guide to troubleshoot.
Usually, when you intend to connect MetaMask to a dapp in a desktop browser, a pop-up will appear in MetaMask asking you to confirm the connection.
**If nothing happens, the most common reason is because you have more than one browser-based wallet client installed and active. You'll need to disable other wallet software in order for MetaMask to work properly.**
To do this, head to your browser's extension manager and find the on/off toggle next to the other wallet's extension. It should look like this:

**Once you have disabled other wallet software, reload the page**.
Depending on your browser, managing extensions can work a little differently. To find the correct page, copy the appropriate link into your address bar:
- **Chrome**: chrome://extensions
- **Brave**: brave://extensions
- **Firefox**: about:addons
- **Edge**: edge://extensions
---
# How to fix issues connecting to a decentralized exchange (DEX)
URL: https://support.metamask.io/more-web3/dapps/issues-connecting-to-a-decentralized-exchange-dex-/
> Try these workarounds if you see the error message "Permissions request already pending please wait".
If you are using MetaMask to access a Decentralized Exchange (DEX) such as Pancakeswap or Uniswap, and you see the error message "**Permissions request already pending please wait**", please try this workaround, which should help you to reconnect:
- **Disconnect from the site** using the method explained [here](/more-web3/dapps/disconnect-wallet-from-a-dapp) (available for both Mobile and Extension), then return to the dapp and click 'Connect wallet'. Afterwards, retry connecting to the dapp.
---
# How to manage dapp permissions
URL: https://support.metamask.io/more-web3/dapps/manage-dapp-permissions/
> Learn how to manage dapp permissions in MetaMask.
You can manage dapp permissions easily by clicking the menu in the top right of MetaMask and selecting "All Permissions." This will show you a list of connected dapps, allowing you to click into each dapp and connect more accounts or disconnect all accounts.
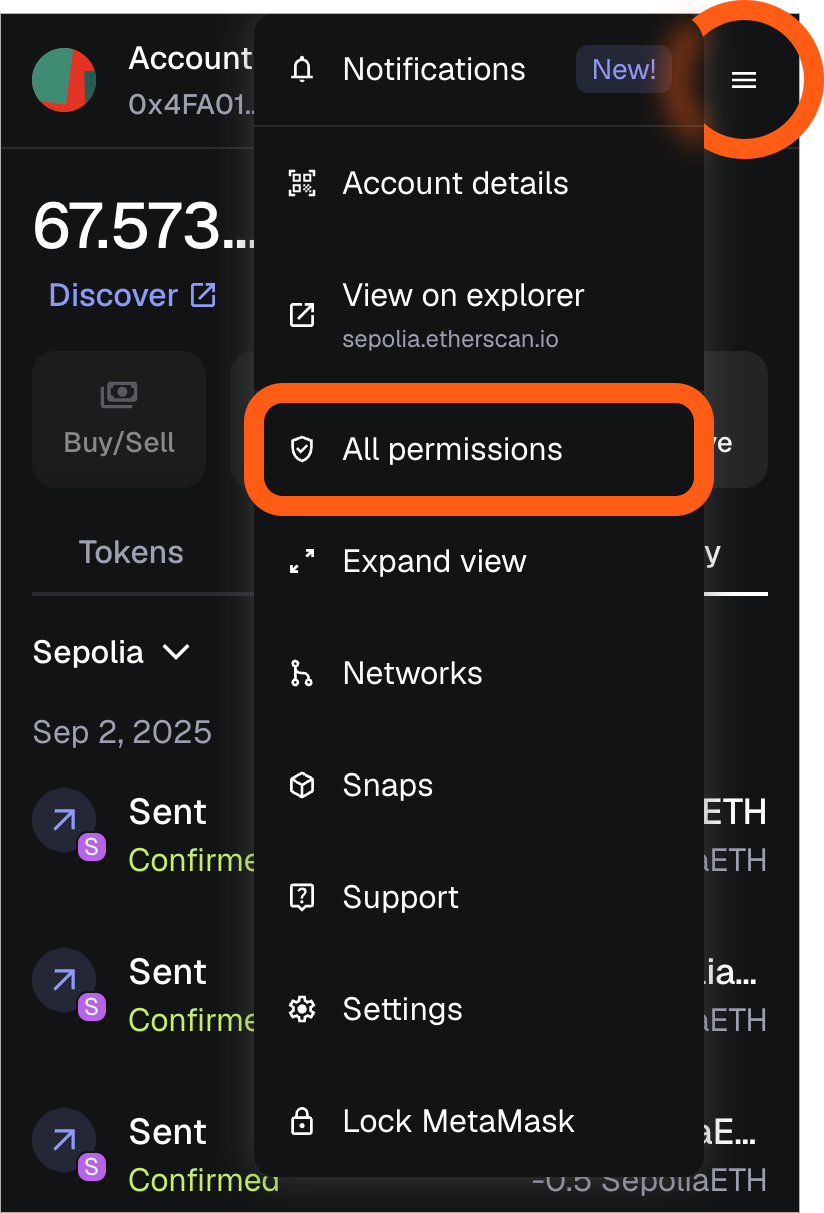
Another option is managing permissions on a per-dapp basis, as shown below.
### Manage permissions when connecting to a dapp {#manage-permissions-when-connecting-to-a-dapp}
When [connecting to a dapp](/more-web3/dapps/connecting-to-a-dapp), MetaMask will ask you to review the accounts and networks that the dapp wants to connect to. You can manage this in the 'Permissions' tab by clicking 'Edit' next to each section.
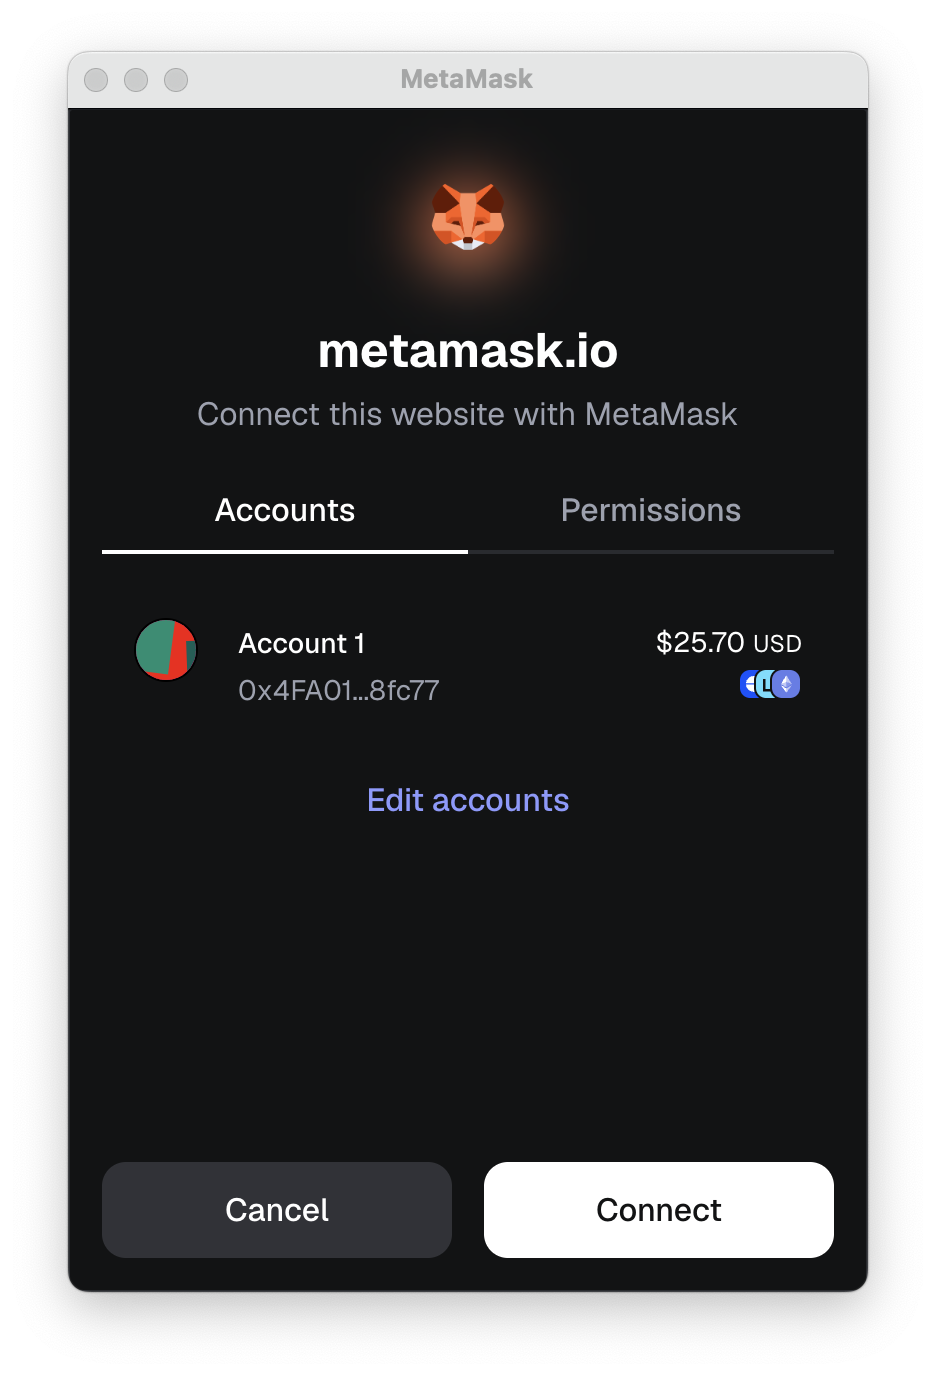
### Manage permissions for connected dapp {#manage-permissions-for-connected-dapp}
1. While the dapp is open, open MetaMask and click the favicon/icon of the dapp and select 'Manage permissions'.
2. You can manage both the connected accounts as well as the networks that have been enabled for this dapp on this screen.
3. Clicking 'Edit' next to the connected accounts section will show you the accounts already connected to the dapp. You can deselect any accounts you no longer want to connect to the dapp. Remember, the dapp will be able to suggest transactions for connected accounts.
4. Clicking 'Edit' next to the networks section will show you the networks already enabled for the dapp. You can deselect any networks you no longer want to connect to the dapp. A dapp using multiple networks will be able to seamlessly switch between the enabled networks without prompting you to switch manually.
---
# MetaMask Legacy Web3
URL: https://support.metamask.io/more-web3/dapps/metamask-legacy-web3/
> It is possible to install the MetaMask Legacy Web3 extension manually if you need to.
## Installing the Legacy Web3 MetaMask {#installing-the-legacy-web3-metamask}
If, for some reason, you need to install the Legacy version of MetaMask, there are canonical links below. If, _for whatever reason_, those links don't work, you can do so by following our instructions below.
:::warning
This version of MetaMask is now very, very out of date. It might not work the way you expect, or for that matter, very well at all.
**If you are being instructed by someone to install this version of MetaMask, stop now. Installing an old or alternate version of a wallet client like MetaMask is often the first step in getting scammed.**
Only install this version of MetaMask if you really know why you need to; otherwise, just install the latest version, from [metamask.io/download](https://metamask.io/download)
:::
## Manual installation process {#manual-installation-process}
It is possible to install manually using the source code on GitHub: [https://github.com/MetaMask/legacy-web3-extension](https://github.com/MetaMask/legacy-web3-extension). Do not attempt this method if you're unsure what you're doing.
With version 9.0.0 of the MetaMask browser extension, we stopped providing the **window.web3** API to websites. We [communicated this](https://medium.com/metamask/no-longer-injecting-web3-js-4a899ad6e59e) change to the Ethereum community over a year in advance. Nevertheless, unmaintained sites may still break.
In order for our users to access these legacy websites, we created the **MetaMask Legacy Web3 Extension**. If you install this extension alongside the regular MetaMask wallet extension, websites that rely on our old **window.web3** API should start working again.
As with the regular extension, it's critical that you only install from the official browser extension stores. Please follow the relevant link below to install the Legacy Web3 extension in your browser:
- [Chrome, Brave](https://chrome.google.com/webstore/detail/metamask-legacy-web3/dgoegggfhkapjphahmgihfgemkgecdgl)
- [Edge](https://microsoftedge.microsoft.com/addons/detail/metamask-legacy-web3/obkfjbjkiofoponpkmphnpaaadebfloh)
- [Firefox](https://addons.mozilla.org/en-US/firefox/addon/metamask-legacy-web3/)
---
# Uniswap support and troubleshooting tips
URL: https://support.metamask.io/more-web3/dapps/uniswap-support-and-troubleshooting-tips/
> Uniswap's FAQ is a great resource for troubleshooting.
Please note that [MetaMask is a self-custodial wallet](/start/metamask-is-a-self-custodial-wallet). That means that we do not have any control over your funds, and we do not keep your personal information or account access. That also means that, while we enable interactions with third parties like Uniswap, we are not responsible for what happens on Uniswap.
Answers to the most common Uniswap issues can be found on their [FAQ site](https://uniswap.org/faq).
Some additional tips:
- Make sure you have enough ETH for the gas fee in order to complete the swap.
- Make sure you both APPROVE and then SWAP (two transactions). If you only approved, it will not be completed.
- After the swap completes, **if you do not see the tokens you swapped for**, you may need to simply [add the token(s) to your MetaMask in order to see them.](/manage-crypto/tokens/how-to-display-tokens-in-metamask)
- If you are getting failed transactions, make sure the gwei is set high enough, and the gas limit is above 250,000.
- If your MetaMask activity feed is inaccurate or stuck, meaning you are unable to speed up, cancel or send new transactions, try [these instructions](/manage-crypto/transactions/how-to-speed-up-or-cancel-a-pending-transaction).
- Never give your Secret Recovery Phrase to anyone or any site. If Uniswap asks you for this information, then you are not on Uniswap, you are on a scam site or app.
**If you are still having trouble with Uniswap, we highly encourage you to reach out to them via their [support channels](https://support.uniswap.org/hc/en-us).**
---
# User guide: dapps
URL: https://support.metamask.io/more-web3/dapps/user-guide-dapps/
> All you need to know about decentralized applications (dapps) and connecting to them.
One of MetaMask's most exciting features is its ability to connect to _decentralized applications_, or dapps (sometimes spelled Dapps, dApps, or Đapps). Think of dapps as traditional websites that you can access in your browser, but that have a special portal built into them that links them to a blockchain. In order to interact with the functionality of that network, you need to have a wallet connected to the dapp portion of the website. That's where MetaMask comes in.
:::info
#### Trying to figure out whether a dapp is legitimate? {#trying-to-figure-out-whether-a-dapp-is-legitimate}
Check out our [article](/stay-safe/protect-yourself/how-to-tell-if-a-smart-contract-is-safe-to-interact-with) on verifying whether smart contracts are legit. Though dapps and smart contracts are not the same thing, the former is generally powered by the latter, so it is definitely recommended to verify trustworthiness before interacting with a dapp.
_See also: [How do I recognize the real MetaMask?](/stay-safe/safety-in-web3/how-do-i-recognize-the-real-metamask-)_
:::
Many websites with dapp functionality will have a button on the site that says 'Connect wallet', or 'Connect to dapp'. Clicking should launch a set of interactions that end up with your MetaMask being connected to the dapp you're on. See [here](/more-web3/dapps/connecting-to-a-dapp) for more information.
There is no inherent risk in connecting to dapps. This action allows them to view your balance and suggest transactions, but **they can't do anything with your assets unless you sign transactions they propose.**
**However**, you **do** need to be vigilant about these transactions. This is one of the most common ways that web3 users lose funds. To read more about transactions and approvals that dapps request, see the resources linked at the bottom of the article.
:::warning
#### Warning: Token approval scams {#warning-token-approval-scams}
Token approval scams are one of the most common methods through which web3 users are scammed, so it pays to clue up. See our [guide to token approvals](/stay-safe/safety-in-web3/what-is-a-token-approval) for more information.
:::
Often, dapps request access to a virtually unlimited number of tokens. Of course, _infinite access to funds_ is often what you want; if you're accessing a decentralized exchange, you want to be able to deposit, swap, or transfer as many tokens as you specify. That said, here are some things to keep in mind:
- How well-known is the project? Does it have a community channel? Do your research before allowing access.
- How often do you use the dapp? If it's not something you're actively using, do you want it to have access to your wallet?
- Has the dapp or a related project recently had a security breach? It's worth searching [here](https://www.rekt.news/).
That said, tools are available to manage your existing token approvals. [Read more here](/more-web3/learn/how-to-revoke-smart-contract-allowances-token-approvals).
Note that **[disconnecting your wallet from a dapp](/more-web3/dapps/disconnect-wallet-from-a-dapp) _does not_ affect token approvals**.
## FAQs and further reading {#faqs-and-further-reading}
[Disconnect wallet from a dapp](/more-web3/dapps/disconnect-wallet-from-a-dapp)
[Connecting to a dapp](/more-web3/dapps/connecting-to-a-dapp)
[Marking dapps as 'favorites' in MetaMask Mobile](/configure/wallet/how-to-use-the-metamask-mobile-browser)
[What is a token approval?](/stay-safe/safety-in-web3/what-is-a-token-approval)
[How to revoke smart contract allowances/token approvals](/more-web3/learn/how-to-revoke-smart-contract-allowances-token-approvals)
[How to customize token approvals/allowances with custom spend limit](/configure/tokens/how-to-customize-token-approvals-with-a-spending-cap)
[How to verify if a smart contract is safe to interact with](/stay-safe/protect-yourself/how-to-tell-if-a-smart-contract-is-safe-to-interact-with)
---
# Why am I being asked to connect my wallet to a dapp?
URL: https://support.metamask.io/more-web3/dapps/why-am-i-being-asked-to-connect-to-a-dapp/
> Learn why MetaMask requests wallet connections when using a dapp, what access it grants, and how to stay safe by reviewing permissions and avoiding untrusted sites.
For sites to see your account address, they must ask you for access. All they're gaining in these situations is the ability to see your address, and, by extension (since everything is viewable on the blockchain), the funds you hold. **This does not mean they can access and move your tokens around** — for that, you'll need to sign a [token approval](/stay-safe/safety-in-web3/what-is-a-token-approval).
:::info[intro to dapps]
Learn more about dapps [here](/more-web3/dapps/user-guide-dapps).
:::
You will only be required to [connect to a dapp once](/more-web3/dapps/connecting-to-a-dapp). After that, you'll be able to see it in your 'Connected sites'. For more detail on viewing connected sites and for how to disconnect from them, see [here](/more-web3/dapps/disconnect-wallet-from-a-dapp).
---
# Troubleshoot Ledger issues in MetaMask
URL: https://support.metamask.io/more-web3/even-more/having-issues-with-your-ledger/
> Here are some common fixes for issues with your Ledger.
If you are having issues with your Ledger, here are some common fixes:
- First of all, make sure you have familiarized yourself with the content in our [Hardware Wallet Hub](/more-web3/wallets/hardware-wallet-hub).
- Make sure Ledger Live is closed when using your Ledger with MetaMask. Also, ensure the Ledger device is unlocked and in the Ethereum application.
- Also, make sure you have:
- The most up-to-date firmware on your Ledger device
- Re-installed/updated the Ethereum app on the device, via Ledger Live
- Your browser up-to-date
- Enabled "[blind signing](https://www.ledger.com/academy/enable-blind-signing-why-when-and-how-to-stay-safe)" on the Ethereum app on the Ledger device itself
If you are seeing **multiple pending or failed transactions** in your MetaMask activity feed that do not match up to your public address on Etherscan.io, **you may need to [reset MetaMask](/configure/accounts/how-to-clear-your-account-activity-reset-account)**.
### Linux OS bug {#linux-os-bug}
For those affected, try this to fix the pairing issue:
- Check if the error is due to OS permissions:
- Visit `chrome://device-log/` on your browser.
- You should see a log message that says something like `Failed to open '/dev/hidraw11': FILE_ERROR_ACCESS_DENIED`.
- If that's the case, then your system user doesn't have the right permission to interact with the device. You can fix that by running the following command in a system terminal (substitute `hidraw11` with your device number):
- `sudo chmod a+rw /dev/hidraw11`
You should be able to pair the device with MetaMask now.
:::info
#### See Ledger support documentation for more information {#see-ledger-support-documentation-for-more-information}
We think hardware wallets can be a great tool for improving web3 security, depending on your individual needs and habits. However, since they're all complex products themselves, it's not possible for us to thoroughly document them here. That's why we recommend you head to [Ledger's support page](https://support.ledger.com/) if you need detailed information.
:::
---
# How to suggest a feature or improvement
URL: https://support.metamask.io/more-web3/even-more/how-to-suggest-a-feature-or-improvement/
> Share your MetaMask feature ideas and product feedback via the MetaMask Community forum.
We are always interested in hearing how our users would like to use and improve MetaMask.
Please post your request to our [Community forum](http://community.metamask.io/). You can also access this in-app if you're using MetaMask Mobile. Simply tap the gear icon in the tap bar, scroll down, and then select 'Request a feature'.
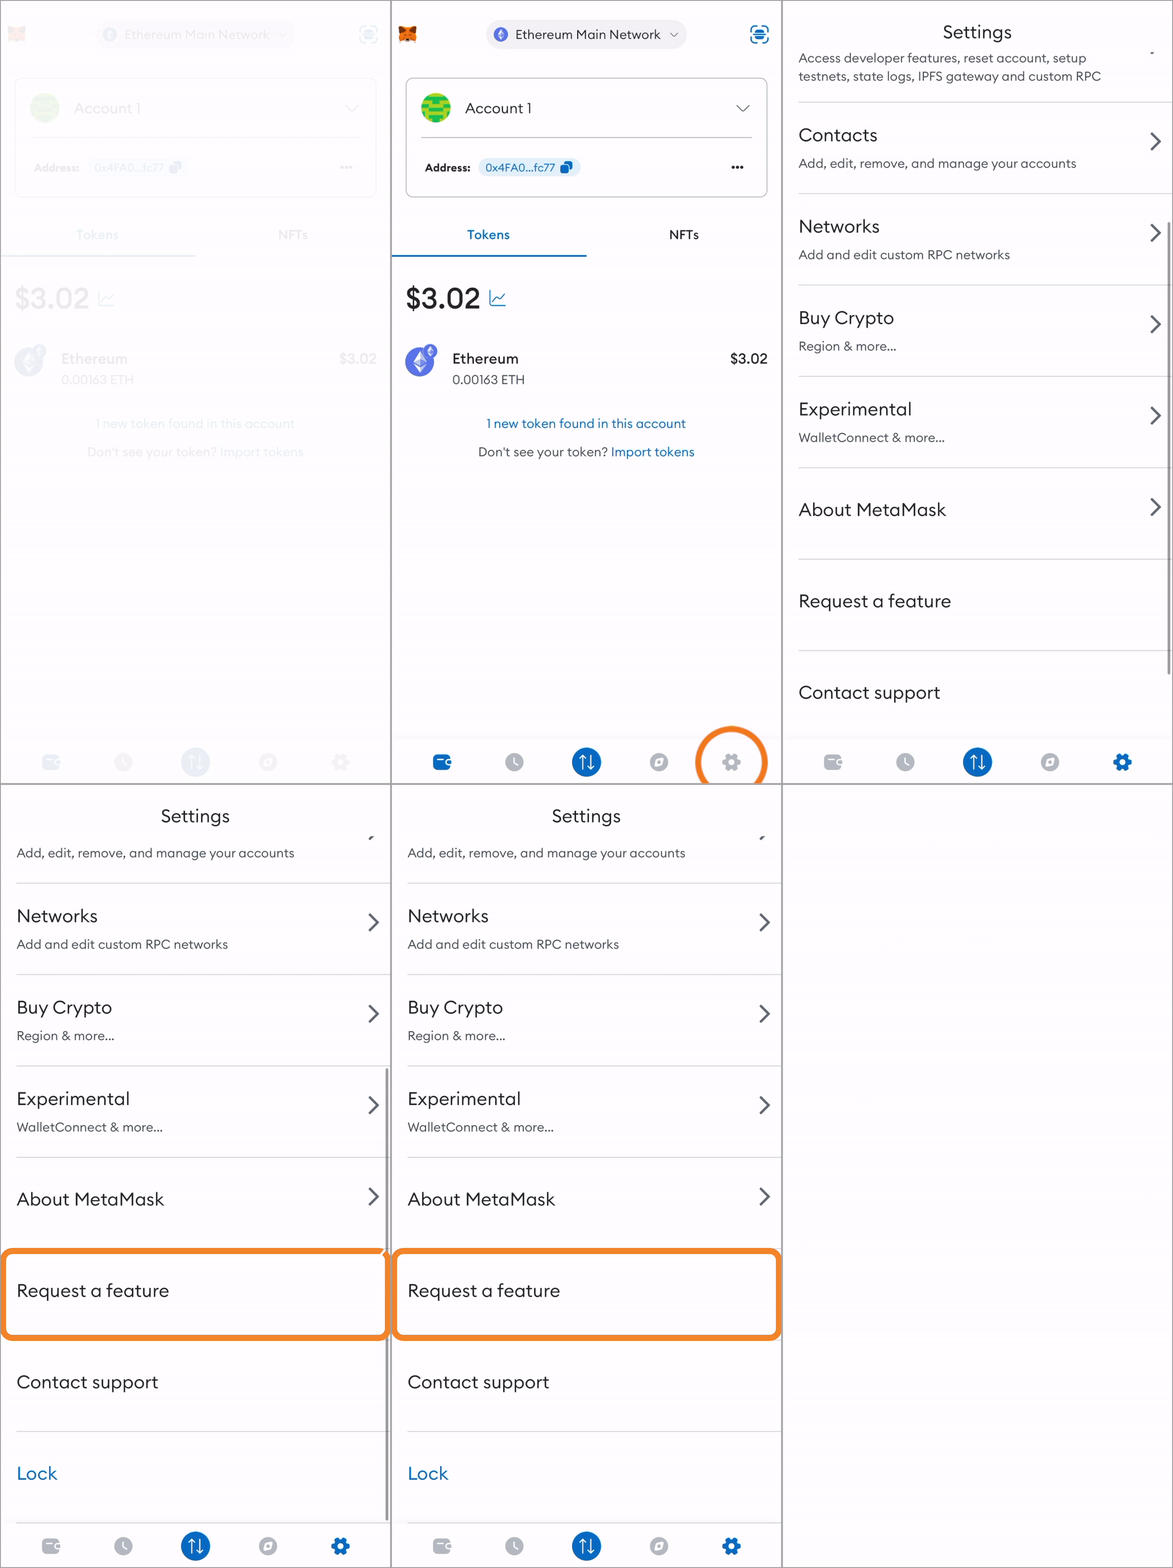
Before you submit a new request, have a look to see if someone else hasn't already suggested it — in this case, it's better to upvote theirs rather than add another.
Rest assured there's a lot of behind-the-scenes development that goes on at MetaMask, but we're keen to hear and integrate user requests wherever feasible. Posts on the Community requests page are regularly considered by our developers.
---
# Is MetaMask owned by JP Morgan?
URL: https://support.metamask.io/more-web3/even-more/is-metamask-owned-by-jp-morgan/
> Ew, JP Morgan does not "own us."
The crypto community is growing all over the world. We believe that if we want to accelerate global adoption and if this technology is to become mainstream, we need to also engage with traditional financial actors and educate them on how this would revolutionize everything we know — without compromising on the fundamentals of our beliefs such as decentralization and a more inclusive world.
In line with this philosophy, did we raise funds from JP Morgan in 2021? Yes. Do they influence our decision making? Absolutely not. Nor did JP Morgan participate in our most recent Series D round. Moreover, their shares have been diluted and they own less than 10% of Consensys. Any of our competitors claiming that JP Morgan “owns us” are absolutely wrong, and we invite them to fact-check before confusing the community with inaccurate information.
Our latest fundraising round includes ParaFi Capital, Temasek, SoftBank Vision Fund 2, Microsoft, Anthos Capital, Sound Ventures, C Ventures, Series C investors, Third Point, Marshall Wace, True Capital Management, UTA VC, and United Talent Agency's venture fund.
Consensys employees are also key drivers of our growth. Any employee at Consensys receives equity and is part of this project.
---
# Why can a site get blocklisted?
URL: https://support.metamask.io/more-web3/even-more/why-can-a-site-get-blocklisted/
> If you find a site has been rate-limited or blocklisted from MetaMask, you can run a local node of Ethereum.
MetaMask makes it easy for new users to get started with Ethereum partly because it doesn't require users to download the full blockchain to start using Ethereum-enabled sites.
We do this by hosting blockchain servers for free, via a great service called [Infura](https://infura.io/).
Sometimes, a site can load a lot of data over our servers, and if enough users use that site, it can affect our service for users of other sites. At times like this, we are forced to rate limit, or even blocklist sites from MetaMask compatibility.
Our first incident of this sort was the EOS Token Distribution site. Their site loaded a lot of information off the blockchain, and it made MetaMask unreliable for users around the world.
If you find a site has been rate-limited or blocklisted from MetaMask, you can get around this limitation by running a local node of Ethereum.
---
# Bitcoin (BTC) on EVM-compatible networks
URL: https://support.metamask.io/more-web3/learn/bitcoin-btc-on-evm-compatible-networks/
> Learn how Bitcoin (BTC) is supported in MetaMask, and how to use wrapped variants on EVM-compatible chains safely and correctly.
:::tip
Bitcoin is now supported in MetaMask. You can now manage your BTC alongside your Ethereum and Solana assets all in one wallet. Learn more in our guide [here](/configure/networks/bitcoin).
:::
## Not all blockchains are created compatible. {#not-all-blockchains-are-created-compatible}
The Bitcoin network was, in many ways, the 'proof of concept' for public blockchain technology: it showed that, given proper incentive mechanisms and safety measures, a currency could be maintained on a global scale, in a decentralized, trustless—that is, with no central trusted authority—manner.
The Ethereum network is the next step (arguably, an exponential step) along that path. The Ethereum blockchain isn't just keeping track of a currency. It maintains, live at all times, a global public computer that is capable of maintaining a global, decentralized currency (and many of them, at that). And on top of that, a global, decentralized monetary and financial system.
## Different blockchains have different 'native currencies' {#different-blockchains-have-different-native-currencies}
This is a topic both deep and broad, but in short: virtually all public blockchains have what is called a 'native currency', the token that is used to pay for gas, transactions, or computational work on the network. Bitcoin's native currency is bitcoin (BTC), and Ethereum's native currency is Ether (ETH).
:::tip
You can manage both in MetaMask. Follow our guide [here](/configure/networks/bitcoin) to get started.
:::
Given that different blockchains are programmed differently, with different standards for tokens, functionality, and even wallets and addresses, you can't just send pure BTC to an Ethereum address or the other way around. You would need to use a 'wrapped' version of BTC on the EVM-compatible chain.
But if you just want to hold BTC, you can do so directly on the Bitcoin network within MetaMask. Learn how to swap to, send, or buy BTC directly in your favorite wallet [here](/configure/networks/bitcoin/#swap-to-send-or-buy-btc).
---
# Does MetaMask support Polkadot?
URL: https://support.metamask.io/more-web3/learn/does-metamask-support-polkadot/
> Not currently.
Polkadot blockchain is **not an EVM-compatible** **network** and is currently **not supported in MetaMask**. We are hoping to facilitate support for Polkadot in the future through our Snaps plugin system.
See Polkadot's own information [here](https://support.polkadot.network/support/solutions/articles/65000168660-can-i-send-dot-to-metamask-or-mycrypto-wallet-).
---
# ETH on Sepolia and Holešky (testnets)
URL: https://support.metamask.io/more-web3/learn/eth-on-testnets/
> ETH on these testnets is a dummy balance and cannot be withdrawn or sent to mainnet.
:::info
Following the Dencun network update, the Goerli testnet is officially deprecated in MetaMask Extension 11.13 and MetaMask Mobile 7.19; we recommend using Sepolia for all your testnet needs.
Read more about Goerli getting sunset on [ethereum.org](https://blog.ethereum.org/2023/11/30/goerli-lts-update).
:::
The Ethereum ecosystem knows various testnets, the two biggest ones at this time being Sepolia and Holešky. These networks are primarily used for development on the blockchain (testing out applications and smart contracts, etc).
**ETH on these testnets is a dummy balance and cannot be withdrawn or sent to mainnet**. This also means that anyone attempting to sell you testnet ETH is trying to scam you: ETH on testnets has no value and is mainly for developers to test out new dapps and features.
See our article on [testnet ETH scams](/stay-safe/protect-yourself/tokens-and-transactions/testnet-eth-scams) for more information.
## Sepolia {#sepolia}
The Sepolia testnet is the recommended testnet for application (dapp) development, and is available by default in MetaMask.
If you want to start using Sepolia with MetaMask, you first need to [enable testnets in your network selector](/configure/networks/how-to-view-testnets-in-metamask).
## Holešky {#holešky}
The Holešky testnet is the successor of Goerli, and is mainly used for (testnet) staking and infrastructure.
Holešky is not available in MetaMask by default at this time, but you can [manually add it](/configure/networks/how-to-add-a-custom-network-rpc).
---
# User guide: bridges
URL: https://support.metamask.io/more-web3/learn/field-guide-to-bridges/
> What you need to know about bridges.
:::info[Bridging with MetaMask]
Transferring assets between networks can be done easily with MetaMask. Just click the 'Swap' button on your homepage to start!
:::
## What is a bridge? {#what-is-a-bridge}
A bridge is a method to swap your tokens across different blockchain networks. For example, perhaps you want to use a dapp or a game on the Linea network, but most of your funds are on Ethereum Mainnet. You can use a bridge to transfer some ETH, USDC, or other tokens from Ethereum to Linea, and swap them into different tokens if you'd like. You'd then have what you need to start using dapps on Linea.
With MetaMask, this can be done by clicking the 'Swap' button and selecting the network and token you want to exchange.
## Why do I need to use a bridge? {#why-do-i-need-to-use-a-bridge}
- Many users use the same address on multiple blockchains, for example by [adding a blockchain connection](/configure/networks/how-to-add-a-custom-network-rpc) in MetaMask. What if they've got an NFT on Gnosis Chain, but they want to have it on Polygon?
- Conversely, you might have a different address, say on BSC, than what you use on Ethereum. You may think that you can just send tokens from your BSC address directly to your Ethereum address; after all, they're both EVM-compatible, right?
_Wrong._ **The BSC blockchain and Ethereum blockchains are separate networks, with no built-in knowledge of each other.**
If you send to your Ethereum address from BSC, BSC will send to the address you put in, but _on the BSC network._ For more information on this specific scenario, [see here](https://academy.binance.com/en/articles/how-to-recover-crypto-transferred-to-the-wrong-network-on-binance).
## What bridge should I use? {#what-bridge-should-i-use}
:::info[MetaMask Swaps]
You can now access a curated, straightforward bridging experience through MetaMask Swaps. [Learn more](/trade/swap/user-guide-swaps).
:::
You should choose a bridge primarily based on what you're trying to move, where. For example, some bridges only move ERC-20 (currency) tokens; others specifically handle ERC-721 and 1155 (NFTs). The last thing you want to do is try to transfer tokens to a different network, and never receive them.
**There is no definitive listing of bridges.**
This is web3, which is based around permissionless, open development; this means that at any given time, there might be a new bridge between networks. There are also **bridge aggregators**, which are platforms that allow you to use several bridges in conjunction, conveniently transferring assets across platforms.
_The following is a non-exhaustive list of bridges and aggregators, in no particular order. MetaMask does not recommend or endorse any of these products; we are providing this information as a starting point for you to do your own research and understand how each bridge works before using it. We recommend using MetaMask's built-in feature, **Swaps**, for transfers._
**Bridges**
| [Celer Bridge](https://cbridge.celer.network/#/transfer) | [Wormhole's Portal Bridge](https://portalbridge.com/#/transfer) | [Rainbow Bridge](https://rainbowbridge.app/transfer) | [Terra Bridge](https://bridge.terra.money/) |
| --- | --- | --- | --- |
| [Allbridge](https://allbridge.io/) | [PolyBridge](https://bridge.poly.network/) | | |
**Bridge Aggregators**
| [Rango Exchange](https://rango.exchange/) | [Li.Fi Bridge Aggregator](https://links.li.finance/) | [movr.network](https://www.movr.network/) |
| --- | --- | --- |
| [chainswap](https://chainswap.com/) | [Router Protocol](https://www.routerprotocol.com/) | |
## How does a bridge work? {#how-does-a-bridge-work}
There are a number of different mechanisms that bridges use to move assets between networks; often, they are centralized entities that operate almost like an exchange. Others are more decentralized. If you're interested in the nuts and bolts, start with ethereum.org's [documentation here](https://ethereum.org/en/bridges/).
:::info
At their most basic level, **bridges are platforms with contracts on the chains you're transferring to and from.** Though the exact system varies, each bridge has a mechanism to validate your deposit on one network and issue equivalent tokens on another network.
:::
When you request to move Ethereum from Mainnet to Polygon, for example, the first thing the bridge will need to do is have you deposit the ETH to the bridge. The bridge will prompt you to sign a transaction to send the tokens to their address (for tokens other than ETH, this assumes you've already signed an approval granting it access to your tokens).
The deposit may be validated in a few different ways depending on the bridge, but this process essentially buys you the right to have your target address credited with the agreed amount of tokens (that is: the token you're bridging to). The bridge honors this request by minting or sending the tokens to the account you specified on the destination network.
## I need step-by-step instructions on how to use a bridge {#i-need-step-by-step-instructions-on-how-to-use-a-bridge}
:::warning[Potential loss of assets]
Transferring assets between blockchains is not necessarily a simple task. Some tokens cannot be sent from one network to another — and if you do, **you can lose them forever**. Always do your own research before using a bridge.
:::
Given the above-mentioned wide variety in bridge platforms, networks, and functionality, we can't provide a step-by-step that will work for _every_ bridge. In general, though, this is how it works:
- Navigate to the bridge that you have identified will work for your particular combination of networks and token types
- Connect to the app with your MetaMask wallet
- Choose the network you're going _from_ and _to_
- Choose the asset you want to transfer
- During these steps, you may need to sign approvals in your MetaMask wallet. _Make sure you read every transaction or approval you make carefully._ For more on approvals, [see here](https://consensys.net/blog/metamask/the-seal-of-approval-know-what-youre-consenting-to-with-permissions-and-approvals-in-metamask/) or [here](/stay-safe/safety-in-web3/what-is-a-token-approval).
- Initiate the bridging process
- WAIT
- Bridging generally is not instantaneous, and can often take five to ten minutes for the transaction to be fully processed on the first chain, and then the second chain.
- Open your wallet on the second chain (If you're managing both chain's assets in MetaMask, make sure you switch networks in MetaMask!) and verify the assets are present; remember, you may need to [add the tokens to be able to see them](/manage-crypto/tokens/how-to-display-tokens-in-metamask).
---
# How to send ETH or other tokens to a layer 2 or other network
URL: https://support.metamask.io/more-web3/learn/how-do-i-send-eth-other-tokens-to-a-layer-2-or-other-network-/
> Move tokens between networks using MetaMask.
The multi-chain future is now, and traversing web3 does not mean you'll be spending all your time on one chain, such as Ethereum Mainnet. Instead, you'll most likely want to move your tokens around between networks (different blockchains) to make use of specific dapps, or to take advantage of cheaper network costs (gas fees).
You can swap tokens between several popular networks using MetaMask Swaps:
- Click the 'Swap' button on your homepage.
- Select the token you want to exchange and from what network (Example: ETH on Ethereum)
- Select the token you want and to what network (Example: ETH on Linea)
- Enter the amount you want to exchange
- Review quote and confirm transaction
#### See also: {#see-also}
- [User Guide: Swaps](/trade/swap/user-guide-swaps)
- [How to send tokens from your MetaMask wallet](/manage-crypto/move-crypto/send/how-to-send-tokens-from-your-metamask-wallet)
---
# How does MetaMask connect to a blockchain network?
URL: https://support.metamask.io/more-web3/learn/how-does-metamask-connect-to-a-blockchain-network/
> Curious how MetaMask lets you interact with blockchain networks? Read on.
The Internet was originally created as a tool to share information: to pull information out of one database, transfer it remotely, and make it appear on a computer somewhere else. But, in order to do that, you need to have some sort of program to represent that data in the same way, no matter what computer you're on (and, ideally, make it a pleasant experience): and thus, browsers were born.
Public blockchains like Ethereum are the next evolution of Internet databases, and MetaMask is the next evolution of the browser. Your legacy browser doesn't have the ability to connect to this new kind of network, so MetaMask builds on top of them, pulling and pushing data to and from these public blockchain networks, with all of the interactivity we've come to expect from a Web experience built in.
## Choose your own network connection {#choose-your-own-network-connection}
Just like pointing your browser to a URL, MetaMask needs to be pointed to what blockchain engineers call an [RPC](https://www.w3.org/History/1992/nfs_dxcern_mirror/rpc/doc/Introduction/WhatIs.html) [endpoint](https://www.cloudflare.com/learning/security/glossary/what-is-endpoint/). The data transfer standard for legacy Internet traffic is [HTTP](https://www.w3.org/Protocols/); in web3, most public blockchains use a standard called [JSON-RPC](https://www.jsonrpc.org/). This requesting and submitting of data is done through a set of commands that programmers call an [API](https://www.redhat.com/en/topics/api/what-are-application-programming-interfaces). If someone says 'the blockchain API' or 'the blockchain endpoint', they're referring to the same thing: _the place where you can send a request to the blockchain._
#### JSON-RPC APIs {#json-rpc-apis}
If you want to know more about how JSON-RPC APIs work with public blockchains, take a look at MetaMask's [Developer Docs](https://docs.metamask.io/wallet/reference/provider-api/), and ethereum.org's [documentation](https://ethereum.org/en/developers/docs/apis/json-rpc/).
## How do you find an API endpoint? {#how-do-you-find-an-api-endpoint}
Well, you have to have a [node](/more-web3/learn/learn-the-basics-of-blockchains-and-ethereum-miners-and-validators-gas-cryptocurrencies-and-nfts-block-explorer-networks-etc) of the blockchain available. Each node is constantly syncing the state of the blockchain, the history of transactions on the network. It's keeping the decentralized database up to date, and you can request—from that database—information it holds. What if you don't have the ability to run a blockchain node?
That's where Infura comes in. Infura provides an instantly available, always on, scalable blockchain API which gives you data access as if you were running your own node, and so much more. Infura offers access to these nodes through API endpoints, through which wallet clients and applications can send JSON-RPC requests. You could think of Infura, in this way, as a gateway to blockchain data.
#### Scalability and privacy {#scalability-and-privacy}
Infura offers significant advantages over other blockchain API providers, especially in terms of scalability and insulation against usage spikes, but also meaningful privacy protections for users, which is why MetaMask connects to them by default.
MetaMask, though, has always been designed to be customizable. There are some blockchains that are so new, not widely adopted enough, or haven 't achieved the level of stability required for Infura to support them to their standards of service. Or perhaps you want to connect to a node you host yourself, or another local node of the blockchain. Maybe you're building your own blockchain! **For this reason, users have always been able to point MetaMask to the RPC endpoint of their choice**.
#### Run your own node {#run-your-own-node}
If you want to run your own Ethereum node, it's easier than you might think; learn how to get it running with our Knowledge Base article [here](/more-web3/learn/how-to-run-your-own-ethereum-node-and-use-it-with-metamask), and get it hooked up to MetaMask following instructions [here](/configure/networks/using-a-local-node).
## MetaMask's relationship to Infura {#metamasks-relationship-to-infura}
The [relationship between MetaMask and Infura](/more-web3/learn/what-is-infura-and-why-does-metamask-use-it) is a long one, and goes back to the beginnings of the ecosystem. Originally, both were projects under what is today known as Consensys Mesh, an incubator for technology built on Ethereum. The two projects were a natural fit, with MetaMask being the use case and Infura the service provider. That relationship continues now that both projects have been folded into the full stack of web3 products offered by Consensys.
MetaMask's core vision is that of a permissionless, privacy-enabling product: rather than an Internet that commodifies you and your data, with your identity residing on someone else's server, this is an Internet that enables you; you control your data and your identity.
Beyond Infura's technical capabilities, allowing MetaMask to scale to the tens of millions of users it currently has, MetaMask chooses to ship with Infura as the default blockchain network connection provider because of their commitment to privacy and their work to progressively decentralize over time.
A JSON-RPC API provider is just like any other server or API provider, in the sense that it takes requests from a computer and serves responses. Just like a traditional server, the technical capacity exists to track IP addresses, allowing for the compilation of behavioral patterns and surveillance techniques. Infura's competitors have pursued the prominent funding model in Web2: not the provision of the service itself, but taking the user data you extract from that service, and selling the analytics of user behavior. Infura competitors have raised tremendous amounts of investment capital with the mandate that they will monetize the blockchain data itself. Infura, however, is not in the business of selling the analytics of user behavior.
#### You own your data {#you-own-your-data}
Infura shares MetaMask's core belief that users own their usage data; Infura has not and will not productize and sell usage information to third parties.
## The future of network connection providers {#the-future-of-network-connection-providers}
The vision of web3 is one of liberation and decentralization. It's possible that there will be tools developed that will take this ecosystem further along this path, breaking away from the model of service providers, toward a model of pure peer-to-peer interaction.
One way that Infura is embracing this future is through constantly expanding their offering of networks supported. Originally built for Ethereum alone, Infura now supports a number of sidechains, Layer 2 networks like Arbitrum, and even non-Ethereum Virtual Machine (EVM) compatible networks like Filecoin.
#### NFTs forever {#nfts-forever}
Infura also offers a robust suite of tools surrounding IPFS, enabling the NFT ecosystem easy and reliable access to a persistent, decentralized metadata storage platform.
MetaMask, for their part, have built MetaMask Snaps, further enabling the customization and extensibility of web3. Snaps allows developers to extend the functionality of MetaMask with custom features like custom blockchains, custom account types, custom messaging and notification protocols, and more, including novel technical solutions such as combining different cryptographic standards; in other words, allowing MetaMask to interact with non-EVM compatible networks.
Despite the apparent difference, at first blush, between a user-friendly front-end browser experience and a developer-focused API provider, both Infura and MetaMask are united around a core vision of building the protocols and infrastructure of the future, where users always come first.
---
# How does MetaMask generate my keys?
URL: https://support.metamask.io/more-web3/learn/how-does-metamask-generate-your-keys/
> Learn more about how your keys are securely and mathematically generated.
In the world of cryptographic technologies, your accounts are only as safe as your secret keys are secret _and unguessable_. For that reason, it's healthy to ask: Where are my MetaMask keys coming from? Well, get ready for a technical answer:
For a browser-based piece of software like MetaMask, there is no source of randomness (or _entropy_) that is more secure than the browser's native [Crypto.getRandomValues](https://developer.mozilla.org/en-US/docs/Web/API/Crypto/getRandomValues) function, which seeds itself with your operating system's entropy source, making this the best source of random numbers that a browser-based application can provide without your help.
Someday MetaMask may add more advanced features, to allow you to help generate your own random numbers, for example by wiggling your mouse, flipping coins, babbling into the microphone, or something, but for now, we're providing the simplest solution possible.
---
# How to check your wallet activity on the blockchain explorer
URL: https://support.metamask.io/more-web3/learn/how-to-check-my-wallet-activity-on-the-blockchain-explorer/
> What is a blockchain explorer, and how can you use it?
[Etherscan](https://etherscan.io/) allows you to search and track the Ethereum blockchain for **transactions, addresses, tokens, prices,** and other activities taking place on the Ethereum blockchain. For links to the block explorers **for other networks, scroll to the bottom**. However, they all function similarly, so the guidance below will apply to whichever site you access.
To check your account details on **Ethereum Mainnet**, please enter your [public address](/configure/wallet/how-to-copy-your-metamask-account-public-address-) into the search bar on etherscan.io, and you will see all of your account activity and transaction details.
:::info[Getting to the block explorer directly from MetaMask]
You can also jump straight to your account's page on the block explorer from a link in MetaMask.
See how:
Click the three vertical dots in the top-right of your MetaMask, and then on 'View on explorer'. The link will automatically adjust to the network you're on.
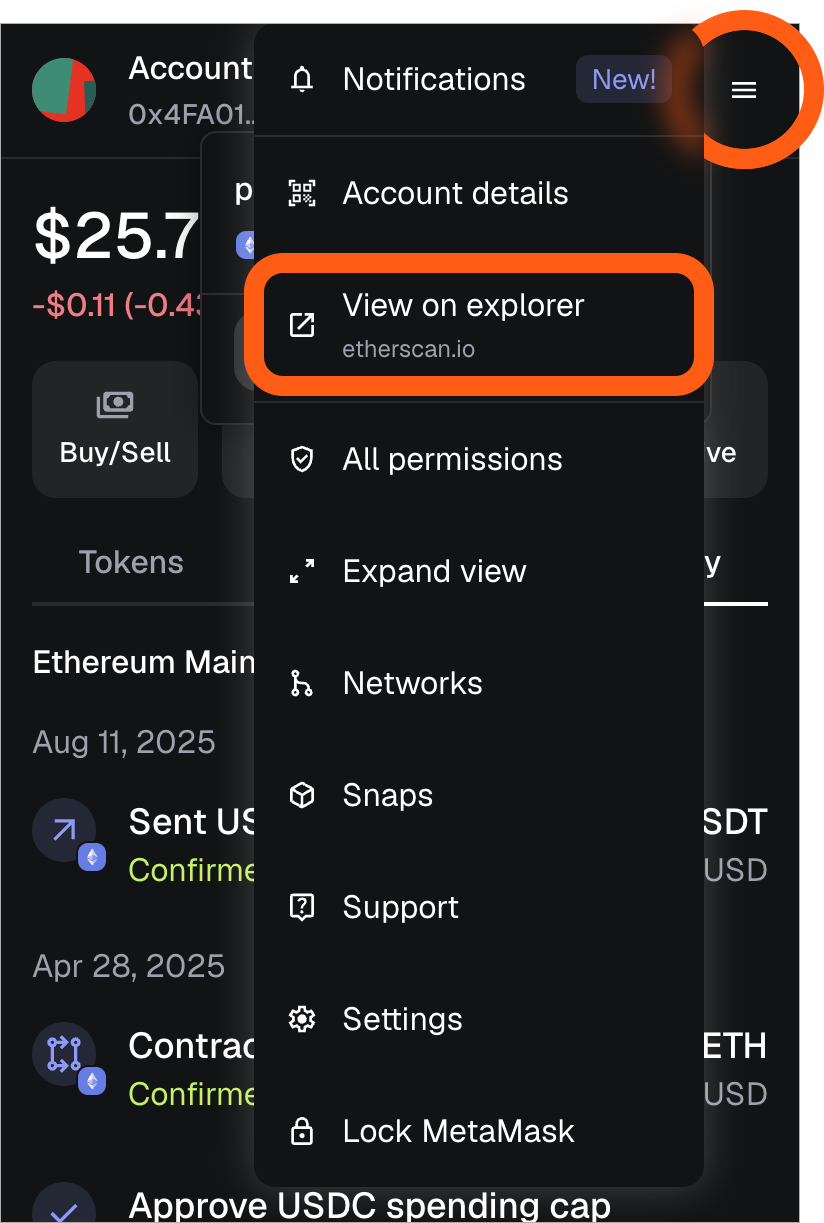
From the wallet view, tap the ellipsis icon to the right of your address, and then on 'View on Etherscan'. The name of the block explorer shown here will update according to the network you're on.
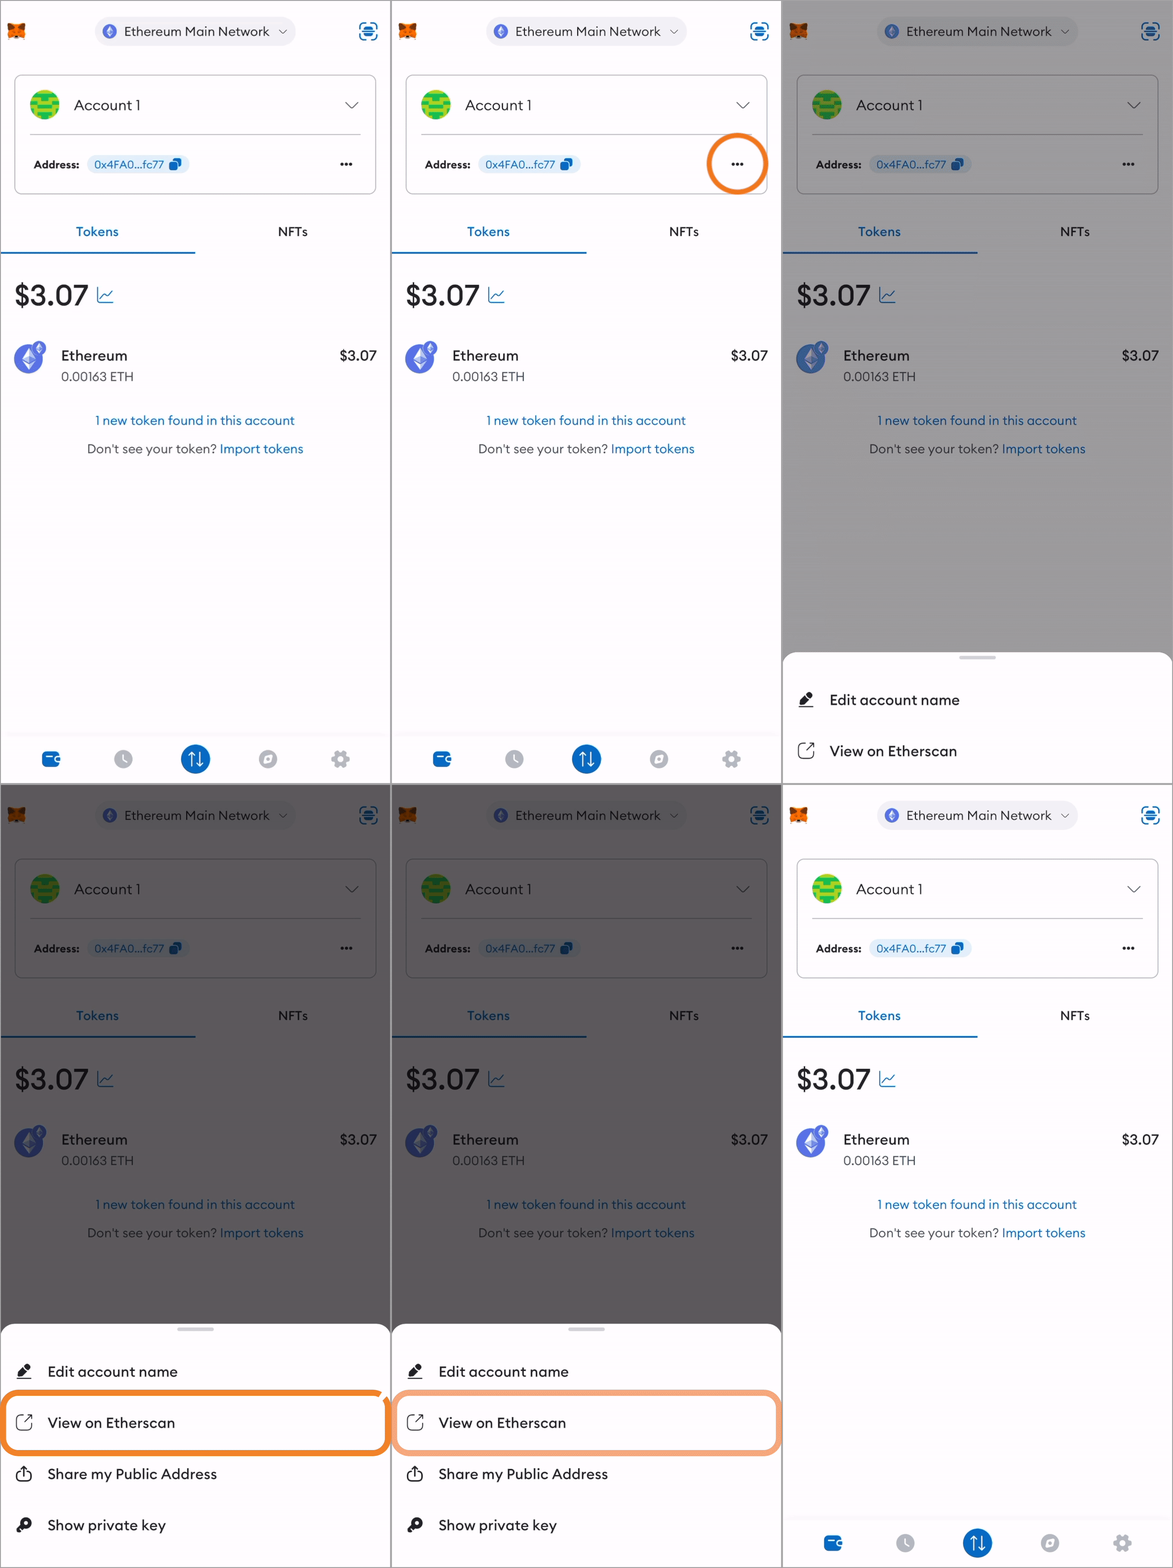
:::
After you enter your MetaMask public address into the block explorer or follow the link in MetaMask itself, you'll see your account's page.
Below shows an example on Ethereum Mainnet. Your ETH balance, its current fiat value, and the total balance of all your ERC-20 tokens are displayed. You will also see all of the account's transactions.
The same balance shown here should be reflected in MetaMask. If you see a token balance on the block explorer but not in MetaMask, make sure you've added it, using the steps in [this article.](/manage-crypto/tokens/how-to-display-tokens-in-metamask) If you're still having issues finding the tokens or your ETH balance isn't the same in your MetaMask wallet, see [this article](/manage-crypto/tokens/what-to-do-when-your-balance-of-tokens-is-incorrect).
**Note**: if you deposit/send your token on a network other than Ethereum Mainnet, you need to head to a different block explorer. For example:
- Binance Smart Chain (BSC): [BscScan](https://bscscan.com/)
- Polygon: [PolygonScan](https://polygonscan.com/)
- Avalanche C-Chain: [Snowtrace](https://snowtrace.io/)
- Arbitrum: [Arbiscan](https://arbiscan.io/)
- Optimism: [Optimistic Ethereum Explorer](https://optimistic.etherscan.io/)
- Harmony: [Harmony Block Explorer](https://explorer.harmony.one/)
- Sonic: [SonicScan](https://sonicscan.org/)
**Learn more about sidechains and custom networks [here](/more-web3/learn/user-guide-custom-networks-and-sidechains).**
---
# How to connect to the Gnosis Chain network (formerly xDai)
URL: https://support.metamask.io/more-web3/learn/how-to-connect-to-the-gnosis-chain-network-formerly-xdai/
> Add Gnosis Chain (formerly xDai) to MetaMask automatically via Chainlist or manually with the network details.
**For an automatic process**, go to [Chainlist](https://chainid.network/), search for Gnosis, and connect your wallet.
**For a manual process**:
Follow the steps found [here](/configure/networks/how-to-add-a-custom-network-rpc) to add a custom network. You can also head here and click 'Add to MetaMask' in the top-right corner to quickly add it.
If you need the custom network details to add it manually, use:
- Network Name: **Gnosis Chain**
- New RPC URL: [https://rpc.gnosischain.com](https://rpc.gnosischain.com/)
- Chain ID: **0x64** (the hexadecimal equivalent of 100; if you encounter issues, input 100 instead and retry)
- Symbol: **xDai**
- Block Explorer URL: [https://blockscout.com/xdai/mainnet/](https://blockscout.com/xdai/mainnet/)
---
# How to estimate the gas fee
URL: https://support.metamask.io/more-web3/learn/how-to-estimate-the-gas-fee/
> Learn how to estimate the gas fee for a transaction here.
## Getting the gas price {#getting-the-gas-price}
If you are on Ethereum Mainnet you can check [Etherscan's gas tool](https://etherscan.io/gastracker) to estimate today's gas price. Please note the gas price fluctuates; always refer to the tool to see the current gas prices.
The Ethereum network requires gas to execute transactions. When you send tokens, interact with a contract, send ETH, or do anything else on the blockchain, you must pay for that computation. That payment is calculated in gas, and gas is typically paid in ETH.
:::info[Gas included transactions]
On certain networks, MetaMask allows you to pay the network fee using different tokens. This means you do not need to have enough of the network's native token to cover the network fee, but can do so using other tokens. For more information, see [here](/manage-crypto/transactions/metamask-gas-station).
:::
You are paying for the computation, regardless of whether your transaction succeeds or fails. Even if it fails, validators must finalize and execute your transaction, which takes computational power. You must pay for that computation, just like you would pay for a successful transaction.
### Getting the gas limit {#getting-the-gas-limit}
So, you know how much each unit of gas costs, but how many units of gas do you need to spend? Well, if it's a simple transaction—say, sending ETH or an ERC-721 token to another address—you should be spending 21,000 units of gas. If you're doing something more complex, a good tool is a block explorer, such as [etherscan.io](https://etherscan.io/). Navigate to the contract you wish to interact with, and start examining transactions made with the contract. This will give you a better idea of how much gas other users actually end up using.
:::note
#### Gas calculator {#gas-calculator}
There are a few tools available out there for you to estimate how much gas is going to cost you in fiat currency before you submit a transaction. One example is the [Cryptoneur gas fee calculator](https://www.cryptoneur.xyz/gas-fees-calculator), which lets you input the details of your transaction and produces the estimated gas cost in your local currency, and specific to current demand on that network (you can choose from most major EVM-compatible networks).
:::
### Overall gas fee structure {#overall-gas-fee-structure}
As of [EIP-1559](https://github.com/ethereum/EIPs/blob/master/EIPS/eip-1559.md), the overall fee a transaction creator pays is calculated as: **( (base fee + priority fee) x units of gas used)**.
For more information, see [here](/more-web3/learn/user-guide-gas).
**Please note this is not a fee that MetaMask receives so we cannot refund it.** This fee is paid to miners or validators for finalizing the transaction, validating it into a block, and securing the blockchain.
---
# How to externally verify that your balance is correct
URL: https://support.metamask.io/more-web3/learn/how-to-externally-verify-that-your-balance-is-correct/
> Verify your account balances outside of MetaMask.
Feel like your ETH balance is wrong? Do you think you should have more or fewer tokens? Here is a process to verify your balances outside of MetaMask.
Etherscan, an Ethereum block explorer, has tools to help you visualize and confirm when your balances changed, and how much. This article will focus on two of those tools: the [ETH Balance Checker](https://etherscan.io/balancecheck-tool), and the [Token Balance Checker](https://etherscan.io/tokencheck-tool). The process is the same for both tools, so choose the appropriate one from the links below. If you're confused about the difference between ETH and tokens, check out [our guide](/manage-crypto/tokens/user-guide-tokens).
Most block explorers for other EVM-compatible networks, such as [Polygonscan](https://polygonscan.com/tokencheck-tool) or [Snowtrace](https://snowtrace.io/tokencheck-tool), will have similar functions.
### Etherscan balance checker tools {#etherscan-balance-checker-tools}
If you're concerned about your ETH balance, Etherscan's ETH Balance Checker is [here](https://etherscan.io/balancecheck-tool). If it's a different token, use [this one](https://etherscan.io/tokencheck-tool).
For example, let's say you received some ETH, and looking at your balance, you feel like it's not right. Well, [copy your MetaMask wallet address](/configure/wallet/how-to-copy-your-metamask-account-public-address-) and paste it into the checker, enter today's date, and click "Lookup".
_For the token checker, you'll need some additional information: the [contract address of the token](/manage-crypto/tokens/how-to-find-a-token-contract-address), and you'll have to choose whether you're looking for the balance of that token held by a particular address, or if you're just interested in the global supply of that token (in which case you won't be able to enter an account address)._
You will be presented with a few pieces of information. First of all, you will have "snapshot" information regarding your balance today, and underneath that, there will be a historical graph showing you the changes in your balance over time. **Moving your mouse along that graph, and looking at the different balances at different points in time, might be enough to allow you to see what happened.** Notice that in the upper left-hand corner of the graph, you can adjust the length of time represented.
Try this, though: again, let's suppose the transaction you're investigating happened today. Well, put in yesterday's date. You'll see a very helpful comparison on the right side of the "snapshots", titled "QUANTITY CHANGED". This value is a **'Comparison of your latest ETH value** (in other words, how much ETH you have right now) **versus the selected block or date'.** Does that number match up with the amount that you expected to be going in or out of your account?
It should be noted that if you need to get really granular with this tool, you can, by looking up block number, rather than date. This could be helpful if you made more than one transaction on the same day.
---
# How to revoke smart contract allowances/token approvals
URL: https://support.metamask.io/more-web3/learn/how-to-revoke-smart-contract-allowances-token-approvals/
> Learn the difference between revoking approvals, disconnecting dapps, and how to do it.
_Note: smart contract allowances are different from simply connecting your wallet to a dapp. For information on disconnecting your wallet from dapps, see [here](/more-web3/dapps/disconnect-wallet-from-a-dapp)._
Smart contract/token allowances, also referred to as approvals, involve you **allowing dapps to access and move tokens in your wallet on your behalf**. When you use a DEX (decentralized exchange), for example, you'll need to sign an approval that allows its smart contract to take tokens to complete your requested trades. While this sounds inherently risky, bear in mind that giving dapps at least _some_ allowance is always necessary. If you want to use web3, you won't be able to avoid them.
:::danger
Revoking approvals vs. disconnecting apps: what's the difference?
It's easy to confuse these two processes, but they are fundamentally different:
- **Disconnecting your wallet** from a dapp involves cancelling permission for it to see your public address and your token balances, and, depending on what you originally consented to, stopping it from initiating transactions (although _not_ executing them) and viewing past activity. See our [article](/more-web3/dapps/disconnect-wallet-from-a-dapp) for more info.
- **Revoking an approval/allowance** means a dapp can no longer access the contents of your wallet and move them around.
See also: our [Twitter thread](https://twitter.com/MetaMask/status/1499848000549515265) covering the distinction between these two actions, and our [article on token approvals](/stay-safe/safety-in-web3/what-is-a-token-approval).
:::
## How do I revoke approvals? {#how-do-i-revoke-approvals}
:::note
Revoke your token allowances in MetaMask Portfolio
We've added a feature to MetaMask Portfolio that allows you to view allowances and submit revocation transactions directly within the dapp. It's available on Ethereum Mainnet, Polygon, and BNB Chain.
To learn more, see our separate article [here](/manage-crypto/portfolio/spending-caps-portfolio).
:::
The good news is there are several ways to keep track of your existing approvals and easily revoke them:
- **Head to the 'approval checker' section of the block explorer** for the network you're using. For example, [Etherscan](https://etherscan.io/tokenapprovalchecker), [BscScan](https://bscscan.com/tokenapprovalchecker) and [Polygonscan](https://polygonscan.com/tokenapprovalchecker) all have a token approval checker function.
- Use a platform such as:
- [Revoke](https://revoke.cash/) (Many networks)
- [Unrekt](https://app.unrekt.net/) (multiple networks)
- [approved.zone](https://approved.zone/) (Ethereum Mainnet)
- [beefy.finance](https://allowance.beefy.finance/) (BSC/BNB Smart Chain)
- [EverRevoke](https://everrise.com/everrevoke/) (multiple networks).
- Use MetaMask to overwrite existing token approvals by sending a new approval transaction with the same token details and nonce as the previous approval. See our [article](/manage-crypto/transactions/how-to-speed-up-or-cancel-a-pending-transaction) for more information on how to do this.
:::warning
#### Gas fees {#gas-fees}
Since token approvals are conducted on-chain, revoking the approval must also be on-chain. This means you need to pay gas fees for each revocation.
:::
Look, we know how it is: there's always a new dapp to try. The only problem is that this can quickly rack up a long list of token allowances, potentially making you vulnerable to hackers or scams. This is why it's a good idea to **develop a habit of regularly checking your token approvals**—e.g. monthly—and weeding out any you're unhappy with.
Unfortunately, token approvals are a common attack vector for both hackers and scammers: the former can sometimes locate and exploit vulnerabilities in a smart contract's code ([this happened to Wormhole](https://rekt.news/wormhole-rekt/), an Ethereum \<-> Solana bridge, for example) and the latter can occur through rugpulls.
This is because token approvals often request **unlimited access** to your tokens. If a hacker or fraudulent smart contract owner is able to leverage this, they can theoretically drain your wallet of the tokens you've allowed access to. To this end, [MetaMask allows you to customize token permissions](/configure/tokens/how-to-customize-token-approvals-with-a-spending-cap).
For a more in-depth look at token approvals and dapp permissions, check out [our blog post](https://consensys.net/blog/metamask/the-seal-of-approval-know-what-youre-consenting-to-with-permissions-and-approvals-in-metamask/), or [this article](https://kalis.me/unlimited-erc20-allowances/) from the creator of the Revoke app mentioned above.
---
# How to run your own Ethereum node and use it with MetaMask
URL: https://support.metamask.io/more-web3/learn/how-to-run-your-own-ethereum-node-and-use-it-with-metamask/
> Ethereum.org is the best place to start learning how to run your own Ethereum node.
If you are interested in learning more about how to run your own Ethereum node, the official [ethereum.org instructions](https://ethereum.org/en/developers/docs/nodes-and-clients/run-a-node/) are a good starting point.
Once you have your node up and running, consult our article [here](/configure/networks/using-a-local-node) on how to connect MetaMask to it.
---
# How to use Liquidity Pool (LP) tokens
URL: https://support.metamask.io/more-web3/learn/how-to-use-liquidity-pool-lp-tokens/
> Curious about LP tokens? Dive in here.
Several of the most powerful decentralized finance (DeFi) tools involve depositing tokens into _liquidity pools_. In exchange, the depositor is given _Liquidity Pool Tokens_. These can be put to use — **but if you misuse them, you can lose all your value.**
Liquidity Pool tokens are an interesting token type, as they can be minted in a variety of ways. Uniswap currently mints them as ERC-721 tokens, whereas SushiSwap mints them as (often fractions of) ERC-20 tokens. What's really crucial to understand is not just what they're made of, but **_what they represent_, and what this means about what you can do with them.**
Let's say you deposit $2000 USD in stablecoins and 0.5 ETH into a liquidity pool. You've put (at today's prices) about $4K USD into that pool. Let's say that, in exchange, you're given 200 liquidity pool tokens. Each one of those tokens represents a proportional part of your deposit, in this case $10 USD and 0.0025 ETH (at the time of deposit; price fluctuations can and will change this, this is another topic, known as '[impermanent loss](https://consensys.net/blog/metamask/impermanent-loss-defi-markets-gotcha-number-two/)'). **_Within the liquidity platform_, you will be able to add and remove liquidity in this proportional manner, converting LP tokens to the underlying tokens and vice versa.**
**If you try to swap these LP tokens directly for another currency (ETH, BNB, etc) via MetaMask Swaps tool or a third-party swap platform, the following is likely to happen:**
- You may be given a **very low quote** for your tokens
- If swapping on MetaMask Swaps, **you may be presented with a warning that a price is not available**, due to the fact that not many people are trading these tokens
- If you go through with the trade, **you are likely to end up with a very, very small fraction of the value** you initially put into the liquidity pool
- **This will be irreversible**; the blockchain cannot reverse any transactions, including these
- **You can't go back and remove your liquidity**; you've traded away your proof of ownership
Let's look at another scenario, where, like on Uniswap, the platform gives you an ERC-721 in exchange for your liquidity pool deposit. Let's suppose, as above, that you've put in $2000 USD in stablecoins and 0.5 ETH. Then, instead of withdrawing the liquidity through the same platform as you started with, you decide to swap your LP token for ETH. What happens?
- All the above possibilities apply
- Additionally, the recipient of the LP token has the ability to go back to the platform and withdraw the liquidity the way it's meant to be withdrawn; you've effectively transferred your holdings to someone else. If you're trading on a platform where someone has access to the traded assets, they could do that; if it's a DEX, however, those funds might simply be lost forever.
- You will, most likely, not be able to recover those funds.
### So what do I do to make sure this doesn't happen to me? {#so-what-do-i-do-to-make-sure-this-doesnt-happen-to-me}
DeFi platforms can be a confusing experience; they're often very exciting websites with minimalist UI and little context for users.
- So first of all, try to find some support or guides as to how to use the product. If you can't find anything like that, maybe reconsider using the product.
- If you deposit tokens into a liquidity pool, **only handle them the way the LP platform says you should, and never try to swap LP tokens directly for a single token.**
- If you've got multiple layers of pooling or staking going on, and you wish to withdraw, again follow the platform's instructions, but think in terms of undoing every step you did to set up your'stack' in the first place
---
# I am trying to pay the gas fee for OpenSea in order to sell my NFTs
URL: https://support.metamask.io/more-web3/learn/i-am-trying-to-pay-the-gas-fee-for-opensea-in-order-to-sell-my-nfts/
> You need to have enough ETH in your wallet to pay for gas.
In order to pay for transactions on OpenSea, Rarible, or any other Ethereum Mainnet NFT trading platform, you need to have enough ETH in your wallet to pay for gas. That said, there are certain circumstances where a platform, such as OpenSea, **will require you to pay in [WETH](https://support.opensea.io/en/articles/8866978-what-s-weth-how-do-i-get-it)**, which stands for "Wrapped ETH". It is a different form of ETH, created to be more compatible with newer smart contract functionality. **Please consult OpenSea's documentation** [here](https://support.opensea.io/en/articles/8867083-what-are-gas-fees) for more information on paying gas fees on the platform.
**For more information on how to send and receive NFTs, see [here](/manage-crypto/nfts/how-do-i-send-receive-or-cash-out-an-nft).**
For more general information on how the Ethereum network operates, see [here](/more-web3/learn/learn-the-basics-of-blockchains-and-ethereum-miners-and-validators-gas-cryptocurrencies-and-nfts-block-explorer-networks-etc).
---
# Internal transactions
URL: https://support.metamask.io/more-web3/learn/internal-transactions/
> What are internal transactions?
At times, you may interact with a dapp, and expect to see a transaction record in MetaMask, but you don't. Your next step, as always, should be to verify on a block explorer whether the transaction occurred. Even then, though, you might not see it, if it is an _internal transaction._
So if you're looking for a transaction and don't see it anywhere, check under the 'Internal Transactions' tab in Etherscan.
To learn how to examine your account on Etherscan, start [here](/more-web3/learn/how-to-check-my-wallet-activity-on-the-blockchain-explorer).
Here's an example of what an internal transaction looks like there:
_The actual transfer of funds shows up under the “To” field._
## Why aren't _internal transactions_ displayed in my wallet activity/history? {#why-arent-internal-transactions-displayed-in-my-wallet-activityhistory}
When we talk about a 'transaction', we are referring to the act of an amount being deducted from one account, and that amount being added to the balance of another account: a simple transfer. However, as more sophisticated dapps are created, there are other things that happen on the blockchain that aren't "simple transfers".
An _internal transaction_ is an action that is occurring within, or between, one or multiple smart contracts. In other words, it is initiated inside the code itself, rather than _externally_, from an account address controlled by a human.
Often, the end result of the internal transaction is that one address or another will end up with more tokens of some kind; for example, if you're minting DAI, or if you're reserving an ENS name (in the latter case, you end up with that ENS name in your wallet).
Currently, MetaMask does not show internal transactions in your transaction activity or history, only standard transactions between addresses.
That said, **there is no difference between tokens received through an internal transaction, and those received through a standard transaction.** The transfer of funds **is reflected** in the overall balance of the account.
The reason MetaMask does not show these internal transactions is mainly a technical one; internal transactions, being somewhat "ephemeral" in nature (they occur while the code is running), are not recorded on the blockchain. There are some services, like Etherscan, that track internal transactions.
---
# Learn the basics of blockchains, Ethereum, miners and more
URL: https://support.metamask.io/more-web3/learn/learn-the-basics-of-blockchains-and-ethereum-miners-and-validators-gas-cryptocurrencies-and-nfts-block-explorer-networks-etc/
> Explore the foundational concepts of blockchains, Ethereum miners and validators, gas fees, NFTs, token networks, and how all these elements power your MetaMask experience.
:::note
#### New to crypto and web3? {#new-to-crypto-and-web3}
Head to [MetaMask Learn](https://learn.metamask.io/) for a straightforward learning experience designed specifically for newcomers to web3. It's completely free, available in multiple languages, and includes useful tools such as simulations to help you find your feet with MetaMask.
:::
### What is a blockchain? {#what-is-a-blockchain}
A blockchain is a type of **distributed ledger technology.** Let's break that down.
Traditionally, a digital database is kept in a specialized computer called a server. This server would be accessed by people who are granted permission to do so; it could be made public, or private, or somewhere in between, but everyone is accessing that same database—it's **_centralized._**
What's more, it's probably controlled by a certain set of people, and at the end of the day, we have to trust that the data is being kept safe and is accurate (and not being used for purposes that go against our own interests!). The downside to this is, of course, what if someone isn't acting in good faith? What if someone hacks the database and changes things, or steals information for their own purposes (or sells it as part of their business model)?
A blockchain—and in particular, a **_public_ blockchain**—is, at its core, a different kind of database. The word _ledger_ is used to describe it. Like a ledger, a blockchain is very good at keeping track of assets coming and going, but it can store lots of different kinds of information. However, rather than having this ledger all in one computer (centralized), it's synced across a number of different computers known as **_nodes_**: it's **_decentralized_** or, as it's often called, **_distributed_**.
All of those nodes are constantly syncing information between each other about transactions on the ledger: assets moving from one _address_, or account, on the network to another. These transactions are checked against the ledger's history to ensure that they're valid. Once enough nodes have verified a new transaction, it gets confirmed and becomes _final_. After a certain amount of time, or every certain number of transactions, the network will bundle up all those finalized transactions and seal them, using cryptographic software tools, into a **_block_**. This block is identified with a _hash_ produced by those cryptographic tools: this encrypts details about the block into a long hexadecimal number. The next block will use the previous block's hash as a starting point, and so the entire history of the ledger, and therefore of the network, is linked together in a _chain_ of _blocks_ containing _transactions_: **the blockchain.**
### What is Ethereum? {#what-is-ethereum}
[Ethereum](https://www.ethereum.org/) is a public blockchain network with a vast vision. Ethereum's designers realized that if you built a public blockchain network, you could do a lot more than just track digital currency: you could run a **global public computer**, always available and open to the world. And that's what Ethereum is: it's a global network that is capable of running programs on the [Ethereum Virtual Machine](https://ethereum.org/en/developers/docs/evm/), or **EVM.** Programs are written for the EVM in a language called [Solidity](https://soliditylang.org/), and the network uses a cryptocurrency, called **ether** (or **ETH**, pronounced "eeth") to compensate the people that maintain the network—and also as a token of value for transactions carried out on the network.
### So, how do you coordinate all that? {#so-how-do-you-coordinate-all-that}
As mentioned previously, an essential function of a blockchain network is coordinating the process of agreement between all the nodes in the network regarding whether a transaction is valid or not. The agreement is referred to as _consensus_, and the process by which it occurs is called a **consensus mechanism**, _or_ consensus protocol. Two different consensus mechanisms are relevant for Ethereum, the first being **Proof of Work (PoW)** and the second **Proof of Stake (PoS)**. PoW was replaced by PoS on Ethereum Mainnet in 2022.
In both mechanisms, computers are provided to do the work of verifying the validity of the transactions, and agreeing on them.
### What are miners? And is a validator the same thing? {#what-are-miners-and-is-a-validator-the-same-thing}
Under **PoW consensus**, actors known as '**miners**' carry the responsibility of verifying the transactions, creating the blocks, and maintaining the chain. In exchange, these miners are given a reward (in ETH) each time their node is the first to finalize, or mine, a new block; this also incentivizes miners having good-quality equipment and connection speeds, which in turn helps the network.
However, there exists the possibility for enough miners to band together—at least 51% of the network—and subvert control of the network to their own ends, rewriting the transaction history, stealing tokens, etc. In order to prevent this and other security problems, the mining is made intentionally difficult, that is, computationally complex (often called "expensive") in order to make it virtually impossible for any rogue actor(s) to carry out a so-called '51% attack'.
This design—made to keep the network safe—has side effects, in particular environmental and real-world economic ones; the economic model on the blockchain is also inefficient. The constant incentive to mine blocks faster means that miners have a real motivation to buy new computers, even specialized ones that do nothing other than mine on blockchains. And big, powerful computers use a lot of electricity, and generate a lot of heat. This environmentally-unfriendly, inefficient arms race is difficult to justify, on a number of points.
Enter **PoS consensus**: instead of miners, **validators** are the actors ensuring transaction validity and network integrity. In place of costly number-crunching as a security measure, each validator must have **_staked_** 32 ETH; that is, deposited it in a **_smart contract_**, a kind of computer program that lives on the Ethereum blockchain, with the promise that they will operate their validator according to the rules. If they act in bad faith, or try to subvert or attack the network, or just don't maintain enough connectivity, their staked currency will be **_slashed_**, or taken from them. If they do what they're supposed to do, maintain connectivity and confirm transactions, they will be rewarded with ETH, the same as miners. For more on PoS, see [here](https://ethereum.org/en/developers/docs/consensus-mechanisms/pos/).
### PoS vs. PoW: which does Ethereum use? {#pos-vs-pow-which-does-ethereum-use}
Ethereum currently uses PoS, which means the mainnet (i.e. the current single blockchain in use) relies on special nodes called validators to create and confirm the validity of blocks, and also to secure the ongoing integrity of the network. Ethereum switched from PoW to PoS on September 15, 2022, representing a 99% reduction in energy expenditure.
### What is gas, and why do I have to use it? {#what-is-gas-and-why-do-i-have-to-use-it}
_Gas_ is the unit of measure for how much computational work is required to process transactions and smart contracts on the Ethereum Virtual Machine (EVM). More complex smart contracts, and code, will require more gas to execute, in the same way that a bigger, more powerful car takes more gas to run.
Calculating gas used to be very complicated, but as of the implementation of Ethereum Improvement Protocol **(EIP) 1559** on August 4, 2021, it was greatly simplified. Essentially, you pay a **base fee** for every unit of gas, which is **_burned_**, or disappears, upon successful completion of the transaction. On top of the base fee, you add a **priority fee**, again per unit of gas, the value of which depends on how quickly you want the transaction to go through.
Here are some essential details for dealing with gas **in MetaMask:**
#### The gas limit {#the-gas-limit}
The _gas limit_ is the **maximum number of units of gas you are willing to pay for** in order to carry out a transaction or EVM operation. A standard transaction sending ETH normally costs **21,000 gas**.
#### The max priority fee {#the-max-priority-fee}
The _max priority fee_, also referred to as the "miner tip", goes to the miner or validator, and incentivizes them to prioritize your transaction. Most often, the value you put in for "max priority fee" will be the amount you pay.
#### The max fee {#the-max-fee}
The max fee is the total, global amount paid for your transaction. It is calculated as: (**base fee + priority fee) x units of gas used.** The difference between max fee per gas and base fee + max priority fee per gas is "refunded" to the user.
**Want to know more about gas? Start [here](/more-web3/learn/user-guide-gas).**
### Tokens {#tokens}
Aside from ether, the _native currency_ of the Ethereum network, there are two main types of tokens that get used on Ethereum: [ERC-20](https://eips.ethereum.org/EIPS/eip-20), which are "fungible" tokens and correspond to what people call "**cryptocurrencies**", and [ERC-721](https://eips.ethereum.org/EIPS/eip-721) and [ERC-1155](https://eips.ethereum.org/EIPS/eip-1155), the "non-fungible tokens", the origin of the acronym [NFT](https://ethereum.org/en/nft/#gatsby-focus-wrapper).
The difference between the two is, of course, highly technical, but it boils down to the difference in the name. ERC-20 tokens are designed specifically to be fully interchangeable and liquid, the way a traditional fiat currency is. Like a dollar, for example, every single ERC-20 token of the same type has the exact same value: this is what "fungible" means.
ERC-721 and ERC-1155 tokens, on the other hand, are specifically designed to be unique and non-replicable, but of course can be transferred between parties, [often for significant value](https://www.nytimes.com/2021/03/11/arts/design/nft-auction-christies-beeple.html). ERC-721 is the _OG_ NFT standard on Ethereum, and provides a blueprint for "minting" (creating) one-off, distinct NFTs. ERC-1155 came a little later, and standardizes a way for minting multiple NFTs (and indeed fungible tokens) simultaneously.
### How do I access Ethereum? {#how-do-i-access-ethereum}
Because a blockchain network is a separate network, different and distinct from traditional Internet connections, specific software is necessary to access the network and show the data being recorded on the blockchain. This is possible through an Ethereum **_client_**, which is standalone software, often command-line interface only, and is the tool of choice for many developers. Additionally, the Ethereum community has developed a number of resources that allow connections between the traditional Internet and the Ethereum network.
The backbone of these efforts has been [MetaMask](https://metamask.io/), a trailblazing browser plugin and mobile app that provides users with a custodial (user-controlled and owned) Ethereum wallet and access to **_dapps_**, or decentralized apps, that allow you to interact with the Ethereum blockchain.
### What is a block explorer? {#what-is-a-block-explorer}
When you want to go deeper and see details of individual transactions or take a bird's eye view of the Ethereum network, a block explorer is required. A block explorer is a website that provides an interface to navigate and examine the information contained on the network. Prominent examples include [Etherscan](https://etherscan.io/) and [Ethplorer](https://ethplorer.io/), and other networks related to Ethereum ("EVM-compatible") have their own variants.
### Ethereum Mainnet, testnets, sidechains and the rest {#ethereum-mainnet-testnets-sidechains-and-the-rest}
As you venture forth into the decentralized web, or **_web3_** as it's often called, you will learn that Ethereum is, in fact, not just one network. The Ethereum blockchain and the EVM live and operate on the _Ethereum Mainnet_, and there exist a number of [testnets](/more-web3/learn/eth-on-testnets) for Ethereum that are exactly what they sound like, sandboxed versions of the mainnet where ETH has no real value except to test out applications.
That's just the beginning, though; there are many Ethereum-compatible _sidechains_ that have been developed, offering users the option to carry out transactions on a separate blockchain, in that chain's native currency, in order to avoid the sometimes-costly EVM and Ethereum Mainnet transaction fees. Some of these chains are designed specifically for a use case, such as a video game or DeFi; others are general-purpose "scaling networks", called layer 2s or L2s, for the purpose of increasing the volume and capacity of Ethereum.
Users often end up with tokens and NFTs on these sidechains that they can bring back onto Ethereum Mainnet through [bridges](/more-web3/learn/field-guide-to-bridges); the NFTs can be kept, displayed, sold on marketplaces; the tokens can be swapped for others, redeemed for ETH, staked, borrowed, lent, used in other dapps, transferred to other sidechains and used in videogames, or [videogame-investment engine hybrids](https://aavegotchi.com/), or, well... the future is still being written.
---
# How to send or receive transactions with ENS in MetaMask
URL: https://support.metamask.io/more-web3/learn/sending-or-receiving-a-transaction-with-ens/
> Learn how to send or receive crypto using an ENS name in MetaMask. Step-by-step guide to connect, transact, and avoid address errors with .eth domains.
### So what is this ENS thing anyway?
The [Ethereum Name Service](https://ens.domains/) (or ENS) is, in [their words](https://docs.ens.domains/):
**"...a distributed, open, and extensible naming system based on the Ethereum blockchain. ENS's job is to map human-readable names like 'alice.eth' to machine-readable identifiers such as Ethereum addresses, other cryptocurrency addresses, content hashes, and metadata."**
In other words, the ENS seeks to be for the decentralized web what [DNS](https://www.cloudflare.com/learning/dns/what-is-dns/) is for the traditional internet (and hopefully, not too much like [what DNS has been for the traditional internet](https://www.cscdbs.com/blog/why-dns-is-the-biggest-single-point-of-failure/)): an infrastructure through which human-readable names can resolve to machine-readable addresses, including Ethereum addresses.
### So what can I do with it? {#so-what-can-i-do-with-it}
Well, instead of having to remember that crazy long cryptographic hash address, you can, for a modest fee, [reserve a human-readable .eth username](https://app.ens.domains/). (Or you can splurge a bit if you're looking for an exclusive three-letter address.) Next time you need someone to send you tokens, they can just type your .eth name into MetaMask, and your address should appear:
Keep in mind that, just like traditional Internet domain names, your .eth domain will have to be renewed periodically, otherwise it can be reserved by someone else. Additionally, just like traditional Internet domain names, .eth domains can be reserved, and then traded -- the only difference being that this is the decentralized web, and those .eth domains can be traded as NFTs directly from MetaMask (currently just Mobile) or on marketplaces such as [opensea.io](https://opensea.io/).
---
# What you need to know about tax compliance and crypto assets
URL: https://support.metamask.io/more-web3/learn/tax-compliance-and-crypto-assets/
> Understand high level crypto tax compliance for digital assets in MetaMask. Learn about taxable events, record-keeping, reporting requirements and why gains from crypto matter.
In many jurisdictions, transactions involving digital assets may be a taxable event. Taxation on digital assets is an evolving issue, and the rules vary depending on what jurisdiction you live in.
**Due to this, you should be aware that you may have tax obligations, and you should consult a tax professional about your particular situation.**
Given the pace at which this field is developing and the sheer number of different jurisdictions involved, we're unable to provide an exhaustive, accurate, and up-to-date register of tax rules here.
**Please consult guidance published by the relevant tax authority in your jurisdiction** to learn of any tax obligations that may apply to you.
## Crypto-asset tax tools {#crypto-asset-tax-tools}
There are many software tools available which are specifically designed to help you keep on top of your crypto-asset—related tax obligations, such as assisting with tax returns.
Many of these tools are paid. However, you can access discounts to these fees by accessing the platforms via MetaMask Portfolio's [Tokens](https://portfolio.metamask.io/explore/tokens) page — just look for the 'Partnered tax providers' section.
Please note that none of these products are directly affiliated with MetaMask.
## FAQs: {#faqs}
[How can I download my transaction data for manual reconciliation?](/configure/accounts/reconciling-and-keeping-track-of-your-accounts)
---
# Understanding the Ethereum address format and why it matters
URL: https://support.metamask.io/more-web3/learn/the-ethereum-address-format-and-why-it-matters-when-using-metamask/
> Learn how Ethereum and EVM-compatible addresses work (starting with “0x”), why using the right format matters in MetaMask, and how to avoid sending funds to the wrong network..
When you create a MetaMask account, or [add a new account](/configure/accounts/how-to-add-accounts-in-your-wallet) to your wallet, you're given a unique **public address** which you can find in the top-middle of your homepage.
On Ethereum and other networks compatible with the Ethereum Virtual Machine (EVM), **public addresses all share the same format: they begin with _0x_, and are followed by 40 alphanumeric characters** (numerals and letters), adding up to 42 characters in total. They're also _not_ case sensitive.
:::info[Solana and Bitcoin addresses]
Solana and Bitcoin addresses do not begin with a specific prefix like 0x.
:::
This address is a number, even though it also includes alphabetical characters. This is because the hexadecimal (base 16) system used to generate the address doesn't just use numerals, like our ten-digit decimal system. Instead, the hexadecimal system uses the numerals 0-9 _and_ the letters A-F. This means it has 16 characters at its disposal, hence the name base _16_. In computer science and many programming languages, the 0x prefix is used at the start of all hex numbers, as they are known, to differentiate them from decimal values.
## **How does this affect your daily use of MetaMask?** {#how-does-this-affect-your-daily-use-of-metamask}
### Interoperability: use the same address on different networks {#interoperability-use-the-same-address-on-different-networks}
As mentioned above, EVM-compatible networks all share the Ethereum address format. This is because they're generally 'hard forks', based heavily on Ethereum's design, or share key fundamentals. Not all are derived directly from Ethereum, though — many were developed separately and designed for compatibility. Reflecting much of the same architecture naturally lends itself to sharing address formats too.
Due to these shared characteristics, you can use MetaMask to [interact with other EVM-compatible networks](/more-web3/learn/user-guide-custom-networks-and-sidechains) **using the same address**.
Try it out: [add an EVM network](/configure/networks/how-to-add-a-custom-network-rpc) to MetaMask, or switch over from one you've already added. Notice how your account and its address stay the same. This means your MetaMask address on both Ethereum Mainnet and BSC, for example, is exactly the same.
However, the interplay of networks and tokens (particularly the question of [ERC-20 variants](/manage-crypto/tokens/user-guide-tokens) of native tokens) can be complex and is not without risk, so please **always do your research before sending a transaction**. A network's native tokens are unlikely to be interchangeable with the (ERC-20) version that you can send and receive on MetaMask, for example.
### Interacting with networks that have different address formats: be careful! {#interacting-with-networks-that-have-different-address-formats-be-careful}
:::warning
**Always do your research before sending tokens between networks to ensure they're going to the right address.**
:::
While MetaMask is a flexible passport to accessing multiple networks, there are **some cases where you need to exercise caution** when it comes to address formats:
Just because a network is EVM-compatible does not necessarily mean it uses a _0x_ address in all circumstances. You can find the address format for any network you've enabled in MetaMask by clicking on your account details in the homepage of your wallet once you've switched over to the network. [Copy your address easily](/configure/wallet/how-to-copy-your-metamask-account-public-address-) to avoid mistakes by clicking on the copy icon next to it.
---
# How third-party swap platforms work through MetaMask
URL: https://support.metamask.io/more-web3/learn/third-party-swaps-platforms/
> Learn how MetaMask integrates with third-party swap platforms and providers. Understand how to use them, review fees, and choose trusted services for token swaps.
While MetaMask has [its own built-in Swaps tool](/trade/swap/user-guide-swaps), there's a whole ecosystem out there of third-party token swapping platforms.
This article points out some frequent issues that users have when swapping tokens, and serves as a **non-definitive** directory to third-party swapping platforms.
:::note
MetaMask is **not** affiliated with any of these organizations.
:::
Keep in mind that some popular exchanges are not companies in the traditional sense, and may not offer official customer support. **Exercise extreme caution** if you are engaging with a product through a channel such as Discord or Twitter.
**Most importantly: never give anyone your [Secret Recovery Phrase](/start/user-guide-secret-recovery-phrase-password-and-private-keys).**
## Third-Party Swap Platforms {#third-party-swap-platforms}
- Uniswap
- Binance
- 1inch
- SushiSwap
- PancakeSwap
- Gate.io
- Crypto.com
- Kucoin
- Kraken
- Huobi
- Bybit
- Okex
- WhiteBit
- Bitpanda
- Hotbit
- Airswap
## DEXs vs CEXs {#dexs-vs-cexs}
Decentralized Exchanges, or DEXs, are closer to something like a public service than a business. The question of "how decentralized" they are is a subject of debate, but the core reality is: a DEX is an open software project, whose code lives "in the open" on the blockchain, and with which users can interact in a dependable way, based on how the protocol is programmed. Examples of DEXs include Uniswap, Quickswap and SushiSwap, amongst many, many others.
A Centralized Exchange, on the other hand, is something more akin to an investment bank. A CEX often serves as a "fiat onramp/offramp", integrating with a nationally-issued fiat currency, and allowing users to interact with cryptocurrencies in a more traditional, bank-like environment. CEXs often report users' account and balance information to tax authorities, whereas while interacting with a DEX, this may be left to the responsibility of the user; for more information on tax responsibility, [see here](/more-web3/learn/tax-compliance-and-crypto-assets).
## Price Impact {#price-impact}
Price impact is a phenomenon often experienced by users participating in DeFi. For more details, [see here](https://consensys.net/blog/metamask/price-impact-the-first-gotcha-of-defi-markets/).
## Impermanent Loss {#impermanent-loss}
Impermanent loss is another commonly-experienced phenomenon, especially when participating in liquidity pools. For an in-depth explanation, see [our article](https://consensys.net/blog/metamask/impermanent-loss-defi-markets-gotcha-number-two/) or watch this [Finematics video](https://finematics.com/impermanent-loss-explained/).
---
# User guide: EVM networks and sidechains
URL: https://support.metamask.io/more-web3/learn/user-guide-custom-networks-and-sidechains/
> Learn how to safely use custom EVM-compatible networks or sidechains in MetaMask. Best practices, security tips, and how to avoid sending assets incorrectly.
:::note
New to crypto and web3?
Head to [MetaMask Learn](https://learn.metamask.io/) for a straightforward learning experience designed specifically for newcomers to web3. It's completely free, available in multiple languages, and includes useful tools such as simulations to help you find your feet with MetaMask.
:::
As the Ethereum ecosystem grows, a very popular option for building new technologies is to build a **custom network**, or a **sidechain** — in other words, another blockchain or network that is compatible with Ethereum — and then allow users to transfer tokens, or value of some kind, between the networks.
As Ethereum [scales](https://ethereum.org/en/developers/docs/scaling/), sidechains will no doubt grow and evolve. MetaMask has been, and continues to be, a crucial linchpin allowing users to move seamlessly between networks.
That said, **there are some significant, and common, pitfalls when dealing with sidechains** that you **want to avoid**. **This article is written to be a non-definitive guide to best practices when dealing with EVM-compatible chains. We can't hope to capture all the nuances of dealing with every instance of every sidechain; the following are general guidelines.** Troubleshooting tips are further down.
## Best practices {#best-practices}
1. Do your due diligence
- **Not all networks are safe.** In order to offer e.g. cheaper and faster transactions, custom networks usually have different security and reliability guarantees than mainnet. Try to understand the risks before moving significant value to a custom network.
- **Make sure you trust the network provider.** A malicious network provider can lie about the state of the blockchain, withhold transactions, and record your network activity and IP address.
2. Ensure accurate and correct custom network information
- **Find the network on [https://chainid.network/](https://chainid.network/) to add it to MetaMask automatically.** You can also add custom networks to MetaMask manually using a few other methods: see our instructions [here.](/configure/networks/how-to-add-a-custom-network-rpc)
- **Always verify custom network information.** When a website asks you to add a custom network, how do you know that you can trust the information? We have some recommendations in our [verification guide](/configure/networks/verifying-custom-network-information).
3. Always use established bridges or portals to move tokens between networks
- **MetaMask cannot track transactions between networks.** You are responsible for understanding how any cross-network transactions or deposits work. Make sure you trust the network operator and any Ethereum address you send funds to.
4. NEVER send tokens directly from one network to another
- If you attempt to send cryptoassets directly from one network or chain to another, this will most likely result in **permanent and irreversible asset loss**
- **Although a custom network may be Ethereum-compatible, they are not the same as the Ethereum Mainnet.** You may have the same Ethereum addresses on all networks, but your assets and transactions are specific to each network, unless the custom network provider allows you to move funds in to and out of it.
- **This means you probably have to use a bridge to move assets from one chain or another**. Read more about [bridges](/more-web3/learn/field-guide-to-bridges) here.
5. Be aware of the limitations of technical support
MetaMask is a powerful tool that is open to the world to build upon. That means that many other networks and dapps have, and will, use MetaMask as the link between their dapp and you, the user. That does not mean that MetaMask offers technical support for all of those products and protocols. If you are interacting with a non-Consensys, non-MetaMask third party, seek technical assistance from them first.
Additionally, some popular decentralized exchanges and dapps are, as mentioned, _protocols_ — that is, they are smart contracts, software programs that live on the Ethereum blockchain and do not have any centralized authority who _runs_ them the way a traditional website or service is run. They are purely peer-to-peer interaction. **This means they may not offer technical support** beyond a users' forum, Slack, or Discord channel.
6. Understand how gas works on different networks
When using or interacting with a sidechain or non-Ethereum Mainnet network, please keep in mind that **transaction fees are always paid in the native token currency of the network**, for example:
- You need BNB to pay gas fees on Binance
- You need POL on Polygon (previously MATIC)
Make sure you have enough native tokens if you planning to perform send or swap transactions.
## FAQs {#faqs}
:::info[Network switching]
MetaMask is in the process of improving the networking switching experience. As of v12.0, you will no longer have to manually switch between networks while connected to multiple dapps at the same time. This feature is currently available in Extension only.
:::
[Bridging assets to Arbitrum using MetaMask](https://consensys.net/blog/metamask/how-to-bridge-your-assets-to-arbitrum-using-metamask/)
[How to use the Optimism Bridge](https://consensys.net/blog/metamask/how-to-bridge-tokens-from-ethereum-to-optimism-with-metamask/)
[Sending assets to Binance (BNB Smart Chain)](/trade/swap)
[How to send tokens from BSC to Ethereum or other chains](/trade/swap)
[Does MetaMask support Polkadot?](/more-web3/learn/does-metamask-support-polkadot)
## Troubleshooting {#troubleshooting}
I can't see my tokens on [name of network].
- Are you connected to the correct network in MetaMask? If you don't see the one you need, add it using these [one of these methods](/configure/networks/how-to-add-a-custom-network-rpc).
- Did you transfer the tokens correctly? (See points 2 and 3 above)
- Have you [added the token](/manage-crypto/tokens/how-to-display-tokens-in-metamask) to MetaMask?
How do I get ETH on mainnet?
See [here](/manage-crypto/move-crypto/buy/how-to-buy-crypto-in-metamask).
How do I get [custom network token] on [mainnet or custom network]? How do I move them between chains?
- This is a big topic, with lots of nuances. Certain sidechain tokens, such as POL (previously MATIC) (Polygon PoS), can be purchased on Ethereum Mainnet through MetaMask Swaps.
- Keep in mind that regardless of where you buy a token, **you may still have to move the tokens through a bridge or portal to move them between mainnet and the sidechain.**
I'm getting the "Internal JSON-RPC error". What do I do?
See [here](/configure/troubleshooting/user-guide-errors).
---
# How gas fees, limits, and network fees work
URL: https://support.metamask.io/more-web3/learn/user-guide-gas/
> Dive into how gas fees work on MetaMask—from base fee and priority fee to gas limits and token payments. Learn to optimize transactions safely.
:::note
New to crypto and web3?
Head to [MetaMask Learn](https://learn.metamask.io/) for a straightforward learning experience designed specifically for newcomers to web3. It's completely free, available in multiple languages, and includes useful tools such as simulations to help you find your feet with MetaMask.
:::
Gas (or network fees) is the unit of measurement for how much computational work is required to process transactions and smart contracts. Essentially a transaction fee, the term originates from Ethereum, in which context it refers to computation undertaken on the Ethereum Virtual Machine (EVM). Since Ethereum was founded, numerous EVM-compatible (and non-EVM-compatible!) networks have emerged and adopted similar models.
:::info[Other networks]
Other networks like Solana and Bitcoin also have network fees, though they may be calculated differently. Luckily, MetaMask automatically calculates the network fee for you when you confirm a transaction, taking the guesswork out of it.
:::
The term is analogous to the gas that powers a car engine: it's the fluctuating, occasionally expensive cost of operation. More complex smart contracts require more gas to power their computation, just as a bigger, more powerful car takes more gas to run.
The method for calculating gas fees varies depending on the network. For example, on Ethereum Mainnet, you pay a **base fee** for every unit of gas, which is **_burned_** (read: it is deleted, and disappears) upon successful completion of the transaction. On top of the base fee, you add a **priority fee**, again per unit of gas, the value of which depends on how quickly you want the transaction to go through.
Across the broad range of EVM-compatible networks available, gas, or similarly-functioning alternatives, have essentially become the standard method of calculating transaction costs. **Fees are paid in the network's native token**: for example, any transaction on Ethereum requires ETH; using BSC requires BNB; using Polygon requires POL (previously MATIC). Some networks have adopted Ethereum's EIP-1559 model wholesale, such as Polygon, while others have made adjustments, including Avalanche, for their C-Chain (which [burns both the base fee and priority fee](https://docs.avax.network/learn/platform-overview/transaction-fees/#c-chain-fees), rather than just the former).
:::info[Gas included transactions]
On Ethereum Mainnet, BNB Smart Chain, Polygon, Arbitrum, and Base, MetaMask allows you to pay the network fee using different tokens. This means you do not need to have enough of the network's native token to cover the network fee, but can do so using other tokens.
On the backend, MetaMask will swap your selected token for the network's native token, and then use that to pay the network fee. MetaMask uses the simplest, cheapest method to do this.
On the frontend, you won't need to worry about swapping a token for the network's native token, because MetaMask will do it for you. Simply select the token you want to use to pay the network fee, and MetaMask will handle the rest.
For more information, see [here](/manage-crypto/transactions/metamask-gas-station).
:::
If you want to read a more in-depth look at how gas works on Ethereum, see [here](https://ethereum.org/en/developers/docs/gas/).
:::tip
In MetaMask, you'll see 'Network fee' in the transaction confirmation screen. This is the gas fee.
:::
Here are some **details for dealing with gas**:
## The gas limit (units of gas used) {#the-gas-limit-units-of-gas-used}
The _gas limit_ is the **maximum number of units of gas you are willing to pay for** in order to carry out a transaction or EVM operation. Different operations demand different quantities of gas units. A normal transaction sending ETH or a token normally costs **21,000** gas, whereas an ERC-20 token approval requires 45,000. Many networks, such as EVM-compatible blockchain Harmony, use an identical model in which standard transactions also cost 21,000 gas.
:::info
Do I need to edit gas limit?
No! MetaMask automatically sets your gas limit depending on the transaction you're trying to execute. In the vast majority of cases, this will be adequate to complete your transaction. If you want to check or edit it, make sure you have [advanced gas controls](/configure/transactions/how-to-customize-gas-settings) turned on and hit the button next to the gas information on the transaction confirmation screen that reads 'Market', 'Low', or 'Aggressive'.
:::
## The base fee {#the-base-fee}
Every block on the Ethereum network has a base fee determined by network demand: the base fee is based on the block size of the block before it, compared against a target block size (where size refers to the total amount of gas used for all the transactions the block includes). If the size of the previous block exceeds the target, the base fee for the next block increases by 12.5%, leaving you, the user (or your wallet), with absolute certainty as to the base fee of the upcoming block. Your total gas fee must meet this price as a minimum in order to be considered for inclusion in the block.
## The priority fee {#the-priority-fee}
The _priority fee_, also referred to as the "miner tip", incentivizes the miner to prioritize your transaction.
Naturally, whether this does actually go to a miner depends on the [consensus mechanism](/more-web3/learn/learn-the-basics-of-blockchains-and-ethereum-miners-and-validators-gas-cryptocurrencies-and-nfts-block-explorer-networks-etc) they use: Ethereum Mainnet became a Proof of Stake network following the Merge in September 2022, so the priority fee goes to validators instead of miners.
## The max fee {#the-max-fee}
The max fee is the total, global amount paid for your transaction. It is calculated as: (base fee + priority fee) x units of gas used. MetaMask initially sets this amount based on the previous block's history. However, users can edit this amount through custom settings (see below). The difference between max fee per gas and (base fee + max priority fee per gas) is “refunded” to the user.
## Additional Concepts {#additional-concepts}
### Gwei {#gwei}
Gwei is a unit of ether, the smallest denomination, which stands for [gigawei](https://ethereum.org/en/glossary/#gwei) (or 1,000,000,000). [Gwei](https://www.investopedia.com/terms/g/gwei-ethereum.asp) is used for gas fees, or rather payments made by users to compensate for the computing energy required to process and validate transactions on the Ethereum blockchain.
Other networks also tend to calculate costs using gwei — for example, Fantom, Harmony and Avalanche.
### Slippage {#slippage}
Slippage is the expected percentage difference between a quoted and an executed price.
### Gas fee {#gas-fee}
Gas _fee_ refers to the transaction fee on the Ethereum blockchain. It is what users pay to get their transaction validated, or completed.
### Base fee {#base-fee}
Generated by the protocol. Represents the minimum 'gasUsed' multiplier required for a transaction to be included in a block (i.e. for a transaction to be completed). This is the part of the transaction fee that is burnt.
## Advanced gas controls {#advanced-gas-controls}
If you want to get into the nitty-gritty of your gas controls (this can be helpful if you're testing a dapp, for example), MetaMask can do that! See the full article [here](/configure/transactions/how-to-customize-gas-settings).
## Out of gas errors {#out-of-gas-errors}
A problem you may encounter is a transaction failing with an **"out of gas"** error like in the screenshot below.
This means that all the gas units up to the limit you set were used up before the transaction could be fully processed.
To avoid another "out of gas" error, you will need to increase the gas limit of your next transaction. This can be done just before sending your next transaction by [customizing gas settings](/configure/transactions/how-to-customize-gas-settings).
### MetaMask gas limit recommendations
The vast majority of the time, the gas limit that MetaMask automatically sets for your transaction will be sufficient.
Selecting a gas limit is mostly a personal preference, but it may be helpful to review recent successful transactions of the executing smart contract to understand what is a sufficient gas limit for your transaction.
Recommended steps:
1. While reviewing your transaction with the "out of gas" error on Etherscan, click the link to the Contract address in the "To:" section directly above the out of gas error
2. Scroll down to the list of Transactions and click on the Txn Hash of any completed transaction (non-pending)
3. Ensure that the transaction shows Status as **Success**. If not, go back and choose another transaction.
4. Click on **Click to show more**
5. Make a note of the **Gas Limit** that was chosen for the transaction
6. _Optional:_ repeat steps 1-4 to better estimate a gas limit that will be sufficient for your transaction
7. Once you have a good idea of a value for your gas limit, make sure to [adjust the gas limit](/configure/transactions/how-to-customize-gas-settings) when sending out your next transaction.
---
# Understand what metatransactions are in MetaMask
URL: https://support.metamask.io/more-web3/learn/what-are-metatransactions-/
> Learn what meta-transactions are, how they let someone else cover gas fees for you, and how they improve dapp usability while keeping your wallet secure.
## What is a metatransaction? {#what-is-a-metatransaction}
Metatransaction is a term that, simply put, describes a transaction that you instruct a third party to complete on your behalf.
### On-chain transactions {#on-chain-transactions}
Before we describe what metatransactions are and how they work, it's necessary to recap what we mean by **signing a transaction**.
When you interact with Ethereum Mainnet and similarly designed networks, most of your activity will be determined by simple transactions. At a basic level, if you want to send funds to another address, you need to _sign_ a transaction **on-chain**. Signing a transaction means that:
1. **You are the legitimate originator of the transaction**, i.e. _verification._
2. **You irreversibly consent to a given amount of an asset being transferred to another address** — referred to academically as _non-repudiation._
3. **The data in the transaction cannot be modified after you've signed**, i.e. _integrity._
Metatransactions — essentially just signed messages — share these same characteristics. However, they differ from standard transactions in the extent to which they are processed on-chain. A regular transaction — such as moving funds from one address to another — is computed and recorded on the blockchain.
### Metatransactions: _off_-chain {#metatransactions-off-chain}
Metatransactions, by contrast, conduct one or more steps of the transaction **off-chain**. This is where they get their name: as a prefix, _meta_ generally refers to something being beyond, behind, or after something else.
Why is this significant? Well, conducting activities off-chain comes with benefits. Mainly: **it's cheaper**, at least for the person initiating the transaction, the user. This is because the user doesn't have to shell out gas fees to pay for their transaction to be processed.
Instead, what generally happens is that the transaction is paid for by a **relayer** — a **third party that receives the signed message from the user and then passes it onwards to the network, paying the necessary gas fees.**
Note how we say **message**, and _not_ transaction. When you transact via a relayer, you're sending the relayer a signed message, and nothing more — it's only when the relayer then submits your instructions to the network with gas that we can truly refer to a transaction.
:::info
#### Where do relayers get the funds from to pay for gas? {#where-do-relayers-get-the-funds-from-to-pay-for-gas}
Relayers typically get their funding from the developers or originators of a dapp using their services. More complex funding models are possible — such as issuing your own token to be used as a kind of 'voucher' to be used specifically for paying gas — but generally, this is how it works.
This isn't such a radical model. Think of the infrastructure of web2: the vast farms of servers that process and store the enormous volumes of data the internet generates every day. Web2 platforms don't usually charge you for using the platform. In other words, the infrastructure costs are not paid by the user. Instead, the site itself takes the hit, and seeks to offset this through other revenue streams, such as advertising or paid premium versions.
:::
### What does a relayer do? {#what-does-a-relayer-do}
Relayers take the details of your signed transaction — the token you want to send, how much of it, and to whom — and incorporate it into another transaction, which they then submit to the network to be computed.
The metatransaction you sign, therefore, isn't a _complete_ transaction, in that it doesn't contain all the usual components necessary to process it on-chain. Most notably, it's missing gas. The transaction that the relayer puts together, however, is complete with gas, and will be processed by validators.
## What do metatransactions look like in MetaMask? {#what-do-metatransactions-look-like-in-metamask}
For you, the user, sending a metatransaction will be similar to sending any other. You still sign a transaction that specifies a value, a token, and a recipient address. The difference is that the recipient address is a relayer, rather than the actual end recipient of the funds. **This means that, in practice, you don't really have to do anything differently**.
The main giveaway of a metatransaction is that it will cost you nothing. You'll just be prompted to 'sign':
## What is EIP-712? {#what-is-eip-712}
While not absolutely necessary for understanding metatransactions, a brief look at [EIP-712](https://eips.ethereum.org/EIPS/eip-712) can help explain some of their underpinnings.
In brief, this EIP (Ethereum Improvement Proposal) makes it possible for wallets to show users readable text relating to the message they're signing, and allow them to sign it. This means that, when you're prompted with a metatransaction to sign in MetaMask, you can be shown human-readable information, rather than a long hexadecimal number of hashed (encrypted) information that's impossible to understand.
### Why does it matter? {#why-does-it-matter}
EIP-712 doesn't enable metatransactions, but it makes them much more transparent to the user, and this, in turn, has real benefits for user security.
Previously, our inability to parse the encrypted hexadecimal string would mean we have to **trust** that the message contains the correct data. This makes us vulnerable to scammers: imagine if you visit a fraudulent dapp and it prompts you to sign a metatransaction. Since you're unable to decipher the hashed, hexademical string, you have no idea whether you're giving you're approving something reasonable or signing a message that gives a scammer a green light to drain your wallet.
Instead, when the data is converted into a human-readable form — i.e. words — the user can check and confirm the message is what they intended, because it will detail things like:
- Who or what the recipient is, identifiable by their public address
- If a token is to be transferred, swapped, bought or sold: details of the quantity and token type
- Any other message details relevant to the transaction.
## Are there any security implications of metatransactions? {#are-there-any-security-implications-of-metatransactions}
It's a good habit to maintain scepticism towards any message or approval you're signing with your wallet. However, **metatransactions don't have anything fundamentally insecure or unsafe about them**.
That being said, they can be used by scammers. As with everything Ethereum (and blockchain in general), part of the trade-off of using a decentralized public network is that malicious actors can also get involved.
Whenever you're signing a metatransaction, consider the following:
- **Am I on the right website?** Double-check the domain name. If the transaction isn't being proposed by the correct dapp, it could lead to funds loss and/or a compromised wallet.
- **Does the transaction data look correct?** Check the address the signed message lists. Is it the address of the correct smart contract? Does the message detail the correct token and the correct quantity of that token?
---
# What is a token contract address?
URL: https://support.metamask.io/more-web3/learn/what-is-a-token-contract-address/
> Discover what a token contract address is, why it’s essential for wallets like MetaMask, and how to verify it safely before adding or transacting.
If you've tried adding a new token to your wallet, one thing you will have noticed is the field asking for a **Token Contract Address**. This refers to the address location of the actual token contract that manages the logic for the tokens. **It does not refer to the address that holds your own personal tokens!**
The contract address is necessary for MetaMask to know exactly which token you're referring to. The address itself is the location of a smart contract which manages the balances of all token holders, amongst other things, such as the total supply and its basic features (name, decimals, etc.). For more information on token standards, see our [tokens user guide](/manage-crypto/tokens/user-guide-tokens).
**To learn how to find a token's contract address, see our article [here](/manage-crypto/tokens/how-to-find-a-token-contract-address)**.
See also: [How to display tokens in MetaMask](/manage-crypto/tokens/how-to-display-tokens-in-metamask)
---
# What is Infura, and why does MetaMask use it?
URL: https://support.metamask.io/more-web3/learn/what-is-infura-and-why-does-metamask-use-it/
> Discover how Infura powers MetaMask by providing reliable blockchain connectivity, why it’s used by default, and how you can switch RPC providers for privacy and control.
## What is Infura? {#what-is-infura}
[Infura](https://infura.io/) is the service provider that MetaMask uses to get information on and off blockchains.
### How does it work? {#how-does-it-work}
Ethereum and other blockchains use a different combination of protocols and technology than your traditional Internet network. Yes, it still uses the same physical conduits as traditional Internet, but in terms of the software, it's a separate network; there's no URL you can go to that "gets you onto Ethereum" in the way we're used to.
To access these networks natively and see the data being passed across them, you would have to install what's known as a _client_. This is generally a fairly small program that runs as a command-line interface. In other words: no graphics, just text.
That's not very useful for a lot of people, and it's certainly not as fun as a rich Web-like experience. And besides that, sometimes for development purposes, it's much more useful to be able to build a program in a different environment that then communicates with the blockchain "remotely", without running a client at the same time.
So most public blockchain networks, Ethereum included, build what's called an API. If you're not familiar with the technology, think of it as a kind of menu: programmers can ask the blockchain for certain data or record data to the blockchain, using specifically-formulated requests. And if the information they're looking to request or record isn't on the menu, well, they can [make a proposal to the community to change the menu](https://eips.ethereum.org/).
### OK, but what's Infura's part in all that? {#ok-but-whats-infuras-part-in-all-that}
Infura provides what are called _endpoints_ to Ethereum's API. If we're thinking in terms of a menu at a restaurant, then Infura is like a server, or a cashier: the person who takes your order and rings you up. Infura provides an endpoint that your code can 'point to', so that your requests to receive or record information can always get to the network. And, of course, they return to you the information you've requested.
Like a restaurant, Infura does charge for this service, but only after you've made a _lot_ of requests in one month. For developers who are just testing something out, it's free to start and easy to set up an account.
### Why does MetaMask use Infura? {#why-does-metamask-use-infura}
MetaMask has always used Infura as an endpoint provider due to their second-to-none reliability and availability.
As blockchain traffic scales, MetaMask users need to be able to submit requests to the blockchain, no matter where they are, what they're asking to do on-chain, and how many people are doing it at once. There are, of course, limiting factors to this: the more on-chain activity there is, the more congested the network is, and gas fees will be affected, and at the end of the day, only so many transactions can go into each block. But at no point should your endpoint provider be the bottleneck in that scenario. That's when Infura's capacity for traffic shines, no matter which NFT is dropping.
More recently, Infura and MetaMask have both become part of Consensys Software, which is enabling the teams to work together more tightly and ensure this kind of quality experience continues.
Additionally, Infura offers endpoints for more blockchains than just Ethereum, and as we move into a world of many blockchains, this kind of reliable support for multiple chains will be essential.
### Do I have to use Infura? {#do-i-have-to-use-infura}
No! MetaMask always has been and always will be a tool that empowers its users, and users can change the RPC (the protocol that most blockchain APIs use) endpoint.
If you had an alternative Ethereum endpoint—for example, if you're running a local node—you could add that provider to your MetaMask under the name "Private Ethereum endpoint" by following [these steps](/configure/networks/how-to-add-a-custom-network-rpc).
---
# What role does staking play on Ethereum?
URL: https://support.metamask.io/more-web3/learn/what-role-does-staking-play-on-ethereum/
> Learn how staking supports Ethereum's security, governance, and rewards ecosystem. Discover why staking matters for ETH holders and how it powers web3.
:::info[Am I in the right place?]
This article describes the role that staking plays in web3 and on Ethereum. If you're looking for documentation about [MetaMask Staking](https://portfolio.metamask.io/stake), head to [this section](/trade/earn/stake/).
:::
One of the most common actions that you will come across as a user of web3 technologies is an action referred to as _staking_.
It's helpful to think of staking as similar to putting your tokens in a savings account, or as depositing them with a third party. On a technical level, when you stake a cryptoasset you are generally committing that asset to be controlled by a smart contract, in exchange for something, usually an alternative token of some kind.
Staking is used in a very wide variety of contexts. Let's take a look at some of the most common.
### Staking and Liquidity Pools (DeFi, gaming) {#staking-and-liquidity-pools-defi-gaming}
One of the great innovations of Decentralized Finance, or DeFi, has been the [liquidity pool](https://consensys.net/blog/metamask/impermanent-loss-defi-markets-gotcha-number-two/). In order to exchange one token for another without relying on a trusted intermediary such as a centralized exchange, users _deposit_ matching amounts of two different tokens—say, ETH and DAI—into a pool controlled by a smart contract; other users can then use that pool of tokens (hence, a _liquidity pool_) to trade ETH for DAI, or vice versa. Those who deposited tokens into the pool earn a percentage of a transaction fee for the use of their tokens.
In a way, this is a kind of staking, but it's not usually called that; it's usually called depositing. Staking often occurs at the next level:
Once a user deposits tokens into the liquidity pool, they usually receive something in return, like a receipt of their deposit. Many times it's an NFT, representing their specific token amounts and the value of the same; it can also be what's called [liquidity pool tokens](/more-web3/learn/how-to-use-liquidity-pool-lp-tokens), or LPTs.
On many DeFi platforms, these LPTs can be _staked_, or again deposited, into a contract that then gives the users rewards in the "native token" of the platform. **This model is often referred to as "farming", as you are 'reaping' the benefits of your staked token**.
Another model of staking used on such platforms is that, once you have those "platform-native" tokens, you can stake _those_, and earn _governance_ tokens, allowing you to participate in votes regarding the direction of the platform.
### Staking ETH in a validator node {#staking-eth-in-a-validator-node}
In order to effectuate the switch from Proof of Work to Proof of Stake on Ethereum, the Ethereum network has devised a structure that uses staking to help ensure the security of the network. Maintaining consensus regarding the state of a blockchain network is a complex technical topic that is [described more elsewhere](/more-web3/learn/learn-the-basics-of-blockchains-and-ethereum-miners-and-validators-gas-cryptocurrencies-and-nfts-block-explorer-networks-etc). For the present purposes, think of it like this:
The network is made up of lots of _validators_, which are programs that sync data about what transactions are coming in, and validate them, or refuse them if they're not acceptable. In order to have a validator live on the network, a user has to initiate the validator with an account address that corresponds to an address that has [staked 32 ETH into a smart contract run by the Ethereum network](https://ethereum.org/en/staking/).
If that user's validator functions as intended, in other words, is on and is connected to the network, validates blocks correctly, then they are rewarded with fractions of ETH. This follows the pattern we saw in the DeFi examples above.
If, on the other hand, the user's validator does not function as intended, some or all of the ETH that is staked can be _slashed_ — i.e. taken from them. This can happen if, for example, the validator tries to validate transactions it shouldn't and maliciously move funds, or, more innocently, if it doesn't meet minimum uptime requirements.
Given the value of ETH, running a validator node is no small investment. It is this financial incentive, along with the multifaceted additional security measures, which help ensure the security of the Ethereum network under Proof of Stake.
Until an upgrade in 2023 when withdrawals will be enabled, all ETH staked in validator nodes continues to earn rewards as designed, but is 'locked'; the users who have deposited that ETH cannot remove it.
---
# Wallet vs. account vs. address: What's the difference in MetaMask?
URL: https://support.metamask.io/more-web3/learn/whats-the-difference-between-a-wallet-and-an-account-/
> Understand the difference between a MetaMask wallet (software tool), an account (cluster of multichain addresses), and an address (public-private key pair per network).
:::info[wallet -> account -> address]
- A **wallet** is a container for your accounts and assets, derived from a source of keys like your SRP.
- An **account** is a collection of addresses from different networks within a wallet.
- An **address** is the public identifier you use to send and receive tokens on a specific network.
:::
## What is a client? {#what-is-a-client}
A client is a piece of software that allows you to manage your wallets or SRPs. It runs on your computer or mobile device and allows you to interact with the blockchain.
**MetaMask is a client.** Think of it as a tool for proving your identity in web3. It is a way of signing transactions and messages to demonstrate that you are the holder of your wallet(s).
## What is a wallet? {#what-is-a-wallet}
A wallet, in MetaMask, is a cluster of accounts governed by a source of keys: an **SRP**, an **imported private key**, or a **snap**. If you have [multiple SRPs in your MetaMask](/more-web3/wallets/how-to-use-multiple-metamask-wallets), you have multiple wallets.
1 SRP = 1 wallet.
## What is an account? {#what-is-an-account}
An account is where you manage assets across different networks. **Accounts in MetaMask are multichain by default, meaning they hold multiple addresses from chains like Ethereum and Solana.** Learn more about multichain accounts [here](/configure/accounts/multichain-accounts).
## What is an address? {#what-is-an-address}
An address is a unique identifier on a network, derived from a public-private key pair. Your "address" is the **public** side of your key pair. Ethereum addresses all begin with `0x`.
---
# Why does MetaMask ask me to 'Sign in with Ethereum'?
URL: https://support.metamask.io/more-web3/learn/why-am-i-being-asked-to-sign-in-sign-in-with-ethereum/
> Learn why MetaMask requests a signature to connect with a dapp using Sign-In With Ethereum (SIWE), what permissions it grants, and how to authenticate safely.
MetaMask is compatible with Sign In With Ethereum (SIWE), a web3-native method of managing your digital identity.
### What does Sign In With Ethereum mean? {#what-does-sign-in-with-ethereum-mean}
Conventionally, online identity is proven through intermediaries—identity providers—or by providing your email. Identity providers such as Apple, Facebook, or Google hold sufficient personal information to be able to prove, theoretically, that it's _you_ who is interacting with a product or service online. This is why you often have the option to create accounts and log into websites using their identity services (single sign-on/SSO services).
This model relies on intermediaries holding your personal data and information — mainly your email and name. With SIWE, you can use your Ethereum address to sign into a compatible dapp instead, allowing greater privacy, with no requirement to hand over personal information simply to interact with the web.
Rather than placing data in the **_custody_** of intermediaries, the sign-in process is **self-custodial**.
If you're interested in learning more about the technical details of SIWE, check out [EIP-4361](https://eips.ethereum.org/EIPS/eip-4361), the Ethereum Improvement Proposal that describes it. This [explanation of its significance](https://blog.spruceid.com/sign-in-with-ethereum-is-a-game-changer-part-1/) from [Spruce](https://spruceid.com/), a team leading its development, is also very useful.
### How does it look in MetaMask? {#how-does-it-look-in-metamask}
SIWE is a feature that developers can choose to make available to users of their dapps. Accordingly, you won't find it on every dapp you visit, but only on those where it's implemented.
Signing in with SIWE looks similar in MetaMask to many other signature requests:
What does this mean? Well, you're essentially just signing a transaction to demonstrate your identity. Nothing more, nothing less. Using your private key to sign a transaction proves that you're the account holder, and have the authority to use that account on the dapp.
---
# Why are my gas fees so high?
URL: https://support.metamask.io/more-web3/learn/why-are-my-gas-fees-so-high/
> Discover why your MetaMask gas fees can spike due to network congestion, smart contract complexity, and demand. Learn how to save on transaction costs and optimize timing.
The Ethereum network requires [gas](/more-web3/learn/user-guide-gas) to execute transactions. When you send tokens, interact with a contract, send ETH, or do anything else on the blockchain, you must pay for that computation. That payment is calculated in gas, and gas is always paid in ETH. _(Other networks that use gas, or have a similar model, usually pay gas in their native token: e.g. BNB, POL (previously MATIC), etc.)_
### Okay, yes, I get that, but why are they so high? {#okay-yes-i-get-that-but-why-are-they-so-high}
The price of gas is dynamic and is essentially a product of demand: the more people that are trying to get their transactions processed by the network, the higher it will be. Each additional person can—if they have the means—increase their priority fee to raise the chances that their transaction will get processed sooner.
In addition to being under the sway of demand, **one of the reasons Ethereum can be costly to transact on is because of its security**. In a way, security is the feature for which you're paying a premium. Ethereum's high level of security is a product of its age (it has weathered a lot more challenges and attacks than most blockchains) and its distributed, decentralized nature. Ethereum is, as a rule, far more decentralized than many other blockchains, and although many alternatives have much cheaper transactions, they are likely to have compromised on the'security' element of the [blockchain trilemma](https://coinmarketcap.com/alexandria/glossary/blockchain-trilemma) (although many claim to have solved this challenge).
Some other contributors to the price of Ethereum's gas fees include:
- The **popularity of NFTs on Ethereum**. Many spikes in gas prices can be attributed to highly anticipated NFT drops.
- Ethereum is **the home of DeFi** (decentralized finance). Many of the largest, most established dapps were built on Ethereum, and continue to be the biggest players in DeFi. This [DeFiLlama chart](https://defillama.com/chains), comparing TVL (total value locked) in DeFi across major networks, shows Ethereum comprises ~58% of the DeFi market at the time of writing. All the transactions that accompany this popularity naturally raise computational demands on the network.
### Is there anything I can do about it? {#is-there-anything-i-can-do-about-it}
You are paying for the computation of your transaction, regardless of whether it succeeds or fails. Even if it fails, the validators must confirm and execute your transaction, which takes computational power. You must pay for that computation, just like you would pay for a successful transaction. This means **there's no way around paying gas fees** if you want to use a network.
However, if you have a bit of time and flexibility, you may be able to reduce costs:
- You can try to **lower gas fees in your [transaction settings](/configure/transactions/how-to-customize-gas-settings)**. Please keep in mind that overriding MetaMask's suggested gas settings with a much lower total will result in your transaction being processed very slowly, and could even result in you wasting your money if it becomes'stale' and isn't picked up at all.
- **Develop an understanding of peak times**. Although crypto is global, peaks will typically be during the waking hours of the North American continent (between UTC-5 and UTC-8), which you could plan to avoid.
- **Investigate alternative networks**. You can use MetaMask to take advantage of the multi-chain web3 that is emerging. Whether you stay directly within Ethereum's orbit on [layer 2s](/more-web3/learn/user-guide-custom-networks-and-sidechains), or emigrate to one of many EVM-compatible chains, there are cheaper alternatives (though you will have to [bridge](/more-web3/learn/field-guide-to-bridges) tokens to them first).
For current network gas conditions, see [https://etherscan.io/gastracker](https://etherscan.io/gastracker).
:::info
#### Gas on networks other than Ethereum Mainnet {#gas-on-networks-other-than-ethereum-mainnet}
Most EVM-compatible networks—those that you can use with MetaMask—have similar gas mechanisms to Ethereum, so the principles on this page apply more broadly. However, since other chains do not necessarily have ETH as their **native token**, you need to pay for gas in different ways. Gas on Polygon, for example, is paid in POL, the network's native token, and BNB Chain fees are paid in BNB.
:::
---
# Why did I pay gas fees for a failed transaction?
URL: https://support.metamask.io/more-web3/learn/why-did-i-pay-gas-fees-for-a-failed-transaction/
> Learn why you still pay gas fees for failed MetaMask transactions. Understand how blockchain computation works and how to avoid failures in the future.
**Gas paid is not a fee that MetaMask receives so we cannot refund it.** This fee is paid to validators for finalizing transactions, validating them into blocks, and securing the blockchain.
The Ethereum network [requires gas](/more-web3/learn/user-guide-gas) to execute transactions. When you send tokens, interact with a contract, or do anything else on the blockchain, you must pay for that computation. That payment is calculated in gas, and gas is always paid in ETH.
You are paying for the computation, regardless of whether your transaction succeeds or fails. Even if it fails, validators must verify and execute your transaction, which takes computational power. You must pay for that computation, just like you would pay for a successful transaction.
There are a few other error examples that you could encounter during the transaction failure:
- A **Dropped and Replaced** transaction, which means the transaction was dropped and replaced by a new one. Please see more information about a dropped and replaced transaction here: [https://info.etherscan.com/transaction-dropped-replaced/](https://info.etherscan.com/transaction-dropped-replaced/)
- **Out of gas** is an error that occurs when the gas limit was set too low. Please read the below article for a better understanding of the gas limit: [https://ethereum.org/en/developers/docs/gas/](https://ethereum.org/en/developers/docs/gas/). You can retry the transaction, but this time please use [advanced gas controls](/configure/transactions/how-to-customize-gas-settings) to set the gas limit to a higher value. You can also refer to [this article](/more-web3/learn/user-guide-gas#out-of-gas-errors) to learn more about this error and how to fix it.
---
# User guide: hardware wallets
URL: https://support.metamask.io/more-web3/wallets/hardware-wallet-hub/
> Learn about hardware wallets like Ledger, Trezor, Keystone and how to connect them to MetaMask.
MetaMask supports a wide range of hardware wallets, including direct connection wallets and air-gapped wallets.
**Direct connection wallets:**
- Ledger
- Trezor
- Lattice
**Air-gapped wallets:**
- AirGap Vault
- Arculus
- CoolWallet
- D'Cent
- imToken
- Keycard Shell
- Keystone
- NGRAVE ZERO
- OneKey
The above hardware wallets can be used with MetaMask Extension, with Keystone, Ledger, and NGRAVE ZERO also being available on MetaMask Mobile. We're working to offer more MetaMask Mobile integrations when possible.
:::info[I'm setting up a hardware wallet for the first time]
If you're setting up a hardware wallet for the first time, **take a look at our [User Guide](/more-web3/wallets/user-guide-how-to-use-a-hardware-wallet) for our recommended configuration.**
:::
## What is a hardware wallet?
**A hardware wallet is a physical device outside of your computer that secures your wallet's Secret Recovery Phrase and private keys,** and acts as a firewall between attackers and the contents of your wallet.
In order to transact with funds secured by a hardware wallet, you have to interact with the hardware wallet to approve the transaction. If you connect your MetaMask to a hardware wallet, you will need physical access to the hardware wallet to approve transactions. Hardware wallets add a physical layer of security to your MetaMask wallet, so even if someone somehow gains access to your MetaMask, they will be stopped from moving assets out of it.
## How to connect your hardware wallet to MetaMask
Hardware wallets can be connected to MetaMask through a USB/direct connection, or through a QR code.
### USB/direct connection wallets
#### Ledger {#ledger}
Ledger has broad documentation for users of MetaMask. Here are some that will help get you started:
- [Connecting your Ledger to MetaMask Extension](https://support.ledger.com/article/4404366864657-zd)
- [Connecting your Ledger to MetaMask Mobile](https://support.ledger.com/article/16748796611613-zd)
- [I don't see my BEP-20 tokens in my Ledger Binance Smart Chain (BSC) account, what can I do?](https://support.ledger.com/article/4406111561617-zd)
- [How to access your Ledger Polygon account via MetaMask](https://support.ledger.com/article/4418394184209-zd)
:::warning
Having trouble connecting your Ledger to MetaMask in Firefox?
Due to changes rolled out in Firefox v112 onwards, you may have issues connecting your Ledger to MetaMask in Firefox. This is due to the connection method no longer being supported by Firefox. [Ledger support describe a temporary workaround here](https://support.ledger.com/hc/en-us/articles/10371387758493). Alternatively, you could try switching to a Chromium-based browser for using MetaMask.
:::
#### Trezor {#trezor}
- [How to connect Trezor to MetaMask](https://wiki.trezor.io/Apps:MetaMask).
#### Lattice {#lattice}
- For first-time Lattice users, make sure you're properly set up: [https://gridplus.io/setup](https://gridplus.io/setup)
- See GridPlus' documentation on getting started using MetaMask and Lattice [here](https://docs.gridplus.io/apps-and-integrations/metamask/connecting-to-metamask).
### QR code/air-gapped wallets
#### AirGap Vault {#airgap-vault}
- [Connect AirGap Vault to MetaMask](https://support.airgap.it/guides/metamask/)
- [AirGap Vault - Android Play Store](https://play.google.com/store/apps/details?id=it.airgap.vault&hl=en_US&gl=US)
- [AirGap Vault - iOS App Store](https://apps.apple.com/us/app/airgap-vault-secure-secrets/id1417126841)
#### Arculus {#arculus}
- [How to connect Arculus to MetaMask](https://support.arculus.co/hc/en-us/articles/18505846538263-How-to-connect-your-Arculus-wallet-with-MetaMask).
#### CoolWallet {#coolwallet}
- [How to connect CoolWallet to MetaMask](https://www.coolwallet.io/blogs/blog/metamask-step-by-step-guides).
#### D'Cent {#dcent}
- See D'Cent's documentation regarding operability with MetaMask [here](https://userguide.dcentwallet.com/external-service/qrbasedmetamask).
#### imToken {#imtoken}
- [How to connect imToken to MetaMask](https://support.token.im/hc/en-us/articles/24652624775961-How-to-Connect-MetaMask-to-imToken-in-Offline-Mode).
#### Keycard Shell {#keycard-shell}
- [How to connect Keycard Shell to MetaMask](https://keycard.tech/en/help/connect-keycard-shell-to-metamask)
#### Keystone {#keystone}
- [Binding your Keystone to your MetaMask Wallet](https://support.keyst.one/3rd-party-wallets/eth-and-web3-wallets-keystone/bind-metamask-with-keystone)
- [How to connect Keystone to MetaMask Mobile and send ETH](https://support.keyst.one/3rd-party-wallets/eth-and-web3-wallets-keystone/metamask-mobile)
- [How to use Keystone with MetaMask Mobile for dapps through Wallet Connect](https://support.keyst.one/3rd-party-wallets/eth-and-web3-wallets-keystone/metamask-mobile/defi-with-metamask-mobile)
- [How to configure EVM chains on MetaMask Mobile](https://support.keyst.one/3rd-party-wallets/eth-and-web3-wallets-keystone/metamask-mobile/configuring-evm-chains-on-metamask-mobile)
- [How To Benefit From Hardware Wallet Security Using Transparent QR Codes](https://consensys.net/blog/news/metamask-x-keystone-how-to-benefit-from-hardware-wallet-security-using-transparent-qr-code/)
- For an understanding of Keystone's security value-added proposition, [see here](https://blog.keyst.one/blind-signing-a-security-black-hole-for-the-ethereum-community-13f909b848b6).
- For advanced topics regarding Keystone's security features, including introducing custom entropy, [read here](https://support.keyst.one/general-navigation-guide#advanced-users).
#### NGRAVE ZERO {#ngrave-zero}
- [How to connect NGRAVE ZERO to MetaMask](https://support.ngrave.io/hc/en-us/sections/8580945853469-MetaMask).
#### OneKey {#onekey}
- For instructions on connecting OneKey to MetaMask, refer to [OneKey's help center](https://help.onekey.so/en/articles/11461106-how-to-use-metamask-wallet-with-onekey-hardware-wallets).
---
# How to connect a Trezor, Ledger, or other hardware wallet to MetaMask
URL: https://support.metamask.io/more-web3/wallets/how-to-connect-a-trezor-or-ledger-hardware-wallet/
> Learn how to connect your Ledger or Trezor hardware wallet to MetaMask. Step-by-step process to sign transactions securely and manage assets across EVM-compatible blockchains.
:::warning
As of Chrome version 91 and Firefox version 114.0, the API that enabled our Ledger support (U2F) no longer supports hardware wallets. MetaMask has implemented a new Ledger Live support that allows you to continue to connect to your Ledger device via the Ledger Live desktop app.
:::
Connecting a Trezor or Ledger wallet to MetaMask allows you to:
- Check your account balance (ETH or Tokens).
- Sign transactions — e.g. send ETH and ERC20 tokens and collectibles (NFTs), deploy contracts, etc.
- Sign messages
:::info
You can only connect **EVM-based** Ledger accounts to MetaMask.
:::
**Why connect your hardware wallet to MetaMask?** Some sites may have integration with MetaMask but not with Trezor or Ledger wallets yet. Connecting your wallet with MetaMask allows you to interact with those sites now!
**How do I connect my Trezor or Ledger hardware wallet?**
1\. Unlock your MetaMask
2\. Select the account dropdown menu and click 'Add account or hardware wallet'
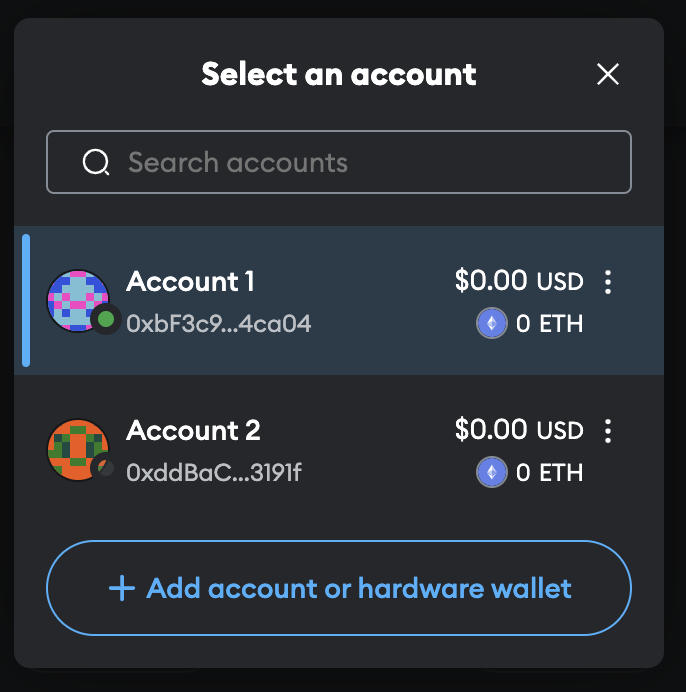
3\. Select 'Add hardware wallet'
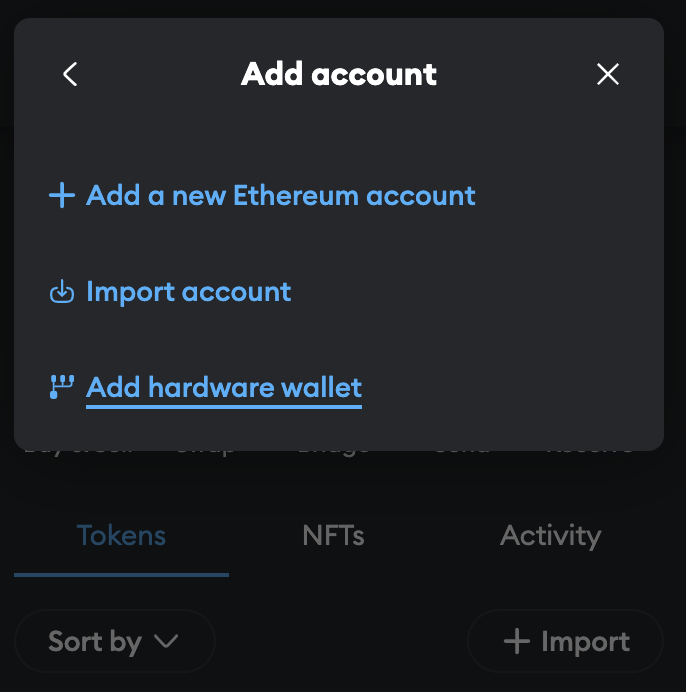
4\. Choose **Ledger** or **Trezor** from the hardware wallet selection screen. Follow the instructions associated with your device and click 'Continue'
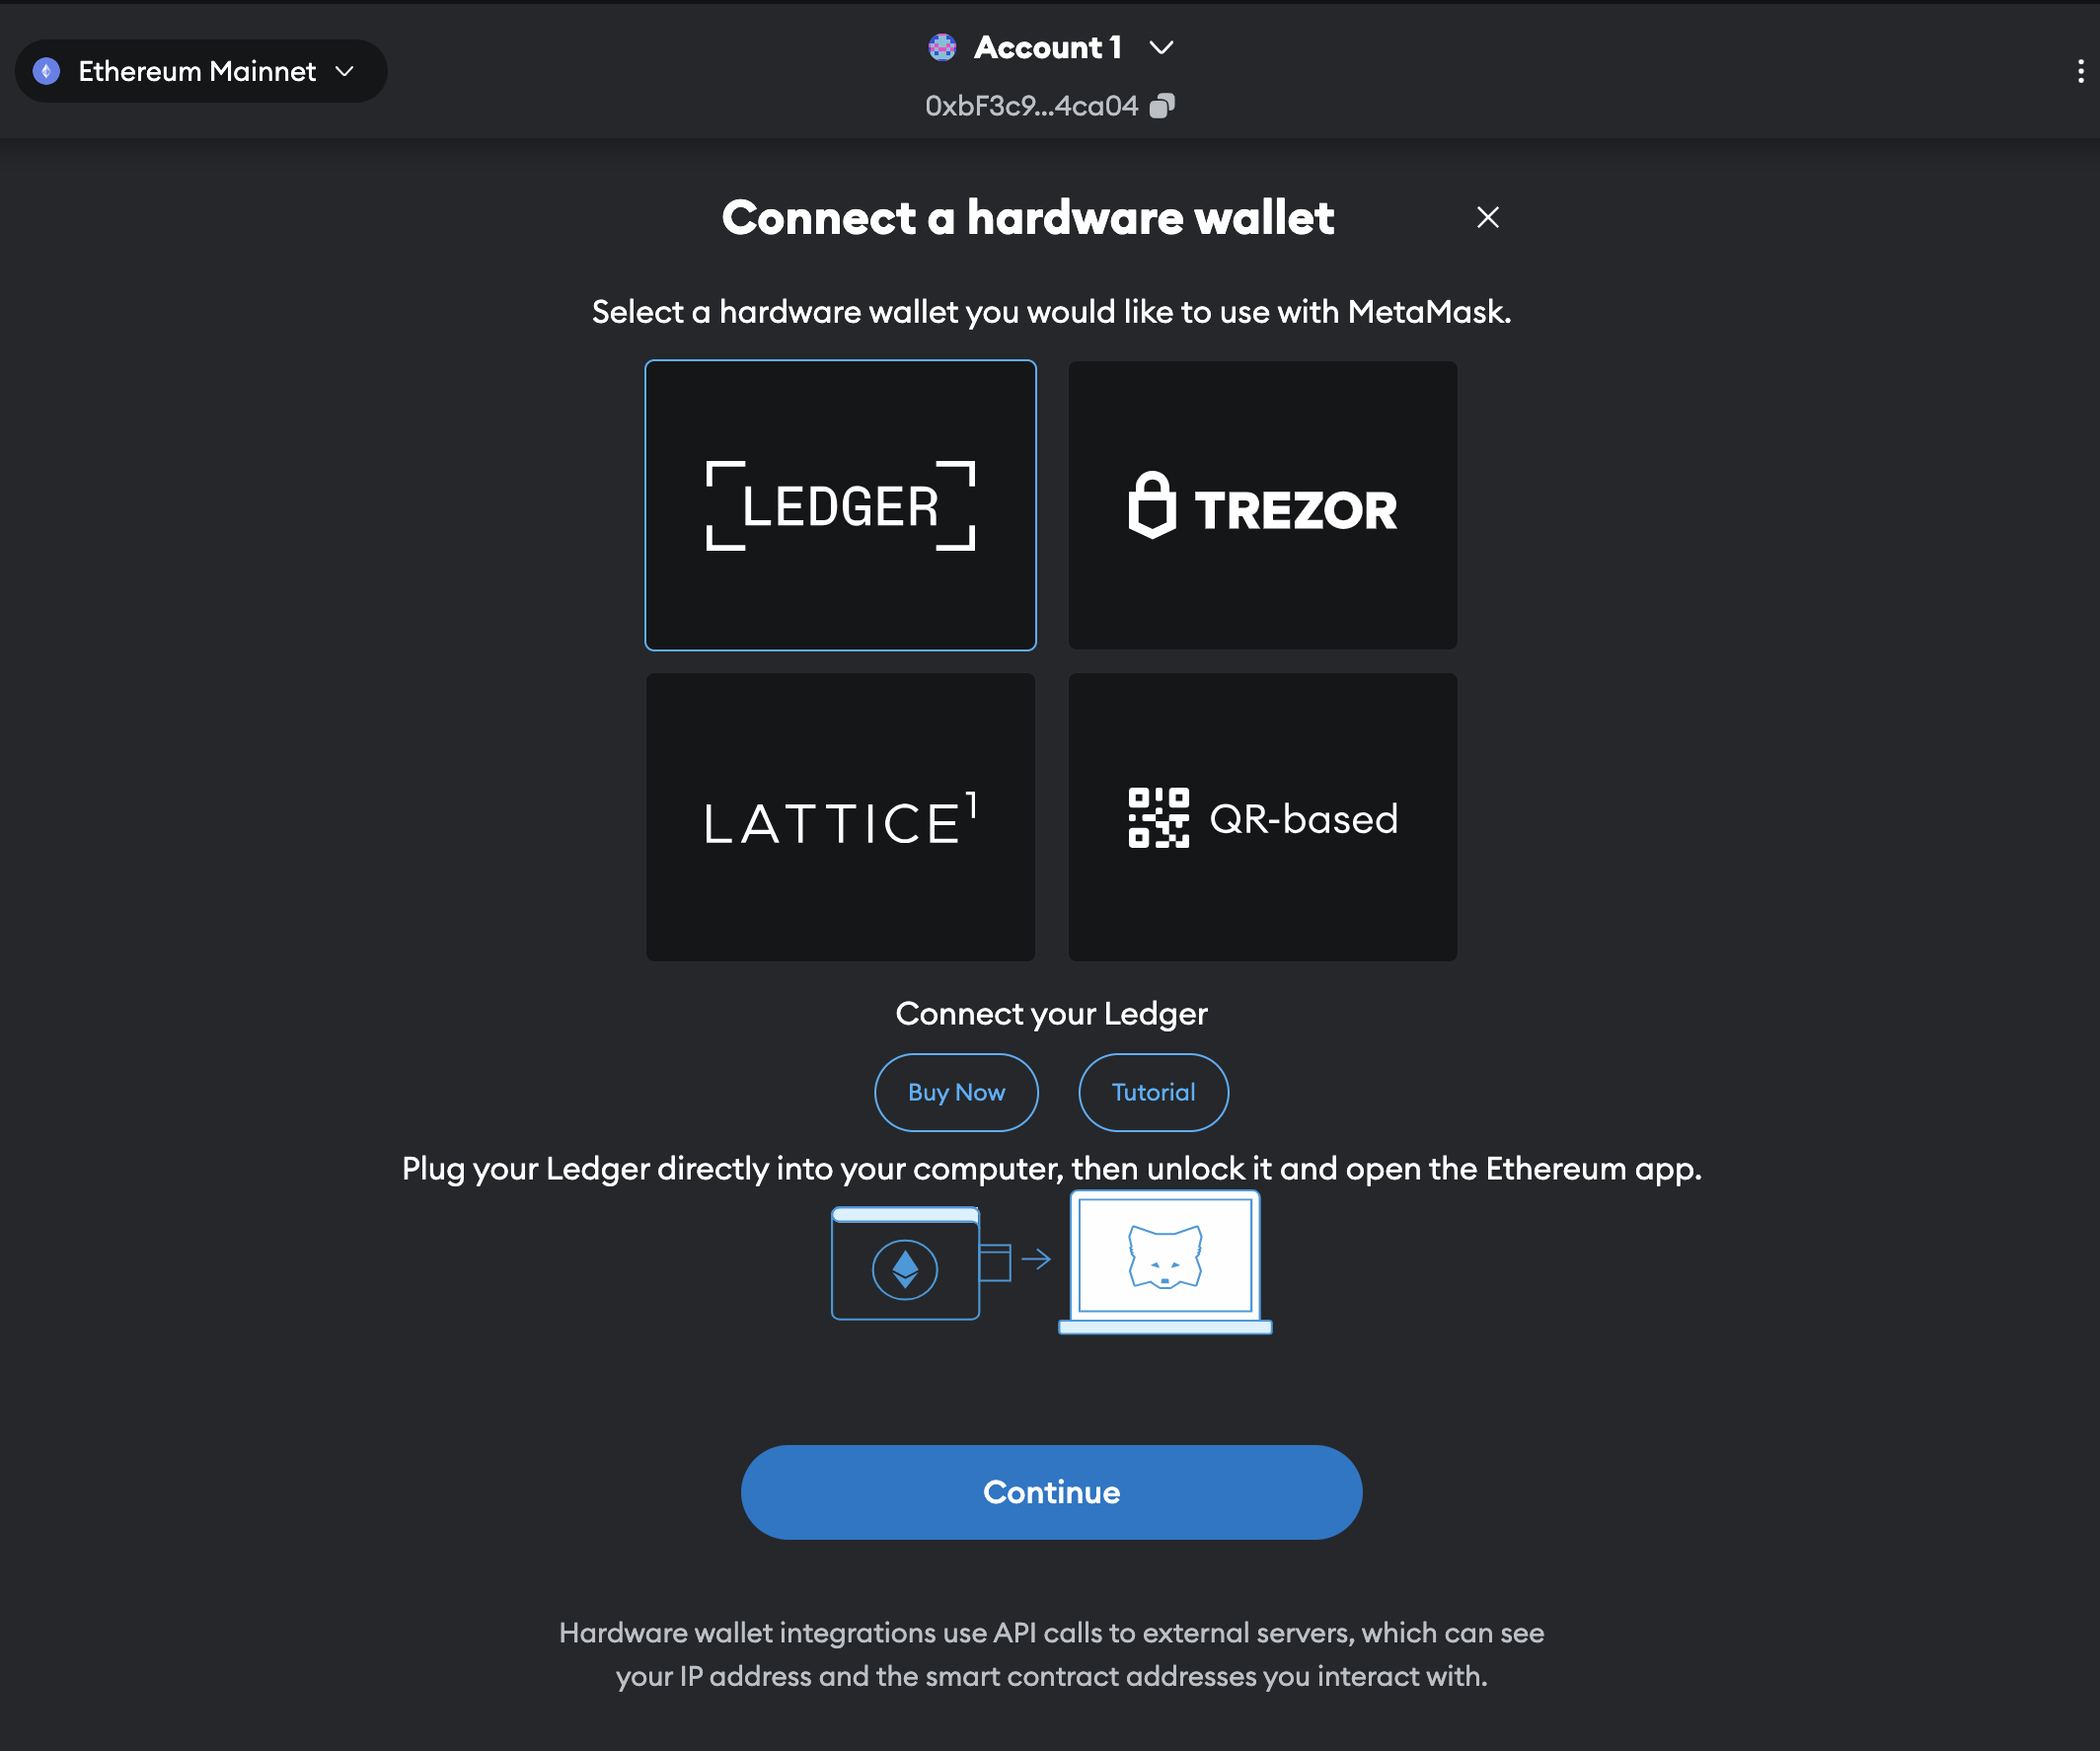
5\. A pop-up will appear searching for the device. Select the device and click 'Connect' to finish the process

Once you successfully connect your account, it will behave just like any other MetaMask account, with the difference that you need to have your device for signing transactions or messages.
If you want to [remove the connected account later](/configure/accounts/how-to-remove-an-account-from-your-metamask-wallet/), simply click the 3 dots by the account and select 'Remove account'
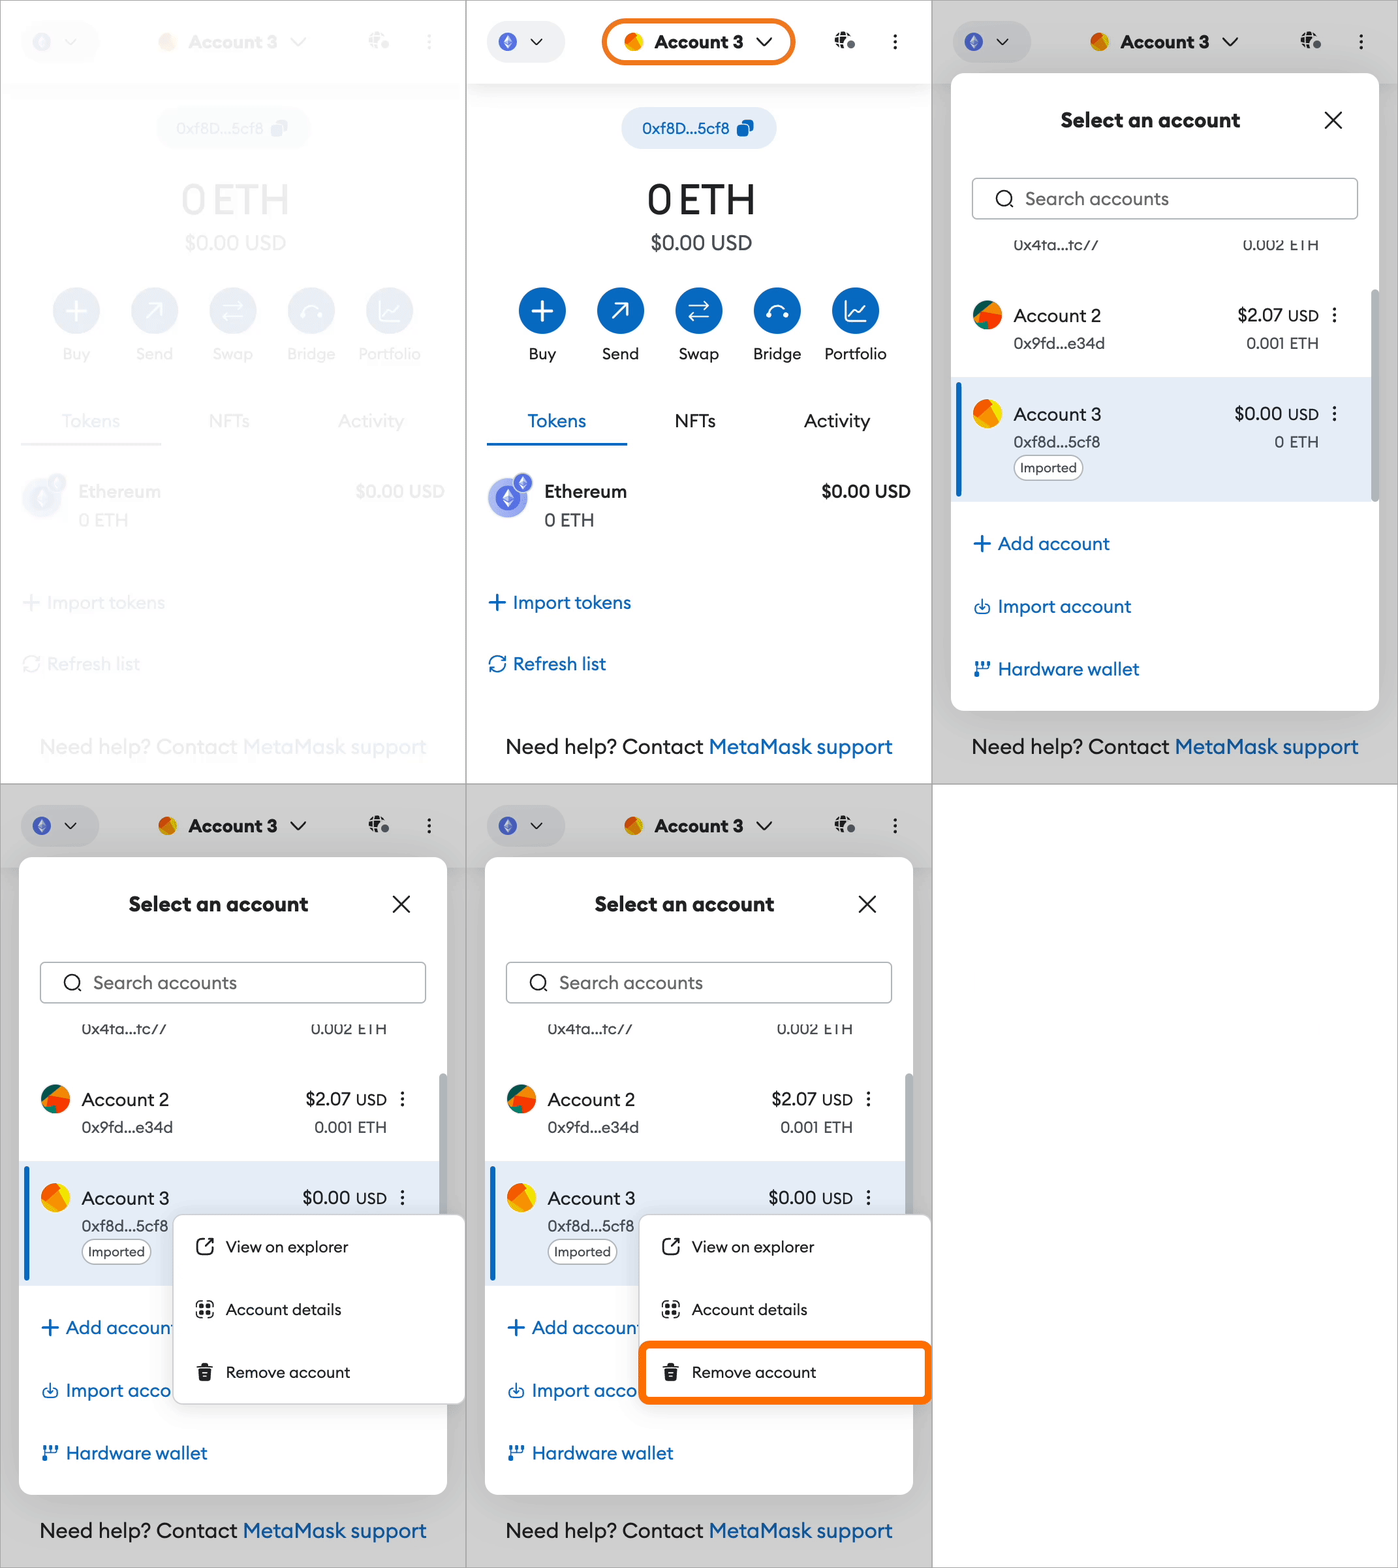
:::info
If you are having trouble connecting your Ledger or Trezor device, make sure you have:
- _The most up-to-date firmware on your Ledger or Trezor device_
- _An up-to-date browser_
- _An up-to-date Ethereum App on the Ledger (from Ledger Live > Manager)_
- _"Blind signing" enabled on the device (if needed for what you are doing)_
- _The Ledger Live app closed_
- _The device plugged in via USB, NOT Bluetooth_
- _The device unlocked and in the Ethereum app_
- _Your Ledger's connection to MetaMask can be broken due to your browser cache -- try clearing it if any problems arise_
- **_Still having trouble connecting?_**
- **_[Ledger Support](https://support.ledger.com/article/4404366864657-zd)_**
- **_[Trezor Support](https://trezor.io/support/technical/)_**
:::
**_For Chrome v91:_**
Make sure you have Ledger Live app installed with your Ledger accounts visible.
**What if I cannot find the account that I'm looking for?**
If you previously used an account and would like to connect it to MetaMask, make sure you view multiple pages of accounts on BOTH derivation paths (Ledger Live and Legacy).
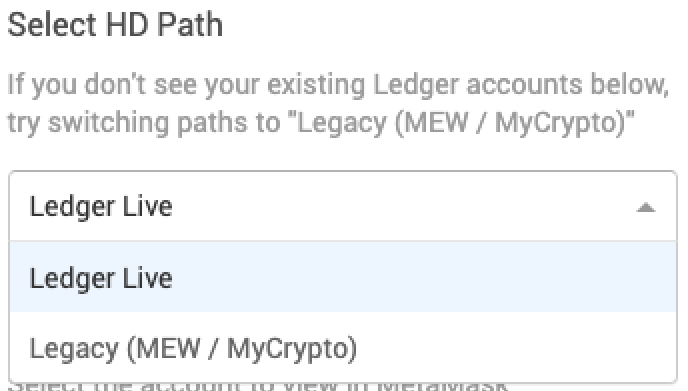
**Why is my MetaMask address/account not listed when I connect my Trezor?**
When you connect your Trezor wallet and the list of addresses/accounts displays, these are addresses/accounts associated with only your Trezor, not your MetaMask wallet.
To use the benefits and features of a hardware wallet, you will need to use one of your Trezor addresses/accounts, not your MetaMask address/account.
---
# How to use multiple wallets in MetaMask
URL: https://support.metamask.io/more-web3/wallets/how-to-use-multiple-metamask-wallets/
> Learn how MetaMask supports multiple wallets with separate Secret Recovery Phrases or accounts. Step-by-step guide to organize, secure and manage multiple wallets in one interface.
MetaMask allows you to use multiple devices with multiple Secret Recovery Phrases (SRPs).
Whether you want to access all your SRPs on one device (laptop, mobile) or separate them per device, it's useful to understand how wallets, accounts, and SRPs work together:
- **MetaMask**: Your decentralized identity manager. MetaMask manages your wallets and accounts, and the private keys that generate and secure them. In our articles, we may refer to it as a "MetaMask client" or "wallet client". 'client', in this sense, means a specific installation of a software program.
- **Wallet**: A 'wallet' is an account or group of accounts governed by a source of keys: an SRP, an imported private key, or a snap. For example, if you have multiple SRPs in your MetaMask, you have multiple wallets.
- **SRP = Secret Recovery Phrase:** The key (often 12 words in a specific order) that generates and controls multiple accounts.
- **Account:** Unique identities derived from an SRP, each with its own public address and private key. Even if the account has the same number in your MetaMask (e.g. 'Account 1'), it may have different private keys and corresponding public addresses across networks. For example, the Solana address for your Account 1 will not be the same as your Ethereum-compatible address for Account 1.
If it helps to visualize it you can think of the SRP as a seed, and the accounts as the individual branches that stem from it (but still isolated from each other).
The SRP holds access to the cluster of accounts (the whole tree if you will); the private key holds access to the individual account (the specific branch).
For more information on this topic, see our article [What's the difference between a wallet and an account?](/more-web3/learn/whats-the-difference-between-a-wallet-and-an-account-/)
### Why would I need multiple SRPs? {#why-would-i-need-multiple-srps}
:::info
MetaMask can house multiple Secret Recovery Phrases, and any number of private keys. Learn more about importing accounts [here](/start/use-an-existing-wallet/).
:::
- **Security:** If only one SRP is compromised, your other SRPs remain safe.
- If your entire computer is compromised from malicious malware or another attack vector, all of your SRPs may be at risk.
- If you want to be extra secure, you could even rotate your SRPs every few years in case any portion of it stored in old password managers is [compromised](https://www.bankinfosecurity.com/crypto-roundup-lastpass-breach-linked-to-54m-crypto-theft-a-27109). Rotating your SRP means generating a new one and migrating your assets to it, effectively retiring the old one.
- We do NOT recommend storing your SRP in a password manager, but in the event you've used this method in the past, rotating your SRP or using multiple would be beneficial.
- **Organization:** Separate activities for peace of mind. You could have one SRP for DeFi, another for NFTs, and another for long-term HODLing only. You get to divide accordingly.
This setup ensures better security, privacy, and flexibility for the curious web3 dabbler. Enjoy!
---
# How to use a hardware wallet with MetaMask
URL: https://support.metamask.io/more-web3/wallets/user-guide-how-to-use-a-hardware-wallet/
> Learn how to integrate a hardware wallet with MetaMask for enhanced security. Step-by-step guide to connect Ledger or Trezor devices and sign transactions safely.
Have you recently acquired a hardware wallet? Are you considering it?
MetaMask recommends the usage of hardware wallets for long-term crypto-asset storage. For an explanation as to what a hardware wallet is, and a directory of the product lines that MetaMask officially supports, see our [Hardware Wallet Hub](/more-web3/wallets/hardware-wallet-hub).
_Once you've got your hands on a hardware wallet, follow the instructions below to get the most security and functionality out of your device._
## How to configure your hardware wallet {#how-to-configure-your-hardware-wallet}
Regardless of whether you're HODLing, NFT swapping, DAO building or DeFi degen-ing, MetaMask recommends you follow this configuration pattern for maximum security:
1. **Create a _new Secret Recovery Phrase / Seed Phrase_ on your hardware wallet.** A lot of hardware wallets offer you the option to "import a seed phrase", from MetaMask, for example. While that might sound like what you want to do, _it's not_.
_The whole point of having a hardware wallet is having a device whose Secret Recovery Phrase is never connected to the internet, even if it's encrypted like it is in MetaMask._
To get that truly "[airgapped](https://www.techopedia.com/definition/17037/air-gap)" security, you need to create a _new_ SRP through your hardware wallet. A few things to remember:
- Often, **hardware wallets generate 24-word SRPs**, rather than the 12 you get with MetaMask. Each one of those words, and the order they're in, is crucial!
- Just like with your SRP from MetaMask, **never share it with anyone**
- Again, just like with MetaMask, **back it up in a secure location, or several, always offline and never in anyone's cloud.**
2. **Import the accounts from the hardware wallet that you want to use into MetaMask**. Just like with an SRP that you create through MetaMask, your new SRP on your hardware wallet can create a very large number of accounts. Once you've got your SRP all set up on your hardware wallet, import the accounts you want to use in MetaMask following the manufacturer's instructions — check out our [Hardware Wallet Hub](/more-web3/wallets/hardware-wallet-hub) for links.
3. **Transfer the assets you wish to secure with your hardware wallet** from your existing MetaMask account(s) to the hardware wallet account(s). This is fairly straightforward—you're sending things from one account to another—but here are some tips:\
- You might not be able to transfer _all_ of your ETH out of your original account, because you'll have to pay the gas fee to send the assets; the same goes for BNB, POL (previously MATIC), etc., depending on the gas token of the chain you're on.
- Additionally, you may want to leave some assets in your original wallet, depending on how often you transact, and whether you plan on carrying your hardware wallet with you.
- **Be thoughtful with how you handle NFTs**. A lot of NFTs aren't just cool links to a .jpeg on someone's server — they might issue tokens to you every day, or allow you to play a video game, or allow you access to funds, or control your domain name. As long as your hardware wallet supports NFTs, you'll be fine in the sense that _you'll still have them_, but make sure you have them on the address, and in the wallet, where you'll be _able to use them_ the way you want to.
- If you have a lot of assets that all have to go to the same place, save some gas and check out our [Account Migration Guide.](/manage-crypto/move-crypto/transfer/account-migration-guide)
4. Now that you have your assets secured offline, **get comfortable with your HWW's signing procedure**. This is, essentially, how transactions will work:\
Transaction (signature, transfer, etc.) initiated by you on dapp/online platform-->\
\-->Transaction sent by MetaMask to hardware wallet-->\
\-->Transaction signed on hardware wallet-->\
\-->Signed transaction transferred back to MetaMask-->\
\-->MetaMask sends signed transaction to the blockchain network-->\
\-->Transaction is registered back at the dapp/platform
However, each hardware wallet, depending on how it is designed, will implement these steps in their own particular way. So before you find yourself in an NFT minting war, trying to authorize funds, make sure you know what to expect!
---
# What is a browser extension?
URL: https://support.metamask.io/more-web3/wallets/what-is-a-browser-extension-and-why-is-metamask-one/
> Discover how MetaMask Extension bridges your web browser and blockchain. Learn how it enables interaction with dapps, smart contracts, and self-custody features securely.
### What is a browser extension? {#what-is-a-browser-extension}
A browser extension is a **small software program** that integrates with your web browser to **add new features** or modify existing ones. Unlike standalone apps, extensions work within your browser, adding functionality and customization options specifically tailored to your browsing habits. It's like having **a toolbox that works with your browser**, providing you with tools to use while browsing and interacting with sites you visit.
Extensions can be found in various web browsers such as Google Chrome, Mozilla Firefox, Brave, and Microsoft Edge. They are generally easy to install and can be accessed through the browser's extension store. After installing, they appear as icons or buttons on your browser's interface, allowing you to access their features by clicking on them.
:::warning
#### Note on safety: {#note-on-safety}
As with anything you download on your device, make sure you check the source of the extension before you install it. **There are bad extensions that can hurt your computer or steal your personal information.** Research what you're installing and double check it's not a malicious copy, as well.
:::
### What does MetaMask's browser extension do? {#what-does-metamasks-browser-extension-do}
MetaMask's extension **opens up access between your web browser and decentralized applications** (dapps) built on networks like Ethereum, Solana, and others. You can think of it like this:
Imagine if you were in one country (like the internet) and wanted to visit another country (like the Ethereum blockchain) that speaks a completely different language and has different customs. It might be hard to communicate or get around, right?
MetaMask is like a friendly translator and guide who helps you navigate this new country. It understands the language and customs of both countries and helps them interact with each other.
When you install MetaMask, it converts your web browser's language into Ethereum's, letting you do things like interact with dapps, sign transactions, and create or manage your on-chain identity.
Additionally, **MetaMask acts as a wallet**, meaning it keeps your digital assets safe and helps you manage transactions on the blockchain. It's like having a specialized pocket in your browser where you can securely store and access your digital assets.
**MetaMask extension is an interpreter, a tour guide, a passport (or identification), and a secure pocket, all in one.**
Through it, you can interact with blockchains in a user-friendly way, working with your browser, opening up new possibilities.
This is just a start. **Want to learn more** about how browser extensions access your data and what the permission requests mean? Check out more **[here](/more-web3/wallets/why-does-metamask-need-permission-to-modify-data-on-all-web-pages).**
---
# Why does MetaMask need permission to modify data on all web pages?
URL: https://support.metamask.io/more-web3/wallets/why-does-metamask-need-permission-to-modify-data-on-all-web-pages/
> Discover why MetaMask asks for “read and change all data on websites” permissions.
When adding MetaMask to your browser, you may see an alert indicating that MetaMask needs permission to **"read and change all your data on the websites you visit"**:
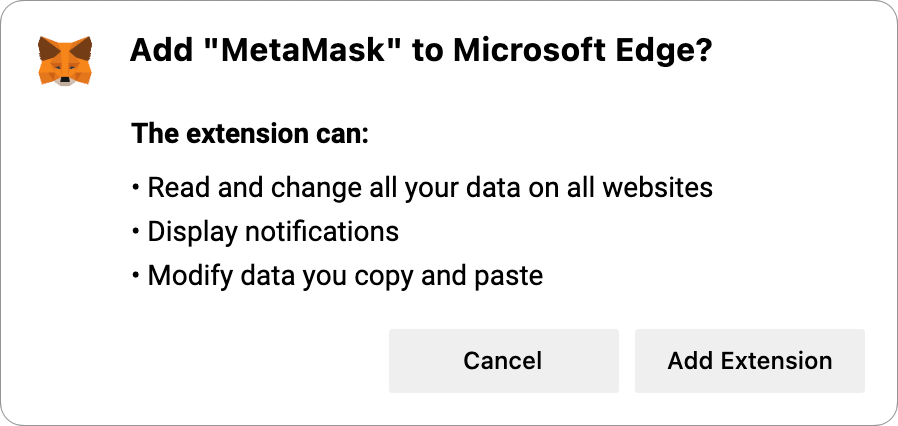
_This image was taken from a Microsoft Edge install process; your message may vary based on the browser and OS you're using._
## Why does MetaMask need these permissions? {#why-does-metamask-need-these-permissions}
### Background: {#background}
These permissions are about **web browsers and what MetaMask needs to work with them**. The explanation is a little bit technical, but we'll try to keep it simple.
MetaMask is a tool that allows you to interact with blockchain networks, like Ethereum. Those interactions consist on a basic level of sending information to those networks, and getting responses back.
But Ethereum isn't just a traditional web server somewhere, serving up web pages in HTML. It's a decentralized network of computers that syncs information and keeps track of assets, and isn't really part of the traditional internet. It doesn't receive requests and send information the same way a server does that's hosting a website: and **MetaMask needs your permission to get that information, because in web3, _you are the one in control._**
### How it Works {#how-it-works}
Let's say you're on a page that will allow you to mint an NFT. This is what happens, step by step:
- You connect your account to the dapp.
- This lets the dapp know what your public address is, for example.
- You enter in pertinent information--say, certain features you want in the NFT, or how many you want.
- **The dapp itself takes the information you put in,** bundles it into a proposed transaction or signature request, and passes it off to MetaMask.
- **You execute that request in MetaMask**, and MetaMask submits it to the network.
- This sometimes requires several signatures--for example, authorizing the dapp to request that your tokens be spent, and then actually authorizing the mint.
- The network receives your request, and executes the mint.
- **The dapp is able to detect that transaction** through its own connection to the blockchain network, and displays to you the NFT that you've minted.
### The bottom line {#the-bottom-line}
**At no point is MetaMask itself reading or changing the information on the webpage**. The dapp does all the work of updating information from the blockchain.
The reason MetaMask needs these broad permissions is, quite simply, browsers don't offer any other way to open up a channel of communication between MetaMask and the webpage.
Traditional web browsers weren't made for blockchain data; that's why MetaMask was created, to build that functionality into your browser.
## How does this work on a technical level? {#how-does-this-work-on-a-technical-level}
In order to enable dapps to access a blockchain network, MetaMask needs to inject a JavaScript object into each page. This allows the dapp to access the blockchain, and fetch publicly-available information specific to your wallet, such as the NFTs you hold, or your transaction history, or your token balances.
For more information on how this works, [check out the MetaMask Docs](https://docs.metamask.io/wallet/).
## Why should I believe you? {#why-should-i-believe-you}
That's the spirit! **web3 is all about being able to personally verify what others are telling you.**
That said, **MetaMask is safe for browsing**; we are industry leaders in security and open-source development; for more information on audits that have been performed, see [our Security page here](https://metamask.io/security/).
Welcome — you're joining over 30 million MetaMask users all over the world!
---
# What to do if you have a sweeper bot on your wallet
URL: https://support.metamask.io/stay-safe/protect-yourself/fighting-back-against-sweeper-bots/
> What sweeper bots are, how they get installed, and what to do if one is draining your MetaMask.
Have assets suddenly moved out of your account, without your permission or knowledge? Have you noticed that every time you transfer something into your account, it gets automatically forwarded somewhere else?
If so, you might be dealing with a _sweeper bot_. This article explains what they are, how they work, and what to do if you have one.
:::warning[Notice anything unusual?]
You should **immediately stop** using accounts associated with your current Secret Recovery Phrase. Any funds deposited may end up being stolen. Continue reading for next steps.
:::
## What is a sweeper bot? {#what-is-a-sweeper}
Sweeper bots, or "sweepers," are automated scripts that malicious actors deploy to monitor and interact with blockchain transactions. These bots are designed to automatically transfer assets from a compromised account to another address controlled by the attacker. This process, also known as _sweeping_ or _scavenging_, can happen almost instantly, due to the bot's ability to monitor the _mempool_ or _txpool_ — where pending transactions are stored before being confirmed on the blockchain.
**Your wallet can only be affected by a sweeper script if you share your Secret Recovery Phrase with a bad actor.**
Sweeper bots are particularly troublesome for two reasons:
- **The code can react far quicker than a human ever can.** Racing to move your funds through your wallet faster than the script will always result in you coming out second best.
- **It is subtle.** It is not immediately apparent to the user that they've been hacked, as the script works out of sight. If you perform a significant transaction and you or the recipient do not receive the funds, you may at first assume the transaction is stuck or pending, or that MetaMask has misfunctioned.
## How do sweeper bots get installed? {#how-do-sweeper-bots-get-installed}
The first and crucial step for a scammer is to obtain your Secret Recovery Phrase. To do so, they may deploy a phishing attack. They may also pose as a friendly helpdesk engineer offering to help you resolve your issue or attempt to disguise themselves as an official MetaMask support account. Another potential avenue is to set up a seemingly trustworthy dapp — or mimic an established one — and require the user to input their private key or Secret Recovery Phrase to use it.
If they are successful, they will be able to access your wallet, obtain your private key, and write it into the sweeper script. Possession of your private key allows the script to **sign transactions without your knowledge**, giving it total and unrestrained control over wallet activity. The script will then proceed to monitor transactions coming to and from your account and _sweep_ out any tokens you transfer in before you could possibly react.
:::info
Your Secret Recovery Phrase allows anyone who has access to it **complete and total** control over your accounts and funds. **Never** share your Secret Recovery Phrase with anyone.
:::
On a deeper level
In order to understand how sweepers, and other bots that act on public blockchain networks, operate, a little bit of technical understanding is necessary. A public blockchain network is composed of any number of _nodes_, each communicating with the rest of the network's nodes and continually maintaining _consensus_ regarding the state of a common _ledger_.
Users on the network send _transactions_ from their addresses to other addresses. These transactions are _broadcast_ to the closest node(s), which then forward the proposed transaction on to the rest of the network. The user's transaction remains pending for a time, with other recent transactions, in what's known as the _transaction pool_ (txpool) or _memory pool_ (mempool). Meanwhile, the nodes check that the address requesting the transfer has the funds available and reach consensus that the transaction is valid. At that point, a group of validated transactions is grouped together and proposed to the network as a _block_; when accepted, it is added to the chain.
Sweeper bots scan that pool of transactions for transfers of tokens to the compromised address. As soon as a bot sees an incoming transfer of value, it initiates a second transaction, transferring those assets to a third-party address.
Because this is all automated and actions are taken almost simultaneously with the funds arriving, it might happen faster than the time it takes to refresh a block explorer.
Consider some observed details about sweeper behavior:
- A sweeper might favor the asset that is highest in USD value, even if that means spending more in transaction fees.
- The sweeper may use all available ETH to maximize the value swept out, while also having a high likelihood of "winning" against manual attempts to move funds.
- Even if there is no ETH in the account, an attacker may fund it temporarily in order to cover gas fees to extract other assets (NFTs, Liquidity Pool tokens, etc.).
- If the USD value of assets in the account is below a certain level, the bot may not sweep them out, meaning **you may not realize that you have a sweeper on your account**.
## How can I stay safe? {#how-can-i-stay-safe}
**Keeping your Secret Recovery Phrase secure is the best and most dependable way to avoid falling victim to sweeper scripts.** Without it, malicious actors cannot access your private key and sign transactions that steal your funds.
Consider buying a hardware wallet. Popular options include Ledger and Trezor. Hardware wallets are termed "cold" wallets as they store your private keys completely offline, a considerable obstacle to hackers.
As with most things in web3, you should also **stay skeptical**. Whenever you interact with dapps, do not assume they are reputable and trustworthy. Always do your research and make sure you are comfortable with the risks.
## What to do if I have a sweeper bot on my account? {#what-to-do-if-i-have-a-sweeper-bot-on-my-account}
Analyze recently installed applications and browser extensions, especially those from untrusted third parties. Ensure your operating system, security software, web browsers, and other applications are fully updated. Perform a virus/malware scan on any device you have MetaMask installed.
If you have the suspicion that you may have a sweeper bot on your account, there are a couple things you should and should not do.
### Do not deposit more funds {#do-not-deposit-more-funds}
Depositing more funds to your account will likely result in losing more funds. When the sweeper bot detects that you've deposited additional funds, it can immediately send these out to another address, resulting in you no longer having access to these funds. These funds are **irretrievable**, meaning that you will lose them forever.
### Report the scam {#report-the-scam}
[Report the scam](/stay-safe/protect-yourself/how-to-report-a-scam/) on a blockchain explorer and to your local authorities. Then, report the scam to Chainabuse using the [Chainabuse Report Form](https://www.chainabuse.com/report?source=metamask).
### Migrate to a new Secret Recovery Phrase {#migrate-to-a-new-secret-recovery-phrase}
Do **not** create additional accounts in your now-compromised Secret Recovery Phrase; any newly-created accounts will also be compromised, and you're likely to lose funds deposited into them.
Instead, generate a brand new Secret Recovery Phrase. [Read more about migrating your accounts](/manage-crypto/move-crypto/transfer/account-migration-guide/).
### Consider using Flashbots {#consider-using-flashbots}
Any remaining assets in your wallet can potentially be recovered by using Flashbots. You can also open a case with the Flashbots Whitehat team [here](https://docs.flashbots.net/whitehat), if you don't wish to attempt this yourself. Please note that their recovery team requires a $1,000 asset recovery minimum, and they take a 5-10% cut of the recovered assets.
#### Bringing a bot to a bot fight {#bringing-a-bot-to-a-bot-fight}
In this context—fighting against an automated opponent who takes your ETH from you before you can use it—things can look pretty hopeless. Enter [Flashbots](https://docs.flashbots.net/), who have developed a project called [Flashbots/searcher-sponsored-tx](https://github.com/flashbots/searcher-sponsored-tx). This allows you, essentially, to pay for the transaction on the compromised address from another account. Or, as they put it: _“This is accomplished by submitting a Flashbots transaction bundle, with the first "sponsor" transaction paying the "executor" wallet in ETH, followed by a series of executor transactions that spend this newly received ETH on gas fees.”_
This strategy requires two accounts — the compromised account (the _executor_) and another to pay for the transaction (the _sponsor_). **Success using Flashbots will require significant technical know-how and research. The following instructions are provided as a general guide only.**
- Make sure the compromised account has no ETH in it; we highly recommend you use a [burner bot](https://twitter.com/smpalladino/status/1373049027365904389?s=20&t=PE8rsffOnw8PxiKzpl7OdQ) first.
- We generally advise running this burner bot on more than one machine, using a different endpoint on each. For example, run a burner locally using [Infura](https://infura.io/), and a burner on a remote server with another provider such as [Quiknode](https://www.quicknode.com/). This is so that you have a redundancy plan in case we have high network latency or node issues (rate limits, syncing issues). The code in [Flashbots/searcher-sponsored-tx](https://github.com/flashbots/searcher-sponsored-tx) will need to be altered for your specific needs, but the engine is there for you to rescue your tokens from a compromised address. The Flashbots engine is flexible enough to support a single [transfer()](https://eips.ethereum.org/EIPS/eip-20) call, or [unstake()](https://eips.ethereum.org/EIPS/eip-900#unstake) and [transfer()](https://eips.ethereum.org/EIPS/eip-20)_._
---
# How to report a scam
URL: https://support.metamask.io/stay-safe/protect-yourself/how-to-report-a-scam/
> Steps to take after falling victim to a crypto scam, including how to report it to MetaMask Support, Etherscan, and local cybercrime authorities.
**If you believe you've fallen victim to a scam, the first thing you should do is follow the steps detailed in our [I've been hacked/scammed](/stay-safe/protect-yourself/ive-been-hacked-scammed-unauthorized-transactions-on-my-account) article.**
In short, you need to **remove any remaining funds from your compromised wallet** (to a new or existing wallet that is secure) and make sure the scammer can't access any other sensitive personal or financial information on your device, whether related to MetaMask or not.
Once you've prevented any further loss of funds, you should:
1. [Get in touch with MetaMask Support](/start/how-to-contact-metamask-support) to notify us of details such as:
- The suspected scammer's public address
- The website, email or other medium through which the scam reached you.
2. Report the scammer's public address on the block explorer. On Etherscan:
:::info
As most block explorers share similar architecture, you can also do this on other networks — BSCScan, PolygonScan, Snowtrace, etc.
:::
1. Open the address on Etherscan. The URL will read _etherscan.io/address/xyz_, where _xyz_ is the address.
2. Locate the 'More Info' section on the right, near the top of the page.
3. Click the dropdown menu marked 'More' and select 'Report/Flag Address':
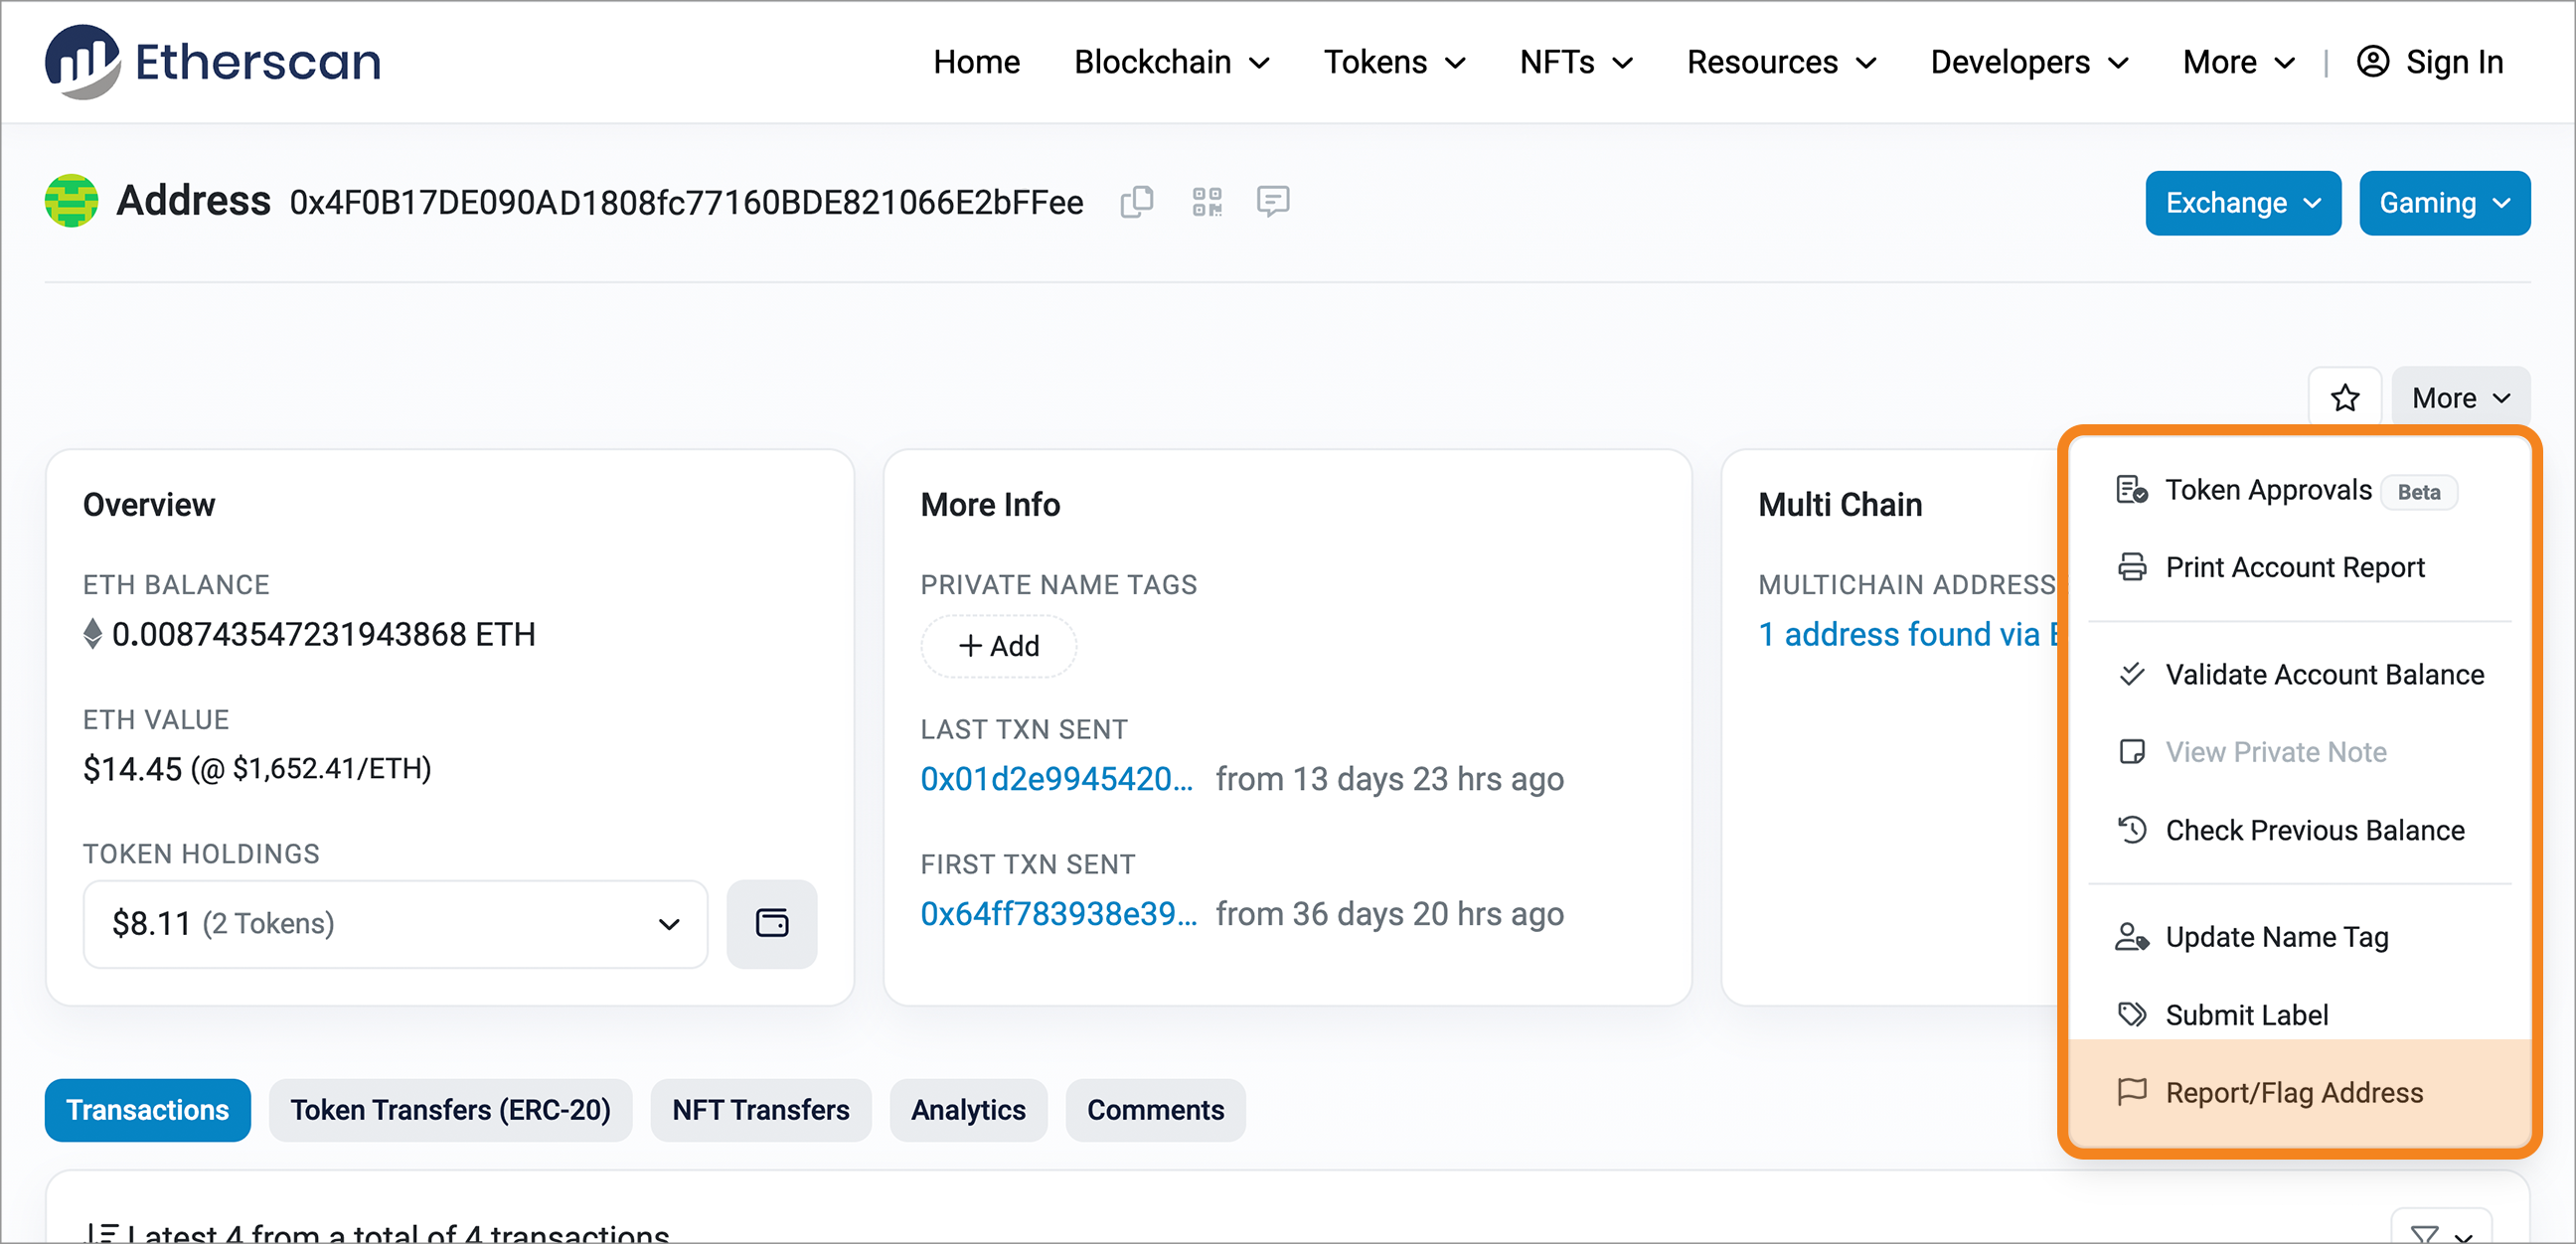
4. Complete the Etherscan form.
If the block explorer concludes, after investigation, that the address shows signs of fraudulent activity, it will be flagged — helping other network users to exercise caution in future.
3. Alert the local cybercrime authority. Although we can't maintain an exhaustive list, we've detailed a few below:
- United States: the FBI's [IC3](https://www.ic3.gov/) service
- European Union: [Europol portal](https://www.europol.europa.eu/report-a-crime/report-cybercrime-online) (redirects to your chosen country)
- United Kingdom: [Action Fraud](https://www.actionfraud.police.uk/)
- Philippines: [CICC form](https://cicc.gov.ph/report/)
- Brazil: This varies depending on state. You will likely have to contact your [state's specialized cyber crime unit](https://new.safernet.org.br/content/delegacias-cibercrimes), potentially in person.
- Indonesia: [Directorate of Cyber Crime (Patroli Siber)](https://patrolisiber.id/)
Remember: as transactions on the blockchain are irreversible, **MetaMask cannot retrieve your funds for you**. Even if this were not the case, we wouldn't be able to anyway: as a [self-custodial wallet](/start/metamask-is-a-self-custodial-wallet), we do not have access to or control over your Secret Recovery Phrase — only you do. This means you're the only one who can manage the funds in your wallet.
---
# Is this smart contract safe to interact with?
URL: https://support.metamask.io/stay-safe/protect-yourself/how-to-tell-if-a-smart-contract-is-safe-to-interact-with/
> How to evaluate whether a smart contract is safe before connecting your wallet or approving token access.
Smart contracts are the computer programs that run on the Ethereum Virtual Machine (EVM) and similar blockchains. Their name is somewhat misleading: when you interact with them, you're not signing up to a contract, but simply triggering a program to run.
The [virtually endless possibilities](https://www.geeksforgeeks.org/what-is-meant-by-turing-complete-in-ethereum/) for smart contract functions are what makes Ethereum and web3 so powerful. Accessibility is also a key feature: since web3 is meant to be decentralized and usable by everyone, smart contracts can be created and deployed by anyone who wants to. Inevitably, some try and exploit this freedom to take advantage of other users.
This is why you should learn how to identify fraudulent smart contracts and stop yourself falling victim to their scams.
For clarity, smart contracts could represent:
- A token, such as ERC-20 tokens, which are defined and managed by smart contracts, or even an NFT collection
- A function within a dapp, such as a program which oversees a token swap, or even a DAO's governance mechanisms.
## Connecting vs. approving {#connecting-vs-approving}
When using MetaMask in the big wide world, you'll often be prompted to **connect** your wallet. You'll also reasonably often be asked to **approve** certain operations. In this context, it's approvals (also referred to as allowances) you need to focus on: the distinction is important!
- **Connecting your wallet** to a site doesn't allow it to do anything with your funds unless you specifically consent. So while this connection will enable a dapp to propose certain transactions or actions to you, nothing will happen to your funds unless you approve the suggested transactions. Read more on connecting your wallet [here](/more-web3/dapps/disconnect-wallet-from-a-dapp).
- **Approvals**, meanwhile, involve giving a smart contract the ability to interact with a certain token, in a certain quantity, as and when they require. You should always stop and think when being asking to approve something, as it generally involves handing over control of your assets to a computer program that could have been written by anyone. Read more [here](/stay-safe/safety-in-web3/what-is-a-token-approval).
## Checking if a smart contract is trustworthy {#checking-if-a-smart-contract-is-trustworthy}
Let's go through some things to look for when evaluating whether you should trust a smart contract:
1. **Is it asking you to approve access to your tokens**?
- Other than social engineering to get hold of your Secret Recovery Phrase ([learn how to stay safe](/start/user-guide-secret-recovery-phrase-password-and-private-keys)), token approval scams are one of the most common attack vectors in web3. This is why we explained them in brief above. If you consent to a dapp's token approval, you're handing it control of whatever token (and _quantity_ of that token) that you approve. **This alone should make you think twice**.
- Does the token to which the dapp is requesting access make sense? Is it relevant to the dapp functionality you intended to use?
- Does the quantity of token being requested make sense? Bear in mind that many popular apps request access to an essentially infinite amount of the token to prevent you having to sign (and pay for) numerous transactions in future. Read more under [here](/stay-safe/safety-in-web3/what-is-a-token-approval).
2. **Look up the address on the relevant block explorer**. All smart contracts have an address. Any reputable dapp, NFT collection, or other party should make this address readily available; either directly on their main site or in docs. MetaMask will also show you the smart contract's address before you sign any transaction.
Input the address into a [block explorer's](/more-web3/learn/how-to-check-my-wallet-activity-on-the-blockchain-explorer) search bar. Many of these, including Etherscan, will tell you if the code is verified or not, as highlighted below. You can also check to see if the contract has a name — if it doesn't it could be either very new or untrustworthy.
You could also check the comments section on the block explorer for an indication of user sentiment. Though take this with a pinch of salt, as it could be influenced by fraudulent actors themselves.
3. **Use coin/token listing sites to investigate a token**. Go to [Coingecko](https://www.coingecko.com/), for example, and input the token's name or address. You should be able to see relevant details about the token, such as the project's website and their socials. Here you could check whether the dapp/token/project has a genuine, active community that isn't just full of bots, or look for a white paper on their website that demonstrates that it isn't just a [rugpull](/stay-safe/safety-in-web3/scammers-and-phishers-rugpulls-and-airdrop-scams)-in-waiting. Our guide to [Token safety practices](/stay-safe/safety-in-web3/token-safety-practices) is also very useful in this context.
4. **Check recent contract activity**. Look at the recent transactions listed on the smart contract's page on the block explorer. While block explorers can be overwhelming, just try and focus on **spotting patterns**, and then asking why that pattern might exist. A common fraudulent practice, for example, is to prevent token buyers and holders from selling a token — so if you don't see any _sell_ transactions, you may be looking at a honeypot scam, or similar.
Unfortunately, there is no way to be 100% sure of a smart contract's legitimacy, short of spending many hours familiarising yourself with Solidity and related coding languages so that you can audit them yourself.
**So it bears repeating: always act with caution on web3**. If you're not sure about a specific site or have any further questions, get in touch with us via the 'Contact Support' card below, or on the homepage of this site.
---
# I've been hacked or scammed (unauthorized transactions on my account)
URL: https://support.metamask.io/stay-safe/protect-yourself/ive-been-hacked-scammed-unauthorized-transactions-on-my-account/
> The steps in this guide outline a method for damage limitation.
If you see an unauthorized transaction on your account, you should first check its details. Using a [block explorer](/more-web3/learn/how-to-check-my-wallet-activity-on-the-blockchain-explorer), check whether you recognize the following details:
- **Date and time** — does it match when you were using MetaMask?
- **Recipient address** — is it a dapp, exchange, or contract you've interacted with?
- **The dapp involved** — listed under 'Activity' in MetaMask alongside each transaction
- **The value sent** — does it match a swap, deposit, or gas fee you paid?
If you recognize the transaction after checking these, you're likely fine. If you're still certain the transaction isn't yours, continue reading.
## My wallet has been compromised {#my-wallet-has-been-compromised}
If you have unauthorized transactions, your wallet is most likely compromised (someone has obtained unauthorized access). The steps below outline a method for damage limitation: you may be able to rescue some funds from your account before they are removed.
### Follow these steps as soon as possible: {#follow-these-steps-as-soon-as-possible}
1. Install MetaMask on another browser (or [another browser profile](https://consensys.net/blog/metamask/how-to-manage-multiple-wallets-with-metamask/)). For Mobile, you'll need a second device, enabling you to create a new instance of MetaMask (if you remove MetaMask from your mobile device and you don't have the [Secret Recovery Phrase backed up](/start/user-guide-secret-recovery-phrase-password-and-private-keys), you won't be able to re-access it).
2. **Create a new MetaMask wallet** on the new browser, browser profile, or mobile device. If the compromised account was created using a Google or Apple account, make sure you _do not_ connect the same Google or Apple account to the new wallet, as these accounts may be compromised.
3. Write down the Secret Recovery Phrase in the correct order and store it someplace safe. **Never give it to anyone**.
4. Go back to the compromised account and **send any remaining funds to the newly created account**. If you believe there may be a [sweeper script](/stay-safe/protect-yourself/fighting-back-against-sweeper-bots) on the compromised account, don't send in any additional ETH or other tokens to pay for gas (if there is a sweeper, try following our guidance [here](/stay-safe/protect-yourself/fighting-back-against-sweeper-bots)).
5. Once you've removed all of the funds you can, **discontinue using the old wallet** and any accounts associated with the compromised Secret Recovery Phrase.
6. [Report the scam](/stay-safe/protect-yourself/how-to-report-a-scam) to the relevant authorities.
**Unfortunately, transactions cannot be reversed, nor missing funds restored. MetaMask is a [self-custodial wallet](/start/metamask-is-a-self-custodial-wallet), which means we cannot control access to user accounts, nor intervene and rescue your account or funds for you.**
## Why did this happen? {#why-did-this-happen}
Due to the sheer scale and scope of web3, there is an enormous abundance of attack vectors that could have been the reason your wallet was compromised. Some common causes are listed below:
- Your computer has been compromised with malicious software and you stored your private information on your computer, allowing it to identify and retrieve your Secret Recovery Phrase, for example.
- You have visited a malicious phishing website that stole your information.
- You gave your private key or Secret Recovery Phrase to someone or a site.
- You gave a dapp or site's smart contract unlimited access to your funds (find out how to revoke access [here](/more-web3/learn/how-to-revoke-smart-contract-allowances-token-approvals)).
- You installed a fake MetaMask extension that stole your funds.
To learn about types of scams that you may have encountered, check out our [Safety in web3 section](/stay-safe/safety-in-web3/).
Try to analyze your browser history and scan your computer to eliminate any further breach of information. If you discover any suspicious phishing websites please follow the steps in our [How to report a scam](/stay-safe/protect-yourself/how-to-report-a-scam) article so we can prevent this from happening to other users in the future. If you have any further information after your own investigation, please let us know.
---
# How to avoid NFT scams
URL: https://support.metamask.io/stay-safe/protect-yourself/nfts/how-to-avoid-nft-scams/
> Learn how to spot and avoid NFT scams on Discord, X, and Telegram.
Scammers actively target Discord, X, Telegram, and other NFT community platforms.
Here are some ways you can stay ahead of common scams on these platforms:
- **Be cautious of any announcements offering a stealth or surprise mint, even from an official Discord account**. An example is the exploit of the Bored Ape Yacht Club Discord server, where [hackers took over a community manager's account](https://mashable.com/article/bored-ape-yacht-club-hacked-again) and announced a surprise giveaway, posting a link to a malicious phishing site. Members who followed the link and participated in the airdrop soon realized they had fallen victim to a scam and their NFTs were stolen.
- **When clicking on announcement links or public messages, confirm they are legit**; this includes NFT mint announcements, airdrops, QR codes, or DMs (even from a name you may recognize). Do your research and verify all links, information, and announcements with a thorough investigation. Phishers, imposters, plagiarists, scammers, and hackers all exist on these platforms, so stay vigilant. Scammers rely on the fear of missing out (FOMO) mentality and employ a common strategy of urgent, time-limited messages with links to be clicked.
- **Be wary of direct messages (DMs) on any social platform.** Scammers often DM users, trying to lure them into clicking a phishing link for a fake mint, giveaway, airdrop, or purported alpha or insider information. They may even imitate the names and profile pictures of support staff associated with the project. Bad actors have been known to send malicious downloadable content via DMs that will compromise a device. We recommend you **do not interact with these messages or click on any links or files provided**. A community manager or team member should never DM you with private information or reach out to you offering support non-publicly. A popular security practice in web3 Discords is to close your DMs so that scammers cannot approach you discreetly.
It's easy to let your guard down when you've become comfortable in a fun space, but with so much activity on these platforms, staying aware and informed is pivotal.
Below are some links to other content for further reading. Although it may not relate directly to NFTs, many of the principles of web3 safety are universally applicable, and it can never hurt to educate yourself:
- [Basic Safety and Security Tips for MetaMask](/stay-safe/safety-in-web3/basic-safety-and-security-tips-for-metamask)
- [What is a 'Secret Recovery Phrase' and how to keep your crypto wallet secure](/start/user-guide-secret-recovery-phrase-password-and-private-keys)
- [Staying Safe in web3](/stay-safe/safety-in-web3/), our scam database
---
# NFT airdrop scams
URL: https://support.metamask.io/stay-safe/protect-yourself/nfts/nft-airdrop-scams/
> Everyone likes getting free stuff. But no one likes getting scammed.
Everyone likes getting free stuff. So when scammers airdrop NFTs into your wallet that promise methods to get further free assets... well, you can probably see where we're going with this.
## How does the scam work? {#how-does-the-scam-work}
In a nutshell:
1. A scammer airdrops (read: _sends_) one or more NFTs to your account.
2. The NFT's image or its metadata (information packaged in with it, including a description if the site supports it) contain instructions directing you towards a malicious site.
3. Tempted by the promise of free assets, high returns on investment, or privileged access to allowlists, for example, you visit the site.
4. Interacting with the site will most likely involve one of the two main web3 attack vectors:
- [Phishing](/stay-safe/safety-in-web3/scammers-and-phishers-rugpulls-and-airdrop-scams) for your Secret Recovery Phrase or private key
- Prompting you to sign a malicious transaction that could drain your entire wallet, or just specific assets.
The exact means for sharing the fraudulent site's URL can vary. Some NFTs may include it directly in the description that comes loaded into its metadata; others may include it in the image itself.
:::info
#### Identifying scam airdrops in MetaMask Portfolio {#identifying-scam-airdrops-in-metamask-portfolio}
MetaMask Portfolio's dashboard feature automatically detects and displays NFTs in your account. It also checks NFTs' metadata to flag potential scams and prevent them from showing in your dashboard by default (learn how to manage which assets show, [here](/manage-crypto/portfolio/how-to-hide-an-asset-token-or-nft-in-metamask-portfolio)).
Unfortunately, scammers have recognized this and are airdropping tokens to Portfolio users. If you use our Portfolio dashboard, please make sure you **do not follow the unsolicited instructions of any NFTs airdropped into your account**.
Here's how they might look:
If Portfolio detects an actual URL in the NFT's description or title, it will be redacted.
We've tightened up the rules to minimize the possibility that fraudulent NFTs will appear in your 'Owned' (safe) list, and we'll be continually tweaking and improving this system going forward.
:::
## How can I identify a fraudulent NFT airdrop? {#how-can-i-identify-a-fraudulent-nft-airdrop}
Broadly, telling apart scam NFT airdrops shares many principles with the task of [identifying malicious token airdrops](/stay-safe/protect-yourself/tokens-and-transactions/how-to-tell-the-difference-between-a-regular-airdrop-and-airdrop-phishing-scams):
- Ask yourself: **did I expect this NFT to be in my account**? If the answer is no, you shouldn't interact with it or follow its instructions.
- **Is it promising something too good to be true**? If yes, avoid at all costs. As the saying goes, there is no such thing as a free lunch. Scammers may offer fraudulent temptations such as:
- A limited-time ticket to get free services, such as free transactions, staking, exchanges, etc. on a given site.
- The ability to swap/burn the NFT and receive tokens with real value in exchange.
- A voucher that allows you to 'claim' tokens you're supposedly entitled to.
- **Is it asking you to visit a site you're not familiar with**? If so, chances are it's malicious and you shouldn't do what they say.
Unfortunately, the sophistication of web3 scams scales with the maturity of the ecosystem in general. **You cannot rely on spotting poorly-designed NFTs**: many of the examples we have seen are visually convincing. Instead, don't let yourself by led by unsolicited opportunities.
## Summary {#summary}
- Don't interact with NFTs airdropped into your wallet. They're probably trying to attract you to a scam.
- The NFTs will try to send you to a website by sharing its URL. Once there, they'll try and phish your Secret Recovery Phrase or ask you to sign a fraudulent transaction.
- The tried-and-tested principle of "if it's too good to be true, it probably is" applies.
## See also: {#see-also}
- [An NFT is missing, marked suspicious, or not displaying correctly in MetaMask Portfolio](/manage-crypto/nfts/an-nft-is-missing-marked-suspicious-or-not-displaying-correctly-in-metamask-portfolio)
- [Scammers and Phishers: Rugpulls and airdrop scams](/stay-safe/safety-in-web3/scammers-and-phishers-rugpulls-and-airdrop-scams)
- [How to tell the difference between a regular airdrop and airdrop phishing scams](/stay-safe/protect-yourself/tokens-and-transactions/how-to-tell-the-difference-between-a-regular-airdrop-and-airdrop-phishing-scams)
---
# NFT listing scams
URL: https://support.metamask.io/stay-safe/protect-yourself/nfts/nft-listing-scams/
> Don't fall for the scammers trying to get you to list your NFTs for 0 ETH.
Contents:
- [How the scam works](#how-do-nft-listing-scams-work)
- [How you can stay safe](#how-can-i-spot-nft-listing-scams-and-stay-safe)
- [Summary](#summary)
Social engineering — more commonly referred to by the more widely used alternative term _phishing_ — is, unfortunately, widespread in web3. With self-custody, even experienced, savvy users can still be manipulated into taking actions that play right into scammers' hands.
More specifically, social engineering describes a scenario where a scammer psychologically manipulates a victim. As you'll be aware, most commonly in web3 this occurs when users are convinced to hand over their Secret Recovery Phrase (seed phrase), providing the scammer with full control of their wallet and its assets.
For the scope of this article, however, we're focussing on one specific type of social engineering that revolves around **getting you to unknowingly list valuable NFTs with a price of zero**.
## How do NFT listing scams work? {#how-do-nft-listing-scams-work}
Scammers have the entirety of the internet at their disposal, including all the tools, sites, social media platforms, etc. that it entails. As a result, you may encounter a variant of this scam in the wild that doesn't match up exactly with our description below. So, as with all our scam explainers, please take this article as a blueprint, and stay vigilant for the key points in the sections below.
Here's how fraudulent NFT listings usually take place:
1. **The social engineering**. To start with, the scammer first has to execute the 'social' element of this step. That is to say, they need to try and engage you in a sociable way — contriving an interaction that feels natural, has some plausible pretext, and, often, benefits you somehow. This could be:
- Complimenting you on some content you posted
- Offering you 'alpha' on a new NFT project, token, or dapp
- Providing access to an allowlist for an NFT drop
- Asking a genuine, relevant question that seems well thought-out
...you get the idea. The main thing is that there has to be something in there that piques your interest.

And once they have your attention, they can present you with the means to get scammed. From what we've seen, this is typically a fraudulent dapp, cleverly set up to seem legitimate. The catch is that the backend of the dapp is designed to steal your assets.
:::warning[warning!]
The dapp that the scammer links to doesn't necessarily need to be related to the subject they got in touch about, nor does it have to relate to NFTs, any type of token, or otherwise. It just needs to get you to connect your wallet and interact so that it can propose a transaction for you to sign.
:::
2. **The technical underpinnings**. Even if you've [connected your wallet](/more-web3/dapps/disconnect-wallet-from-a-dapp) to a scam site, there is not really any damage it can do. All it can do is see your account address, which it can then use to check your balances, and propose transactions for you to sign. _However_, **where it does start to get dangerous is when you start to be presented with things to sign**.
Applying your digital signature to a transaction or message means you give it your irrevocable — you can't take it back — blessing. Usually this translates to total consent for it to do what it needs, as dictated by its smart contract.
The problem with dapps that the scammers provide you with is that they will usually have **mechanisms hidden in the smart contract code that don't match the actions that the dapp displays in the UI**. This is how they trick you.
3. **The theft**. The most common variant of this kind of scam involves this process:
1. **Prompting you to sign a transaction** on the fraudulent dapp. This may or may not be related to NFTs, and will usually be entirely misleading about what it actually does.
2. **What you've actually signed is a transaction that lists your NFT(s) for 0 ETH**. The mechanism can be quite convoluted: it may be that the dapp can only access these NFTs because you've already approved OpenSea's access to them. This is how you can list them with a single signature.
3. The scammer, aware of the 0 ETH listing before anyone else, **immediately purchases it on OpenSea**.
## How can I spot NFT listing scams and stay safe? {#how-can-i-spot-nft-listing-scams-and-stay-safe}
Due to the possible complexity of social engineering/phishing, even the most experienced web3 users can fall victim to it. Total avoidance of phishing would mean removing yourself from any kind of online social contact or interaction, which, for many, is either unfeasible or undesirable — and even then you'd probably still be targeted.
However, you can still prevent this occurring by remembering these key principles:
- Be ultra-wary of any new dapp **_before_** you interact with it. Internalize the methods for [deducing whether a smart contract or a dapp is safe to interact with](/stay-safe/protect-yourself/how-to-tell-if-a-smart-contract-is-safe-to-interact-with).
- **'Sandbox' your valuable assets** in different wallets. For example, you could have one wallet (i.e. one or more accounts backed up with _one_ Secret Recovery Phrase) that you use specifically for interacting with dapps. This could be your 'live' wallet for day-to-day activity, and could hold some ETH for interacting with contracts and paying gas. Meanwhile, your valued assets would be stored elsewhere — 'airgapped' in another MetaMask wallet, or stored in a hardware wallet.
- **Be skeptical of strangers on the internet**. While the internet is full of decent people, anonymity makes it fertile ground for scammers. Although unpleasant, it's best to assume that any unsolicited contact — especially if it relates to web3 — has the potential to involve malicious intentions.
## Summary {#summary}
tl;dr: **be careful with new, unfamiliar dapps, as they can mask functions in their smart contracts which make you unknowingly list your NFTs for 0 ETH**.
- This works through social engineering — a.k.a. phishing. The scammer needs a pretext to share their fraudulent site with you.
- Always do your due diligence on any site you come across. See our [guidance](/stay-safe/protect-yourself/how-to-tell-if-a-smart-contract-is-safe-to-interact-with).
- Consider distributing your assets across different wallets, so that if one is compromised or if you sign an approval or give your signature to something malicious, you at least haven't lost all of our assets.
---
# NFT minting scams
URL: https://support.metamask.io/stay-safe/protect-yourself/nfts/nft-minting-scams/
> Learn how to be vigilant and avoid scammy NFT mints.
NFTs played a considerable role in the surge that web3 experienced in 2021. Creating, buying, and selling all helped raise asset prices, and web3 was further pushed into the spotlight of mainstream media coverage and discussion amongst people who had previously had no involvement with crypto.
Abstracting crypto away from numbers and charts and into art and collectibles means that NFTs often appeal to people who, in years gone by, would not have been involved with crypto. This can make them such an appealing target for scammers. If you're not an experienced web3 participant, and just got involved because you want to explore a new and more rewarding way of selling your art, you're less likely to be clued up on the technical underpinnings of blockchain, smart contracts, and tokens, and therefore _more_ likely to fall victim to a scam.
That's not say that those involved with NFTs aren't knowledgeable; just that the popular appeal of these assets may attract people who _are_ ignorant of key web3 security principles.
## How does this scam work? {#how-does-this-scam-work}
Borrowed from its usage as a term used to describe the creation of that much more traditional asset, the physical coin, the word _mint_ basically describes the act of creating an NFT. From its minting onwards, the asset and its owner are recorded on the blockchain.
In a lot of cases, NFT creators or collectives distribute new collections through open minting processes, where anyone can get involved. Often these are gated by membership of a certain club, possession of existing related NFTs, or some other credentials. Sometimes, though, they're fully public, with a first-come, first-served model.
These are usually the situations that scammers are trying to lure you into. Though the circumstances can and do vary significantly, this is the general procedure:
1. **The scammer invents an NFT project**. Sometimes this may be almost impossible to distinguish from a genuine project. In other cases, it may imitate existing prominent projects in some way, to capitalize on — leach off — the interest they attract.
2. **They present you with the scam NFT mint, and apply pressure.** Emails, SMS, Telegram, Instagram, Twitter, Reddit... the number of possible options for publicising a scam NFT project is considerable. Once they've made you aware, they will contrive various ways of convincing you that you absolutely need to get involved, right away.
3. **You're made to sign a transaction that results in you losing funds**. Again, the scope for this is large. Types of transactions that scammers may prompt you to sign include:
- **Send**: A simple 'send', i.e. transfer of funds. This should ring alarm bells because it demonstrates you're not receiving anything in return — you're just asking to have funds removed from your wallet and added to someone else's. NFTs will not be involved at all. It is also not a contract interaction, meaning it couldn't possibly be interacting with an NFT smart contract.
- **Token approval**: Asking you to authorize the dapp and its smart contract to move around a given amount of a token in your wallet (you can [read more here](/stay-safe/safety-in-web3/what-is-a-token-approval/)). Think: "Why would I need to provide access to my tokens to mint an NFT?" Answer: you shouldn't. NFTs will need gas, paid in ETH, to mint. But an NFT mint certainly won't need access to any token, such as an ERC-20.
- **Dangerous transaction (warning message)**: Sometimes MetaMask will automatically identify when you're interacting with a suspicious contract, and present you with a warning message in red text advising that you may be handing over control to a significant amount — or _all_ — of your assets. A suspect NFT mint site may prompt this message. If you see it, you should **never** sign the transaction.
:::info
#### What's all this talk about smart contracts? {#whats-all-this-talk-about-smart-contracts}
An NFT mint is always orchestrated by a smart contract. Whether you 'create' your NFT on a major marketplace or write your own smart contract to do so, you need to interact with the Ethereum Virtual Machine so that your NFT is safely recorded on the blockchain. **This is why minting NFTs is not free: gas fees must be paid to fund this computation** (though some marketplaces have 'lazy' minting, where you don't pay until your NFT sells.)
Minting an NFT fundamentally will involve a smart contract interaction.
:::
## How can I identify scam NFT mints? {#how-can-i-identify-scam-nft-mints}
Given the creativity and desperation of scammers to find new ways to exploit people, it isn't possible for us to exhaustively document every single way that this scam could reach you. Additionally, as we mentioned above, in some cases a fraudulent NFT mint may be indistinguishable from a genuine one. However, if you learn to recognize what an NFT mint _should_ look like in MetaMask, you're far less likely to get scammed.
That being said, a lot of instances of this scam can be avoided by:
- **Being wary of any direct messages you receive, and, specifically, the links they contain**. If the mint is attempting to mimic an existing legitimate project, inspect the URL and compare it with the real site.
- **Not falling for FOMO.** Scammers will try to create a sense of urgency, pressurizing you into acting without scrutinizing what you're interacting with. In these situations, where you're worried about missing out on an opportunity to potentially secure a valuable asset at a bargain price, take a step back. If the NFT mint exhibits one or more of these signs, it could be a scam:
- A **progress bar** **or a counter**, indicating that there are fewer and fewer NFTs available to be minted as time goes on
- A **countdown timer**
- **Popup messages** on the site showing others — in real-time — that have just minted, and how many NFTs they minted
- **Due diligence**. As we stated with imitation NFT projects above — where comparing URLs and other features against the legit version can help you identify scams — you can usually get a clearer picture through additional research. If the project is not imitating an existing one, you could:
- Check socials and websites for traces of an identifiable team behind it, a whitepaper, roadmap, a community, etc.
- Take the public address of the party you're interacting with and check it out on a block explorer. Does it match the activity you'd expect of an NFT minting contract?
## Summary {#summary}
- NFT mints are often used as an attack vector as scammers elicit FOMO to **try and make you act with less caution**.
- Always do your **due diligence** on any NFT project that is hosting a mint.
- Often, scams will **rely on you not properly scrutinizing the transaction** that they prompt.
---
# Crypto job scams
URL: https://support.metamask.io/stay-safe/protect-yourself/social-engineering/crypto-job-scams/
> Learn how to avoid common job scams.
A frustrating reality of being online, especially within web3, is co-existing with scammers. While ripping people off is a dishonest trade as old as time reserved for the truly heinous, it pays to be aware of increasingly evolved and sophisticated traps, if only to totally avoid it.
One attack vector that stands out is **Crypto Job Scams**. As the crypto space grows, so do employment opportunities, and unfortunately, scam targets.
Whether you're seeking a job or looking to hire someone, being aware of these attacks is a critical step to safeguarding your assets, your company’s assets, and/or your users' assets. Over the past year alone, we’ve observed a convergence of diverse threat groups targeting individuals on both sides of the hiring equation.
This comprehensive article dives into common crypto job scams identified by our Security Research team, with tips on how to avoid them. **Remember, if something seems too good to be true or feels off, it probably is**.
1. [Job Ponzi Schemes and Task Scams](#job-ponzi-schemes-and-task-scams)
2. [Games looking for beta-testers and non-technical roles](#games-looking-for-beta-testers-and-non-technical-roles)
3. [Fake Recruiters, Skills Tests, and Requests for Help](#fake-recruiters-skills-tests-and-requests-for-help)
4. [Freelance Job Sites and Malicious Job Offers](#freelance-job-sites-and-malicious-job-offers)
5. [Scammers that get hired](#scammers-that-get-hired)
## Job Ponzi schemes and task scams {#job-ponzi-schemes-and-task-scams}
:::info
This type of scam is a **mashup of classic pig butchering, ponzi/MLM tiers, and actual work**. The scheme starts off by promising candidates high hourly rates, flexible hours, and the ability to work from home, all for minimal effort.
:::
Victims often start by completing a brief "training" for a small payment before doing daily tasks that earn them commissions, paid out periodically to their on-chain wallets.
Soon, the victim comes across a job that requires them to pay a small amount in order to submit or finalize the job. The scammer support staff assure them that “this happens from time to time” and they will “always be reimbursed.” Victims who take the risk are in fact reimbursed, and also receive a higher commission or bonus for that job. Some schemes have leveling systems which unlock bonuses, higher commissions, or access to more jobs.
From there though, the **scam escalates quickly**. Occasional, small payments turn into larger payments. However, these “jobs” also yield even larger commissions and bonuses. Unfortunately, the actual payouts have stopped at this point but victims can see the amount to be paid out on their dashboard and assume the payouts will come, just as they always have before.
Alas, the payouts never arrive. Sometimes support staff will tell the user there's a technical issue or they need to complete "verification" as is common in classic [pig butchering scams](/stay-safe/protect-yourself/social-engineering/fake-token-investment-scams-and-pig-butchering-attacks/#what-is-a-pig-butchering-attack) but, generally, these job ponzi schemes escalate and end more quickly.
### Watch out for: {#watch-out-for}
- Job posts that offer exceptionally high hourly rates for a low number of flexible hours.
- Jobs shared on social media (example: Facebook groups) or job sites, where scammers impersonate recruiters or agencies.
- Repetitive, task-based work like assembling 'travel packages' or reviewing hotels or products.
- Websites that only have a mobile layout, even when viewed on a computer.
- Recruiters or support staff use WhatsApp and/or Telegram to communicate with workers.
- There is a referral or invite code required to sign up to "start working".
- The platforms may impersonate or refer to legitimate businesses or services in the sector (e.g. Navan, Airbnb, Main Event Music, Resy).
- All payments and payouts are done via cryptocurrency—typically USDT on Ethereum or Tron.
- You are required to pay to complete the job/task.
:::tip
### How you can protect yourself and avoid job ponzi and task scams: {#how-you-can-protect-yourself-and-avoid-job-ponzi-and-task-scams}
- Always verify the legitimacy of job offers. Check the company's official website and contact them directly using contact information from the website.
- Be wary of any job that requires **you** to pay, especially in cryptocurrency. **Do not pay your employer! (a good rule of thumb in life)**
- Stay skeptical. If it's too good to be true, it likely is! This still applies, even when "work" is involved.
- Check the website's URL on Whois to see when the domain was first registered. Often—but not always—scams like these are short-lived and change frequently. If the URL was registered in the last few days or weeks, it's almost certainly a scam. (If it's existed for longer, it could still be a scam, so watch out for other telltale signs)
- Google unique words or phrases in the URL, on the website, or emphasized by the scammer, along with the word "job scam" or "site:reddit.com". For example, [navan vip job scam](https://www.google.com/search?q=navan+vip+job+scam) and ["music mentor" "crypto" "job scam"](https://www.google.com/search?q=%22music+mentor%22+%22crypto%22+%22job+scam) reveal countless reports and discussions.
:::
## Games looking for beta-testers and non-technical roles {#games-looking-for-beta-testers-and-non-technical-roles}
:::info
This type of ongoing scam is essentially **malware-posing-as-games**. It typically starts with cold DMs from a person on Twitter or Discord offering jobs at blockchain or metaverse companies.
:::
The jobs are usually entry-level or non-technical (moderators, customer support, etc.), and require installing “games”, often impersonating legitimate games.
Their websites are often extremely polished. (all links work, matching socials, etc.) The game however doesn’t actually exist—the installer works but the app displays an error as if it didn’t. In the background, the victim’s device has been compromised by crypto-stealing malware like Redline, Realst, Atomic/Amos, or Stealc that instantly searches for crypto wallets, credit cards, passwords, and anything financial or secret.
Victims’ wallets will be drained quickly and they may experience attempted logins, account takeovers, credit card fraud, and subsequent thefts for months to come.
### What to do if you’ve installed malware disguised as a game {#what-to-do-if-youve-installed-malware-disguised-as-a-game}
- **Disconnect from the internet immediately** and **completely power down your device**.
- Using a different device, **transfer any assets out of wallets** or Secret Recovery Phrases that were on that device.
- **If you need your compromised device to do this**, be sure to ensure you have turned it completely off and on again and keep it disconnected from the internet as much as possible. Do NOT create new wallets or passwords via the compromised device!
- **Begin with the highest value assets and accounts you most frequently access**. Continue to any seeds or keys that were also on your device (e.g. seed phrases in notes, on your desktop, in your password manager, etc.)
- **Change your passwords**, especially for your Google, Apple, CEX's, business/company logins, bank accounts, Twitter, and Discord. **Set up MFA** via Google Authenticator with Cloud sync turned OFF. Remove any account recovery or 2FA via Email and/or SMS. **Stay on the lookout** for any attempted logins or new login notifications.
- **Document and report any assets stolen and file a report** via [ChainAbuse](https://www.chainabuse.com/) and [IC3](https://www.ic3.gov/Home/FileComplaint). Include:
- Your on-chain addresses that had assets stolen from them.
- Primary transaction hashes of your funds being stolen—denote the chain/network, or simply link to the [block explorer](/configure/transactions/how-do-i-find-my-transactions/#finding-transactions-on-the-block-explorer).
- The addresses the stolen funds were immediately sent to.
- The social media links/usernames of the scammer(s).
- The website URL you were directed to and/or downloaded the malicious application from.
- Any other suspicious or irregular activity on your accounts.
- A concise summary/timeline told from your point of view of what happened. _Example: On Mar 3, 2024, a user with the handle XXX reached out to me via Twitter DM. He offered me a job at a game called **. He told me to go to the URL ** and install the game. On Mar 4, 2024, I did so. It didn't work. Then I noticed unauthorized transactions had been sent from my wallet beginning Mar 4, 2024 at 11:00 UTC. My addresses are: **. The stolen funds were sent to: \_\_**. Here is one transaction where $50k worth of USDT was stolen from my account. On Mar 5, 2024 someone attempted to login to my Bitgo account with the IP address \_\_ but they were not able to. In total, approximately $200k worth of crypto was stolen from me._
- **Run a comprehensive malware scan** on the compromised device. **Consider simply wiping the device and starting clean for peace of mind**.
:::tip
### How you can protect yourself and avoid game scams: {#how-you-can-protect-yourself-and-avoid-game-scams}
- Avoid downloading and installing software sent to you via DM—even if it appears to be a widely-used piece of software (Zoom, Anydesk).
- If you are interested in beta testing, only accept offers from well-known, reputable companies.
- Use antivirus software and keep it up-to-date.
- Use a [hardware wallet](/more-web3/wallets/hardware-wallet-hub/) to manage and store your crypto assets.
- Use separate devices for day-to-day browsing, job hunting, gaming, and/or recklessly downloading things from strangers.
- Stay skeptical! High paying / low effort jobs are more likely a lure to scam you than a legitimate opportunity.
- Search Twitter, Google, Reddit for the name of the game, social media handle of the person you're DMing, URL, or unique words used by the scammer, along with the word "scam." For example, there are countless reports if you search ["discord ambassador crypto game scam"](https://www.google.com/search?q=discord+ambassador+crypto+game+scam—all) words that were used in the first cold DM from the scammer.
:::
## Fake recruiters, skills tests, and requests for help {#fake-recruiters-skills-tests-and-requests-for-help}
This scam as it suggests uses **social engineering like false personas, assessments, and help requests to prey on employees at targeted companies**.
:::note
North Korean hacker groups like Lazarus have long been the most prevalent threat actor targeting the cryptocurrency industry, stealing well over [$3 billion dollars worth of cryptocurrency](https://therecord.media/north-korea-cryptocurrency-hacks-un-experts) over the past 7 years. But their huge hacks begin with a small toehold, often gained by social engineering an individual employee at the target company.
:::
These social engineering efforts include [fake job offers](https://blog.google/threat-analysis-group/countering-threats-north-korea/) and fictitious [Linkedin](https://securelist.com/the-bluenoroff-cryptocurrency-hunt-is-still-on/105488/) personas that ultimately deliver an [ever-growing](https://www.proofpoint.com/us/blog/threat-insight/ta444-apt-startup-aimed-at-your-funds) array of [sneaky malware](https://github.blog/2023-07-18-security-alert-social-engineering-campaign-targets-technology-industry-employees/#indicators) and [deadly RATs](https://www.cisa.gov/news-events/cybersecurity-advisories/aa22-108a). These [malicious job offers](https://www.sentinelone.com/blog/lazarus-operation-interception-targets-macos-users-dreaming-of-jobs-in-crypto/) have previously resulted in the [$600m Ronin Bridge Heist](https://www.theblock.co/post/156038/how-a-fake-job-offer-took-down-the-worlds-most-popular-crypto-game), the [3CX double supply-chain attack](https://www.welivesecurity.com/2023/04/20/linux-malware-strengthens-links-lazarus-3cx-supply-chain-attack/), the [$37m Coinspaid Heist](https://www.dlnews.com/articles/defi/how-north-korea-lazarus-group-stole-crypto-from-coinspaid/), and countless more.
This malicious scheme involves targeting already-hired people at a crypto company. Fake recruiters contact employees via LinkedIn, offering job “tests” for a prospective job, or asking for help with debugging code. Running the code compromises the employee’s computer, giving hackers access to both personal and company data. They then leverage this to eventually gain critical entry into the companies’ AWS servers, where they are ultimately able to steal millions of dollars worth of cryptocurrency.
This has happened before and is still ongoing. Read this real-life interaction in this thread to understand the persistent severity and to avoid similar situations that could happen to you:
:::tip
### How you can protect yourself and your company from scams: {#how-you-can-protect-yourself-and-your-company-from-scams}
- Stay skeptical, don't judge, and don't assume you're above falling for any scam.
- **Don't run or build code from strangers**.
- Use different devices for work and personal activities.
- Use hardware wallets/ hardware MFA.
- Learn from others' mistakes and educate colleagues and others around you.
:::
## Freelance job sites and malicious job offers {#freelance-job-sites-and-malicious-job-offers}
:::info
This scam involves malicious actors targeting freelancers, especially developers, on freelance job platforms. Freelancers or development teams are typically approached with job offers that seem authentic, often involving tasks like job interviews, skills tests, or finishing a project.
:::
Scammers share detailed instructions through Google Docs and links to code hosted on repositories such as GitHub or Bitbucket, or via zip files on Google Drive.
The danger lies in the code itself. Once devs run or interact with the provided code, **malicious scripts compromise their devices, draining any cryptocurrency wallets or private keys stored in their browser extensions or desktop wallets**. The assets are stolen almost immediately, and in some cases, the scammers use the compromised keys to further exploit smart contracts or protocols.
For example, attackers may contact a developer or a dev shop asking for help to complete a project. They then grant access to a private (malicious) repository. When the tech lead runs the repo to assess the work needed, their device is compromised. This can lead to the immediate theft of any active wallet assets or sensitive data stored on their machine, potentially putting their own projects or previous clients at risk.
### Watch out for: {#watch-out-for-1}
- Job offers requiring you to interact with code provided through unofficial sources or hosted on third-party platforms.
- Requests to download and run unfamiliar code or zip files, particularly those involving npm install/run/build.
- Requests to run scripts, install video call software, or perform tasks on untrusted devices.
- Clients that seem polished like game studios or blockchain orgs but come with unverified code or vague details.
:::tip
### How to protect yourself from malicious job offers: {#how-to-protect-yourself-from-malicious-job-offers}
- Verify the identity of the person you're speaking to through multiple means.
- Do not download or install video call software or run a provided script just because someone promised you a job via DM.
- Avoid clicking on unsolicited links or downloading attachments from unknown sources.
- Use separate devices for day-to-day browsing, job hunting, gaming, and/or recklessly downloading things from strangers.
- Never access or store critical systems, sensitive information, or your crypto wallets on this device.
- Utilize multisigs / hardware wallets
:::
## Scammers that get hired {#scammers-that-get-hired}
This scam involves companies unknowingly **hiring malicious employees**, particularly from North Korea. These threat actors use fake identities and forged documents to land remote IT jobs, exploiting their positions to deploy malware, compromise private keys, or deploy smart contracts with back doors.
A report by Zero Day details how North Korean workers tricked companies by using fake names and scripts. [Reuters](https://www.reuters.com/technology/north-koreans-use-fake-names-scripts-land-remote-it-work-cash-2023-11-21/) also reported on North Koreans landing remote IT work under false pretenses, which they use to funnel money back to the regime.
Pseudonymous development is commonplace in this industry, but it also creates unique risks to accountability, contractual enforcement, and engendering trust in and among stakeholders in a blockchain product. Malicious actors can exploit a lack of identity verification and background checks to interfere with a product’s development, steal funds, or cause other serious harm, and institutions will have no or limited means to punish them. In recent years, North Korean hackers have applied to real positions using [fake Linkedin accounts](https://www.mandiant.com/resources/blog/lightshow-north-korea-unc2970) and impersonated companies to offer fraudulent positions. These practices have directly led to severe hacks, including [Axie Infinity’s $540 million loss](https://www.theblock.co/post/156038/how-a-fake-job-offer-took-down-the-worlds-most-popular-crypto-game).
As a result, companies must know the identities of and perform background checks on all of their employees, including those who use public pseudonyms. Companies must also reach additional maturity in their access controls and monitoring; for example, they should make prudent decisions surrounding operational security based on an employee’s role, background, and the territory they reside in (i.e., considering local laws and jurisdiction).
:::tip
### How companies can protect themselves {#how-companies-can-protect-themselves}
- Conduct background checks on all potential hires. Use reputable third-party verification services and obtain actual documents.
- Be cautious of applicants with suspiciously stellar qualifications that seem too good to be true.
- Have multiple people interview the candidate over multiple days—take notes and compare notes especially about where they say they are from, currently living, where they went to school, etc.
- Make interviewees be on camera. Ask them where they are, why they choose to be there, etc. It's good small talk to get to know someone. Also hard to answer if you're in a call center type place with 30 people around you.
- For extra security, consider requiring employees to use hardware authentication keys, such as Yubikeys.
- Check to make sure you're not paying 2 separate employees to the same on-chain address. Similarly, your devs should interact with each other in chats and on calls. If you've never seen 2 of your devs in the same place at the same time, you have a problem.
- Check their IP/geolocation against where they say they are from.
- Don't give any employees or devs full, unfettered access to critical systems—especially deployer/admin keys! Use multisigs!
- Get references and actually check those references.
:::
## Final thoughts {#final-thoughts}
web3 offers immense opportunities but it also attracts a ton of scammers looking to exploit innocent individuals through job-related means. By understanding the diverse attack vectors—from task scams and fake recruiters to malicious employees and malware-laden job offers—you can better protect yourself and your assets, as you now know what to look out for.
**Always verify the legitimacy of job offers, recruiters, and companies**. Use hardware wallets and require MFA and multitudes for any access to critical systems, including your protocol’s smart contracts.
Stay skeptical, stay vigilant and continue to share information about the attackers and their tricks with your friends and colleagues. Together we can improve this ecosystem’s defenses against these ever-evolving threats.
---
# Fake crypto exchange scams
URL: https://support.metamask.io/stay-safe/protect-yourself/social-engineering/fake-crypto-exchange-scams/
> Don't fall for the fake CEX's!
Contents
- [How fake crypto exchange scams work](#how-the-scam-works)
- [How to stay safe](#how-to-stay-safe-red-flags-to-look-out-for)
- [Summary](#summary)
Scammers will always try to get as close to you and your funds — whether in crypto or fiat — as they can. One of the places where web3 participants are at their most vulnerable is centralized exchanges (CEXs).
As opposed to decentralized exchanges (DEXs), where one party directly exchanges their tokens with another party according to smart contracts (code), CEXs need their customers' trust due to them taking **custody** of their funds for at least part of the order process. Whereas DEXs conduct the entirety of every trade on chain, CEXs usually store their order books — the _ledger_ where trades are recorded — **off chain**.
Since their order is off chain, the user can't track its progress transparently, and instead has to trust that it is being processed and that they will receive the funds they were promised.
**And wherever trust is necessary, it can be exploited**. Let's take a look at how these scams are usually structured.
:::info
#### Not all exchanges are created equal {#not-all-exchanges-are-created-equal}
None of this is to say that DEXs are fundamentally safer than CEXs. Due to their almost complete reliance on code, they are extremely vulnerable to exploits — _if_ a talented hacker can find one and leverage it to their benefit.
CEXs also vary in their trustworthiness, but since this is a subjective label determined by individuals' experiences and opinions, most discussion is moot. The collapse of FTX in late 2022, a CEX widely lauded as one of the most trustworthy, demonstrates why you should retain a healthy scepticism towards CEXs and look into self-custody solutions to minimize your exposure to the risk of centralization.
:::
## How the scam works {#how-the-scam-works}
Like many scams in web3, **fake exchanges operate with a model that lures users with the promises of better-than-average (or, often, spectacularly better than average) returns on investments**. Other promises could include sign-up bonuses, such as free crypto. While many legitimate CEXs offer rewards for using their platform, it is rarely without conditions: it's more commonly a reward for completing a certain number of transactions, or for just becoming more heavily involved in the platform through deposits or similar. No-strings-attached free money is usually a sign of a scam. We find ourselves saying this a lot, but it is an almost-universally relevant principle to keep in mind in web3: if it seems too good to be true, it probably is.
Anyway, here's the playbook:
1. **You're presented with the scam site**. The scammer's method for getting you on their site can vary, and could be any of the following (and more):
- Unsolicited direct messages on social media
- Traditional communication methods such as email or text
- Mimicking a reputable CEX. This can include mimicking the appearance of the site itself, but also 'typosquatting' with a similar URL, or just adopting similar or related names to major reputable exchanges.
2. **You're promised significant rewards**. To entice you to use the fraudulent site, the scammers need tempting bait. This could be instant sign-up bonuses, extremely high returns (APY) on deposits/staked assets, or something similar. Sometimes, in order to access these returns and use the platform, users are mandated to pay some kind of account fee to setup their profile and enable trading.
3. **The money you deposit to invest is stolen, and your portfolio and trades manipulated**. When you deposit to make trades on the platform, your funds are actually just removed by the scammers. However, they are likely to make sure that your portfolio and/or trade history is configured to *suggest *that you did make the trade, and received the appropriate amount in return. This manual adjustment of the trades means they can easily reflect the high returns/bonuses that they initially promised. This results in a situation in which the user thinks that they're making considerable returns, since every time they check their portfolio, they will see them reflected there. In reality, any investment they make is likely to be immediately pocketed by the scammer, with no actual trade having taken place.
## How to stay safe: red flags to look out for {#how-to-stay-safe-red-flags-to-look-out-for}
Knock-off brand and domain names
A common tactic for feigning legitimacy is mimicking the names and branding of existing CEXs. Make sure to inspect the domain name in the site's URL closely, and compare it with the real thing, which should be straightforward to locate. Scammers may also 'typosquat'. This is a technique where the URL is the same as the legitimate version, only with one or two characters replaced. This makes it possible for users to directly input the scam site's URL if they make a simple typo.
Unbelievably high returns or rewards
Promises of APYs, bonuses, and returns in general that are considerably higher than going market rates should always raise suspicion.
Urgency and pressure
Scammers are keen to swindle you before you have time to realize what's gone on. This is why they so often try and
pressure you to do things _now_, or by a certain point in time.
Visual clues: bad design
Scammers' sites and emails are rarely of a professional quality, and it's often quite easy to tell. Look out for
low-res images, scruffy layouts, and misspellings. Sophisticated, well-built scam sites are possible though, so
don't assume a site is legit just because it looks good.
And, of course, always remember: never give your Secret Recovery Phrase to anyone. See more basic safety and security tips [here](/stay-safe/safety-in-web3/basic-safety-and-security-tips-for-metamask).
## Summary {#summary}
- Scammers can pose as crypto exchanges in a bid to get you to deposit funds.
- Usually they offer bonuses or high returns to entice you.
- It's possible that your portfolio will display correct values in the site's UI, in line with what you've actually deposited. This can be a front, with your funds having been gradually stolen all along.
- You'll usually be able to spot these sites before you deposit due to a few [giveaway features](#how-to-stay-safe-red-flags-to-look-out-for).
---
# Fake 'mining' voucher scams
URL: https://support.metamask.io/stay-safe/protect-yourself/social-engineering/fake-mining-voucher-scams/
> Luring you in with "mining" rewards? No thanks!
> This article was adapted from a blog post available [here](https://consensys.net/blog/metamask/fake-mining-scams-a-familiar-foe-in-a-new-disguise/).
This is a type of scam that uses the promise of “mining” rewards to lure you into depositing tokens on the platform. At first, your balance on the platform appears to grow through these rewards. This is just a ruse: the balance these dapps display is false, and the scammers have been draining your wallet while deceiving you into believing that your balance was actually growing.
Contents:
- [How does the scam work?](#how-do-fake-mining-scams-work)
- [How can I stay safe?](#how-to-stay-safe)
- [Summary](#summary)
## How do fake 'mining' scams work? {#how-do-fake-mining-scams-work}
The key step in executing this scam is for the malicious actor to obtain a token approval from you. This means you'll be signing a transaction that gives their smart contract (a program running on their dapp) permission to move your funds. Only then can they start to steal your funds as they intend.
Approvals are per token — so if you approve a request relating to USDT, the dapp will have permission to move that token according to its programming.
:::warning
#### Token approvals {#token-approvals}
Understanding token approvals is important for staying safe in web3. Read our explainer [here](/stay-safe/safety-in-web3/what-is-a-token-approval) for more information. It's also important to note that _connecting_ to a dapp is different to signing a token approval it suggests to you.
:::
### Luring you in {#luring-you-in}
Before a scammer can get you to sign a token approval on their dapp, they need to lure you to that site in the first place.
The method for sharing the link to the dapp itself (a website) can vary significantly. Maybe it's in a Telegram group; maybe on Twitter; maybe via Instagram. It could also be in your direct messages on any platform. Whichever method they choose is not the key detail here: instead, we need to focus on what it is they're offering.
To attract you to their site, scammers promise some combination of:
- Guaranteed returns on an investment
- Free money
- Extremely high APYs (yields) in return for deposits.
This is where — they hope — your eyes will light up. _Shut up and take my money_! etc.
### Getting your signature {#getting-your-signature}
No, they don't want your autograph. What they _do_ want is the signature generated by your private key, on an approval transaction.
This is where the 'voucher' comes into play. The idea is that you hand over XYZ amount of tokens to 'buy' a voucher that gains you access to the platform, and, from there, access to the ludicrous gains that they've promised you. The catch is that the transaction the dapp suggests — which they hope you will just interpret as the voucher purchase — is actually an unlimited token approval. This gives the dapp the ability to drain your wallet of as many tokens of that type as it wants, until there are none left.
:::warning
#### 'Unlimited token approval'? What?! {#unlimited-token-approval-what}
This is, unfortunately, a common way for bad actors to gain access to your funds and drain them from your wallet. See the relevant section [here](/stay-safe/safety-in-web3/what-is-a-token-approval) for more information.
:::
### Draining your wallet {#draining-your-wallet}
Once they have the unlimited token approval, the scammers have — on paper (figuratively speaking) — your permission to take as many of your tokens _of that type_ that they want.
Often, though, they don't tend to do this straight away. The entire premise of the scam relies on the user being unaware of it taking place. To achieve this, the scammers will often slowly take funds from your wallet — using the approval you granted — while continuing to inflate the value of your deposit/holdings on their dapp, making you feel like you're actually gaining.
By the time you notice, it's too late.
## How to stay safe {#how-to-stay-safe}
There's a few key behaviours you can adopt to prevent you falling victim to a scam like this:
- Always check what a dapp is actually requesting before clicking 'approve '. In MetaMask, you can also adjust the amount that the dapp has access to. Even if you only provide access to 10% of your tokens, and the dapp turns out to be a scam, that's still a considerably better outcome than if you 'd granted unlimited access.
- DYOR. The best time to get in the habit of performing due diligence on any dapp before interacting with it was six months ago; the second best time is today. Look out for misspellings, low-quality images/logos, and other giveaways.
- Remember that if something seems too good to be true, it probably is. If you're being offered 498,563% APY, you're probably on thin ice.
- Get used to checking out any smart contract/dapp before you interact with it, potentially using our [guide](/stay-safe/protect-yourself/how-to-tell-if-a-smart-contract-is-safe-to-interact-with) as a starting point.
Additionally, you might consider holding smaller sums in your software wallet (one that's connected to the internet, such as MetaMask) while keeping the bulk of your tokens in a [hardware wallet](/more-web3/wallets/hardware-wallet-hub). For example, some recommend the rule of thumb that you should only keep a value in your software wallet that you 'd be happy to carry around in your physical wallet.
## Summary {#summary}
- These scams work by luring you in with the promise of high rewards and tricking you into signing an unlimited token approval
- Clue up on token approvals and be wary of any app that asks for unlimited access
- If a money-making proposition seems to be good to be true, it probably is.
Remember: if you think you've identified a fraudulent address, you can [report it on Etherscan](/stay-safe/protect-yourself/how-to-report-a-scam).
---
# Fake token investment scams and 'pig butchering' attacks
URL: https://support.metamask.io/stay-safe/protect-yourself/social-engineering/fake-token-investment-scams-and-pig-butchering-attacks/
> As nasty as it sounds.
This attack involves scammers convincing users to invest into fraudulent tokens, often imitating existing prominent tokens for credibility.
## How does it work? {#how-does-it-work}
_Content Warning: mentions of animal butchery._
Most often, we see this type of scam occur following a period of initial social engineering, during which the malicious actor tries to build trust and rapport with the victim. This process is often known as "**pig butchering**".
:::warning
#### What is a "pig butchering" attack? {#what-is-a-pig-butchering-attack}
"Pig butchering" is the English translation of the Chinese phrase that can be rendered in Latin characters as "shā zhū pán". The rather grisly name refers to gradually fattening up pigs before they're slaughtered in order to improve the quality and quantity of meat that can be butchered. The concept of being kind to the pig—by offering additional food—but only for selfish, malicious reasons can be applied to crypto scams: often, scammers will seek the victim's trust, friendship, or even romantic interest during an initial period of social engineering. This cynical kindness is then withdrawn once the scammer has what they want from the victim — in our context, this is almost always crypto tokens.
:::
As a result of gaining the victim's trust, the scammer will try to convince them to:
1. **Add a custom network to MetaMask**. Often, it's a test network.
2. **Transfer the scammer something of value**. This could be crypto with genuine value, NFTs, or even a fiat bank transfer completely external to MetaMask. The attacker will generally frame this transaction as a good deal, a heavy discount, or a sound investment for the user: "if you transfer me 50% of [XYZ total value] in cash, I'll add the other 50%".
3. **Add a custom token on the newly added network**. The scammer uses the token to trick the user into believing they received a token with actual, real-world value. The method they generally use is to **imitate a common token's symbol, like USDT or ETH.**
:::danger[warning]
Even network tokens and cryptocurrencies unrelated to Ethereum and EVM-compatible networks are deployed here. For example, Bitcoin (BTC) is common: its prominence in public discourse means its fundamental characteristics and, importantly, its value are already known to the crypto newcomers and inexperienced users that pig butchering scams target.
:::
Crucially, the scammer's suggested token will use a different RPC endpoint to the token it's imitating, meaning **it is a fundamentally different token with no real value.** Due to the way MetaMask and other wallets use the symbol to source price information, **the value of the imitated token may be displayed under the fake one:** leading a user to believe, for example, that their fake USDT has the same fiat or dollar value as real USDT on Ethereum.
We have built in additional safeguards to flag these fraudulent imitation tokens. Unfortunately, we cannot ever _stop_ a user from using their funds as they decide, but we hope changes like this will support users to make good decisions.
MetaMask also identifies patterns associated with investment and romance scams and introduces steps to interrupt the flow before a transaction is completed, giving you time to reconsider before funds leave your wallet.
## How to stay safe {#how-to-stay-safe}
**This attack relies mainly on the user's lack of knowledge and experience**. Though an experienced user may see the attack coming from miles away, humans are social, emotional creatures, and the manipulative skill of malicious actors that run pig butchering scams should not be underestimated.
Even someone who is streetsmart and cautious in everyday life can be easily duped by a skilled perpetrator when taking their first steps into the unfamiliar, often-confusing world of crypto and [self-custody](/start/metamask-is-a-self-custodial-wallet); decision-making can become clouded when the scam involves the prospect of romance, friendship, respect, or belonging — social factors our brains are hard-wired to pursue.
Protecting yourself from falling victim to this scam requires internalizing the same key principles we mention in most of our [web3 security series](/stay-safe/safety-in-web3/), namely:
- **If it seems too good to be true, it probably is**. A scammer offering to transfer you tokens with a value that exceeds that of the payment you send them in return, for example, is a significant giveaway that something is wrong. People do not give away assets for free.
- **Be wary of unsolicited contact**. Invariably, the scammer will contact you first. Whether over Twitter (X), Instagram, Whatsapp, Telegram, or Discord, be suspicious of strangers that seek to strike up an exchange out of nowhere—and if it starts to touch on money or crypto, be _even more_ suspicious. We know it can feel cynical and isolating to assume strangers mean harm, especially in an age where loneliness is on the rise — but web3 is generally a reflection of society. Do you usually trust strange individuals with your money?
In addition to these core principles, you should also:
- **Get in touch with us (via the 'Contact Support' button on the homepage) if anyone is walking you through specific instructions involving using MetaMask.** For example, asking you to visit a specific site, add a specific network, get involved with a specific investment opportunity, etc. Even if you _think_ they are friendly and mean no harm, we can help you determine whether you're putting yourself at risk.
- **Be very careful about adding unverified custom networks**. You can read more about this [here](/stay-safe/safety-in-web3/the-risks-of-connecting-to-an-unknown-network).
- **Learn how to check whether token contracts are trustworthy**. See [here](/stay-safe/protect-yourself/how-to-tell-if-a-smart-contract-is-safe-to-interact-with) for more information, including how to use block explorers like Etherscan to practice due diligence. It may feel excessively cautious, but a few minutes of research could prevent you from losing funds.
If you have any questions or you think you may have fallen victim to this type of scam—or you think you might be at risk of doing so—please get in touch with MetaMask Support by hitting the 'Contact Support' button on [the homepage of this site](/). Our bot will ask a few questions to ensure you get in touch with the right team member.
See also: [Testnet ETH scams](/stay-safe/protect-yourself/tokens-and-transactions/testnet-eth-scams)
---
# Honeypot scams
URL: https://support.metamask.io/stay-safe/protect-yourself/social-engineering/honeypot-scams/
> Sounds sweet, but this attack vector steals your funds.
> This article was adapted from a blog post available [here](https://consensys.net/blog/metamask/understanding-and-avoiding-crypto-honeypot-scams/).
Although they have a pleasant-sounding name, honeypot scams aim to steal funds by luring you into interacting with a fraudulently configured wallet.
Their name references the fact that, at least from the outside, the wallet is highly appealing — just like a pot of honey left outdoors would attract insects and animals.
Contents:
- [How honeypot scams work](#so-how-do-they-work)
- [How to spot honeypot scams](#how-can-i-spot-honeypot-scams)
- [Summary](#summary)
## So how do they work? {#so-how-do-they-work}
### Step 1: First contact {#step-1-first-contact}
Honeypot scams revolve around the principle of dangling the prospect of free money in front of you. They present you with a well-stocked wallet that you can access, hoping that you do indeed to try to access it and send funds out.
To make sure that you _can_ actually access it, a **key element in the ploy is the scammer sharing the wallet's Secret Recovery Phrase (seed phrase)**. Usually, they get in touch to do so, posing as an innocent web3 citizen that needs help with their wallet. For example:
They do this in the hope that your thought process will be something like: _Hah, what a noob — I'll just go straight into their wallet and transfer that 6,000 USDT straight to my own wallet. Easy money!_
:::danger
#### Never, ever share your Secret Recovery Phrase like this {#never-ever-share-your-secret-recovery-phrase-like-this}
The scammer above has deliberately shared their Secret Recovery Phrase to fool you. To be clear: you should **never** share yours.
:::
### Step 2: You try to move the tokens to your own wallet {#step-2-you-try-to-move-the-tokens-to-your-own-wallet}
Possessing the private key to a wallet with $6,000 worth of tokens sitting in it is tantalizing. But wait: this is where things get a little more complex.
Usually, the value in a honeypot wallet will be tied up in tokens _other than_ the network's native token. This means that if you wanted to send them anywhere else, you'd need to somehow get a small amount of the network's native token into the wallet to pay the gas fees for the transfer. In the above screenshot, the scammer "Candi" lets us know the network, telling us that the USDT is a "trx20" token. (_TRX_ suggests the Tron network; but even if it were on there, it would actually be a TRC20 token; anyway, let's not get distracted.)
So let's say you load up Candi's wallet on a new browser instance or similar, with the intention of transferring the 6,000 USDT out. You send a little TRX to fund the transaction, and... it's gone.
What happened?
### Step 3: A script steals the tokens you intended to use for gas {#step-3-a-script-steals-the-tokens-you-intended-to-use-for-gas}
This is where the scammer makes their money. The funds they leave in the wallet as bait are never touched, because no one can ever transfer them out. **The tokens you send to the address to use for gas fees are automatically sent elsewhere by a sweeper script** (a.k.a. sweeper bot) before you can send a transaction yourself.
If you were to load up the block explorer page for an address that was serving as a honeypot, it would look something like this:
Notice how there are lots of transactions happening within very short, distinct windows: BNB, a native token used to pay for gas, is being transferred out almost as soon as it is being added.
This is because the script is 'listening' for transfers into the account address, and reacting to them virtually immediately by submitting a transaction to _sweep_ them out.
## How can I spot honeypot scams? {#how-can-i-spot-honeypot-scams}
Here are a few things to look out for:
- **Anyone sharing a seed phrase/Secret Recovery Phrase**. This should be an immediate red flag, since anyone using a self-custodial wallet in good faith would never share theirs. (Other than edge cases, such as developers wanting to access the same test wallet.)
- **A transaction history that suggests any transfers _in_ are immediately transferred _out_** (or, at least, shortly after). Honeypot scams need a script that will sweep funds out to a third wallet. Look up the wallet on a block explorer and check for these patterns.
- **People sending you direct messages on social platforms**. Scammers rely on social media platforms for direct access to you, the user. Be wary of anyone who contacts you regarding crypto/web3 on these platforms — there is a chance that they're out to harm you. Also look out for bots set up to share these messages, identifiable by the fact they share the same tweet/message repeatedly.
## Summary {#summary}
Honeypot scams work by:
1. 1. Sending you the Secret Recovery Phrase/seed phrase to a wallet, claiming to be seeking help
2. Hoping that you see the valuable funds in the wallet, and want to transfer them out or swap them
3. Expecting you to send some of the network's native token to the wallet to pay gas fees for the transactions in step 2
4. Stealing the tokens you send using a sweeper script, which _sweeps_ them into a third wallet of the scammer's choosing before you can send your own transaction.
Remember: if you think you've identified a fraudulent address, you can [report it on Etherscan](/stay-safe/protect-yourself/how-to-report-a-scam).
If you have any questions about this subject, feel free to head to the [MetaMask Community](https://community.metamask.io/) or get in touch with Support via the 'Contact Support' button on the homepage of this site.
---
# Spoofing scams
URL: https://support.metamask.io/stay-safe/protect-yourself/social-engineering/spoofing-scams/
> Fraudsters can impersonate MetaMask to get your SRP or password. Don't fall for it!
## What is spoofing? {#what-is-spoofing}
Spoofing involves **hiding or disguising identity to enable malicious activity**, literally _spoofing_ the identity of the malicious party to make it believable and appear trustworthy.
Fraudsters often use this method in tandem with the closely related practice of **phishing**, through which they attempt to obtain personal information from you directly. Hand in hand, these two methods can easily deceive, and the sophistication of these hacks has grown in step with the popularity of crypto and digital assets, with ever more potential victims entering the web3 space.
## What could a spoofing attack look like? {#what-could-a-spoofing-attack-look-like}
A spoofing hack might target your [Secret Recovery Phrase](/start/user-guide-secret-recovery-phrase-password-and-private-keys)(also known as a seed phrase), as this can be used to restore your wallet and will provide a hacker with access to your private keys and the wallet's contents. MetaMask is a **[self-custodial wallet](https://consensys.net/blog/metamask/whats-in-a-self-custody-non-custodial-wallet-anyway/)**, meaning **you are responsible for keeping your Secret Recovery Phrase secure**.
A spoofing hack might also target your password, or your Google or Apple account. This kind of attack could disguise itself as MetaMask, but MetaMask will **never** email, call you, or DM you to ask for your password or Google/Apple account details. This attack might also disguise itself as Google or Apple; be incredibly cautious if you receive any messages from these services.
In practice, a classic spoofing attack on your MetaMask wallet could go something like this:
1. You ask MetaMask a support question in reply to a tweet. (n.b. this is inadvisable — always use our official channels, found [here](/stay-safe/safety-in-web3/what-are-metamasks-official-support-channels).)
2. A malicious account (potentially a bot, or at least using a bot to scope you out) identifies you as a target due to your requirement for MetaMask support, and will reply to your tweet or send a DM. The account will be configured to resemble an official MetaMask support channel and could include our fox logo, a vaguely convincing Twitter handle and content and replies which read professionally. Another approach could be for the attacker to pose as a MetaMask support engineer, even including a headshot and name.
3. Using their spoofed identity, **the bad actor will rely on you believing that they are an official MetaMask support channel/engineer and talk you into handing over your Secret Recovery Phrase or private key(s) to resolve your problem**. For example, if your issue was a slow or pending transaction, they may offer to look into the issue but request your Secret Recovery Phrase to do so.
4. With their hands on your Secret Recovery Phrase, the bad actor can access your private keys and drain your wallet of funds to their chosen address.
This scenario is just an example, and similar events could play out across any social media platform, messaging service, forum, or otherwise on which you share information publicly.
## How can I protect myself from spoofing attacks? {#how-can-i-protect-myself-from-spoofing-attacks}
While using MetaMask to engage with web3 ecosystems such as the world of DeFi can be rewarding and exciting, you need to maintain constant vigilance. Golden rules for preventing and identifying spoofing include:
- Remember: **MetaMask will never contact you outside of our support channels**, accessed through our [help center](/stay-safe/safety-in-web3/what-are-metamasks-official-support-channels). Anyone asking you for contact information, your Secret Recovery Phrase, password, or details of your support issue outside of these channels is a potential scammer and should be ignored and/or reported.
- **Be vigilant**. If it looks like it might be a scam, it probably is. Always be observant and keep a lookout for suspicious, telltale signs. These could include:
- Requesting personal information, including anything from your name, the value of your wallet's holdings, or even your private key, which you should **never, ever give to anyone.**
- Unofficial-looking Twitter handles using underscores, doubled-up letters, and numbers to mimic official accounts (i.e.[@MetaMask](https://twitter.com/MetaMask)).
- Requests to reach out for support, get in touch, or send a DM.
- Unprofessional language.
Most importantly, **keep your Secret Recovery Phrase secure**, and **do not hand it out** regardless of how convincing the person/entity may be.
---
# Failed transaction scams
URL: https://support.metamask.io/stay-safe/protect-yourself/tokens-and-transactions/failed-transaction-scams/
> Learn how it works and how to avoid it.
You've probably heard of airdrops, right? Well, although seemingly a win-win and potentially useful for new projects looking to quickly distribute tokens, airdrops can be a scam vector in numerous ways.
A common scam involves airdropping unsuspecting users with a token whose smart contracts make it impossible to be moved from your wallet. So, naturally, when you try and move it, the transaction will fail.
## How failed transaction scams work {#how-failed-transaction-scams-work}
Here's how common and garden _failed transaction_ scams usually go:
1. **A mysterious token is airdropped into your wallet**. At first, you may not notice it — this could be because in MetaMask, tokens are only [auto-detected](/manage-crypto/tokens/how-to-display-tokens-in-metamask) on certain networks if they belong to lists of established tokens. However, you might run into it while looking at your wallet activity in our [Portfolio Dapp](https://portfolio.metamask.io/) or a similar platform, or by [looking at your account on a block explorer](/more-web3/learn/how-to-check-my-wallet-activity-on-the-blockchain-explorer).
2. **You try to transact using the token**. On finding out from a token listing site that the token actually has some value, the natural reaction from most users unaware of the scam vector is to try and swap it for a more established token, and bank its value.
3. **Your transaction (swap) fails**. For tokens configured to deliberately facilitate these scams, your transaction could never have completed. So if you're intrepid and persistent, you'd visit a block explorer to try and identify the cause of the failed transaction.
4. **The failure message directs you to a fraudulent site that will steal your funds**. When you open up the transaction's details on the block explorer, you'll see a message asking you to head to another website to stake/swap/cash out (etc.) your airdropped token. Once there, the scammers could potentially try and scam you by:
- Manipulating you into handing over your Secret Recovery Phrase ([you should never give this to anyone](/stay-safe/safety-in-web3/basic-safety-and-security-tips-for-metamask)).
- Encourage you to sign an approval that grants them access to all tokens of a certain type in your wallet (which they'll then use to quickly transfer them to their own wallet).
The message attached to your failed transaction is therefore a lure to a location of the scammer's choosing where they can most easily coerce you into handing over tokens or your SRP.
:::warning
#### Stay alert! {#stay-alert}
The nature of scams is always developing, so it's entirely likely that if you encounter this method, it won't follow the above steps by the letter. It could include other methods such as simply manipulating you into sending tokens to an address (usually with the promise of earning more back in return, at some point) or handing over personal information like bank account numbers or card details.
:::
## How to avoid failed transaction scams {#how-to-avoid-failed-transaction-scams}
Unfortunately, and like any other web3 scam, there is no single trick or downloadable software that can prevent you from falling victim to this scam. When using a [self-custodial wallet](/start/metamask-is-a-self-custodial-wallet) like MetaMask, you are solely responsible for your safety. Stick to these general principles:
- **Never give your Secret Recovery Phrase (seed phrase) to anyone**, regardless of who they say they are or what they're offering. Someone called "Metaa\_\_MasK-support" on Twitter is not out to help you.
- **Be skeptical of anything that seems too good to be true, because it most likely is**. Ridiculous APYs, sky-high returns, free money, etc. — it will probably be a scam, or, at best, something you should think twice about getting involved in.
- **Clue up on how token approvals work and why they're a common scam attack vector**. Read more [here](/stay-safe/safety-in-web3/what-is-a-token-approval).
---
# How to tell the difference between a regular airdrop and airdrop phishing scams
URL: https://support.metamask.io/stay-safe/protect-yourself/tokens-and-transactions/how-to-tell-the-difference-between-a-regular-airdrop-and-airdrop-phishing-scams/
> Learn to spot the difference.
## What is an airdrop? {#what-is-an-airdrop}
Airdrops have become a mainstay of web3 since the explosion of ICOs (initial coin offerings) that began in 2017. Airdrops involve receiving tokens in your wallet from a third party, usually in exchange for some other service or payment rendered. For example, a frequent user of a dapp or chain may receive a generous airdrop if that dapp decides to launch a token.
Airdrops can also be used as a promotional tool: a new platform may look to generate interest in their project by depositing tokens in your wallet. Though their value is never guaranteed and often negligible or fragile, it is easy to understand why this tactic is popular. People are excited by free stuff. Free money? Even better. It's a reliable way of generating interest and engagement with a new project.
## Airdrop phishing scams {#airdrop-phishing-scams}
Unfortunately, **the lure of _free stuff_ can sometimes cloud judgement**.
Let's be clear: no one can get access to your funds or any sensitive information simply by depositing tokens into your wallet.
Where they can do damage is hoping that the wallet holder tries to sell or swap the token after seeing it listed in their balance (usually on a [block explorer](/more-web3/learn/how-to-check-my-wallet-activity-on-the-blockchain-explorer). MetaMask does not automatically display all tokens, but only established ones, and only if you have [token detection turned on](/manage-crypto/tokens/how-to-display-tokens-in-metamask)).
Usually, scams involving airdrops rely on these two core mechanisms:
- As the recipient of a mysterious airdrop, you may see on the block explorer or token listing site that the token has some value. The immediate temptation is to try and realize this value by swapping it to a more mainstream token with more stable value, or just by selling it.
- When you view the token on the block explorer or add it to an exchange of some kind, you'll see an **error message directing you to fraudulent dapp or website** via the block explorer. Sometimes this appears on the transaction's page on the block explorer as an explanation for why the transaction failed.
**The fraudulent site is where the phishing takes place. To swap or redeem or sell, the scammers claim, you'll need to approve a transaction, approve [access to a token](/stay-safe/safety-in-web3/what-is-a-token-approval), or even hand over your [Secret Recovery Phrase](/start/user-guide-secret-recovery-phrase-password-and-private-keys) (something you should never, ever give to anyone).**
## How to tell the difference: a checklist {#how-to-tell-the-difference-a-checklist}
:::danger
#### Auto-detecting tokens in MetaMask {#auto-detecting-tokens-in-metamask}
As explained eloquently in [this article](https://medium.com/metamask/phisher-watch-airdrop-scams-82eea95d9b2a) by MetaMask co-founder Dan Finlay (which is worth reading in general), MetaMask's token detection only displays tokens on approved, curated lists. This means that new and obscure scam tokens airdropped to your address are unlikely to be detected.
Here's some things to look out for when deciding whether or not to trust a token:
:::
- **Does the token appear in MetaMask when you have [token detection](/manage-crypto/tokens/how-to-display-tokens-in-metamask) turned on?** If it doesn't, it means the token is absent from the trusted tokens lists that the token detection feature uses. It may therefore be untrustworthy.
- **Is the token flagged on the block explorer?** Locate the token on Etherscan or the appropriate block explorer for the network (e.g. BSCScan, Snowtrace, PolygonScan, etc.) and look at its details. Known scam tokens will already be flagged on these pages. To find the token, simply input its name into the block explorer search bar.
- **Does the project seem trustworthy?** Trustworthiness is subjective and hard to pin down. However, you could try researching things such as the following and check whether it all adds up:
- Does the token have a website?
- Does it have an active community of real people?
- Are the creators named (doxxed) anywhere? Are they real? Do they have social media accounts consistent with this information, and do real people follow them?
- Is there a white paper that explains the project in detail?
There are many more things we could list here. Use your best judgement, and if in doubt, don't take the risk.
---
# Testnet ETH scams
URL: https://support.metamask.io/stay-safe/protect-yourself/tokens-and-transactions/testnet-eth-scams/
> Testnet variants of ETH do not have any real-world value. This is what scams relating to testnet ETH hinge on.
[Testnets](/more-web3/learn/eth-on-testnets) exist on pretty much all networks in web3 — from Ethereum to BSC to Polygon to Palm. They're an essential element of a functioning smart contract ecosystem, since they allow developers of decentralized applications (dapps) to test their new creations before releasing them.
Testnets come with their own native tokens that mimic the native token of the corresponding mainnet. On Ethereum's testnets, known as Goerli and Sepolia, real-world ETH is simulated through testnet ETH, which you may see referred to as 'Goerli ETH' or'sepolia ETH'.
Crucially, **testnet variants of ETH do not have any real-world value**. This is what scams relating to testnet ETH hinge on; more specifically, they rely on users' ignorance of this fact.
Real ether is traded on the open market and has a fluctuating fiat price at any given time that reflects market conditions. Testnet ETH, on the other hand, is essentially worthless, since you can obtain virtually unlimited amounts for free from faucets (some are listed in this [Ethereum Foundation article](https://ethereum.org/en/developers/docs/networks/#which-testnet-should-i-use)), if you have the patience.
## How do these scams work? {#how-do-these-scams-work}
In a nutshell, and as alluded to above, **scams that involve testnet ETH rely on you not knowing — at the time of the scam being executed — that testnet ETH has no monetary value**. This could be because you forgot, the UI on a dapp misled you, you believed the word of a bad actor, or you genuinely were not aware in the first place.
Whatever the reason, it's irrelevant to the scammer.
Here's how these tricks typically work:
1. **The scammer sets up the scenario**. If that sounds vague, it's because the scope of how this trap could be laid is pretty broad. Generally, they need to engineer a scenario where they can give you testnet ETH in exchange for an asset of *actual *value. Here are some examples:
- **Scenario A: NFTs.** Imagine you're an artist, and you have a few NFTs listed on a marketplace. You're just starting out, so you list items in a collection at 0.1 ETH each. One day, you wake up and see someone has offered you 5 ETH for one. Naturally, you rush to accept it.
- **Scenario B: A real-world transaction.** Sometimes bad actors may insist on paying you for a real-world item in crypto. Say, for example, you were happy to, as long as they sent a deposit first so you could check they were legit.
- **Scenario C: You're trading in-game items.** Tradable items in online games, especially ones already linked to the blockchain, lend themselves well to crypto payments: crypto transcends international banking systems and is quick and convenient. If both parties are willing, why not?
2. **The scammer tries to convince you the ETH they sent has value**. You'll probably be able to guess what happens next, regardless of which of the three scenarios we follow. The scammer has paid for their item or service in testnet ETH that has no real value — in other words, for free — and needs to convince you that everything is fine. Some tactics they may employ include:
- **Demanding you connect to the testnet in your wallet**. If you connect to a testnet in MetaMask, it's possible that you may see a fiat value (e.g. US dollars) that suggests the testnet ETH _is_ worth something. This is turned off by default in MetaMask, but you may have it turned on, for one reason or another. The scammer will be banking on the fact that you will immediately relax once you see the fiat value/
- **They give you instructions or guidance on trading the testnet ETH for tokens with real value**. They may tell you have 48 hours, for example, to convert the tokens to real ETH, or you may be given a set of spurious instructions or a specific dapp that will let you convert the testnet ETH. Don't be fooled: there is no way of converting it into real value.
_An example of a scammer attempting to convince a Reddit user to accept testnet ETH. From [this thread.](https://www.reddit.com/r/Metamask/comments/qv9rbi/new_to_crypto_is_this_real_or_a_scam_he_sent_me/)_
3. **You send over the asset in question**. The timing of this step and the previous is somewhat interchangeable: it's possible you might have already sent the NFT, for example, before the scammer's charm offensive begins. Either way, by the time you've parted with your cryptoasset, it's already too late. Blockchain transactions are immutable, so if you've already been convinced by the scammer that your testnet ETH has value and you've sent over the asset they requested, then it's extremely unlikely you'll be able to get it back.
## How to stay safe {#how-to-stay-safe}
The main things to look out for to prevent yourself falling victim to a scam involving testnet ETH are:
- **Urgency.** Scammers often try to create a sense of urgency to make you think you'll miss out on free money if you don't act quickly.
- **Unsolicited messages.** To make this work, the scammer needs to reach out to you. This can be on any messaging platform (e.g. Telegram, Discord), social media platform (Reddit, Instagram, Twitter), or traditional communication method (SMS, email). Be skeptical of any such messages and assume they do not mean well.
- **'Too good to be true' offers/'free money'**. If the supposed offer seems too good to be true, it probably is.
## Summary {#summary}
- Testnets are used primarily by developers to make sure their dapps work. The versions of ETH on testnets do not have any real value, as they can be obtained for free from faucets.
- Scammers exploit lack of awareness around testnets' purpose, making people believe that testnet ETH has value.
- The scam often involves fraudulent _purchases_ of cryptoassets with testnet ETH, including NFTs, gaming collectibles, and more.
- Once users realize the ETH they received has no value, it's too late.
---
# Token pre-sale scams
URL: https://support.metamask.io/stay-safe/protect-yourself/tokens-and-transactions/token-pre-sale-scams/
> These events naturally attract a lot of interest from speculators, but scammers have been known to exploit this FOMO.
Token pre-sales are periods during which organisations offer quantities of new tokens for investors to buy early. The 'pre' references the fact that these sales typically come before the _actual_ sale — generally referred to as an initial coin offering, or ICO.
:::warning
#### Not financial advice {#not-financial-advice}
None of the information here is meant to recommend or dissuade you from getting involved with token pre-sales or ICOs. Those decisions are entirely yours. All we aim to provide is an overview of how this subject area can be used by scammers to steal your funds.
:::
These events naturally attract a lot of interest from speculators: if you jump on the right token at a bargain price, its price may skyrocket. Step 3: _profit_?
## How does it work? {#how-does-it-work}
Scammers have been known to exploit ecosystem participants for their fear of missing out (FOMO) on these potentially astronomical financial gains. It's as simple as:
1. **The scammers set up a front end,** usually a dapp to which they want you to connect your wallet. The level of sophistication here can vary: don't assume a site is safe to interact with just because it _looks_ professional and legitimate. Web development is so accessible nowadays that even the least ambitious scammer could put together a relatively sleek-looking dapp with minimal time investment.
:::info
#### I'm not stupid; why do they think I'd fall for this? {#im-not-stupid-why-do-they-think-id-fall-for-this}
One of the main tactics scammers employ to get around your cynicism is by capitalizing on **hype**. Often, the scam token will be associated with a big name, whether directly associated with web3 or not. A brief web search will tell you that scammers have repeatedly tried to create a buzz around a purported Amazon token. What they want you to think is clearly: _why wouldn't you want to get in early on a token launched by one of the world's biggest retailers?!_
With your judgement clouded by FOMO, they hope you'll buy in regardless of any doubts your more detached, rational self should have.
:::
2. **They publicize the pre-sale**, directing you to the site/dapp where the sale is to happen. They may try to drum up interest by paying for promoted pages on search engines or socials. Often these will attempt to:
- Appear legitimate by pushing out articles that mimic the design and domain names of trusted news sources
- Attract traffic by closely copying the appearance legitimate token pre-sale sites, but using a slightly different URL out of necessity.
3. **The site prompts you to buy the token**. This will generally be a token approval, enabling the dapp to access and move tokens of a certain type from your wallet, up to a given cap (chosen by you).
The token involved will usually actually exist: anyone can create a new token with any given supply and name. It's just that, quite often, it will either not be the _actual _(most likely similarly-named) token it pretends to be, or it will be designed to substantiate some fictitious scenario in which they'd like you to invest (e.g. the fake Amazon token).
## How can I stay safe? {#how-can-i-stay-safe}
Fake pre-sales depend on eliciting a few main behaviours from you. Here's how you should act to avoid falling into the traps:
- **Verify the pre-sale is being offered on a legitimate site.** Mistaking a scam for a real site is one of the main ways this attack rears its head. Always double-check the URL before you make any transactions. Check the social channels of any project/organization to make sure you follow the correct link. "to": "/stay-safe/safety-in-web3/what-is-a-token-approval"
- **Make sure you understand the transaction before you sign it.** Token approvals involve giving a dapp access to move (including withdraw) a given type of token from your wallet. If you don't understand what token approvals are and look like, do your homework [here](/stay-safe/safety-in-web3/what-is-a-token-approval) and [here](/configure/tokens/how-to-customize-token-approvals-with-a-spending-cap). It can be the difference between losing a bit of money and losing all your money.
- **Don't recklessly FOMO into a pre-sale.** Make your purchases based on rational thought, not emotion. Don't let your FOMO get the better of you.
---
# Address poisoning scams
URL: https://support.metamask.io/stay-safe/protect-yourself/wallet-and-hardware/address-poisoning-scams/
> Learn how to protect yourself from copy-and-paste attacks.
:::info[What you need to know]
- Address poisoning is a scam where attackers send you a tiny transaction from an address that closely resembles one you've used before, hoping you'll copy it by mistake and send funds to them instead.
- MetaMask now automatically detects when a destination address closely resembles a previously used one and shows a **blocking warning** before the transaction is sent.
- If you're sending to a brand new address you've never interacted with, MetaMask will also alert you to this before you proceed.
- Always verify the destination address carefully before sending — pay particular attention to the middle characters, not just the start and end.
:::
**Address poisoning** is an attack vector that, in contrast to other scams — which often use methods that have served many scammers so well, such as unlimited token approvals, phishing for your Secret Recovery Phrase, etc. — **relies on user carelessness and haste above all else**.
On the one hand, this method is rather innocuous compared to other scam types. However, it can just as easily result in a loss of funds. Let's investigate how this scam is usually structured.
## How does address poisoning work? {#how-does-address-poisoning-work}
If you didn't know already, your wallet includes one or more _accounts_, each of which has its own [cryptographically-generated address](/more-web3/learn/the-ethereum-address-format-and-why-it-matters-when-using-metamask). These are long hexadecimal numbers, meaning they use both numerical _and_ (a few) alphabetical characters. This is a trait that makes them unintelligible to most people, and — critically — very, **very difficult to remember**.
This is why, supported by most web3 software, you have most likely come to rely on **copying and pasting addresses**, rather than memorizing them and typing them out. This saves a lot of time and ensures, generally, you don't make any mistakes, and that your funds always go to the right address. MetaMask falls into this category of facilitating copy-and-paste: you can [copy your address with one click/tap](/configure/wallet/how-to-copy-your-metamask-account-public-address-).
**Address poisoning speculatively exploits this copy-and-paste tendency**. Here's how:
1. You send a regular, everyday, _nothing-to-see-here_ transaction to a friend, or to another account you control.
2. The scammer, who has software that monitors transfers of certain tokens (usually stablecoins), notices. **They use a 'vanity' address generator (there are many accessible with a quick web search) to create an address that closely matches yours** (sometimes, it'll match your friend's).
:::danger
Since they're so long, crypto account addresses are typically shortened. You might see the first lot of characters only, or sometimes you may see the initial 5-10 or so and the final 5-10 or so, skipping the middle. This is how most people recognize addresses: not by knowing every single character, but by becoming familiar with the start and finish. This is the tendency that address poisoning preys on.
:::
3. **The scammer sends you a transaction of negligible value from the dummy account they created** — the 'vanity' address that mimics yours or that of your contact. Usually these are transfers of zero tokens. With this, they've **poisoned** that wallet. (Though, to be clear: this doesn't actually have any negative impacts in itself.)
4. Since their dummy address looks so similar to yours, it's entirely possible that, the next time you need your address, **you might inadvertently copy their address from your transaction history and paste it elsewhere.** Naturally, if you paste their address by accident, you'll send funds to them and not yourself/the intended recipient. And since on-chain transactions like this are immutable (cannot be altered once confirmed), the lost funds will be irretrievable.
And that's it: all they're hoping for is that you copy the wrong address from your transaction history in your wallet.
## How MetaMask protects you {#how-metamask-protects-you}
MetaMask includes built-in detection for address poisoning attacks.
When you attempt to send funds, MetaMask compares the destination address against your transaction history. If the address you're sending to closely resembles one you've previously interacted with, for example if the first four and last four characters match but the middle characters differ, MetaMask will display a **blocking warning** before the transaction is submitted, giving you the opportunity to verify the address before proceeding.
In addition, if you're sending to an address you have **never interacted with before**, MetaMask will show a warning to alert you to this. This doesn't mean the address is malicious, but it's a prompt to double-check before sending.
These protections are designed to catch the moment of risk, when you're about to send, rather than relying solely on your own vigilance.
## How can I protect myself? {#how-can-i-protect-myself}
There's no way of stopping scammers from sending transactions to your address — these are public blockchains. What matters is not copying the wrong address when you send. Here's what we recommend:
- **Always verify the destination address before you send**, especially for high-value transactions. Pay close attention to the middle characters, not just the start and end — those are the ones a poisoned address is designed to disguise.
- **Avoid copying addresses from your transaction history.** If you do, treat it with the same scrutiny as any other unknown source. This applies both to other people's addresses and to your own (e.g. when moving funds from a centralized exchange to MetaMask).
- **Add frequently used addresses to your address book**. In MetaMask, go to the menu and select 'Contacts'. Addresses saved here are ones you've verified, so you won't need to copy from history.
- **Use a hardware wallet**. Most hardware wallets require you to confirm the destination address on the device itself before a transaction goes through, adding another checkpoint.
If you have any questions about this subject, feel free to head to the [MetaMask Community](https://community.metamask.io/) or get in touch with Support via the 'Contact Support' button on the homepage of this site.
---
# Clipboard hacking
URL: https://support.metamask.io/stay-safe/protect-yourself/wallet-and-hardware/clipboard-hacking/
> What is clipboard hacking and how can you protect yourself.
Crypto addresses do not lend themselves to being memorised or typed in manually, like an email or username. Enter copy and paste, the unsung hero of crypto transactions. Many wallets and exchanges like MetaMask, include built-in 'copy' shortcuts that allow you to copy your address with a single click. These features smooth the process of pasting into a recipient field when transferring tokens.
:::note
Clipboard hacking does not mean you need to be suspicious of people bearing clipboards. You just need to get into the habit of double-checking the addresses you paste.
:::
## What is clipboard hacking? {#what-is-clipboard-hacking}
In short, clipboard hacking **exploits the copy and paste function to rob you.**
It happens when a malicious actor installs a script on your device through some kind of malware/spyware. This script is designed to scan new additions to your clipboard continually, looking for public addresses. When it identifies one, it will replace the address you actually copied with one the script it is programmed to insert.
When you next attempt to send a transaction, the malware intervenes and **inserts its own address**, potentially resulting in you irretrievably sending funds to a hacker's wallet when you confirm a transaction. This is why it's always a good idea to **double-check recipient addresses after you paste them**.
## How do I identify and address a clipboard hack? {#how-do-i-identify-and-address-a-clipboard-hack}
Open your device's default text editor. On desktop, this will be Notepad for Windows devices and TextEdit for Mac. If you're using MetaMask Mobile, use your device's native note-taking/text editing app (such as Notes on iOS).
Now try this:
1. Open the text editor and write anything, and then **try copying and pasting this text within the same file**. This should hopefully confirm that copy and paste is working correctly on your device.
2. **Copy your address from MetaMask and paste it into the text editor**. Do the pasted address and your actual address match up?
If they don't correspond, you need to **scan your device for potential malware/spyware/viruses**. The methods for doing so vary considerably depending on your device, so please check with your manufacturer or OS provider.
Here are some starting points:
- Apple Support: [Protect your Mac from malware](https://support.apple.com/en-gb/guide/mac-help/mh40596/12.0/mac/12.0)
- Microsoft Support: [Stay protected with Windows Security](https://support.microsoft.com/en-us/windows/stay-protected-with-windows-security-2ae0363d-0ada-c064-8b56-6a39afb6a963)
- Google Support: [Remove malware or unsafe software](https://support.google.com/accounts/answer/9924802?hl=en&co=GENIE.Platform%3DAndroid#zippy=) (Android)
Malware scanning is generally not possible on iOS due to its underlying structure. However, since App Store content is vetted so carefully, it is unlikely any malicious software can be downloaded by regular users.
Another important step to consider is to **make sure your OS is completely up to date**. New software versions often include security fixes that address the latest threats.
### Stay vigilant {#stay-vigilant}
While the method outlined above may help identify clipboard hacks, it **may not work in all cases**. Hackers are, naturally, continually improving the sophistication of their attacks to stay ahead of the curve; in some cases, the method above won't be enough to identify whether your device is affected. It's possible that the script may be advanced enough to recognize the location you're pasting into, and simply lie dormant until it spots that you're actually pasting an address into MetaMask, or any other wallet or dapp.
This is why we can't emphasize enough: **get into the habit of always checking the addresses you paste**. Even just a quick scan—double-checking that a handful of characters at the beginning and end of the address are correct—is enough.
## How can I protect myself? {#how-can-i-protect-myself}
A logical first port of call is to **ensure you have robust anti-malware software installed**, and keep it updated. Your software should identify most potential clipboard hacking malware programs, notify you, and quarantine them before they can affect your crypto activity. For more hardware/software security recommendations, see this [excellent list of suggestions](https://securityinabox.org/en/phones-and-computers/malware/) by one of our admins on the MetaMask Community page. It relates specifically to keyloggers, but the same principles will apply.
However, since there is a possibility that your anti-malware software may not detect the program, **the only way to be safe is to double- and triple-check addresses before you confirm any transaction**. Some hardware wallets may prompt you to do this anyway, but as transactions are irreversible, it is a worthwhile habit to adopt.
:::info[Clipboard hacks vs Keylogging attacks]
Clipboard hacks have a closely related cousin in keylogging. Rather than just focusing on your clipboard, keyloggers allow bad actors to monitor every single keystroke on your computer.
:::
---
# Signature phishing
URL: https://support.metamask.io/stay-safe/protect-yourself/wallet-and-hardware/signature-phishing/
> Attackers obtain an off-chain signature and then use it later to steal your assets.
Signature phishing is a method where attackers obtain an off-chain signature from users, and then use it later to steal their assets.
Naturally, there's a lot of blanks to fill in here, so let's begin.
## What is an off-chain signature? {#what-is-an-off-chain-signature}
Signatures are an integral part of using a self-custody wallet like MetaMask. Any action in web3 requires your authentication—via signing—to prove that the message or transaction came from you.
Every time you interact with a smart contract, such as when swapping on MetaMask, you're signing a message that allows something to happen on your authority. A swap, for example, requires you to sign a message to confirm that you actually *do *want to swap a given amount of token A for a given amount of token B.
:::info
Want more on signatures?
For more information on signatures and their role in MetaMask, see [here](/configure/transactions/what-is-a-signature-in-metamask).
:::
The majority of signatures are on chain; that is to say, they are broadcast to the network and recorded _on the blockchain_.
As Ethereum has evolved, it has become possible to sign transactions **off chain**. This means they are never broadcast to the network. Crucially, in this scam, off-chain signatures allow the dapp collecting the signature to use the signed message at a time of their choosing.
For a fuller explanation of the difference between on-chain and off-chain transactions, see our article on metatransactions [here](/more-web3/learn/what-are-metatransactions-).
## Signature phishing attacks {#signature-phishing-attacks}
Here's the general pattern of this scam:
1. **The attacker creates a fake dapp** and somehow manages to achieve some user traffic to the dapp.
2. **The dapp is designed to prompt users to sign off-chain messages**. The dapp will be misleading: the user will likely be told by the dapp that they're signing a message with a completely different function. For example, they may think they are signing to deposit tokens, or list an NFT. In reality, and since transaction data is so rarely readable by humans, they may be inadvertently handing over an unlimited [token approval](/stay-safe/safety-in-web3/what-is-a-token-approval), or allowing all their NFTs to be listed.
3. **The attacker uses the signature** **to steal your assets**.
Let's take a look at the two main contexts in which we've seen this type of attack:
### NFT signature phishing {#nft-signature-phishing}
As we've already mentioned, it's possible for a dapp to request your signature to list NFTs. This is not inherently bad: any NFT marketplace will require your permission to list an asset.
Things _do_ turn bad, though, when you sign a message on a fraudulent dapp.
#### How it works {#how-it-works}
One example we've seen in the wild involves fraudulent imitations of the NFT marketplace, [Blur](https://blur.io/). As with similar NFT marketplaces, listing an NFT on Blur requires approving the dapp's request to'spend' your NFT; in other words, give them the authority to list it.
The specific part of Blur that attackers have taken advantage of is the ability to bulk list your NFTs. This involves signing a 'Root' message, as below:
_Image courtesy of ScamSniffer. Thread [here](https://twitter.com/realScamSniffer/status/1673363566043484160)._
Malicious dapps try to get your signature on similar 'Root' messages, allowing them to 'spend' (withdraw) all the NFTs in your account.
#### What to do about it {#what-to-do-about-it}
If you believe you may have signed a malicious request, you may be able to revoke your approval before your NFTs are stolen.
Visit a tool such as [revoke.cash](https://revoke.cash/), locate the approval in question, and send a transaction to revoke it. You can read more about revoking approvals [here](/more-web3/learn/how-to-revoke-smart-contract-allowances-token-approvals).
In future, always double-check the URL of the site requesting your signature. In the screenshot above, we can clearly see that it shows Blur's legitimate URL. If it's anything unexpected, or isn't the same as what you expect, you should probably do additional research before you sign.
### Permit2 signature phishing {#permit2-signature-phishing}
#### How it works {#how-it-works-1}
_Permit2_ is a token approval smart contract designed by Uniswap. It aims to improve the user experience by consolidating the approval and the contract interaction into a single step. This way, the user no longer has to sign a token approval for every dapp they want to use, saving gas fees, admin, and time. Instead, they sign the permit2 approval message and bundle it with the contract interaction, simplifying the usual two-step ERC-20 approval process (_approve_ + _transferFrom_, as we explain [here](/stay-safe/safety-in-web3/what-is-a-token-approval)). If you'd like to read more, check out this [Uniswap blog post](https://blog.uniswap.org/permit2-and-universal-router).
Here's how the **ERC-20 approval** process works:
**Permit2, by contrast, works by using an off-chain signature**. Once the user has signed, dapps that support the permit2 method can use the signature to transfer tokens relatively freely.
Notice how the user only needs to interact with the contract once, since the off-chain approval message is bundled in when they request an action of the protocol:
_Diagrams inspired by [Dragonfly](https://github.com/dragonfly-xyz/useful-solidity-patterns/tree/main/patterns/permit2)._
Although permit2 and its implications are positive step for user experience, obtaining a permit2 signature is, naturally, a scammer's dream for multiple reasons. A few, however, stand out:
- **The act of signing is not recorded on chain**. This can make the attack hard to investigate, preventing the fraudulent interaction and dapp from being identified.
- **The attacker may not steal assets immediately**. A permit2 signature can be configured to remain valid for a specified duration. The attacker may leverage this to cover their tracks: a user can interact with a dapp and lose no assets immediately, then conclude it's completely safe. If the approval is set to remain valid for weeks, the attacker can steal the assets later. By the time they do, the user may have interacted with hundreds of sites, making it extremely difficult to identify the culprit.
#### What to do about it {#what-to-do-about-it-1}
If you have signed a permit2 message that could leave you vulnerable to attack, you can visit [ScamSniffer](https://app.scamsniffer.io/permit2) or[revoke.cash](https://revoke.cash/) to manage your permissions.
A more extreme option is to [transfer](/manage-crypto/move-crypto/send/how-to-send-tokens-from-your-metamask-wallet) any at-risk tokens to a different account. Permit2 operates on a per-account basis, so any permit2 messages you have signed only apply to the account you used at the time, and not any others you may have in MetaMask or other wallets.
## What else can I do? {#what-else-can-i-do}
Here are some options:
- **Enable security alerts in MetaMask**. To do so, click the menu icon in the top-right of your MetaMask, then go to 'Settings' > 'Transactions' and toggle 'Security Alerts'. You can read more about this feature [here](/configure/wallet/security-alerts).
- Consider using browser extensions such as [Pocket Universe](https://www.pocketuniverse.app/), which can help you identify fraudulent messages before you sign.
- Make sure you're clued up on closely related concepts:
- [What is a token approval?](/stay-safe/safety-in-web3/what-is-a-token-approval)
- [Scammers and Phishers: Rugpulls and airdrop scams](/stay-safe/safety-in-web3/scammers-and-phishers-rugpulls-and-airdrop-scams)
- [How to customize token approvals with a spending cap](/configure/tokens/how-to-customize-token-approvals-with-a-spending-cap)
---
# Basic security tips for MetaMask users
URL: https://support.metamask.io/stay-safe/safety-in-web3/basic-safety-and-security-tips-for-metamask/
> Secure your Secret Recovery Phrase, use strong passwords, verify dapps, and protect your wallet from phishing and scams.
:::note
New to crypto and web3?
Head to [MetaMask Learn](https://learn.metamask.io/) for a straightforward learning experience designed specifically for newcomers to web3. It's completely free, available in multiple languages, and includes useful tools such as simulations to help you find your feet with MetaMask.
:::
## What is a Secret Recovery Phrase and how do I back it up? {#what-is-a-secret-recovery-phrase-and-how-do-i-back-it-up}
The use of a seed phrase, or **Secret Recovery Phrase (SRP**), is a standard most crypto wallets use. An SRP is a list of words generated randomly when you create your MetaMask wallet, and provides access to all the accounts (addresses) within that wallet.
When you first create a wallet, you will be prompted to write down your Secret Recovery Phrase, or connect your Google or Apple account to MetaMask. While both options have an associated SRP, they function differently in the backend.
If you do not connect your Google or Apple account to MetaMask, then MetaMask does not control any of your personal or private data on our servers. Everything is encrypted in your browser and protected via your SRP. If you lose your MetaMask accounts and need to restore them, you can only do that with your SRP, *which MetaMask does not have access to*. In this case, your SRP is your single point of failure for access to your accounts.
If you connect your Google or Apple account to MetaMask, your SRP is encrypted and sharded across five different nodes. Only your Google or Apple account and password can access and decrypt all five shards. In this case, your Google/Apple account and password are your two points of failure. Because of this, make sure you do not reuse your Google/Apple password for your MetaMask password. The two passwords should be completely unique. We also recommend you still secure your SRP in case you lose your password or Google/Apple account.
## Why you need to store your Secret Recovery Phrase {#why-you-need-to-store-your-secret-recovery-phrase}
MetaMask is a self-custody wallet. Whoever has access to an SRP has access to all of its accounts. If your device breaks, is lost, stolen, or has data corruption, there is no way for the MetaMask Support team to recover your SRP for you. For more tips on how to secure your SRP, see our article [here](/start/user-guide-secret-recovery-phrase-password-and-private-keys).
## Do not share your Secret Recovery Phrase and private keys {#dont-share-your-secret-recovery-phrase-and-private-keys}
Anyone who has your SRP or private keys can control your assets, and therefore send tokens out of your accounts. Never share them with anyone, including the MetaMask team or anyone claiming to represent us.
**We will never ask you to provide your SRP.** If someone claims that we do, insist on not sharing. If you encounter someone who claims to be a MetaMask or MetaMask Support team member, or asks for your SRP and/or private keys, report them by [getting in touch with Support](/start/how-to-contact-metamask-support). If anyone else asks for your SRP and/or private keys, they are trying to steal all of your assets.
This applies to websites and apps, as well. **The only legitimate situations where you'll need to enter your SRP are:**
- When you're **creating your wallet for the first time**, since you need to input certain words from the phrase to confirm you've recorded it.
- If you're **restoring your wallet** on a new device or from a fresh install, or you **reset your password** (a similar process).
There are, however, scammers that try to simulate these two situations. See here for more information: [How do I recognize the real MetaMask?](/stay-safe/safety-in-web3/how-do-i-recognize-the-real-metamask-)
**If you have a large value of tokens in your account(s), consider getting a [hardware wallet.](/more-web3/wallets/hardware-wallet-hub)**
Hardware wallets are commonly thought to be the safest way to store your tokens. They are often referred to as 'cold' wallets, since they're disconnected from the internet most or all of the time. This approach means your private keys are never reachable by bad actors online, with the hardware wallet itself required to sign (authorize) any transactions.
## Don't share your password(s)
You should never share any of your passwords with anyone, but for the purpose of this article, we will focus on your MetaMask password. If you connect your Google or Apple account to MetaMask, your password is **required** to access your accounts.
MetaMask Support will **never ask you to share your password**. If someone has access to your password and your Google/Apple account, they can access all of your MetaMask accounts.
If you don't have your Google or Apple account connected to MetaMask, your password functions differently. Having access to your password will not give someone access to your accounts. However, you should still secure your password and practice good password hygiene.
:::info[Password best practices]
- Use a strong password, with a mixture of uppercase and lowercase letters, numbers, and special characters.
- Use a different password for each account.
- Store your passwords in a secure, offline location. Cloud services and password managers can be hacked, and are not the most secure way to store your passwords.
- NEVER share your password with anyone.
:::
There is no such thing as too much safety. The basic guide here is by no means comprehensive. Always learn how to better protect your tokens, by learning from the community, informative materials or discussion channels.
### Additional resources {#additional-resources}
Here are some additional resources to keep your computer safe:
- Windows - [Keep your computer secure at home](https://support.microsoft.com/en-us/windows/keep-your-computer-secure-at-home-c348f24f-a4f0-de5d-9e4a-e0fc156ab221)
- Mac - [Set up your Mac to be secure](https://support.apple.com/en-in/guide/mac-help/flvlt003/mac)
## What are token approvals and why are they important? {#what-are-token-approvals-and-why-are-they-important}
Token approvals grant permission for a dapp to access and move a specific type of token and token amount from your wallet. If you are not careful about what token approvals you are approving in your MetaMask wallet, then this could potentially be an attack vector for your wallet to get drained.
To avoid this from happening try and follow these guidelines:
- **Always check what a dapp is actually requesting before clicking 'approve'**. In MetaMask, you can also [adjust the amount](https://twitter.com/MetaMask/status/1245769574131400709) that the dapp has access to. Even if you only provide access to 10% of your tokens, and the dapp turns out to be a scam, that's still a considerably better outcome than if you 'd granted unlimited access.
- **Do your own research (DYOR)**. The best time to get in the habit of performing **due diligence** on any dapp before interacting with it was six months ago; the second best time is today. Look out for misspellings, low-quality images/logos, and other red flags.
- Remember that **if something seems too good to be true, it probably is**. If you're being offered 498,563% APY, you're probably on thin ice.
For a more detailed explanation on token approvals and how to manage them please read the following [article](/stay-safe/safety-in-web3/what-is-a-token-approval).
---
# 'Deceptive site ahead' warning when connecting to a site
URL: https://support.metamask.io/stay-safe/safety-in-web3/deceptive-site-ahead-when-trying-to-connect-to-a-site/
> Learn how MetaMask detects phishing sites and what steps you should take to stay secure.
This warning message appears when you attempt to connect your wallet to a site that may be a phishing scam. It will look like this:
**We recommend you don't connect your wallet to sites that trigger this message**.
To help keep your assets safe, MetaMask includes a security feature that scans URLs you interact with—whether you're browsing dapps in MetaMask Mobile or connecting to them through the Extension. This helps us detect and block potential phishing attempts before they can harm you.
### Privacy {#privacy}
We understand that privacy is a top priority. That's why this feature is designed to preserve your privacy: Any sensitive data is stripped from the URLs before being sent for analysis, and your browsing history is never linked back to you personally.
This scanning process may involve sending the cleaned URLs to our servers and select third-party services. If you prefer not to use this protection, you can opt out at any time by navigating to **'Settings' > 'Privacy' > 'Basic functionality'**.
For more details, see [our privacy policy](https://consensys.io/privacy-notice).
### Reporting {#reporting}
If you're the owner of the site and believe it has been wrongly marked as a potential scam, please log your case here: [https://github.com/metamask/eth-phishing-detect/issues](https://github.com/metamask/eth-phishing-detect/issues)
One of our team will then review your case as soon as feasible and may whitelist your site depending on their findings.
You can also use [this utility](https://metamask.github.io/eth-phishing-detect/) to check why your domain was blocked, and see [here](https://github.com/MetaMask/eth-phishing-detect) for the rationale behind blocklisted sites.
---
# How to verify the real MetaMask wallet
URL: https://support.metamask.io/stay-safe/safety-in-web3/how-do-i-recognize-the-real-metamask-/
> Avoid fake extensions, never share your SRP, and learn the red flags of phishing sites and clone apps.
Many websites, emails, and social media profiles imitate MetaMask, attempting to access your accounts and steal your funds. Let's take a look at how you can tell them apart from the real thing.
## General principles {#general-principles}
If you're already looking at a site or popup and wondering whether it is legit, scroll down to _Fake MetaMask variants_ or click [here](#fake-metamask-variants).
Otherwise, here are some principles that will apply regardless of the situation you're in:
- **There are only two forms of MetaMask wallet: browser extension and mobile app.** These are the only places you can sign transactions. Do not click any other prompted 'transactions' or buttons.
- **MetaMask will not give you assets.** This includes NFTs, tokens, fiat currency, airdrops, or random giveaways.
- **MetaMask does not need you to routinely enter your Secret Recovery Phrase (seed phrase).** The only times you need to enter it for legitimate reasons are:
- When you create your wallet for the first time, to confirm that you've recorded it somewhere.
- If you try to [restore your wallet](/configure/wallet/how-to-restore-your-metamask-wallet-from-secret-recovery-phrase) or [reset your password](/configure/wallet/how-can-i-reset-my-password).
**Anything else is likely to be a scam**. Note that your wallet is still compromised even if the intent is not malicious — so if you suspect that someone has your Secret Recovery Phrase, you should [migrate](/manage-crypto/move-crypto/transfer/account-migration-guide) to a new one.
- **Scams can often be recognized.** Some scams are sophisticated, but many are not. Compare it with official sites like [metamask.io](https://metamask.io/) and [support.metamask.io](/), as well as your wallet itself. Look for telltale cosmetic signs like:
- Misspellings
- Grammatical errors
- Shoddy or outdated branding/images, and poor formatting generally.
- **If you're suspicious, don't take the risk.** If you want more opinions on the potential scam you've encountered, contact Support via the 'Contact Support' button on our homepage or ask others in our [Community](https://community.metamask.io/).
## Fake MetaMask variants {#fake-metamask-variants}
Browser extensions
The Chrome Web Store and Firefox extensions are moderated by the stores themselves to ensure no fraudulent apps are available; naturally, this covers MetaMask too.
Nevertheless, sometimes you may be asked to download MetaMask from elsewhere. **Never download MetaMask from anywhere other than**:
- Clicking the 'Install' button on [metamask.io/download](https://metamask.io/download/)
- The official browser extension store ([Chrome Web Store](https://chrome.google.com/webstore/detail/metamask/nkbihfbeogaeaoehlefnkodbefgpgknn), [Firefox Add-ons store](https://addons.mozilla.org/en-GB/firefox/addon/ether-metamask/), etc.)
If you download directly from a fraudulent website and enter your SRP, your wallet is compromised.
Websites
Many websites will attempt to replicate MetaMask in some way or other. The main, lucrative objective is usually to trick you into entering your Secret Recovery Phrase somewhere.
**You should never enter your Secret Recovery Phrase on any website**, regardless of how convincing it is. No legitimate MetaMask website will ever ask for your Secret Recovery Phrase. Non-malicious dapps will never do so either — so if any website does, don't enter it under **any circumstances.**
:::note
If you recall first setting up your MetaMask wallet in a desktop browser, you may remember something that looks and feels like a web page: **full-screen MetaMask Extension**. When you re-enter your Secret Recovery Phrase while setting up your wallet for the first time, it will have been in the full-screen version of MetaMask.
It isn't, however, a conventional web page, but just a different way to view certain pages built into the extension. You can tell it apart by the contents of the address bar, which clearly show it's part of MetaMask Extension (this is Chrome, but other browsers are similar):

If you think you're on a full-screen version of MetaMask and it _doesn't_ have a URL that clearly shows it as an extension page, it's not a legitimate version of the wallet, and you should close it immediately.
:::
Support
Imitation is supposedly the highest form of flattery, but flattery for phishing's sake is substantially less endearing.
Posing as a support agent is a classic phishing method, since it gives scammers a pretext for asking for sensitive information. You can identify fraudulent 'support' by looking out for:
- **Unsolicited contact**. Our Support team never contacts you first.
- **Location**. Official Support is delivered through the chat window available on the homepage of this site, and, sometimes, tickets (also accessible via email). **We never discuss specific support cases on social media** like Twitter, Telegram, Discord, Instagram, or others, even in direct messages.
- **Asking for your Secret Recovery Phrase**. We never do this.
If you're ever unsure how to reach legitimate MetaMask Support, click the buttons in MetaMask itself. On Extension, click your account icon and then 'support'; on Mobile, tap the menu button.
Popups
Remember how the MetaMask Extension pops up when you're prompted to sign a transaction? Well, some scams take advantage of this by creating similar pop-up windows.
Here are some principles to keep in mind, and to prevent yourself from becoming a victim:
- **MetaMask will never pop up without you initiating a transaction**. This means you need to click on some kind of button on a connected dapp for the genuine MetaMask to respond. If something appears as soon as you enter a site, or just randomly, it's likely a scam.
- **MetaMask will almost never require you to enter your Secret Recovery** **Phrase**. The only times you should be asked to enter it are when you're confirming a new Secret Recovery Phrase or [restoring](/configure/wallet/how-to-restore-your-metamask-wallet-from-secret-recovery-phrase) MetaMask from an existing one. Your Secret Recovery Phrase is likely to be the scammer's main target when confronting you with pop-ups.
- **MetaMask provides you with information on the transaction you're signing**. If a pop-up is asking you to sign a 'transaction', or anything else, with very little context (destination address, amount, gas price, etc.) it is most likely fraudulent. Transactions involving smart contracts often provide additional contextual information too — if this is absent, you may be interacting with a scam.
If you report the scam, there's a higher chance that we'll be able to prevent other users from encountering it. We appreciate any contributions to helping us make web3 safer.
### See also: {#see-also}
- [Basic Safety and Security Tips for MetaMask](/stay-safe/safety-in-web3/basic-safety-and-security-tips-for-metamask)
- [What is a 'Secret Recovery Phrase' and how to keep your crypto wallet secure](/start/user-guide-secret-recovery-phrase-password-and-private-keys)
- [Staying Safe in web3](/stay-safe/safety-in-web3/)
---
# Is this email really from MetaMask?
URL: https://support.metamask.io/stay-safe/safety-in-web3/i-received-an-email-claiming-to-be-from-metamask-is-it-legit/
> Received an email claiming to be from MetaMask? Learn how to spot fake emails and protect your wallet.
MetaMask will **never** send you unsolicited emails, even if you have connected your Google or Apple account to MetaMask.
You will **not** receive a confirmation email if you connect your Google or Apple account to MetaMask, or when you unlock your MetaMask using your Google or Apple account. MetaMask will **never** email you to ask for your Google or Apple account details.
**MetaMask will not and cannot _initiate_ email correspondence with you, unless you request it through support, or sign up for marketing updates, such as MetaMask Card updates**.
MetaMask will **never** email you to ask for your Google or Apple account details, your password, or your Secret Recovery Phrase.
If you believe you've received a scam email, contact us via the 'Contact Support' button on the home page of this site.
## How to recognize legitimate MetaMask emails {#how-to-recognize-legitimate-metamask-emails}
**These are the only email addresses we'll send you updates from:**
1. `support@metamask.io` — Correspondence about a Support ticket you opened.
2. `notifications@metamask.discoursemail.com` — Notifications relating to activity on the MetaMask [Community page](https://community.metamask.io/) page, such as mentions, replies, or activity in threads you're watching.
3. `hello@metamask.io` — Marketing comms like monthly newsletters, community calls, events, special promotions, new feature announcements, and user experience requests like surveys and paid research sessions.
4. `metamask@mail.cl-cards.com` - Marketing comms for MetaMask Card _(note: this comes from our card partner, Crypto Life)_.
5. `metamask@info.cl-cards.com` - Marketing comms for MetaMask Card _(note: this comes from our card partner, Crypto Life)_.
6. `metamask@cl-cards.com` - Support, transactional and system emails for MetaMask Card _(note: this comes from our card partner, Crypto Life)_.
See below for further information on how to recognize these.
### Emails about Support tickets {#emails-about-support-tickets}
The MetaMask Technical Support team are the 'elevated' Support team, and they follow up with cases via email. You will only have a ticket if you first had a conversation with a help desk agent using the chat window (accessible by clicking the 'Contact Support' on the home page of this site), **and during that interaction with help desk, your case was elevated**.
[Learn more about checking the status of your support ticket](/configure/troubleshooting/how-to-check-the-status-of-an-open-support-ticket).
Do not trust any email claiming to be from MetaMask Support unless it meets _all_ of these criteria *as a minimum*:
It's from the correct domain
Any email from MetaMask Support will be from `support@metamask.io`.
**Emails from any other address that claim to be MetaMask Support are scams**.
Always make sure to hover over or click on the "From" field in your email client so that you can see the actual address. Just because it says the sender is "MetaMask Support" doesn't mean it's us.
It relates to a ticket you definitely opened
If you don't remember opening a ticket or don't recognize the content of the email, it is highly unlikely to be us.
We'll only ever get in touch in response to an open ticket, so the email content will be specific to the issue you
had.
You contacted MetaMask Support recently
The only way we can get your email is if you give it to us as part of the process of opening a ticket. This means
it's impossible for us to send unsolicited emails: we'll always email in response to your request.
### Community page emails {#community-page-emails}
The [MetaMask Community site](https://community.metamask.io/) may send you emails if you've opted to receive them. In all cases, the emails will come from: `notifications@metamask.discoursemail.com`.
These emails can be:
- An activation email to verify your account when you sign up
- Notifications relating to activity on the Community page, such as mentions, replies, or activity in threads you're watching.
You can adjust your email settings by clicking on the user icon in the top-right, going to 'Preferences', and then heading to 'Emails' and configuring the options there.
## How to spot a scam email {#how-to-spot-a-scam-email}
Things which should mark out a scam email include:
It's from an email address not mentioned above
Inspect the sender's email: is it one of the Support emails we've detailed above? If not, it is almost certainly a scam. To be clear, legitimate emails will be from:
- `support@metamask.io`
- `notifications@metamask.discoursemail.com`
- `hello@metamask.io`
- `metamask@mail.cl-cards.com`
- `metamask@info.cl-cards.com`
- `metamask@cl-cards.com`
**Do not click any links in an email claiming to be from MetaMask that _isn't_ from one of these addresses.**
Scammers will almost always try to hide their emails, so **it's vital that you make sure you check the _actual_ email address**. A common trick that scammers leverage is the fact that many email clients display names for senders in place of email addresses, which are generally only displayed by clicking or hovering over this name.
This mechanism could cause you to be fooled into thinking an email with a sender display name such as 'MetaMask Support' is from us, when in reality, one look at the email address itself will show that it's a scammer.
A sense of urgency and pressure
One of the main ways scammers try to get you to act without thinking is to pressurize you. We come across a wide variety of false reasons for this, but some we've seen include:
- Insisting you need to complete **KYC** ("know your customer" practices) to continue using MetaMask. You can completely disregard any statement along these lines. MetaMask does not have any form of KYC — the only time you may come across it is when [buying crypto in MetaMask](/manage-crypto/move-crypto/buy/how-to-buy-crypto-in-metamask), or signing up for [MetaMask Card](/trade/metamask-card/) as part of which you need to complete KYC directly with the provider.
- Advising that your wallet is in some way **restricted**, **locked**, or **suspended**, and asking you to take steps to address this.
- Asking you to '**upgrade**' your wallet.
- Informing you that your wallet has somehow failed to be updated and that you need to '**verify**' it or '**restore**' to resume using it. Learn more about how MetaMask updates _actually_ work [here](/configure/wallet/how-to-update-the-version-of-metamask).
You may also want to check out our article that covers the most common type of email scams: [Will MetaMask ever ask me to verify my account?](/stay-safe/safety-in-web3/will-metamask-ever-ask-me-to-verify-my-account)
Asking you to click a suspicious link
Generally, emails can do you no harm unless you click the fraudulent links they contain. That's because these can link to sites designed to steal your Secret Recovery Phrase, for example.
**You should never click a link in an email if you have any doubts about security**.
We do, however, need to call out here that official MetaMask Support emails will _sometimes_ contain links — especially if regarding email verification for a new Community account. If you're doubtful, check the sender's email address against the addresses we detail above, or [get in touch with us](/start/how-to-contact-metamask-support) and we will advise whether or not you're looking at a scam email.
---
# How to avoid scammers, rug pulls, and airdrop scams
URL: https://support.metamask.io/stay-safe/safety-in-web3/scammers-and-phishers-rugpulls-and-airdrop-scams/
> Learn how to spot and avoid crypto scams like phishing emails, fake airdrops, and rug pulls.
The decentralized web is exploding with economic activity and has the potential for incredible growth. While this attracts a lot of well-deserved attention, there's another thing it attracts: scammers and thieves.
## Rugpulls: Don't let your FOMO get the better of you {#rugpulls-dont-let-your-fomo-get-the-better-of-you}
A _rugpull_ is the term that has been popularized to describe the web3/DeFi equivalent of what we would call, in traditional financial systems, a Ponzi scheme; a related concept is that of "pumping and dumping". Let's dig into this a bit.
There isn't just one token or cryptocurrency per blockchain. In fact, the Ethereum blockchain has on it an incredible number of cryptocurrencies, and creating a new one is a fairly straightforward procedure. Not only are they easy to create, but **you can name them whatever you want,** which can make identifying legitimate tokens particularly difficult.
Those who speculate in cryptocurrencies will often engage in 'pumping and dumping', i.e. buying lots of a particular token in order to drive the price up, then selling them for a profit. This simple mechanism is taken to a whole other level when an individual or group of individuals creates a token simply for the purpose of extracting value.
### How it works {#how-it-works}
- A token is created
- The token is promoted, through airdrops, spamming through social media channels
- The price of the token is inflated, often in a coordinated manner between a number of parties
- Unwary investors 'dogpile' onto the token, buying due to the perception that the value is skyrocketing and they want to get in when the token is still relatively cheap
- When the value of the token reaches the target that the creators were aiming for, or whenever they decide to, the scammers liquidate their shares or swap for another cryptocurrency, perhaps dropping the value of the token to below what it had been when the unwary investors had bought
- The unwary investor has lost value, and is left with tokens worth next to nothing.
### How to avoid it {#how-to-avoid-it}
Do your research. How long has the token been around? Take a look at a block explorer, and see if you can figure out what the distribution of the token is like. Are there a handful of accounts holding a majority of the tokens? Is it being hawked aggressively on chat platforms? Does the token have any true utility — or example, is it used in a video game? Or is it just a meme-inspired token?
_Just because there's a graph with an incredible spike, doesn't mean that spike will continue._
**At the end of the day, this is the decentralized web, and [you're the custodian](/start/metamask-is-a-self-custodial-wallet) of your tokens. Only you can decide which projects are worth your participation.**
## Free money doesn't (always) fall from the sky: Airdrop scams {#free-money-doesnt-always-fall-from-the-sky-airdrop-scams}
An airdrop consists of a token creator sending some quantity of tokens to Ethereum addresses — maybe at random, maybe from a list of users of a particular dapp or sidechain, for example. There was a time when it was a fairly common practice to use an airdrop as part of a launch campaign for a new token.
Airdrops have a rich and storied history on web3, and are a great tool for creators of a new project to get their token into the hands of users, and a great opportunity for web3 participants to benefit from being present in the ecosystem.
### How the scam works {#how-the-scam-works}
Unfortunately, airdrop scams are an attack vector that are actively being developed, and novel exploits of smart contract code could cause new types of scams to appear. That said, here is a common pattern:
- A wallet holder, examining their wallet on a blockchain explorer, notices they've got some new tokens—maybe even _millions_ of a new token—that they didn't pay for. Congrats, wallet holder, you're the recipient of an airdrop!
- "Well," says the wallet holder to themselves, "I didn't pay anything for these and I don't particularly care about them. I wonder if I can get anything for them. I'll go to a token swap site."
- The wallet holder attempts a swap of the tokens—maybe for some ETH—and nothing seems to happen. Confused, the wallet holder goes to the block explorer, and sees a message like [this one](https://bscscan.com/tx/0x88e89231b292d4eaae45f84f2f1118841b64a0fc6e71fc5d7a8d55fc8eb0940d), which somewhat cryptically tells the would-be token millionaire that in order to claim their tokens, they need to go to a third-party site.
- Once on the third-party site, a few things might happen.
- The user might be tricked (phished) into putting their Secret Recovery Phrase into the website, **at which point the scammers have control over their entire wallet**.
- The attack can be more subtle, however. Paraphrasing one user's story: "You go to claim your tokens, and MetaMask pops up with a confirmation message. You confirm the MetaMask transaction, but what you don't realize is that you're giving the page permission to take your tokens, rather than give you tokens." (N.b. this is a token approval scam. [Read more here.](/stay-safe/safety-in-web3/what-is-a-token-approval))
### How to avoid it {#how-to-avoid-it-1}
MetaMask is aware of these scams, and is actively working on improvements to help prevent them, but **in the decentralized web, the most important member of the security team is you.** If you're not sure about a product, look around a bit. Ask on (respectable) forums. Don't give into the fear that if you don't sell the tokens now, they won't be worth anything — after all, **the fractions of an ETH that you may earn from selling them aren't worth your wallet getting liquidated.**
**Never, ever, ever give your Secret Recovery Phrase to a website or to someone online.**
**Ever.**
:::warning
#### NFT airdrop scams {#nft-airdrop-scams}
If you notice suspicious items in the 'NFTs' tab that you did not purchase, looking more like an ad than digital art, and informing you that you can _claim_ your airdrop by clicking on the link to their website, **do not do what they say**. This is an emerging scam method, and the website is most likely **phishing for your Secret Recovery Phrase**. It's best **not to interact** with the NFT at all, hide it, or add it to the'suspicious' NFTs list in your Portfolio.
:::
While you should make a habit out of checking the contents of your account address on a block explorer, take a deep breath before acting on anything you learn there. Remember: tokens can be faked. Check the issuing smart contract address against the address of the legitimate token. **Do your due diligence; you are the custodian of your tokens.**
---
# Understanding the risks of connecting to an unknown network
URL: https://support.metamask.io/stay-safe/safety-in-web3/the-risks-of-connecting-to-an-unknown-network/
> Think twice before you connect your wallet to a new network.
You should always think twice before you connect your wallet to a new blockchain network: be deliberate and think this through.
## Privacy {#privacy}
One of the core principles underlying public blockchain networks is a focus on a different model of ownership: rather than the websites you visit—or have accounts with—owning your data, you and you alone hold your data through your private keys.
This does **not** mean that everything you do is private.
This does **not** mean that no one can track your transactions.
This does **not** mean that governmental authorities or other parties can't associate you with your crypto assets.
## Technology {#technology}
Parts of interacting with blockchain technology are extremely secure and encrypted: your private keys, as long as you keep them private, are extremely brute force hack-resistant. Other parts of the ecosystem can be just as traceable as Web2 technology. Are you signing up for a community project with your email? Even if you're not, are you using a VPN? What sorts of privacy measures are you taking in your internet browsing?
And there are the gray areas that a lot of us might not think about on a daily basis. Do you have popular social network apps installed on your phone? If so, have you considered that they may be gathering extensive data on your activities, storing it and reselling it? And—is that the same phone that you're using MetaMask Mobile on?
How careful are you about new apps you install on your phone and computer? Are you taking measures to ensure you're not installing spyware? As crypto-technologies become more and more mainstream and valuable, scammers and thieves have more and more incentive to install these malicious payloads in commonly-installed products to gain remote access to our systems and extract our private keys.
## The bottom line {#the-bottom-line}
Before you connect to a new blockchain network, keep in mind that a malicious network provider can:
- Lie about the state of the blockchain
- Withhold transactions
- Record your network activity
- Record your IP address and associate it with your network activity
At MetaMask, we believe that you should be empowered and enabled to own your data, and the first step on that path is becoming informed. For a beginner's overview of blockchain technologies, [start here](/more-web3/learn/learn-the-basics-of-blockchains-and-ethereum-miners-and-validators-gas-cryptocurrencies-and-nfts-block-explorer-networks-etc).
---
# Token safety practices
URL: https://support.metamask.io/stay-safe/safety-in-web3/token-safety-practices/
> How to stay safe when interacting with tokens.
Keep the following token safety practices in mind on the decentralized web:
- **Anyone can mint a token and name it any way they like.** This means there are many malicious tokens disguised as popular tokens, so double-check that the token you're about to swap is the one you mean to swap. One way to ensure this is to [verify the token address.](/manage-crypto/tokens/how-to-find-a-token-contract-address)
- **Risk of loss:** token prices fluctuate, so the value of a token could drop dramatically after you acquire it. This means that before you acquire a token, you need to do some research. One thing to consider is the longevity of the project or asset: has it been around for a significant amount of time, or is it something that appeared out of nowhere and is skyrocketing in value?
:::info[Scammer Spotlight: Rugpulls]
Traditional scams such as pyramid schemes have made their way into the decentralized economy, and are often referred to as [rugpulls](/stay-safe/safety-in-web3/scammers-and-phishers-rugpulls-and-airdrop-scams): when the creator(s) of a token hype up their project and quickly invest a lot of liquidity into the token in order to create eye-catching growth, only to pull all value out of the token once they reach their goal value, leaving investors who didn't know the "dump" was coming with nothing. Simply put, **do your due diligence and only invest in projects that you trust**.
:::
- Some projects **do not have customer support**. This is due to the decentralized nature of the ecosystem: if a project runs based on a set of programmatic protocols, there may be no one keeping track of user accounts, problems, etc. In such cases, look to see if the project has a community on GitHub, Discord, Slack or another platform where you may be able to find more information.
- **A common practice in the ecosystem is _airdropping._** Again, this often happens around the launch of a project, when the project's proponents are trying to generate interest — the 'airdrop' itself consists of gifting any number of tokens to any number of Ethereum account addresses. This means you could end up with tokens that you don't know about; even in this case, exercise due caution if you intend on transferring, spending, or cashing out the tokens. Just because you didn't pay for a token, and someone dropped them into your wallet, doesn't mean you should blindly use them. Make sure you understand the token and what you're going to do with it.
:::info[Featured Phishers: Airdrop Scams]
Airdrops have been around for a long time (in blockchain time, that is), and while they have plenty of legitimate uses, they can be used to artificially create interest in a non-meritorious project (see the **Rugpulls** section above) or, more nefariously, can be used to phish unwary users.
If you see some tokens in your wallet that you didn't buy, [say on Etherscan](/more-web3/learn/how-to-check-my-wallet-activity-on-the-blockchain-explorer), don't immediately jump to swap them; do some research first. A common setup for an airdrop scam is that the tokens won't swap — instead, the token will reroute the user to a website where they have to enter personal information, even their Secret Recovery Phrase, in order to allegedly cash out their tokens.
**Do not give your Secret Recovery Phrase to anyone or any website, even one that is promising you tokens or cryptocurrency in return.**
_For an example of how one of these scams works, [here's a helpful video](https://www.youtube.com/watch?v=M4rwlfzYskw)._
We recommend you keep a close eye on the tokens associated with your account(s); for more information on adding tokens, and managing them, see [here](/manage-crypto/tokens/how-to-display-tokens-in-metamask). **If you do have scam tokens airdropped to your account, just leave them there**; as we've indicated, often it's trying to do something with the tokens that ends up hurting you.
We have a more in-depth article on rugpulls and airdrop scams [available here](/stay-safe/safety-in-web3/scammers-and-phishers-rugpulls-and-airdrop-scams).
:::
---
# MetaMask's official support channels
URL: https://support.metamask.io/stay-safe/safety-in-web3/what-are-metamasks-official-support-channels/
> Learn the official ways to contact MetaMask support.
:::danger[MetaMask does **not** have a phone number]
MetaMask Support does **not** have a phone number. We will never speak to you on the phone. If anyone tries to speak to you on a phone call, they are trying to scam you and steal your assets.
Keep reading for all of the _real_ ways to speak with MetaMask Support.
:::
When trying to [get support for MetaMask](/start/how-to-contact-metamask-support), always be wary of who you're communicating with. A reliable rule of thumb is that **if anyone asks for your Secret Recovery Phrase, they are trying to scam you**.
If you aren't sure whether or not something or someone is legitimate, ignore it. To check whether something is genuine, get in touch with us via the 'Contact Support' on the homepage of our [Support website](/), or by using the card below, and we will advise.
## Official support channels {#official-support-channels}
MetaMask representatives will only ever contact you via:
### Email {#email}
MetaMask Support will only ever contact you via email concerning [open tickets](/configure/troubleshooting/how-to-check-the-status-of-an-open-support-ticket), from the domain `support@metamask.io`.
:::warning[Scam emails]
Be very cautious when interacting with an email claiming to be from MetaMask. Here are some safety rules for interacting with emails:
- If you don't have an open support ticket, ignore the email.
- If an email does not come from `support@metamask.io`, ignore it; scammers have been known to target people with open tickets asking for Secret Recovery Phrases. We will **never** ask for your Secret Recovery Phrase.
Common scam emails may involve asking you to follow a link to ['verify' or 'confirm' your account](/stay-safe/safety-in-web3/will-metamask-ever-ask-me-to-verify-my-account), often with a sense of urgency.
See here for more information: [Is this email really from MetaMask?](/stay-safe/safety-in-web3/i-received-an-email-claiming-to-be-from-metamask-is-it-legit)
:::
### Community platform {#community-platform}
MetaMask Support uses our [Community platform](https://community.metamask.io/) to connect users and hear directly from you. As the rules at the top of our Community page say, **we will never DM you offering support**.
The [MetaMask subreddit](https://www.reddit.com/r/Metamask/) is an extension of our Community and is also moderated by team members. However, as on any other platform, we will never DM you on Reddit.
MetaMask Support also has a [verified X account](https://twitter.com/metamasksupport?lang=en), which is primarily to share important information to help out you and fellow users. **MetaMask will never contact you about your Support case on X**.
### Chat {#chat}
Our main channel for support communication is through starting a conversation on this support website. Simply head to the home page of our [Support website](/) and head to 'Contact Support' to start a conversation, or use the card at the top of this article.
## Fake support channels {#fake-support-channels}
Here is a non-exhaustive list of ways MetaMask will _not_ contact you:
- Phone number
- WhatsApp
- Facebook
- Telegram
- X
- Text/SMS
- Instagram
Any group that you find on Telegram, WhatsApp, or Instagram that claims to be an official MetaMask group should be considered at best a fan club, and at worst an attempt at social engineering with the goal of stealing peoples' crypto assets.
**MetaMask does not have a phone number for support, and will never ask you to get on a phone call.**
---
# What is a token approval?
URL: https://support.metamask.io/stay-safe/safety-in-web3/what-is-a-token-approval/
> Understanding token approvals is essential for staying safe in web3.
Contents
- [What is a token approval?](#what-is-a-token-approval)
- [What they look like](#what-they-look-like)
- [What they mean](#what-they-mean)
- [Revoking approvals](#revoking-token-approvals)
- [Unlimited token approvals](#unlimited-token-approvals-how-to-stay-safe)
- [setApprovalForAll](#setapprovalforall-making-it-easier-to-know-what-youre-approving-in-metamask)
- [Malicious token approvals](#malicious-token-approvals)
- [Additional resources](#further-reading)
Across web3, you'll encounter a range of transaction types, each of which is identifiable in MetaMask at the point of confirming the transaction.
Understanding what they are and how to interpret their meaning is an important part of staying safe in web3. The challenge is that much of the information displayed on these screens is either not designed to be human-readable—such as the long hexadecimal numbers we recognize as account or contract addresses—or, at best, is difficult to decipher.
**Token approvals** are among the most common of the transaction types you'll encounter, and learning about them is therefore essential. In web3, and especially with a [self-custodial](/start/metamask-is-a-self-custodial-wallet) wallet like MetaMask, you're firmly in control and hold ultimate responsibility for everything you do. That's why it's critical you know exactly what you're signing up for when you confirm token approvals.
## What is a token approval? {#what-is-a-token-approval}
In short: **permission for a dapp to access and move a specific type of token from your wallet**.
These prompts will often appear in MetaMask if you're a frequent user of decentralized exchanges (DEXs) and DeFi in general. Most platforms rely on you depositing or transferring your tokens to them for one reason or another. However, clicking buttons such as 'Transfer', 'Deposit', or 'Move' won't do anything unless their dapp has your permission—as the wallet owner—to do so.
This is why token approvals are necessary: they enable the dapp to access and move your tokens on your behalf.
## What they look like {#what-they-look-like}
The token approval prompt that appears in MetaMask will look something like this:
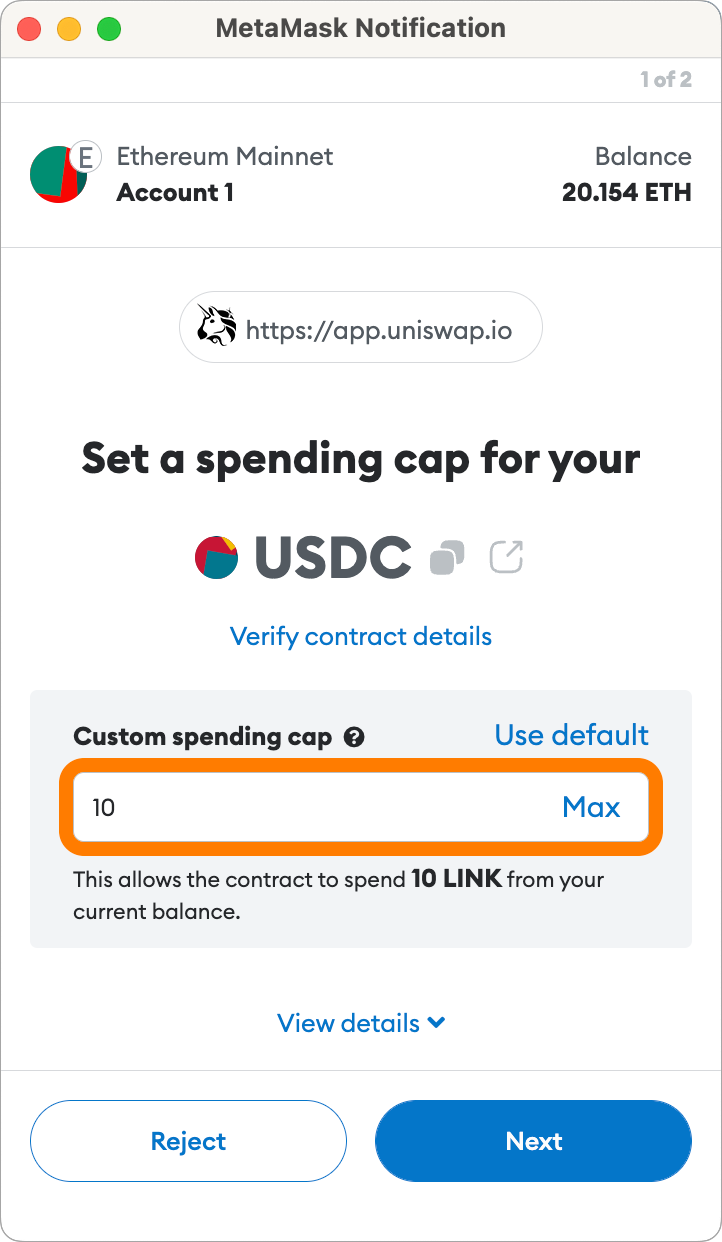
Let's dissect this. Notice how:
- **The dapp's name and web URL are displayed at the top.** This helps you make sure that the dapp you _expect to be_ interacting with is actually the one requesting the approval.
- You **can click 'verify contract details' to see the address of the smart contract requesting access**. If you're interacting with a dapp/contract you're not 100% sure about, you could take this address and look it up on a block explorer such as [Etherscan](https://etherscan.io/) to look for any strange activity, or to see if it is flagged as a potential scam.
- **You can edit the permission under the 'custom spending cap' field**. In this context, the cap refers to how much of that token (in this case, USDC) the dapp can access. Note that this is not limited by how much of the token you actually have in your account; [it can and often does drastically exceed this](#unlimited-token-approvals-how-to-stay-safe). For more on editing token approvals, see our [article on setting a custom spending cap](/configure/tokens/how-to-customize-token-approvals-with-a-spending-cap).
- **You have to pay gas fees**. The only way for the approval to be secure is for everyone to be 100% sure it came from you, the wallet owner. Thankfully, we just so happen to be using a decentralized, immutable ledger (i.e. blockchain) that can record your permission as historical fact. But for this permission to be recorded, it must be on chain; and for any transaction to be processed on chain, you must pay the costs of operating the network: gas.
## What they mean {#what-they-mean}
If you grant permission for a dapp to access 1,000 USDT, it can do so whenever you ask it to, without requiring a similar token approval transaction again. This applies until the dapp has had access to 1,000 tokens, at which point you'll need to sign another transaction.
But what's going on behind the scenes? Well, when you approve access to a token, in many cases you're consenting to the dapp calling the [transferFrom](https://docs.openzeppelin.com/contracts/5.x/api/token/erc20#IERC20-transferFrom-address-address-uint256-) function, one of the functions defined in the ERC-20 standard. (In programming, to 'call' a function is to use it.) It enables the dapp to transfer a given amount of the token from your wallet into theirs. The amount is determined by a corresponding [approve](https://docs.openzeppelin.com/contracts/5.x/api/token/erc20#IERC20-approve-address-uint256) function, for which—you guessed it—you provide inputs for when you sign your token _approval_.
You can see this process in action when you're presented with the approval confirmation in MetaMask. If you scroll down to 'View full transaction details' and click it, you can see the 'Approve' function listed:
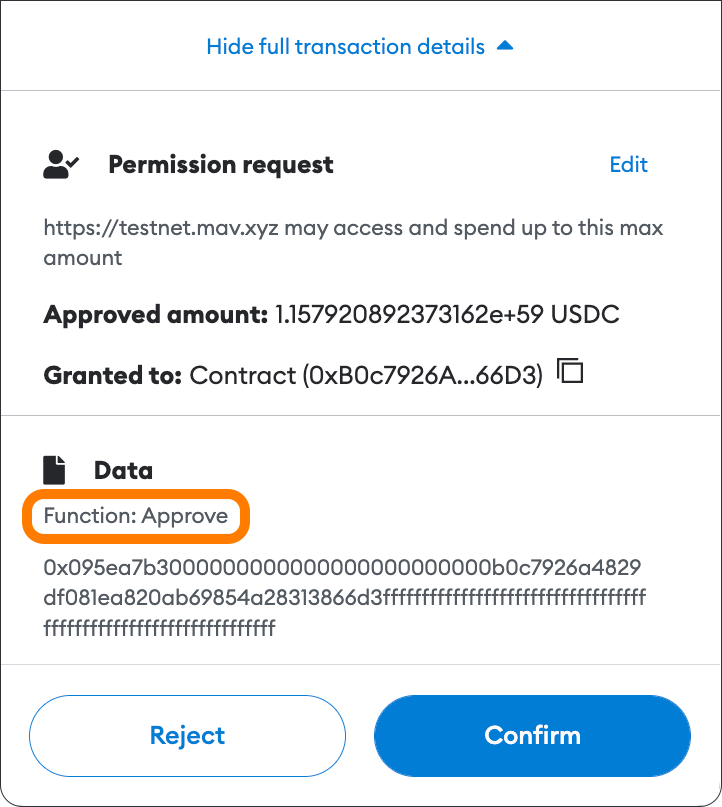
The 'Granted to' field gives you another opportunity to copy the contract address that's asking for approval and verify its legitimacy on a block explorer.
:::info
#### EIP-3009: the _permit_ function and minimizing gas fees {#eip-3009-the-permit-function-and-minimizing-gas-fees}
Not every token you come across works as we've described above, which relates to ERC-20 tokens. This mechanism of _approve_ + _transferFrom_ is not relevant for tokens that have implemented the [EIP-3009](https://eips.ethereum.org/EIPS/eip-3009) model, with the stablecoin USDC the most prominent example.
With EIP-3009, rather than an _approve_ transaction, you sign a _permit_ transaction. These bundle up the approval and transfer into one transaction, meaning that you effectively pay zero gas for the approval, and just pay the gas for transferring the tokens.
:::
Want more information on approvals? See our [blog post](https://consensys.net/blog/metamask/the-seal-of-approval-know-what-youre-consenting-to-with-permissions-and-approvals-in-metamask/) on the subject for a deep dive.
## Revoking token approvals {#revoking-token-approvals}
It never hurts to be in control of your assets, and to be aware of which dapps have access to them. There are a few ways to revoke existing token approvals: see our [article](/more-web3/learn/how-to-revoke-smart-contract-allowances-token-approvals) for more detail.
## Unlimited token approvals: how to stay safe {#unlimited-token-approvals-how-to-stay-safe}
Often, token approval requests will ask for access to so many tokens that it's essentially unlimited — just see the screenshot above, which shows Uniswap requesting access to 1.1559 tokens. Many legitimate dapps do this to minimize the need—and associated transaction costs—for you to re-approve access to the token every time you want to use it on a dapp. Think of DEXs, for example: if you're conducting a lot of token swaps, you don't want the additional clicks and gas fees every single time.
However, requesting essentially unlimited amounts of tokens is also how many malicious sites steal from unsuspecting web3 users. This can be particularly demoralizing as a user if you've adhered to all our recommended [security tips](/stay-safe/safety-in-web3/basic-safety-and-security-tips-for-metamask), including keeping your Secret Recovery Phrase offline-only, and never sharing it: despite all your efforts, you could be exploited anyway.
To make sure you're not granting bad actors access to all of your tokens, we recommend you follow these key principles (which we've borrowed from our [blog post](https://consensys.net/blog/metamask/fake-mining-scams-a-familiar-foe-in-a-new-disguise/)):
- **Always check what a dapp is actually requesting before clicking 'approve '**. In MetaMask, you can also [adjust the amount](https://twitter.com/MetaMask/status/1245769574131400709) that the dapp has access to. Even if you only provide access to 10% of your tokens, and the dapp turns out to be a scam, that's still a considerably better outcome than if you 'd granted unlimited access.
- DYOR. The best time to get in the habit of performing **due diligence** on any dapp before interacting with it was six months ago; the second best time is today. Look out for misspellings, low-quality images/logos, and other giveaways.
- Remember that **if something seems too good to be true, it probably is**. If you're being offered 498,563% APY, you're probably on thin ice.
## _setApprovalForAll_: Making it easier to know what you're approving in MetaMask {#setapprovalforall-making-it-easier-to-know-what-youre-approving-in-metamask}
If you're not familiar with Ethereum smart contract code, _setApprovalForAll_ may look mildly bewildering, but it's worth knowing about if you interact with dapps.
This is a function in the [ERC-721 and ERC-1155 standards](https://docs.openzeppelin.com/contracts/5.x/api/token/erc721#IERC721-setApprovalForAll-address-bool-) (which relate specifically to NFTs) that enables you to grant or revoke other addresses the ability to manage **all of your NFTs associated with a specific smart contract**.
One of the most common applications for this function is NFT marketplaces. When you sell an NFT on a platform such as OpenSea, you need to allow the dapp to access and transfer that NFT to the buyer when it sells. Such platforms often request access to _all_ the NFTs of that type (i.e. originating from the same smart contract). For you, the user, this is generally inconsequential — we trust large platforms such as OpenSea not to overstep the boundary and remove NFTs that they shouldn't.
And, like we said, _generally_ it ends there. However—like many areas of web3—this is a potential opening for scammers; either by exploiting an existing dapp to which many wallets have already granted access to _all_ tokens of a certain type, or by luring you into granting approval to a malicious dapp.
This is why **MetaMask Extension makes it as clear as possible what you're consenting to when you sign a _setApprovalForAll_ transaction**. This is how it'll look:
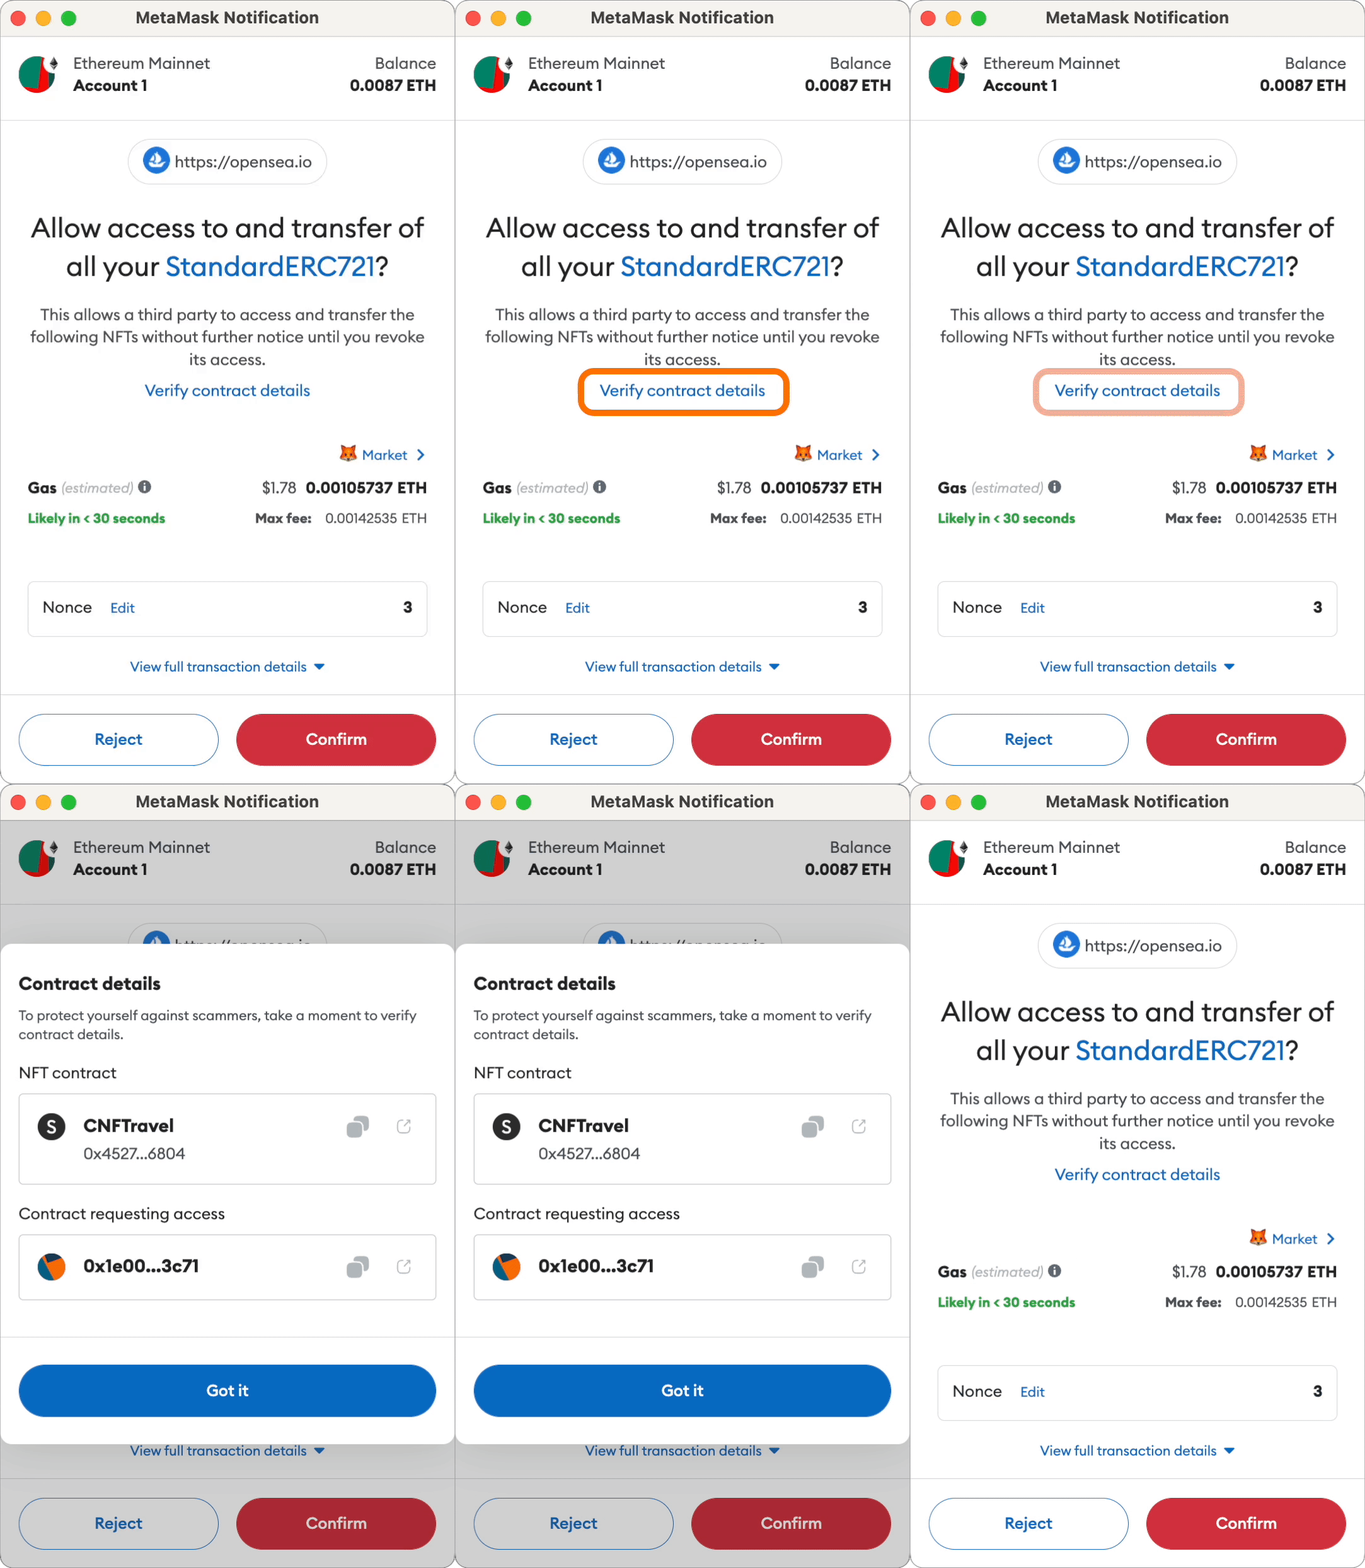
Notice also how you have the option to '**Verify contract details**'. If you click this, you'll be able to access a page showing the name, if any, of:
- The contract requesting access
- The NFT contract.
MetaMask retrieves this information from publicly available data, and you can also copy each contract's address to your clipboard if you want to investigate further. See our [article on verifying the safety of smart contracts](/stay-safe/protect-yourself/how-to-tell-if-a-smart-contract-is-safe-to-interact-with) for what kinds of things to look out for at this point.
Given that this function allows access to all tokens associated with the contract, two things should cross your mind when you're presented with it:
- Does the dapp I'm interacting with actually need access to all of my tokens?
- Is this a legitimate, non-malicious site that isn't trying to scam me?
One common _non_-legitimate application of this function is when malicious dapps ask you to _setApprovalForAll_ to claim an NFT drop: **you shouldn't have to sign this kind of approval to receive anything**. Don't be fooled!
We can't protect you from the risks inherent in using web3: as the owner of a [self-custodial wallet](/start/metamask-is-a-self-custodial-wallet), that responsibility lies with you. However, with changes such as this, we're working to equip you with the information you need to stay vigilant and aware of exactly what you're doing.
## Malicious token approvals {#malicious-token-approvals}
Token approvals are also one of the most common attack vectors for scams. **A malicious token approval involves giving a bad dapp or smart contract excessive or dangerous permissions, often leading to unauthorized access to your tokens.** These approvals are typically engineered by scammers to exploit users' trust or lack of understanding of the approval process.
In many cases, a malicious approval involves granting **unlimited token access**, allowing the dapp to spend all your tokens of a given type.
### How to spot a malicious approval request {#how-to-spot-a-malicious-approval}
Scammers tend to rely on a predictable set of tactics. Watch out for:
- **Urgent demands**: Time pressure with deadlines or cut-off dates
- **FOMO**: Promises of unrealistic returns, airdrops, or allowlisting
- **Impersonation**: Mimicking well-known protocols, projects, or people
- **Rough around the edges**: Poor grammar, web design, or unprofessional branding
- **Unexpected messaging**: Requests for money, excessive enthusiasm, or desperation for your involvement
:::warning
Always remember: if something seems too good to be true, it probably is.
:::
### How to remove a malicious token approval {#how-to-remove-malicious-token-approval}
If you believe you've approved a malicious token request, **act quickly to revoke access**. If your wallet is already drained there is unfortunately little you can do, but if you catch it in time you may be able to prevent further damage.
You can revoke access directly in [MetaMask Portfolio](https://portfolio.metamask.io/?tab=spending-caps), where you can review all existing approvals and revoke any unwanted ones.
:::tip
For more information on using other platforms to revoke access, refer to [this article](/more-web3/learn/how-to-revoke-smart-contract-allowances-token-approvals/#how-do-i-revoke-approvals). It's good wallet hygiene to regularly check your approvals and revoke any that are unnecessary or potentially harmful.
:::
## Further reading {#further-reading}
For more reading on token approvals, and the unlimited approvals _gotcha_ specifically, see here:
- [Fake “Mining” Scams: a Familiar Foe in a New Disguise](https://consensys.net/blog/metamask/fake-mining-scams-a-familiar-foe-in-a-new-disguise/)
- [The Seal of Approval: Know What You 're Consenting To With Permissions and Approvals in MetaMask](https://consensys.net/blog/metamask/the-seal-of-approval-know-what-youre-consenting-to-with-permissions-and-approvals-in-metamask/)
- [How to revoke smart contract allowances/token approvals](/more-web3/learn/how-to-revoke-smart-contract-allowances-token-approvals)
- [How to customize token approvals/allowances with custom spend limit](/configure/tokens/how-to-customize-token-approvals-with-a-spending-cap)
---
# Why am I being warned about sending tokens to a contract?
URL: https://support.metamask.io/stay-safe/safety-in-web3/why-am-i-being-warned-about-sending-tokens-to-a-contract/
> Learn more about sending tokens to a contract, and why you should avoid it.
MetaMask tries to make sending and receiving ERC-20 tokens simple and safe.
When sending tokens, you should always double-check that you're sending to the proper address, controlled by either another user, an account you own, or a dapp with which you're interacting.
**MetaMask will warn you when sending tokens to the address of a token contract.** Many users accidentally "burn" (**lose forever**) their tokens by sending to the address of the token contract, so if you're sending to a token contract, we want to make sure you're doing it intentionally.
If you're seeing a warning that looks like this on your send screen, we've detected that the recipient address you've entered is the address of a token contract:
ERC-20 tokens are controlled by a smart contract that tracks the balance of the token. For example, the GNO token is tracked by a contract at address _0x6810e776880c02933d47db1b9fc05908e5386b96_. If you visit that address on [Etherscan](https://etherscan.io/address/0x6810e776880c02933d47db1b9fc05908e5386b96), you'll see plenty of calls to the contract.
Most of them are function calls that originate from a token holder (like you!), and supply a destination address and token amount. This tells the GNO contract to transfer a certain amount of tokens from the sender's balance to the recipient's balance.
Unlike your ETH balance, which is tracked in actual blocks on the Ethereum blockchain, token balances are tracked on a contract that runs on the blockchain — basically a mini-ledger of which address owns how many tokens.
When you send tokens through MetaMask, we already know which token contract should receive the transaction. The 'to' field is specifically for the address of the **recipient** — who you want to receive the tokens. When you click "Send," you're submitting a transaction to the appropriate token contract, telling it to transfer the specified number of tokens from your balance to the recipient's balance. **If the recipient is the token contract itself, those tokens may be lost forever!**
---
# Why does MetaMask Swaps use unlimited token approvals?
URL: https://support.metamask.io/stay-safe/safety-in-web3/why-does-swaps-use-unlimited-token-approvals/
> Our token approval is given strictly to our Spender contract.
Our token approval is given strictly to our _Spender_ contract, which was created to:
1. Serve as a protective layer that interacts with underlying protocols on the user's behalf
2. Reduce non-negligible gas costs associated with each token approval transaction
Simply put, we designed our suite of contracts to make our Swaps protocol **maximally secure** above all, and, when possible, **minimize unnecessary gas costs for our users**.
:::note[What is a token approval?]
**In short:** permission for a dapp to access and move a specific type of token from your wallet. Learn more [here](/stay-safe/safety-in-web3/what-is-a-token-approval).
:::
It’s no accident that, despite numerous security breaches in the past few years affecting some of the liquidity sources we support, MetaMask Swaps users have remained **unaffected**.
MetaMask was the first wallet to embed a meta-aggregation swap feature. We invested the time and energy to safeguard our users and save them gas on unnecessary approvals by developing our own smart contracts as a wrapper around the underlying liquidity sources users interact with.
We notify you about token approvals (spending caps) to make sure you understand the implications of each transaction and keep you in control. While we default to ‘unlimited’ to save unnecessary gas costs, we also allow overriding our default value before submitting the swap.

We are defaulting to non-infinite approvals on L2s where gas is materially cheaper and exploring even more flexible approvals in the future using the new [MetaMask delegation tool kit](https://metamask.io/developer/delegation-toolkit/).
To learn more about MetaMask Swaps, dive into [this guide](/trade/swap/user-guide-swaps/).
---
# Will MetaMask ever ask me to verify my account?
URL: https://support.metamask.io/stay-safe/safety-in-web3/will-metamask-ever-ask-me-to-verify-my-account/
> MetaMask will never ask you to verify or submit personal ID via email or direct message. Learn how to spot phishing, stay safe, and protect your wallet.
:::warning[Short answer:]
**Definitely not.**
:::
Any platform or person asking you to do any of the following, **in order to use your MetaMask wallet**:
- Complete **KYC** ('know your customer' — i.e. prove your identity through means of a government-issued ID)
- **Click a link** or button, most likely in an email
- **'Verify' or 'upgrade'** your account
...**is a scam**.
:::note
There are instances where MetaMask will email you, but **never** to verify your account. See [here](/stay-safe/safety-in-web3/i-received-an-email-claiming-to-be-from-metamask-is-it-legit/#how-to-recognize-legitimate-metamask-emails) for a list of legit MetaMask emails. You may also see in-app prompts to switch your account to a [smart account](/configure/accounts/switch-to-or-revert-from-a-smart-account/), but beware of scams **outside** of the MetaMask Extension or Mobile prompting you to "upgrade" to a smart account.
:::
Other red flags in this type of "verify your account" scam include:
- **Threatening that your account will be closed or restricted** if you don't comply in time. As your accounts in MetaMask are on an open, permissionless blockchain, they're impossible to delete or restrict.
- **The fact that they are contacting you at all**. As a [self-custodial](/start/metamask-is-a-self-custodial-wallet) wallet, MetaMask doesn't hold your personal information like your [email](/stay-safe/safety-in-web3/what-are-metamasks-official-support-channels) unless you're in correspondence with our technical [support team](/configure/troubleshooting/how-to-check-the-status-of-an-open-support-ticket) or you've signed up to certain mailing lists, and we definitely don't collect your phone number or any social media account.
- Remember when you created your wallet? You never handed over those details: you just had to save your SRP and create a password locally (to which we have zero access), OR create a wallet with a Google/Apple account and password (where your SRP is securely encrypted and only you have access to both [decryption keys](/start/creating-a-new-wallet/#behind-the-scenes)).
If you spot any of these things, **do not** click the links they provide. And remember, you should [never give your Secret Recovery Phrase to anyone](/start/user-guide-secret-recovery-phrase-password-and-private-keys), **no matter what**.
See also: [I received an email claiming to be from MetaMask. Is it legit?](/stay-safe/safety-in-web3/i-received-an-email-claiming-to-be-from-metamask-is-it-legit)
---
# How to sell multiple tokens in one transaction
URL: https://support.metamask.io/trade/batch-sell/
> Batch sell lets you sell up to five tokens for a single stablecoin in one transaction.
Batch sell is a MetaMask feature that lets you sell up to five tokens for a single stablecoin in one transaction. Instead of swapping each token separately with its own confirmation, gas estimate, and time to complete, you select multiple tokens, choose your target stablecoin, and confirm the transaction once.
Batch sell is currently available on **MetaMask Mobile only** (version 7.82.0 and above) for same-chain transactions. You can't combine tokens from different networks into a single batch.
:::tip[Supported networks]
Ethereum Mainnet • BNB Smart Chain • Base • Linea • Arbitrum • Polygon
:::
## How to use batch sell {#how-to-use-batch-sell}
1. Open MetaMask Mobile and tap 'Trade' in the bottom navigation bar.
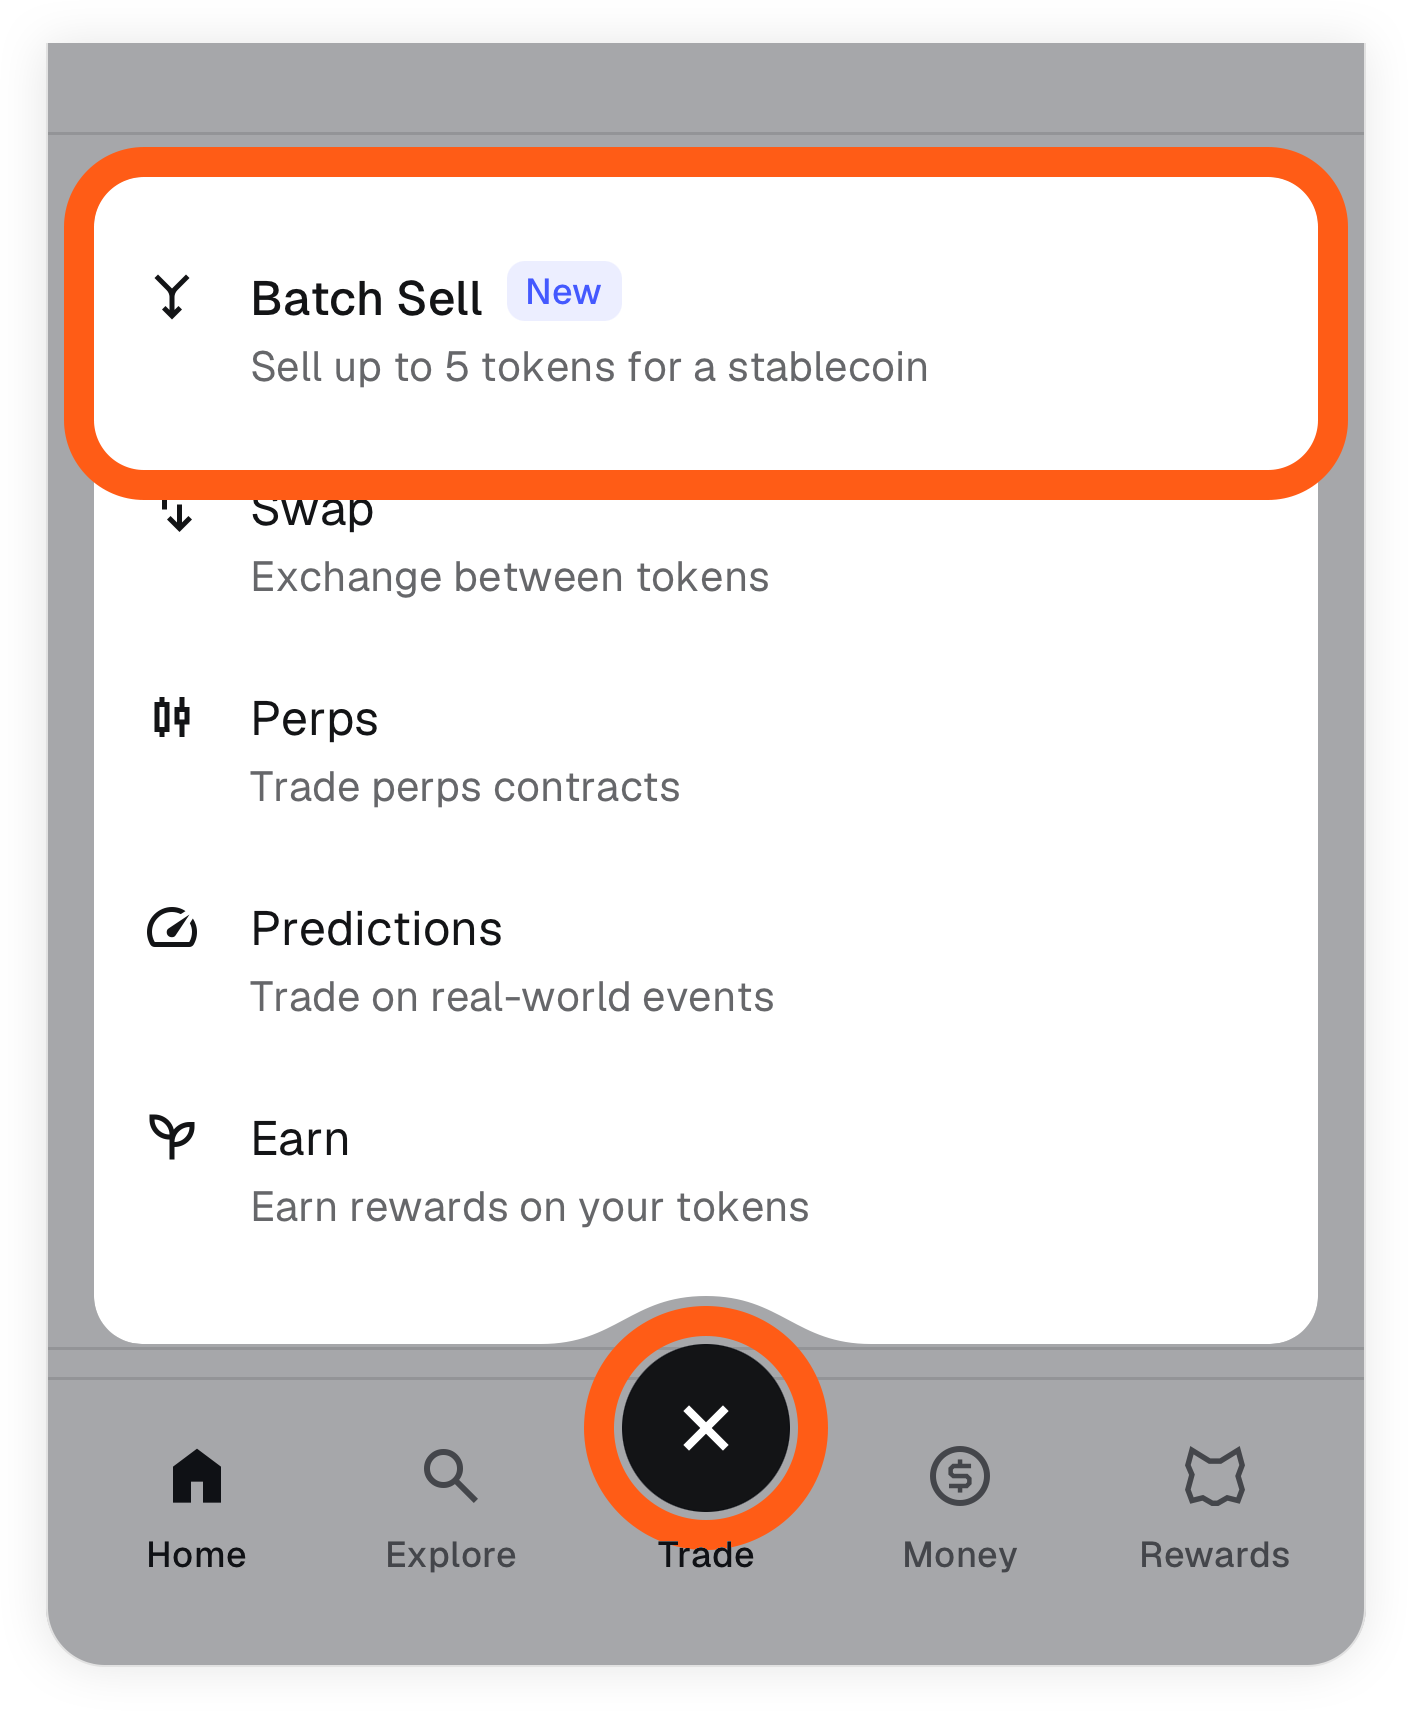
2. Select 'Batch sell'.
3. Select up to five tokens you want to sell on the desired network.
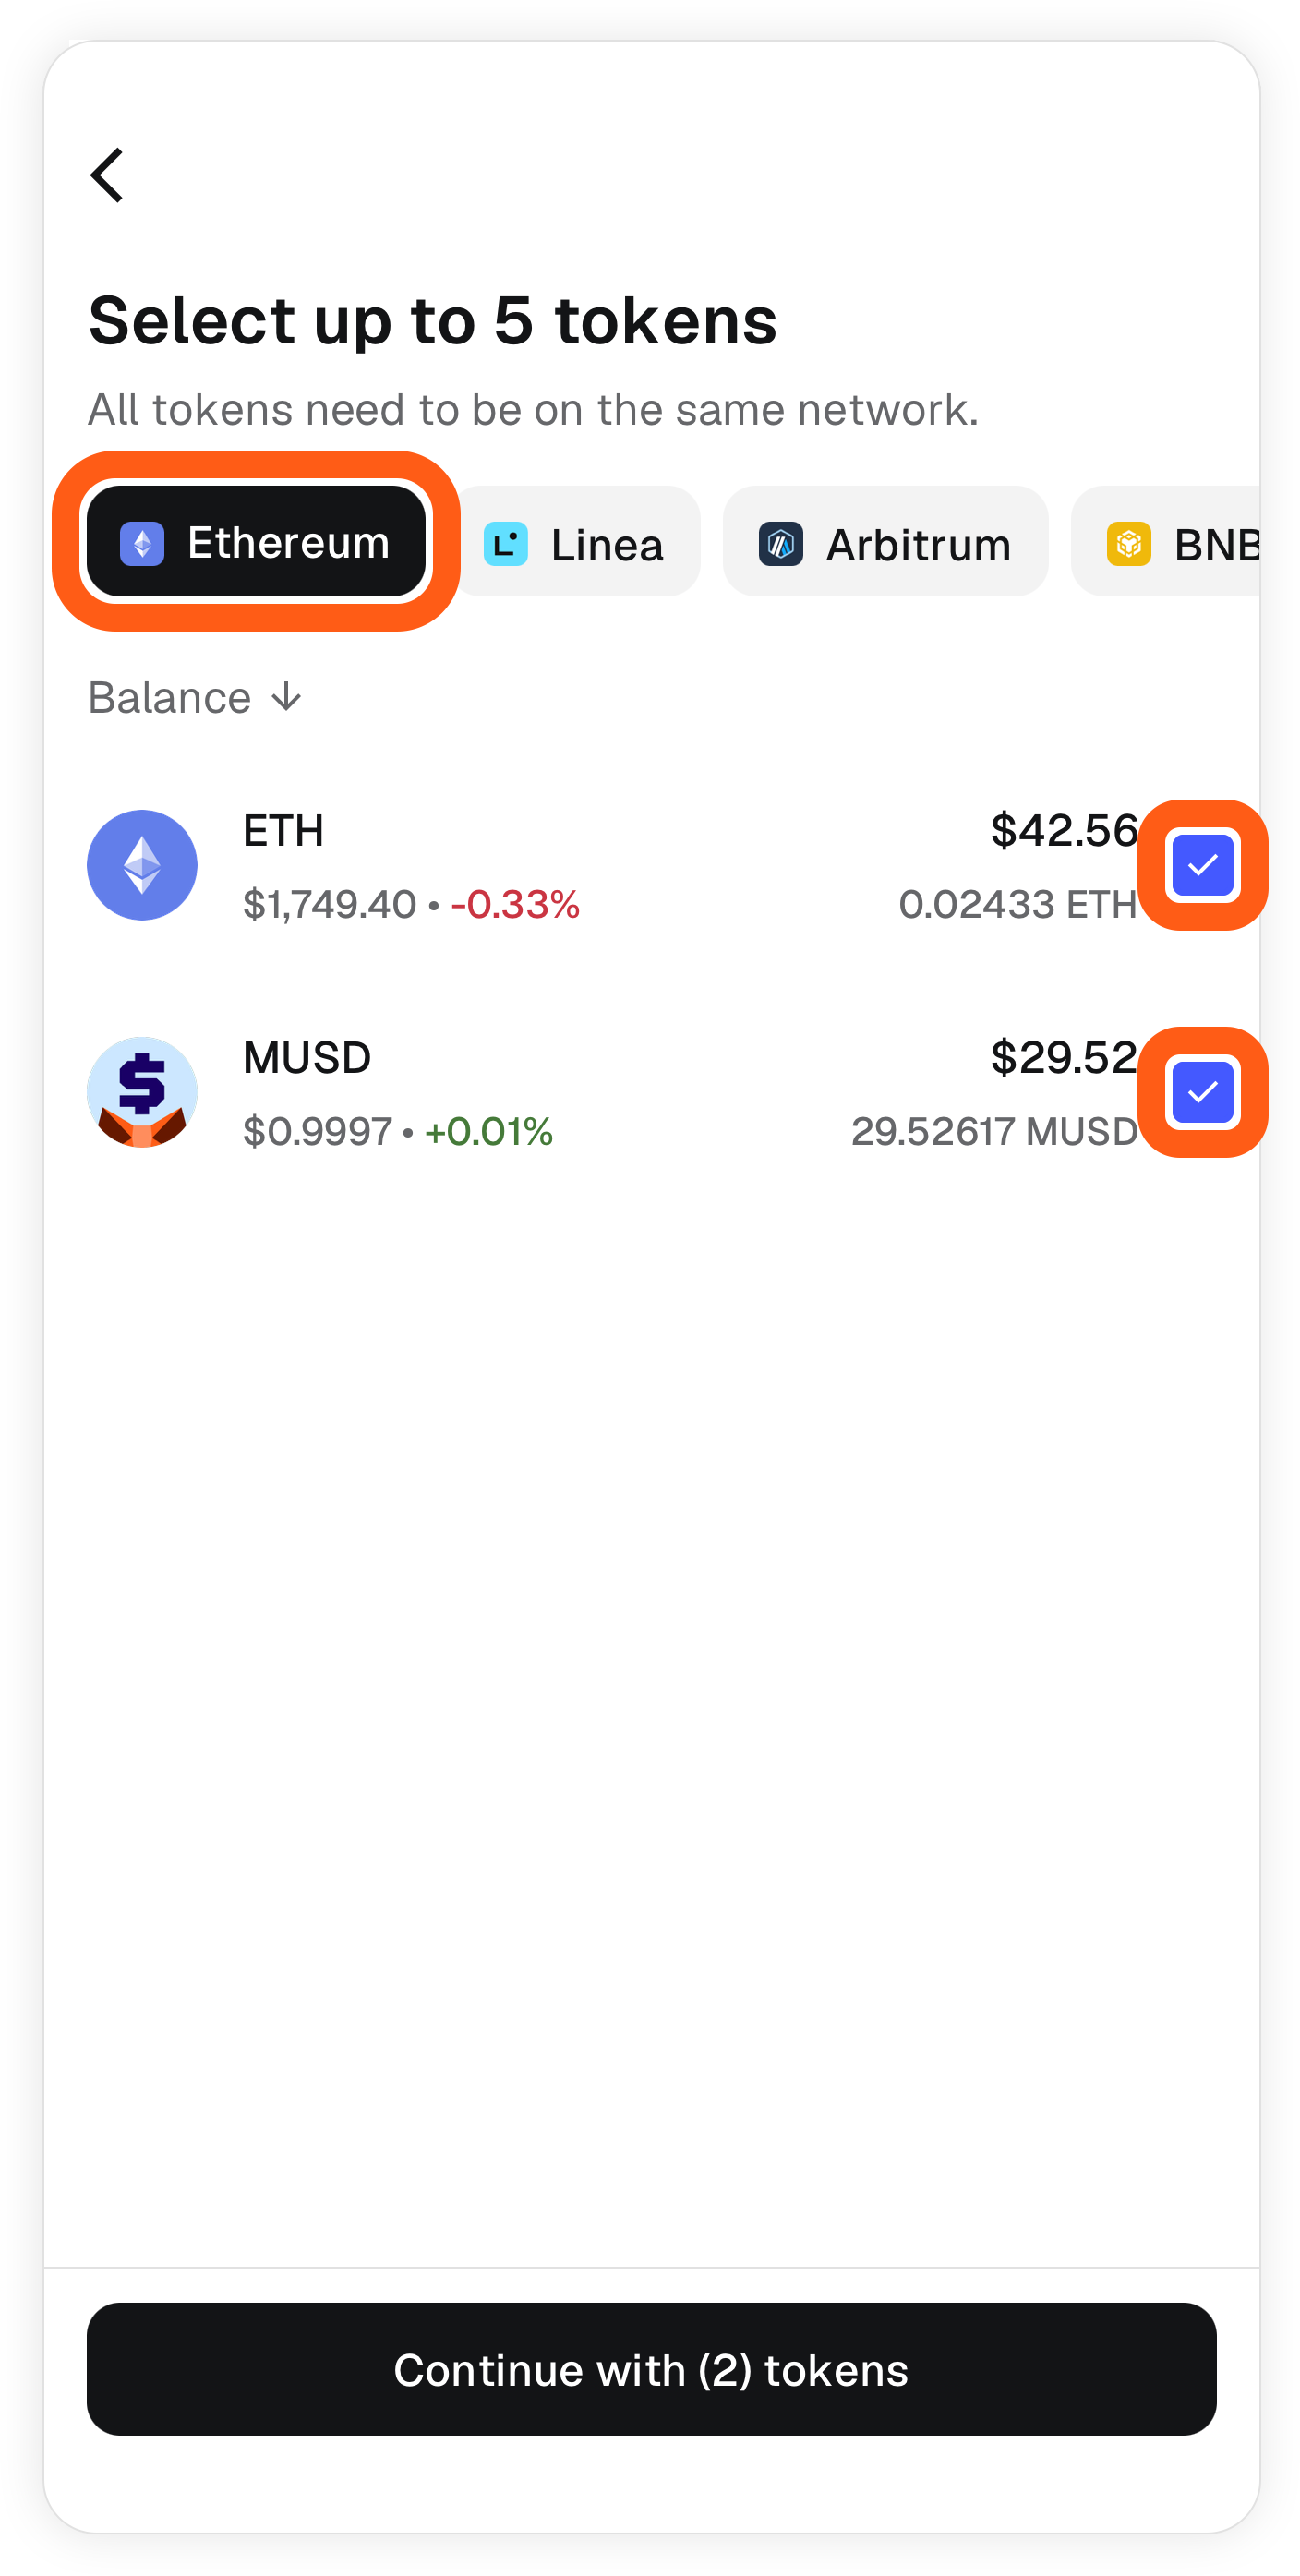
4. Set the amount you want to sell for each token with the slider.
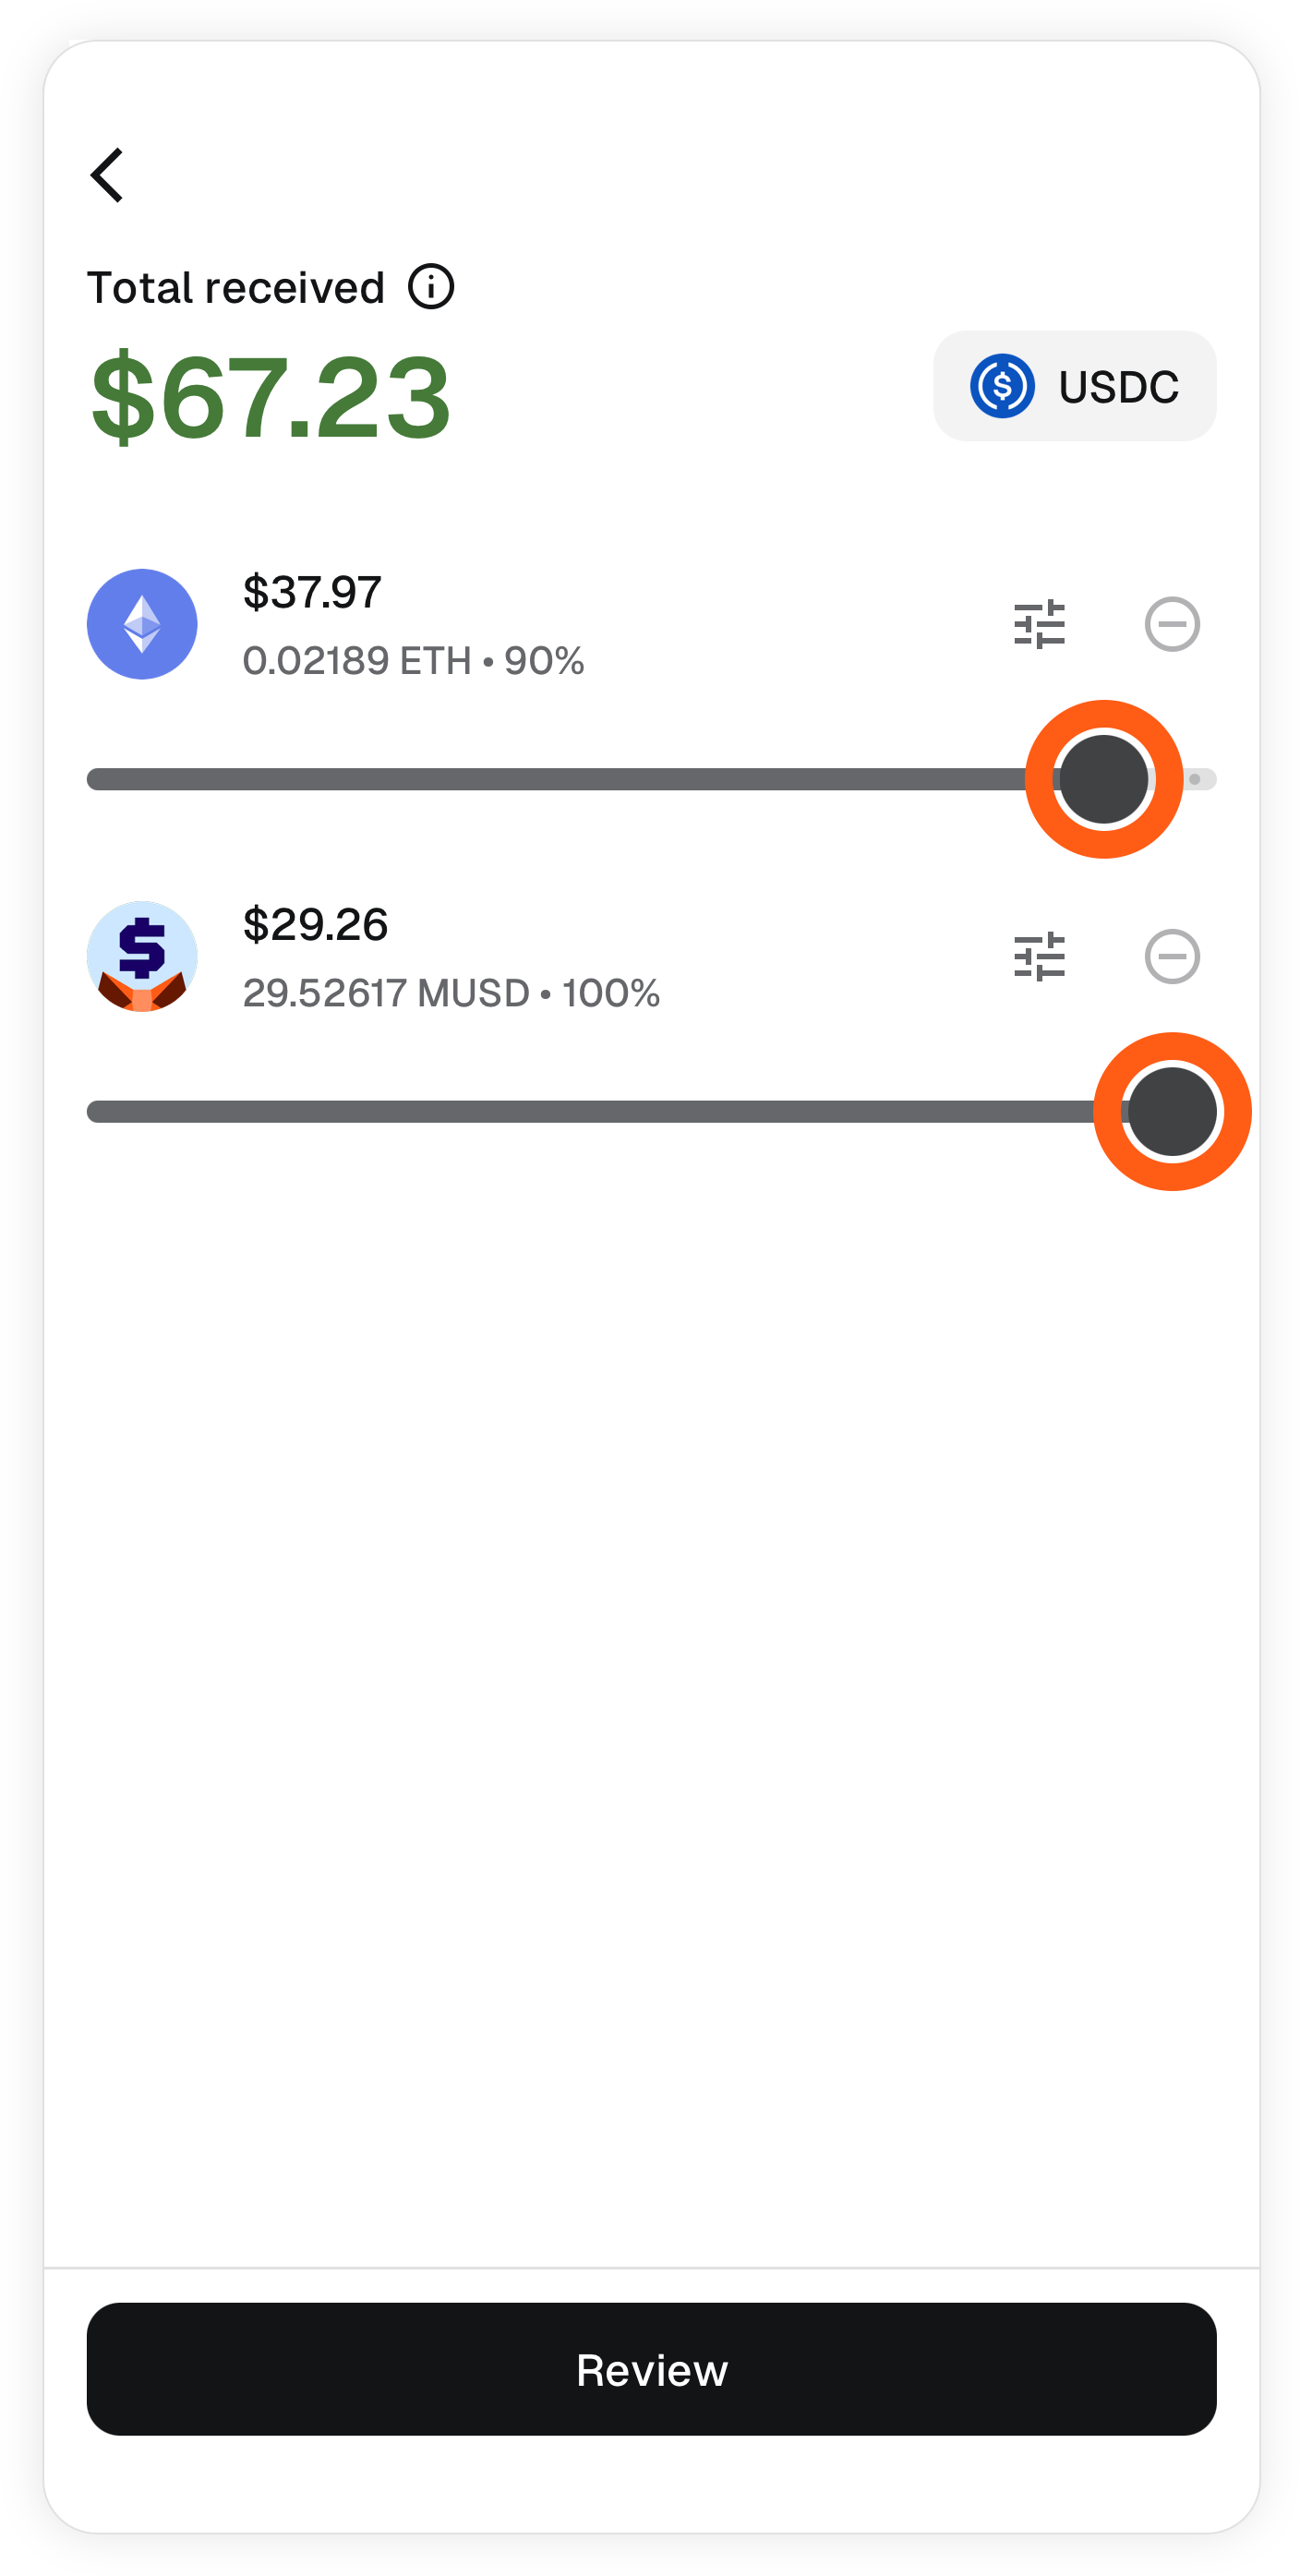
5. Choose your target stablecoin: USDC, USDT, or mUSD (Linea only).
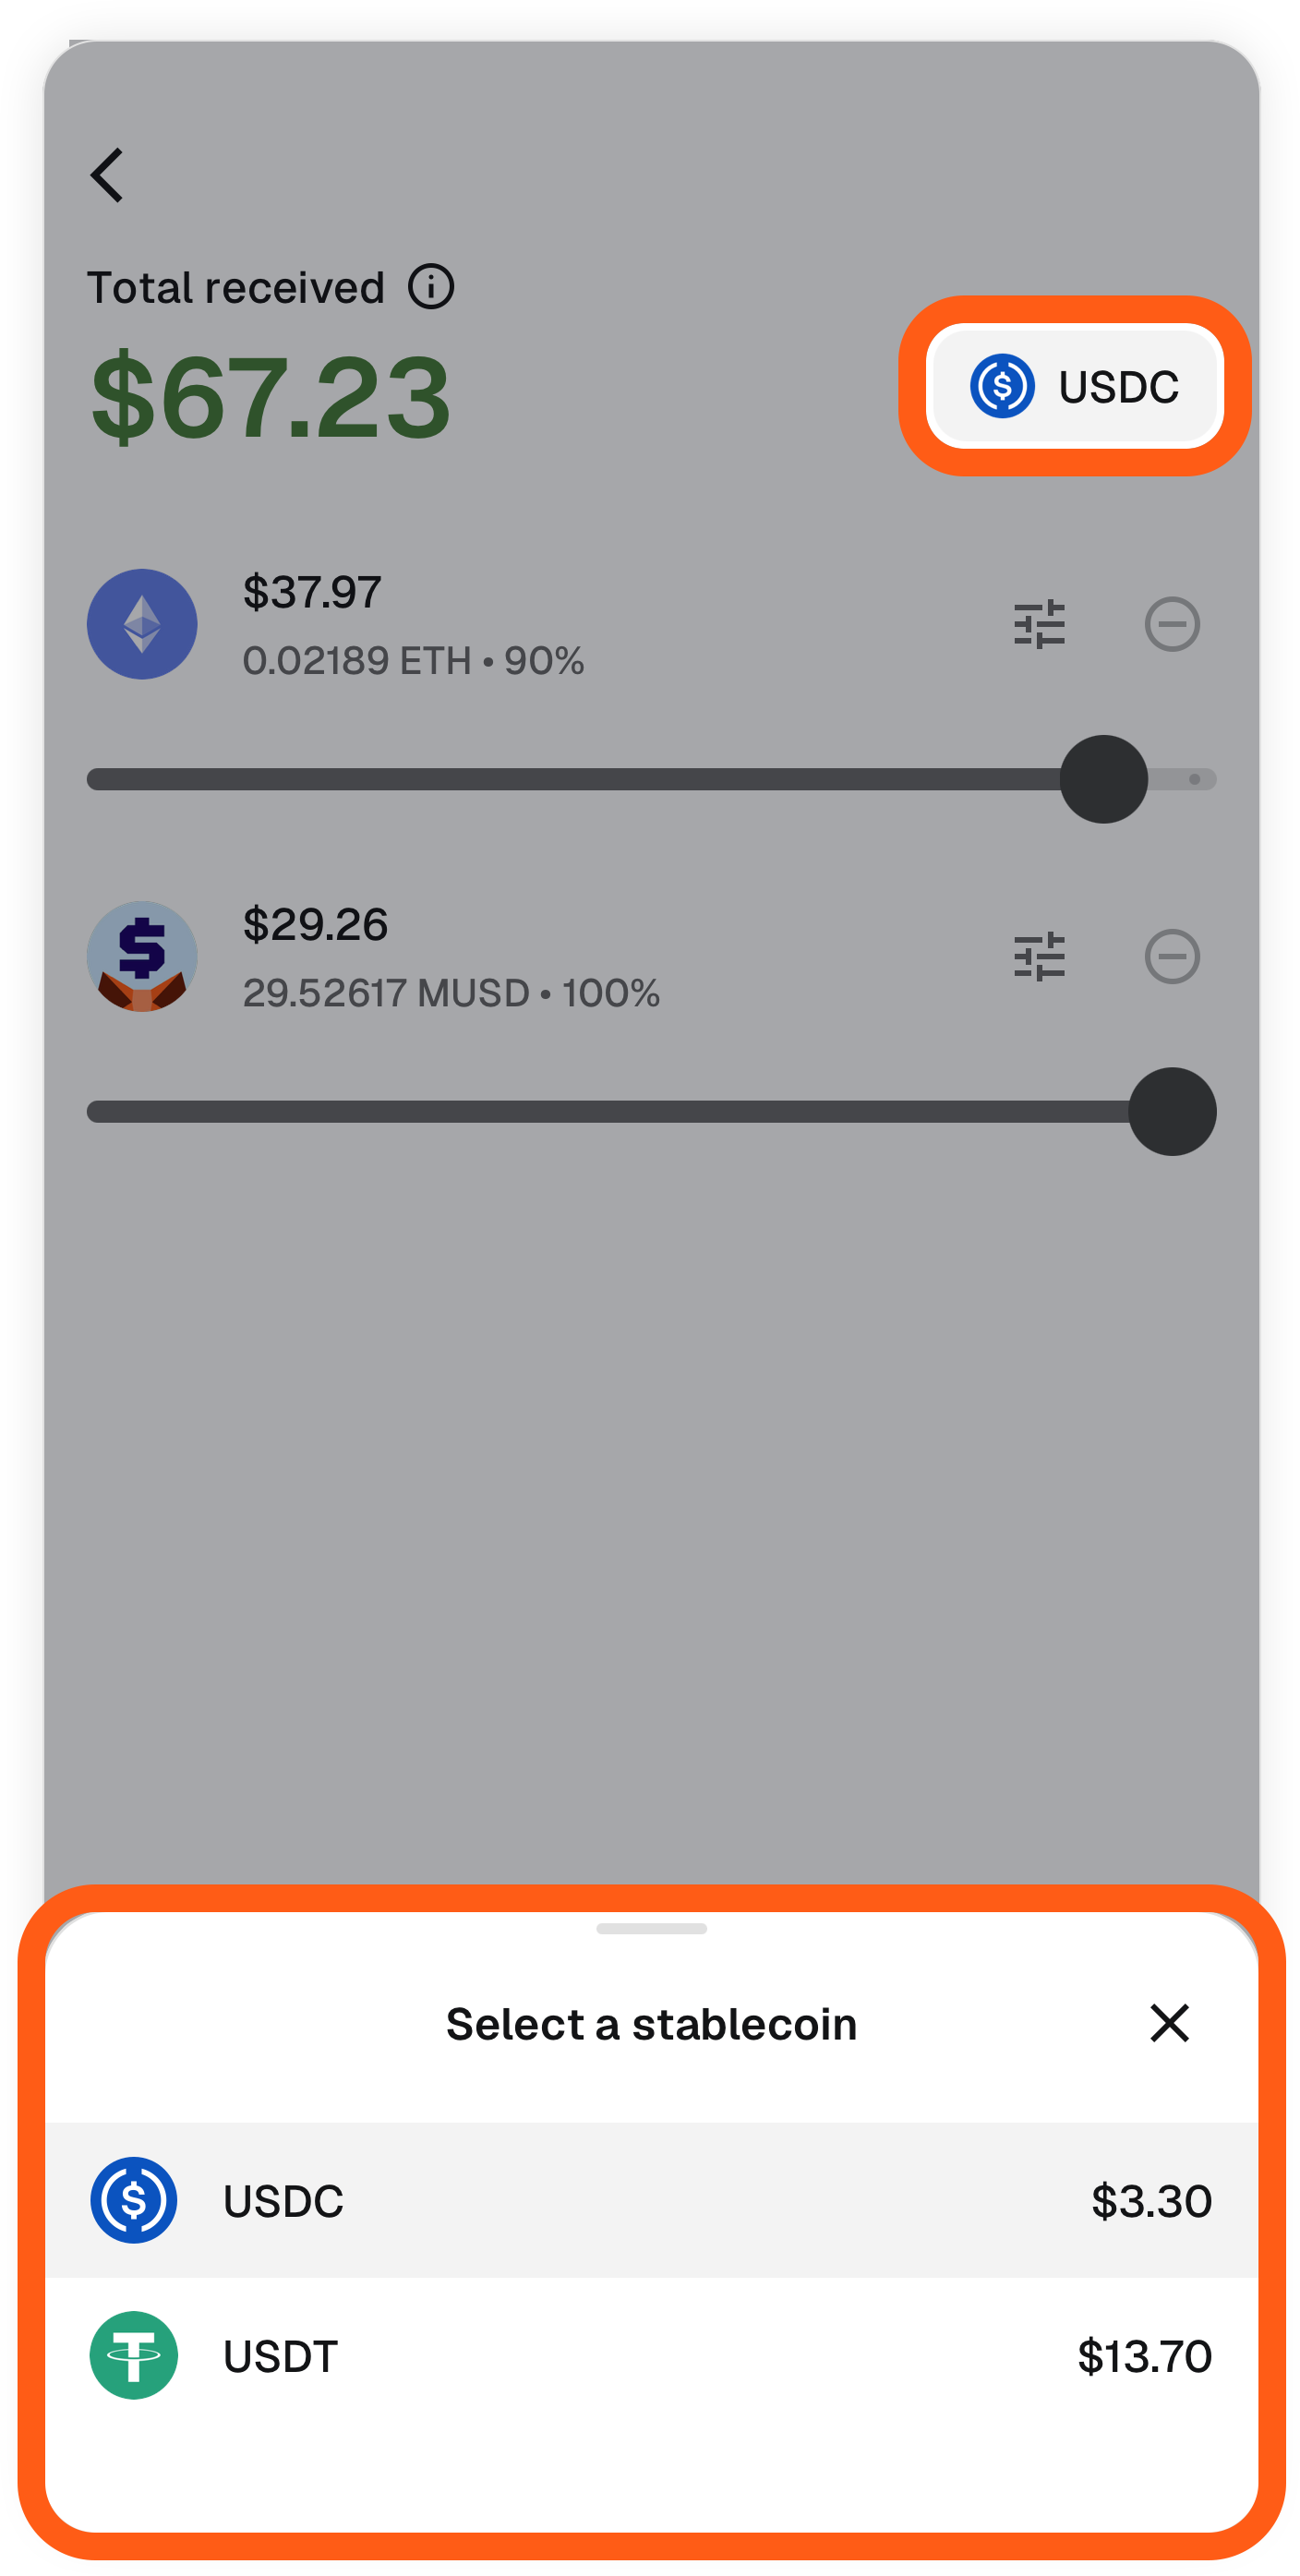
6. Review the batch summary, estimated amount you'll receive and the network fee.
7. Tap 'Sell all' to execute. The batch typically settles in a single on-chain transaction, though in some instances the swaps may be sequentially executed.
## Questions {#questions}
Can I batch sell tokens across different networks?
Cross-chain batching is not currently supported. All tokens in a batch must originate from the same network.
What tokens are supported?
Any token on a supported network can be included in a batch except for Real World Assets (RWAs). USDC, USDT, and mUSD (Linea only) are the only supported target stablecoins.
What happens if one token in the batch fails?
If a token in the batch can't be quoted or executed, you'll see this flagged during the review step before you confirm. You can remove that token and proceed with the rest.
What are the fees?
Standard MetaMask swap fees apply to each token in the batch (0.875%). Batching does not add a separate fee on top of this. Because the batch executes as a single EIP-7702 transaction, gas costs (network fees) per swap may be lower than executing each swap individually, though this varies by network and conditions.
---
# How to follow top traders in MetaMask
URL: https://support.metamask.io/trade/follow-trading/
> Follow top-performing traders in MetaMask Mobile, get push notifications when they trade, and execute the same trade yourself.
Follow trading lets you discover and copy top-performing traders directly in MetaMask Mobile. You can follow them to receive instant notifications when they trade and tap straight into a modal to execute the same trade yourself.
The leaderboard covers traders across:
- Spot trading: swaps on Ethereum Mainnet, Base, and Solana
- Perps trading: perpetuals on Hyperliquid
:::warning[Do your own research]
**Past performance does not predict future results.** The leaderboard ranks traders by historical profit and loss (P&L), but market conditions change.
Do not use follow trading as a basis for trading, investment, legal, or tax decisions. Always conduct your own research before making any financial decision.
:::
## How to follow a trader
1. On the MetaMask Mobile home screen, scroll down to the 'Weekly top traders' section.
2. Use the filter tabs to browse traders by spot or perps trading.
3. Tap any trader card to open their profile. Here you can see their 7-day profit and loss (P&L), win rate, and average hold time.
4. Tap 'Follow' on a trader's profile to follow them.
## How to turn on notifications for a trader
1. Open a trader's profile and tap the bell icon in the top right corner.
2. Toggle 'Allow push notifications' on.
3. Under 'Get notified of trades over', select a minimum trade size: $10, $100, $500, or $1,000. You'll only receive notifications for trades at or above this value.
## How to execute a trade from a notification
When a trader you follow makes a trade, you'll receive a push notification on your device, example: **"5x longed $5K of ETH at $2,123.4"**:
1. Tap the notification to open a modal showing the trader's position and recent activity.
2. To open a perps position, tap 'Long' or 'Short'. To buy a spot token, tap 'Buy'.
3. Set your trade size using the amount field or slider.
4. Tap 'Pay with' to choose the token you want to spend.
5. Review the details (leverage, fees, liquidation price) and confirm the trade.
## How to manage your followed traders and notifications
1. Tap the menu icon in the top right of the app and select 'Notifications'.
2. Tap the gear icon to open notification settings. Alternatively, go to Settings > Notifications > Trading Signals
3. Toggle the button near traders you follow to turn on/off notifications for their activity
4. Under 'Get notified of trades over', select a minimum trade size: $10, $100, $500, or $1,000. You'll only receive notifications for trades at or above this value.
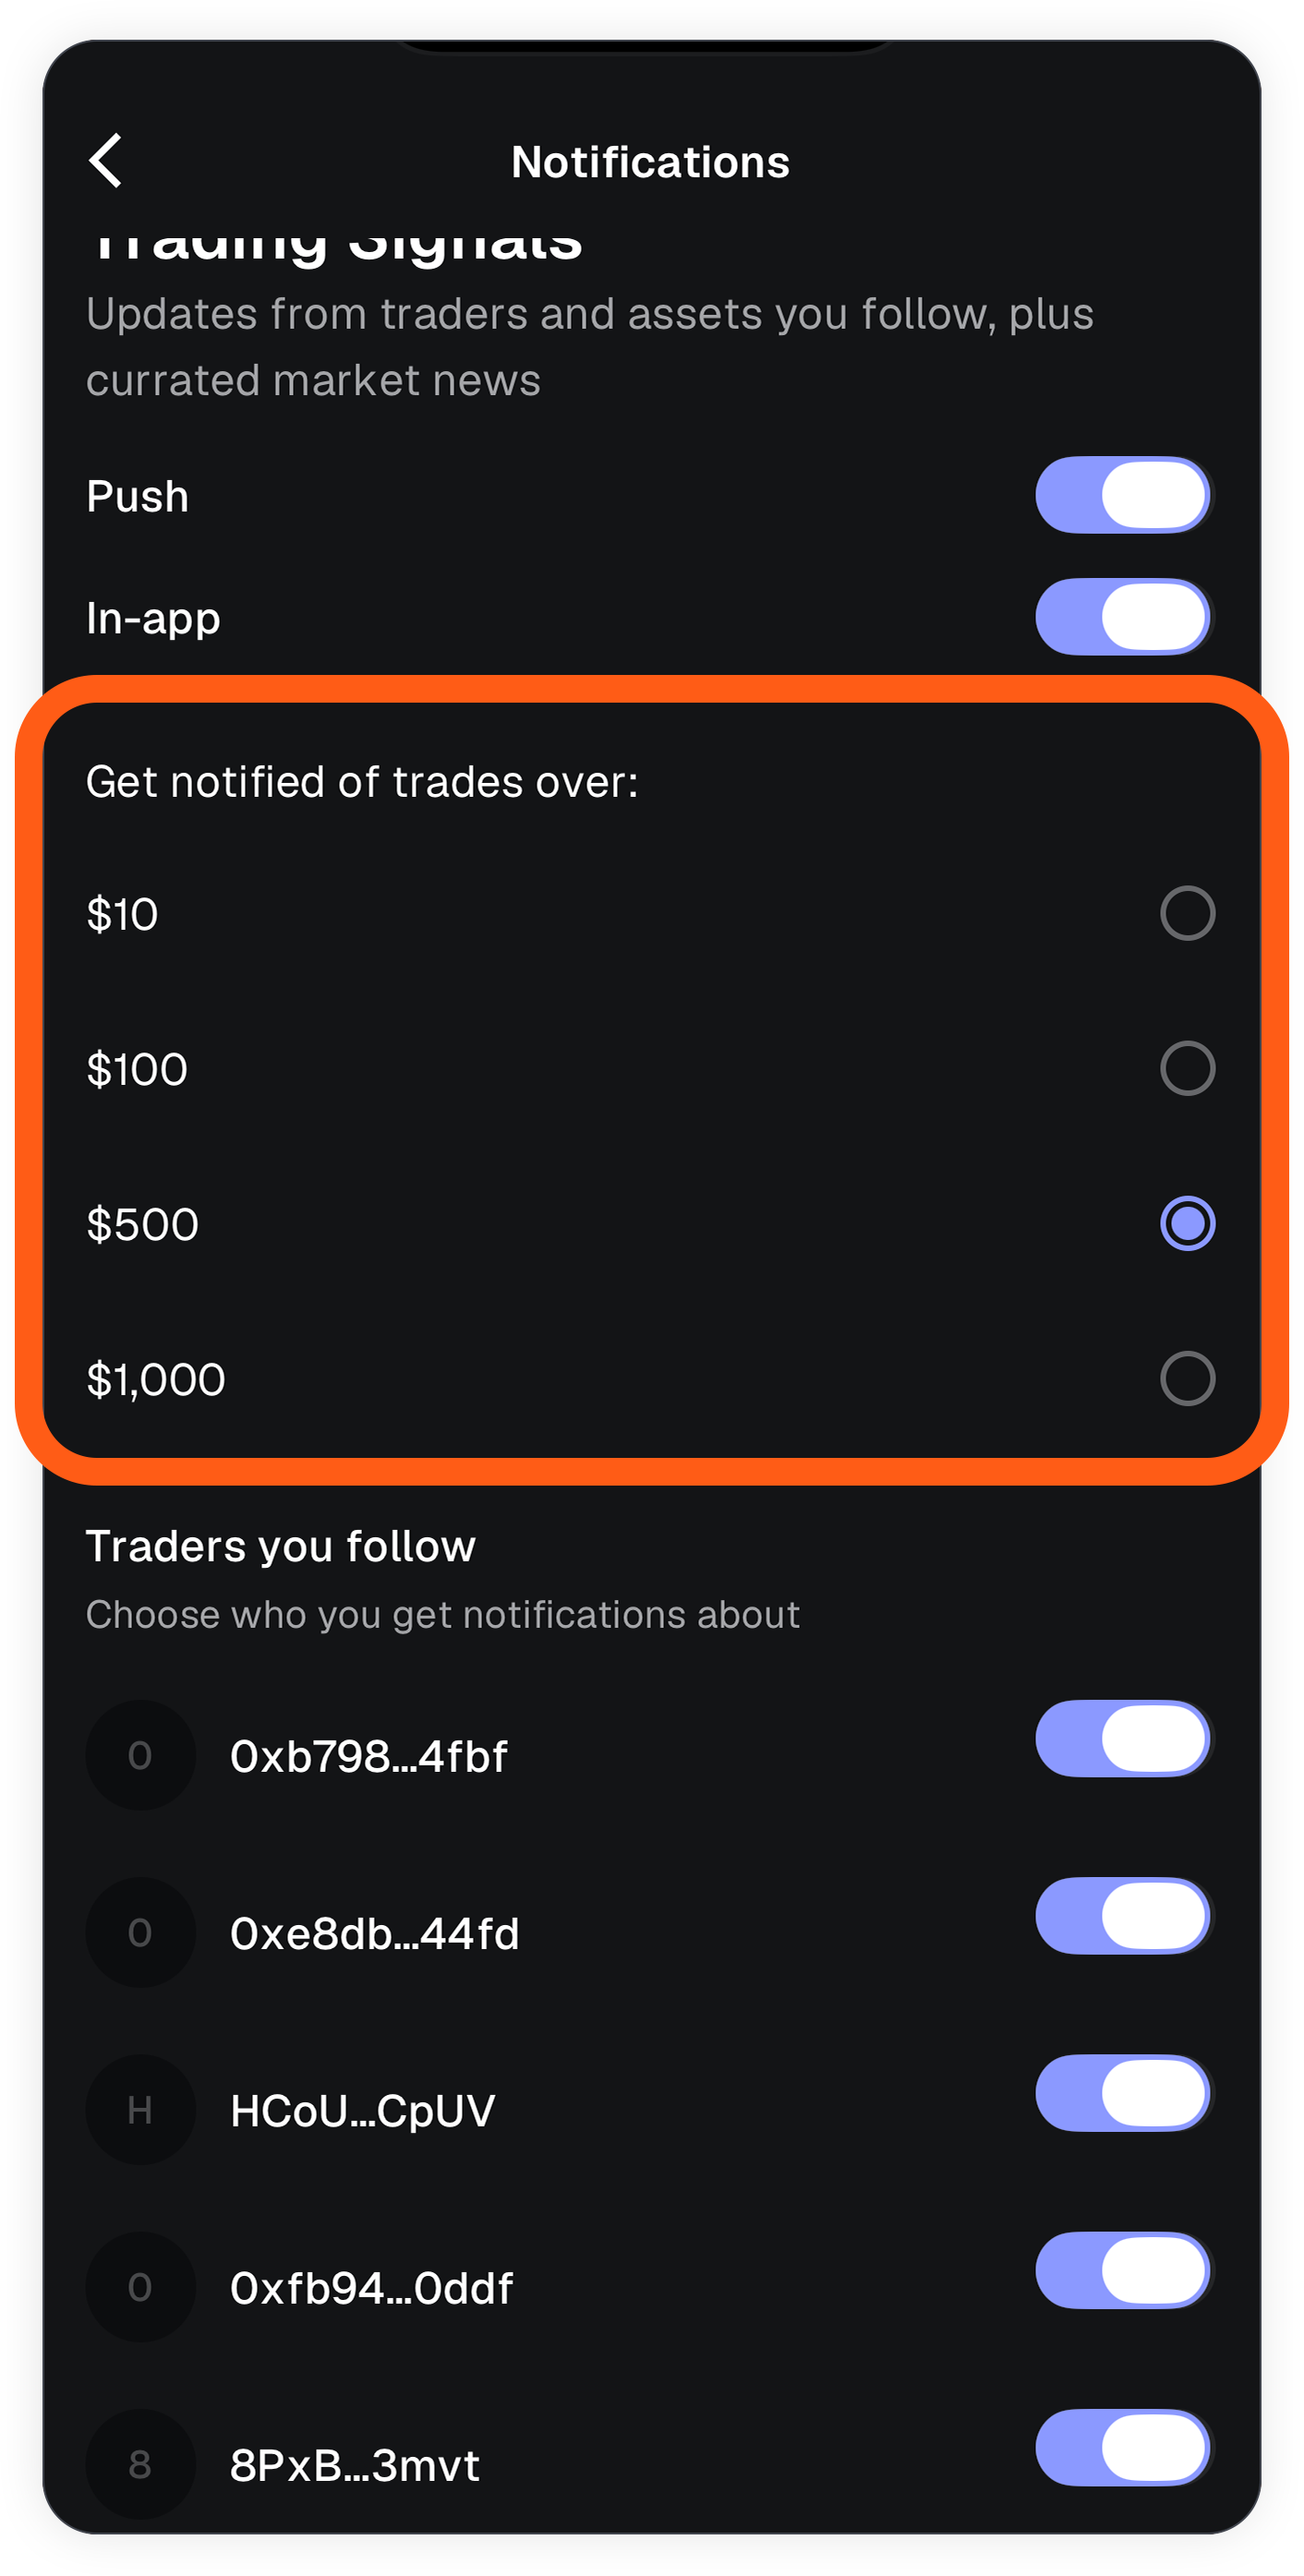
## Frequently asked questions
Is there a fee for follow trading?
There is no additional fee for following traders or receiving activity notifications. Standard MetaMask fees apply when you execute a swap or perps trade.
Is there a limit to how many traders I can follow?
There is no limit on the number of traders you can follow. You can manage your followed traders from within Settings > Notifications > Trading Signals
How quickly will I receive a notification after a trader makes a trade?
Notifications are delivered in real time. Delivery speed depends on your device's push notification settings and network connectivity.
How is the leaderboard curated?
The leaderboard surfaces top-performing on-chain addresses across spot and perps trading. Spot data comes from on-chain activity on Ethereum Mainnet, Base, and Solana. Perps data comes from Hyperliquid trading activity. Traders are ranked by 7-day P&L. Profiles also display win rate and average hold time.
Clearly automated accounts and high-frequency trading bots are not included.
---
# Understanding Market Insights
URL: https://support.metamask.io/trade/market-insights/
> Learn about the market insights snippet in MetaMask.
Market Insights is an AI-generated feature that summarizes news, trends, and sentiment to help you understand key events and narratives that could impact asset movements.
Information is aggregated from a global range of sources to give you quick, easy-to-digest context while exploring or trading assets in MetaMask.
It's currently **available for the top 100 tokens (by market cap) in MetaMask Mobile**.
:::info
Market Insights is provided for informational purposes only and does not constitute financial advice. Always do your own research before making trading decisions.
:::
### Market Insights
You'll see a 'Market Insights' section on the token details page. Tap into it to expand.
This section provides a high-level overview of relevant information to an asset, including:
- News and media coverage from global outlets
- Emerging market trends and narratives
- Social sentiment and discussion signals
### How insights are generated
Market Insights uses AI to analyze and summarize information from multiple sources. These summaries are designed to provide a quick overview of the latest news and trends, helping you stay informed.
What are the sources of Market Insights?
Market Insights draws news from CoinDesk, The Defiant, The Block, Bloomberg, Reuters, Decrypt, CoinTelegraph, etc.
For social sentiment, content is prioritized from:
- Prominent crypto analysts, developers, and thought leaders
- Official asset related accounts
- Viral community posts with significant discussion
- Posts with breaking news or important announcements
How frequently is Market Insights updated?
Information within Market Insights refreshes every 4 hours.
---
# Money Account
URL: https://support.metamask.io/trade/money-account/
> Learn how to use MetaMask Money Account to earn yield on mUSD, fund your trading accounts, and spend with MetaMask Card.
:::info[Limited time APY offer]
For a limited time, automatically earn up to ~6% APY on your mUSD in Money Account. This limited time offer runs until September 30th, 2026.
:::
MetaMask Money Account is a self-custodial account that earns up to 4% APY\* on deposited mUSD. With no lockups, no withdrawal penalties, and no account fees, your Money Account balance is always available to trade or spend.
:::note
MetaMask Money Account is available on MetaMask Mobile v 8.0 and above only. Money Account is available globally except in the UK and countries on the USA sanctions list.
:::
## What is Money Account?
MetaMask Money Account is a new account experience. Unlike traditional crypto accounts, Money Account puts your assets to work, allowing you to earn APY, with earnings accruing daily.
Powered by mUSD and the Monad network, your mUSD in your Money Account earns automatic yield in the background. As you hold mUSD in the Money Account, your cash will grow overtime with daily yield. Hold as long as you want to keep your savings growing or transfer to another account.
### How is Money Account different from a regular account?
Money Account functions differently from your typical MetaMask account experience. With your regular MetaMask account, you do not automatically earn APY on mUSD. Instead, you would need to complete a series of transactions such as depositing into a lending pool to earn yield on mUSD. In these cases, you incur fees from every transaction made, and your assets may be locked up and only accessible after a waiting period.
With Money Account, your mUSD earns yield automatically, without you paying any fees. MetaMask handles all transactions on the backend, and your assets aren't locked up. At any time you can spend, send, or otherwise transact with your Money Account mUSD.
You won't see an account address with your Money Account. Money Account is designed to be native to MetaMask, so you can't export your account into another crypto wallet. However, at any time you can transfer assets out of this account, and into a regular account.
Like your other accounts on MetaMask, Money Account is still self-custodial. You control your funds. MetaMask cannot access, freeze, or move your Money Account balance. Your Money Account is secured by your SRP.
### How do I earn yield?
Any funds in your Money Account will automatically earn yield; you do not need to do anything but fund your account.
Through trusted third-party DeFi platforms, your funds are deployed on blockchain protocols to earn variable APY that accrues daily. This happens entirely behind-the-scenes, so your funds will always remain accessible, even as they continue to earn.
The APY amount is always visible in your Money Account. Earnings are reflected in your balance in real time; you do not need to claim or collect your earnings.
## Get started with Money Account
You don't need to "open" or "create" your Money Account in a traditional sense. You don't need to KYC or provide other personal information to get started, though some funding methods may require identity verification from the payment provider.
Instead, you simply need to navigate to the Money Account to use it.
Open MetaMask Mobile, and then tap 'Money' in the bottom navbar. That's it! Your Money Account exists whether or not you have funds in it, but you won't earn yield without deposited funds.
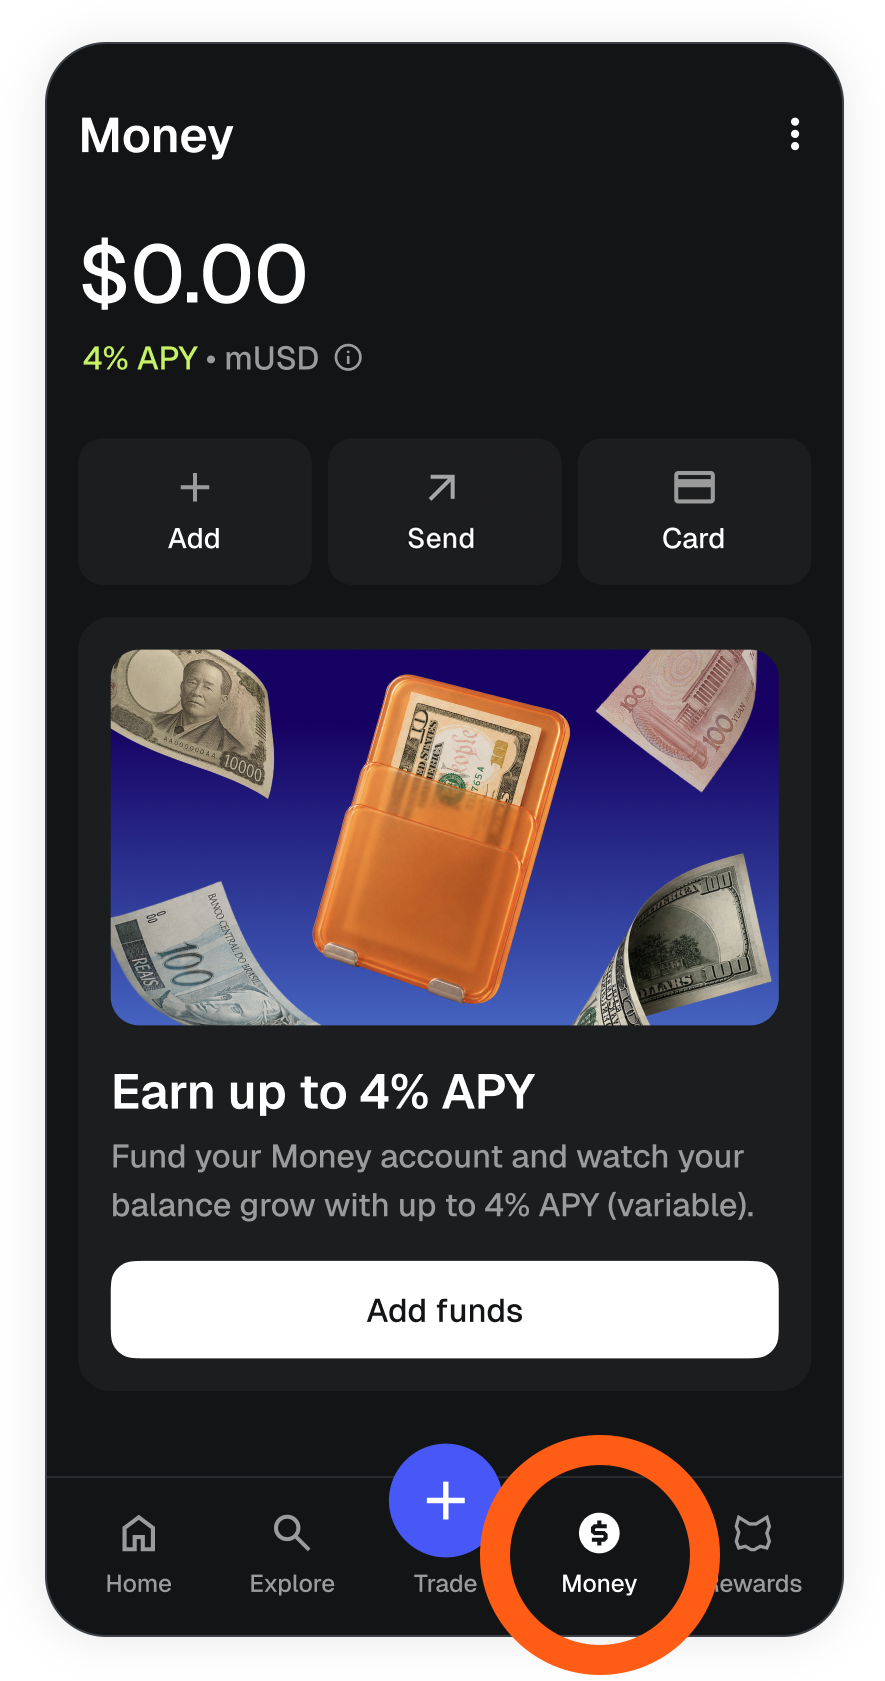
To get started earning, you'll need to fund your account.
## Fund your Money Account
Money Account uses mUSD on the Monad network. To fund the account, you will need to swap existing tokens into mUSD on Monad, purchase mUSD on Monad, or transfer mUSD from another account. Keep reading for more details on each of these options.
### Convert existing tokens
To start earning daily yield, deposit existing tokens into a Money Account. Supported stablecoins and aTokens will be automatically swapped into mUSD, with no swap or network fees: USDC, DAI, aUSDC, and aDAI.
Other tokens can also be deposited and swapped into mUSD, but you will pay the swap and network fees like normal.
To deposit a token, open your Money Account, and tap 'Add'.
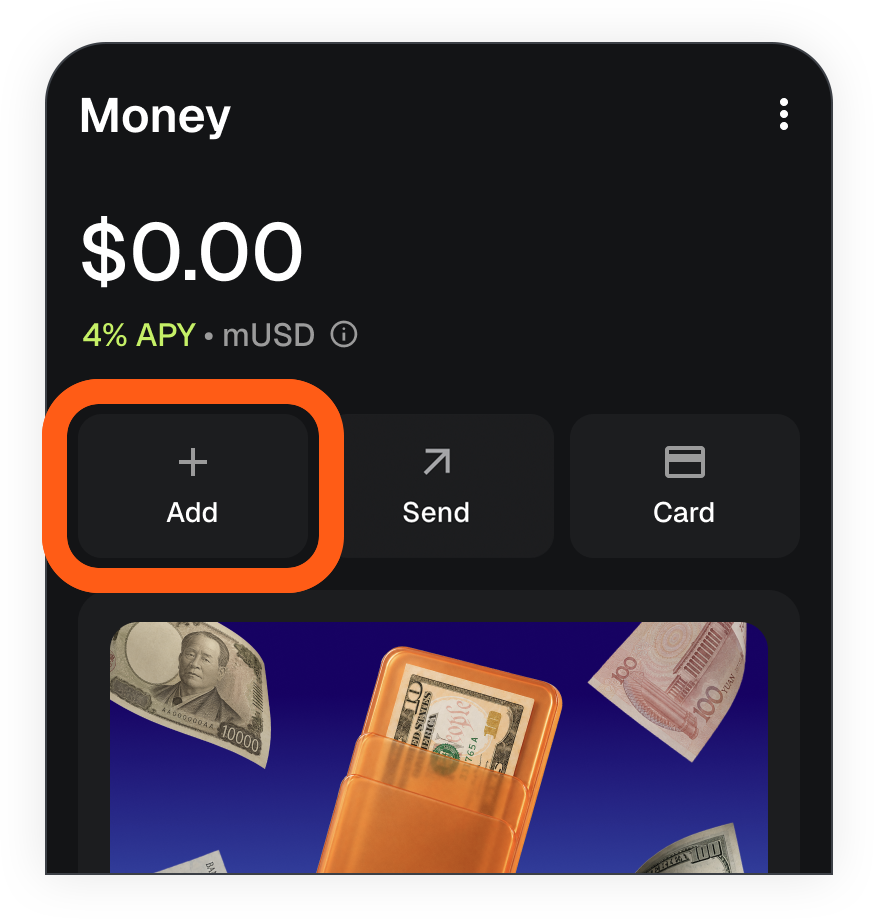
Then, select 'Convert crypto'.
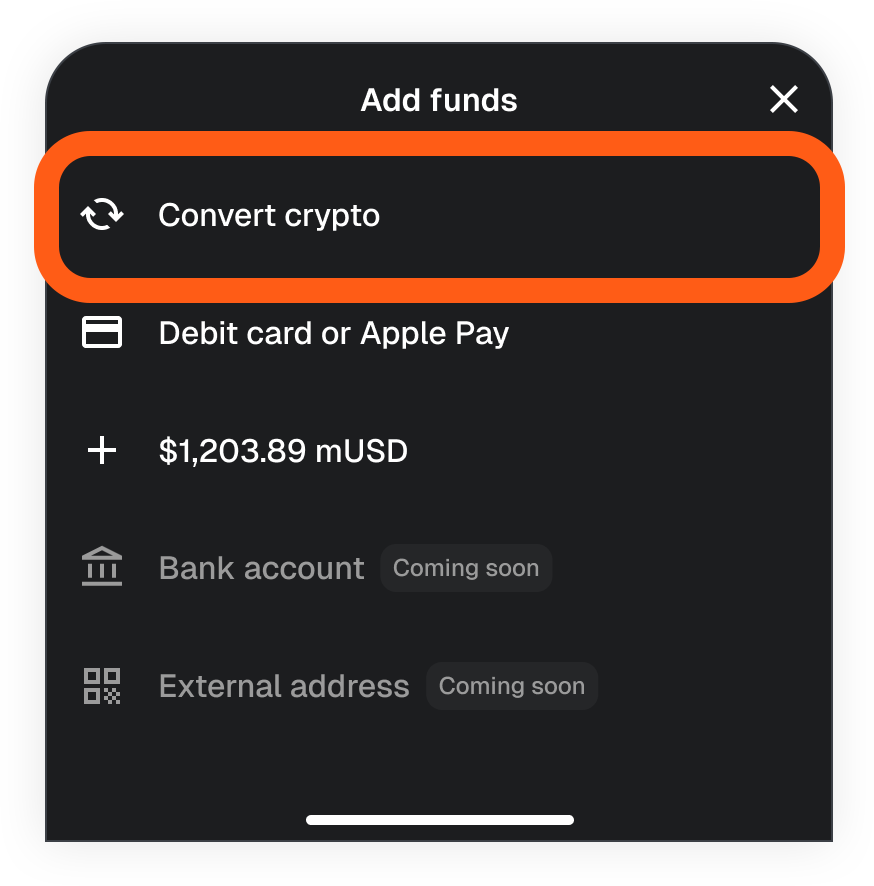
Enter the amount you want to convert. Select the token you want to convert from, and choose the account that token is in.
When you're ready, tap 'Continue'.
Review the details of your transaction. Tap 'Convert' when you're ready to proceed and start earning APY.
### Transfer mUSD
Already hold mUSD? You can easily transfer any mUSD you already hold into your Money Account at no fee.
Simply open your Money Account, and tap 'Add'.
Then, tap 'Add your X mUSD'.
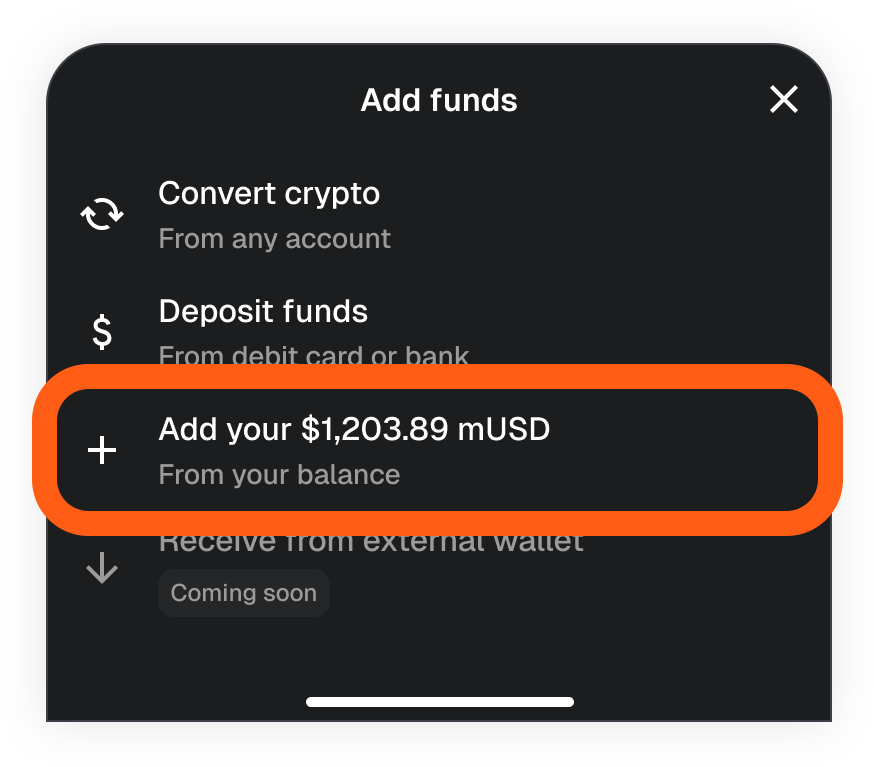
Enter the amount of mUSD you want to move to your Money Account.
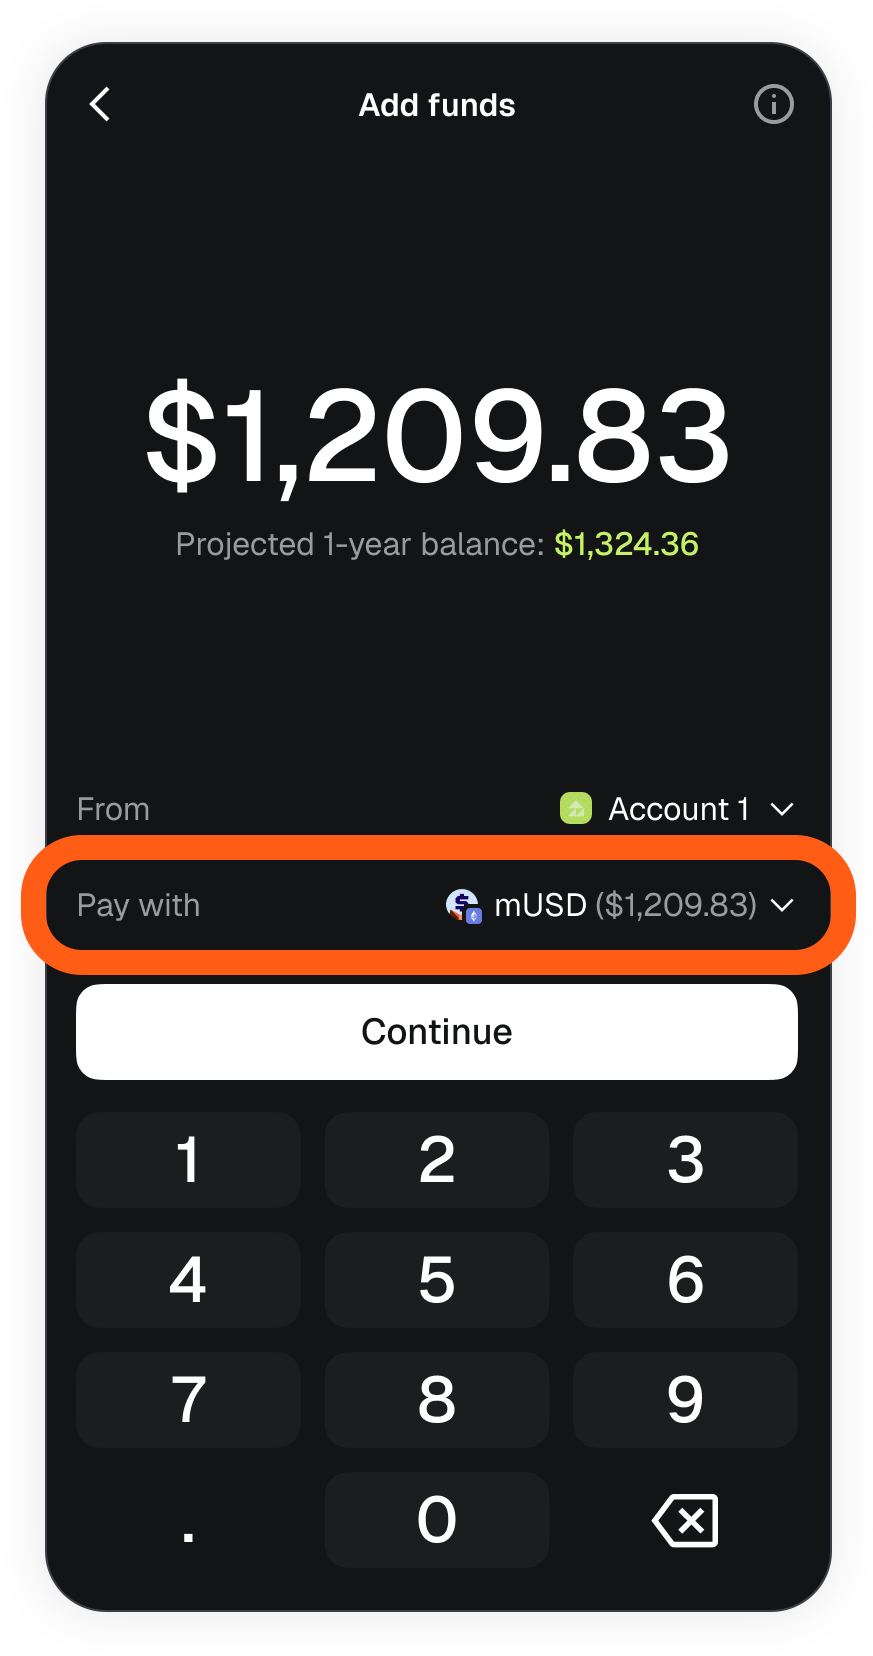
Review the details, and then tap 'Add funds'.
### Buy mUSD
To buy mUSD for your Money Account, open your Money Account, and tap 'Add'.

Select 'Deposit funds'.
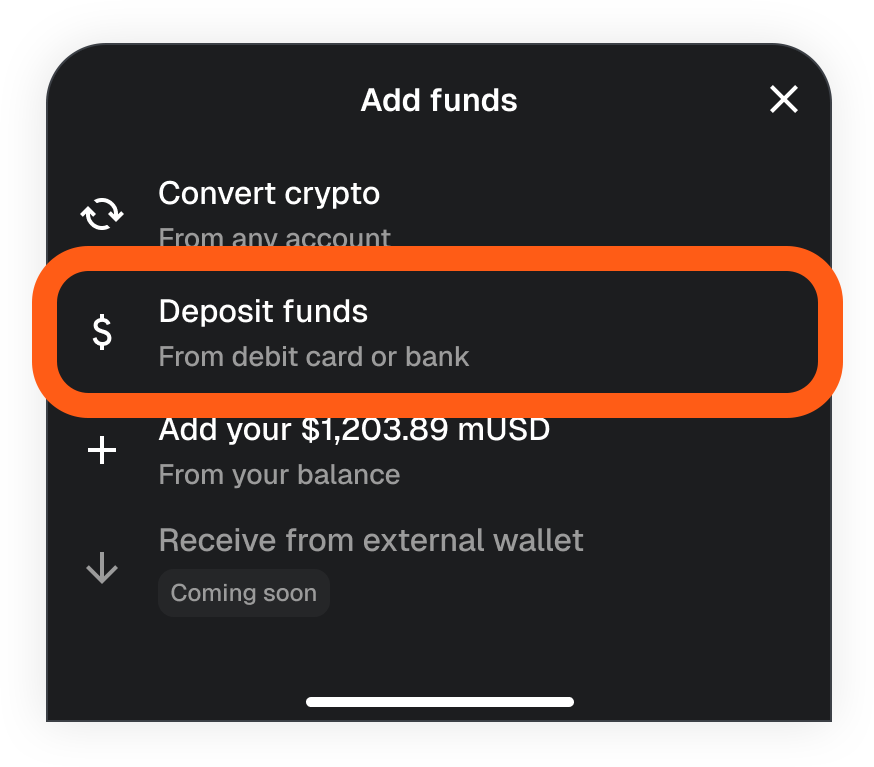
Enter the amount of mUSD you want to purchase, and select your payment method.
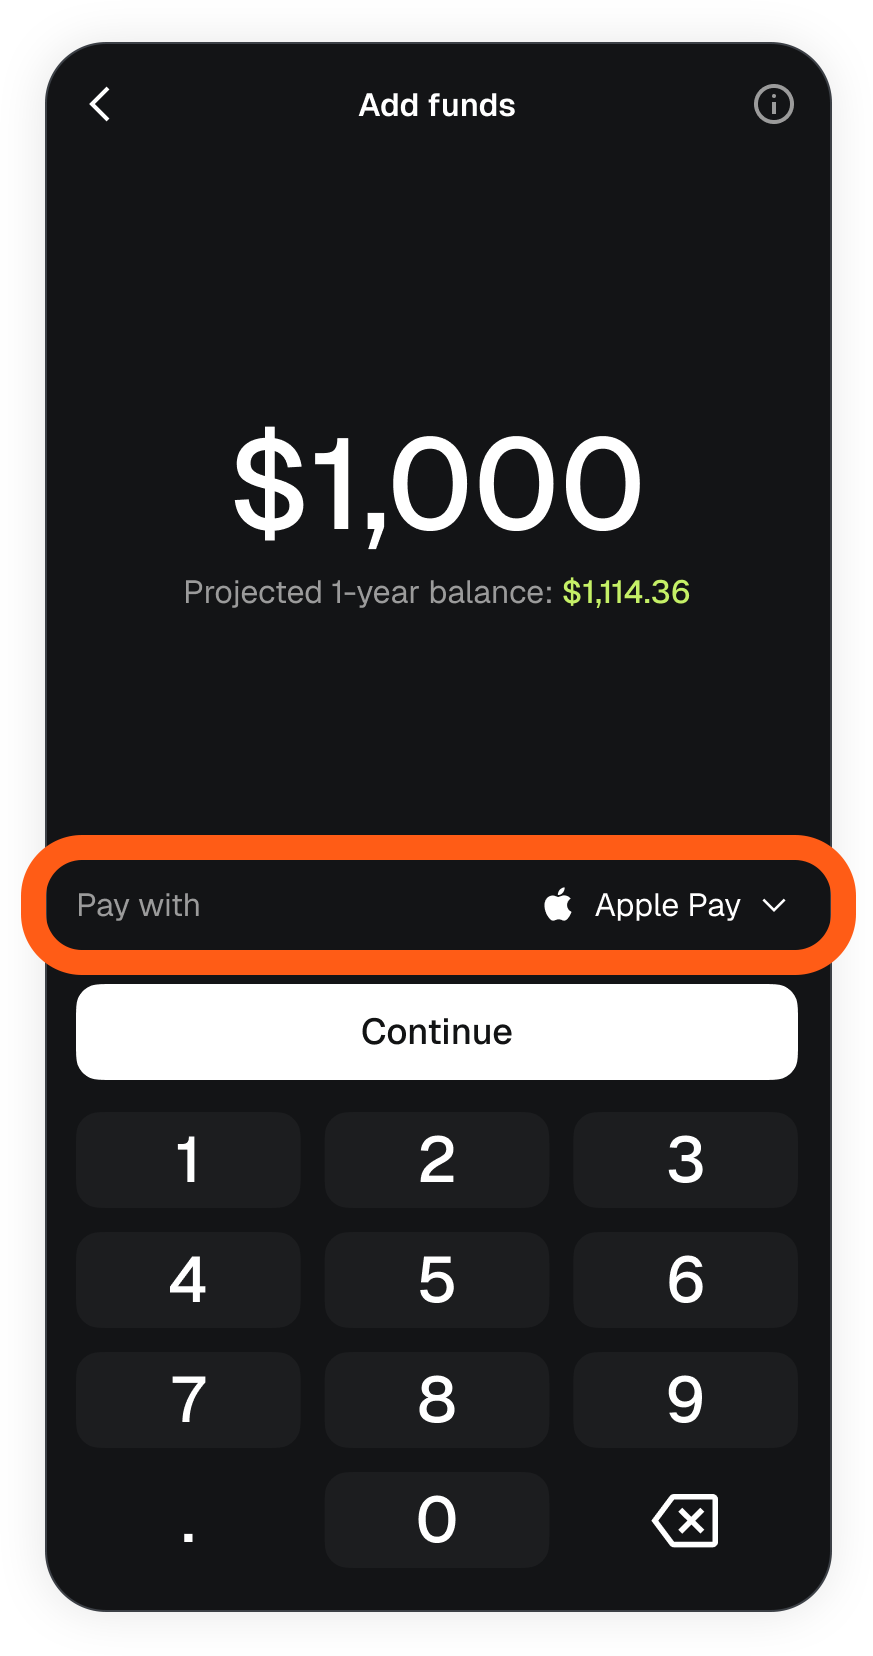
Tap 'Continue'.
Review the details of your transaction, and tap 'Deposit'.
If you haven't used this method before, you'll need to provide some additional details to the provider, Transak.
## Spend mUSD with MetaMask Card
### Link MetaMask Card
Spend directly from your Money Account at hundreds of millions of merchants worldwide with [MetaMask Card](/trade/metamask-card). To link your card and your Money Account, open MetaMask Mobile and tap 'Money' in the bottom navbar.

Tap on 'Card'.
Then, tap 'Link'.
If you don't have a MetaMask Card yet, you can [set up a card](/trade/metamask-card/getting-started-with-card) if you are in an eligible region.
:::note
To unlink your MetaMask Card from your Money Account, click 'Manage' next to the card icon in your Money Account. Then, click 'Unlink Money Account.' You can link the two again at any time.
:::
### Manage spending
Once you've linked your card, you can start spending funds from your Money Account. To manage the spending order of your assets, tap 'Manage'.
Then, tap 'Change asset'.
Then, set the order you'd like your card to spend your assets. For example, you can set mUSD from Money Account to be the first asset spent, and then USDC in Account 1 to be the second asset spent, once the first asset's limit has run out.
### Claim MetaMask Card mUSD cashback
As you spend with MetaMask Card, you'll earn 3% mUSD back on eligible purchases with Metal card, or 1% mUSD back on eligible purchases with Virtual card.
You can claim your cashback earnings to your Money Account by clicking 'Manage'.

Then, next to your cashback amount, click 'Withdraw'. You'll see a small network fee, and once you confirm the transaction, the mUSD cashback amount will be withdrawn to your Money Account.
## Earn yield
Funds in your Money Account earn automatic yield that accrues daily. APY varies with market conditions and is not guaranteed. You can check the current APY at any time, including your estimated earnings thus far:
## Transfer out from your Money Account
At any time you can send mUSD from your Money Account to another MetaMask account, your [Perps](/trade/perps/how-to-trade-perps#deposit-funds) account, or your [Predictions](/trade/predict/how-to-trade-predictions#add-funds) account.
:::info[Transfer fees]
When transferring mUSD out from your money account, the fees you might pay differ by transfer type.
You will not pay any fees, including network fees, when you are transferring mUSD to another MetaMask account on Monad.
You will pay network fees for the following transfer types:
* Transfers to another network (i.e., cross-chain swaps)
* Transfers to another token type (i.e., swaps)
* Transfers to a Perps account
* Transfers to a Predictions account
All network fees for relevant transactions will be shown on the confirmation screen.
:::
Simply tap 'Send' at the top of your Money Account to get started.
Select 'Another account' to initiate a transfer to another MetaMask account.
Enter the amount of your mUSD balance you'd like to transfer, and confirm what address you are transferring to. You can also choose what token you'd like to receive. When you're ready, tap 'Continue'.
Confirm the details of your transaction and tap 'Send'.
## Fund Prediction and Perps accounts
To fund a Perps or Predictions account, tap 'Send' at the top of your Money Account.

From here, you can choose to transfer funds to another account, a Perps account, or a Predictions account. Select which transfer type you'd like to initiate.
Enter the amount of your mUSD balance you'd like to transfer. Confirm what account you are transferring to. Tap 'Continue'.
Confirm the details of your transaction and tap 'Send'.
You can use your Money Account balance as a funding source directly within the [Perps](/trade/perps/how-to-trade-perps/#deposit-funds) and [Predictions](/trade/predict/how-to-trade-predictions#add-funds) deposit flows. When adding funds to either account, select Money Account as your 'Pay with' source to use your mUSD balance.
You can also withdraw funds from your Prediction or Perps accounts into your Money Account. When you're withdrawing from either account type, simply select your Money Account to initiate the withdrawal.
## FAQs
Is Money Account free to use?
Money Account is completely free. The APY shown in the Money Account is the net rate you earn; product fees are deducted before this amount is shown.
Is there a minimum deposit or balance amount?
There is not a minimum deposit amount, and you do not need to hold a certain balance to earn APY.
What fees are applicable with using Money Account?
The following is an explanation of fees when using the Money Account. Actions not involving the Money Account do not apply.
**Funding Money Account**
When depositing USDC, DAI, aUSDC, and aDAI into Money Account you will not pay any swap or network fees. You can deposit other tokens, but you will pay the swap and network fees.
There are no fees to transfer existing mUSD into Money Account.
When buying mUSD, you may pay a fee to the provider, but you will not pay a fee to MetaMask.
**Yield**
Product and network fees are deducted from the Yield you receive. The amount of Yield you see is the amount after fees are taken, and the full amount available for you to use.
**Transferring mUSD out from Money Account**
When transferring mUSD from your Money Account and to another MetaMask account on Monad, you will not pay any fees.
You will pay network fees if you transfer to a different network, or swap to a different token. You will also pay network fees for transferring to Perps or Predictions accounts.
Where is Money Account available?
Money Account is not available in the United Kingdom and countries on the US sanctions list.
Can I have multiple money accounts?
No; you can only have one Money Account on MetaMask Mobile.
How do I access my Money Account if I reinstall MetaMask or get a new phone?
Your Money Account is associated with your SRP. If you reinstall MetaMask Mobile, simply enter the SRP or Google/Apple login you used in your previous installation of Mobile, and your Money Account will be reimported, along with your other accounts tied to that SRP.
I reinstalled MetaMask Mobile and entered my SRP, but I don't see my Money Account.
If you don't see your Money Account, you likely entered a different SRP. Make sure you use the SRP associated with your Money Account — this is the SRP imported in MetaMask Mobile when you first used your Money Account.
My APY has changed since I opened my account. Is something wrong?
Nothing is wrong — APY is variable and changes daily with market conditions. The APY you see today might be different than the one you see tomorrow. Up-to-date APY can always be found in your Money Account.
I imported my SRP into a different web3 wallet, but I don't see my Money Account.
Money Account is tied to MetaMask, so it will not show up in a different web3 wallet.
I made a deposit, but my balance hasn't updated yet. What should I do?
Balance updates run on a ~30-second refresh cycle, so a short delay is normal. Pull down to refresh your Money Account screen to trigger a manual update. If your deposit appears in the Activity tab, your funds arrived safely, and the balance will catch up shortly.
Avoid force-closing the app during a pending transaction — if you do, it may show as "failed" in Activity, but this is a display issue only, and your balance will still update correctly.
Do I need ETH or another gas token to use Money Account or make transactions?
No! The Money Account does not have fees associated with it, so you don't need ETH or another gas token. You might need a gas token when funding the account, but we recommend using a fee-free method instead, [described here](#convert-existing-tokens).
Can I use my hardware wallet to deposit funds to my Money Account?
No, at this time you cannot use your hardware wallet to make deposits into your Money Account.
---
*\*Disclaimer: Money Account is not a bank account, savings account, or insured deposit product. APY is variable, not guaranteed, and may fluctuate based on market conditions. Money Account involves smart contract, liquidity, protocol, and other risks, which in extreme cases could result in partial or total loss of funds. Nothing in this post constitutes financial, investment, tax, or legal advice. Availability varies by region. Please review the full [Terms of Use](https://consensys.io/terms-of-use) before using Money Account. Terms subject to change.*
---
# How to use price alerts and watchlist in MetaMask
URL: https://support.metamask.io/trade/price-alerts/
> Track any token's price and get notified when it hits your target.
MetaMask Mobile lets you track tokens easily with **price alerts** that notify you when a token hits your target price, and the **watchlist** that lets you monitor any token on your home screen.
Both these features are available in MetaMask Mobile (v8.6.0 and above).
:::tip
You'll need notifications **turned on** to receive price alerts.
:::
## How to create a price alert
1. Open MetaMask Mobile and tap a token to open its details page.
2. Tap the bell icon to create a price alert.
3. Enter a target price, or use the default buttons (-10%, -5%, +5%, +10%) to set a price relative to the current value.
4. Toggle 'Recurring' on if you want the alert to notify you every time the token hits your target, not just the first time.
5. Tap 'Set price alert'.
:::info[Supported networks]
Price alerts work with tokens on the following networks:
Ethereum Mainnet · BNB · Polygon · Monad · zkSync · HyperEVM · Sei · MegaETH · Base · Arbitrum · Avalanche · Linea · Bitcoin · Solana · Optimism · Tron
:::
## How to manage your alerts
1. Tap the bell icon on a token's details page to open the price alerts screen.

2. Toggle the button next to an existing alert to pause or resume notifications.
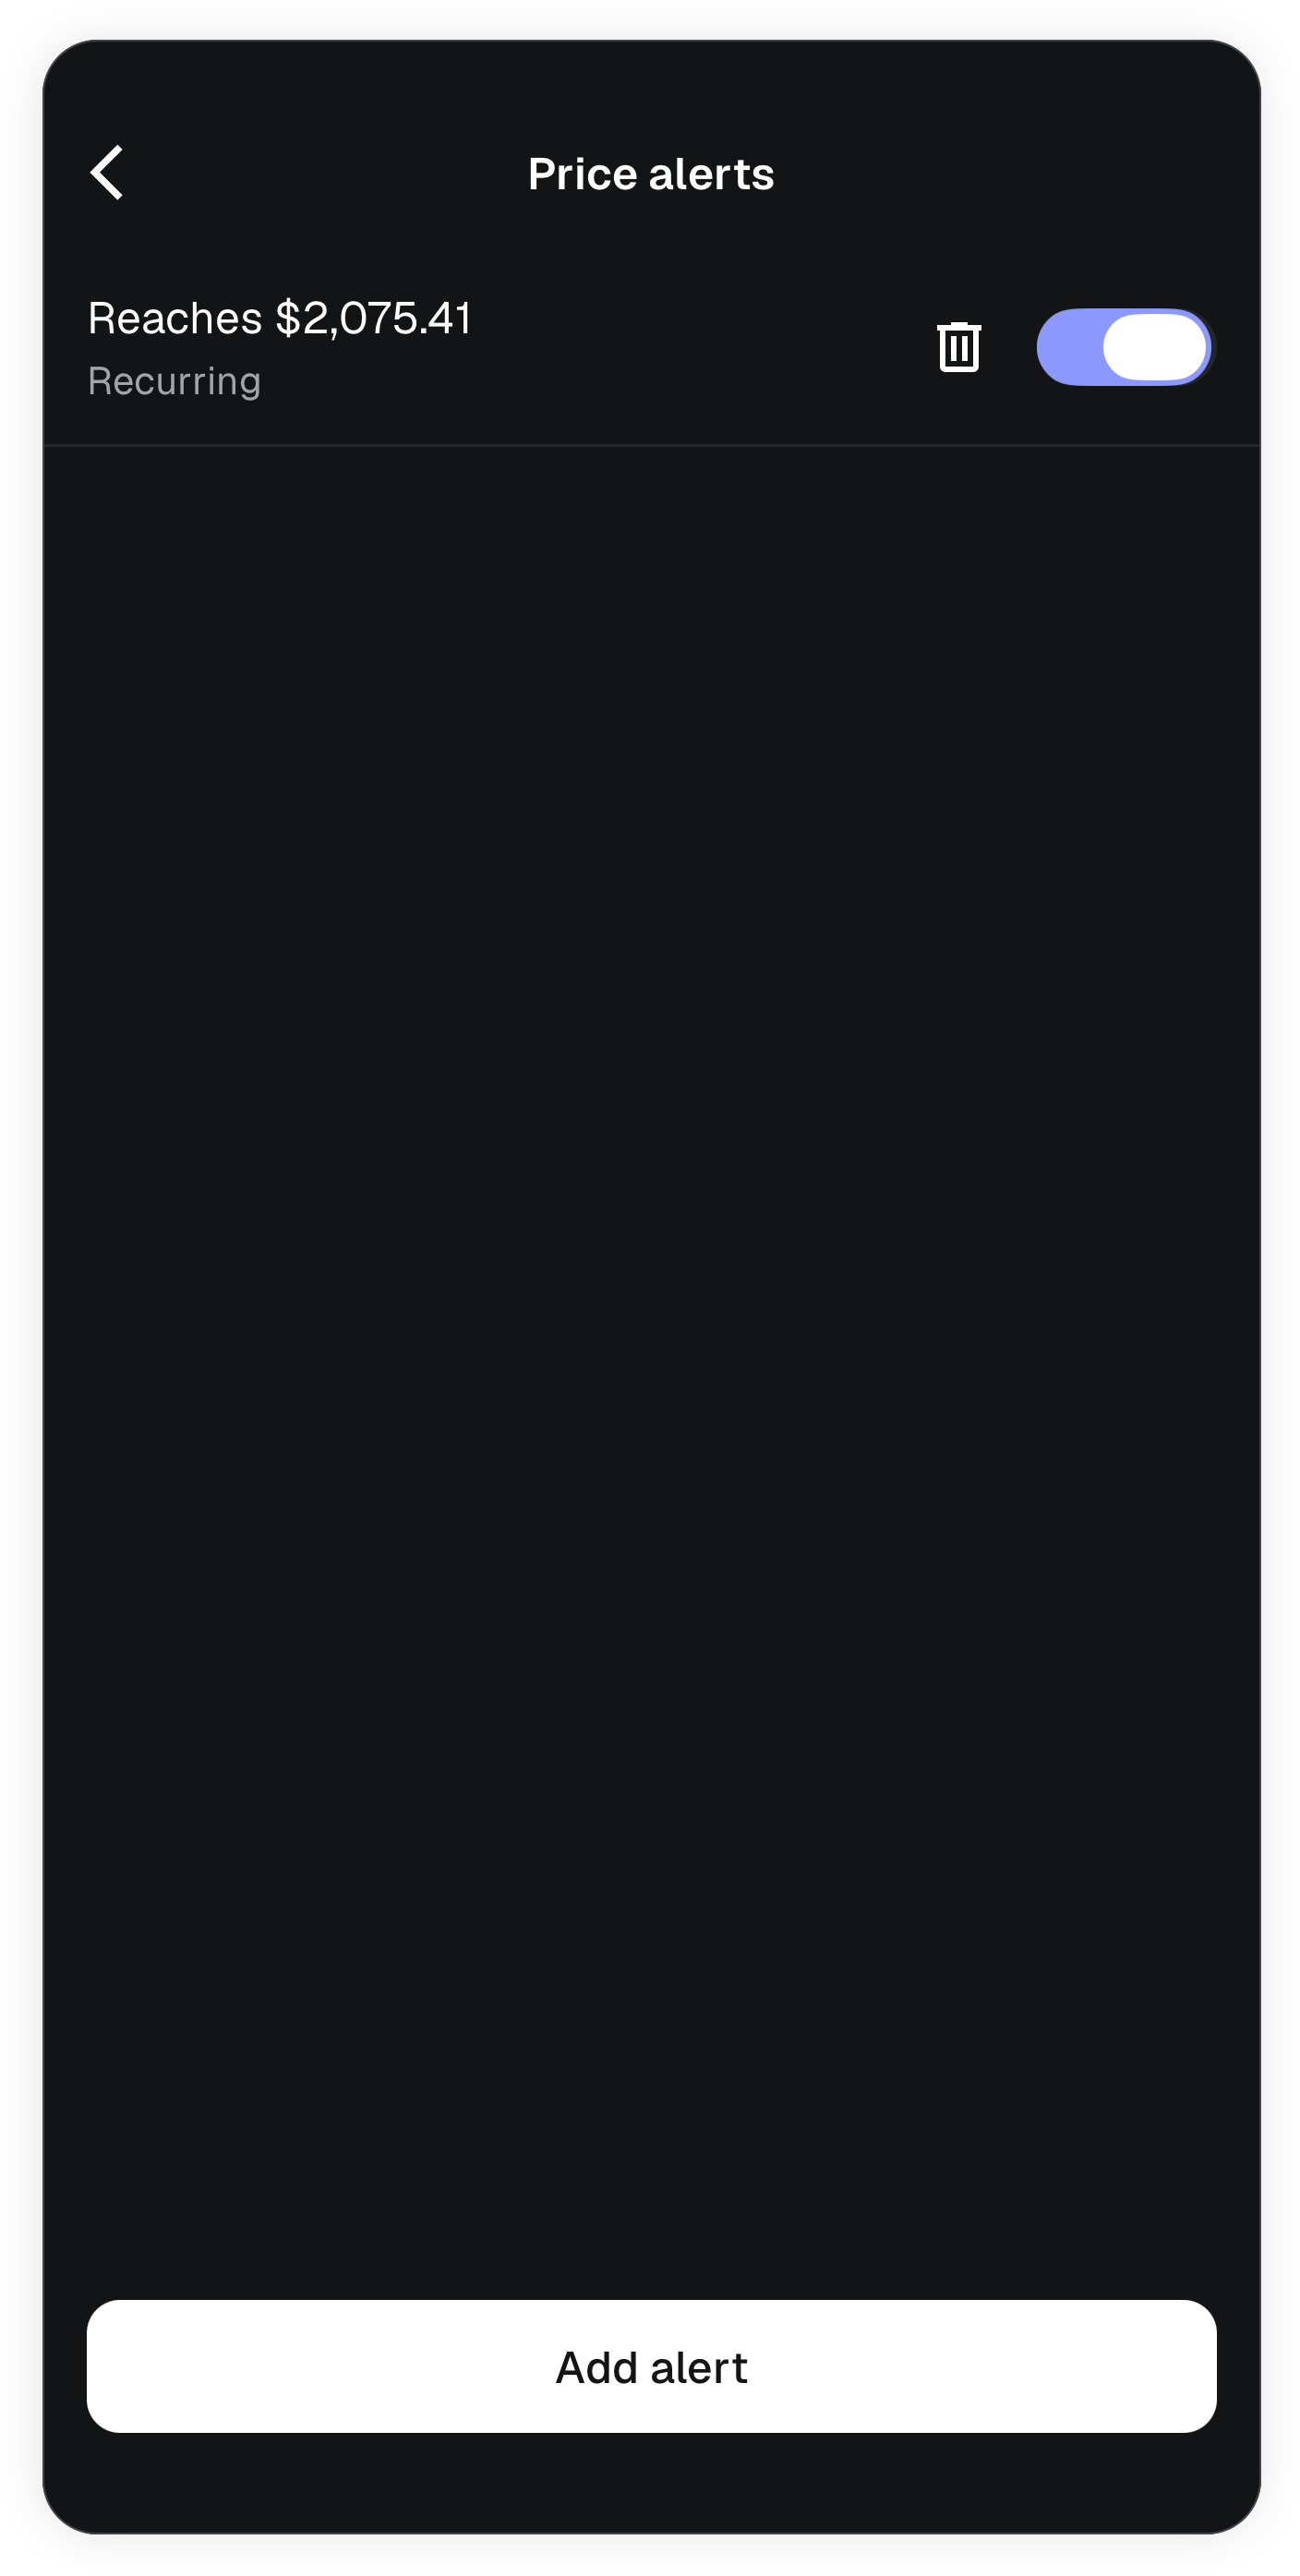
3. Tap the trash can icon to delete an alert.
4. Tap 'Add alert' to create a new alert for the same token. You can set multiple alerts per token.
## How to add a token to your watchlist
1. Open MetaMask Mobile and scroll down to the 'Watchlist' section on the home screen.
2. Select tokens to add to your watchlist. Use the search bar to find desired tokens. You can select multiple at once.
3. Tap the star icon to add the token(s) to your watchlist.
## How to manage your watchlist
Scroll down on the home screen to access your tracked tokens and their current prices. To remove tokens or add more, simply tap into the 'Watchlist' section.
1. Tap 'Edit' in the top right corner.
2. Tap the trash can icon to delete a token from your watchlist.
You can buy or swap any token directly from your watchlist. Tap the token, then tap the 'lightning bolt' icon to quickly buy or swap.
## FAQs
What does the recurring toggle do?
With 'Recurring' toggled on, you are notified every time the token reaches your target price, for example every time ETH hits $2,194. With it toggled off, it only notifies you the first time the token reaches your target price and is then deactivated.
Can I set multiple alerts for the same token?
Yes. From the price alerts screen, tap 'Add alert' to create additional alerts for the same token.
Can I set a price alert for a token in my watchlist?
Yes. Tap any token in your watchlist to open its details page, then tap the bell icon to create a price alert.
Can I add tokens I don't own to my watchlist?
Yes. The watchlist is designed for tracking tokens you don't own. Simply search for the token you want to add and tap the star icon to add it to your watchlist.
---
# How to access tokenized stocks and ETFs in MetaMask
URL: https://support.metamask.io/trade/real-world-assets/
> Learn about real-world assets (RWAs) and how to swap into tokenized stocks.
You can access **hundreds of tokenized stocks, ETFs and commodities** directly within MetaMask’s swap interface via Ondo Global Markets. This guide explains what tokenized stocks are, how they work, and how to trade them in MetaMask.
Tokenized securities are available on Ethereum and BNB Chain through MetaMask Mobile and Extension.
:::note
Tokenized securities are **not available to users in the United States and other restricted jurisdictions**. For details and the latest information on eligibility, check [here](https://docs.ondo.finance/ondo-global-markets/eligibility).
:::
## What are tokenized stocks and ETFs? {#what-are-tokenized-stocks-and-etfs}
Tokenized stocks, ETFs, and commodities are real-world assets (RWA) represented onchain as tokens.
Tokenization creates **digital equivalents of traditional financial assets** and broadens access to markets that were historically exclusive or illiquid.
Each token represents **economic exposure to an underlying traditional asset—such as a publicly traded stock or ETF—that is held offchain**. The token is designed to track the asset’s performance by reflecting its price movements and other economic outcomes (like dividends), rather than granting direct ownership of the asset itself.
With Ondo Global Markets, each tokenized stock or ETF is fully backed by the corresponding underlying asset, which is held with licensed custodial broker-dealers. Refer to Ondo [documentation](https://docs.ondo.finance/ondo-global-markets/trust-and-transparency) for more information.
## Trading hours {#trading-hours}
Ondo Global Markets generally follows U.S. stock market trading hours, with trading availability and liquidity aligned to a 24/5 schedule, from **Sunday 8:00 PM EST to Friday 7:59 PM EST**.
Trading sessions,
Eastern Standard Time
]}
colPresets={['default', 'green']}
colWeights={['normal', 'normal']}
colAligns={['center', 'center']}
>
Pre-Market
4:00:00 AM EST - 9:29:59 AM EST
Regular Market
9:30:00 AM EST - 3:59:59 PM EST
Post-Market
4:00:00 PM EST - 7:59:59 PM EST
Overnight
8:00:00 PM EST - 3:59:59 AM EST
For the latest information on market hours, trading pauses, or market status, see [here](https://status.ondo.finance/market).
:::info[Trading outside market hours]
Tokenized stocks and ETFs can technically be traded onchain at any time. However, trading outside of Ondo Global Markets-defined hours may involve *lower liquidity, higher price volatility, and limited or unavailable price quotes*.
For this reason, quotes will be unavailable in MetaMask outside designated trading windows and **trading during regular market hours is recommended**.
:::
## How to trade tokenized stocks and ETFs on MetaMask {#how-to-trade-tokenized-stocks-and-etfs-on-metamask}
Tokenized stocks work the same way as any other token you would swap to.
1. Tap the **Swap** button on your homepage
2. Select **USDC on Ethereum** or **USDT on BNB Chain**
- These are the most cost-effective routes per chain, with network fees on BNB Chain being significantly lower than Ethereum
- Other stablecoins on these chains may work, but can result in no quotes or higher price impact due to limited liquidity. Swapping from native assets like ETH into Ondo Global Markets tokens is not currently supported
- Make sure you have enough of the network's native token (ETH on Ethereum, BNB on BNB Chain) to cover the gas fee
3. Search for the **asset ticker** and select the tokenized version, example $GOOGLon (Ondo Tokenized)
4. Enter the **amount** you want ($5 minimum)
- Swaps below the minimum amount ($5) will not receive any quotes
5. Review quote and **confirm** transaction.
## How tokenized securities track asset performance {#how-tokenized-securities-track-asset-performance}
Ondo Global Markets tokenized stocks and ETFs are designed as **total-return trackers**. This means they aim to reflect the full economic performance of the underlying asset, assuming reinvestment of income.
A total-return tracker includes:
- **Price movements**: gains or losses in market value
- **Income distributions**: dividends (for stocks) or interest (for bond)
- **Corporate actions**: events like mergers, splits, or restructurings
By capturing both capital gains and income, total-return trackers provide a more comprehensive representation of asset performance than price-only tracking.
Dividends
Some stocks and ETFs pay dividends, which are periodic cash distributions made by the issuing company. With Ondo Global Markets tokenized stocks, dividends are not paid out directly as cash. Instead, dividends are automatically reflected in the token’s total-return performance through **reinvestment** (net of applicable withholding taxes).
This means:
- Dividends contribute to the overall value of the token
- Dividends are reinvested to compound returns
- Your exposure reflects both price changes and dividend income, net of applicable withholding taxes
As a result, **a single token may come to represent multiple underlying shares**.
Stock splits and reverse splits
A stock split increases the number of shares outstanding by dividing each share into multiple shares, while a reverse stock split reduces the number of shares outstanding by combining multiple shares into one. These actions change the share count and price per share, but do not change the total economic value of the asset.
When a company performs a stock split or reverse stock split, your total economic exposure through an Ondo Global Markets tokenized stock remains unchanged and no action is required from you.
For example, in a 10-for-1 stock split, one share becomes 10 shares. In this case, a single tokenized stock may continue to represent the same economic exposure and may now correspond to 10 underlying shares, with the token price adjusting proportionally. **Your single tokenized stock will now represent the value of 10 shares, while the overall value of your position remains the same.**
## Are tokenized securities the same as owning the actual security? {#are-tokenized-securities-the-same-as-owning-the-actual-security}
No. While tokenized securities are designed to mirror the economic performance of the underlying asset, they are not the same as directly owning the stock or ETF. **You will not own the underlying security.**
When holding a tokenized stock or ETF:
- You do not receive shareholder voting rights
- You do not receive statutory shareholder disclosures
- You do not directly own the underlying security
Instead, you hold a token that reflects the total economic return of the asset. Refer to Ondo Global Markets [documentation](https://docs.ondo.finance/ondo-global-markets/legal-and-regulatory) for additional details.
## FAQ
Am I eligible to trade tokenized stocks and ETFs?
Ondo Global Markets are subject to availability and is **not available** to users in the following regions:
USA or any of its states, possessions, territories or federal districts, United Kingdom, Afghanistan, Algeria, Belarus, Brazil, Canada, China (Including Hong Kong), Crimea, Donetsk People’s Republic (DNR), European Economic Area, Luhansk People’s Republic (LNR), Kherson and Zaporizhzhia regions (Ukraine), the city of Sevastopol, Cuba, Democratic Republic of Korea, Eritrea, Iran, Libya, Malaysia, Myanmar, Morocco, Nepal, Russia, Singapore, Somalia, South Sudan, Sudan, Switzerland, Syria, and Venezuela. For details and the latest information on eligibility, check [here](https://docs.ondo.finance/ondo-global-markets/eligibility).
What are the fees?
MetaMask charges a fee of 87.5 bps\* on all Ondo Global Markets trades.
For trades that go through CowSwap, the below fees apply (subject to change):
- **MetaMask** - 87.5 bps
- **CowSwap** - 12 bps
- **Execution adjustment** - 0.5 bps
Positive slippage may be captured if there is a difference between quote and execution. For more information, refer to [CowSwap](https://docs.cow.fi/governance/fees) and [Ondo Global Markets](https://docs.ondo.finance/ondo-global-markets/fees-and-taxes) documentation directly.
\**Basis points (bps) are commonly used to show fees. 100 bps = 1%.*
Do I need to sign up or create an account?
No. If you’re eligible, you can swap into Ondo Global Markets assets directly through MetaMask. No additional sign-up or account creation is required.
What about market halts and trading pauses?
Because Ondo Global Markets pricing depends on underlying U.S. market activity, price quotes may be paused if:
- The entire U.S. stock market is halted, or
- A specific underlying asset is halted due to market volatility
In such cases, Ondo Global Markets would pause quoting prices until the relevant market or asset resumes trading.
How do I cancel a transaction?
Once a swap is submitted, cancellation is not possible directly within MetaMask. You will need to attempt cancellation through the underlying protocol your trade was routed through.
If your trade was routed through **CowSwap**, CowSwap supports two cancellation methods:
- **Off-chain cancellation**: This option is free and does not require gas. However, because it is handled off-chain, there is a small chance the order may still execute if it is already being matched.
- **On-chain cancellation**: This option requires paying gas but has a much higher likelihood of successfully cancelling the order, since it is enforced onchain.
For more details on CowSwap order cancellation, see [here](https://docs.cow.fi/cow-protocol/tutorials/cow-swap/swap#cancel-your-order).
To view the status of your order or attempt a cancellation, visit the CowSwap [explorer](https://explorer.cow.fi/).
If your trade was routed through **1inch Fusion+**, you can attempt to cancel directly with 1inch. For more details, see their [documentation](https://help.1inch.com/en/articles/9842591-what-is-1inch-fusion-and-how-does-it-work).
What are withholding taxes?
Withholding taxes are taxes that are automatically deducted from certain types of income like dividends before that income is paid. The Ondo Global Markets entity that issues the tokens is based in the British Virgin Islands, so dividends paid by U.S. companies to the entity are subject to the standard 30% U.S. withholding tax. This is the default rate that applies to non-U.S. persons, in accordance with U.S. tax regulations. Refer [here](https://docs.ondo.finance/ondo-global-markets/fees-and-taxes).
You are responsible for identifying and paying all taxes and other governmental fees and charges (and any penalties, interest, and other additions thereto) that are imposed on you upon or with respect to the transactions and payments made. All fees payable by you are exclusive taxes unless otherwise noted. We reserve the right to withhold taxes where required.
How does dividend reinvestment work?
Dividend reinvestment occurs net of withholding taxes.
For example, if a stock pays a $1 dividend per share and Ondo holds 10 shares ($10 total), assuming a 30% withholding tax:
- $3 is withheld for taxes
- $7 is reinvested into additional shares of the underlying asset
This reinvestment is reflected in the token’s total-return performance.
My swap keeps failing. How can I troubleshoot?
If you’re unable to complete a swap for an Ondo Global Markets asset, try the following first:
- **Check the minimum trade size.** Swaps below $5 won’t receive any quotes and cannot be executed. Increase the amount and try again.
- **Check that you’re using a recommended input token.** USDC on Ethereum and USDT on BNB Chain give the best liquidity. Other stablecoins may result in no quotes. Also make sure you have enough of the network’s native token *(ETH on Ethereum, BNB on BNB Chain)* to cover the gas fee.
- **Check [market hours](https://docs.ondo.finance/api-reference/status/get-current-market-status) and regional [eligibility](https://docs.ondo.finance/ondo-global-markets/eligibility)**
If those are all in order and the issue persists, you may have traded on CowSwap before and approved a stablecoin for spending. This approval can interfere with Ondo Global Markets swaps through MetaMask. To fix this, try revoking the CowSwap token approval. You can use a token approval checker on block explorers for each network:
- On Ethereum: [etherscan.io/tokenapprovalchecker](https://etherscan.io/tokenapprovalchecker)
- On BNB Chain: [bscscan.com/tokenapprovalchecker](https://bscscan.com/tokenapprovalchecker)
Connect your wallet, locate the CowSwap spending cap for your stablecoin, and revoke it. Since revocation requires submitting a transaction to the network, you will need to pay gas fees.
Once revoked, return to MetaMask and try the swap again.
If the issue persists, please [contact us](/start/how-to-contact-metamask-support).
Why can’t I trade the tokenized asset?
The most common reason is **regional ineligibility**. If your region is not supported, the token will not be tradeable in MetaMask.
In some cases, tokens may also be temporarily unavailable due to market hours or limited liquidity.
If you believe you’re eligible, make sure:
- You’re not located in a [restricted jurisdiction](https://docs.ondo.finance/ondo-global-markets/eligibility). If you are in a prohibited region, you’re ineligible to trade.
- You’re attempting to trade during [Ondo-defined market hours](https://status.ondo.finance/market)
How are tokenized securities backed?
Ondo Global Markets tokenized securities are fully backed by the corresponding stock or ETF, held with one or more licensed U.S. custodial broker-dealers (together with cash in transit). For further information, refer [here](https://docs.ondo.finance/ondo-global-markets/trust-and-transparency).
---
# Using technical indicators
URL: https://support.metamask.io/trade/technical-indicators/
> Analyze token price trends with built-in technical indicators like Moving Averages, Bollinger Bands, RSI, and MACD.
MetaMask Mobile includes built-in technical indicators on a token's page so you can analyze price trends without leaving the app. Moving averages and Bollinger Bands overlay directly on the price chart while RSI and MACD appear in dedicated panes below it.
:::note
Technical indicators are only available in MetaMask Mobile v8.1.0 and above.
Indicators require tokens with supported OHLCV (candlestick) data. Tokens without sufficient historical data will not display indicators.
:::
:::info[Do your own research]
Technical indicators are provided for **informational purposes only** and do not constitute financial advice. Always do your own research before making trading decisions.
:::
## How to access technical indicators
From a token's details page, tap the **candlestick chart icon** in the top-right corner of the price chart to switch from the basic line view to the advanced candlestick view.
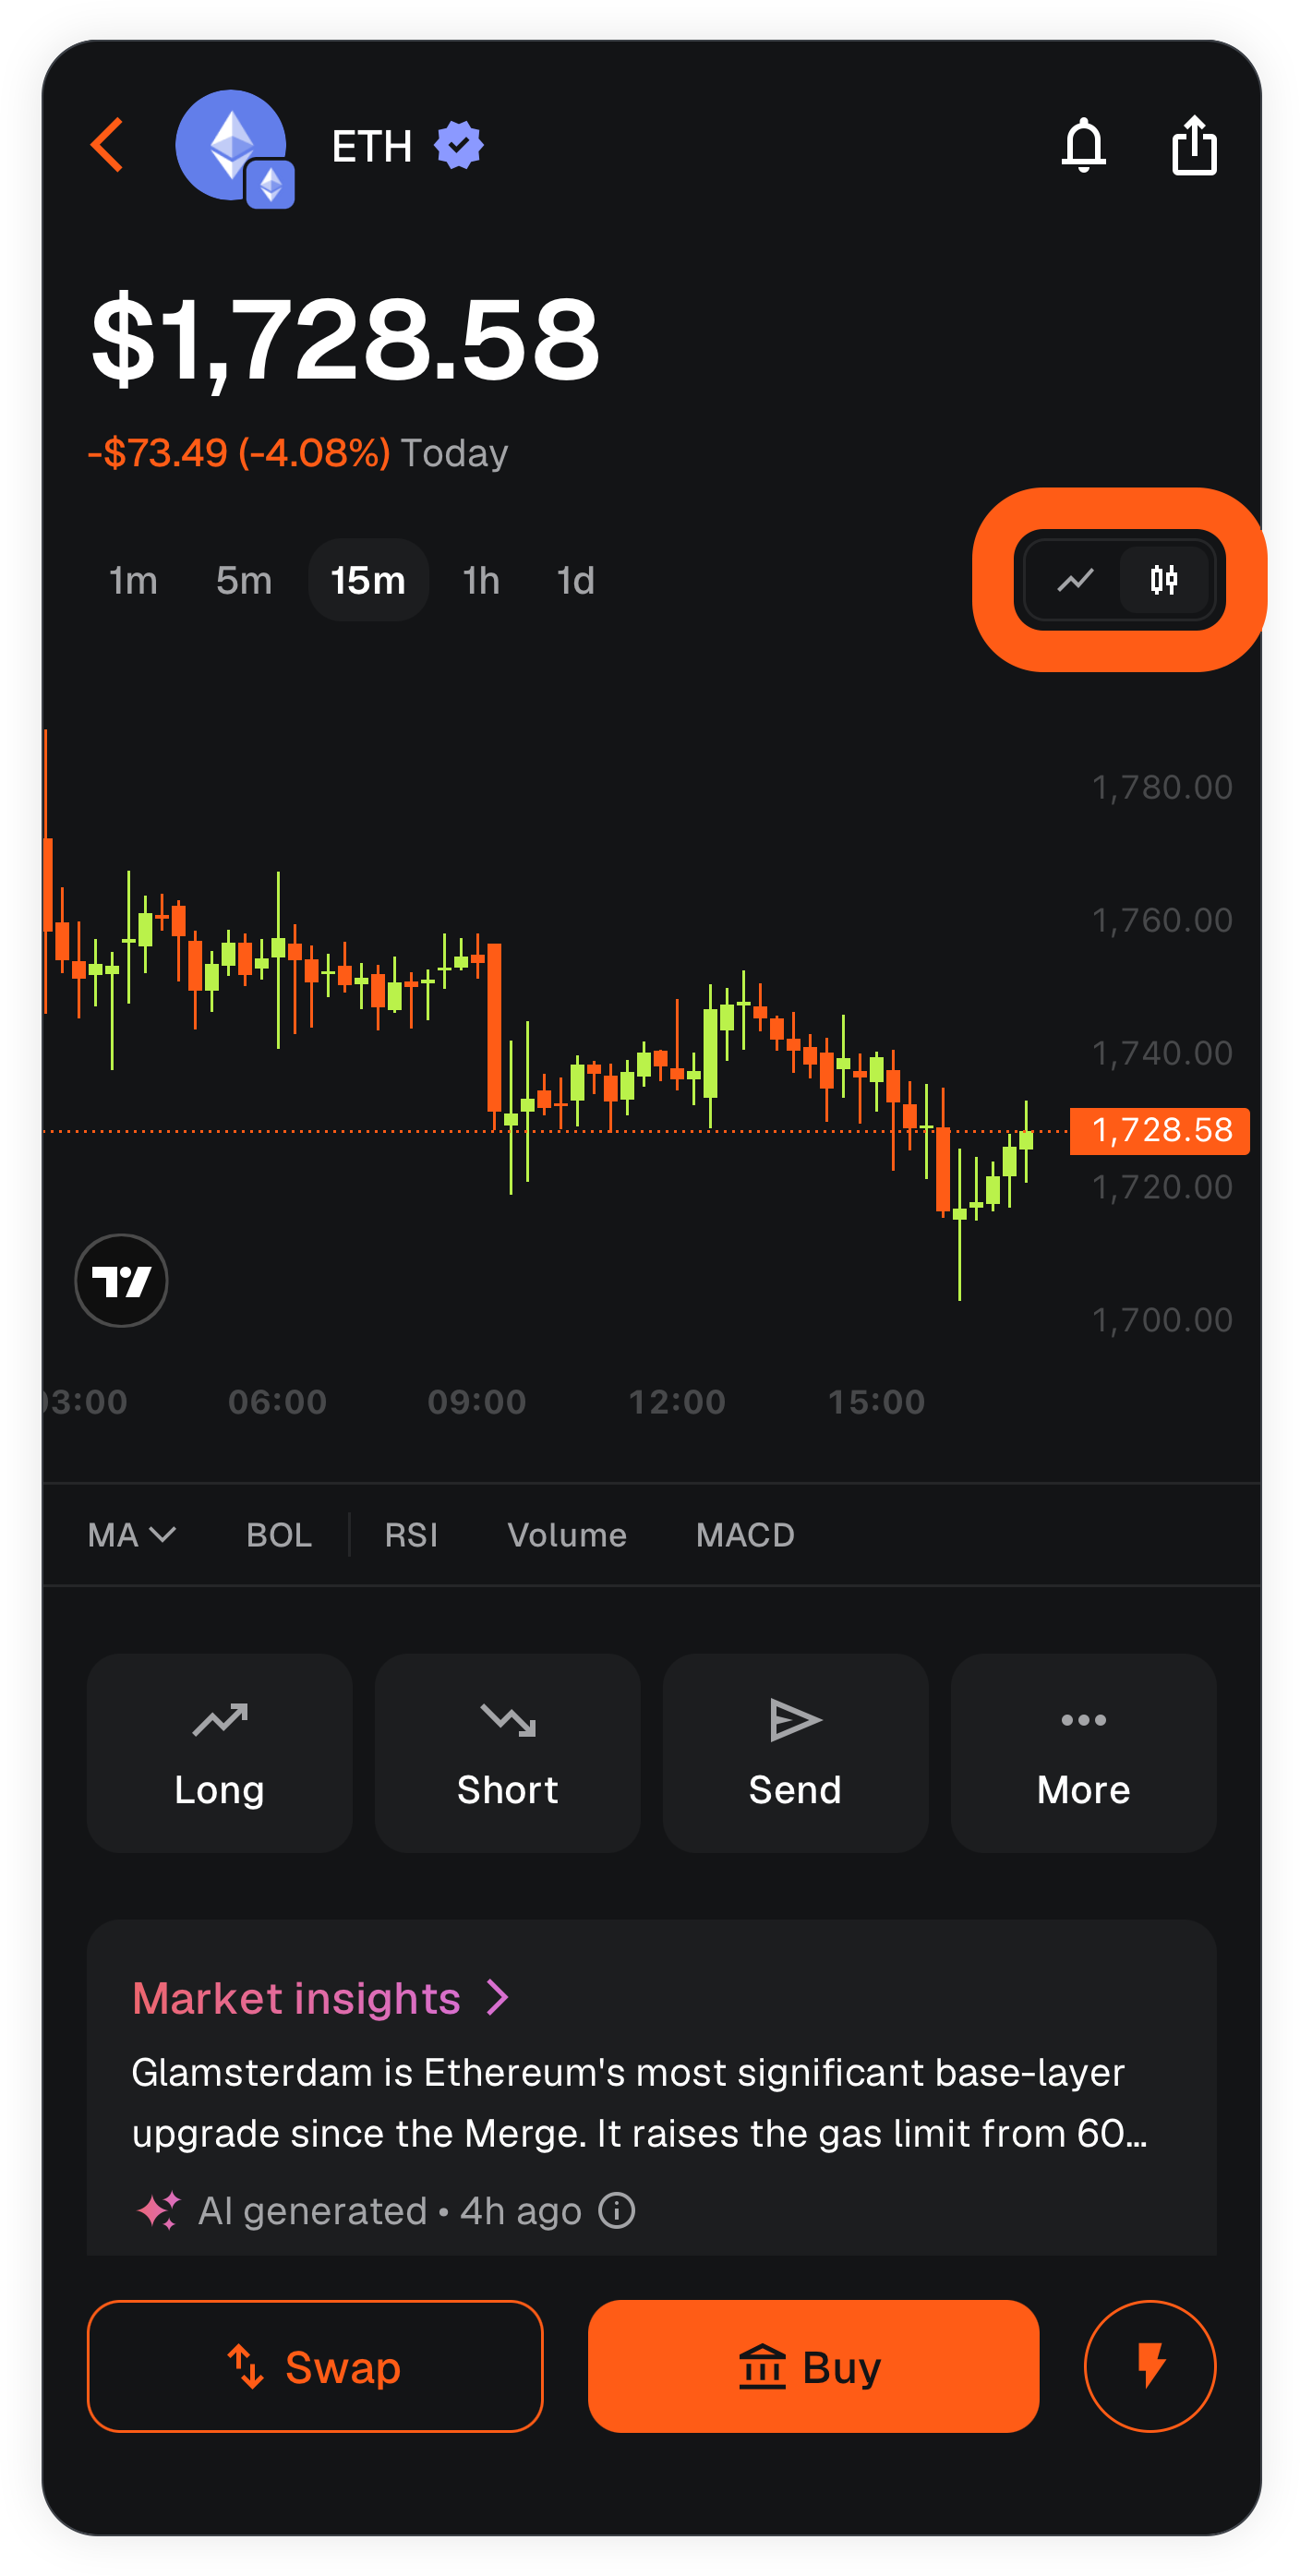
A row of indicator pills appears below the chart: **MA, BOL, RSI, Volume, MACD**.
Tap any pill to enable that indicator. Tap it again to disable it. To return to the simple price chart, tap the **line chart icon**.
### Chart intervals
The interval tabs (**1m · 5m · 15m · 1h · 1d**) above the chart control the time period each candlestick represents. Shorter intervals show more granular recent price action while longer intervals give a broader view.
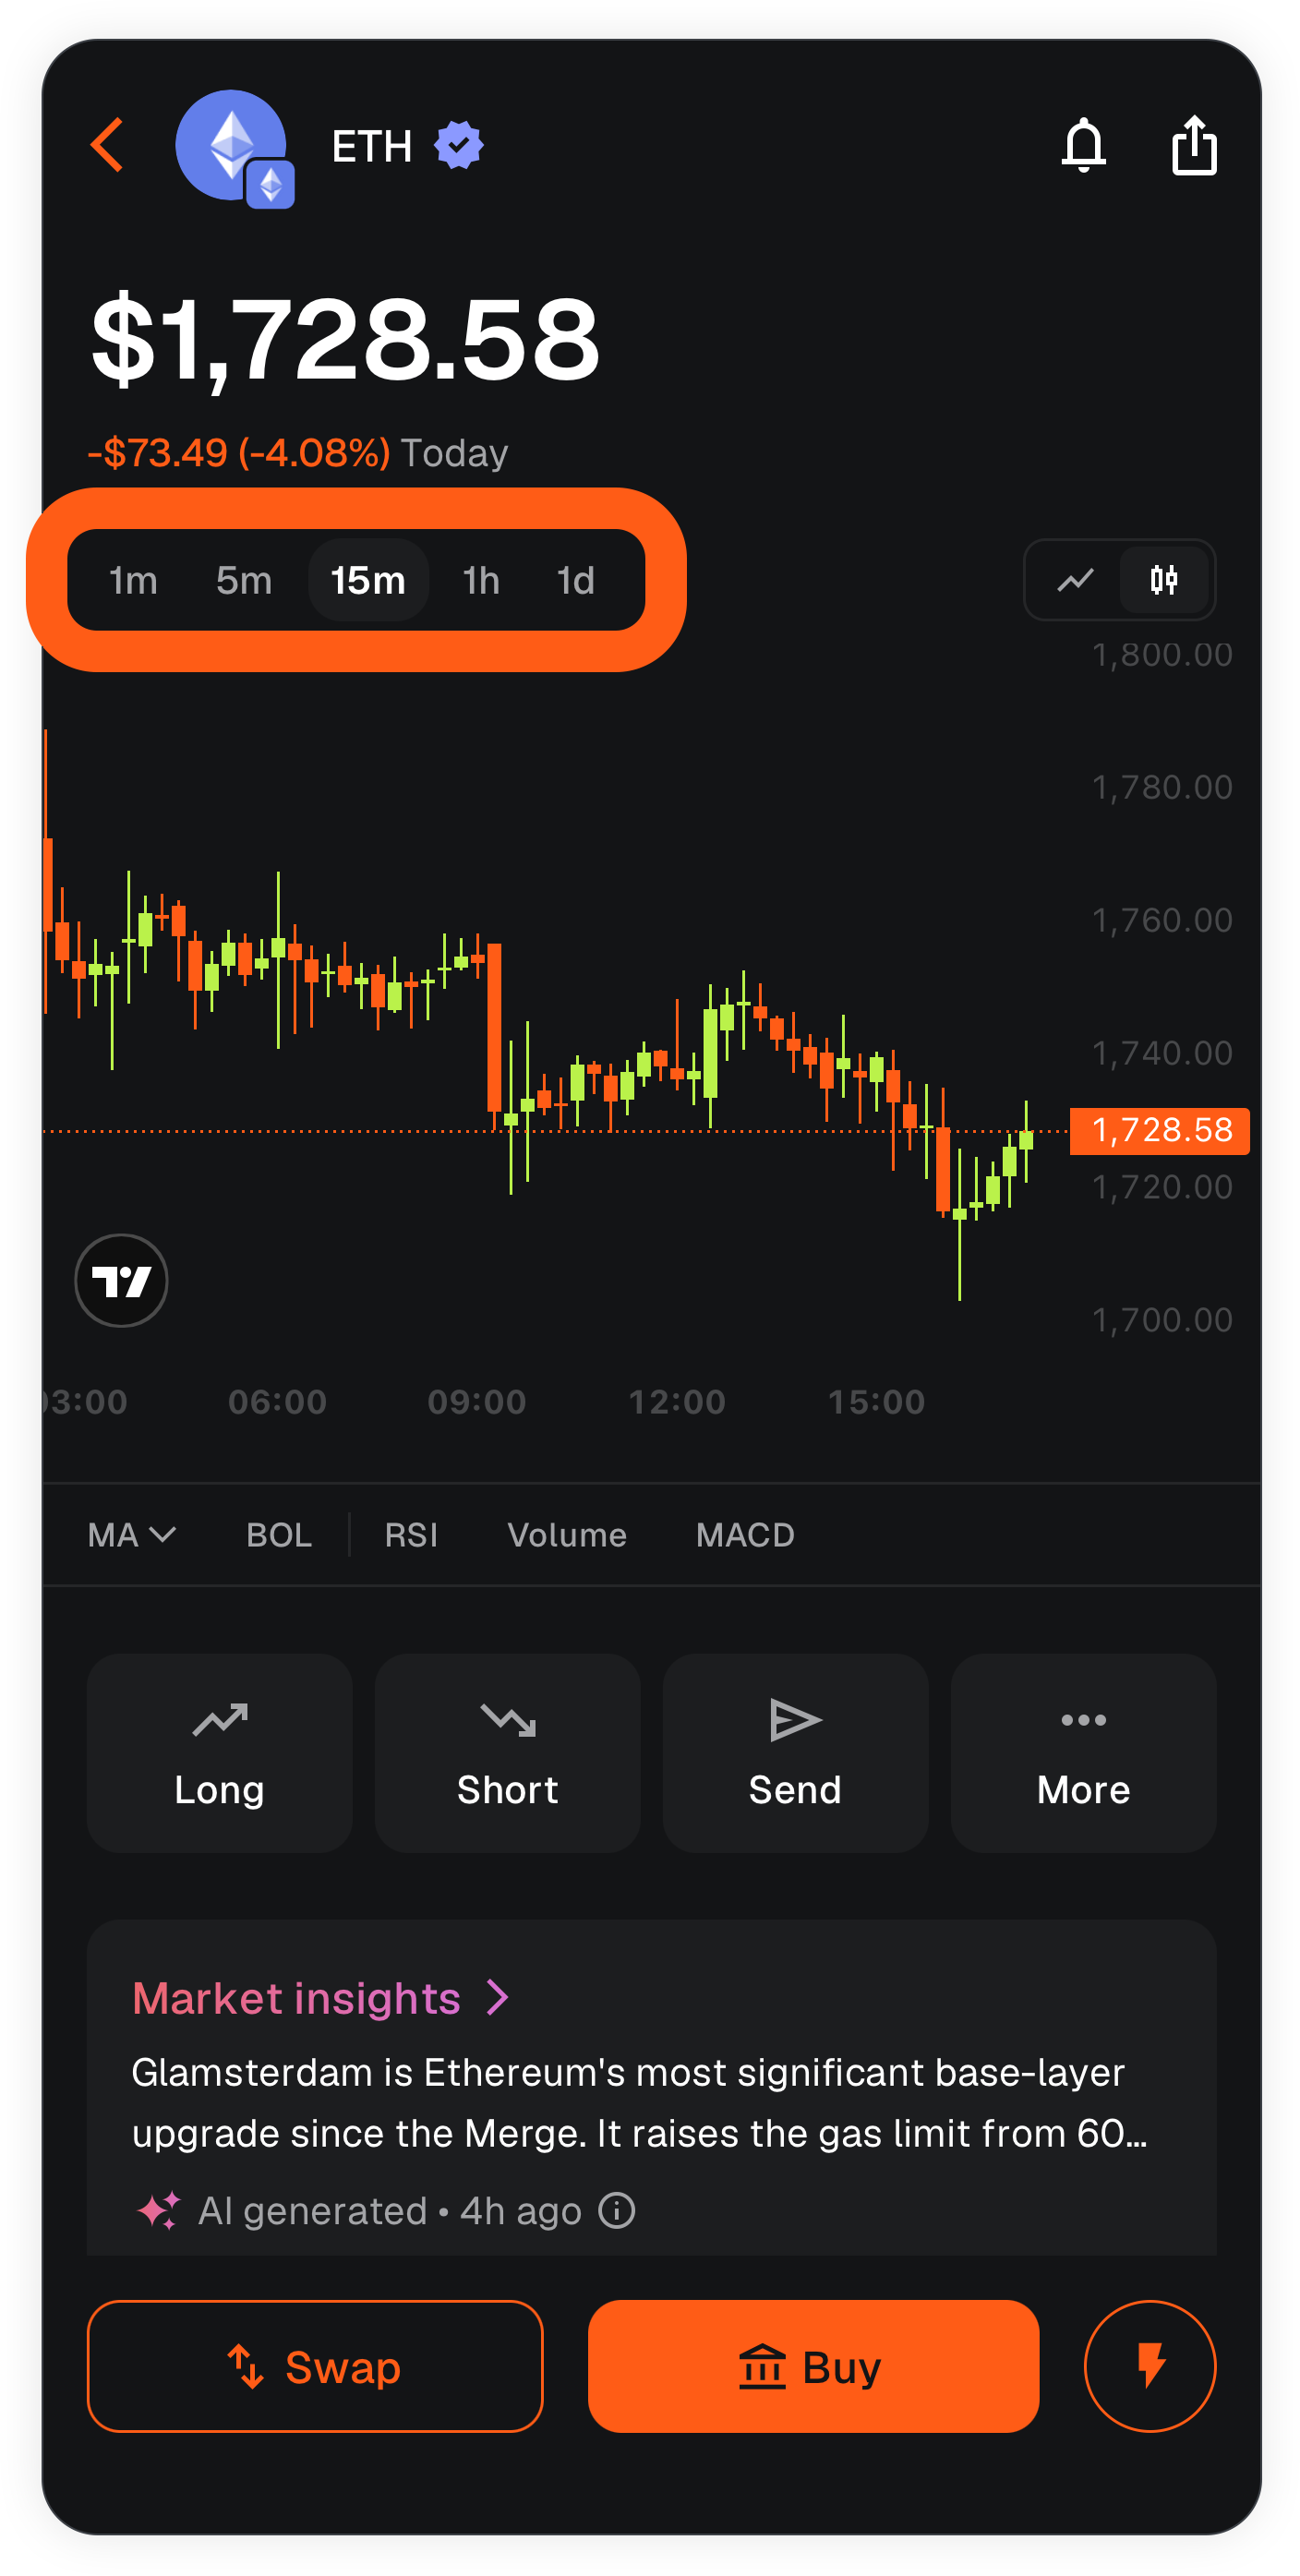
## Available indicators
For more information, see our [trading glossary](/trade/trading-glossary/). Tap on any indicator to access it, tap it again to close it.
### Moving averages (MA)
Tap the **MA** pill to open a multi-select dropdown where you can choose which periods to display: MA5, MA10, MA20, MA50, MA200. You can enable multiple at once. Each overlays on the candlestick chart as a distinct coloured line.
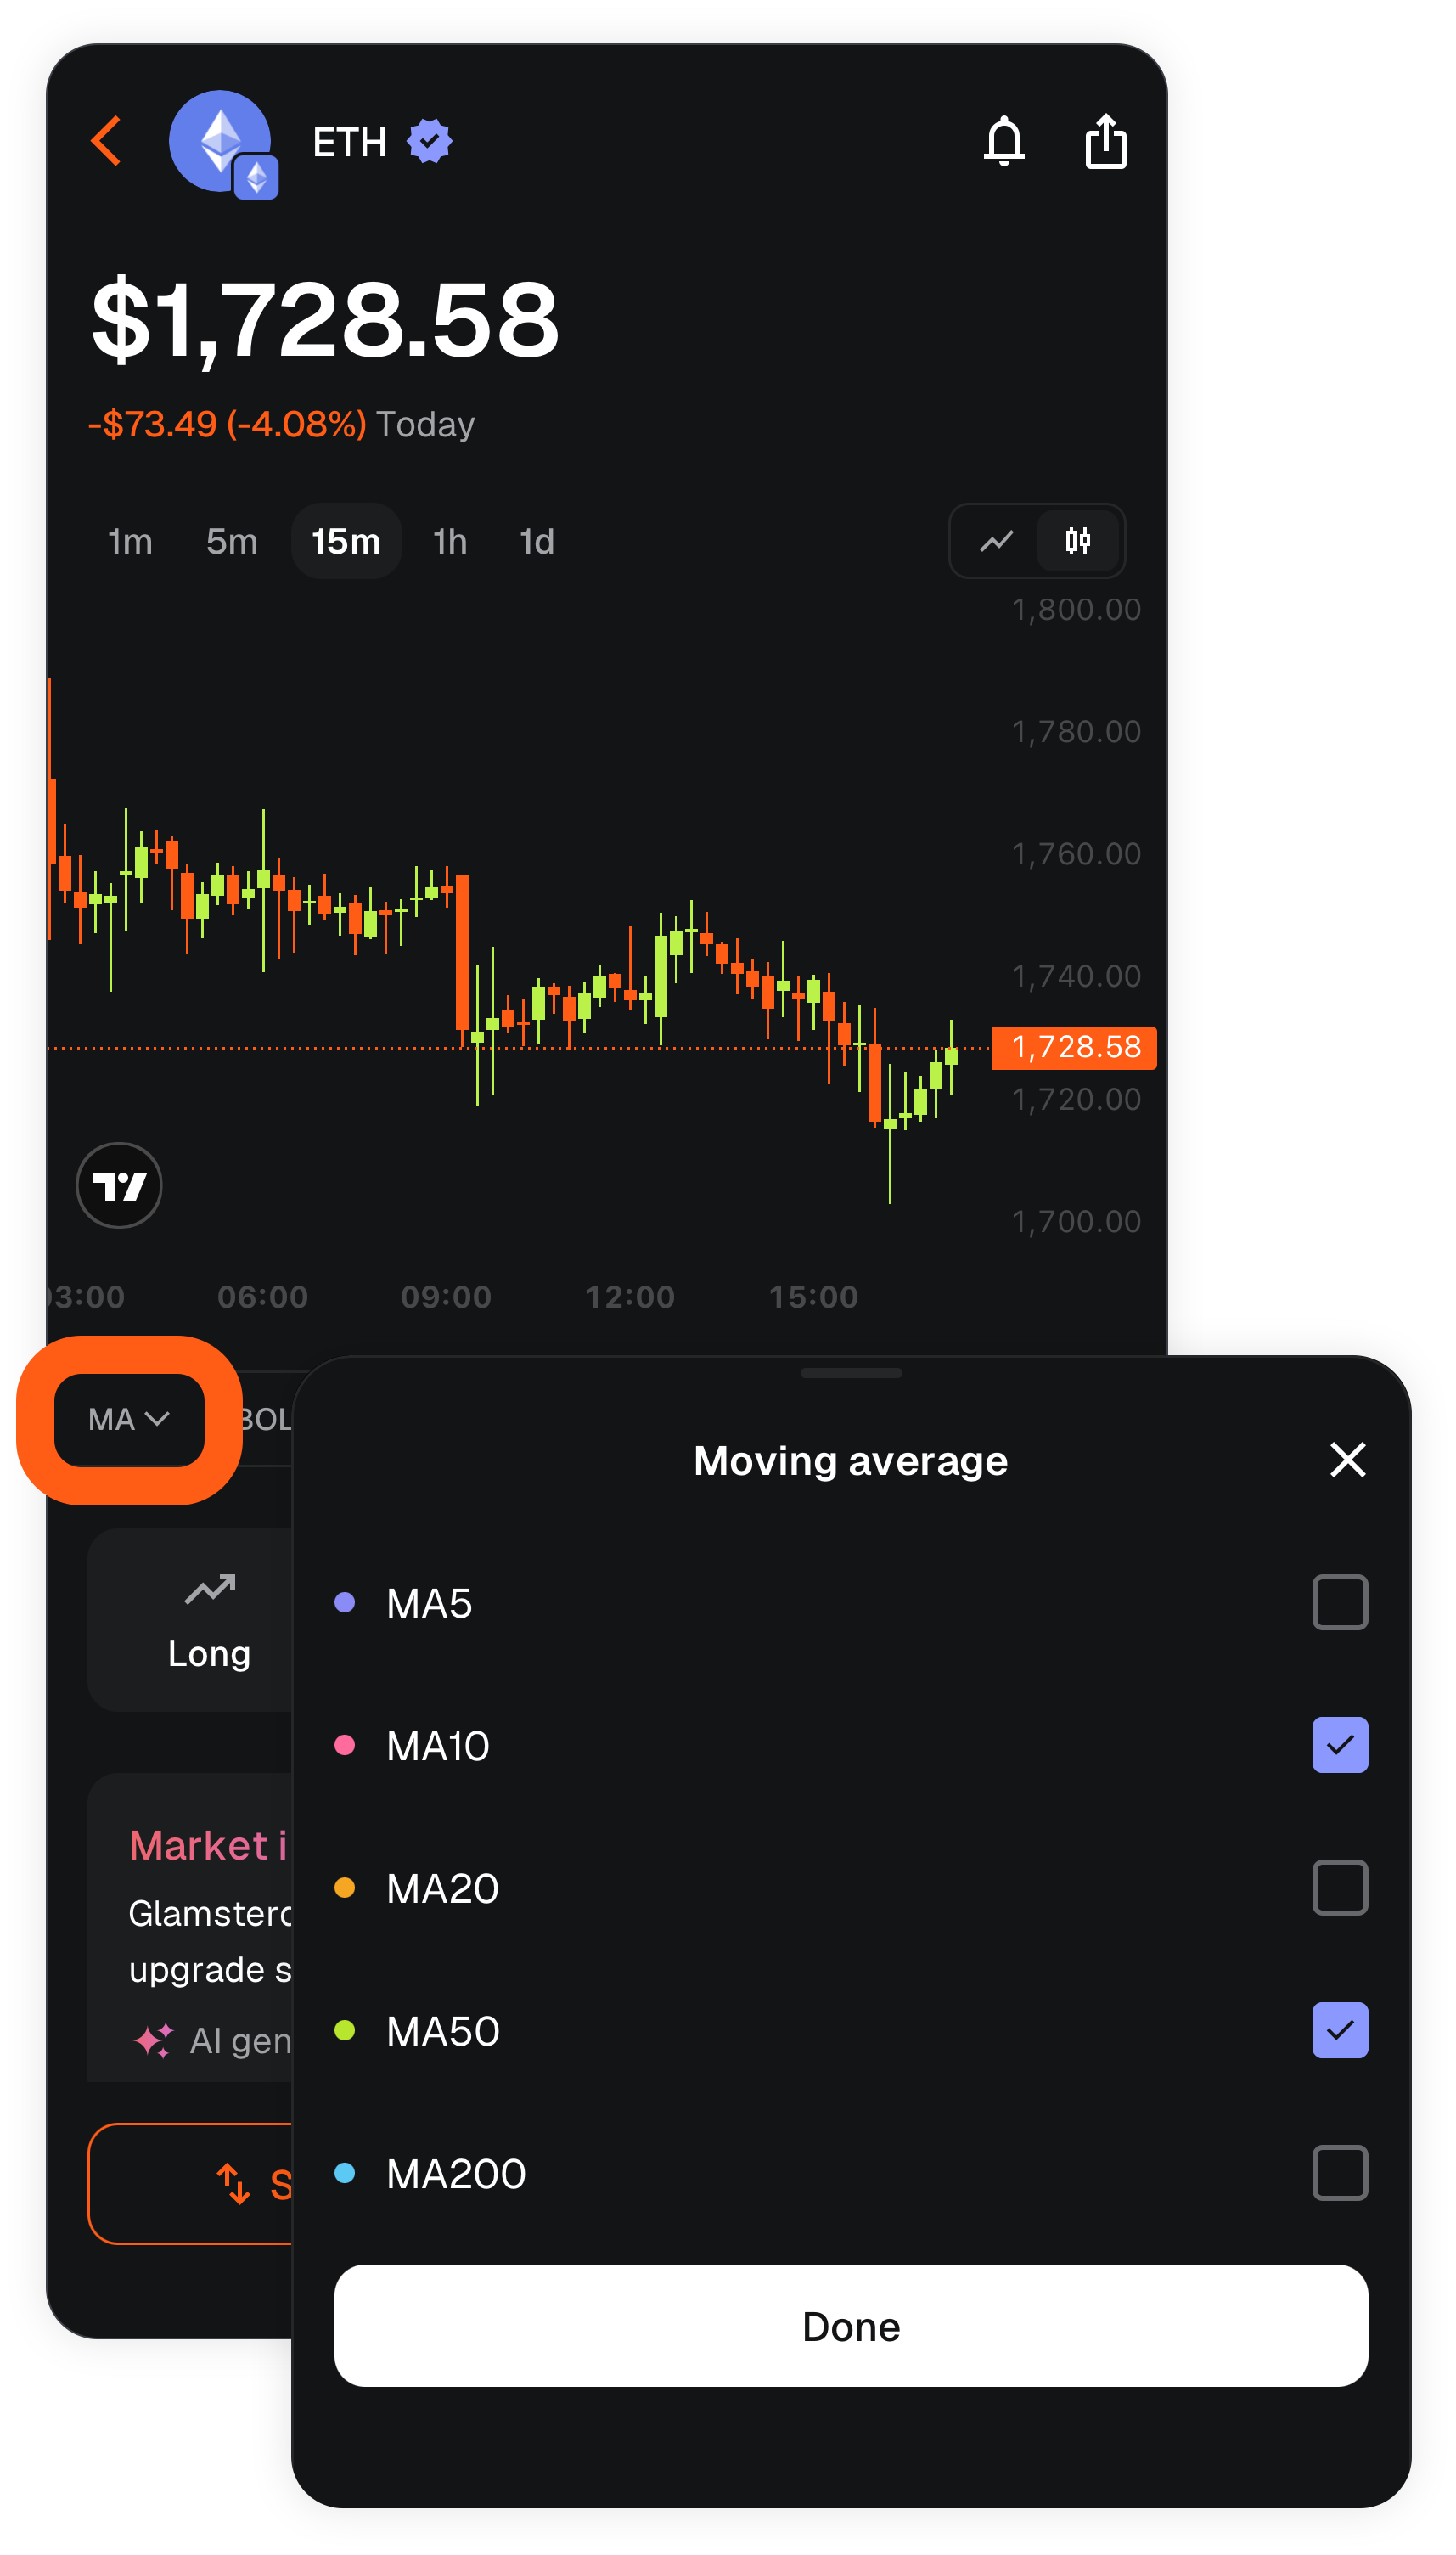
Shorter MAs (MA5, MA10) respond more quickly to recent price changes. Longer MAs (MA50, MA200) change more slowly and reflect a longer price history.
### Bollinger Bands (BOL)
Tap **BOL** to overlay three bands on the price chart: a middle moving average (MA20) with upper and lower bands set two standard deviations above and below it.
The bands widen during periods of higher volatility and contract during periods of lower volatility.
### RSI
Tap **RSI** to open a dedicated pane below the chart. RSI is a momentum oscillator that measures the speed and magnitude of recent price changes, on a scale of 0–100.
### Volume
Tap **Volume** to display a bar chart of trading volume below the price candles, showing how many units of a token were traded in each period.
### MACD
Tap **MACD** to open a dedicated pane showing three elements:
- **MACD line**: the difference between a 12-period and 26-period exponential moving average
- **Signal line**: a 9-period moving average of the MACD line
- **Histogram**: the gap between the two lines, shown as bars
---
# Trading glossary
URL: https://support.metamask.io/trade/trading-glossary/
> Your trading terminology reference.
New to trading or need a refresher? Explore common trading terms you’ll encounter when using MetaMask’s trading features. This list will be updated as new features and terms are introduced.
## Market basics
Term,
Definition
]}
colRatios={[1, 3.2]}
colPresets={['blue', 'default']}
colWeights={['bold', 'normal']}
>
Spot price
The current market price of an asset for immediate execution
PnL (Profit & Loss)
Shorthand for your profit or loss on a position
Spread
The difference between the highest price someone is willing to buy (bid) and the lowest price someone is willing to sell (ask). Tighter spreads usually mean more liquid markets
Slippage
The difference between the expected price of a trade and the price it actually executes at. Slippage is common in fast or low-liquidity markets
Liquidity
How easily an asset can be bought or sold without moving its price too much. High liquidity = easier, smoother trades
Volatility
How much and how quickly the price of an asset moves up or down. Crypto markets tend to be more volatile than, say, stock markets
Blue-chip
Well-established assets with high liquidity and large market caps (e.g., ETH, BTC)
Long-tail
Smaller, niche assets with low trading volume and liquidity. Riskier to trade due to higher slippage and volatility
Bullish
A sentiment expecting prices to rise
Bearish
A sentiment expecting prices to fall
Hawkish
A policy stance that favors tighter monetary conditions (e.g., higher interest rates), usually seen as negative for assets like crypto
Dovish
A policy stance that favors looser monetary conditions (e.g., lower interest rates), usually seen as positive for assets like crypto
## Trading positions
Term,
Definition
]}
colRatios={[1, 3.2]}
colPresets={['purple', 'default']}
colWeights={['bold', 'normal']}
>
Long
Direction you take if you're betting on the price going up
Short
Direction you take if you're betting on the price going down
Leverage
A multiplier on your capital, amplifying gains and losses. Leverage is a key feature of perp trading that allows you to control larger positions. Learn more here
Margin
The amount of collateral you put up to open a trade
Order size
Your total position size on a trade calculated as (margin × leverage)
Notional value
The total value of your position. It represents the full trade size you're controlling, not just the margin you put up. Example: $1,000 margin at 10× leverage = $10,000 notional value
Maintenance margin
The minimum amount of margin you must keep to hold a position open. If your balance falls below this, your position will be liquidated
Liquidation
The point at which your equity falls below requirements and your position is closed automatically to prevent further losses
Hedging
Opening a position designed to offset potential losses in another position. Also known as risk management with assets
## Orders and Execution
Term,
Definition
]}
colRatios={[1, 3.2]}
colPresets={['green', 'default']}
colWeights={['bold', 'normal']}
>
Market order
An order to buy or sell immediately at the current market price. Fast, but may result in slippage
Limit order
An order to buy or sell at a specific price or better. Offers more control, but may not fill if the market never reaches that price
Stop loss
A price parameter where the position auto-closes to limit losses. Note: may not execute at the exact price in fast or illiquid markets
Take profit
A price parameter where the position auto-closes in profit. Note: may not execute at the exact price in fast or illiquid markets
Entry price
The average price at which your position was opened
Position size
In tokens: the quantity of tokens you're long or short; In currency: the total notional value of your position
Maker fee
The fee charged when you place an order that adds liquidity to the order book (e.g., a limit order that doesn't fill immediately). Typically lower than taker fees
Taker fee
The fee charged when you place an order that immediately removes liquidity from the order book (e.g., a market order). Typically higher than maker fees
## Technical indicators
Term,
Definition
]}
colRatios={[1, 3.2]}
colPresets={['purple', 'default']}
colWeights={['bold', 'normal']}
>
Candlestick chart
A chart type that shows four data points per time period: open, high, low, and close price. When volume is also included, this is referred to as OHLCV data
Moving average (MA)
The average closing price of an asset over a set number of periods (e.g. MA20 = last 20 periods). Shorter MAs respond more quickly to recent price changes; longer MAs change more slowly and reflect a longer price history
Bollinger Bands (BOL)
Three lines plotted around price: a middle moving average (MA20) and upper/lower bands set two standard deviations above and below it. The bands widen during periods of higher volatility and contract during periods of lower volatility
RSI (Relative Strength Index)
A momentum oscillator that measures the speed and magnitude of recent price changes, on a scale of 0–100
MACD (Moving Average Convergence Divergence)
A momentum indicator that tracks the relationship between two exponential moving averages of price. Displayed as a MACD line, a signal line, and a histogram showing the gap between them
Volume
The total number of tokens traded in a given period
## Derivatives and metrics
Term,
Definition
]}
colRatios={[1, 3.2]}
colPresets={['orange', 'default']}
colWeights={['bold', 'normal']}
>
Perps
Short for perpetual futures. A type of derivative trading with no expiration date, letting you speculate on price movements indefinitely
Derivatives
Financial contracts whose value comes from an underlying asset (e.g., tokens, commodities, indexes). Perps and futures are common types
Funding rate
A periodic payment between long and short traders to keep perp prices aligned with spot prices. Funding can be positive (longs pay shorts) or negative (shorts pay longs)
ROI
Return on investment. How much you made or lost on a trade relative to the amount you put in
Unrealized PnL
Profit or loss on an open position that fluctuates with the market
Realized PnL
Profit or loss locked in after closing a position
Open interest
The total number of outstanding contracts (longs + shorts) in a market. High open interest often means high activity and liquidity
APY (Annual Percentage Yield)
The rate of return on an asset over one year, including the effect of compounding. APR (Annual Percentage Rate) is the same calculation without compounding. Used in staking and lending to indicate expected returns
Oracle
A system that brings real-world data onto the blockchain. In prediction markets, oracles report verified event outcomes to smart contracts so markets can settle automatically
Auto-deleveraging (ADL)
A last-resort mechanism used by perp exchanges during extreme volatility. When a losing position can't be covered by the trader's margin or the exchange's insurance fund, the system automatically reduces or closes positions on the winning side to keep the market solvent
---
# How to lend tokens
URL: https://support.metamask.io/trade/earn/lending/how-to-lend/
> Earn rewards by lending tokens through MetaMask.
Lending stablecoins is a secure way to earn rewards on your idle tokens. Your loaned tokens will start earning interest daily, and you can withdraw your rewards and tokens at any time.
MetaMask has partnered with Aave to give you in-app access to their lending pools.
### Lend tokens
In MetaMask Mobile, click on the token you want to earn with, such as USDC.
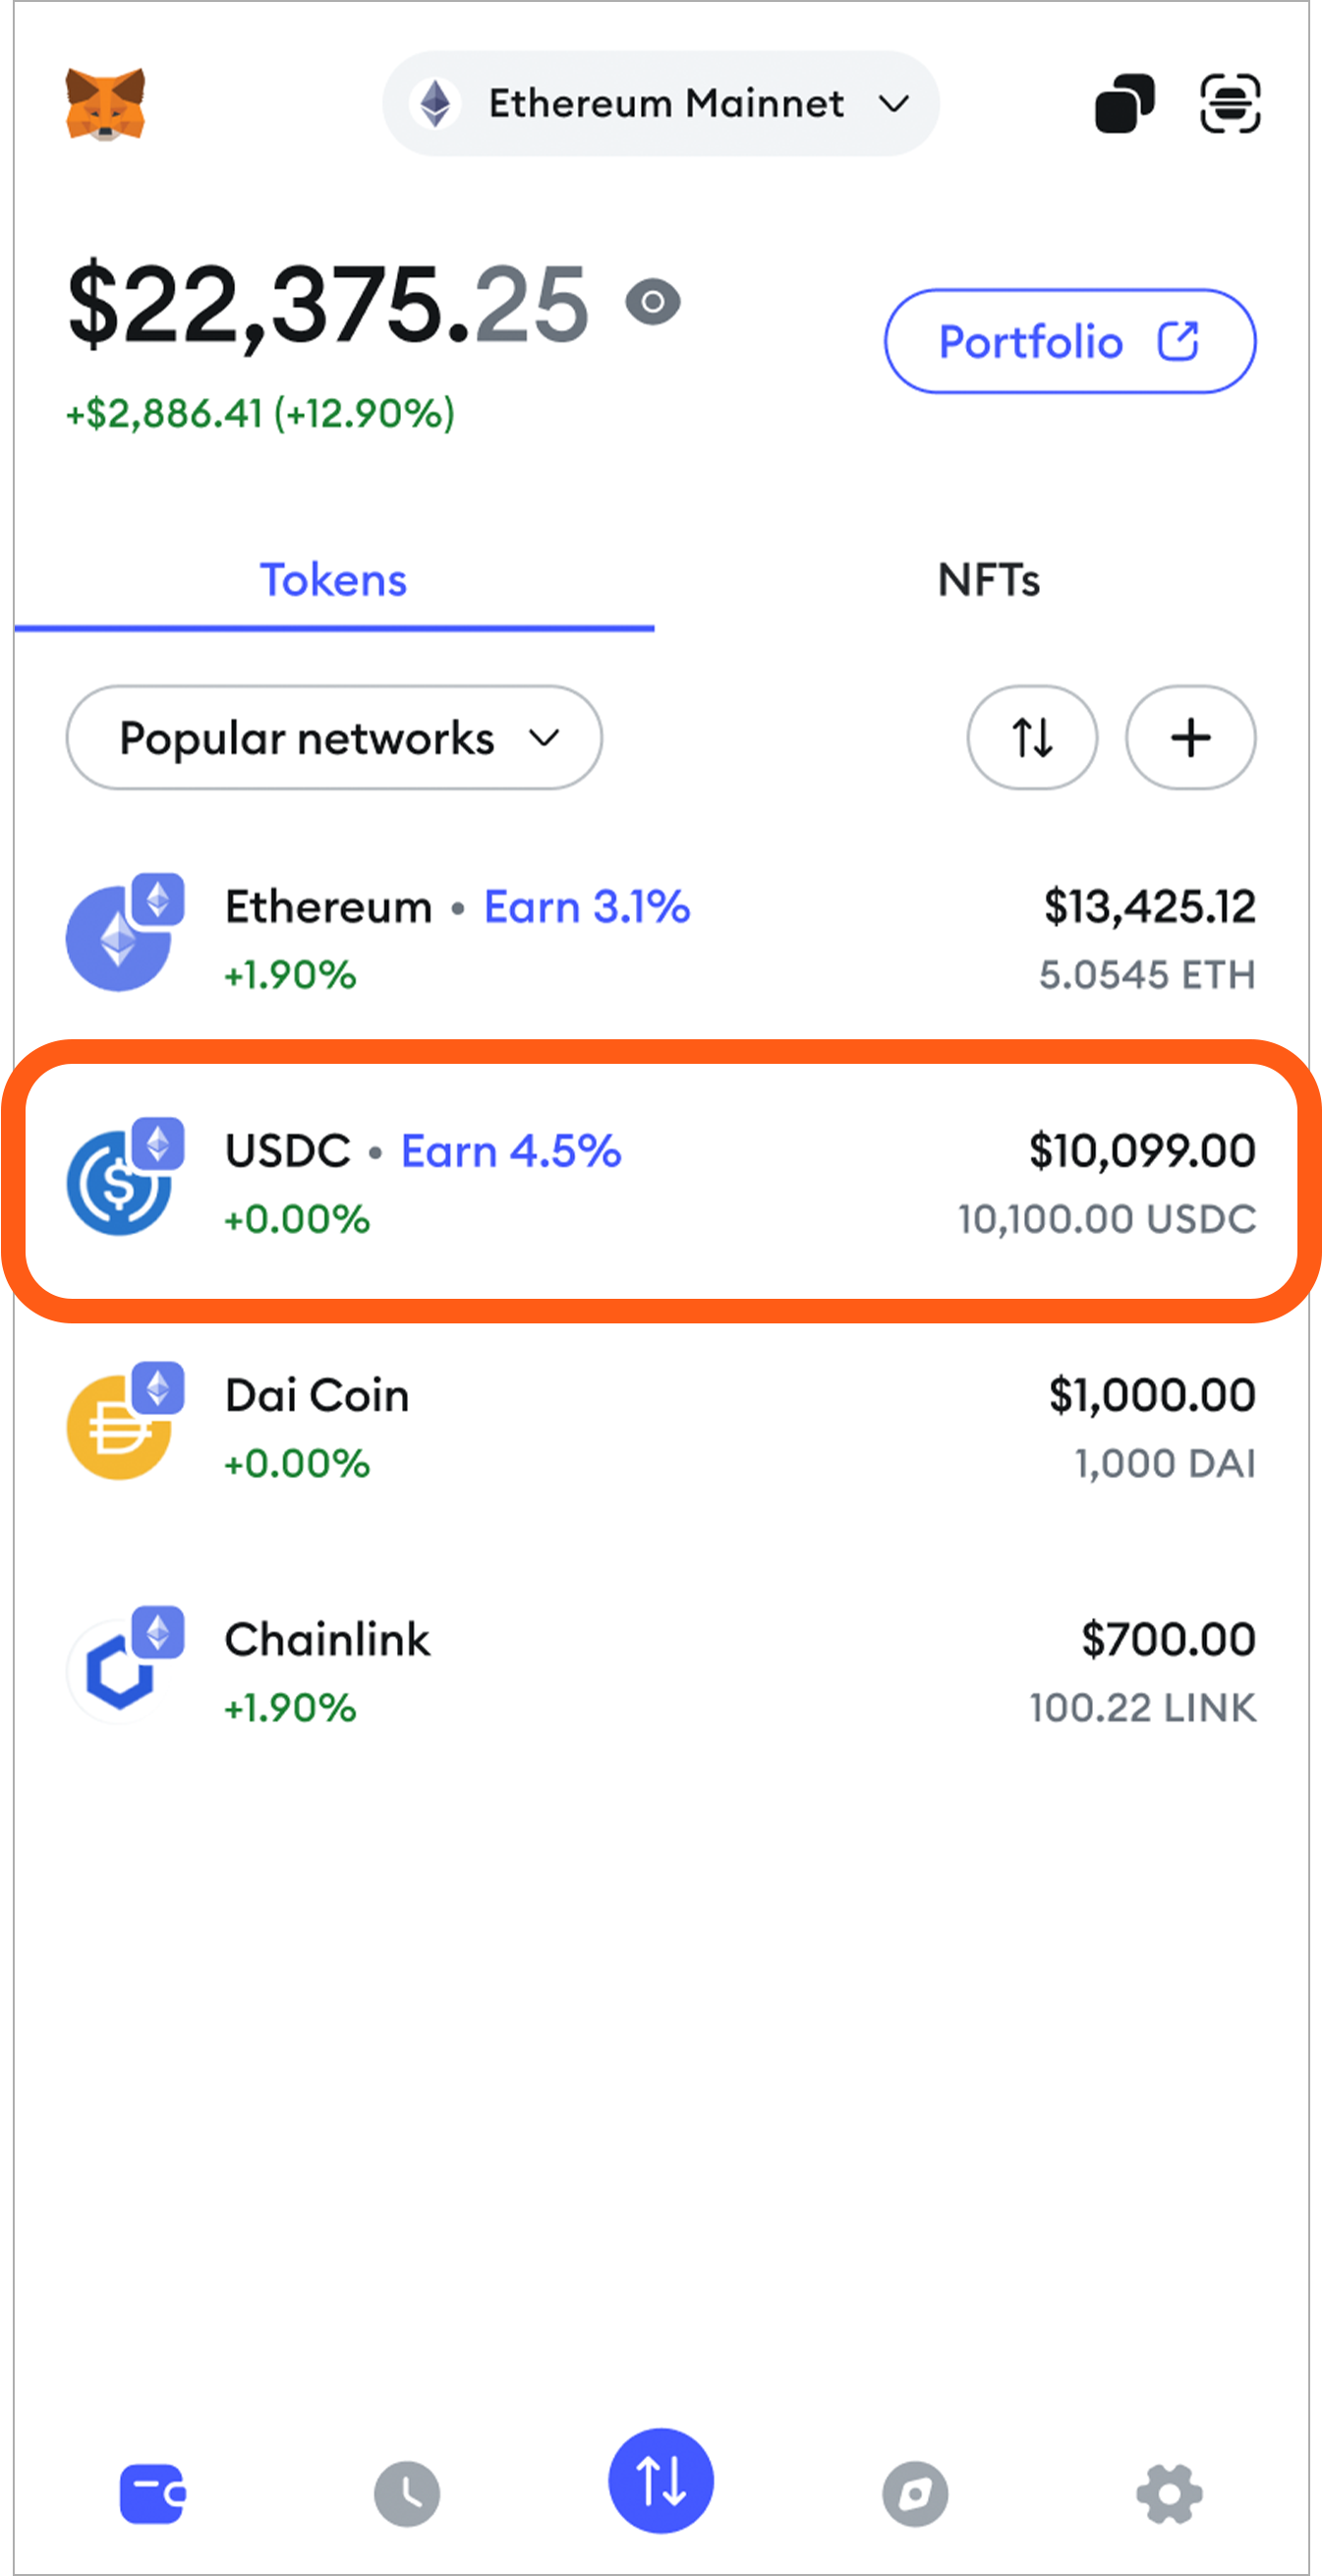
On the next screen, you’ll see your token balance and details. Click ‘Earn’. Select a stablecoin (USDC, DAI, USDT). Hint — you can lend more than one type of stablecoin at once; simply repeat this process for the other token when you’re finished.
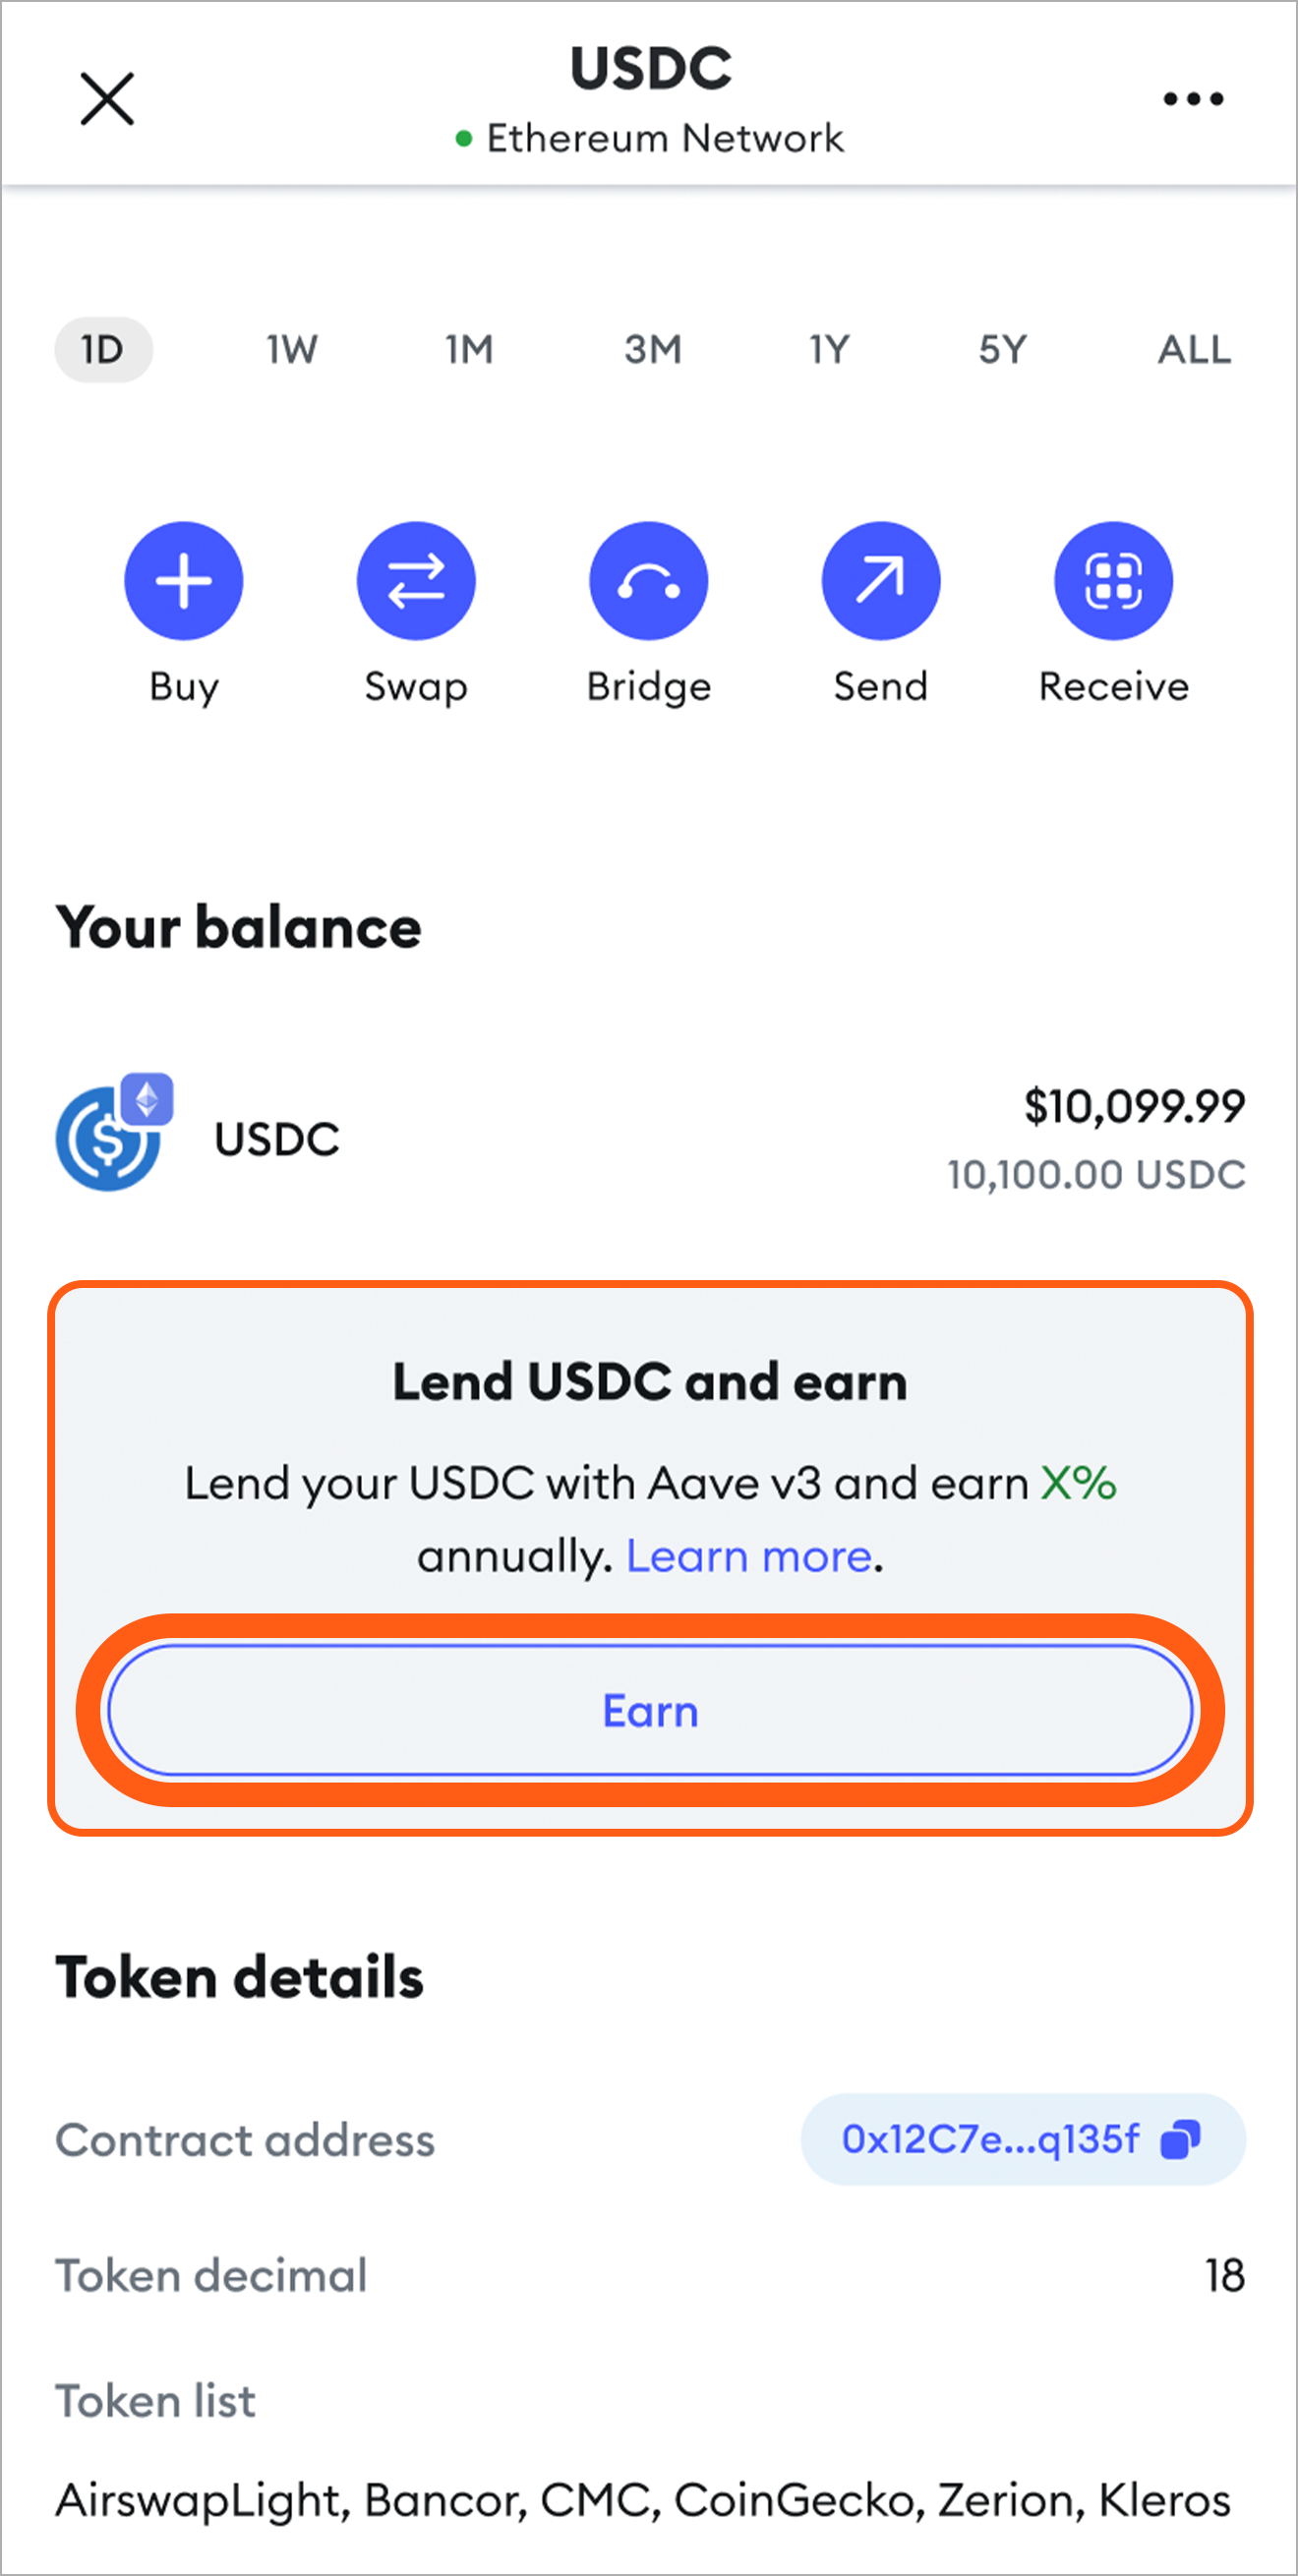
:::tip
Want to earn rewards on non-stablecoins? Check out our staking options [here](/trade/earn/stake/how-do-i-stake-with-metamask-staking/).
:::
Enter the amount of the token you’d like to deposit. Keep in mind that you will not be able to use these tokens while they are loaned. You can always deposit more stablecoins later on. When you’re ready, click ‘Review’.
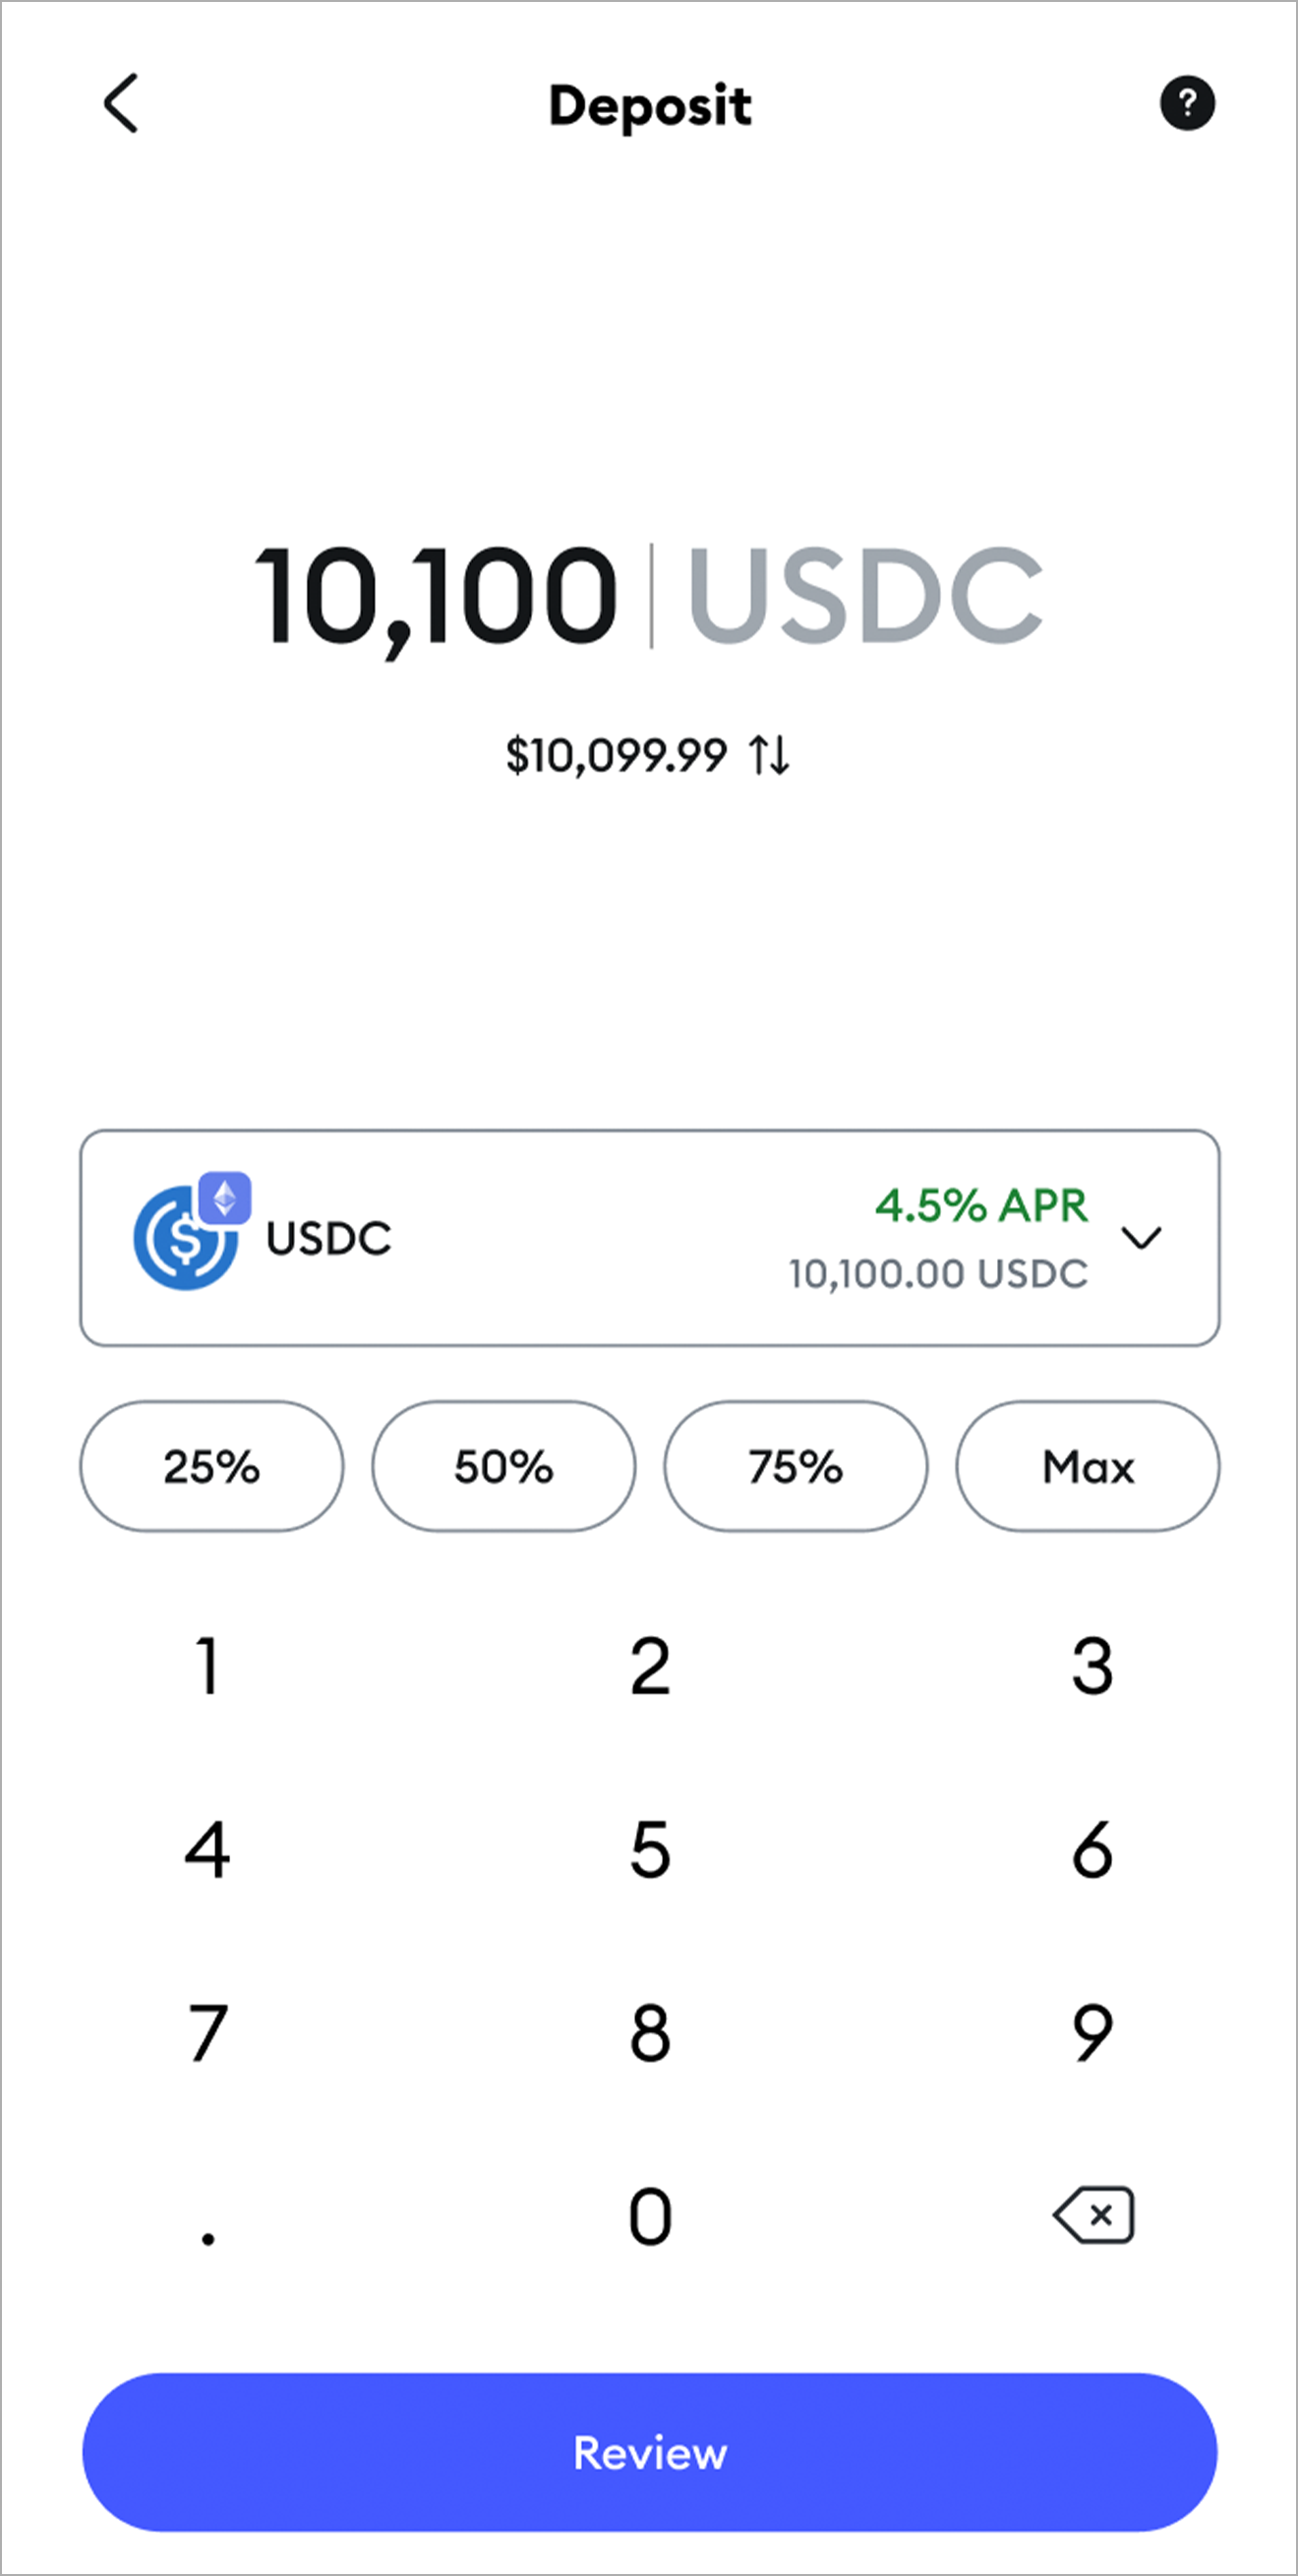
A details page will appear. Select ‘Learn more’ or read our guide [here](/trade/earn/lending/what-is-lending) for more information about how lending works. Click ‘Got it’ when you’re ready to move on.
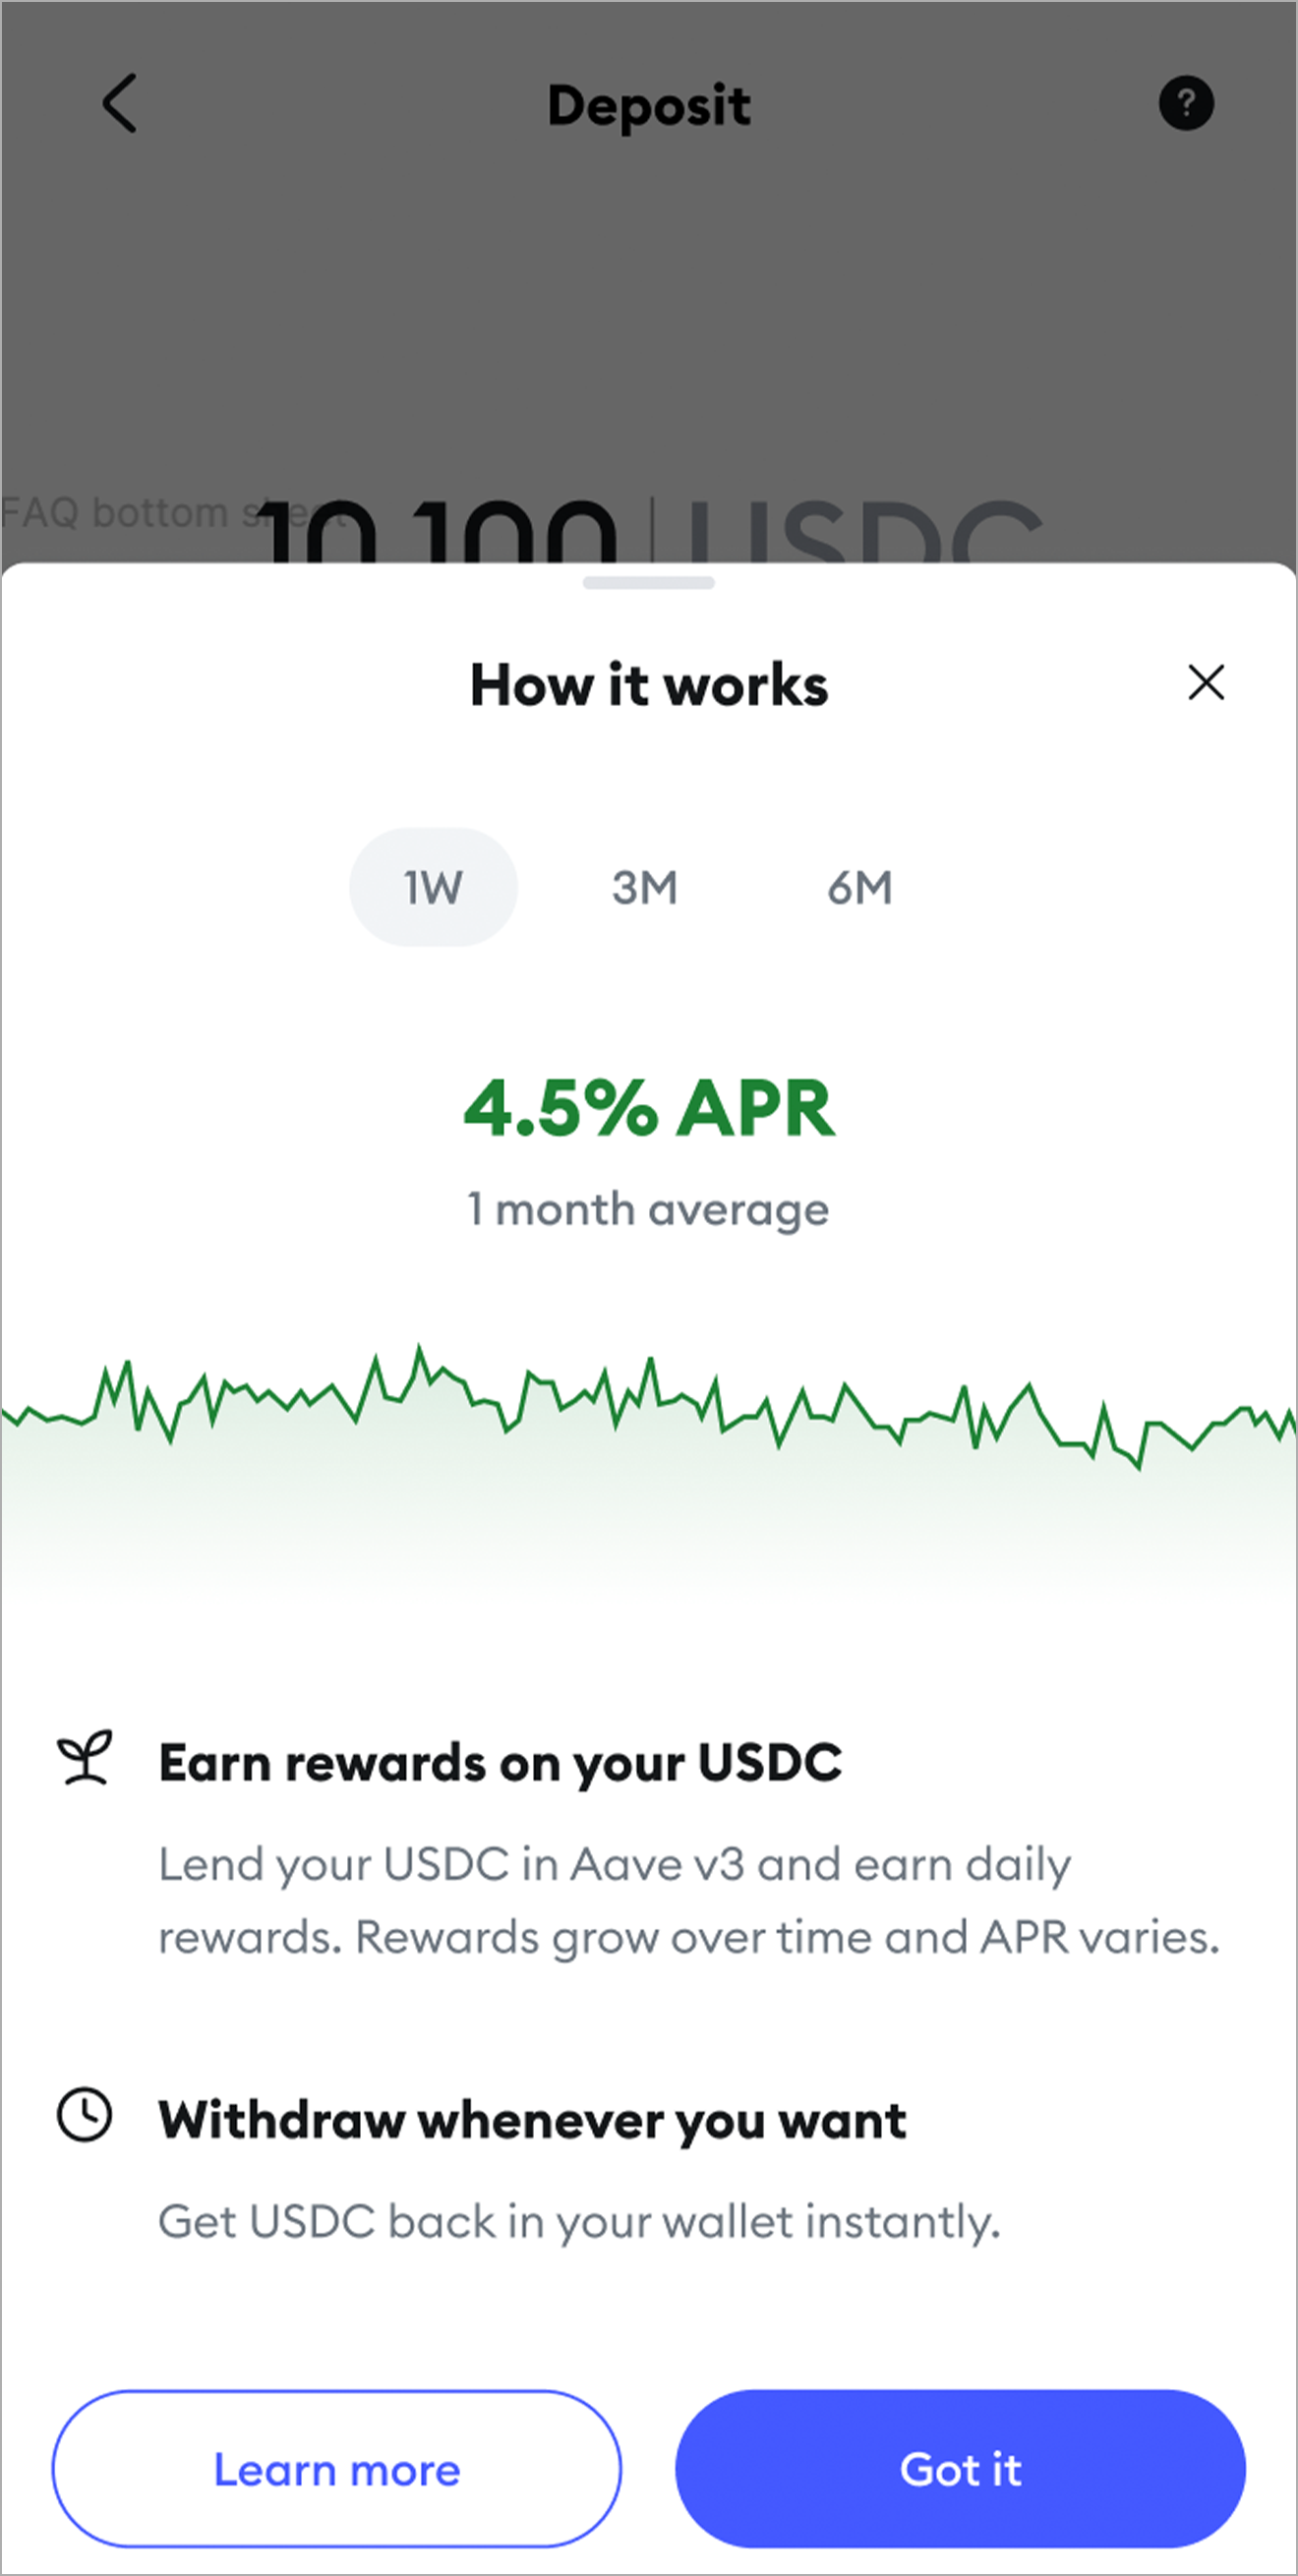
The next screen is the confirmation page. You’ll see the details of your loan, including the amount of aToken you’ll receive in return. To learn more about aTokens, read [here](/trade/earn/lending/what-are-atokens). The confirm page includes the estimated network fee to complete the transaction. Click ‘Confirm’ if you’re satisfied with your pending transaction.
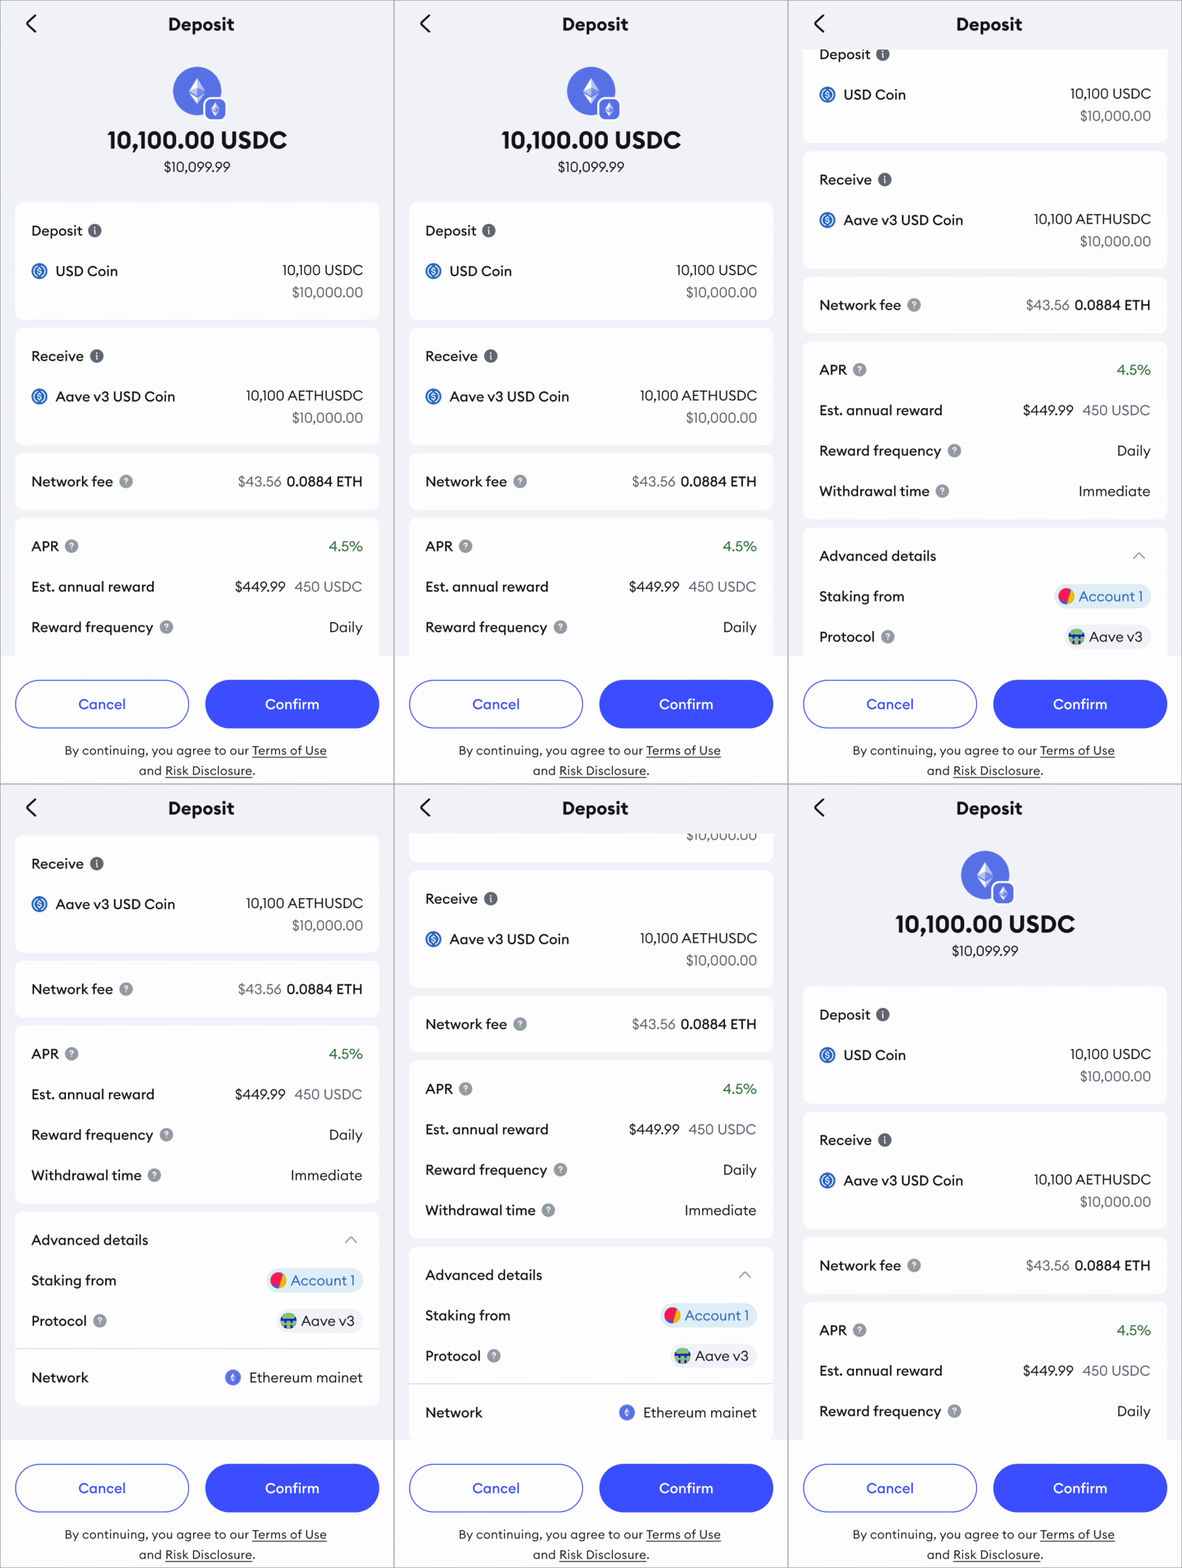
All set! Your loaned stablecoins will begin earning rewards daily, and you’ll see your Aave tokens in your account right away. You can withdraw your tokens and rewards at any time. To see your reward history, you can view your loaned stablecoins on the Tokens page.
---
# How do rewards work?
URL: https://support.metamask.io/trade/earn/lending/lending-rewards/
> Learn how lending tokens earns compounded rewards.
When you lend stablecoins, your tokens earn interest based upon the daily APR (Annual Percentage Rewards), and your [aTokens](/trade/earn/lending/what-are-atokens) will automatically increase to match your interest earned. Interest is calculated by demand; the more borrowers a lending pool has, the higher the APR will be.
With compounded interest, the longer you lend tokens, the more rewards you’ll earn. Every day, the interest you earn is bundled into your loaned tokens, allowing your rewards to compound over time.
### FAQs
#### Why is the reward rate so high?
Noticed an extremely high APR? High APRs can occur when there are more borrowers than lenders in a lending pool. This demand can cause the APR to reach high peaks, and your loaned tokens can earn those rewards.
#### Why does the reward rate fluctuate so much?
The APR is based upon the borrowing demand for loaned tokens. As tokens are borrowed and returned, this rate automatically updates. Generally, the yearly interest rate can be between 3-15%.
---
# What are the risks?
URL: https://support.metamask.io/trade/earn/lending/lending-risks/
> Read about the risks of lending.
You can find MetaMask’s risk disclosures [here](https://consensys.io/earn-risk-disclosures).
There are a few risks lending with MetaMask Earn:
- Technical risk: the underlying smart contract could be hacked
- Liquidity risk: the amount of tokens in the lending pool could impact the amount you can withdraw
We recommend users do their own research before participating in any defi protocol. MetaMask does not take any responsibility for fund loss due to using defi protocols. For more information, check MetaMask terms of service [here](https://metamask.io/terms-of-use).
### Risks
*Liquidity levels*
Withdrawing your loaned tokens is dependent upon the amount of liquidity available in the lending pool. If the liquidity is lower than the amount you want to withdraw, your withdrawal may be delayed. In practice, lending protocols solve this problem through the APR dynamic: when a token liquidity is low, the borrowing APR is high, which encourages borrowers to pay back their loan, and the lending APR is high, which encourages more users to lend their tokens.
*De-pegging*
Because stablecoins are backed by reserves of other currency, there is a risk of de-pegging. De-pegging can occur when the stablecoin’s value deviates from its backed currency due to market conditions or other factors.
---
# What are aTokens?
URL: https://support.metamask.io/trade/earn/lending/what-are-atokens/
> Learn about aTokens like aUSDC, aDAI, and more.
aTokens, or Aave tokens, are the tokens issued by the Aave protocol when you lend tokens to an Aave lending pool. aTokens, such as aUSDC or aDAI, represent the amount of tokens you have loaned.
Each aToken represents a loaned token at a 1:1 ratio, and allows you to withdraw your loaned tokens at a 1:1 ratio. For example, if you lend 500 DAI, you’ll receive 500 aDAI to hold until you’re ready to withdraw. When you withdraw, you’ll enter the amount of aDAI you want to “burn”, or return, such as 450 aDAI, and then you’ll receive 450 DAI in the same account.
As your loaned tokens earn rewards, the amount of aTokens in your account will automatically increase to reflect the rewards earned.
You can trade aTokens, but doing so affects the amount of rewards you earn and how many loaned tokens you can withdraw.
:::tip
Let’s say you loan 100 USDC into the Aave protocol and automatically receive 100 aUSDC in return. Over time, your loaned USDC earns compounded rewards, resulting in your aUSDC increasing to 115.
You decide to send some aUSDC to another account, leaving you with 110 aUSDC. 110 aUSDC is the new amount that will earn compounded rewards.
You then decide you’re ready to withdraw your loaned USDC. You return your 110 aUSDC to the protocol, and receive 110 USDC in return.
:::
## FAQs
Can I bridge my aTokens?
No, you can’t bridge your aTokens to another network. When you receive an aToken, you are receiving an aToken *specific to the network you are on.* For example, if you lend USDC on Linea, you will receive aLINUSDC, and if you lend USDC on Ethereum, you will receive aETHUSDC. Both tokens are USDC, but they are both instances of USDC on a specific network.
Can I send my aTokens to another account, and will they continue to earn rewards?
Yes! You can send your aTokens to another account on the same network. Because aTokens represent loaned tokens, they will continue to earn rewards.
What kind of trading can I do with my aTokens?
- Trading with aTokens varies based on the application and protocol.
- We recommend doing your own research before participating in DeFi activities with aTokens. The longer you hold your aTokens, the more rewards you can earn.
Can any account redeem aUSDC for USDC, or does it have to be the one that originally loaned to Aave?
Any account can redeem aUSDC for USDC, as long as the aUSDC is on the original network that the USDC was loaned on.
---
# What is lending?
URL: https://support.metamask.io/trade/earn/lending/what-is-lending/
> Learn about lending stablecoins and how you earn rewards.
Lending assets is a convenient and safe way to earn rewards on the tokens you have sitting in your wallet. Simply enter the amount of tokens you want to lend, and your loaned assets will begin accruing rewards daily. You can withdraw your assets and rewards at any time.
### How does it work?
When you lend tokens, you deposit them into a pool of loaned tokens, known as a lending pool. MetaMask has partnered with Aave to provide you convenient access to Aave’s lending pools.
Users borrow tokens from lending pools, while lenders, like yourself, earn interest paid by borrowers. Interest is compounded with every new block with the most up-to-date APR (Annual Percentage Rewards). This percentage is based on the demand for borrowed tokens, and you can check the current APR anytime on the MetaMask mobile app.
When you lend tokens, you’ll receive aTokens in return. aTokens, such as aUSDC and aDAI, represent the amount of tokens you have loaned with Aave, and automatically increase with the rewards you’ve earned. These aTokens give you the ability to withdraw your tokens at a 1:1 ratio. You can trade aTokens as you would other tokens, but doing so affects the amount of rewards you earn and how many loaned tokens you can withdraw. For more information on aTokens, see our guide [here](/trade/earn/lending/what-are-atokens).
:::info
Let’s say you loan 100 USDC into the Aave protocol and automatically receive 100 aUSDC in return. Over time, your loaned USDC earns compounded rewards, resulting in your aUSDC increasing to 115.
:::
When you’re ready to withdraw your loaned tokens and rewards, you can do so immediately, without any waiting period. Keep in mind that the longer you keep your tokens loaned, the more interest you’ll compound. See our [risk disclosure](/trade/earn/lending/lending-risks) for more information about withdrawing your tokens.
### Technical details
Lending is run by lending protocols — a powerful series of smart contracts that oversee the transfer of assets.
:::note
#### What are smart contracts?
Smart contracts are blockchain programs that automatically execute transactions based upon predetermined rules. With smart contracts, no intermediaries decide if the terms of an agreement need to be followed; instead, a smart contract will always be mathematically triggered to execute an action when certain conditions are met.
Because they oversee the transfer of assets, it’s essential to use well-written and well-audited smart contracts. MetaMask has partnered with Aave, a lending protocol run by highly tested smart contracts to ensure the safety of user funds. You can read more about Aave [here](https://aave.com/docs/concepts/liquidity-protocol).
:::
Lending protocols are divided into lending pools, the specific instances where loaned tokens are pooled together to supply tokens for borrowing. Lending pools each have their own interest rates based upon the ratio of supplied tokens to borrowed tokens. The more demand a token has to be borrowed, the higher the interest will be. Interest on loaned tokens compounds over time.
When users supply tokens into lending pools, they lock up those assets while the tokens remain deposited. However, lenders maintain full custody of their tokens, so they can withdraw their tokens and rewards at any time, without permission from an intermediary.
When a user borrows from a lending protocol, they have to provide collateral greater than the amount borrowed. In order to get their collateral back, the borrower needs to repay the loaned tokens, plus interest.
---
# Why should I lend?
URL: https://support.metamask.io/trade/earn/lending/why-should-i-lend/
> The benefits of lending stablecoins through MetaMask.
Lending your tokens allows you to earn rewards on idle crypto. With no waiting period, you can withdraw your tokens and rewards at any time, making lending a fast, secure way to enhance your crypto portfolio.
### Rewards
Lending is an excellent option for idle tokens sitting in your account. When you lend with MetaMask, you earn daily rewards with compounded interest. The APR (Annual Percentage Rewards) varies dynamically depending on volume of tokens lent and borrowed. It can range greatly, from <2% when there are more lenders than borrowers to more than 20% when there are more borrowers than lenders.
### Defi
Lending exists in centralized finance, with banks and other intermediaries determining interest rates, contracts, and more. These intermediaries take custody of your funds, and it may take some time to get your funds back.
In Defi (decentralized finance), you maintain full custody of your funds. Lending isn’t run by intermediaries; instead, lending is run by smart contracts that only execute transactions when preexisting rules have been met. These smart contracts are transparent and immutable, so you know exactly what you’re agreeing to. You can regain custody of your funds at any time, with no holding period.
### Convenience
Lending through MetaMask allows you to earn interest on your tokens, all without leaving the MetaMask mobile app. The process is fast with the click of a few buttons, allowing you to remain in total control of your assets.
### Privacy
Lending through MetaMask can be done immediately and privately.
Refer to our privacy policy [here](https://consensys.io/privacy-notice) for more information.
---
# How to withdraw loaned tokens
URL: https://support.metamask.io/trade/earn/lending/withdraw-loaned-tokens/
> Withdraw your tokens and rewards with no waiting period.
Withdrawing your loaned tokens is both simple and immediate. With no waiting or holding period, you’ll receive your tokens as soon as your transaction is processed.
:::tip
Your loaned tokens earn compounded interest, so the longer you leave your tokens deposited, the more rewards you can earn. Read more about how rewards work [here](/trade/earn/lending/lending-rewards).
:::
### Withdraw loaned tokens
In MetaMask mobile, select the aToken corresponding to the token you have loaned.
From the aToken details page, click ‘Withdraw’.

You can see the amount of that token you have loaned; if you’d like to select another token, click the dropdown menu.
Once you’ve selected your token, enter the amount you’d like to withdraw, and click ‘Review’.
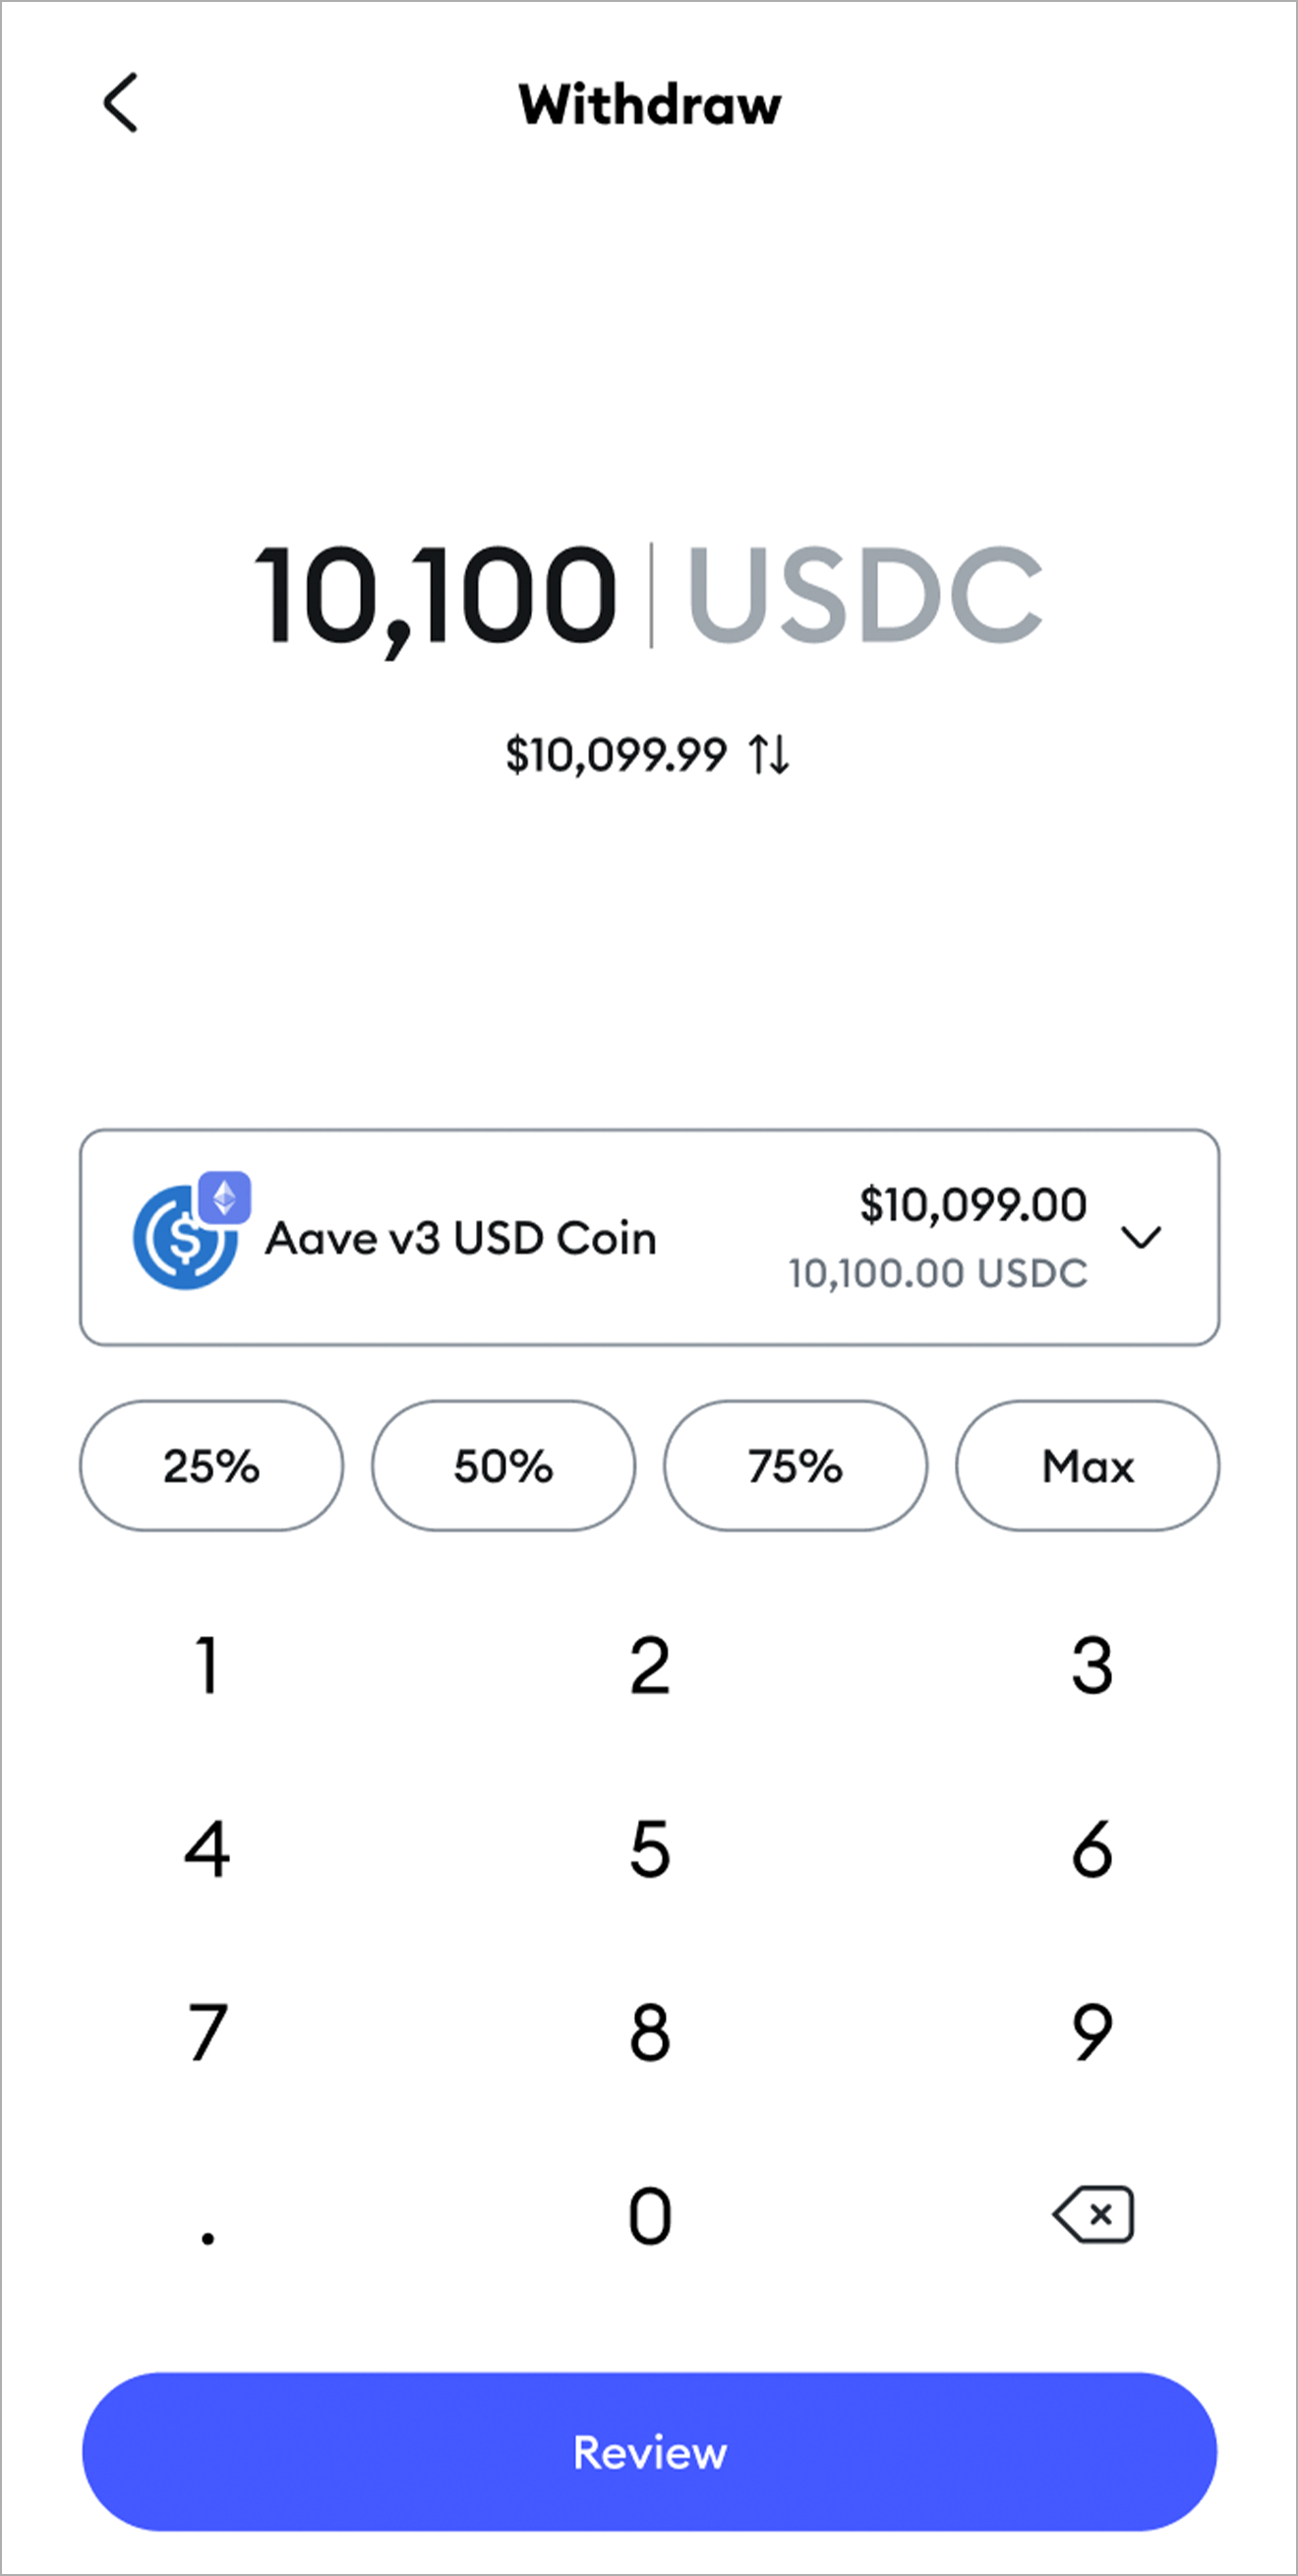
On the next screen, you’ll see the details of your withdrawal, including the estimated network fee to process the transaction. When you’re satisfied, click ‘Confirm’.
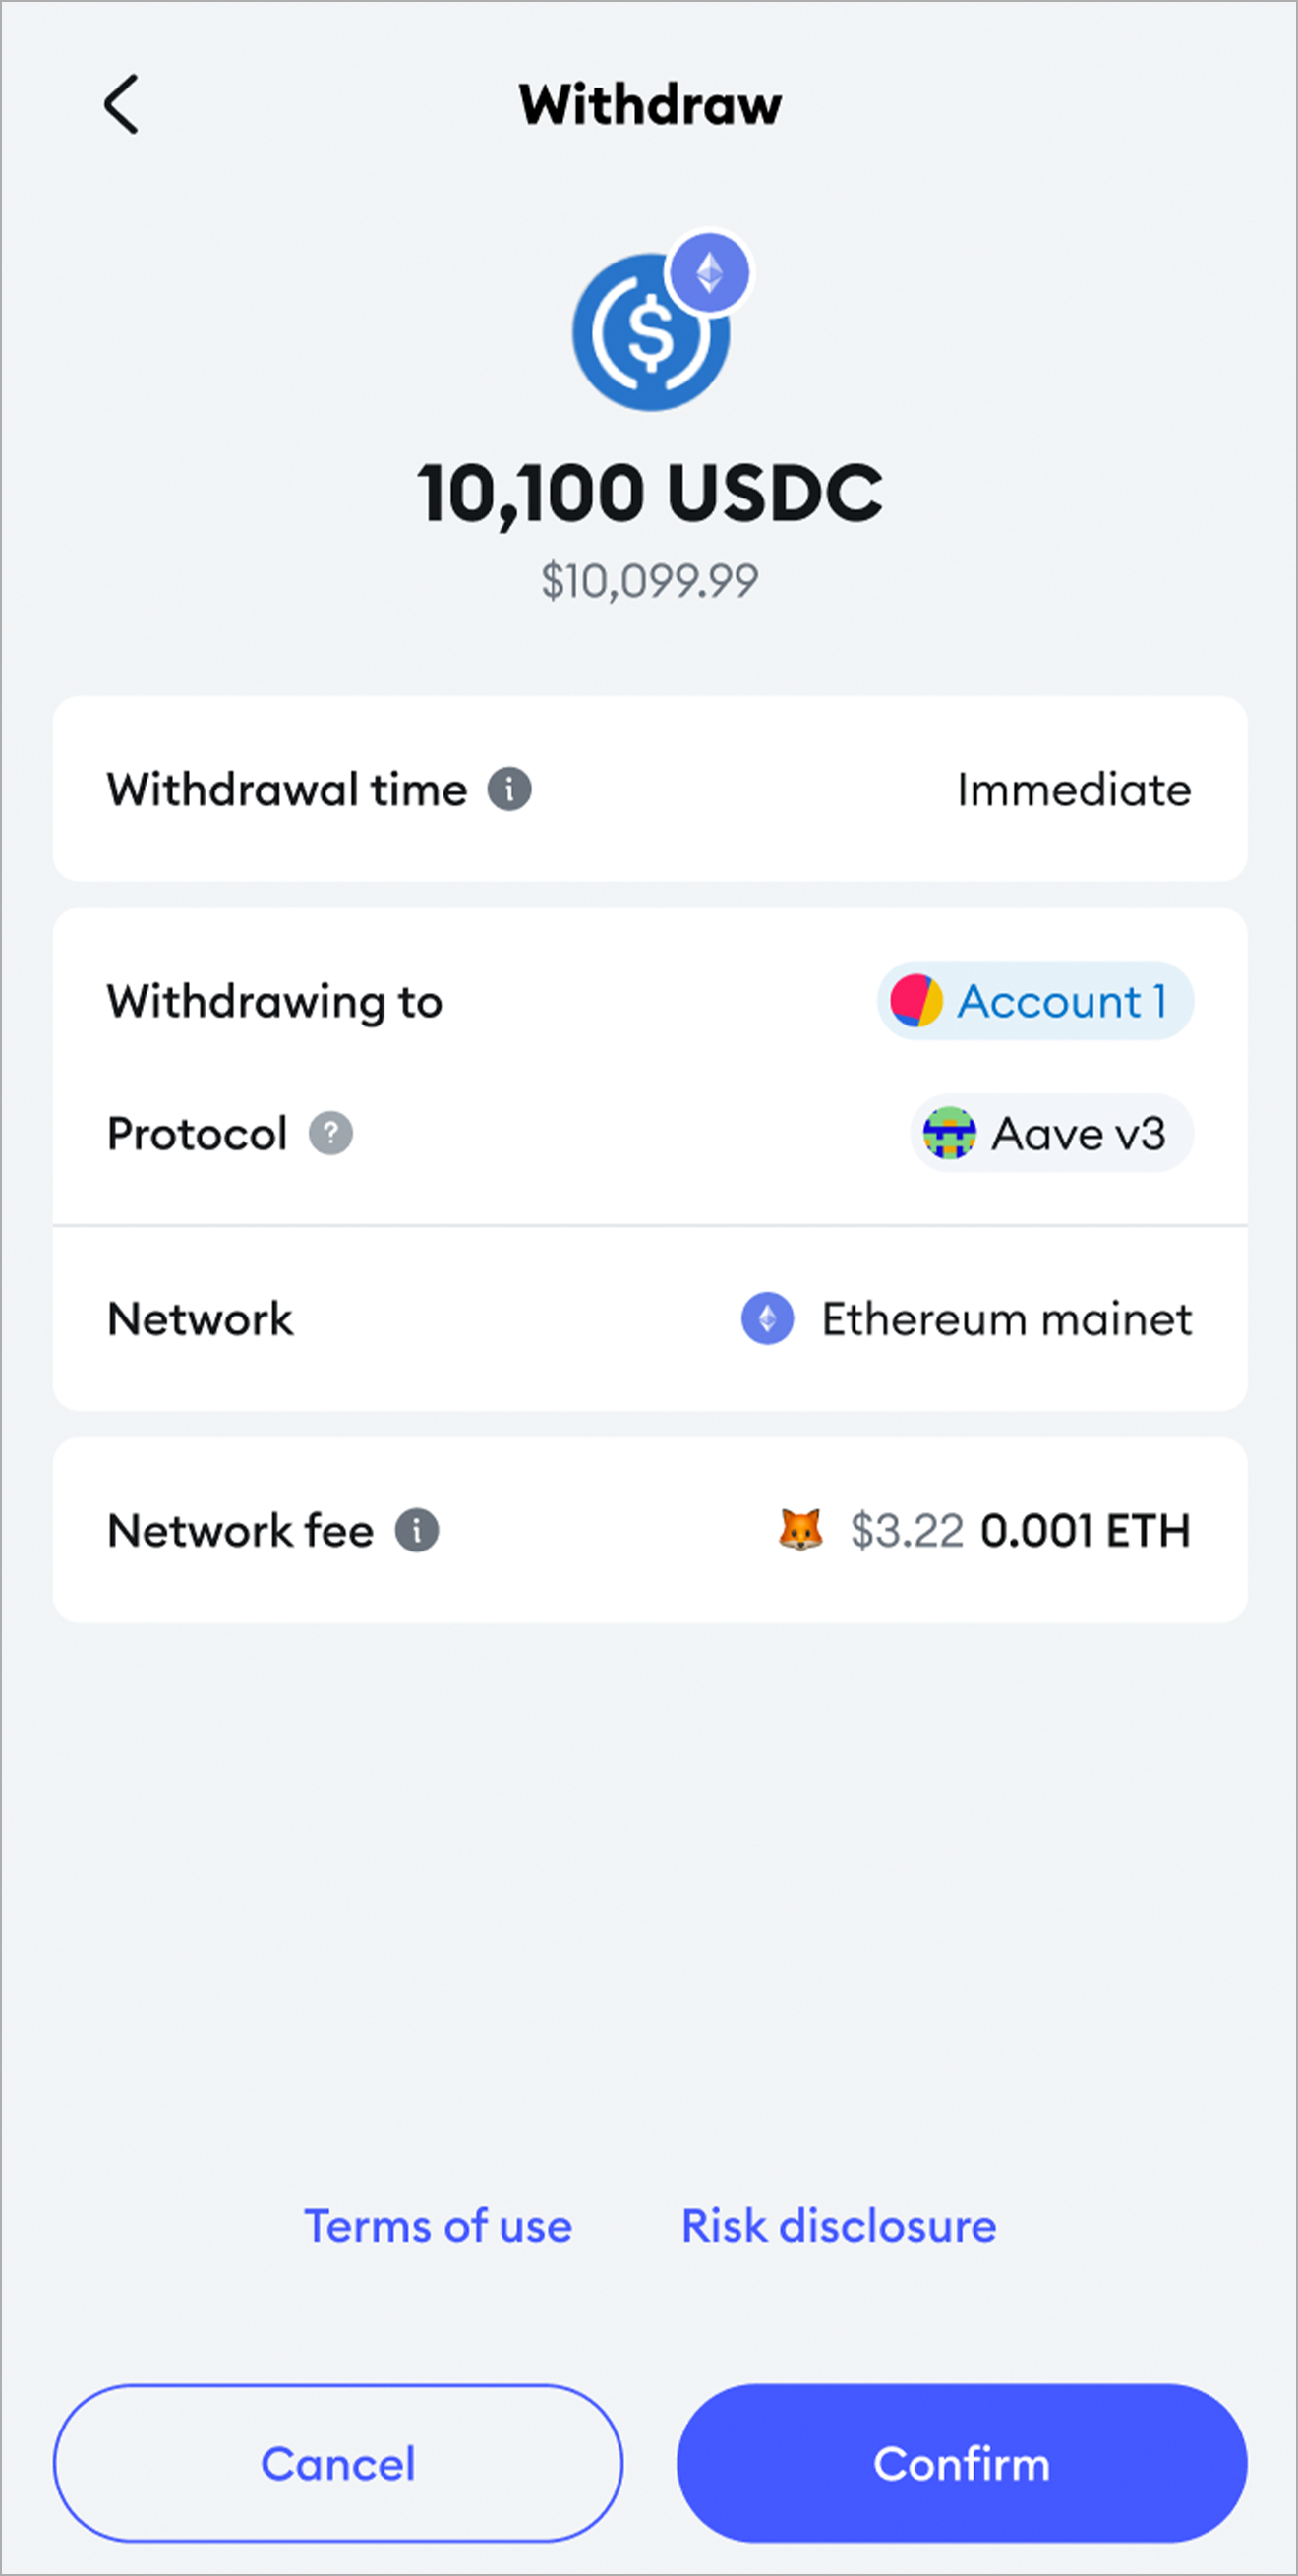
All done! Your aTokens will be returned to the protocol, and your loaned tokens will be available in your MetaMask wallet immediately.
---
# How to stake with MetaMask Staking
URL: https://support.metamask.io/trade/earn/stake/how-do-i-stake-with-metamask-staking/
> Learn how to stake with MetaMask.
:::info
Please see the MetaMask Staking [Risk Disclosures](https://consensys.net/staking-risk-disclosures/).
:::
Staking with MetaMask is a fairly straightforward process. However, there are two options to choose from:
- If you want to stake less than 32 ETH, continue on to the instructions below, for **liquid staking**. Alternatively, you could check out our [pooled staking](/trade/earn/stake/pooled-staking) feature.
- If you have 32 ETH or more and you're interested in having your own validator(s), check out our **validator staking** guide, [here](/trade/earn/stake/validator-staking/how-do-i-stake-with-validator-staking).
Follow the steps below to get started and receive rewards:
1. Head on to [MetaMask Portfolio](https://portfolio.metamask.io/), select 'Move Crypto' in the left-hand menu, and then click 'Stake'. You can select which token you want to stake: **ETH** or **MATIC** (MATIC staking is currently available only to users outside the United States).
2. After selecting the token you wish to stake, choose the staking provider.
3. Enter the amount of ETH or MATIC tokens that you want to stake and click 'Review'.
4. Review the details of your stake and click the 'Confirm' button once you're ready.
5. Wait a few moments while your transaction is in progress. Once the transaction is complete, you'll see a screen like the one below:
:::info
#### Tracking your assets {#tracking-your-assets}
You can track your staked tokens anytime, under 'Your Holdings'. The right-most card shows an active stake:
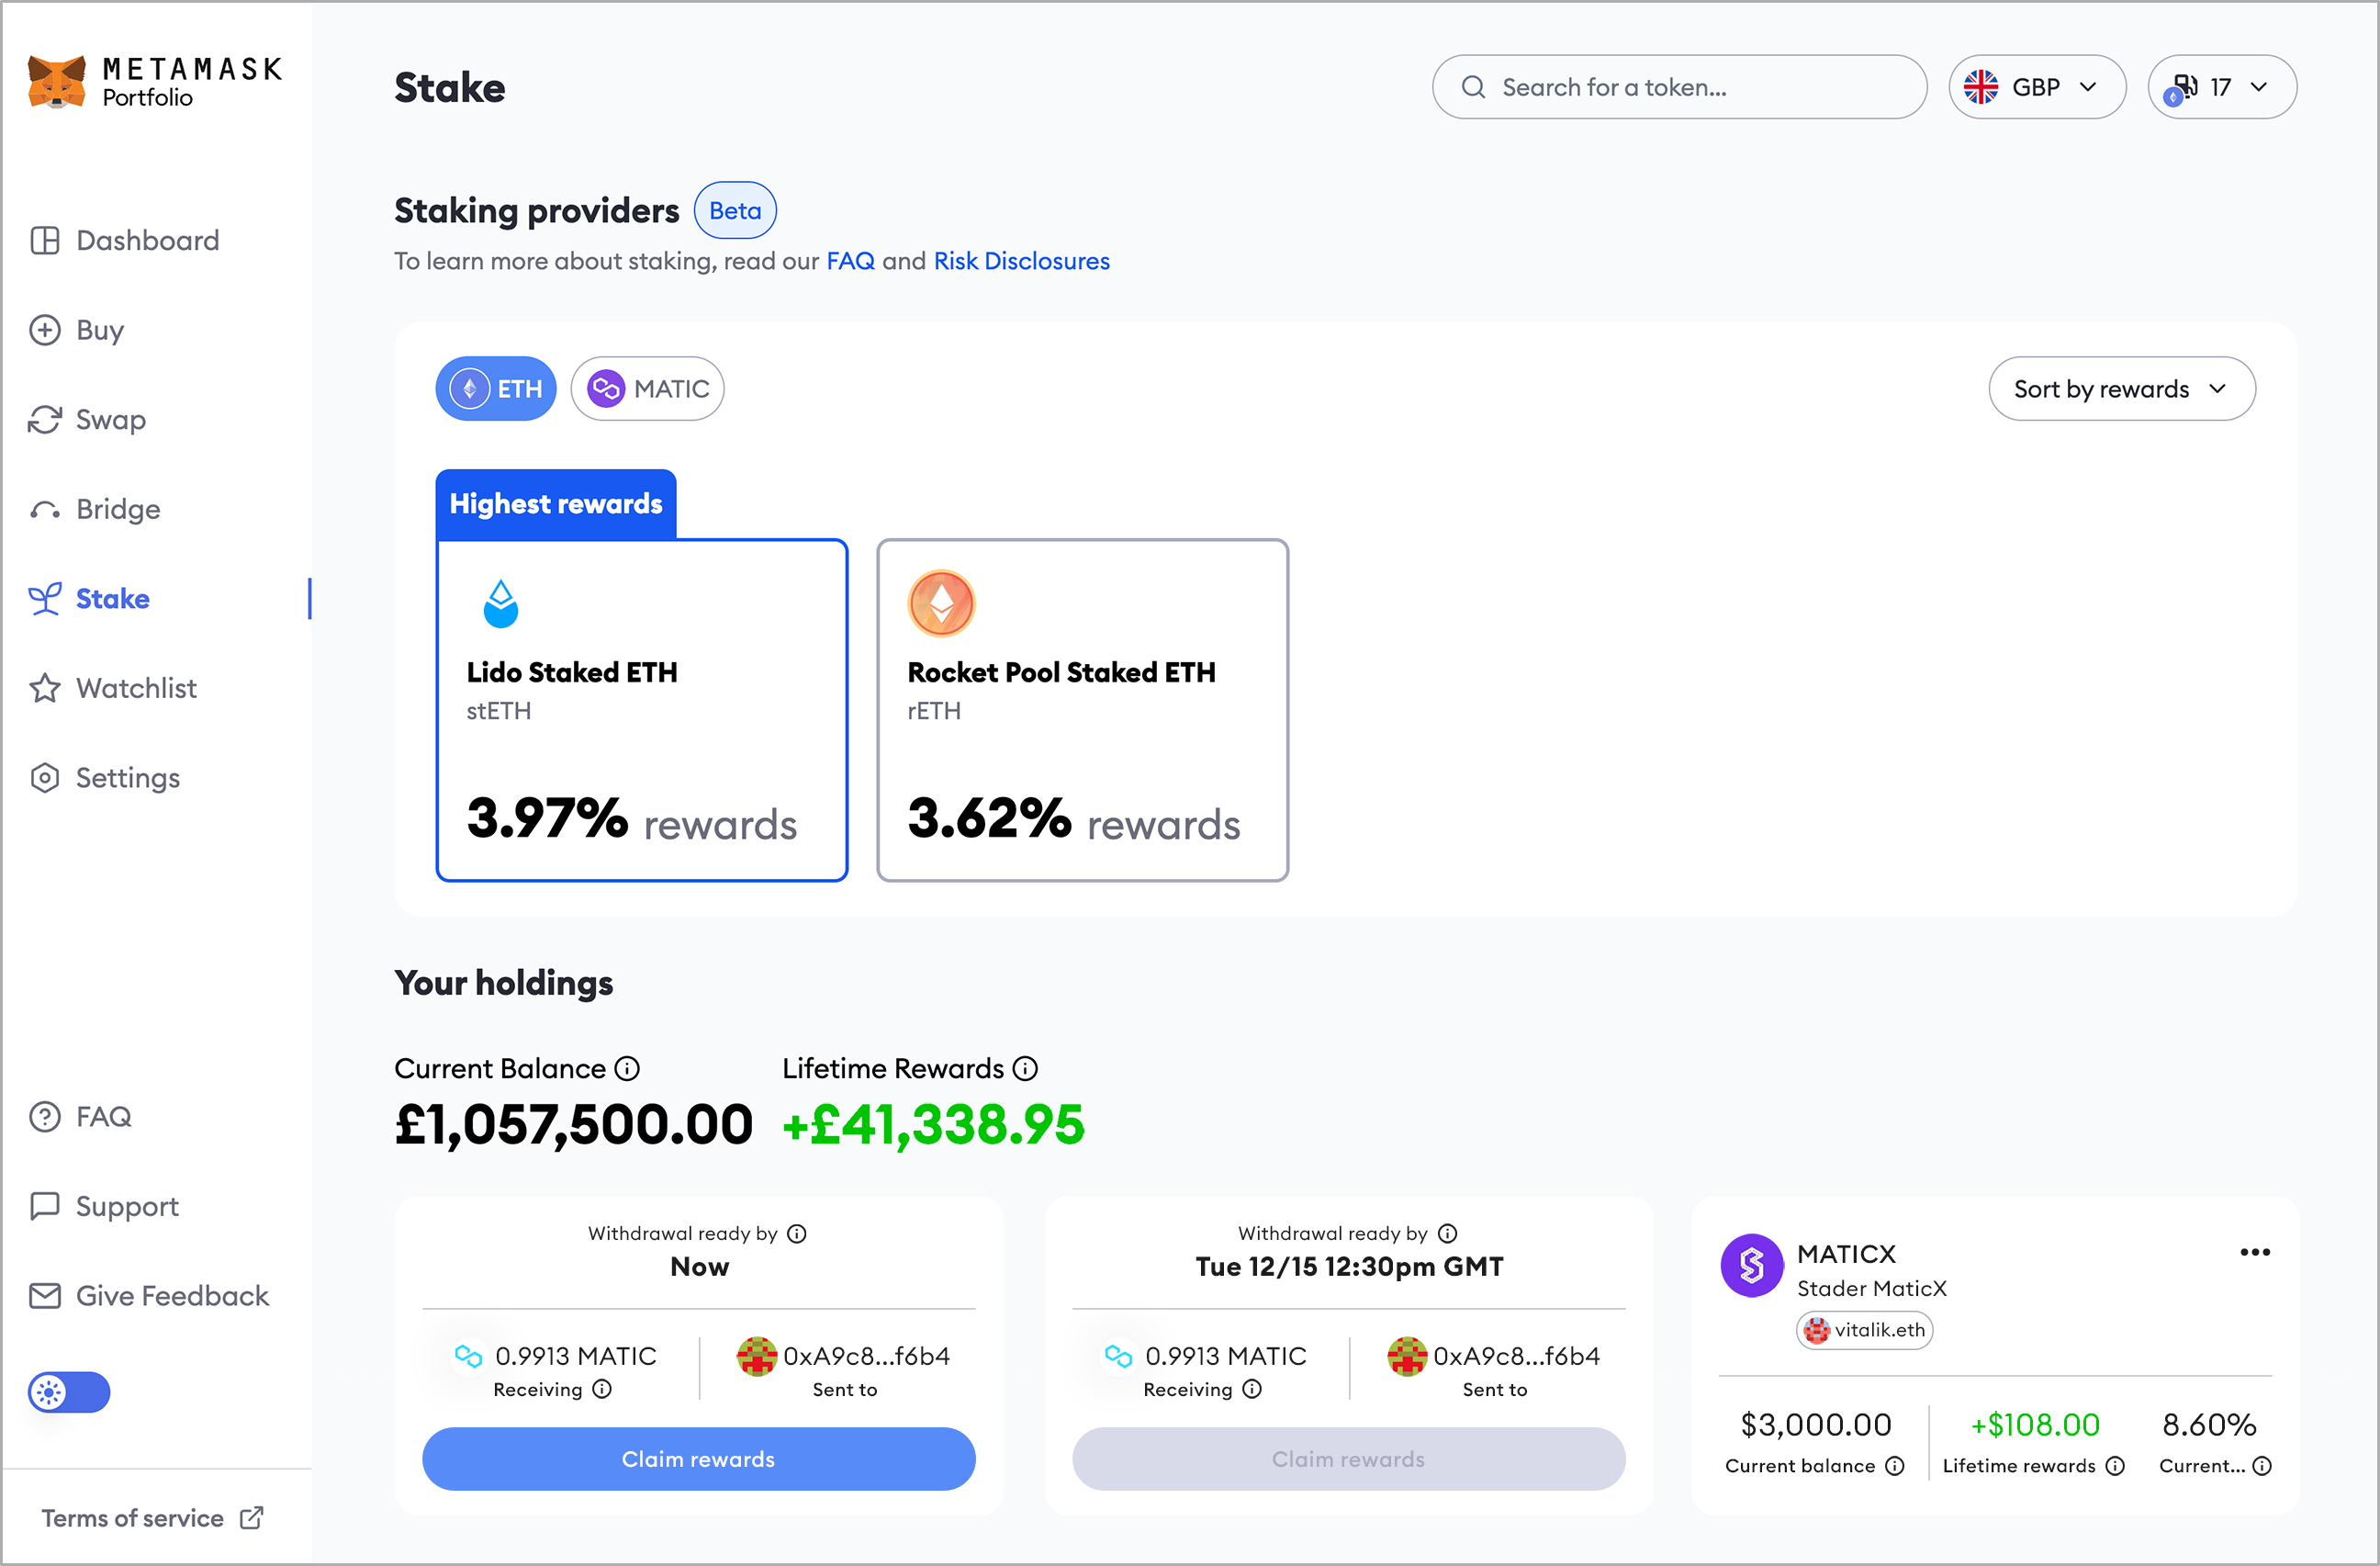
:::
If you want to withdraw your staked tokens and rewards, follow the steps [here](/trade/earn/stake/liquid-staking/how-do-i-withdraw-my-stake-and-rewards).
---
# Why does it take time to stake, unstake, or claim rewards?
URL: https://support.metamask.io/trade/earn/stake/timings-explained/
> Learn why there is a waiting period when staking.
The Ethereum protocol uses 'queues' to mitigate the negative security impact of sizable changes in the amount of staked ETH.
## Activation queue {#activation-queue}
The **activation queue** is the time it takes for a validator to become active after it was deposited. The queue involves two steps:
1. **Initialization**: It takes at least 16 hours for your validator to be activated. During this interim period, your ETH is already held in the official [Beacon Chain deposit contract](https://etherscan.io/address/0x00000000219ab540356cbb839cbe05303d7705fa), but your validator is not yet in the activation queue.
2. **Activation queue**: At the time of writing, the Ethereum protocol activates 8 validators every 6.4 minutes, which is about 1,800 validators per day. Depending on the number of validators that were in the queue before your validator, it can take minutes or days for your validator to activate.
In the user interface, we show you how long it will take for your validator to be activated:
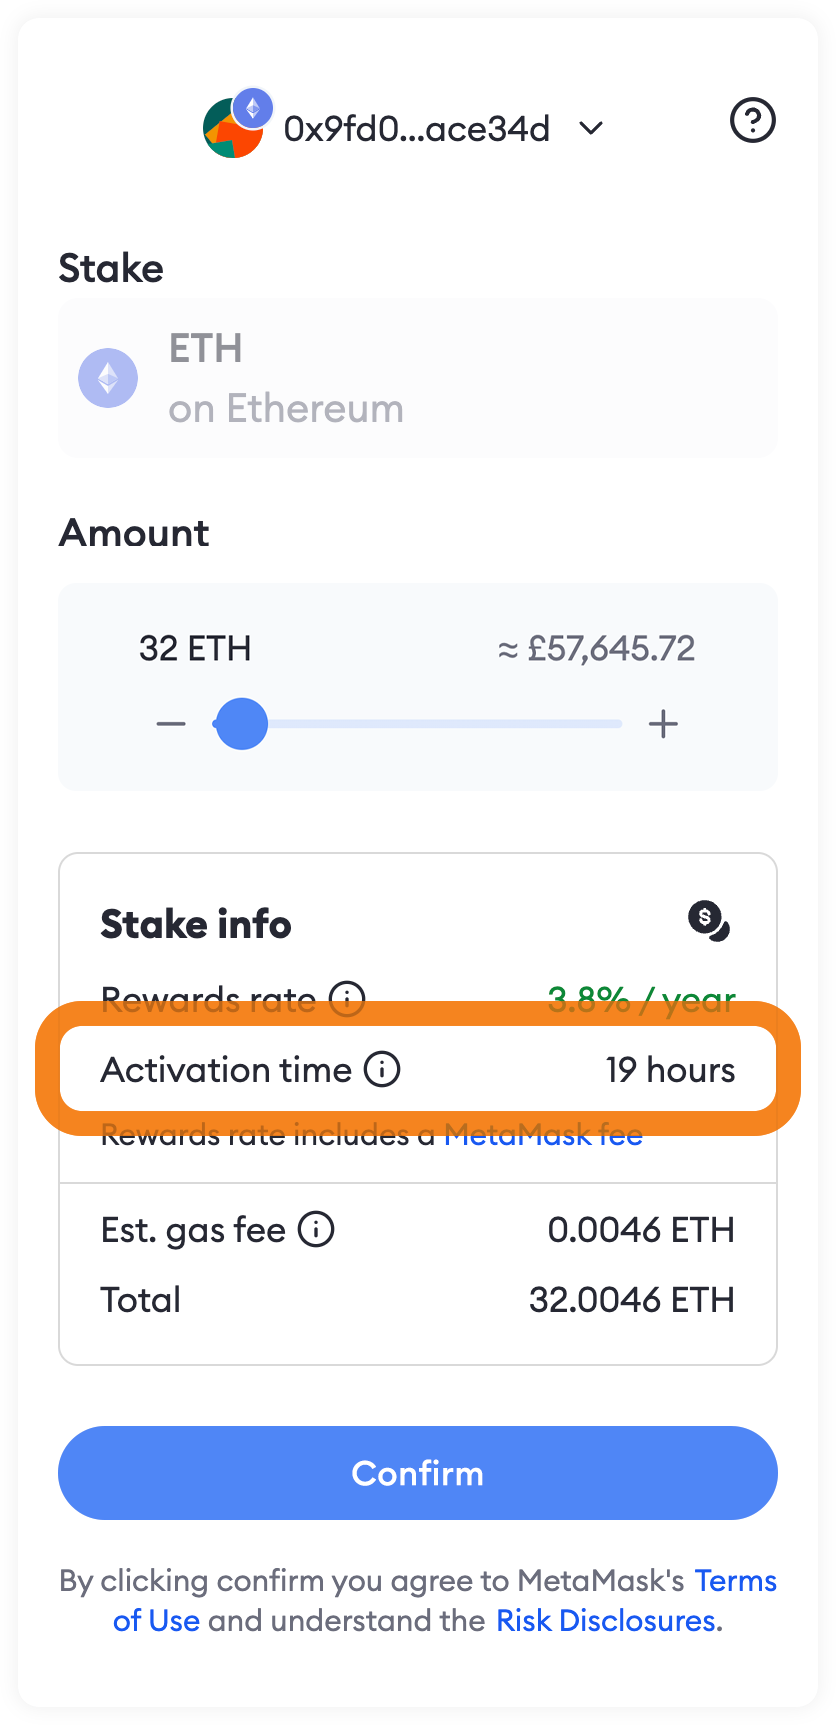
You can also visualize the historic activation queue [here](https://www.validatorqueue.com/).
## Exit queue {#exit-queue}
The **exit queue** is the time it takes for a validator to be exited — the process that begins when you unstake — and stop performing its duties. It follows a similar procedure to activation:
1. **Initialization**: It can take a couple of hours for the validator exit message to be broadcast across the network.
2. **Exit queue**: At the time of writing, the Ethereum protocol can exit 15 validators every 6.4 minutes, which is about 3,375 validators per day. Depending on the number of validators that were in the queue before your validator, it can take minutes or days for your validator to activate. Historically, the exit queue is less than a day (see [here](https://www.validatorqueue.com/)).
:::note
Once your validator is exited, the funds are not yet claimable. Your validator must first be "swept" by the Ethereum protocol, as described below.
:::
## Sweep delay {#sweep-delay}
The sweep delay is the time it takes for funds on your validator balance to become claimable. Funds in this state can be described as a 'partial withdrawal'.
- When your validator is active, the Ethereum protocol takes any ETH above 32 ETH in the validator balance and sends it to your reward address.
- When your validator is exited, the Ethereum protocol takes the entire validator balance and sends it to your reward address.
The Ethereum protocol sweeps validators one after the other, in cycles: the more validators there are on Ethereum, the longer it will take to cycle through the entire set.
:::note
The "sweep" mechanism uses state updates rather than transactions, so it isn't recorded onchain in the conventional way.
:::
---
# What happens to my tokens when I stake through MetaMask?
URL: https://support.metamask.io/trade/earn/stake/what-happens-to-my-tokens-when-i-stake-through-metamask/
> Where your tokens go when you stake through MetaMask.
The answer differs here based on which of our services you are using:
ETH staked through MetaMask Pooled Staking is added to a pool alongside other stakers' ETH until the pool reaches the 32 ETH total required to run a validator. To represent your contribution to the pool, the app allots you a share, which is subsequently used to distribute rewards proportionally. Once the pool reaches 32 ETH, our underlying Consensys Staking infrastructure automatically sends it to the Beacon Chain to spin up a new validator.
From there, your ETH will remain staked until you choose to unstake some or all of it.
When you stake ETH or MATIC through MetaMask, our dapp enables you to interact directly with your selected staking provider. Your tokens are deposited into their protocol, and you receive liquid staking tokens directly from them in return. These tokens, such as Lido's stETH and stMATIC, Rocket Pool's rETH, or Stader Lab's MaticX, represent your proportional claim to tokens in their protocol.
Validator staking in MetaMask Portfolio is self-custodial, which means you retain control over what happens with your stake and rewards at all times.
When you deposit, MetaMask Portfolio leverages Consensys Staking infrastructure to route your transaction to the Ethereum beacon deposit contract. Your funds stay in the deposit contract until you choose to withdraw your stake and exit your validator from the network. MetaMask Staking does not take control of your funds at any point in the staking process.
---
# What is crypto staking?
URL: https://support.metamask.io/trade/earn/stake/what-is-staking/
> Learn what crypto staking is. How it works, how rewards are earned, risks like lock-ups and slashing, and how you can stake using MetaMask.
**Staking is the act of depositing ETH to activate new validators on the Ethereum protocol**. Validators help keep Ethereum secure and operational by validating transactions and adding new blocks to the blockchain. For more on validators, Ethereum, and how it all works, check out our explainer [here](/more-web3/learn/learn-the-basics-of-blockchains-and-ethereum-miners-and-validators-gas-cryptocurrencies-and-nfts-block-explorer-networks-etc).
In return for staking ETH and operating a validator, stakers are eligible to receive rewards that may include:
- _Consensus layer rewards_, in the form of new ETH issuance
- _Execution layer rewards_, based on:
- A portion of the gas fees users pay to send Ethereum transactions
- _Maximal extractable value_ (MEV), derived from software run by some validator operators.
Staking on Ethereum typically requires a minimum of 32 ETH, but some staking protocols operate staking pools that allow individuals with less than 32 ETH to combine their deposits with others to activate validators. With MetaMask, you can choose from one of several staking options:
- [Pooled staking](/trade/earn/stake/pooled-staking) with MetaMask, with any amount of ETH
- [Liquid staking](/trade/earn/stake/liquid-staking), with Lido or Rocket Pool, using less than 32 ETH
- [Validator staking](/trade/earn/stake/validator-staking) with MetaMask, using more than 32 ETH.
Lido and Stader Labs also offer the possibility to stake MATIC tokens on the Ethereum network.
:::info[POL]
The Polygon network token has been upgraded from MATIC to POL. However, our staking providers still use MATIC. When they transition to POL, we will update our staking documentation.
:::
Staked ETH, MATIC, and rewards received on Lido, Rocket Pool, and Stader Labs can be withdrawn or swapped for other tokens. For more information, see [here](/trade/earn/stake/liquid-staking/how-do-i-withdraw-my-stake-and-rewards).
---
# How am I rewarded with Lido?
URL: https://support.metamask.io/trade/earn/stake/liquid-staking/how-am-i-rewarded-with-lido/
> How do rewards work with Lido?
### stETH {#steth}
With Lido the number of stETH tokens in your account increases or decreases based on the performance of the protocol to reflect any rewards you may receive. Lido typically updates token balances on a daily basis. stETH is withdrawable on a 1:1 basis for ETH.
For example, if you initially hold 1 stETH and your share of stETH on Lido gets you 0.1 ETH in rewards over time, your balance would be expected to update to show that you hold 1.1 stETH.
### stMATIC {#stmatic}
For stMATIC, the amount of stMATIC you hold doesn't change to reflect rewards. Rather, the amount of MATIC you can withdraw in exchange for your stMATIC updates according to a conversion rate where your stMATIC represents your proportional claim to MATIC on the Lido protocol. This conversion rate increases or decreases based on the protocol's performance to reflect any rewards you may receive. Lido typically updates the conversion rate daily.
For example, if you initially received 1 stMATIC when Lido's conversion rate was “1 stMATIC = 1.1 MATIC and your share of stMATIC on Lido gets you 0.1 MATIC in rewards over time, the conversion rate would be expected to update to “1 stMATIC = 1.2 MATIC".
If you want to skip the manual calculations, you can easily check the amount of your rewards in the liquid staking section of MetaMask Portfolio, under the 'Lifetime Rewards' column.
You can exit your staking position by withdrawing or swapping your stETH and stMATIC. See our [article](/trade/earn/stake/liquid-staking/how-do-i-withdraw-my-stake-and-rewards) for more information.
---
# How am I rewarded with Rocket Pool?
URL: https://support.metamask.io/trade/earn/stake/liquid-staking/how-am-i-rewarded-with-rocket-pool/
> How do rewards work with Rocket Pool?
With Rocket Pool, the amount of rETH you hold doesn't change to reflect rewards. Rather, the amount of ETH you can withdraw in exchange for your rETH updates according to a conversion rate where your rETH represents your proportional claim to ETH on the Rocket Pool protocol. This conversion rate increases or decreases based on the performance of the protocol to reflect any rewards you may receive. Rocket Pool typically updates the conversion rate on a daily basis.
Here's how Rocket Pool calculate the conversion rate:
For example, if you initially received 1 rETH when Rocket Pool's conversion rate was “1 rETH = 1.1 ETH” and your share of rETH on Rocket Pool gets you 0.1 ETH in rewards over time, the conversion rate would be expected to update to “1 rETH = 1.2 ETH”.
If you want to skip the manual calculations, you can easily check the amount of your rewards in the liquid staking section of MetaMask Portfolio, under the 'Lifetime Rewards' column.
If you want to withdraw or swap to exit your staking position, see our [article](/trade/earn/stake/liquid-staking/how-do-i-withdraw-my-stake-and-rewards) for information.
---
# How am I rewarded with Stader Labs?
URL: https://support.metamask.io/trade/earn/stake/liquid-staking/how-am-i-rewarded-with-stader-labs/
> How do rewards work with Stader Labs?
With Stader Labs, the amount of MaticX you hold doesn't change to reflect rewards. Rather, the amount of MATIC you can withdraw in exchange for your MaticX updates according to a conversion rate where your MaticX represents your proportional claim to MATIC on the Stader Labs protocol. This conversion rate increases or decreases based on the performance of the protocol to reflect any rewards you may receive. Stader Labs typically updates the conversion rate daily.
For example, if you initially received 1 MaticX when Stader Labs' conversion rate was “1 MaticX = 1.1 MATIC” and your share of MaticX on Stader Labs gets you 0.1 MATIC in rewards over time, the conversion rate would be expected to update to “1 MaticX = 1.2 MATIC".
If you want to skip the manual calculations, you can easily check the amount of your rewards in the liquid staking section of MetaMask Portfolio, under the 'Lifetime Rewards' column.
If you want to withdraw or swap to exit your staking position, see our [article](/trade/earn/stake/liquid-staking/how-do-i-withdraw-my-stake-and-rewards) for information.
---
# How do estimated rewards work?
URL: https://support.metamask.io/trade/earn/stake/liquid-staking/how-do-estimated-rewards-work-/
> What are estimated lifetime rewards and estimated current rewards?
:::info[Looking for rewards information for validator staking?]
This article describes rewards for liquid staking. See [here](/trade/earn/stake/validator-staking/rewards-validator-staking) for details of rewards for validator staking, or here for [pooled staking](/trade/earn/stake/pooled-staking/how-do-rewards-work).
:::
When viewing your holdings, you'll see two variants of estimated rewards which are calculated slightly differently:
- **Estimated lifetime rewards**: Lifetime rewards are an estimate of how many rewards you've received from the staking provider, calculated using a mix of on-chain data and third-party APIs. It may include rewards you may have received from holdings acquired outside of MetaMask Staking.
- **Estimated current rewards**: Current rewards is the percentage of annual rewards you are predicted to receive, subject to change, based on a provider's performance over the last week, as calculated by each provider's API.
---
# How to withdraw your stake and rewards
URL: https://support.metamask.io/trade/earn/stake/liquid-staking/how-do-i-withdraw-my-stake-and-rewards/
> Learn how to withdraw your stake and your rewards.
:::info[Using validator staking or pooled staking?]
Looking for how to withdraw validator staking or pooled staking rewards?
This article describes the process for withdrawing **liquid staking** deposits. If you're using one of our other staking options, see below:
- Validator staking
- [Withdrawing your balance](/trade/earn/stake/validator-staking/how-do-i-unstake-validator-staking)
- [Withdrawing rewards](/trade/earn/stake/validator-staking/how-do-i-claim-my-validator-rewards)
- [Pooled staking](/trade/earn/stake/pooled-staking/how-to-unstake)
:::
You can withdraw staked ETH and MATIC from any of our supported liquid staking protocols (Lido, Rocket Pool, and Stader Labs).
You can choose between two options to get your ETH or MATIC back:
- Using MetaMask Staking to interact with the staking protocol's withdrawal mechanism.
- Swapping your liquid staking tokens on a decentralized exchange or service such as MetaMask Swaps.
## How to withdraw {#how-to-withdraw}
:::info
#### Applicable to all liquid staking tokens: stETH, rETH, stMATIC and MaticX. {#applicable-to-all-liquid-staking-tokens-steth-reth-stmatic-and-maticx}
We use rETH (Rocket Pool's liquid staking token) as the subject of most of our screenshots. Regardless, please note that the steps apply to all four liquid staking tokens.
Withdrawing stETH, stMATIC or MaticX does require an extra step, however; scroll to see it or [click here](#completing-your-withdrawal).
:::
In MetaMask Staking, a 'standard' withdrawal is one that uses the staking protocol's withdrawal mechanism.
To withdraw using this method, click the three dots in the top-right of your holding, and click 'Withdraw'.
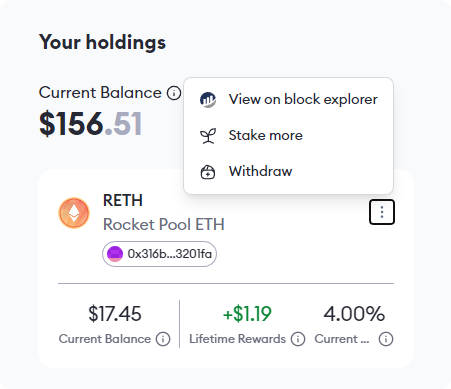
From here, input the amount of your liquid staking token that you'd like to withdraw, and then click 'Withdraw'.
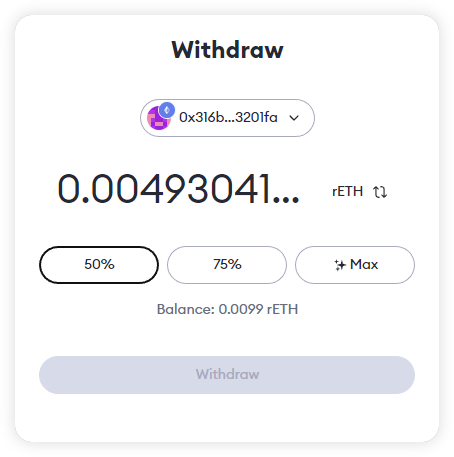
Now you'll see a screen with 'Withdraw' and 'swap' options; select 'Withdraw' and then click 'Review' to proceed:
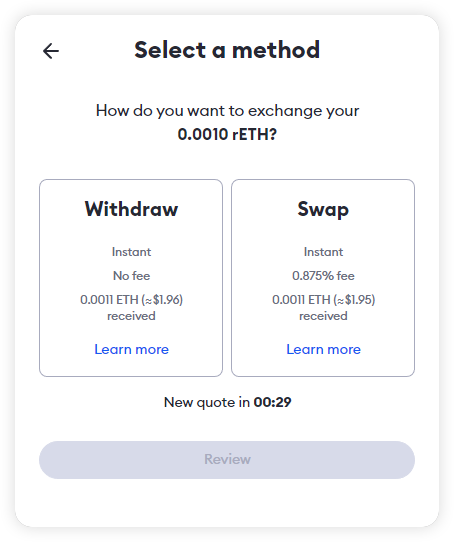
You'll now be able to view the details of your proposed transaction: the amount of the liquid staking token you want to withdraw, and how much ETH or MATIC you'll receive when the process is complete. When you've reviewed the details of the transaction, hit 'Confirm'.
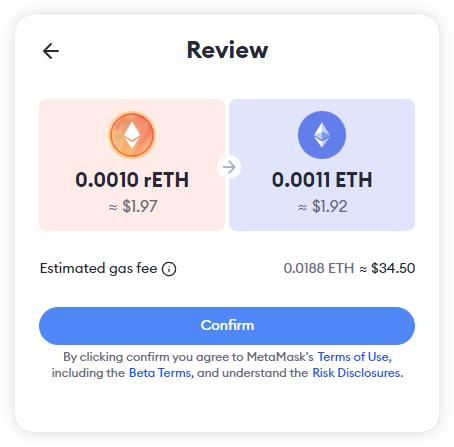
You may now be asked for up to two approvals in your MetaMask. The first is to approve interacting with the liquid staking token's contract and the second is to approve the transaction.
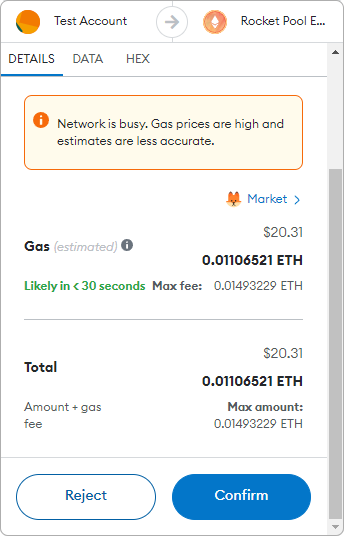
Once you 've approved the transactions in your MetaMask the screen will update to a 'Transaction in progress' message, indicating that your transaction is waiting to be confirmed.
Once your transaction is confirmed your withdrawal will begin to process, and the screen will update differently depending on the protocol you're using:
- **Rocket Pool** withdrawals will update to 'Transaction complete', and should generally be **immediately available**. Once confirmed, your ETH will be visible in your portfolio.
- **Lido and Stader Labs** withdrawals will update to 'Withdrawal request started' and **provide an estimated date for when your withdrawal will be ready**. The date is dependent on the provider and their withdrawal processing queue. Withdrawals require an additional step to claim your tokens, so please check out the section below.
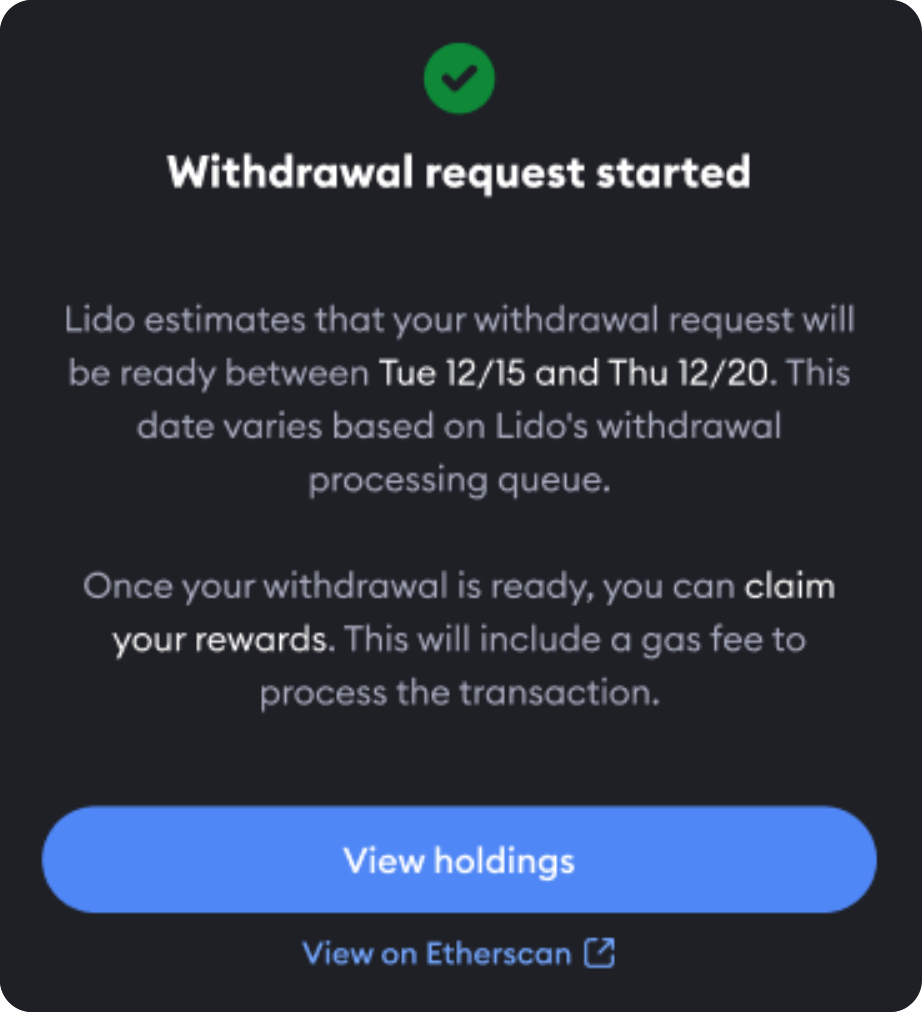
:::info
### Completing your withdrawal {#completing-your-withdrawal}
Applicable to Lido (stETH, stMATIC) and Stader Labs (MaticX) withdrawals only.
If you're withdrawing staked ETH or MATIC from Lido, or staked MATIC from Stader Labs, at this point you'll need to:
- Wait for your withdrawal to complete.
- Return to MetaMask Staking and claim your stake and rewards once the withdrawal is ready.
Once your withdrawal request has started, you can visit the 'Your holdings' section of the Stake page to get the latest information on your withdrawal request and when it'll be available. The date provided is an estimate and dependent on the protocol and their withdrawal processing queue. Come back regularly to see if your withdrawal is ready.
Each Lido stETH and stMATIC withdrawal request is also represented by an NFT: the NFT is automatically minted for you by Lido when you start your request — check your MetaMask Portfolio 'NFTs' tab to see the NFT. When the request is ready to claim, the NFT's image will be updated.
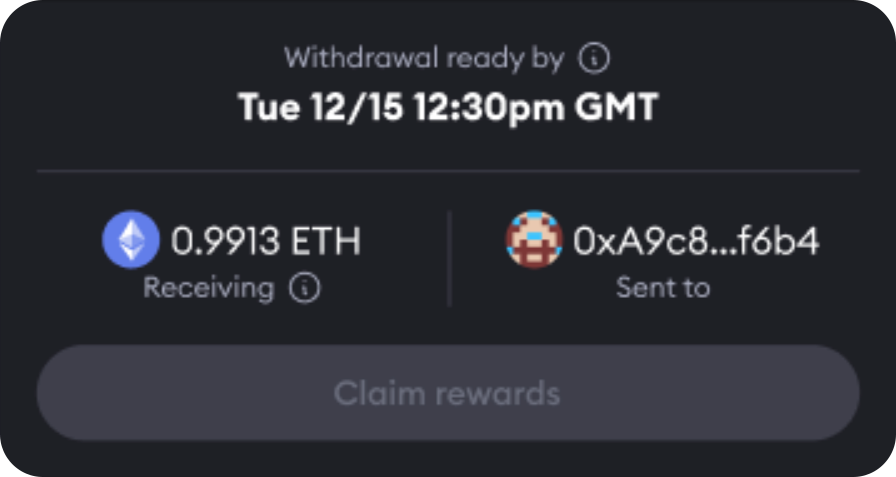
Once your withdrawal is ready to claim, the estimated date will change to 'now' and the 'Claim rewards' button will become available. Click on the 'Claim rewards' button to continue.
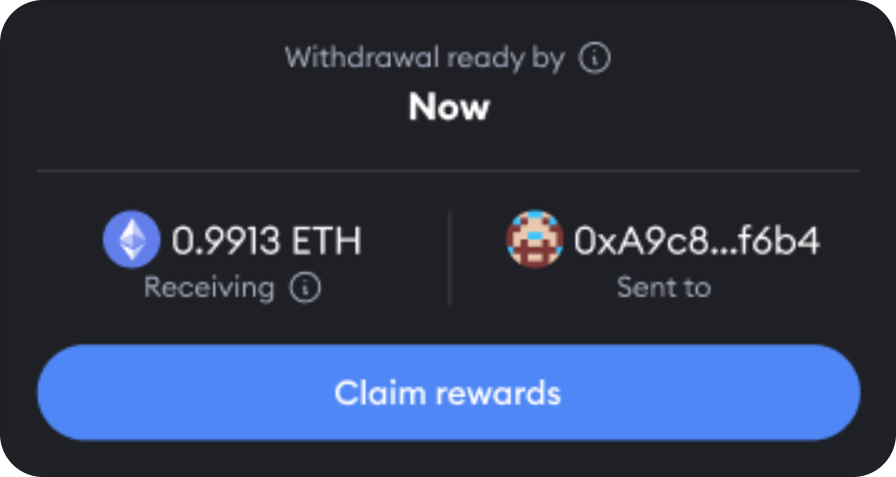
Now you'll see the details of your withdrawal, including the amount and the estimated gas fee. Click 'Confirm' to proceed:
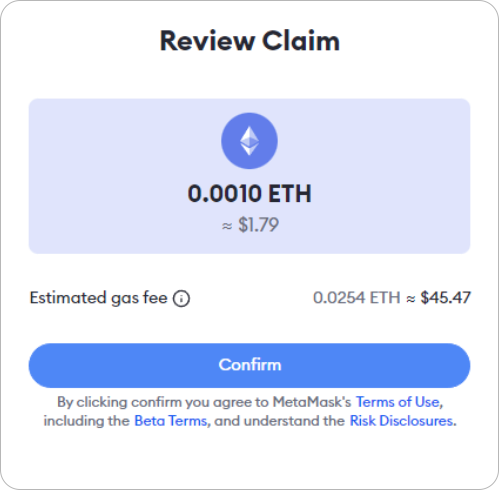
You'll now be asked to sign a transaction in your MetaMask; follow the prompts in MetaMask to do so.
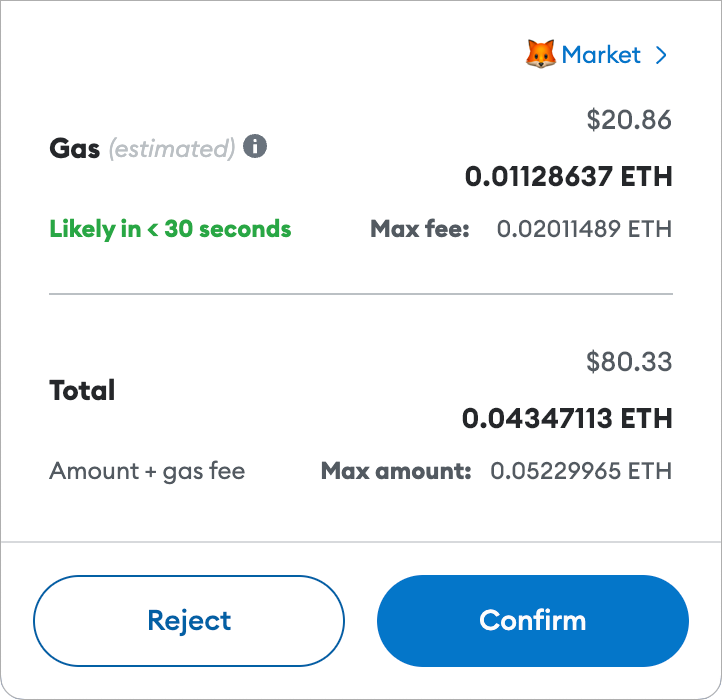
After a short 'Transaction in progress' screen, the screen will update to confirm that the staked ETH plus rewards will now be in your account, and, therefore, visible in your portfolio. For Lido withdrawals, your withdrawal NFT will also be burnt at this point.
:::
To begin swapping your liquid staking tokens for ETH or MATIC via MetaMask Swaps, click the three dots in the top-right of your staking holding, and click 'Withdraw'.

From here, input the amount of your liquid staking token that you'd like to exchange, and then click 'Withdraw':
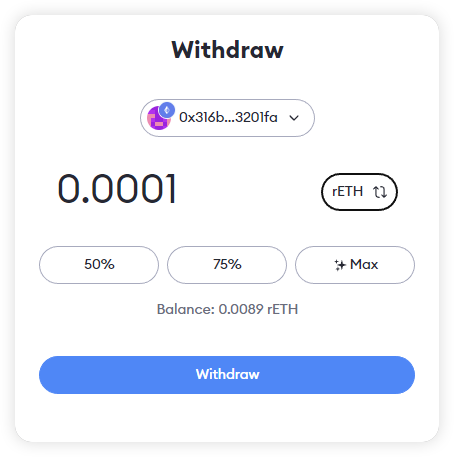
Now you'll see a screen where you can choose between a withdrawal or a swap — select the swap option and click 'swap' at the bottom of the screen to continue. you'll now be taken to the MetaMask Swaps interface to complete your transaction.
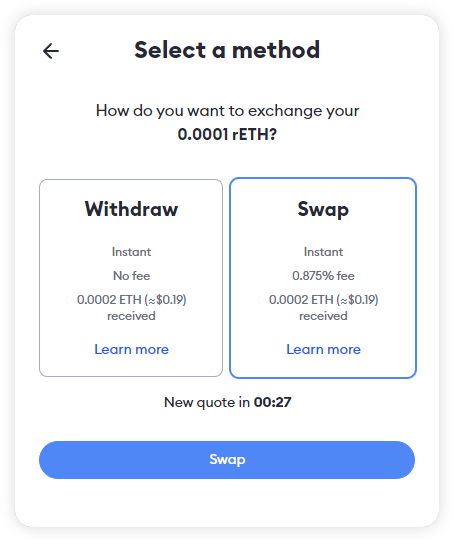
Confirm that the amount of the token you want to swap is correct and click 'Get Quotes' to get the latest prices for your swap.
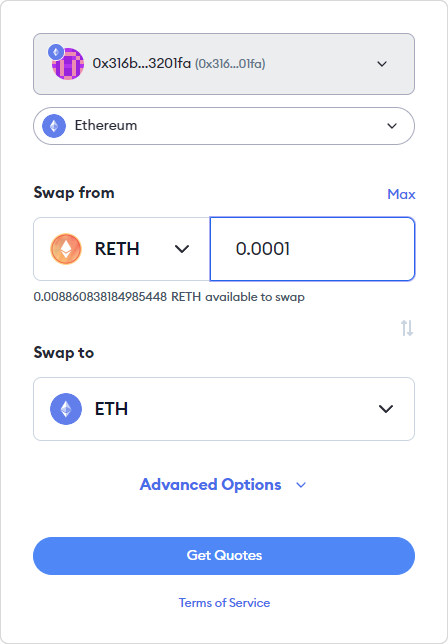
you'll now be able to view the details of your proposed transaction: the amount of the liquid staking token you want to swap, and how much ETH or MATIC you'll receive when the process is complete.
Although MetaMask Swaps will always default to the best quote available, you can also view and select alternatives by clicking on the highlighted swap ratio next to 'Best quote rate'. You can also edit transaction settings, such as slippage tolerance, by clicking the gear icon.
If it's your first time using MetaMask Swaps, click 'Approve'. you'll be asked to approve the MetaMask Swaps contract in your MetaMask and set a [spending cap](/configure/tokens/how-to-customize-token-approvals-with-a-spending-cap).
:::info
#### What is an approval? {#what-is-an-approval}
Approvals grant dapps (and, by extension, underlying smart contracts) the ability to access and transfer a specified number of a given token from your account. Read more about approvals [here](/stay-safe/safety-in-web3/what-is-a-token-approval).
:::
Once your approval is confirmed, you'll be taken back to the review screen. When you're ready to proceed, click 'swap' and confirm the transaction in your MetaMask.
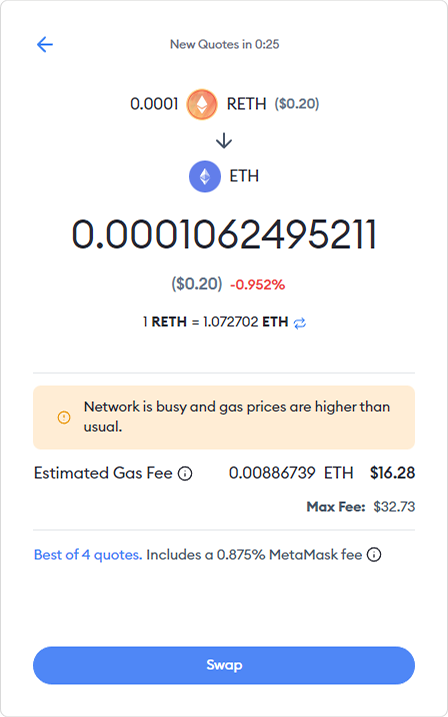
Once you've confirmed the transaction in your MetaMask the screen will update to a 'submitted' message, indicating that your transaction is waiting to be confirmed.
Once your transaction is confirmed this screen will update to 'Confirmed'. As swaps should generally be immediately available once confirmed, your ETH or MATIC will be visible in your portfolio.
_Please note that Swaps involve trading your tokens at current market value and are subject to fluctuating prices. For more information on MetaMask Swaps, see [here](/trade/swap/user-guide-swaps/)._
## FAQs {#faqs}
How long until I get my tokens?
Exchanging liquid staking tokens back for ETH or MATIC using MetaMask Swaps will be immediate, and complete in the time it takes for the swap transaction to be confirmed by the network.
Withdrawals using the staking protocol's withdrawal method vary:
- Rocket Pool withdrawals will generally be **immediate**. Withdrawals are fulfilled with liquidity deposited to the protocol that is yet to be staked by a validator. If there is insufficient liquidity available, you will not be able to withdraw and you will need to submit your transaction again.
- Lido and Stader Labs withdrawals will generally require waiting **a few days to a few weeks** after starting a withdrawal to claim your ETH or MATIC. The delay is because the provider requires your underlying ETH and MATIC to be unstaked from the Ethereum protocol before it will be available for you to claim. The withdrawal dates shown in MetaMask Staking are estimates and the exact date is dependent on the provider and their withdrawal processing queue.
Do I need to pay for withdrawals?
Withdrawals using MetaMask Swaps are subject to:
- Gas fees
- The 0.875% MetaMask Swaps licensing fee.
For standard withdrawals, we do not add any license fee. However, you will still need to pay gas fees.
---
# How does MetaMask calculate estimated rewards, network control, and popularity?
URL: https://support.metamask.io/trade/earn/stake/liquid-staking/how-does-metamask-calculate-estimated-rewards-network-control-and-popularity/
> What are estimated rewards, network control, and popularity in MetaMask liquid staking?
:::info[This information relates to liquid staking only]
The information shown here relates to liquid staking — that is, staking through third-party protocols Lido, Rocket Pool, and Stader Labs, and through which you receive liquid staking tokens.
For information about validator staking terms, see the [validator staking section](/trade/earn/stake/validator-staking); for details about pooled staking, click [here](/trade/earn/stake/pooled-staking).
:::
**Estimated rewards** is the percentage of annual rewards you are predicted to receive, subject to change, based on a provider's performance over the last week, as calculated by each provider's API. To learn more about estimated rewards, see [here](/trade/earn/stake/liquid-staking/how-do-estimated-rewards-work-).
**Network control** is the estimated percentage of staking validators associated with each provider, calculated using a mix of on-chain data and third-party APIs.
**Popularity** is an estimate of the fiat value of ETH and MATIC staked with each provider. This is calculated using the same method of available on-chain data and third-party APIs.
---
# What are Lido, stETH and stMATIC?
URL: https://support.metamask.io/trade/earn/stake/liquid-staking/what-are-lido-steth-and-stmatic/
> Learn about Lido, stETH, and stPOL.
Lido is a liquid staking protocol for Ethereum that allows users to collectively fund new validators and receive rewards. Lido outsources the technical and operational complexity of operating an Ethereum validator to a permissioned group of validator operators.
When you deposit ETH or MATIC into Lido, you receive Lido's liquid staking tokens, stETH or stMATIC, which represent your proportional claim to ETH or MATIC in Lido. As validators operating on Lido receive rewards, you are eligible to receive rewards proportional to your stake, which is typically expected to occur daily.
When you stake ETH with Lido, Lido sends you stETH on a 1:1 basis equivalent to the amount of ETH staked, so that if you were to stake 1 ETH you would be issued 1 stETH in return.
When you send MATIC to be staked in Lido, Lido converts your MATIC to stMATIC. The conversion rate is calculated according to your proportional claim to MATIC on the Lido protocol. For example, if Lido's conversion rate is “1 MATIC = 0.99 stMATIC” and you were to send 1 MATIC to Lido to stake, you would receive 0.99 stMATIC to represent your stake with Lido.
:::info
To learn more about how Lido rewards work, see [here](/trade/earn/stake/liquid-staking/how-am-i-rewarded-with-lido).
To learn how to withdraw your staked tokens from Lido, see [here](/trade/earn/stake/liquid-staking/how-do-i-withdraw-my-stake-and-rewards).
:::
---
# What are liquid staking tokens (LSTs)?
URL: https://support.metamask.io/trade/earn/stake/liquid-staking/what-are-liquid-staking-tokens/
> Discover what Liquid Staking Tokens (LSTs) are, how they enable you to stake while retaining liquidity, and key benefits and risks to know before using them.
The regular staking process involves locking up crypto assets in a protocol for a fixed amount of time. During this time, they cannot be sold, transferred, or traded. Due to these limitations, demand arose for a more flexible approach: _liquid staking_.
:::info[Other options for staking with MetaMask]
This article is relevant to one of multiple categories of staking available in MetaMask Portfolio: _liquid_ staking.
There is also a [pooled staking](/trade/earn/stake/pooled-staking) feature suitable for users with less than 32 ETH, and the [validator staking](/trade/earn/stake/validator-staking/what-is-validator-staking) feature for those who want to stake in multiples of 32 ETH. Neither of these use liquid staking tokens.
:::
Liquid staking allows you to stake tokens and _simultaneously_ use them in the DeFi ecosystem. When you deposit assets into a liquid staking protocol, you will receive a tokenized version of your funds (_liquid staking tokens_), which can be withdrawn or swapped. The withdrawal process depends on the liquidity in the underlying protocol: for example, there may be times when withdrawals are not available (as we have seen with [Rocket Pool](/trade/earn/stake/liquid-staking/what-does-it-mean-that-rocket-pool-is-at-max-capacity-)), but you can still swap.
The quick access to funds, no lock-up period, and relatively easy method of earning staking rewards at the same time as using your liquid tokens in various DeFi activities, have made liquid staking an innovative and attractive way of participating in a PoS system.
Some staking protocols provide individuals who stake with them with liquid staking tokens that represent their proportional claim in the protocol. Lido's liquid staking tokens are stETH and stMATIC, Rocket Pool's is rETH, and Stader Labs's is MaticX.
You can exit your staking position by swapping or withdrawing your staked tokens. For more information on this process, see [here](/trade/earn/stake/liquid-staking/how-do-i-withdraw-my-stake-and-rewards).
---
# What does it mean that Rocket Pool is at 'max capacity'?
URL: https://support.metamask.io/trade/earn/stake/liquid-staking/what-does-it-mean-that-rocket-pool-is-at-max-capacity-/
> Learn about max capacity in Rocket Pool.
Rocket Pool relies on independent operators joining their protocol and using Rocket Pool's software to set up new validators using ETH pooled in the protocol. Sometimes, there may not be enough new validators joining Rocket Pool to meet the demand for staking. When this occurs, Rocket Pool limits the amount of new ETH that can be pooled.
When Rocket Pool is at or near max capacity there is a chance your transaction will be rejected. To reduce the possibility that you try to stake and pay fees including gas for a failed transaction, the MetaMask Staking interface disables staking with Rocket Pool during these periods.
---
# What is Rocket Pool and rETH?
URL: https://support.metamask.io/trade/earn/stake/liquid-staking/what-is-rocket-pool-and-reth/
> Learn about Rocket Pool and rETH.
Rocket Pool is a liquid staking protocol for Ethereum that allows users with less than 32 ETH to collectively fund new validators and receive rewards. Rocket Pool outsources the technical and operational complexity of operating an Ethereum validator to permissionless validator operators subject to certain requirements.
When you deposit ETH into Rocket Pool, you receive Rocket Pool's liquid staking token, rETH, which represents your proportional claim to ETH in Rocket Pool. As validators operating on Rocket Pool receive rewards, you are eligible to receive rewards proportional to your stake, which is typically expected to occur daily.
When you send ETH to be staked in Rocket Pool, Rocket Pool subtracts a 0.05% fee and then converts your ETH to rETH. The conversion rate is calculated according to your proportional claim to ETH on the Rocket Pool protocol.
For example, if Rocket Pool's conversion rate is “1 rETH = 1.1 ETH” and you were to send 1 ETH to Rocket Pool to stake:
- Rocket Pool would take a 0.0005 ETH fee, leaving you with 0.9995 ETH to be staked.
- Your 0.9995 ETH would convert to ~0.90863 rETH at the “1 rETH = 1.1 ETH” conversion rate.
- You would receive ~0.90863 rETH to represent your stake with Rocket Pool.
Staked ETH and rewards received on Rocket Pool can usually be withdrawn at any time after staking. For more information, see [here](/trade/earn/stake/liquid-staking/how-do-i-withdraw-my-stake-and-rewards).
:::info
To learn more about Rocket Pool rewards, see [here](/trade/earn/stake/liquid-staking/how-am-i-rewarded-with-rocket-pool).
:::
---
# What is Stader Labs and MaticX?
URL: https://support.metamask.io/trade/earn/stake/liquid-staking/what-is-stader-labs-and-maticx/
> Learn about Stader Labs and MaticX.
Stader Labs is a liquid staking protocol that allows users to collectively fund new validators and receive rewards. Stader Labs outsources the technical and operational complexity of operating a Polygon validator to permissionless validator operators subject to certain requirements.
When you send MATIC to be staked by Stader Labs, Stader Labs converts your MATIC to MaticX. The conversion rate is calculated according to your proportional claim to MATIC on the Stader Labs protocol. For example, if Stader Labs' conversion rate is “1 MATIC = 0.99 MaticX” and you were to send 1 MATIC to Stader Labs to stake, you would receive 0.99 MaticX to represent your stake.
As validators operating on Stader Labs receive rewards, you are eligible to receive rewards proportional to your stake, which is typically expected to occur daily.
Staked MATIC and rewards received on Stader Labs can usually be withdrawn at any time after staking. For more information, see [here](/trade/earn/stake/liquid-staking/how-do-i-withdraw-my-stake-and-rewards).
---
# What's the difference between withdrawing my liquid staking tokens and swapping?
URL: https://support.metamask.io/trade/earn/stake/liquid-staking/whats-the-difference-between-withdrawing-my-liquid-staking-tokens-and-swapping/
> Your guide to swapping vs. withdrawing liquid staking tokens.
**Withdrawing** staked tokens and rewards involves exchanging your stETH or rETH for ETH and stMATIC or MaticX for MATIC, directly with the relevant protocol. For more information on withdrawals, see [here](/trade/earn/stake/liquid-staking/how-do-i-withdraw-my-stake-and-rewards).
A **swap** involves trading your liquid staking tokens back for ETH, MATIC, or other available tokens, often via a third-party exchange, and does not typically involve shutting down a validator. Swaps are subject to fluctuating market prices. To easily swap your liquid staking tokens through the MetaMask Staking interface, find the position you 'd like to exit from, click the three dots on the right next to your position, and click'swap'.
---
# How do rewards work in MetaMask Pooled Staking?
URL: https://support.metamask.io/trade/earn/stake/pooled-staking/how-do-rewards-work/
> How we distribute Ethereum protocol rewards to you, and what different terms mean.
## What are 'rewards'? {#what-are-rewards}
We use the term 'rewards' to refer to the ETH payments that the account staking ETH with MetaMask receives from the Ethereum protocol in return for contributing to keeping the network secure, stable, and operational.
## How do you display rewards? {#how-do-you-display-rewards}
### Rewards rate {#rewards-rate}
The reward rate you see in-app is the reward rate of the staking pool over the past week, minus the MetaMask fee, and annualized to represent what the rewards would mean over a year.
Here's the formula:
`Reward rate = MetaMask Pooled Staking reward rate * (1 - MetaMask fee)`
Where:
- `MetaMask Pooled Staking reward rate` is the total rewards received by the staking pool validators (both consensus layer and execution layer rewards), divided by the total ETH in the staking pool, estimated as the moving average of the last seven days.
- The `MetaMask fee` is a 15% fee on staking rewards. It means users receive 85% of the staking rewards returned by the Ethereum network.
The reward rate may fluctuate over time due to network conditions; historic reward rates do not necessarily predict future staking rewards.
### Staked balance {#staked-balance}
This is the total amount of ETH you have staked and is earning staking rewards. This includes past rewards, which are automatically staked, and unstake requests not yet ready to be claimed. The staked balance is updated every 12 hours to account for new rewards.
### Lifetime rewards {#lifetime-rewards}
This is the total rewards your stake has generated since you first staked your ETH with MetaMask Staking Pool.
### Reward available to claim {#reward-available-to-claim}
If you have initiated an unstake request, this is the amount of ETH you can claim and receive in your account. Otherwise, you will not see this section.
---
# How to stake with MetaMask Pooled Staking
URL: https://support.metamask.io/trade/earn/stake/pooled-staking/how-to-stake/
> Learn how to deposit your stake.
Before you use MetaMask Pooled Staking, please familiarize yourself with ETH staking more generally and the [risks](/trade/earn/stake/how-do-i-stake-with-metamask-staking) of the service.
## How to stake {#how-to-stake}
1. Head to the [MetaMask Portfolio](https://portfolio.metamask.io/stake) 'Stake' page by selecting 'Move Crypto' in the left-hand menu, and then click 'Stake'. Make sure your MetaMask is connected.
2. Select the 'MetaMask Pool' tab on the staking page. On the left of the screen you'll see a panel that includes the address of your currently selected account, a field where you can input the amount of ETH you want to stake, and a 'Staking info' box detailing the rewards rate. We'll call this panel the staking widget:
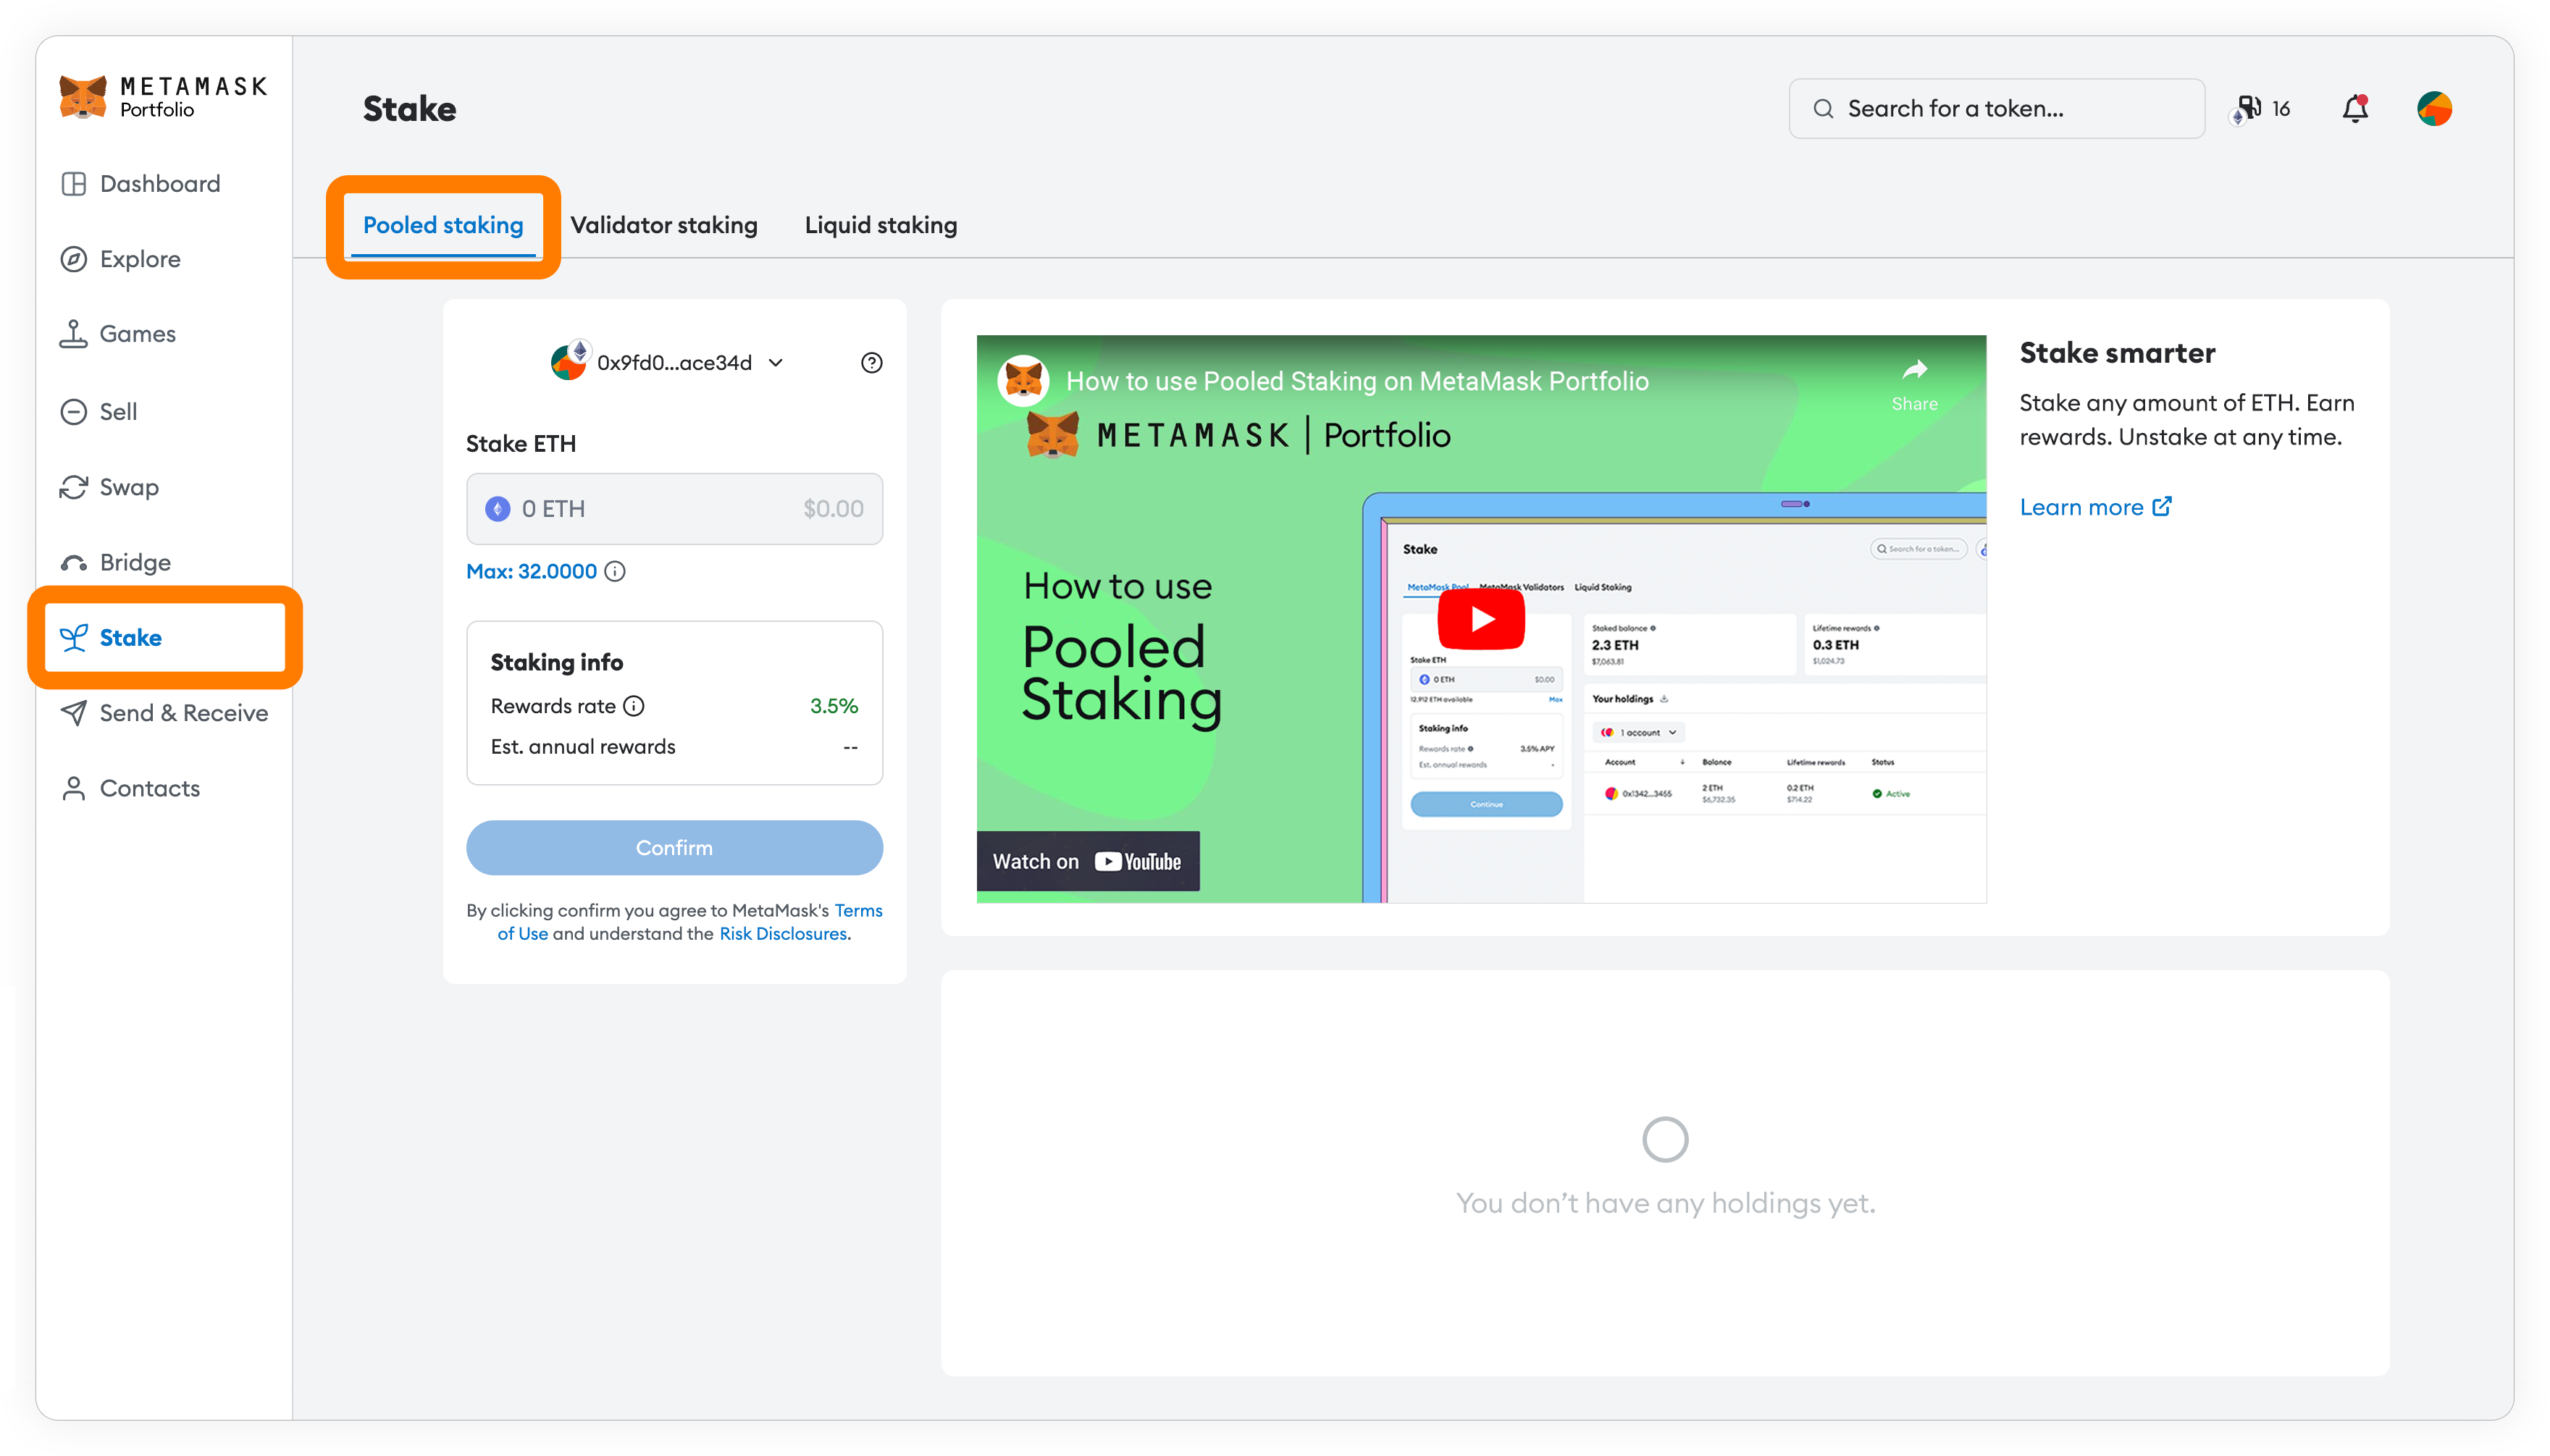
3. From the available ETH—any ETH in your selected account, indicated at the top of the widget—input the amount you'd like to stake. The estimated annual rewards, gas fee, and total transaction amount will update in the widget. If you're happy to proceed based on the displayed information, click the 'Continue' button. Clicking 'Continue' prompts a MetaMask transaction that you'll need to sign in your MetaMask to confirm the deposit.
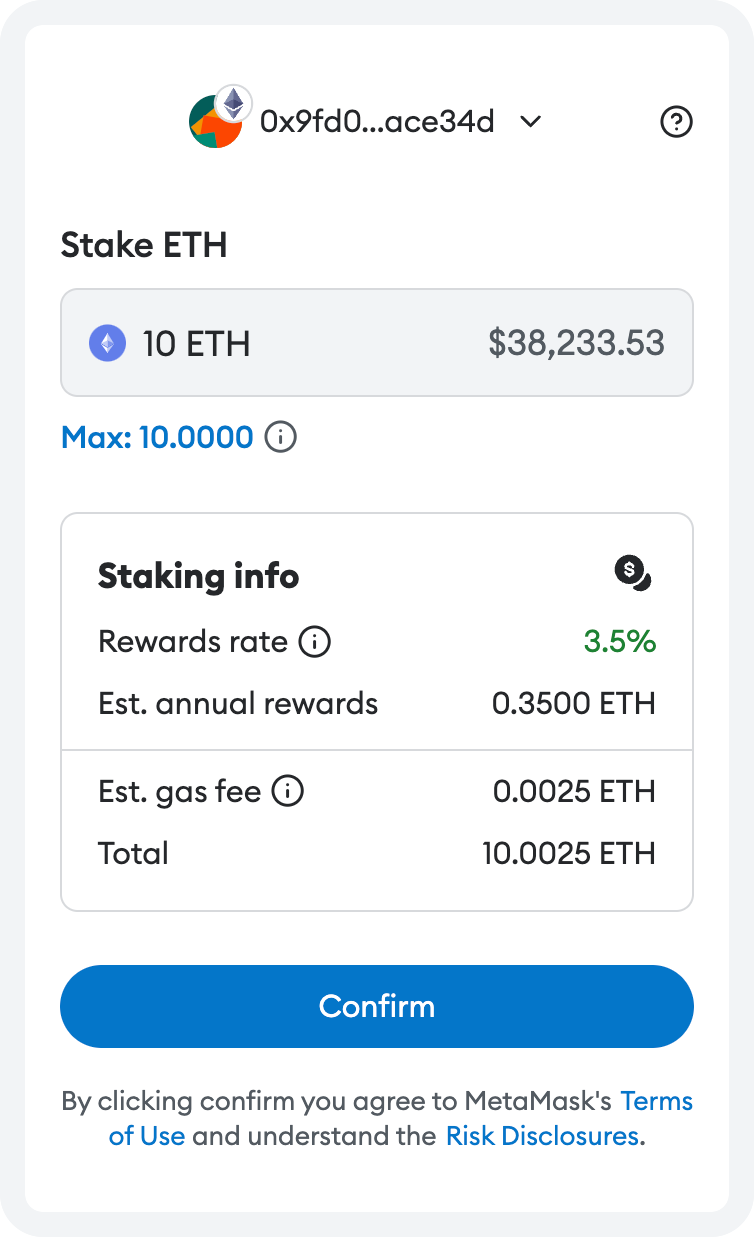
4. Once you've signed the transaction in MetaMask, you'll see a 'Transaction in progress' message, followed by 'Transaction complete' once your signed transaction is confirmed on the blockchain:
1. In your MetaMask mobile app, navigate to the ‘Tokens’ screen.
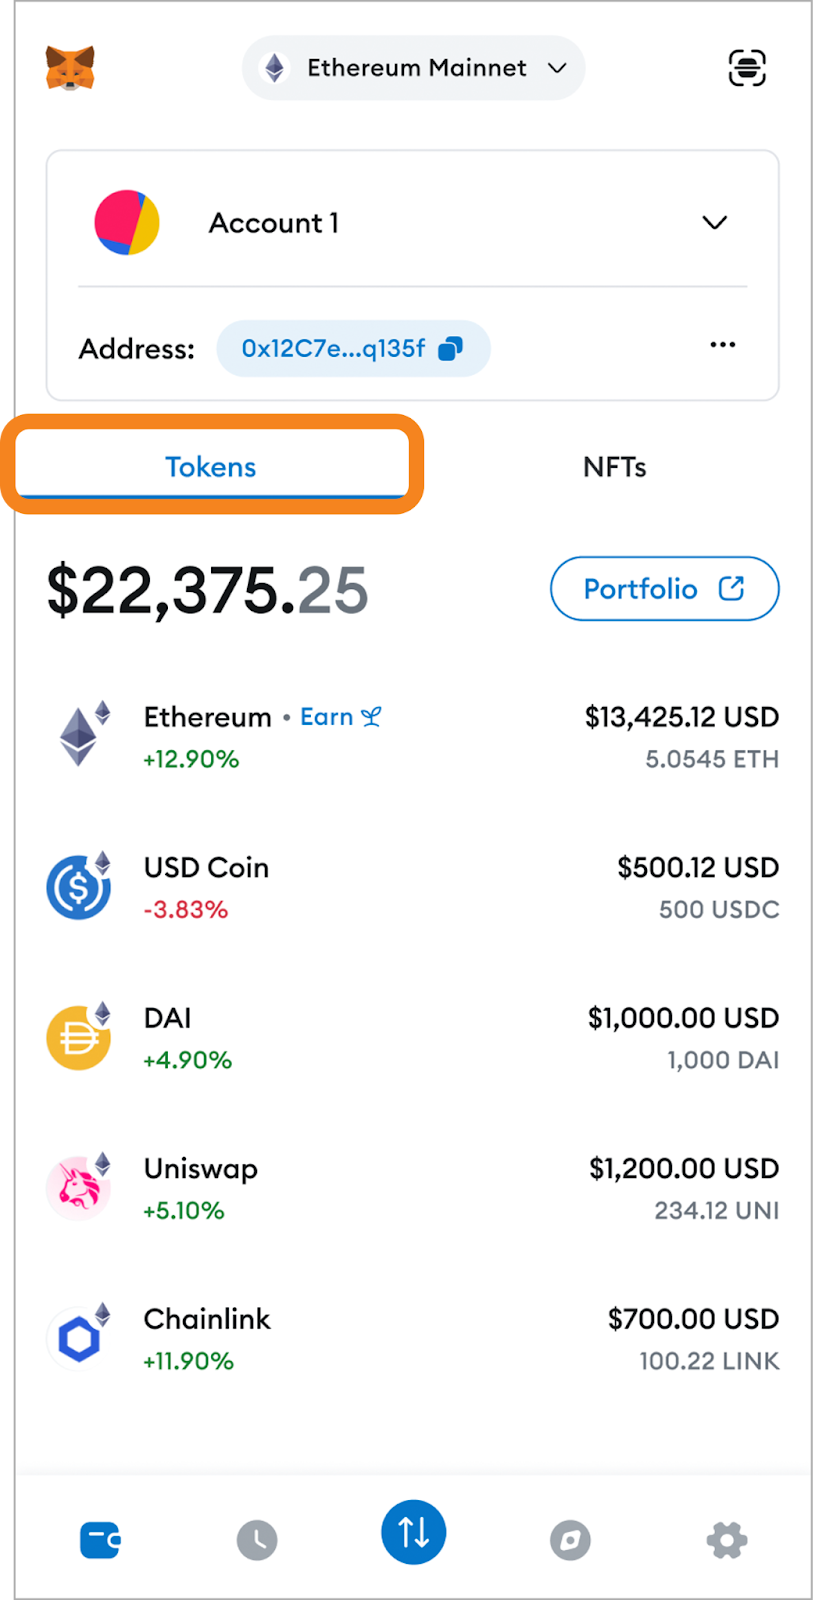
2. Next to your ETH holdings, click ‘Earn’.
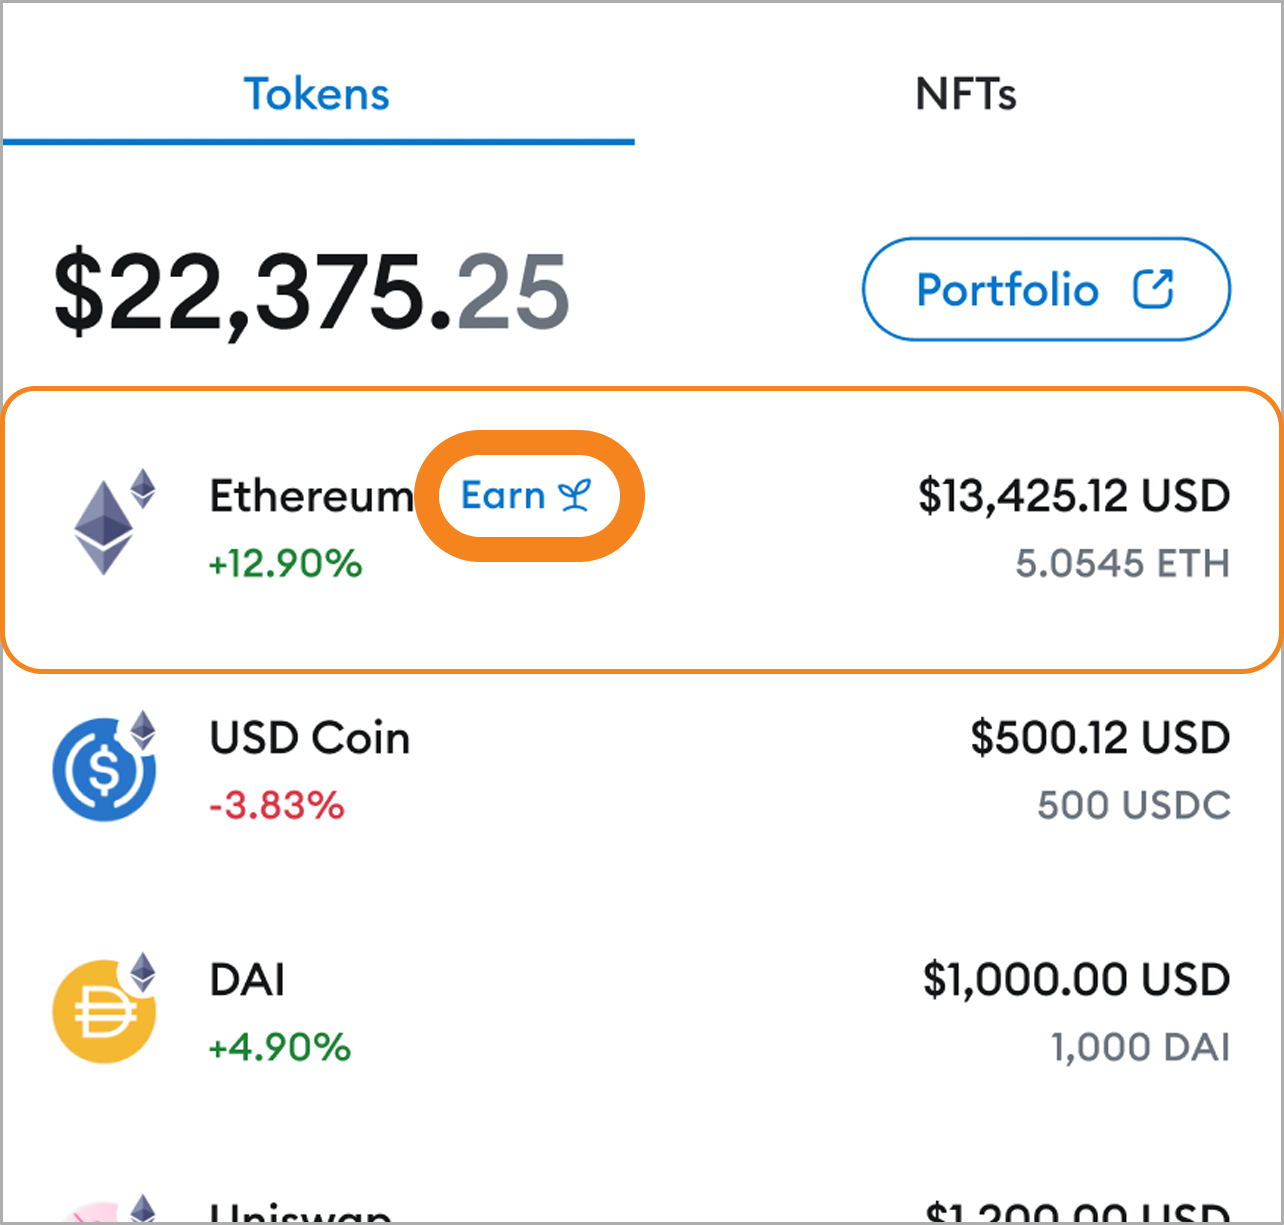
3. Enter the amount of ETH you would like to stake. You can also select a percentage of your ETH, such as 25%, to stake. When you’ve entered an amount, the estimated annual rewards will automatically update. Click ‘Review’ once you’re ready to review the details of this transaction.
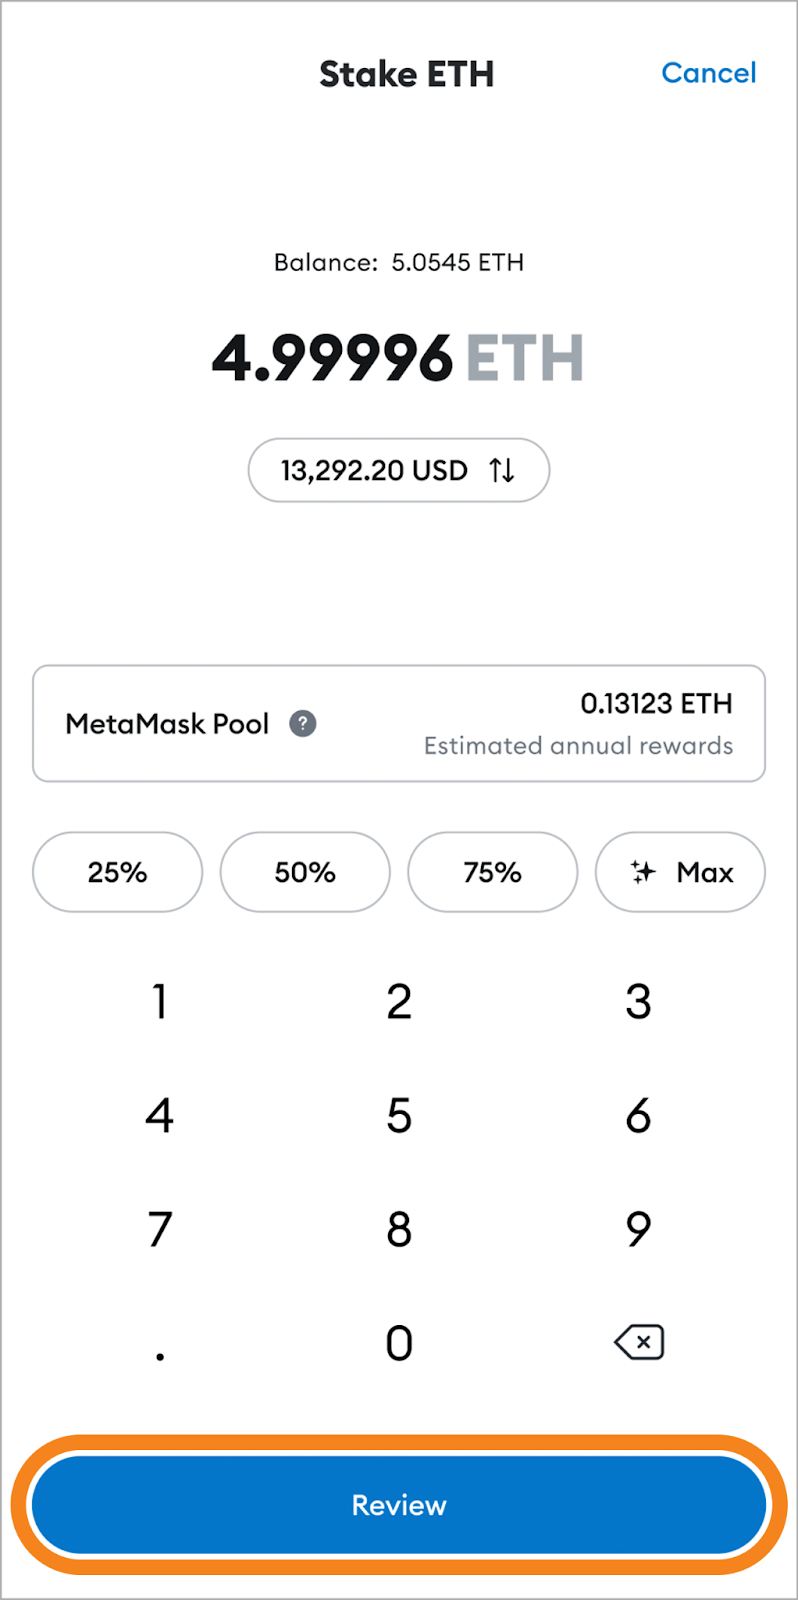
4. On the next screen, review the details of your transaction.
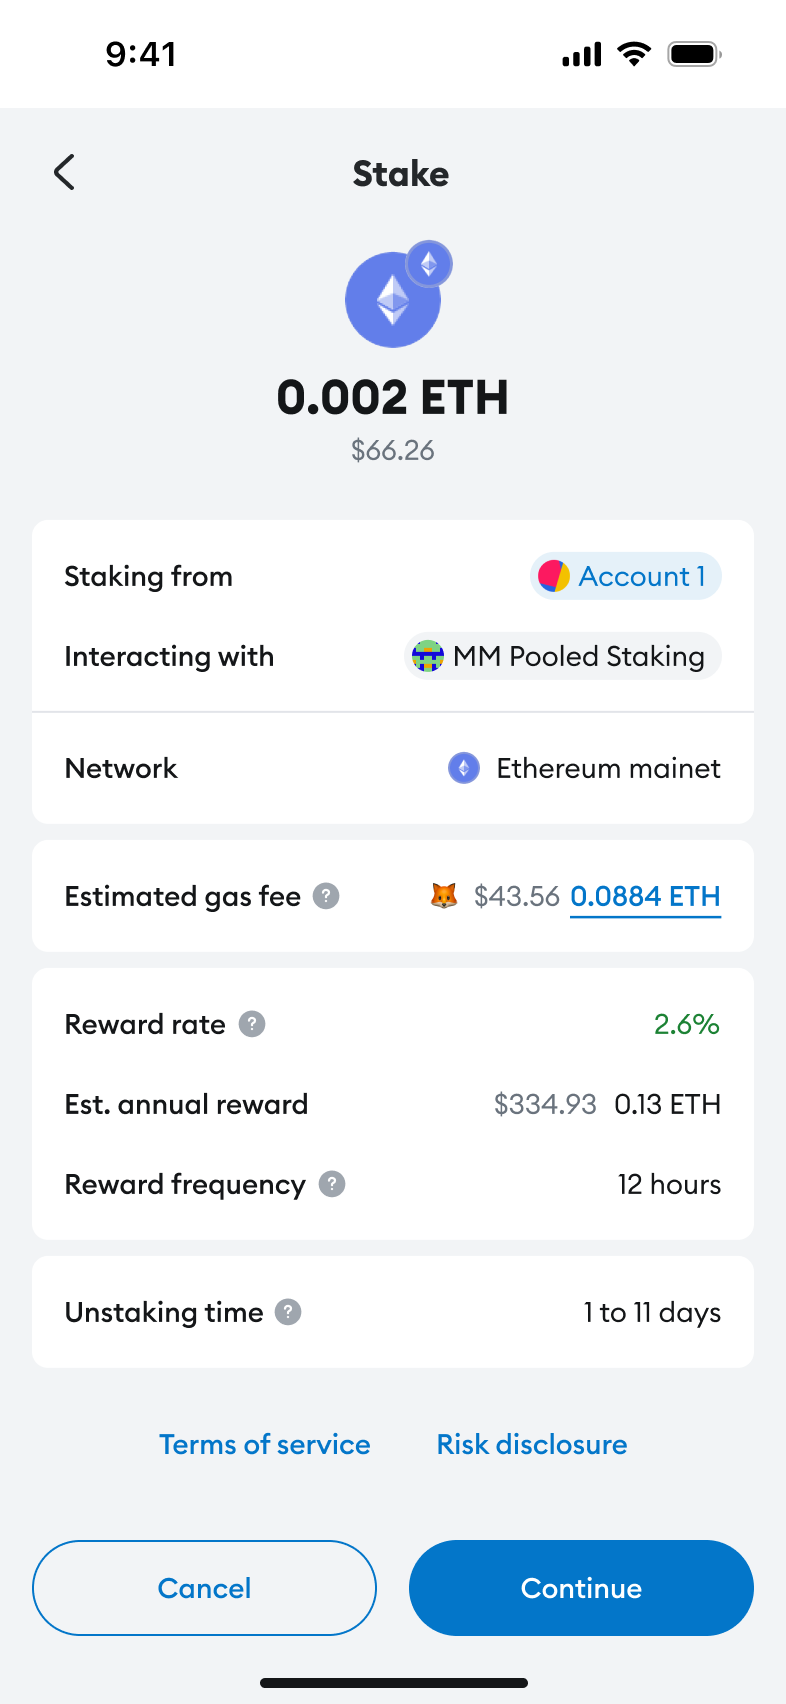
5. Then, confirm your transaction.
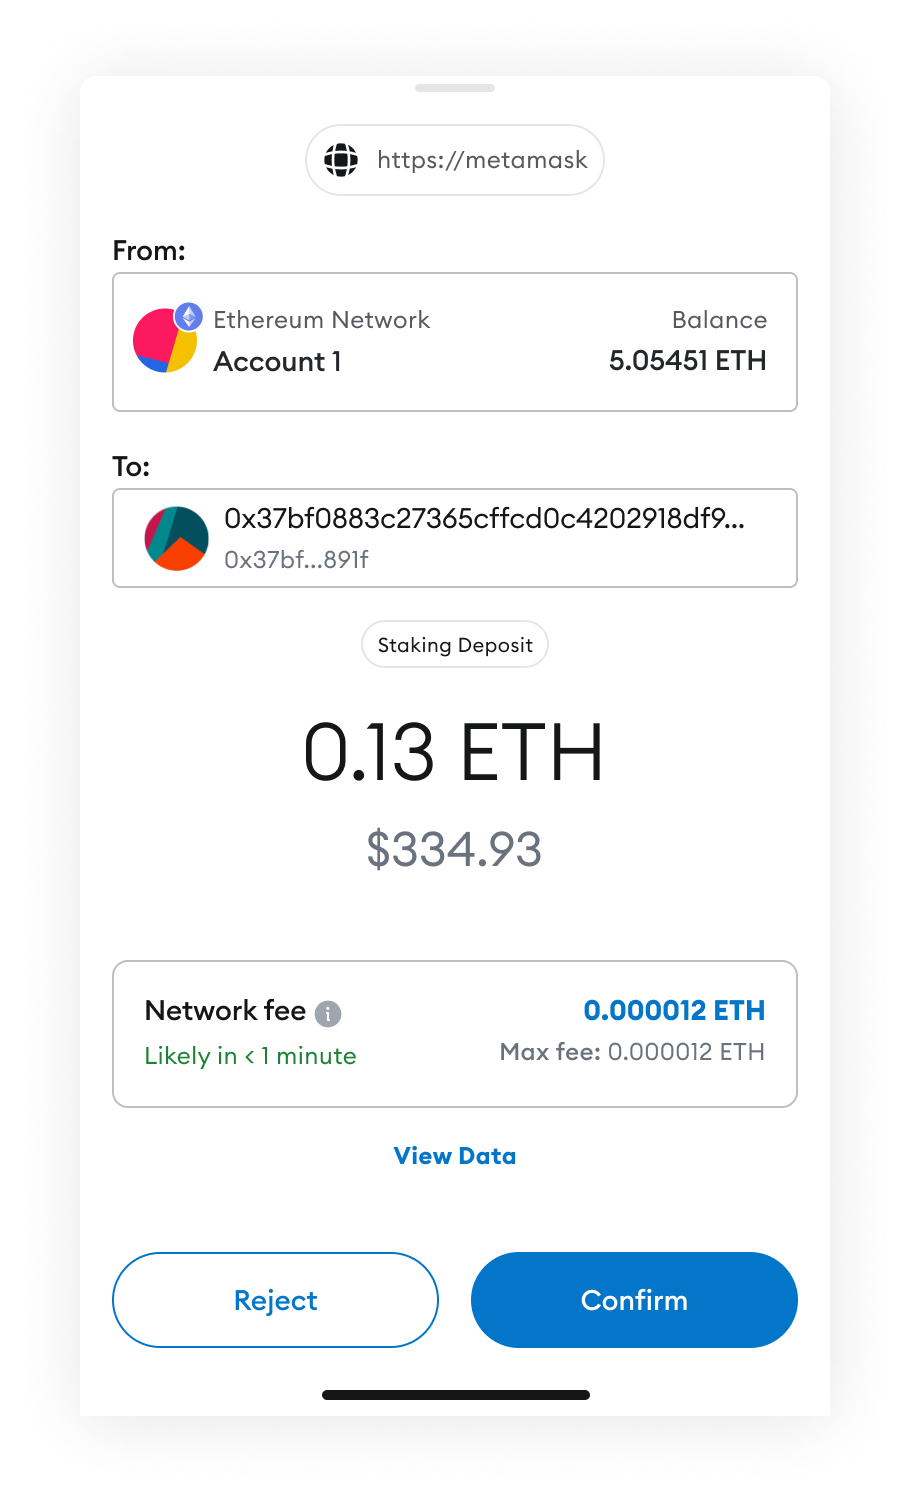
6. Once the transaction has completed, you’ll be able to see your staked Ethereum in the ‘Tokens’ tab. Click on your ETH or staked ETH to view a detailed breakdown of your staking balance, rewards and reward rate.
:::note
It is recommended to always keep some extra ETH in your account to pay for future gas fees/transaction costs with unstaking and claiming your unstaked ETH.
:::
### View your balance and earnings {#view-your-balance-and-earnings}
Once you have staked Ethereum, you can view your balance, earnings, and activity history. In MetaMask Portfolio, navigate to the [Pooled Staking tab](https://portfolio.metamask.io/stake?tab=pooled) by clicking ‘Move Crypto’ -> ‘Stake’ -> ‘Pooled Staking’.
In the MetaMask mobile app, click on your ETH or staked ETH balance from the ‘Tokens’ screen.
That's all there is to it — the deposit will now be reflected and you will start receiving ETH rewards.
If you run into any problems, contact support by hitting the 'Contact Support' button on the homepage of this site.
Since staking rewards are automatically staked, you will only realize your rewards once you unstake. Although rewards are not guaranteed, this mechanism means your stake will continually compound any rewards received without you having to take any action, optimizing your rewards. You can read more about how to unstake [here](./how-to-unstake.mdx).
## FAQs
What is the minimum deposit for MetaMask Pooled Staking?
There is no minimum deposit for MetaMask Pooled Staking. You can stake as little or as much ETH as you like.
Can I use MetaMask Pooled Staking with my hardware wallet?
Yes. Import your preferred hardware wallet account into MetaMask using the instructions [here](/more-web3/wallets/hardware-wallet-hub). Once you've finished importing the account into MetaMask, ensure the account is [connected to MetaMask Portfolio](/manage-crypto/portfolio/how-to-connect-your-accounts-to-metamask-portfolio), and you'll be able to use it with MetaMask Staking Pool.
---
# How to unstake from MetaMask Pooled Staking
URL: https://support.metamask.io/trade/earn/stake/pooled-staking/how-to-unstake/
> How to stop staking and withdraw ETH from the pool.
You can unstake all or part of your stake at any time. The process is simple and has two steps:
1. **Unstake your ETH**. Due to how the Ethereum protocol works, it can take a few days for your request to be processed.
2. **Claim your ETH** after the unstake request has been processed by the Ethereum protocol.
## How to unstake {#how-to-unstake}
### Unstake your ETH {#unstake-your-eth}
1. On the MetaMask Pooled Staking homepage, find the account that you want to unstake from. Click the three vertical dots on the right, and then select 'Unstake':
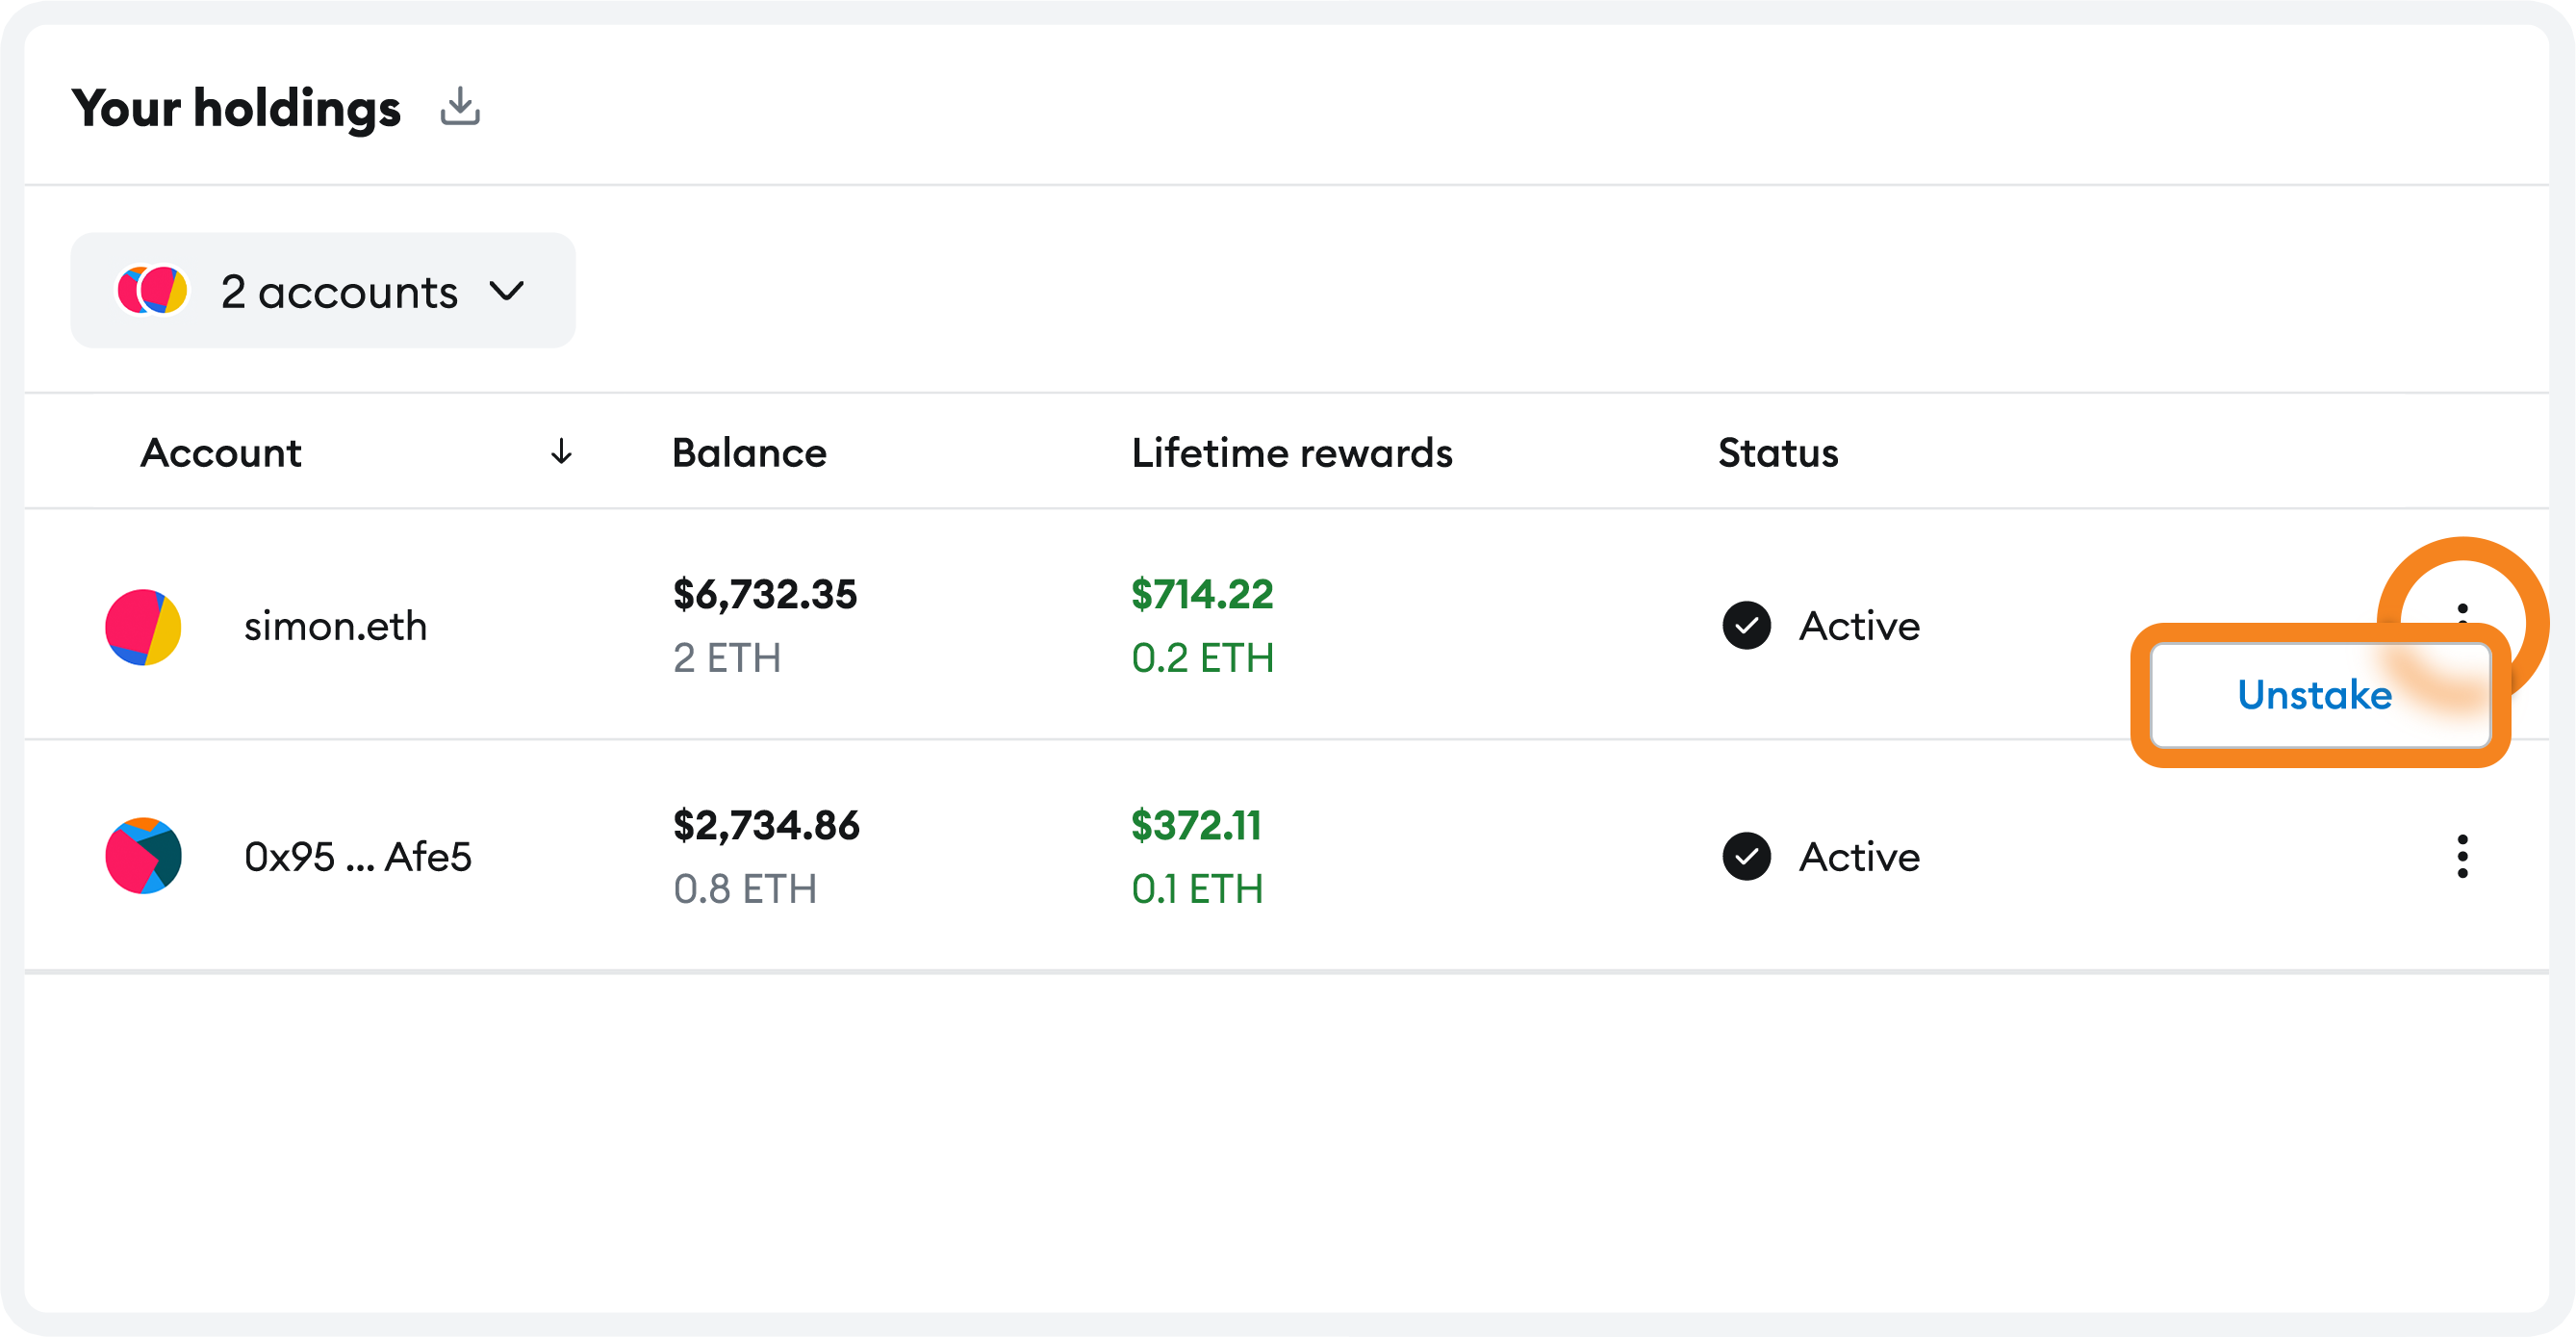
2. Input the amount of ETH you want to unstake. The app will update to display how long it will take to unstake your ETH, and the gas fee of the transaction. This duration of the unstaking period is due to the design of the Ethereum staking protocol. If you're happy to proceed, click the 'Unstake' button to prompt a transaction in MetaMask:
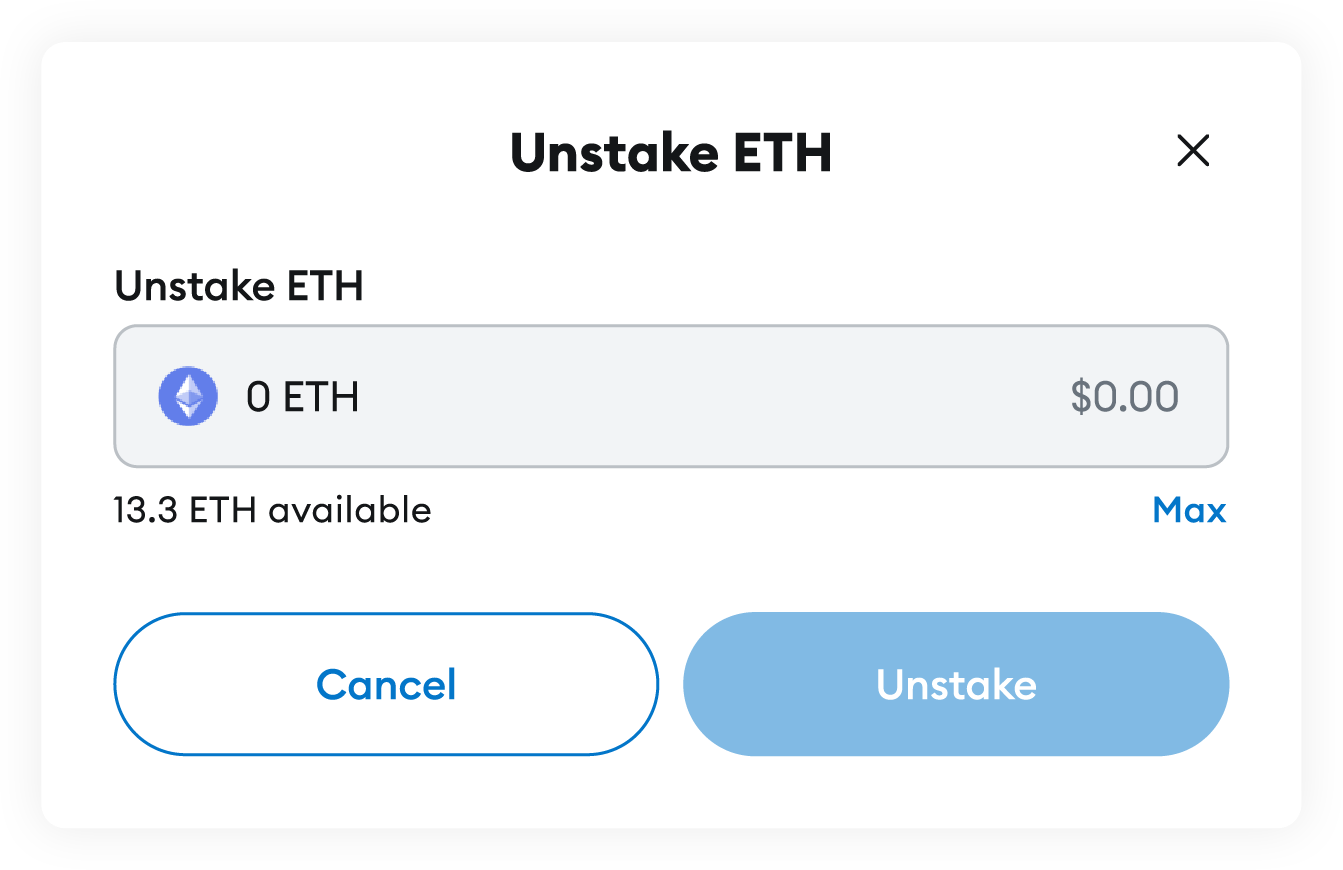
3. Once the transaction is confirmed, you should see a 'Transaction complete' message that confirms how long it will be before you can claim the unstaked ETH:
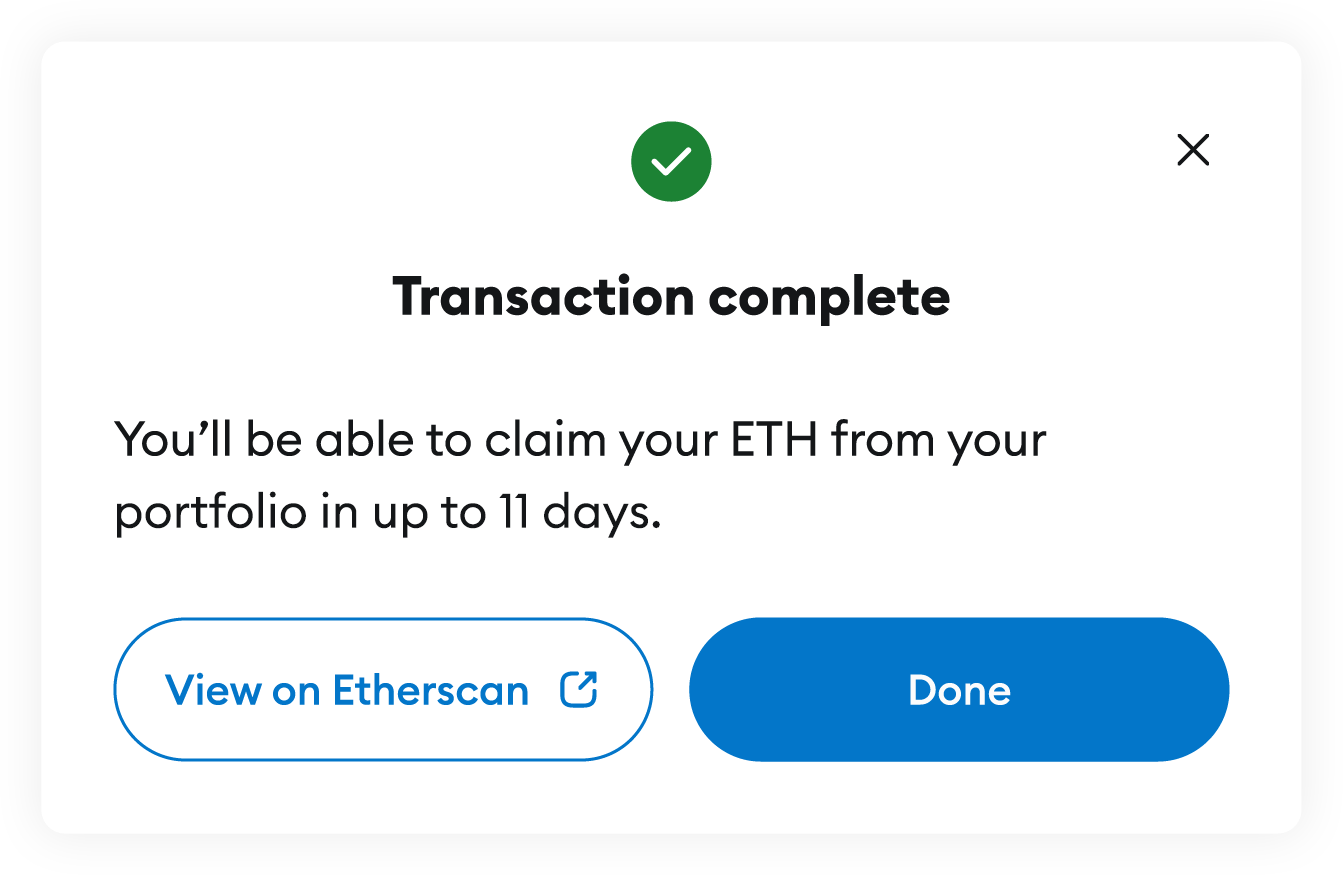
If you return to the homepage of MetaMask Pooled Staking, the status of your unstaked amount will
show as 'Unstaking'. You will continue to earn staking rewards until your unstaked ETH is
available to claim.
1. Navigate to the ‘Tokens’ screen. Click on your ETH or staked ETH balance.
2. On the next screen, click ‘Unstake’.
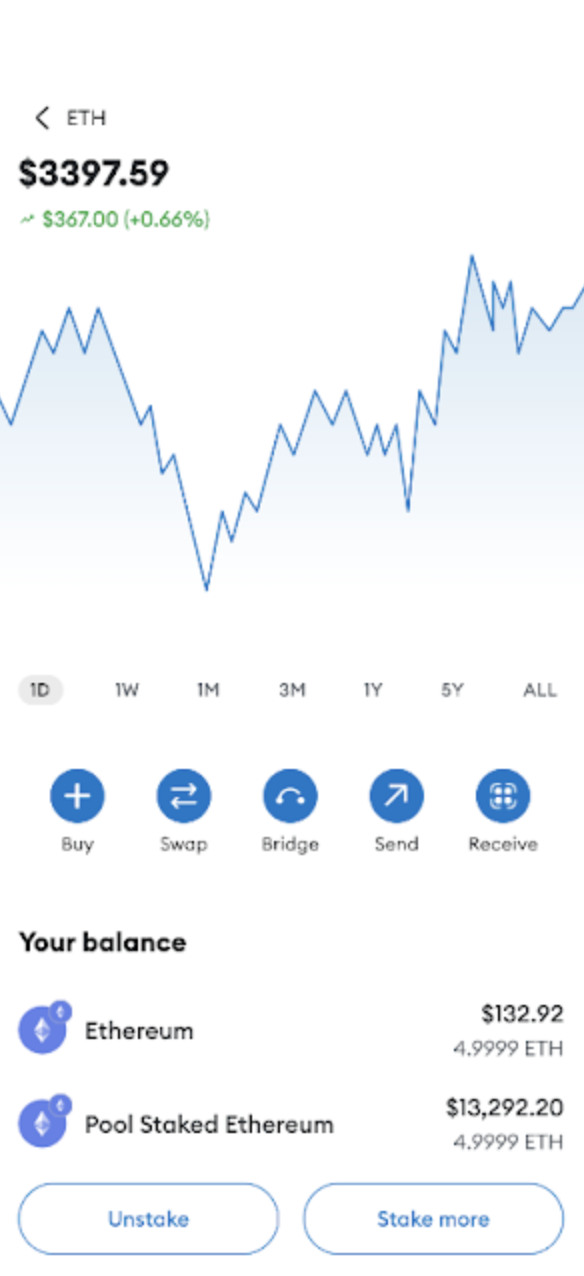
3. Enter the amount of ETH you’d like to unstake. You will see your staked ETH balance toward the top of the screen.
4. Review the transaction details. This page will display how long it will take to unstake your ETH, and the gas fee of the transaction. This duration of the unstaking period is due to the design of the Ethereum staking protocol.
5. Click ‘Confirm’ when you’re ready to proceed.
During the unstaking period, you can see an updated time estimate by clicking on your staked ETH balance from the ‘Tokens’ screen.
### Claim your ETH {#claim-your-eth}
When the unstake period is complete, the status will update to 'Ready to claim' and a 'Claim' button will appear on the right. Click it to proceed and initiate the claim transaction in MetaMask:
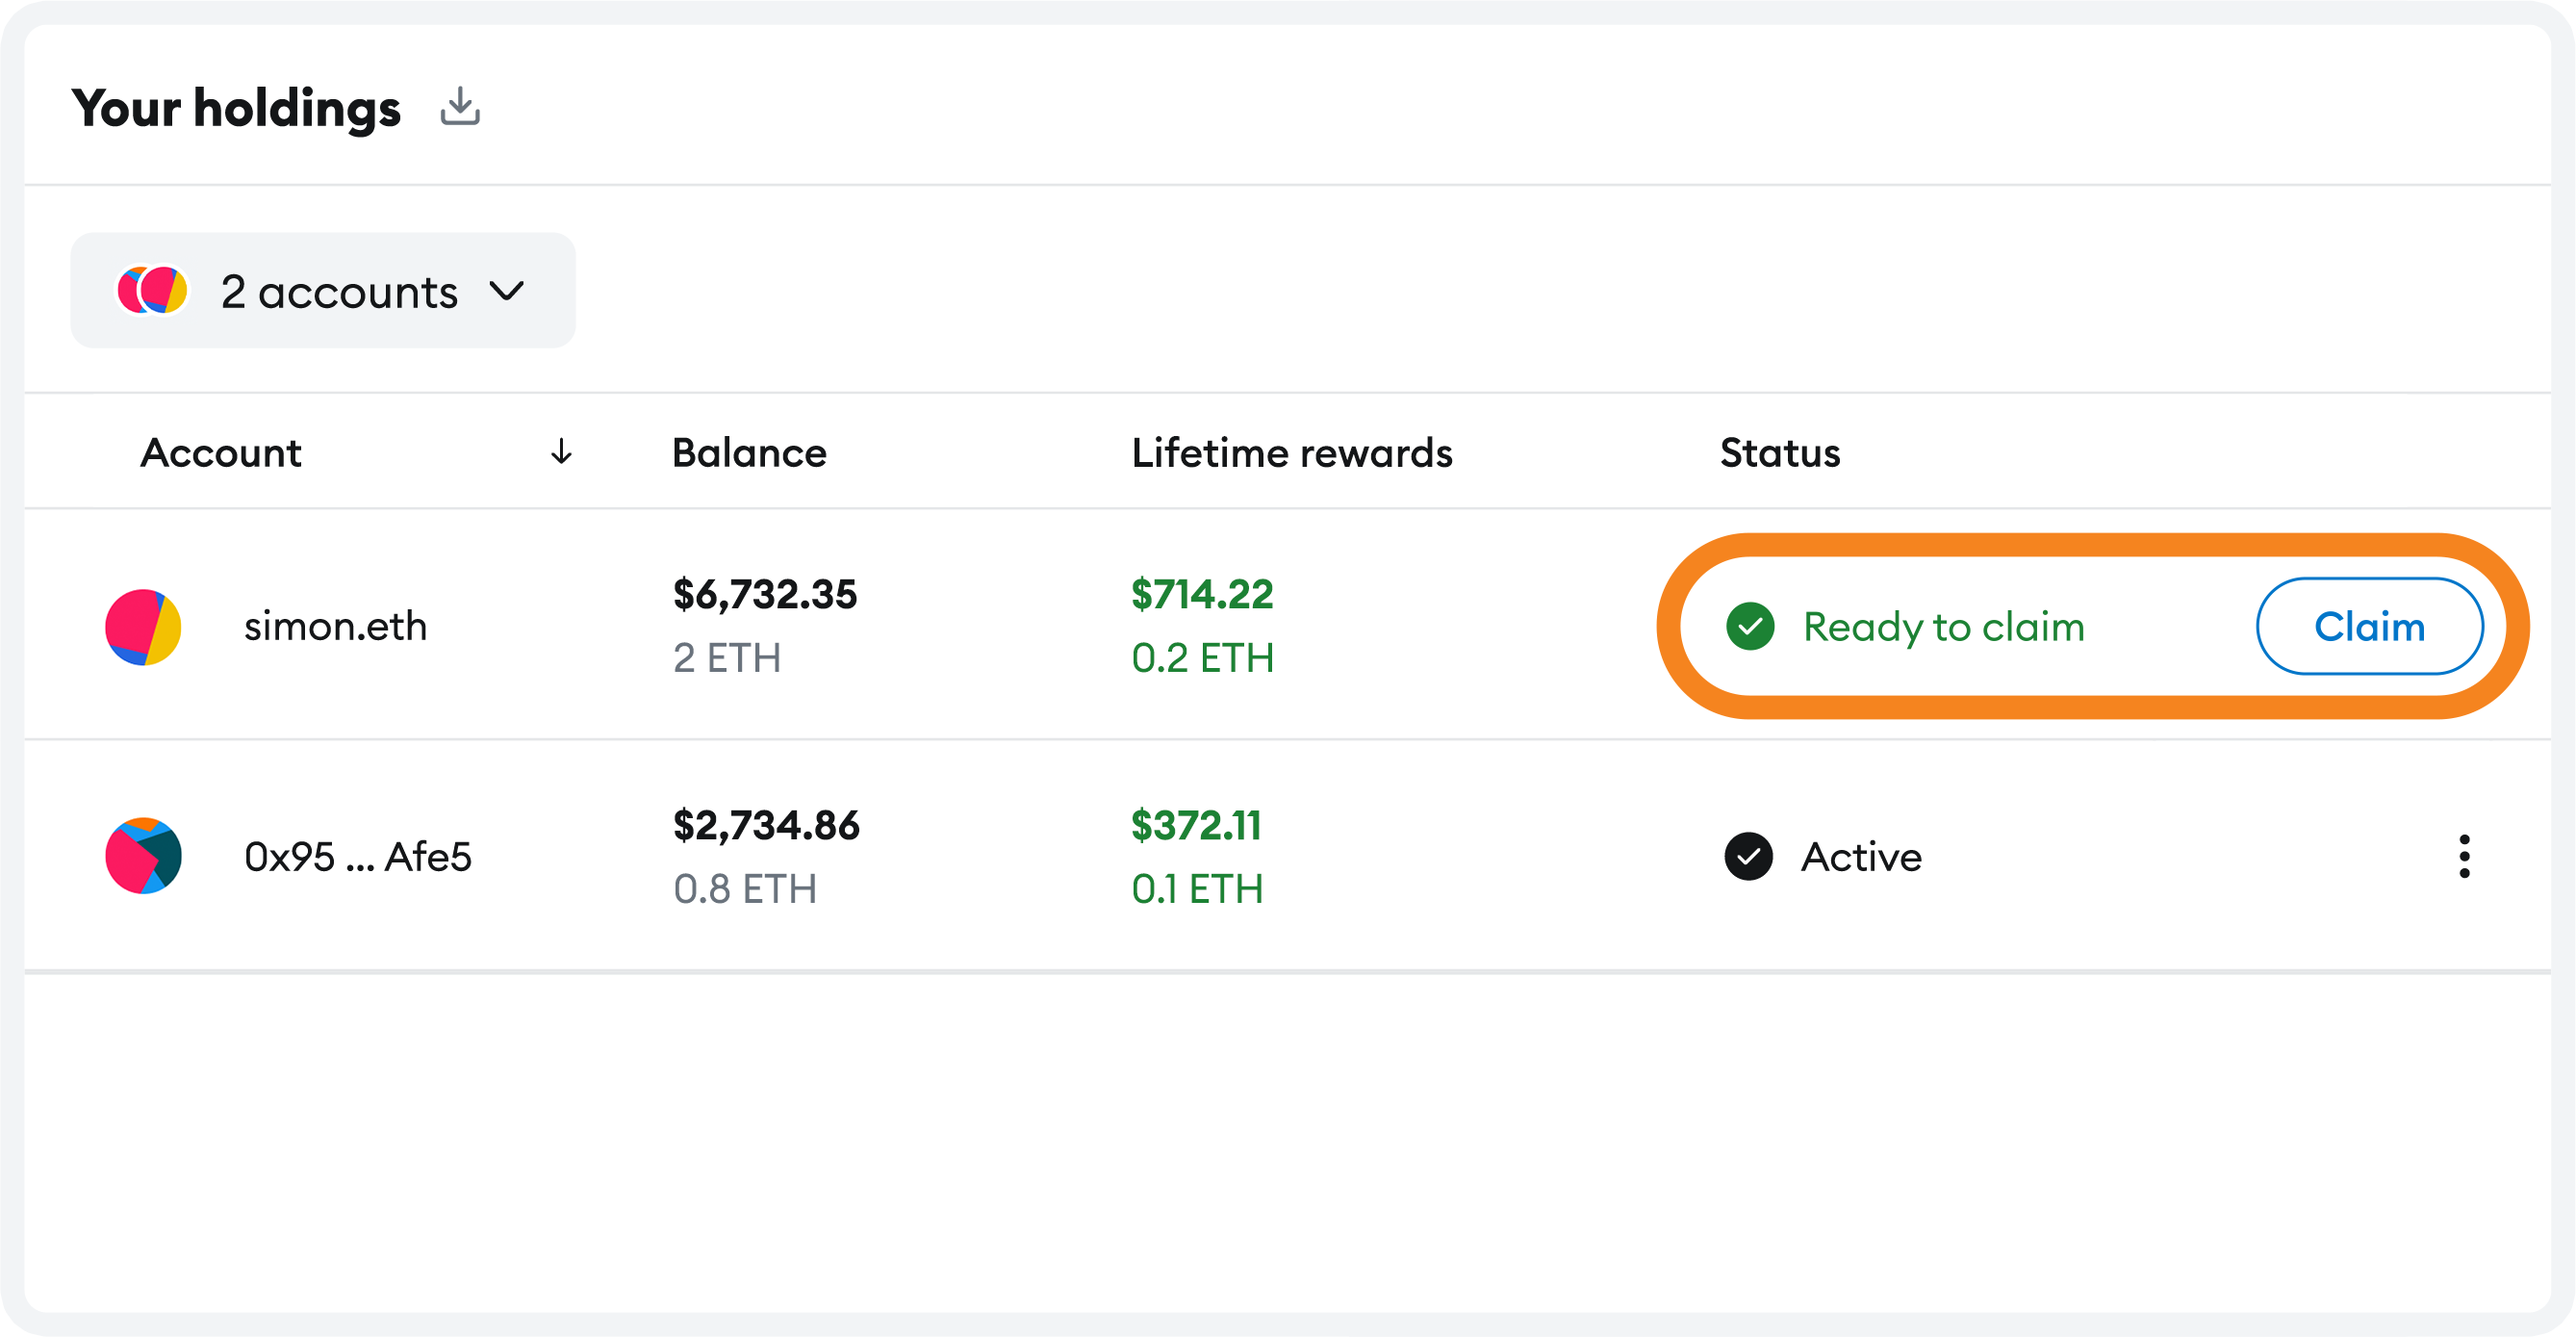
Once the transaction is confirmed, your unstaked ETH will be available in your connected account and visible in your Portfolio dashboard and account.
When the unstake period is complete, you can claim your earnings through the following steps:
1. Navigate to the ‘Tokens’ screen. Click on your ETH or staked ETH balance.
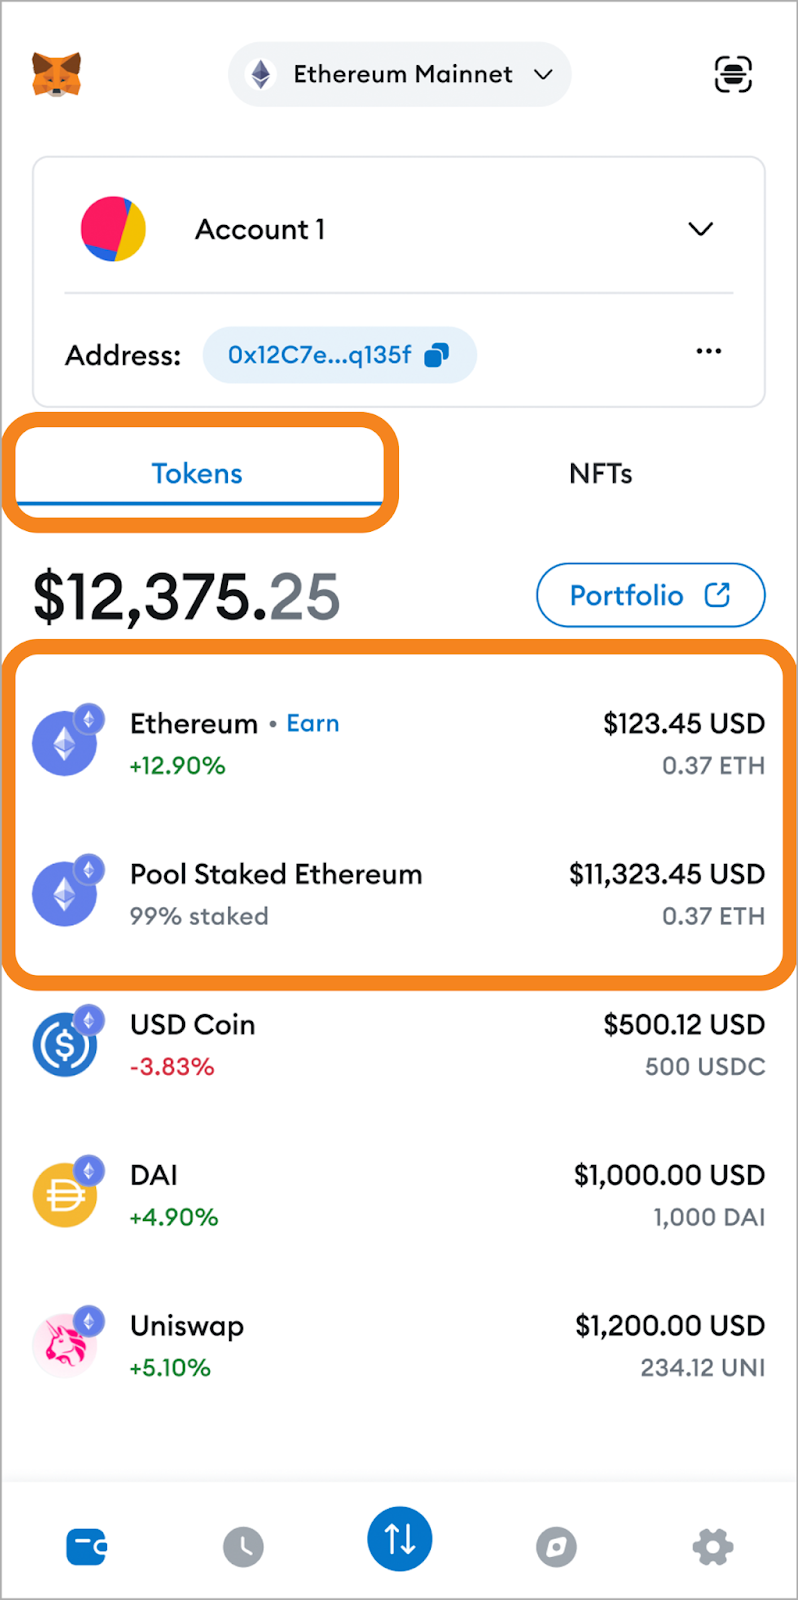
2. On the next screen, click ‘Claim ETH’ on the green banner.
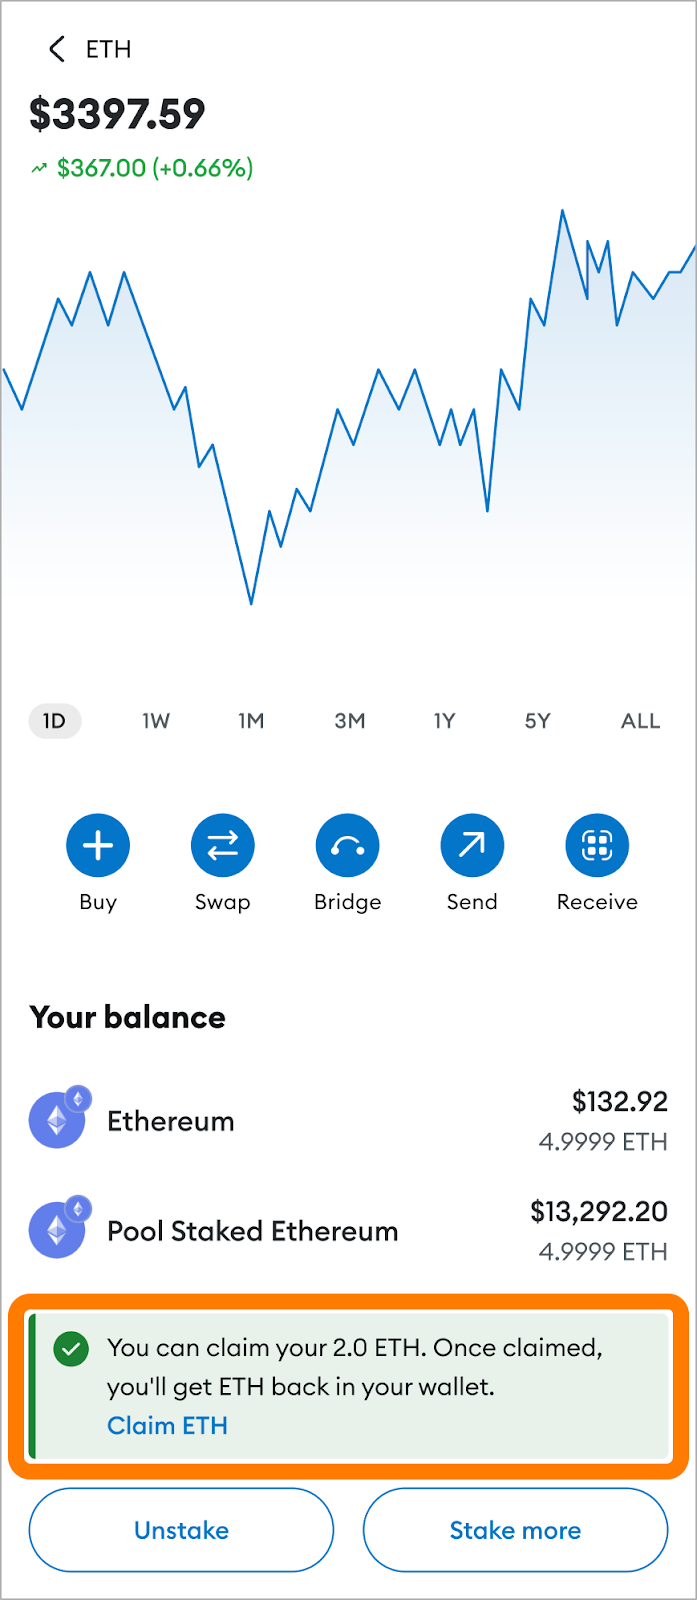
3. You’ll see the details of your unstaking. Click ‘Claim’.
4. Once the transaction is complete, your ETH balance will update to reflect the unstaking.
## Why is the claimable amount different from the amount I unstaked from the pool?
When you request to unstake some or all of your ETH, you will not receive it instantly. Instead, there is a short delay, due to the way the Ethereum protocol works.
Until your ETH is available to claim, you will continue to earn rewards. These rewards will be included in the amount you are able to claim once the unstaking process is complete.
---
# What is MetaMask Pooled Staking?
URL: https://support.metamask.io/trade/earn/stake/pooled-staking/what-is-mm-pooled-staking/
> Learn what staking is, and how MetaMask Pooled Staking works.
:::info
Disclosure: Consensys stakes 1,000 ETH using this offering.
:::
MetaMask Pooled Staking enables you to earn ETH rewards for securing the Ethereum network.
As explained in our [What is staking?](/trade/earn/stake/what-is-staking) article, Ethereum depends on a large network of entities—people, companies, organisations—running a copy of the blockchain on software on their device, known as a node. On Ethereum, nodes are known as validators, and there are currently over 1 million active.
For every new block on Ethereum, a single validator is randomly chosen to propose which transactions should be included, and what order they should go in. All other validators must then attest to the validity of the proposed block. In return for supporting this service, the Ethereum protocol rewards the account which deposited ETH into these validators.
Normally, a validator requires a deposit of 32 ETH. This is precisely the service we offer with [MetaMask validator staking](/trade/earn/stake/validator-staking), but it is a sizable barrier to entry given 99% of ETH wallets hold less than 32ETH.
With MetaMask Pooled Staking, you can take part in staking with any amount of ETH, pooling your ETH with those of others to make up the 32 ETH required for a validator. You then receive a share of the rewards the validator generates, proportional to the deposit you contributed, while MetaMask handles the validators' duties of attesting and proposing new blocks.
---
# Why is my validator staking rewards rate higher or lower than I expected?
URL: https://support.metamask.io/trade/earn/stake/validator-staking/expected-rewards-different/
> Why your staking rewards rate is higher or lower than you expected.
Validator rewards vary naturally due to how the Ethereum protocol randomly selects single validators to propose blocks.
Over a long time period, all MetaMask validators are expected to earn a similar reward rate, close to the expected rate presented in the staking widget (see [How do validator staking rewards work?](/trade/earn/stake/validator-staking/rewards-validator-staking)). However, since validators are randomly selected by the Ethereum protocol to propose blocks, rewards may be higher for a short period of time if the validator is selected and the block offers high MEV rewards. Similarly, rewards may be lower if the validator has not yet been selected to propose a block.
With 1 million active validators at the time of writing, and one block proposed every 12 seconds, each validator is expected to propose a block every four months.
## Reward variability in the wild {#reward-variability-in-the-wild}
This is what a validator's rewards look like over a short period of time:
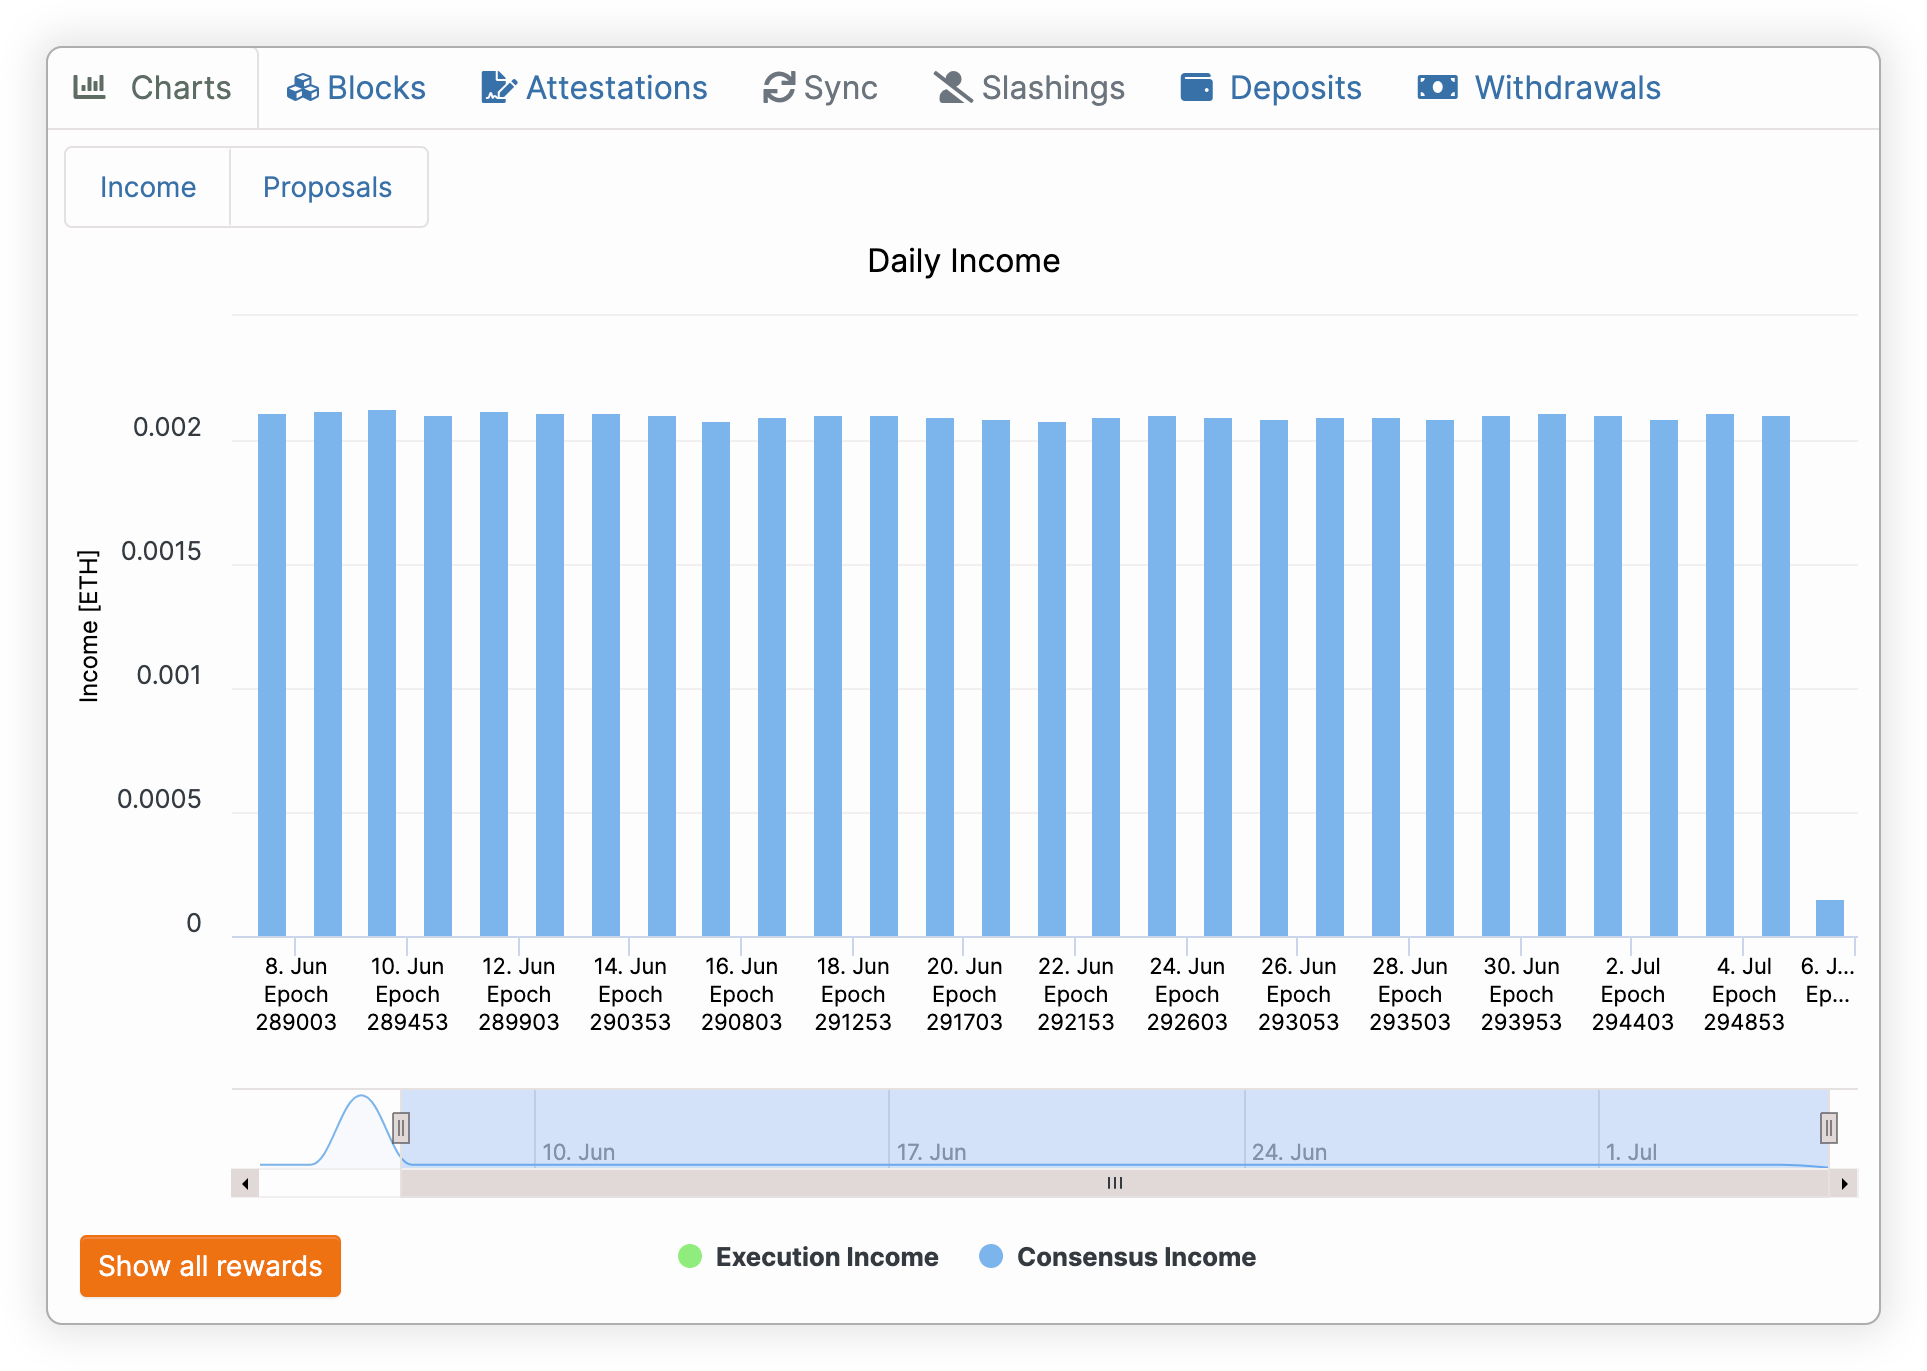
And this is what a validator's rewards look like over a long period of time, clearly showing spikes where it was selected for block proposal:
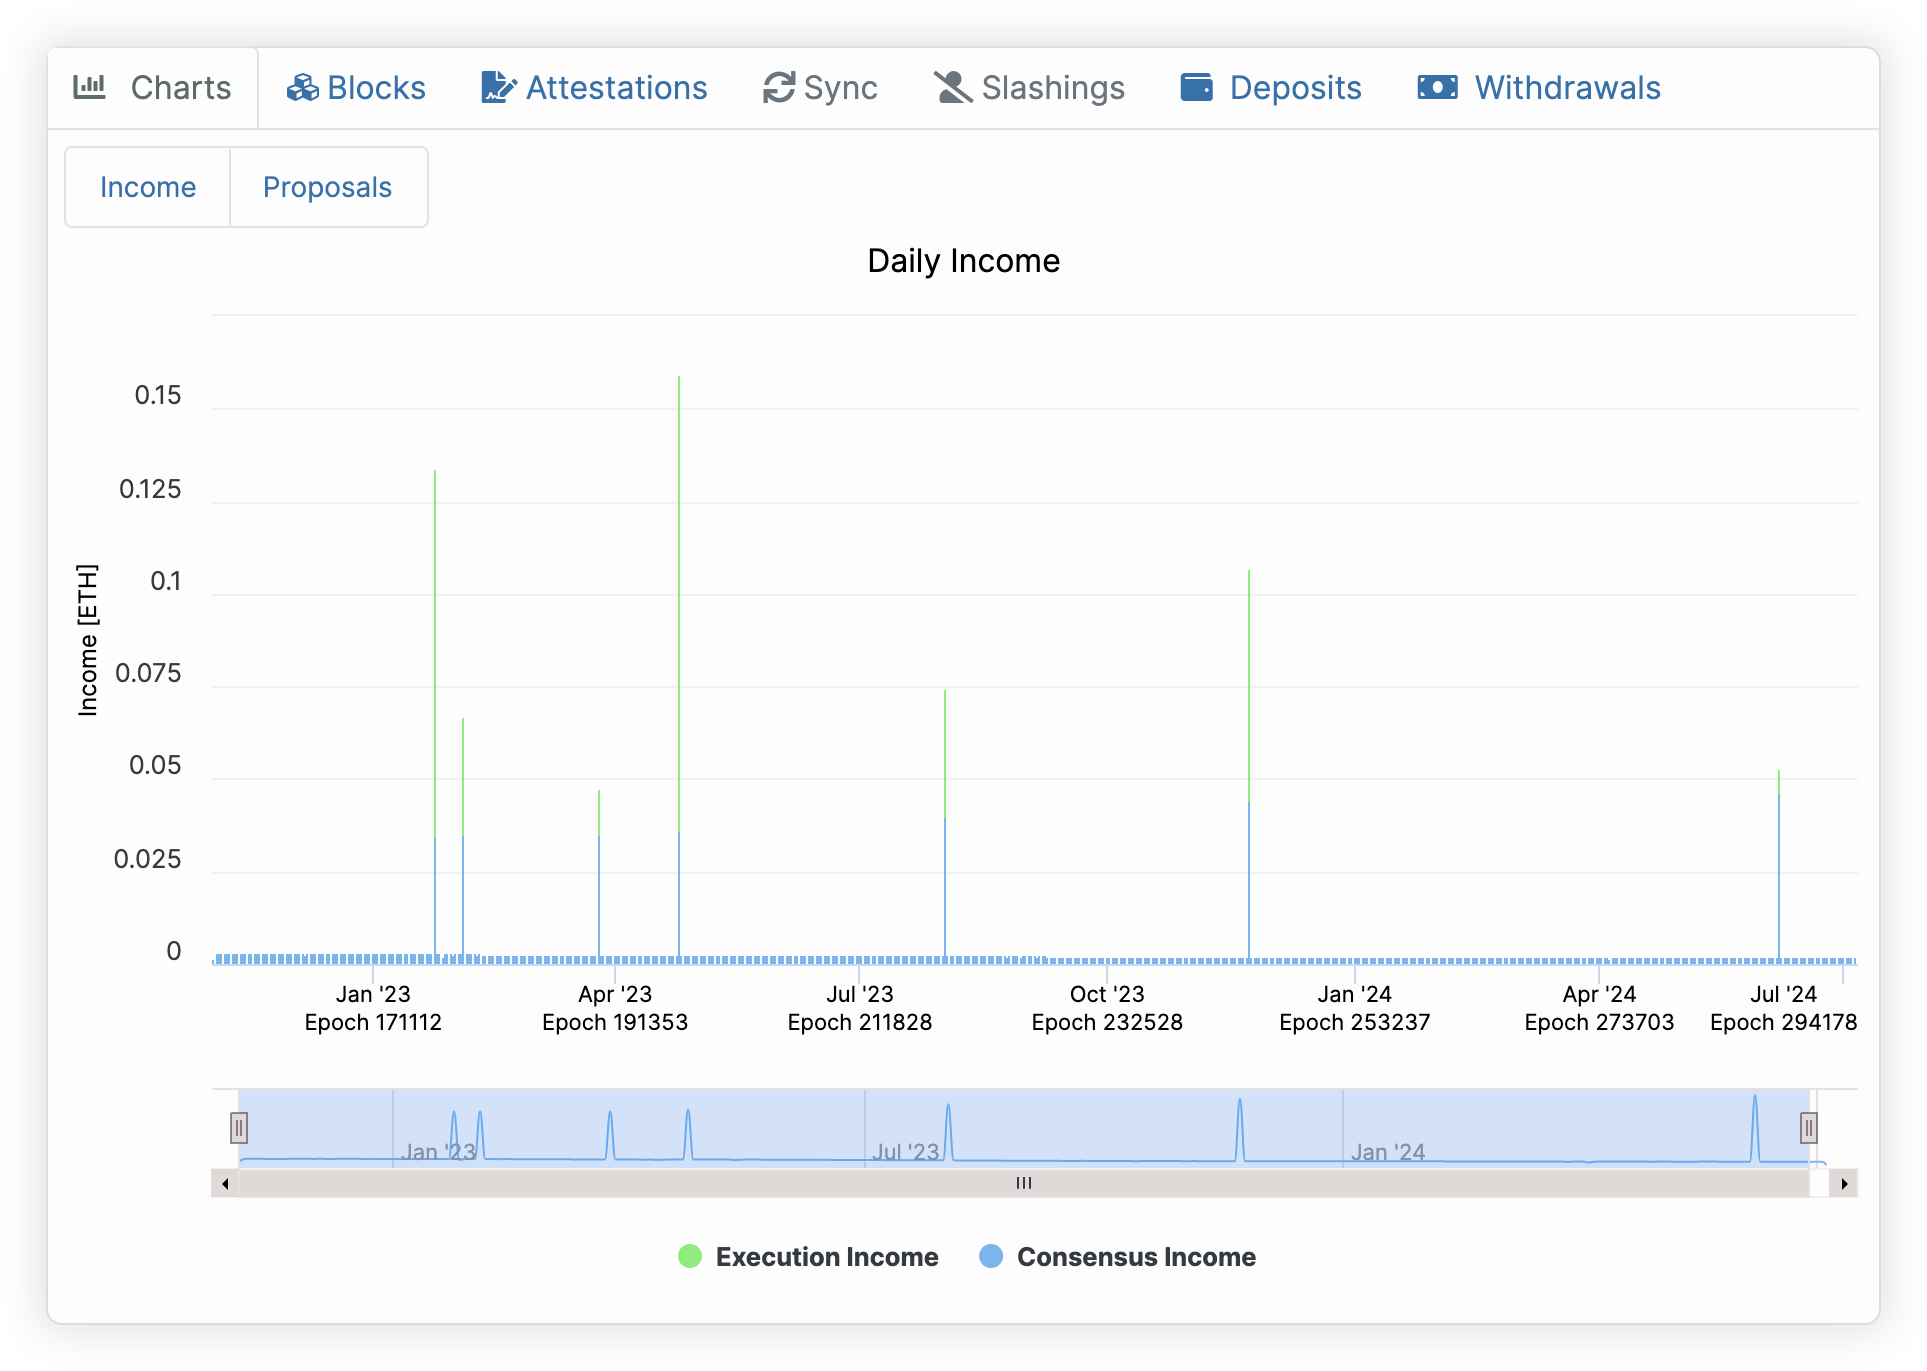
In the above example, the validator has proposed seven blocks over the last 18 months, with rewards ranging between 0.04 ETH and 0.16 ETH.
## Reasons behind reward variability {#reasons-behind-reward-variability}
**Over a short period of time, validators earn rewards for attesting the validity of the blocks proposed by other validators**. Each validator is expected to attest each and every block. In return, the validator receives a small amount of ETH (“consensus reward”) — 0.000009 at the time of writing — every 6.4 minutes. This is equivalent to 0.002 ETH per day and a reward rate of ~2.4% per annum.
**Over a longer period of time, validators also earn rewards for proposing blocks**. The block proposal rewards include two components: a base rate (“consensus rewards”) and a variable rate (“execution rewards”).
- The consensus reward is ETH newly created by the Ethereum protocol to reward the validator. It is stable in value, at around 0.035 ETH.
- The execution reward varies because it depends on the specific transactions that are included into the block, and whether or not they include high tips and MEV (Maximum Extractable Value). It can range from 0 to a few ETH. On July 30th, 2023, a validator even proposed a block with 584 ETH of execution rewards!
As such, there is a luck component to validator rewards: how often will your validator propose a block, and what rewards will it earn for proposing this block?
When evaluating over a large number of validators, block proposals historically account for a reward rate of around 15-20%, but for a smaller number of validators in a short time period, this can be higher or lower, and as low as 0% if the validator has not yet proposed a block.
## Summary {#summary}
In conclusion, let's review what is within our control, and what is not:
| Within MetaMask's control |
Outside MetaMask's control |
|
**Ensure validators perform their duties as well as possible.** We want your validators to miss as few block
attestations and block proposals as possible. Our participation rate is historically above 99.9%.
|
**Which validator is selected to propose a block.** Validators are randomly selected by the Ethereum protocol.
Some validators may propose two blocks in the same week, while others may not propose any block for months. On
average, a validator proposes a block every 140 days.
|
|
**Ensure each proposed block generates as many MEV rewards as possible.** We are integrated with highly effective
MEV relayers, which compete to relay the block with the highest reward value to your validator(s) to optimize its
rewards.
|
**The "tips" and MEV rewards that can be earned by proposing a block.** This depends on the transactions included
in the block your validator proposes.
|
For more information on how rewards are generated and calculated, see [here](/trade/earn/stake/validator-staking/rewards-validator-staking).
---
# How to claim your validator rewards
URL: https://support.metamask.io/trade/earn/stake/validator-staking/how-do-i-claim-my-validator-rewards/
> Learn how to withdraw your validator rewards.
You can claim validator rewards at any time:
- For a specific validator, via the 'Validators' tab, or;
- For all validators associated with an account, via the 'Account' tab.
Please note that rewards can only be withdrawn to the same account you staked with.
:::note
Withdrawing validator rewards requires on-chain transactions, and, by extension, paying gas fees. Withdrawing more frequently will result in paying gas fees more often.
:::
## Withdraw rewards from one validator {#withdraw-rewards-from-one-validator}
1. From the validator staking homepage, click on the three vertical dots on the right of the validator whose rewards you want to claim (make sure there are some rewards shown in the 'Available rewards ' column, or you won 't be able to claim anything):
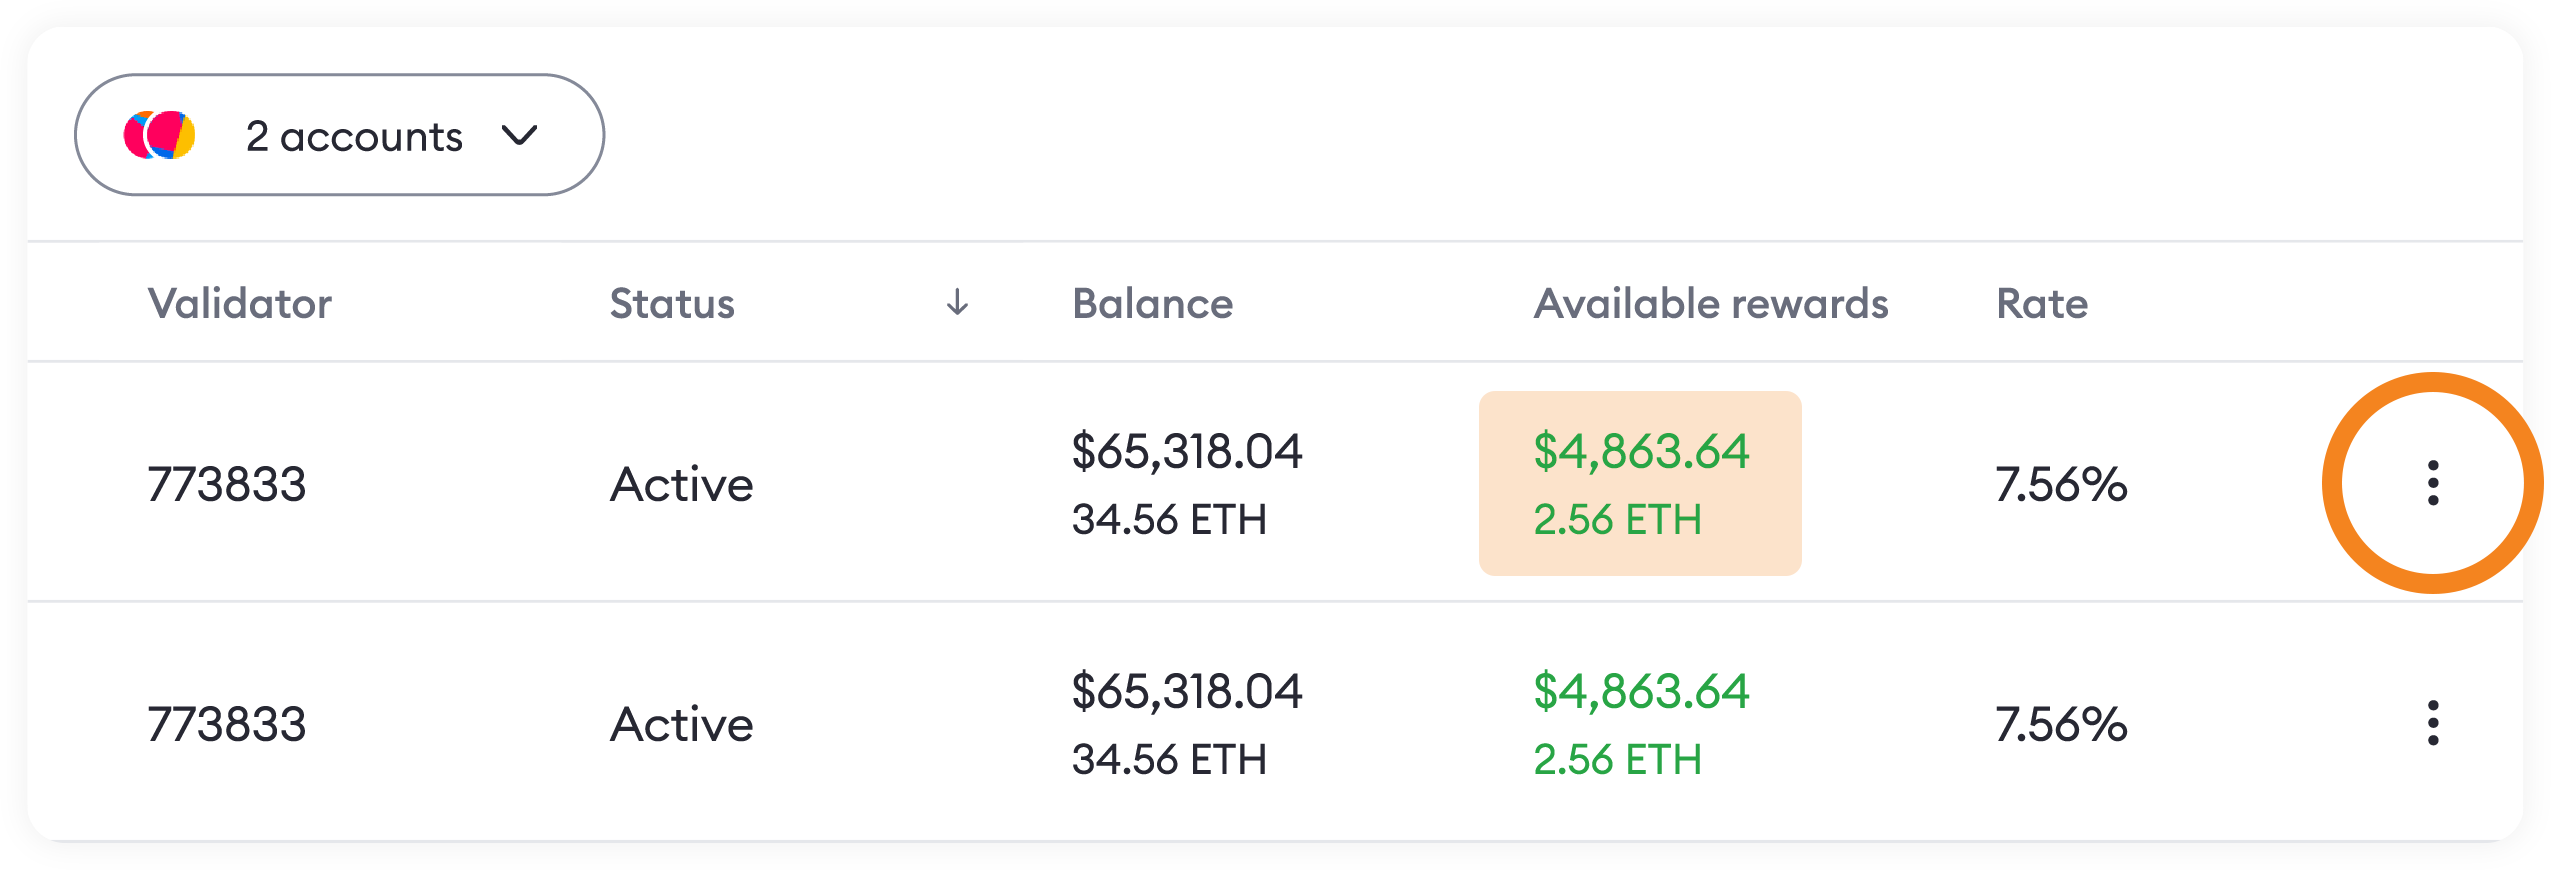
2. From the options available, select 'Withdraw rewards only':
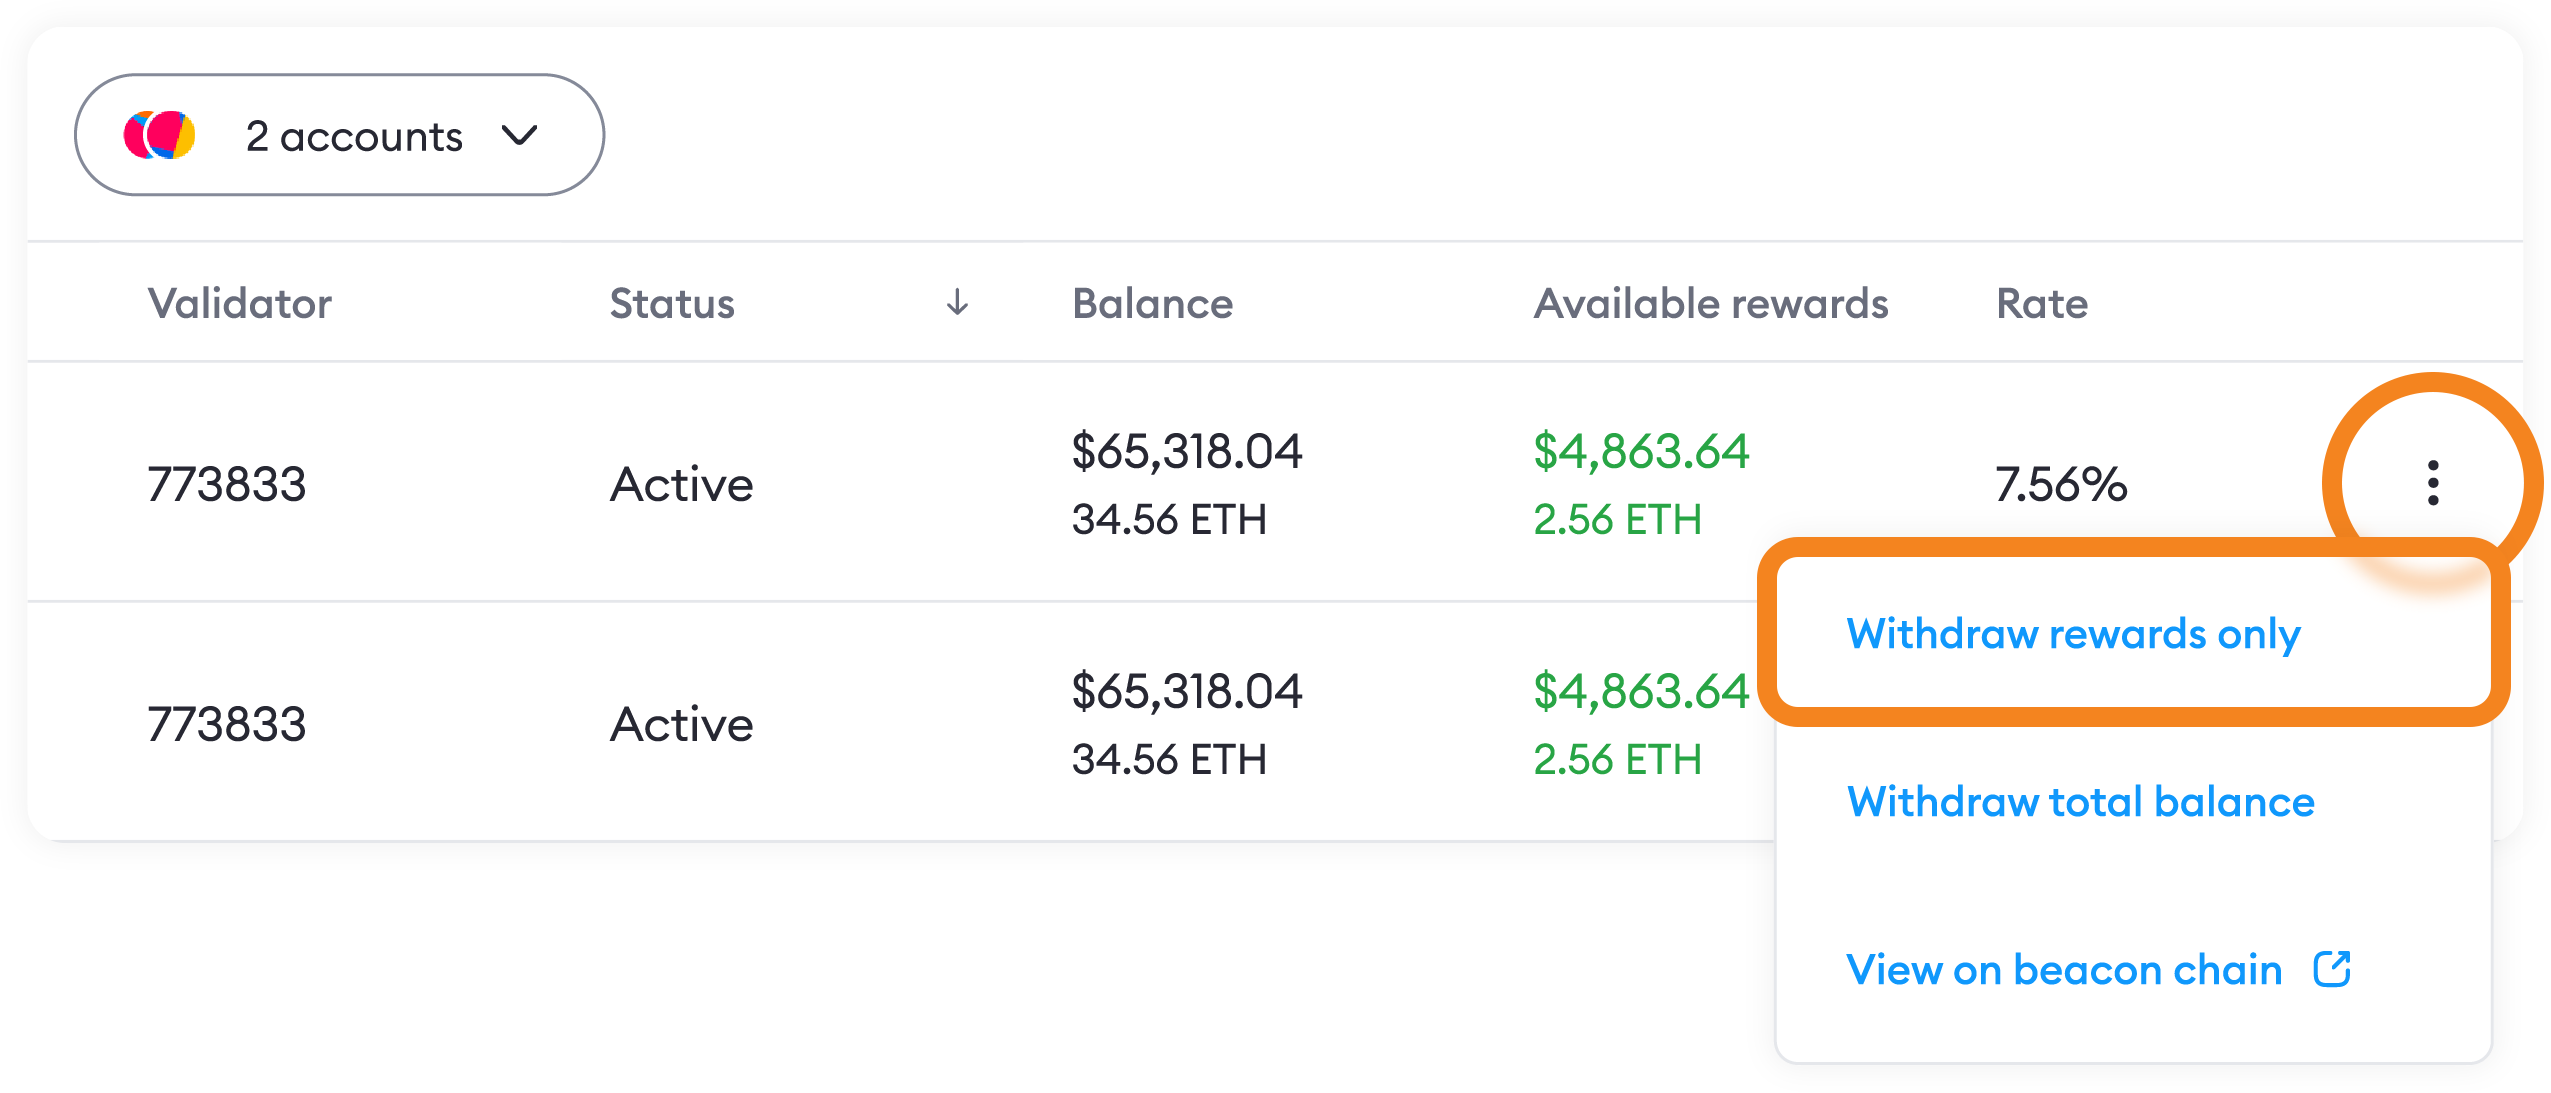
3. Now you'll see the 'Review withdrawal' screen. Review the details, and click 'Confirm' if you're happy to proceed. When you withdraw from a validator for the first time, you'll need to sign an additional transaction to prepare your withdrawal address. Thereafter, you can claim with a single transaction per validator.
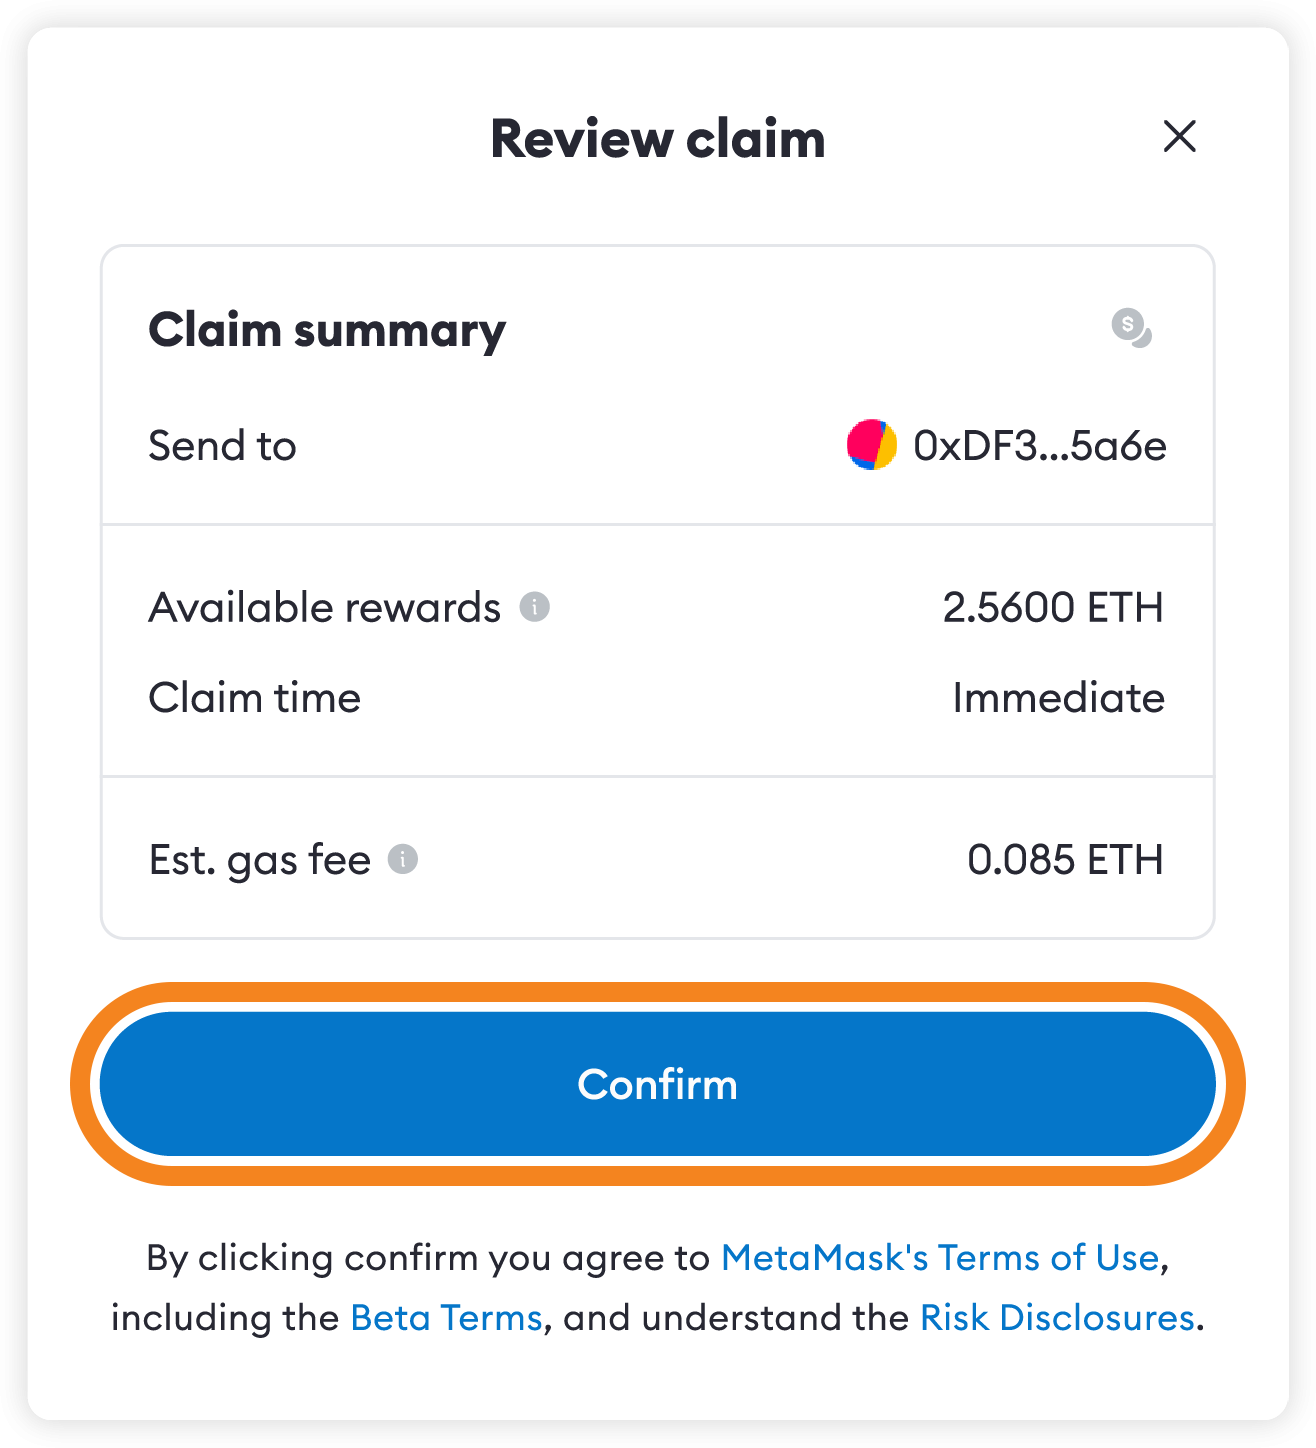
After a short wait while the transaction is picked up and confirmed, you should see a 'Transaction complete' message appear on screen, and the rewards should be available in your account.
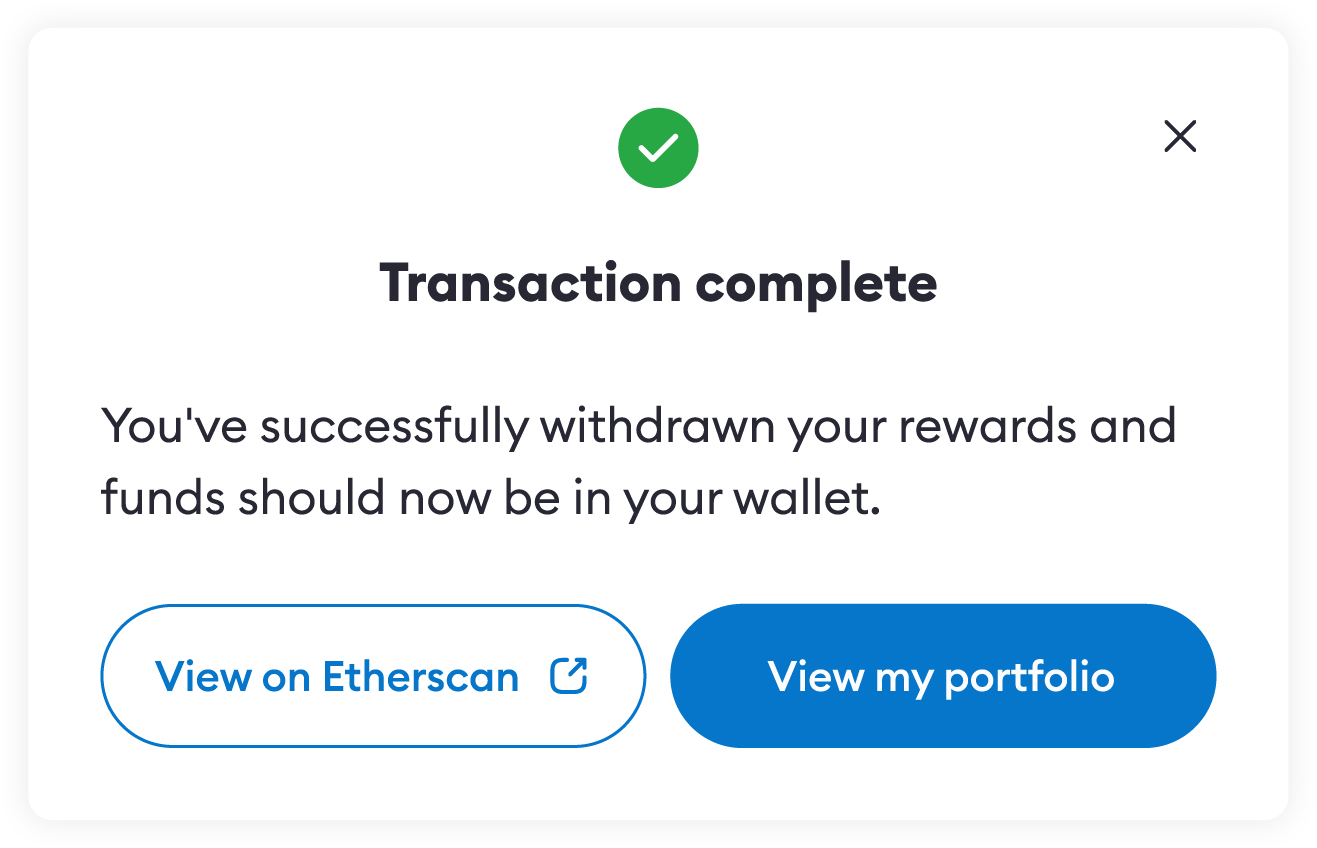
## Withdraw rewards from all validators {#withdraw-rewards-from-all-validators}
1. Head to the 'Accounts' tab on your validator dashboard. Here you should see all of the validators associated with your account, grouped by status — activating, active, exiting, or exited:
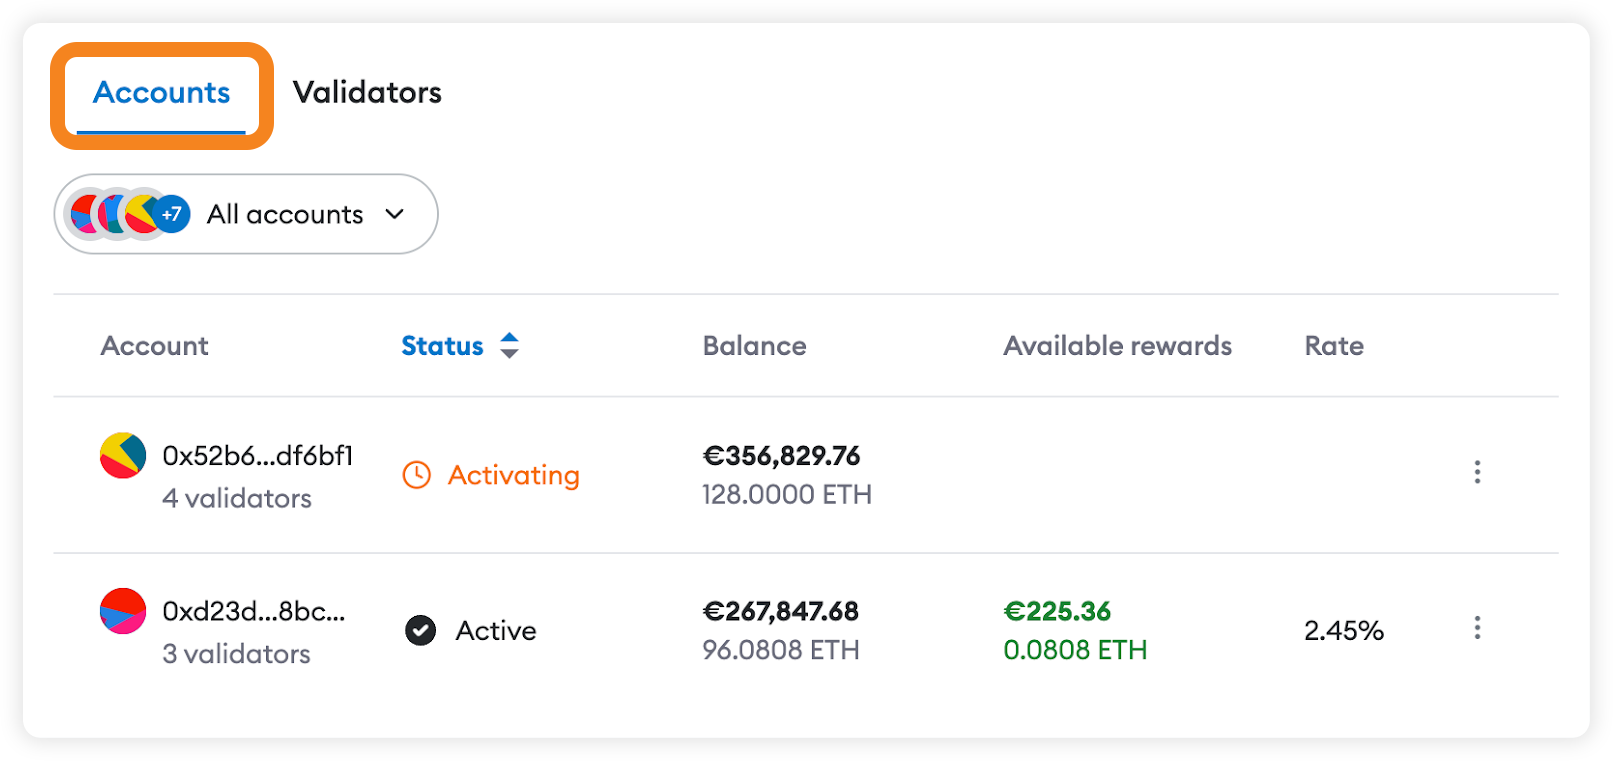
2. Click the three vertical dots next to the 'Active' group, and then 'Withdraw rewards only':
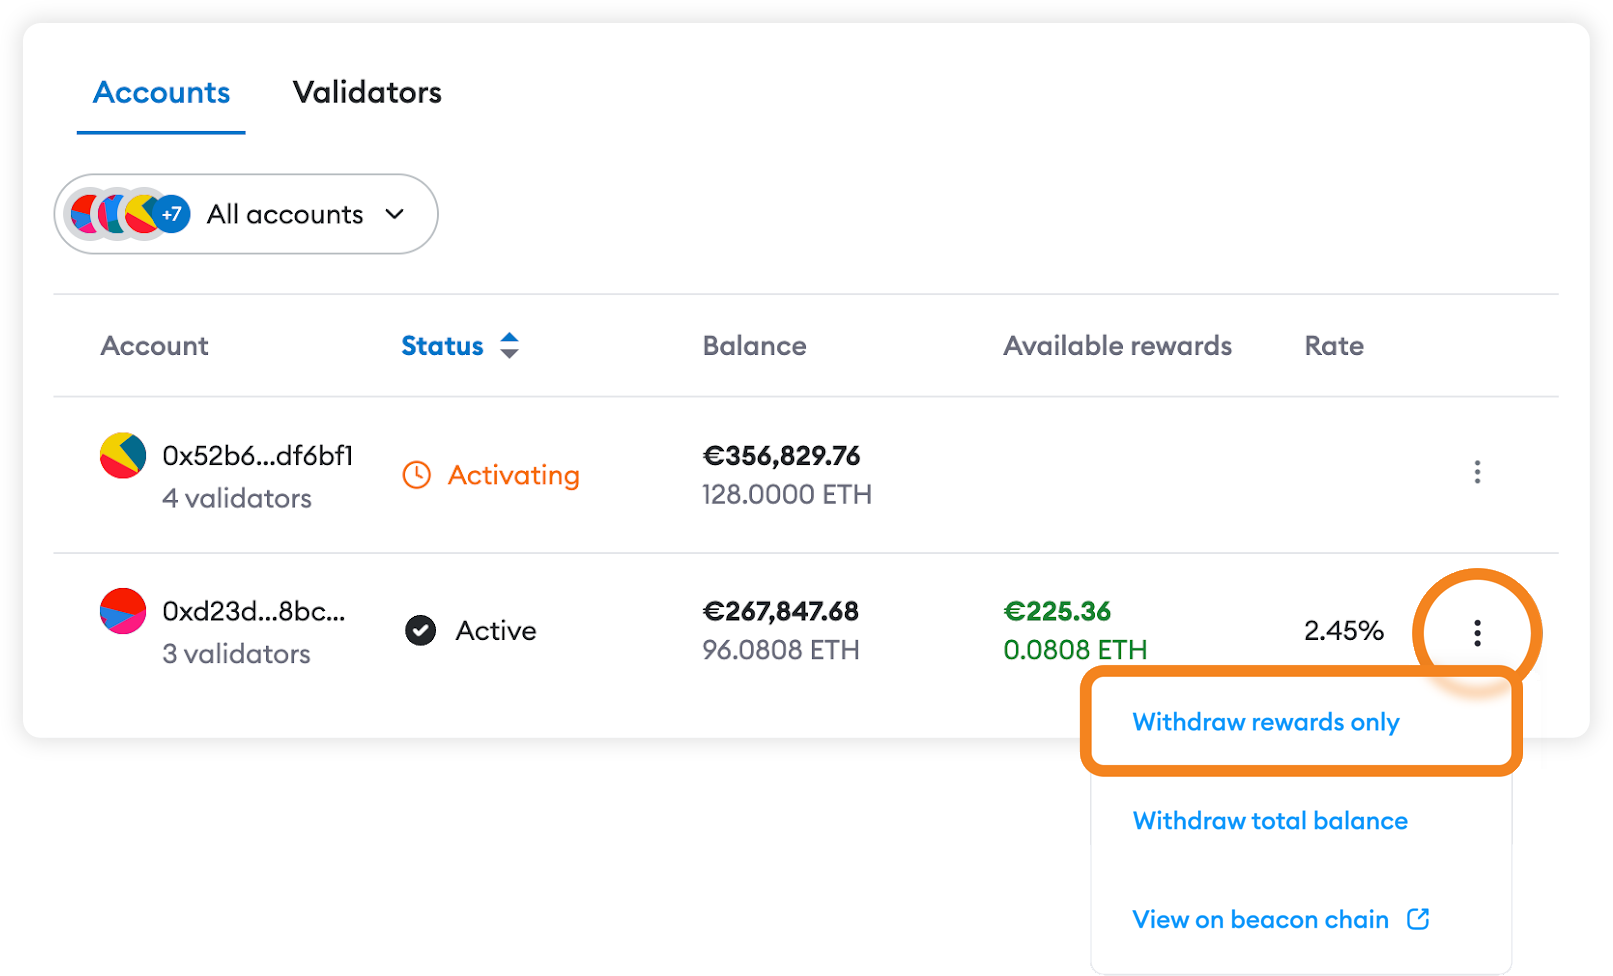
3. Next, you'll see the 'Review withdrawal' screen. If this is your first time withdrawing rewards from your validators, you'll need to sign an additional transaction to prepare your withdrawal address. Thereafter, you can claim from all validators with a single transaction.

Once the claim transaction is completed, you should see a 'Transaction complete' message:

## MetaMask fee
MetaMask charges a flat fee of 10% of your validator(s') rewards.
This fee is taken when you claim your rewards. This is how it works:
- The rewards your validator earns are sent to a smart contract which MetaMask does NOT hold the key for. If we did, we'd be custodians of your fund, which we really don't want.
- The smart contract has a function that, when called, funnels 90% of rewards to your wallet and 10% to a MetaMask-owned wallet.
- This smart contract can only be called by either your wallet or a MetaMask wallet. In either way, MetaMask doesn't get to decide where the funds are funneled: it's configured in the smart contract based on the account you used to deposit the funds in the first place.
The rewards figure you see for your validator claimable rewards is always post-fee: you will always receive the displayed rewards figure.
:::note
The validator rewards rates also reflect your reward rates after our fee is subtracted.
:::
---
# How to stake with validator staking
URL: https://support.metamask.io/trade/earn/stake/validator-staking/how-do-i-stake-with-validator-staking/
> Learn how to use validator staking.
Validator staking involves depositing 32 ETH and having your validator operated by MetaMask Staking. You collect the rewards, minus a fee, and are free of the responsibility of maintaining the validator. To read more, see our explanation [here](/trade/earn/stake/validator-staking/what-is-validator-staking).
1. Head to MetaMask Portfolio, select 'Move Crypto', and then click the 'Stake' button:
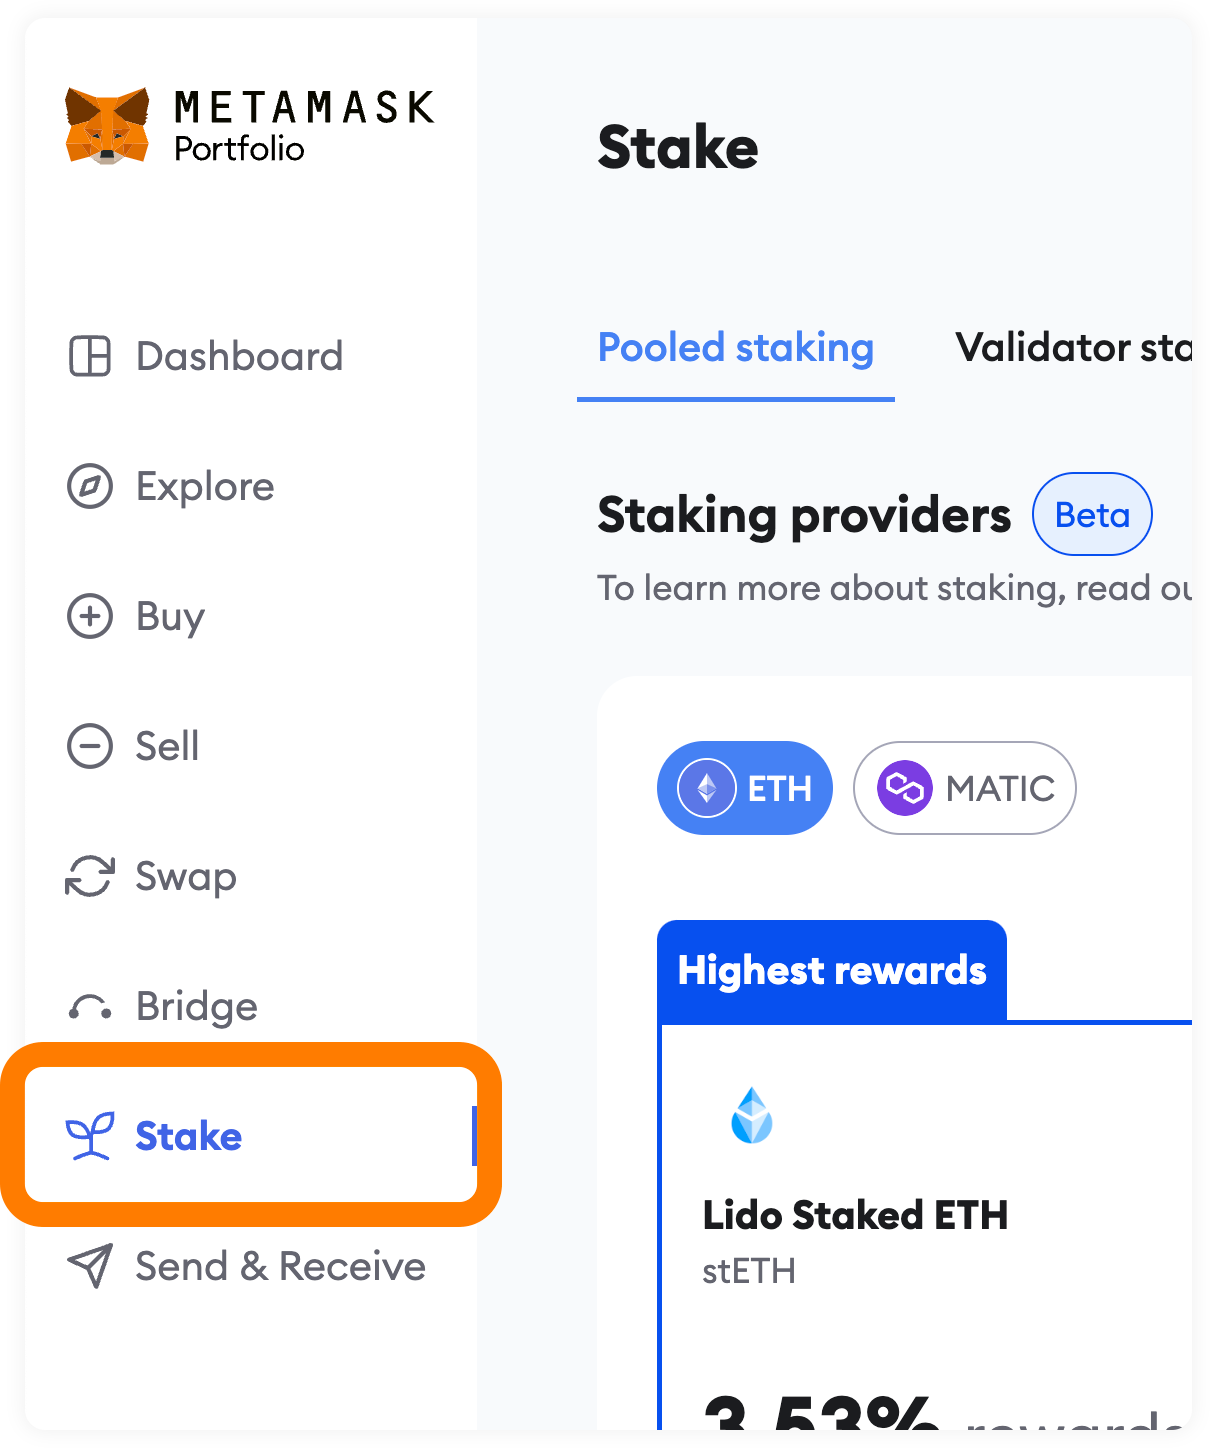
2. Switch to the 'MetaMask Validators' tab at the top of the page:
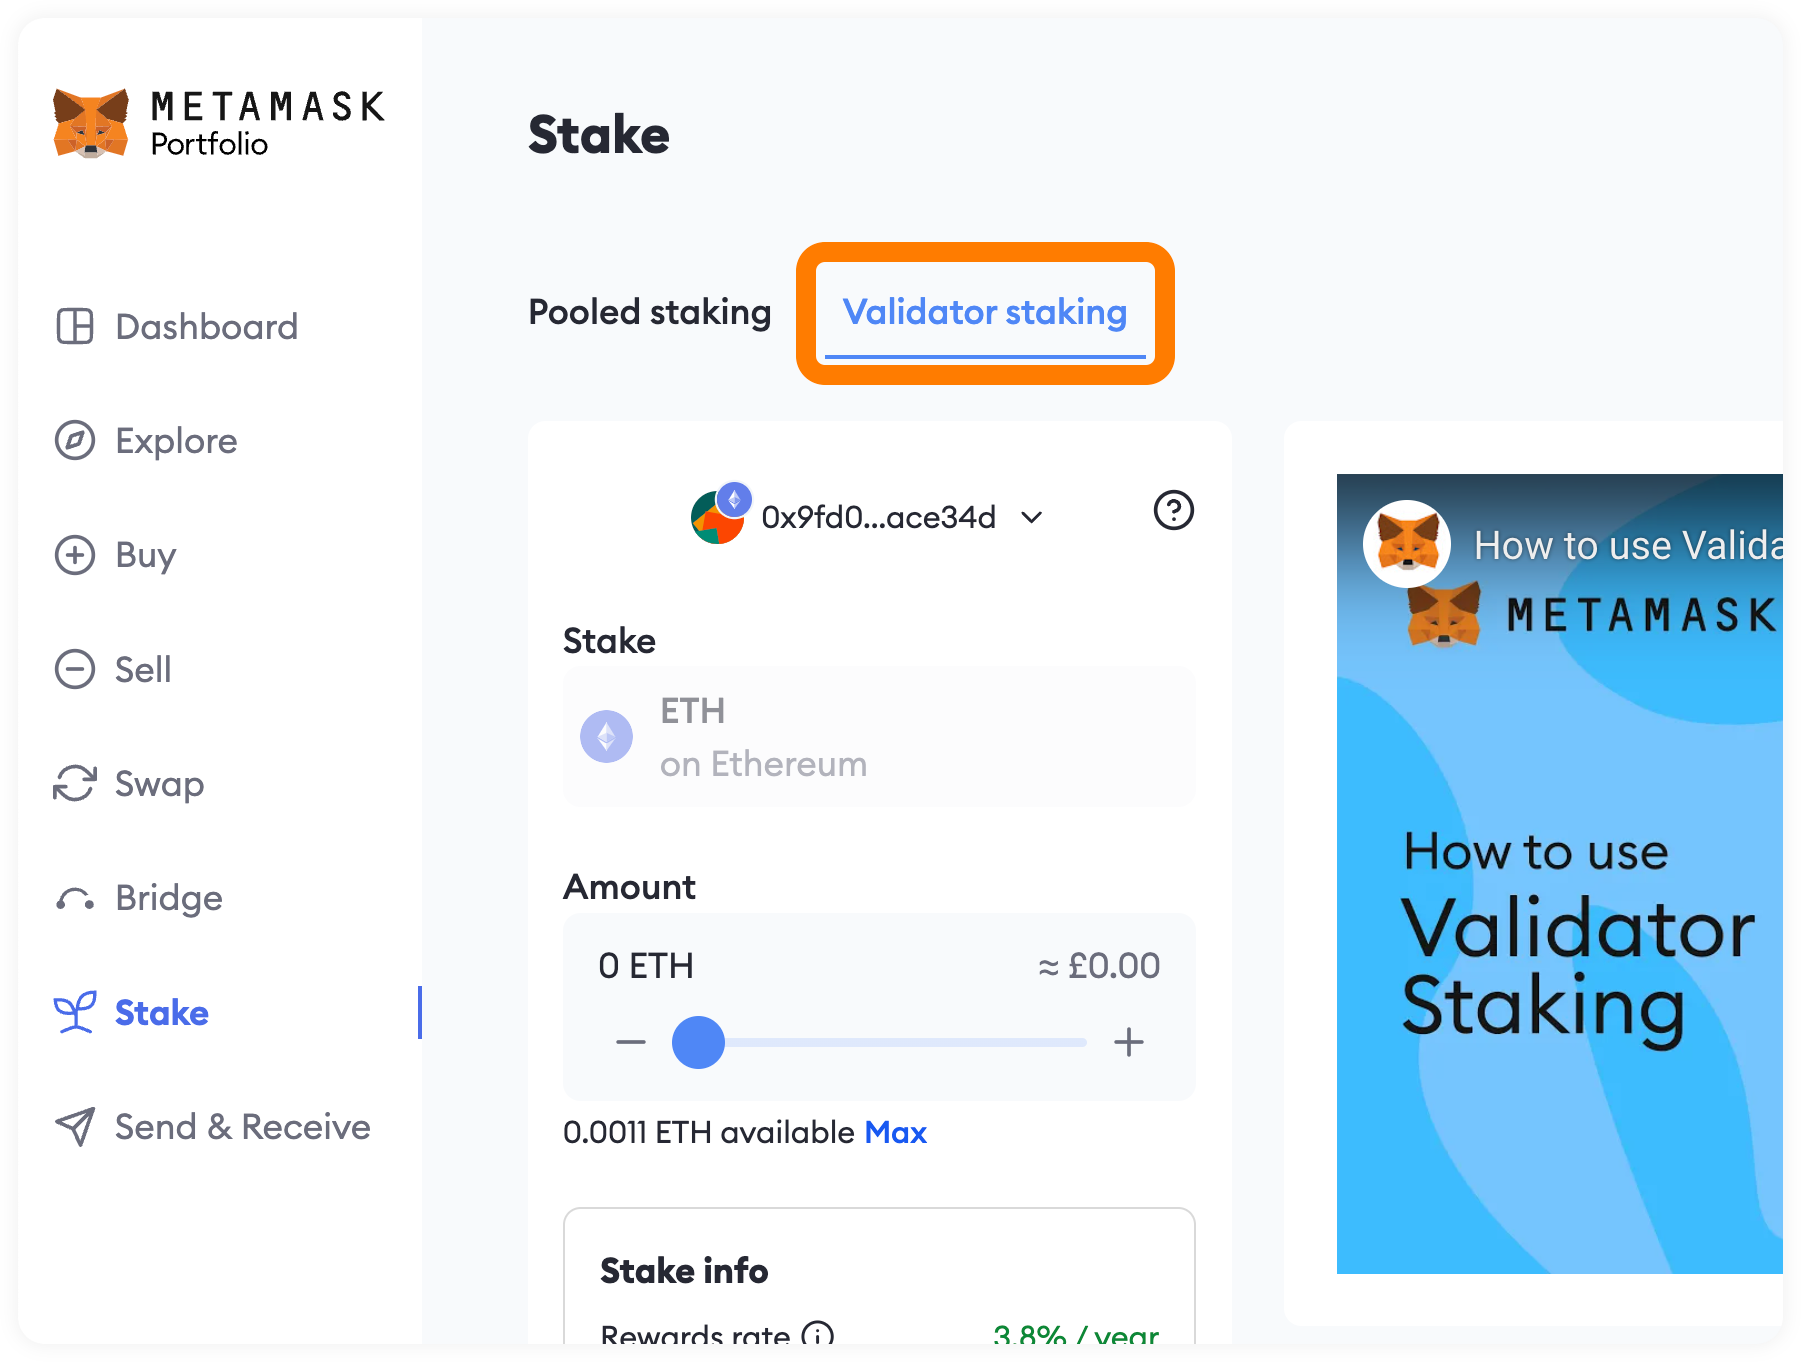
3. Make sure the selected account address is the one you want to use to deposit. Use the slider to choose how much ETH to stake: (Note that you can only deposit in multiples of 32, the quantity of ETH required for one validator.)
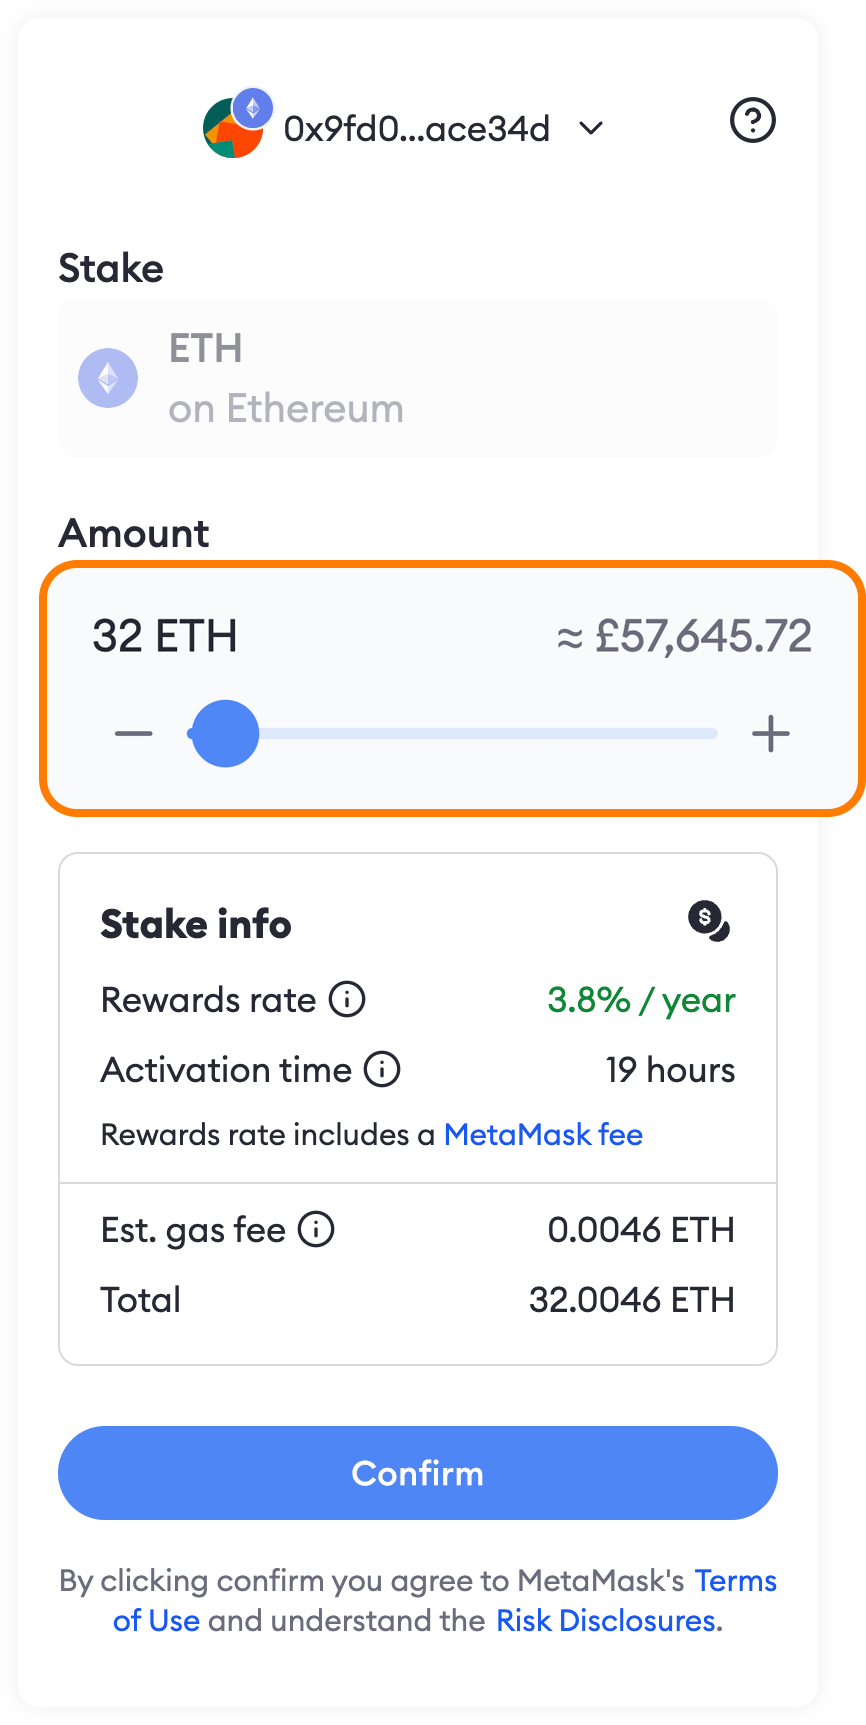
4. Once you've selected the amount, the details of the stake transaction will appear. If you're happy to proceed, click 'Confirm':
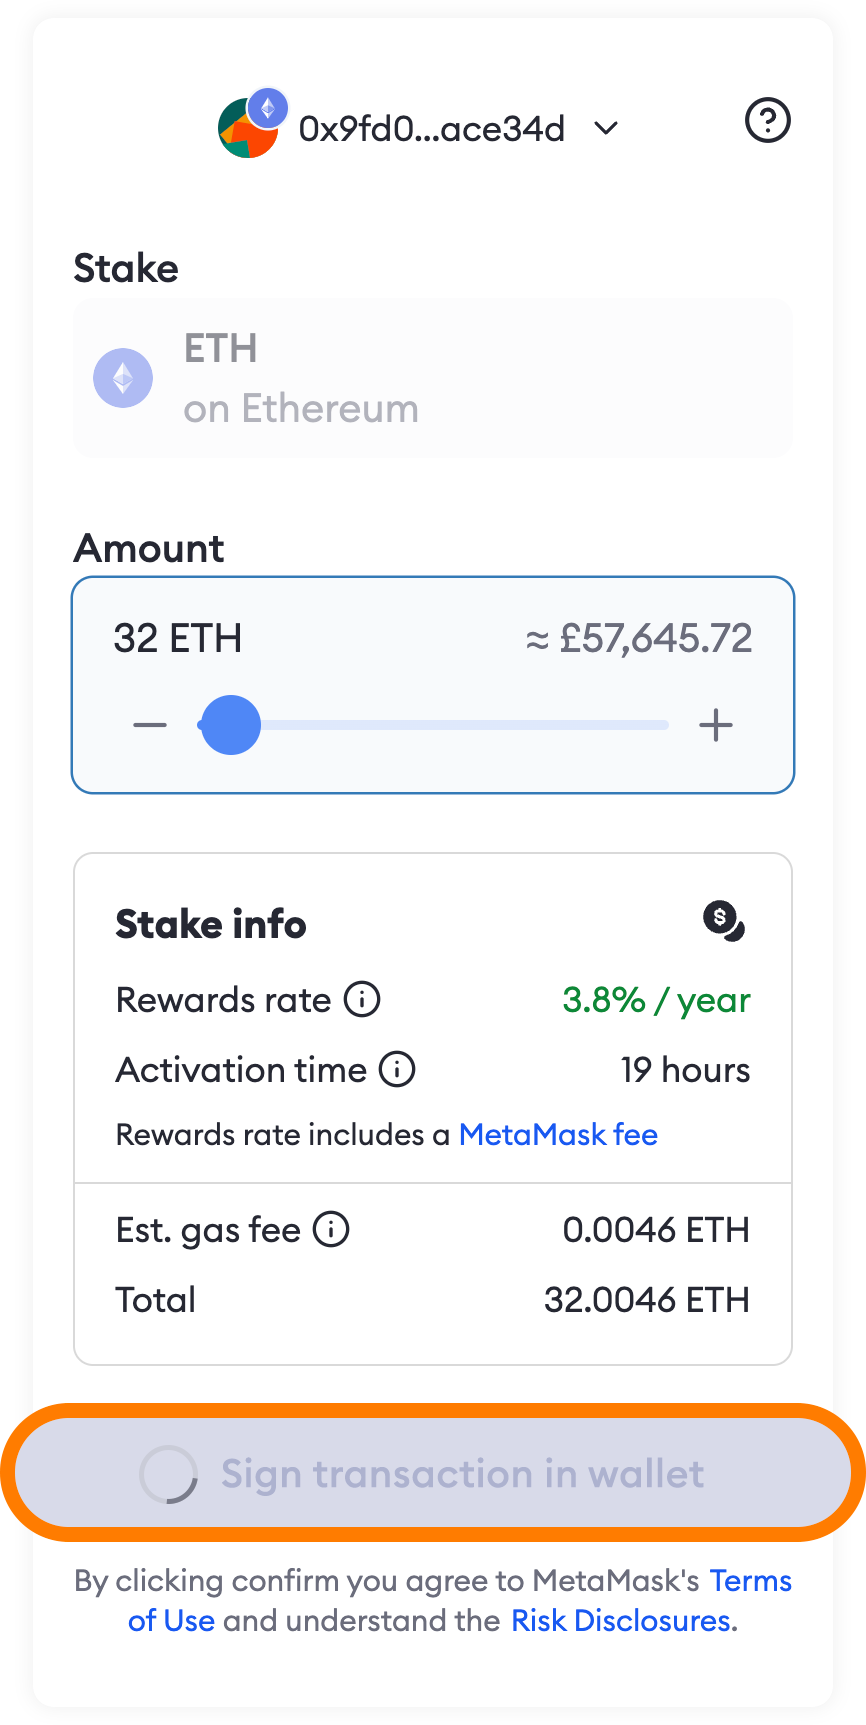
5. Confirm and sign the transaction in your MetaMask.
That's all there is to it! Once the transaction is complete, your funds have been received and you're in the queue for a new validator to be spun up. You should now see one or more validators listed on the page, depending on how much ETH you deposited.
The duration of the activation queue depends on demand across the entire Ethereum network. To check your estimate at any time, mouse over the 'Activating' status in the table next to each validator.
## FAQs {#faqs}
Does MetaMask charge a fee?
Yes — MetaMask charges 10% of your validator(s') rewards.
What happens if I lose access to the account I staked with?
MetaMask Staking is self-custodial, which means that you hold full responsibility for the security of your assets and accounts.
If you lose access to the Secret Recovery Phrase (seed phrase) that backs up the wallet you used to stake with on MetaMask Staking, you lose access to your stake and rewards.
To maximize security, we recommend that you:
- Create a new wallet specifically to stake with (“sandboxing” it from others) and keep it separate from your day-to-day web3 activities
- Use a hardware wallet account
- Ensure you back up the Secret Recovery Phrase that controls the private key of the account you staked with. See our [standard guidance on SRP security](/start/user-guide-secret-recovery-phrase-password-and-private-keys) for more information.
How do you calculate rewards?
The predicted rewards rate—provided before you have any validators—is calculated based on the average performance of similar validators in the previous week.
If you do have validators, the displayed rewards rate ('Available rewards' next to your validator(s)) is your actual rewards rate over the entire life of your validator, minus the MetaMask fee (10%).
The Ethereum protocol 'sweeps' rewards from validator balances every nine days, which affects how your balance and available rewards appear in the app. See our [article on rewards](/trade/earn/stake/validator-staking/rewards-validator-staking) for more information on what these terms mean in our UI.
More generally, validator rewards on Ethereum comprise a regular, consistent base rate plus inconsistent rewards received whenever your validator is randomly nominated to participate in the validation of a block. As this second portion is random, rewards vary.
How do I withdraw my rewards?
See our guide [here](/trade/earn/stake/validator-staking/how-do-i-claim-my-validator-rewards).
How do I withdraw my stake?
See our guide [here](/trade/earn/stake/validator-staking/how-do-i-unstake-validator-staking)
What do “validators at full capacity” and “validators nearing full capacity” mean?
This means that we need to allocate additional validators to meet demand, and we're in the process of doing so. In this case, please check back later.
“Validators nearing full capacity” means this point will soon be reached.
Why is my validator's withdrawal address not my own?
When it is created, every validator is configured with a withdrawal address for receiving rewards. In a solo staking scenario—if you were running the validator independently—you would use one of your account addresses.
However, when you use MetaMask Staking, we configure the withdrawal address for you. This is because the withdrawal address for every validator in MetaMask Staking is actually a unique smart contract that ensures we can subtract our fee while also diverting the bulk of the rewards to your account.
So even though you don't see your account designated as the withdrawal address, rest assured you will be receiving rewards.
Your account—the one you originally used to deposit your stake—is the only account with access to the withdrawal address (the withdrawal smart contract).
How can I be sure my stake won't be slashed?
“Slashing” occurs when validators lose some of their 32 ETH stake as a fine for not attesting blocks properly, or for inactivity.
Consensys Staking, the service that runs your MetaMask Staking validators, has never received any slashing penalties in more than two years of operation, despite managing over $2 billion worth of ETH across more than 33,000 validators. The validators are monitored 24/7 and their infrastructure is spread across global regions and cloud providers to maximize resilience.
---
# How to unstake and get your ETH back
URL: https://support.metamask.io/trade/earn/stake/validator-staking/how-do-i-unstake-validator-staking/
> Learn how to withdraw your stake and rewards.
You can exit your validator and withdraw your stake and any outstanding rewards at any time.
You can unstake one validator at a time, or simultaneously unstake all of them.
- To unstake one validator, find it in the 'Validators' tab;
- To unstake all validators, go to the 'Accounts' tab. This route enables you to take actions that apply to all the validators associated with one account.
Your validator will stop earning rewards once your validator has exited.
## Unstake one validator {#unstake-one-validator}
1. Head to the 'Validators' tab in the staking app.
2. Find the validator you want to exit and make sure there are some rewards listed under the 'Available rewards' column, otherwise you won't be able to proceed. Click the three vertical dots to the right, and then select 'Withdraw total balance':
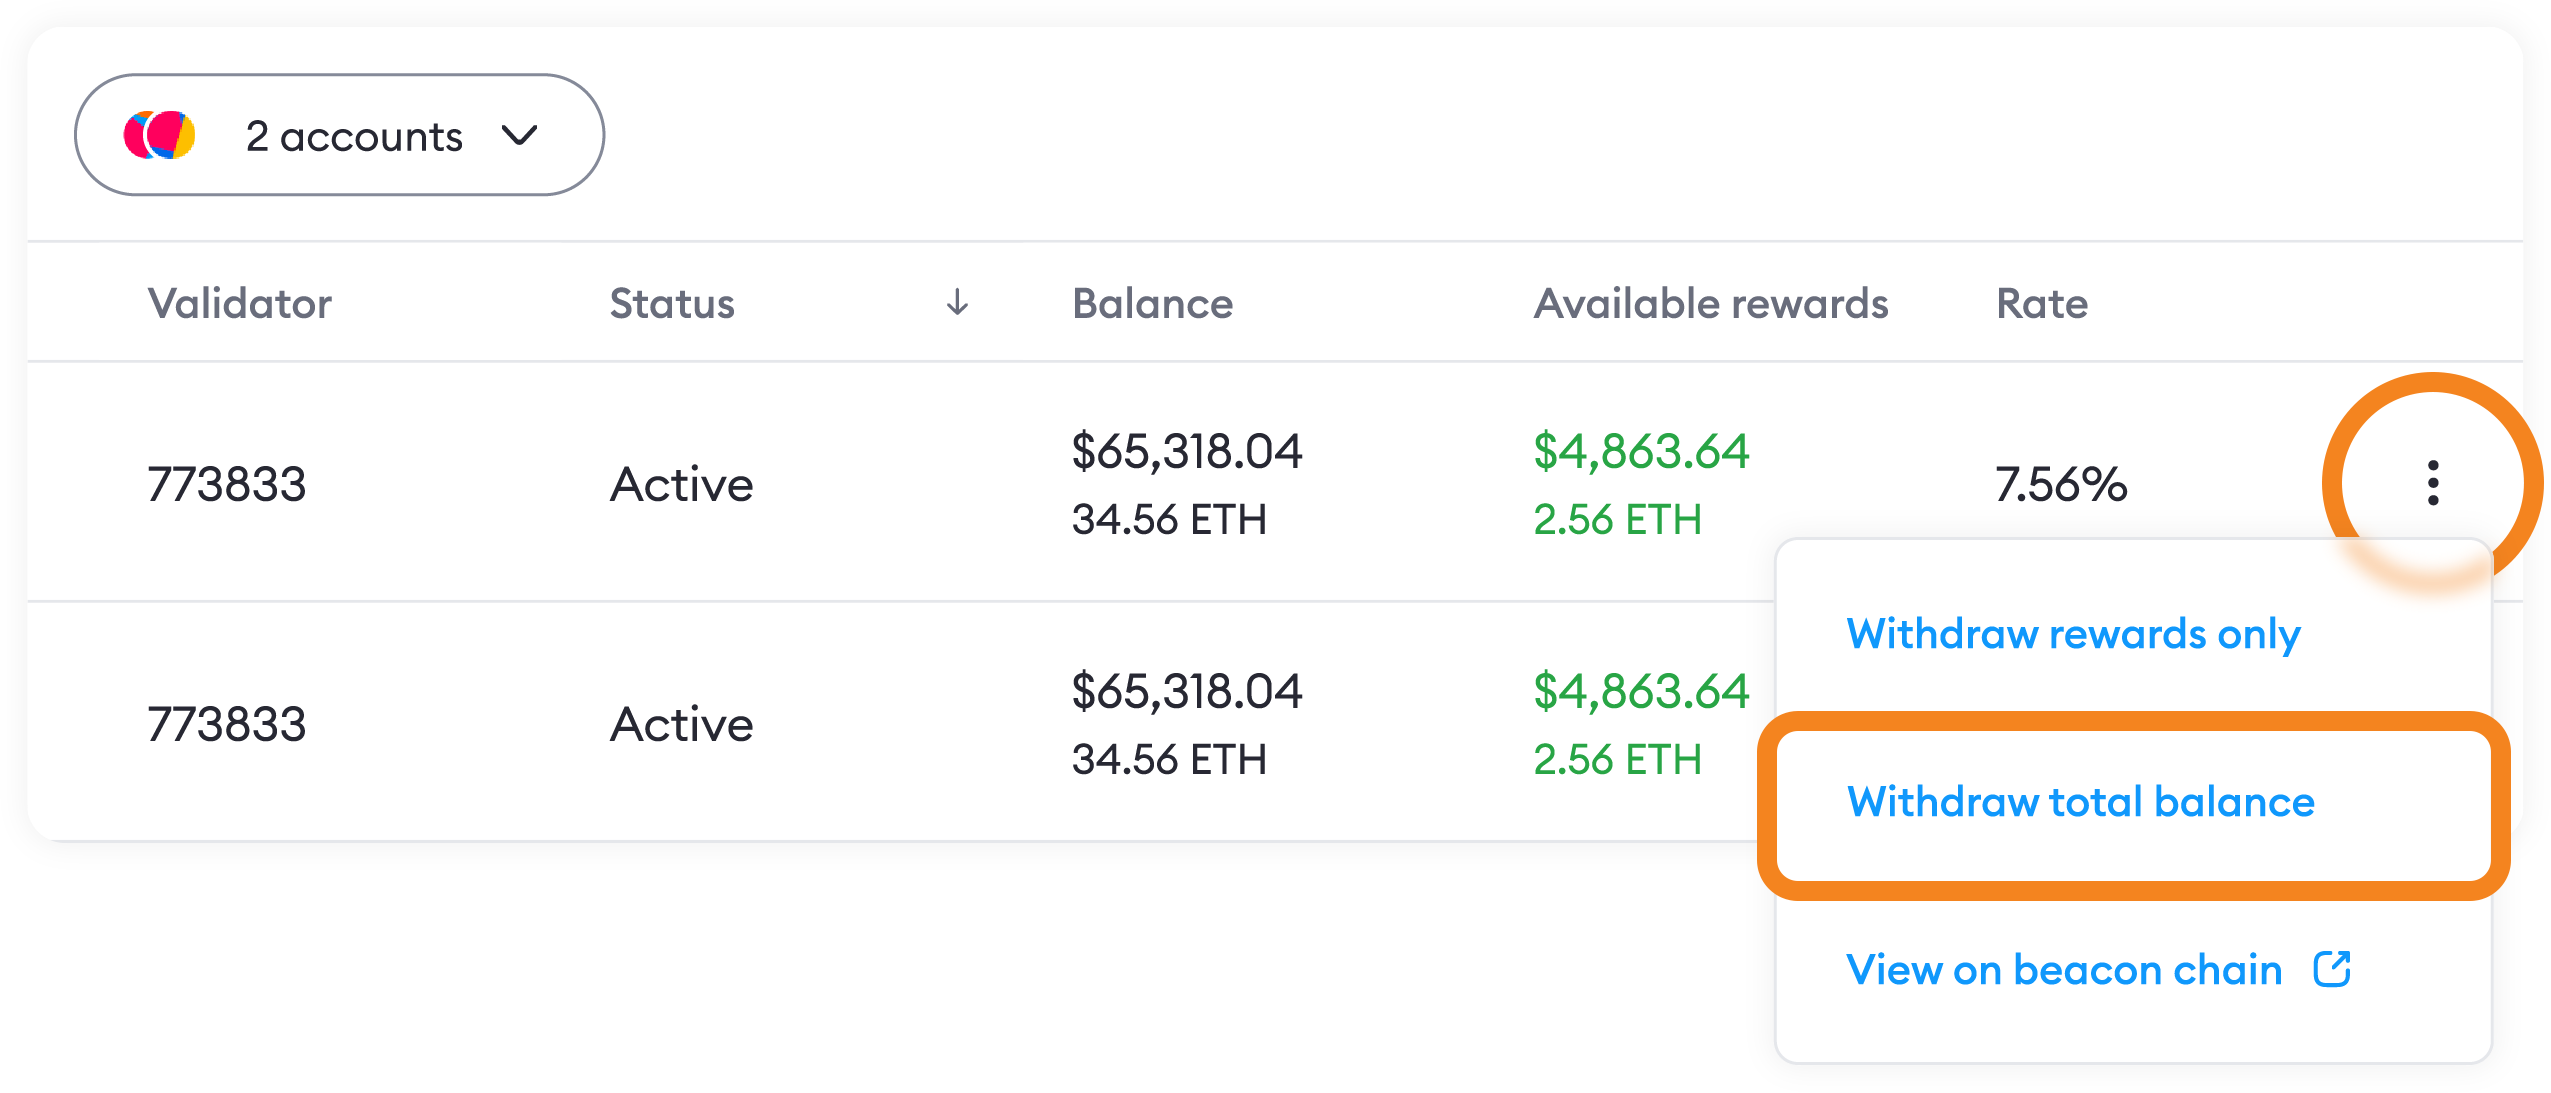
3. Review the withdrawal, and click 'Confirm' if you want to proceed.
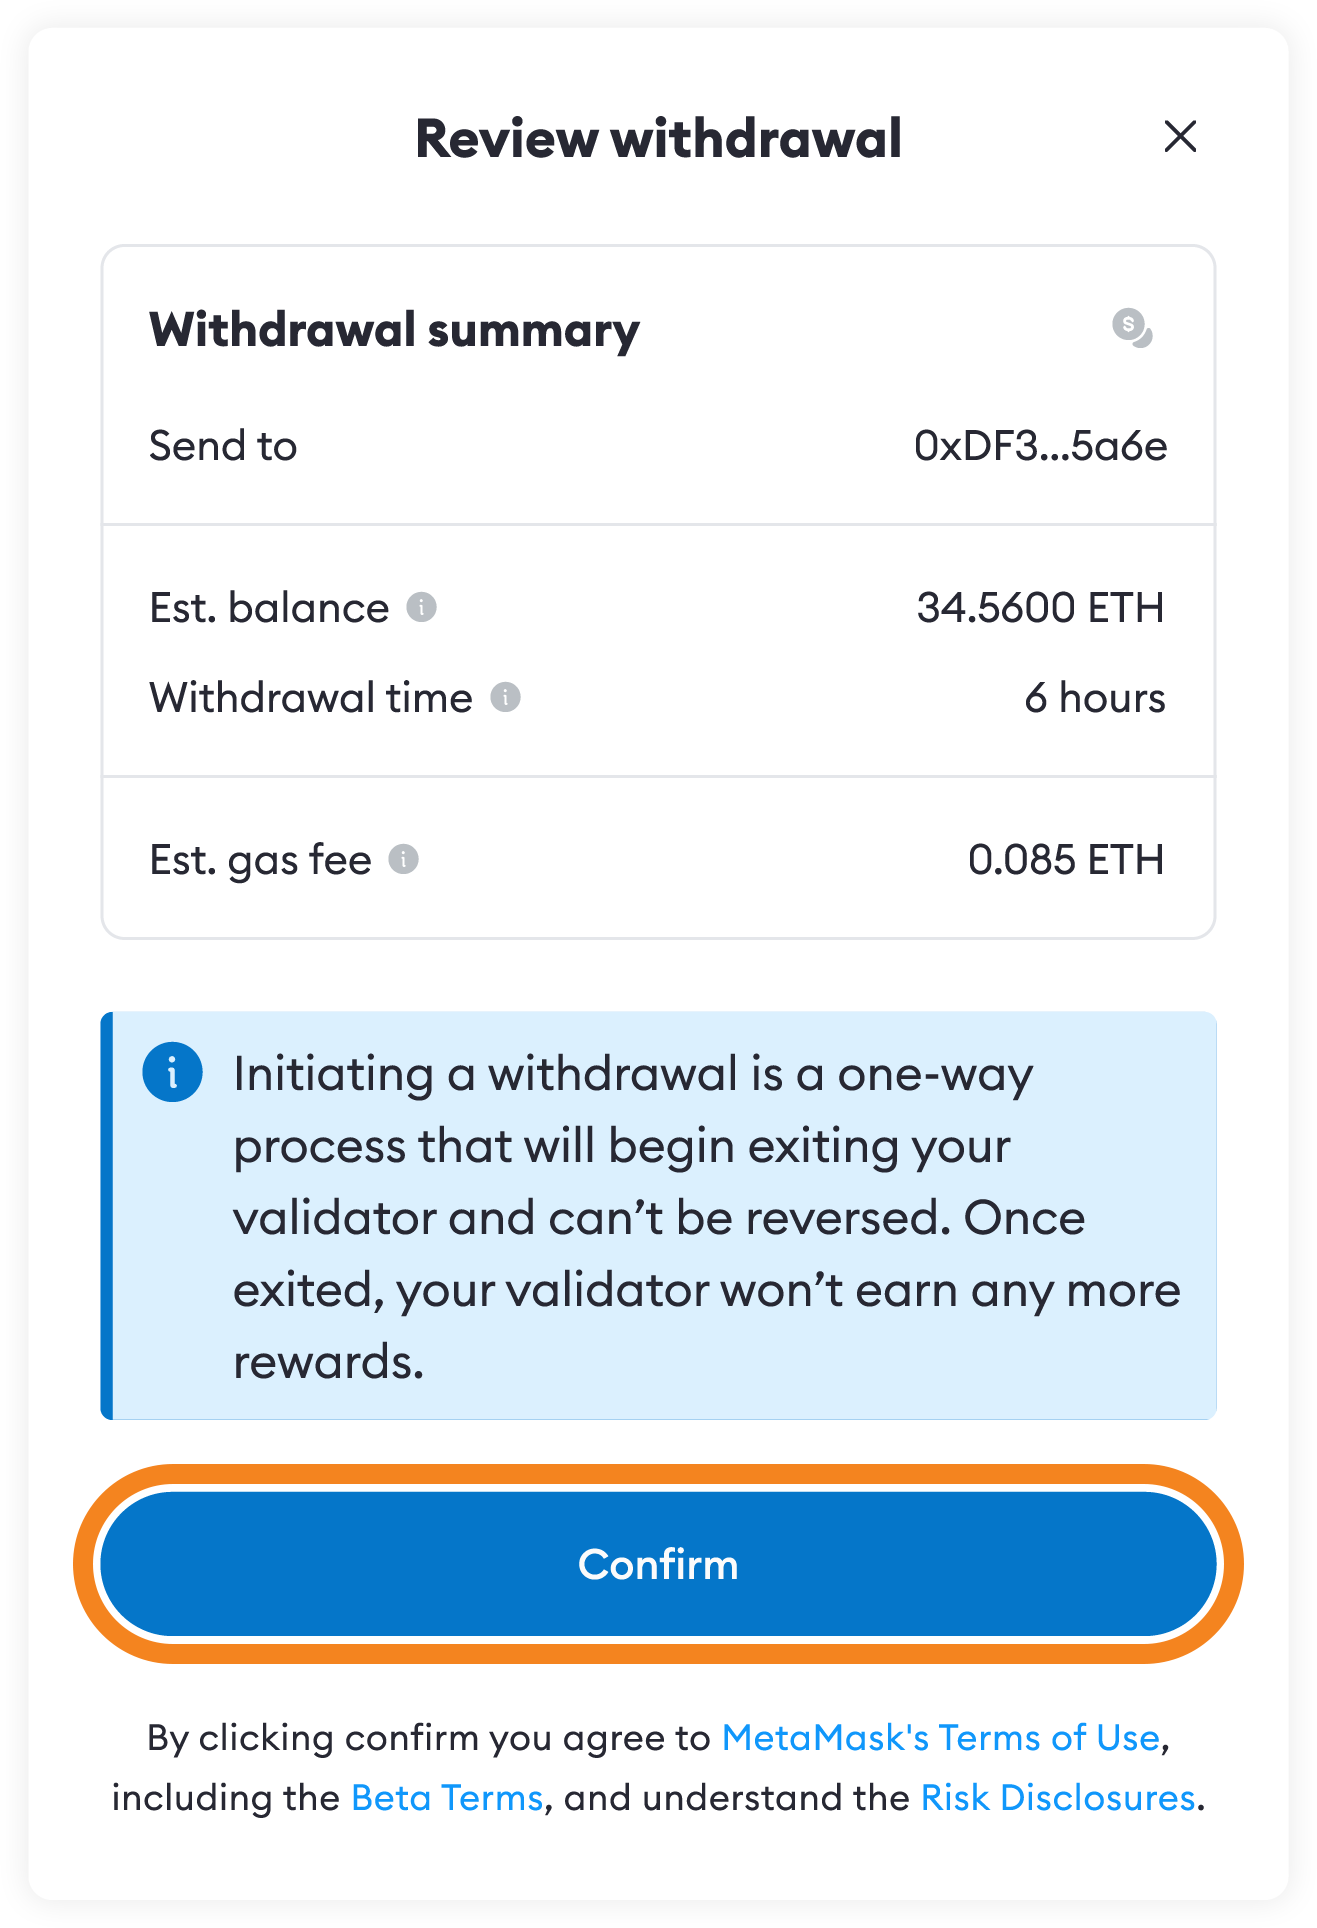
4. Sign the transaction in MetaMask. Back in MetaMask Portfolio, you'll be able to confirm that your transaction is in progress:
Once the transaction is complete, your validator will enter the exit queue:
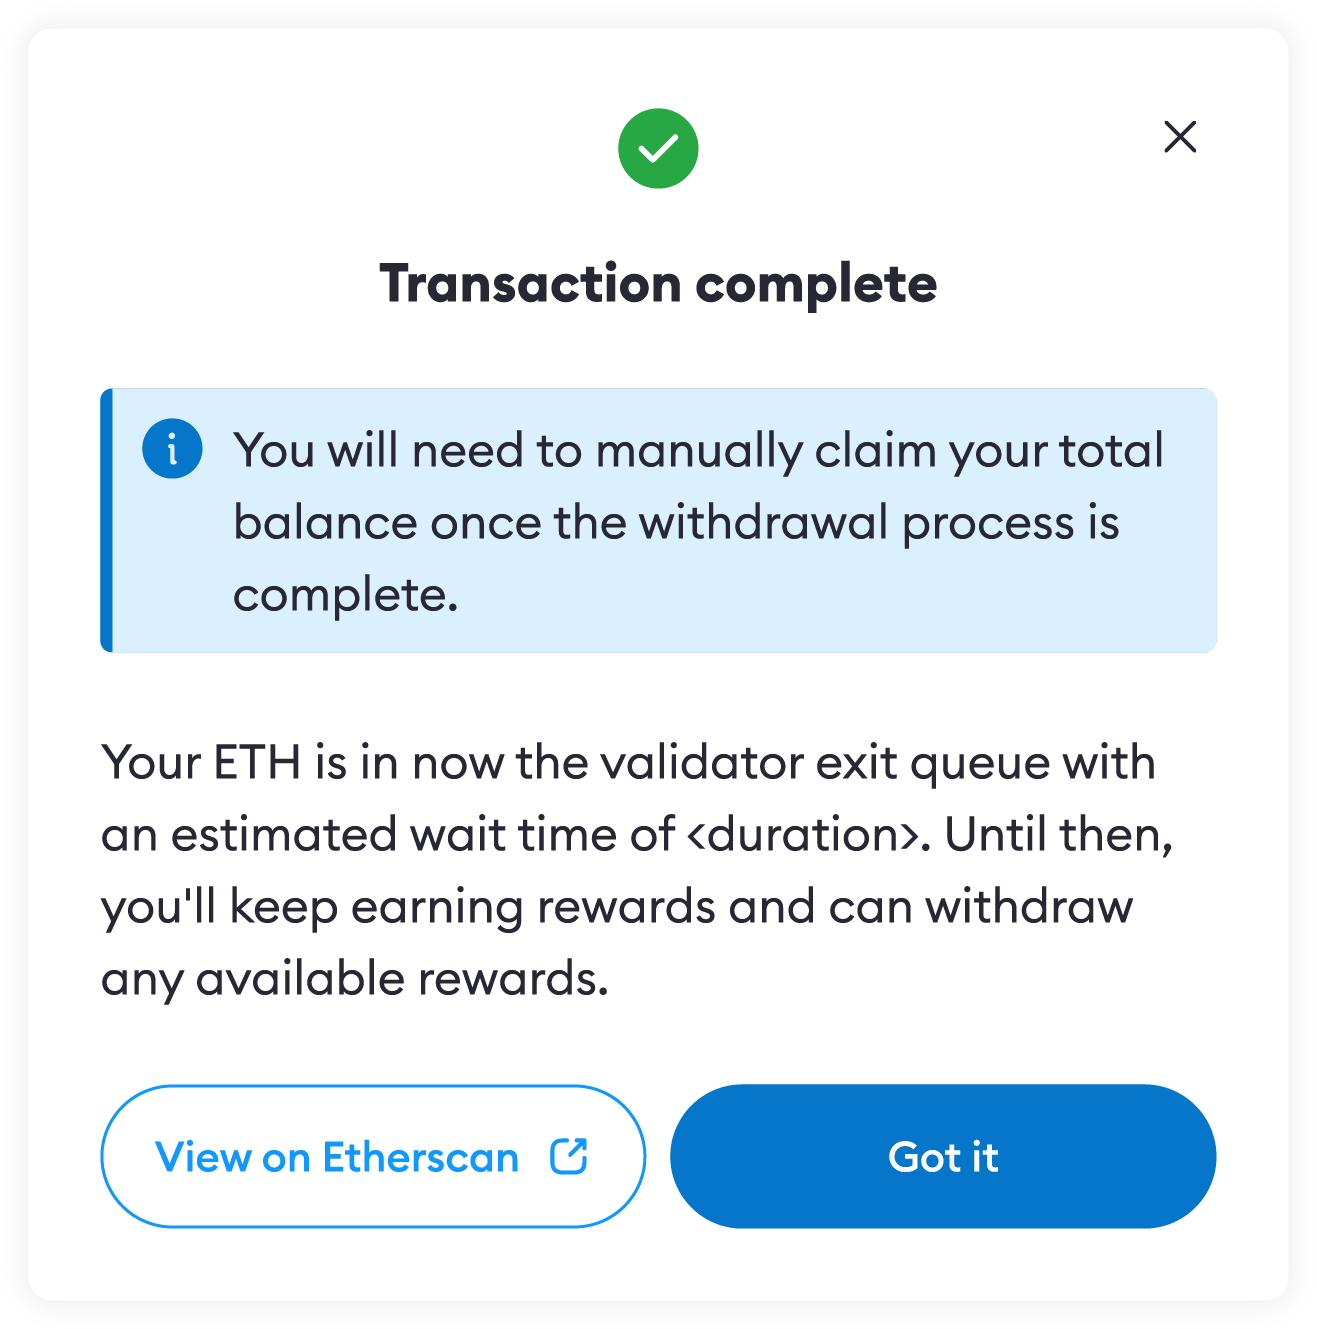
The duration of the exit queue depends on the number of unstaking validators across the entire network — an estimate is displayed after you start the unstaking process, and can also be found at any time by mousing over (or tapping, on mobile) the 'Withdrawing' status displayed next to the listed validator:
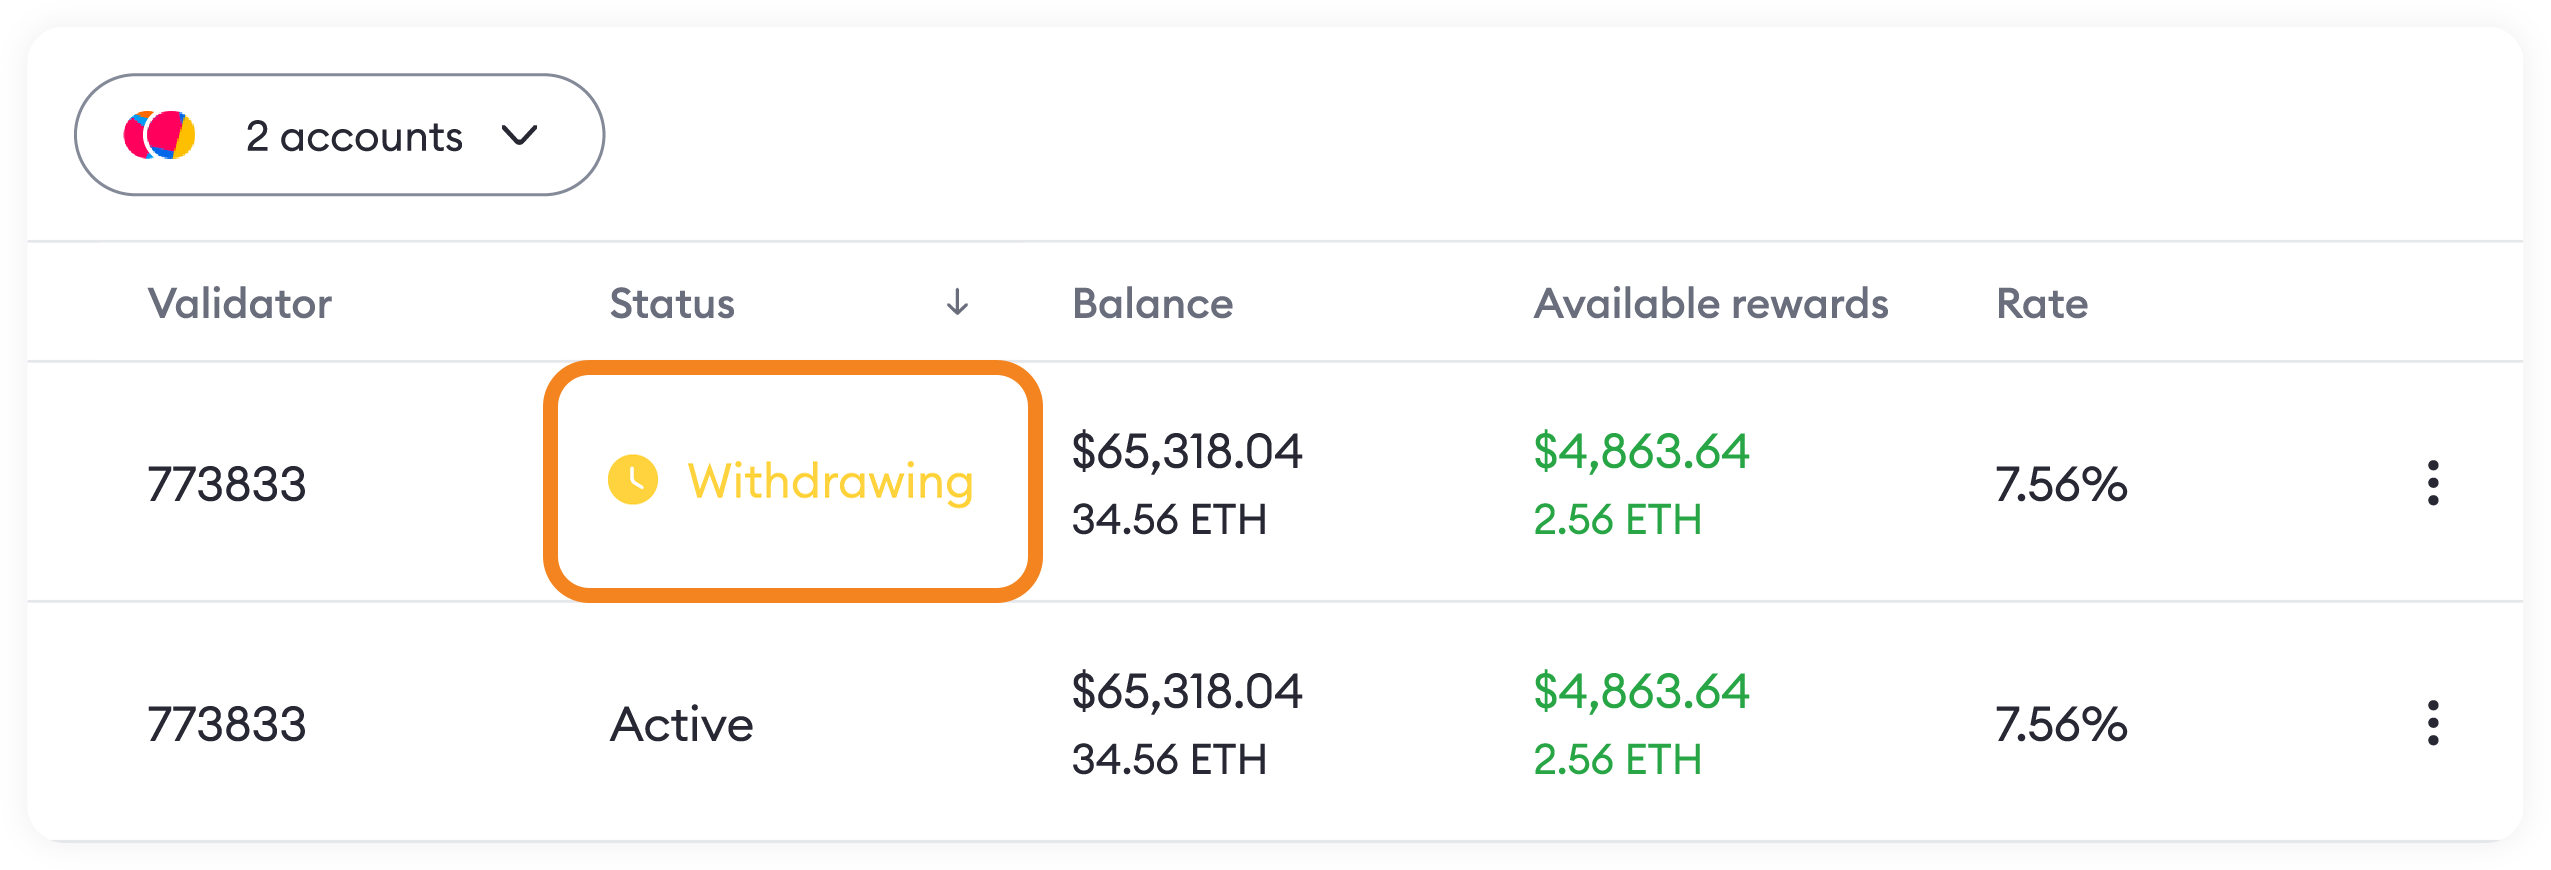
5. After the unstaking period, you can return to the staking app to claim your funds. Funds can be claimed once validator's status reads 'Withdrawal complete', and you'll see a 'Claim balance' button:
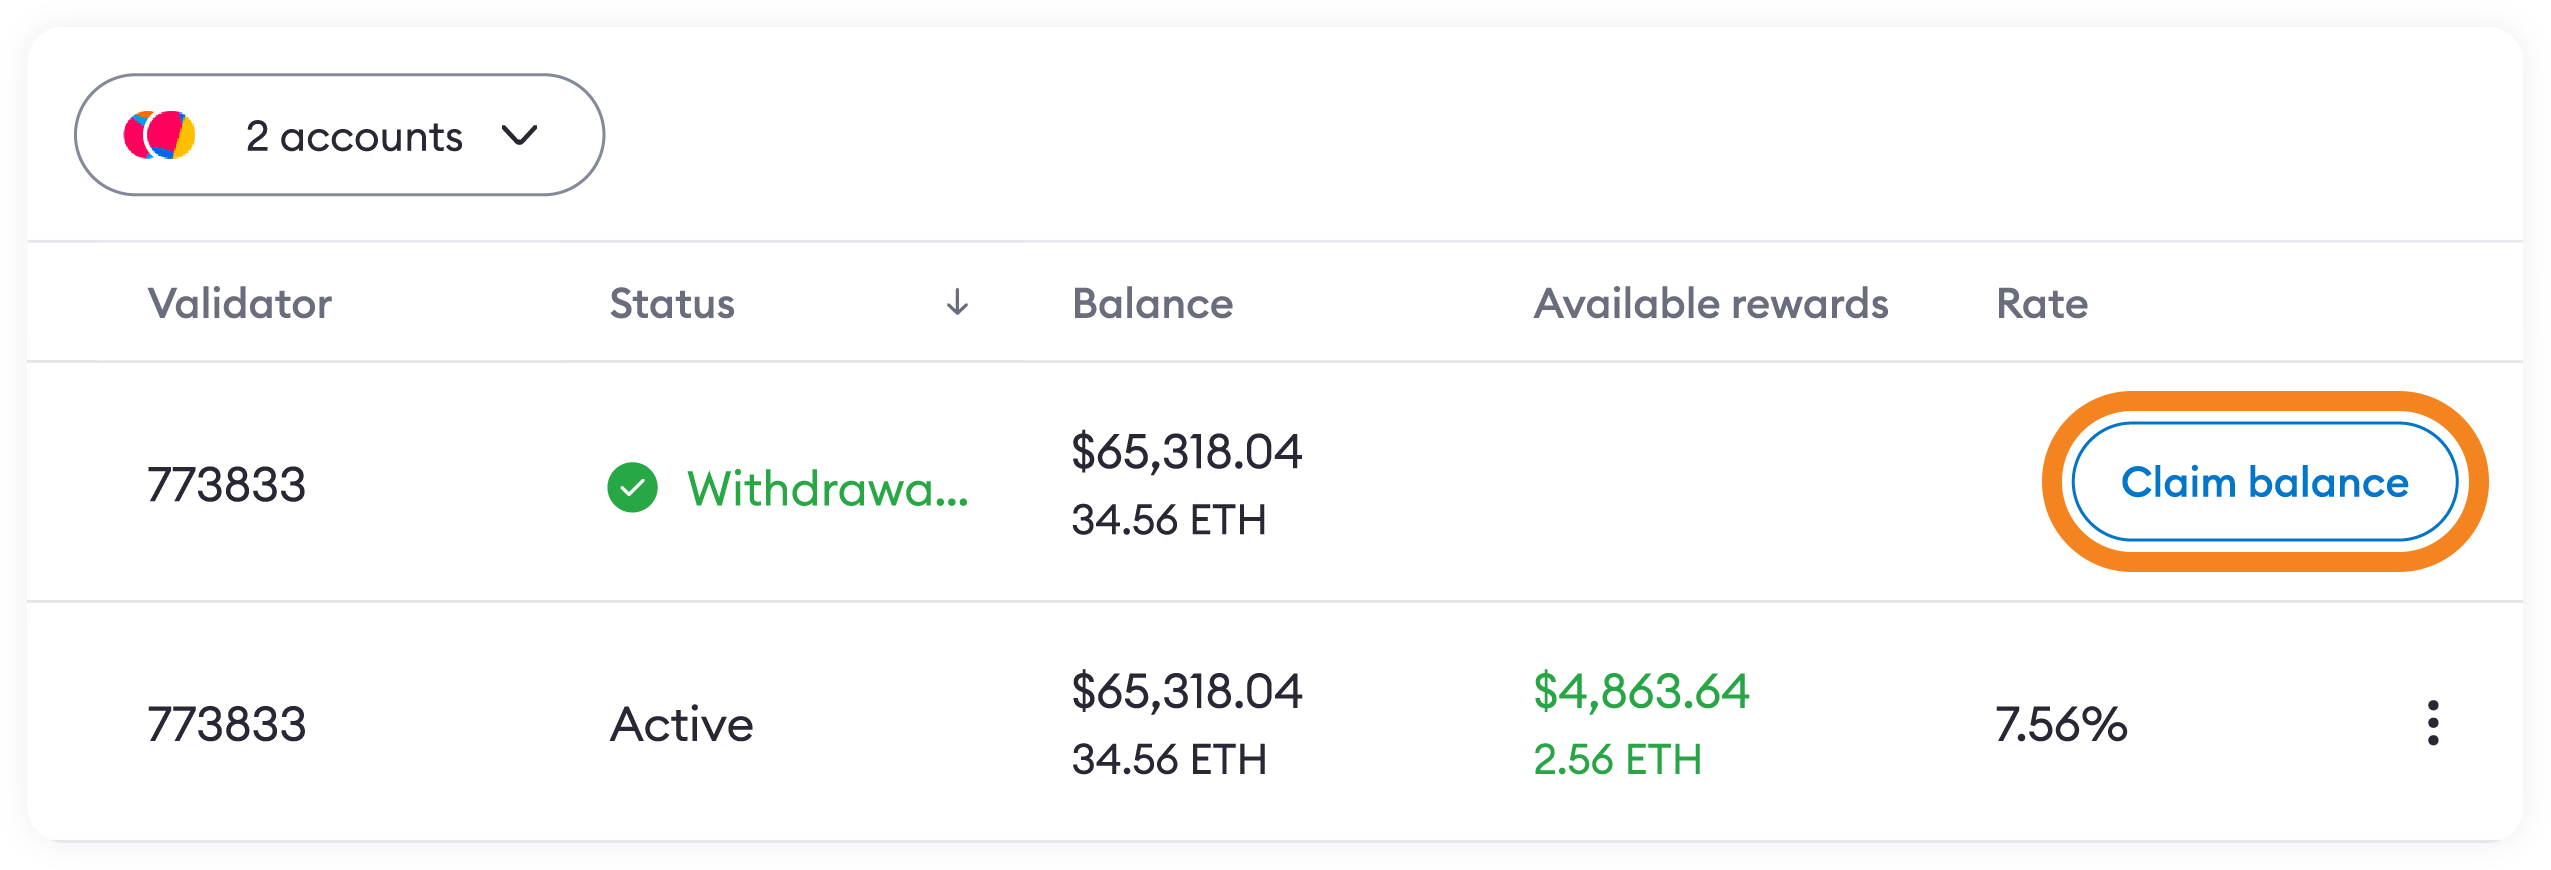
Click this button to review details of the claim, then 'Confirm' to prompt a transaction to sign in your MetaMask:
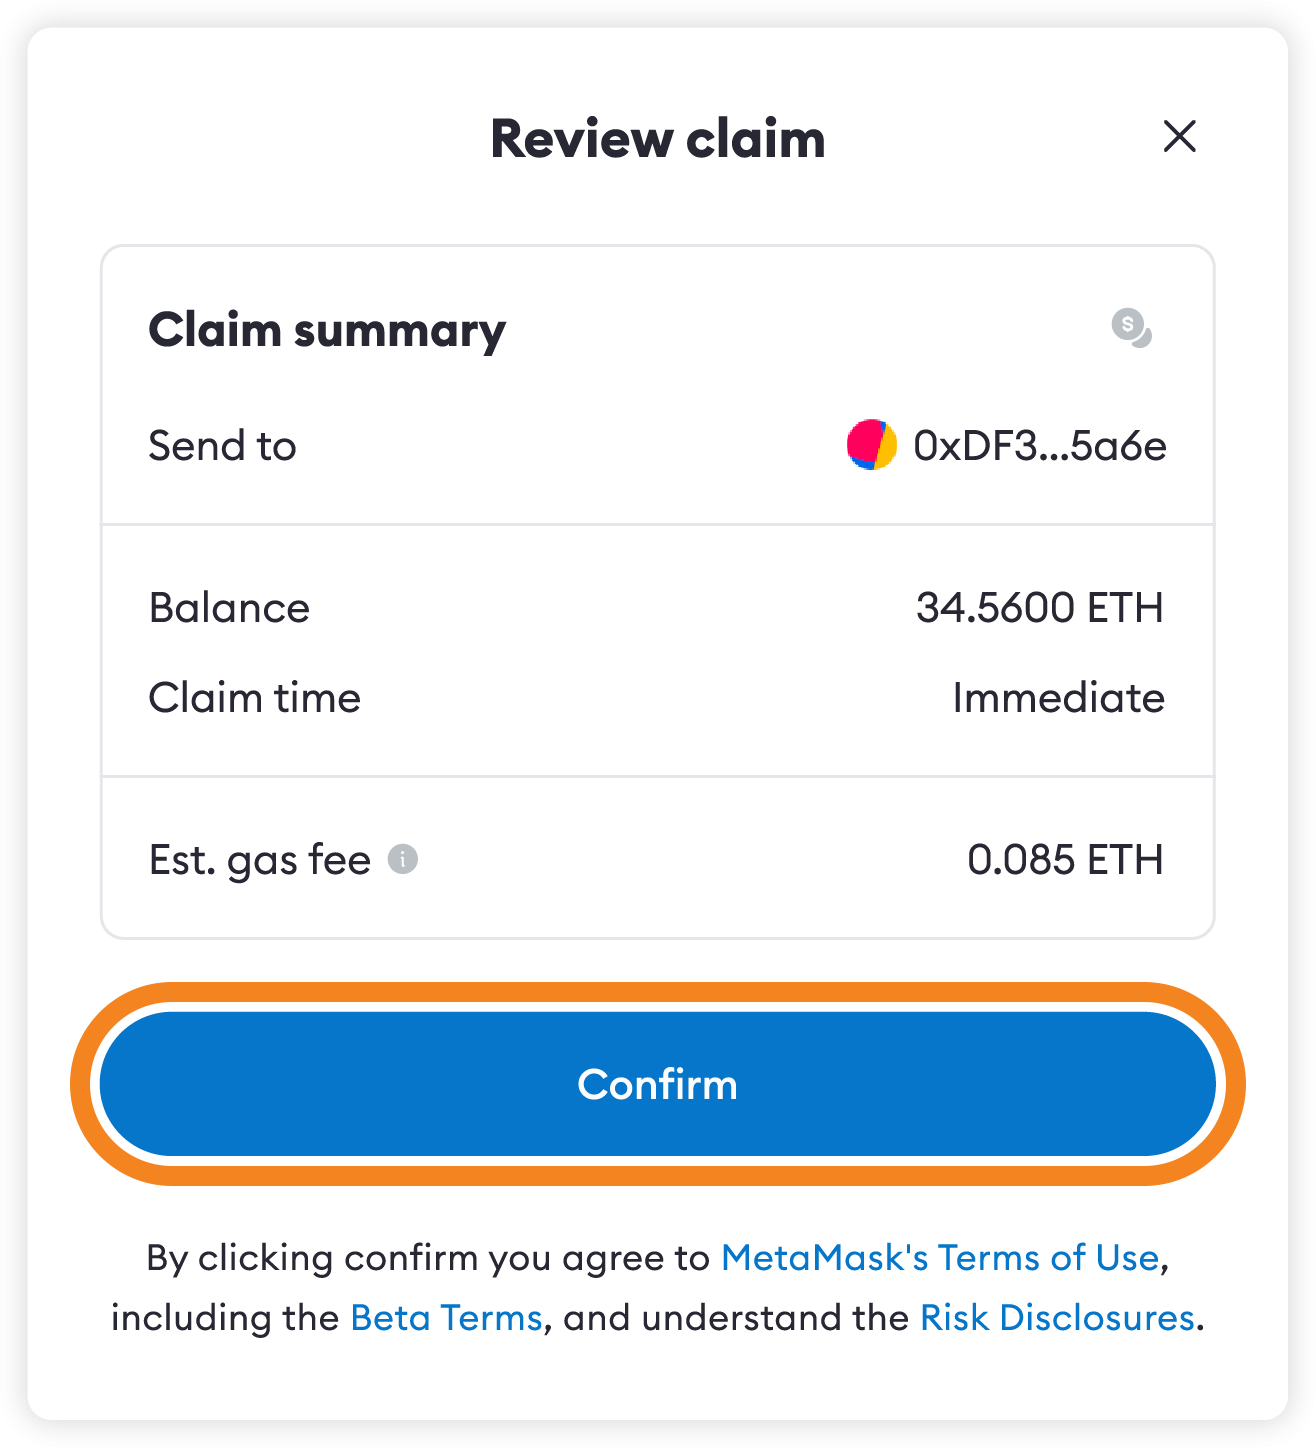
Once the claim transaction is confirmed on chain, your balance and rewards will be in your account.
## Unstake all validators {#unstake-all-validators}
1. Find the 'Accounts' tab in the staking app:

2. Find the account that you want to unstake from. This could be an account with one validator or many; the method works either way. Ensure there are some rewards listed under the 'Available rewards' column, then click the three vertical dots on the right and select 'Withdraw total balance':
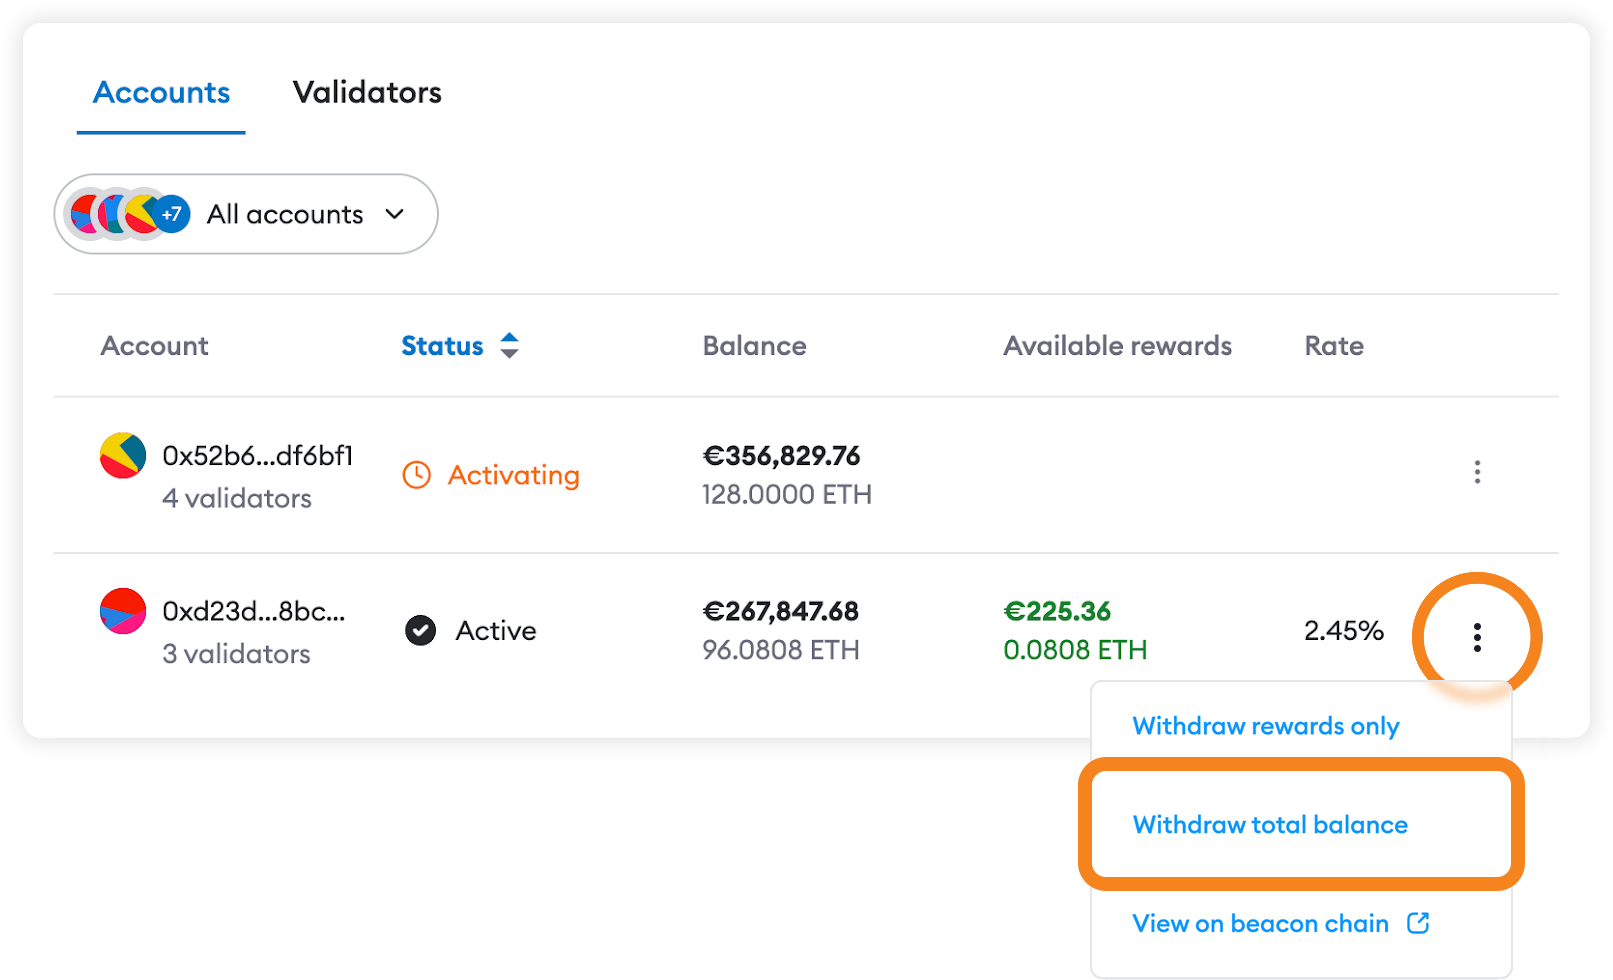
3. Review the withdrawal, and click 'Confirm' if you want to proceed.
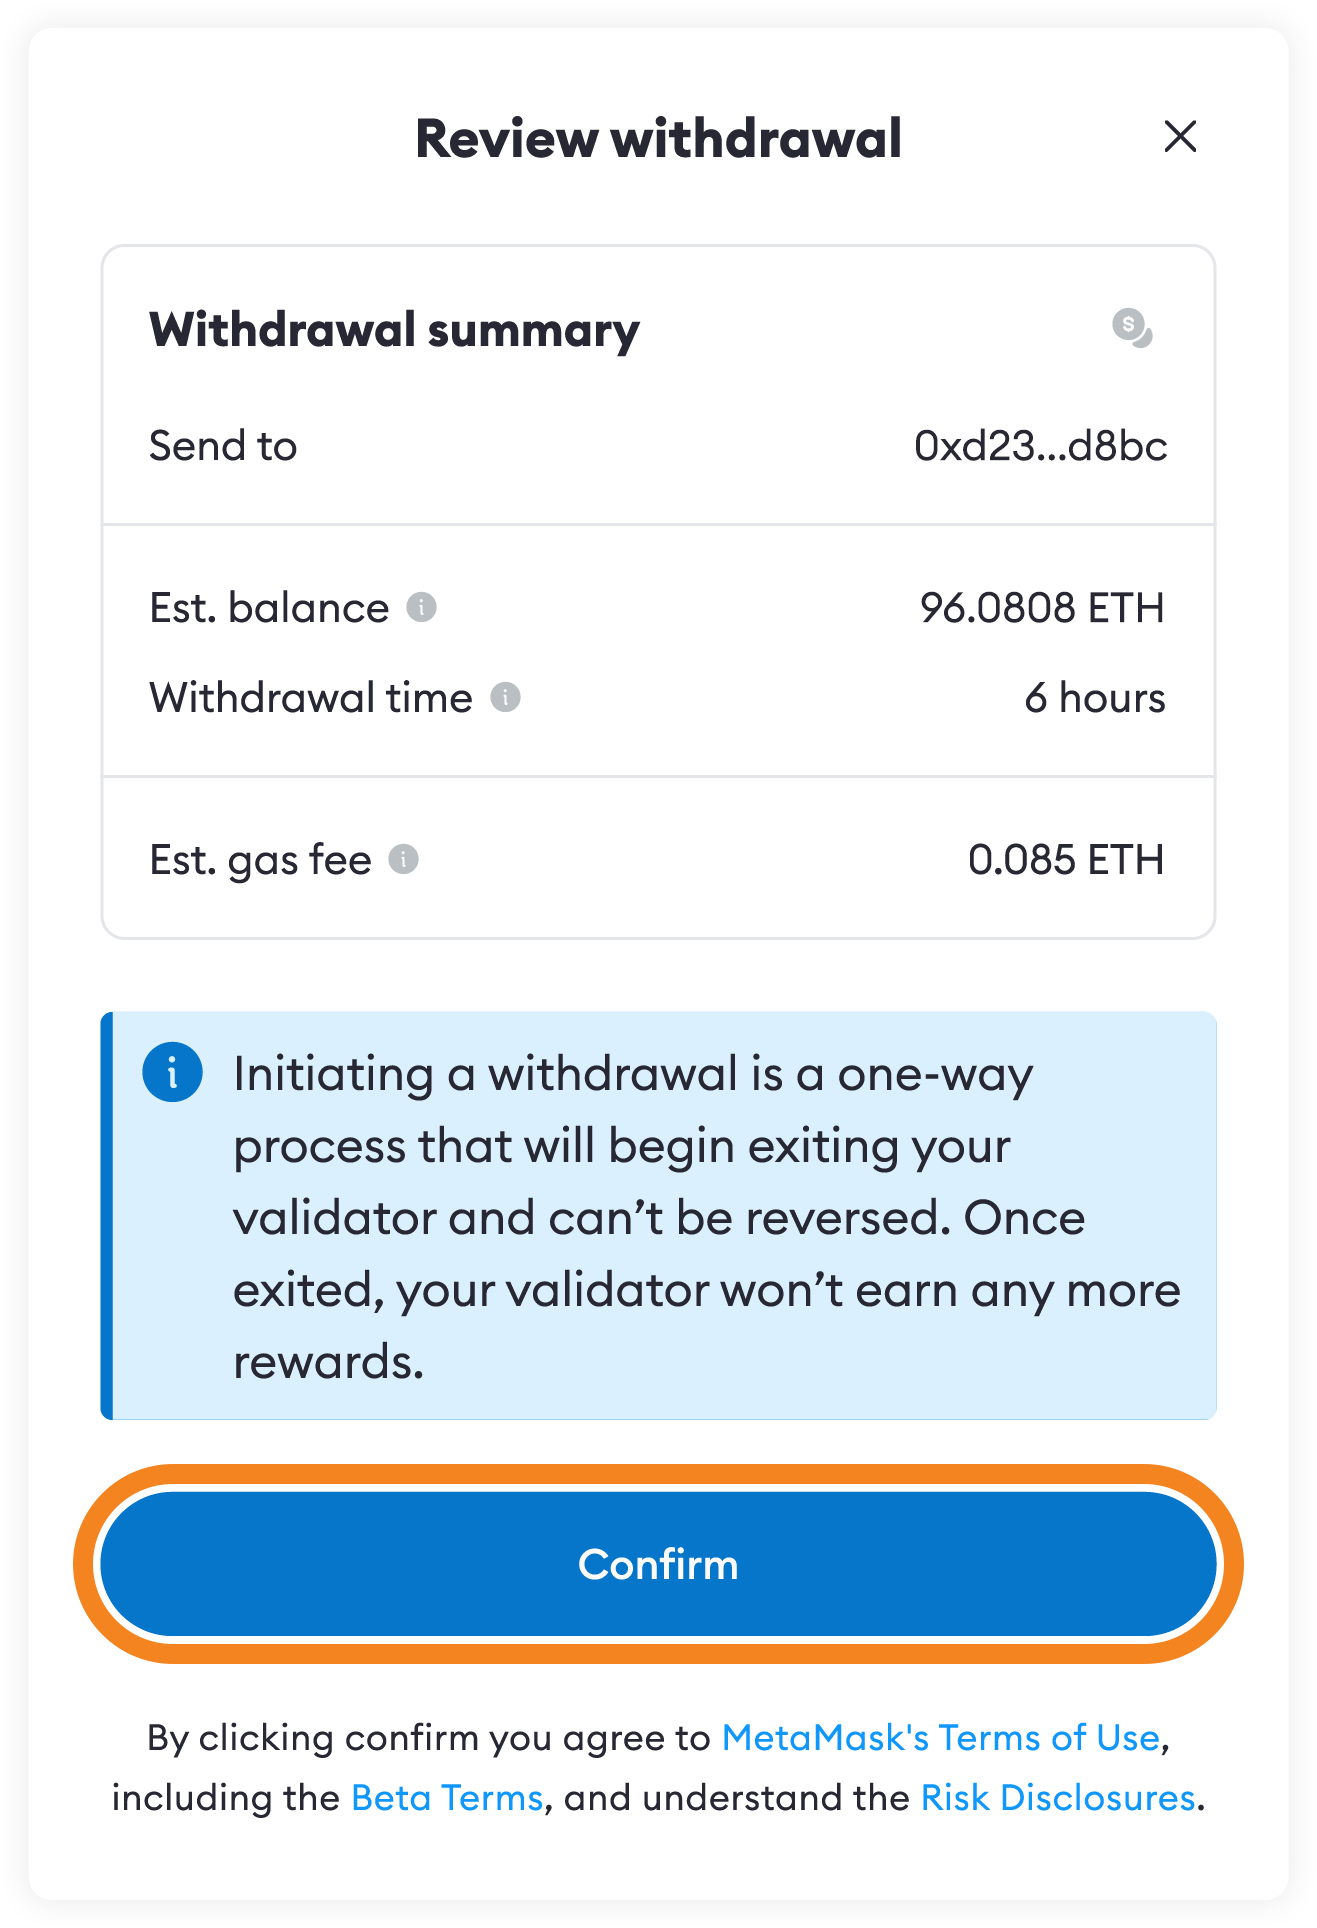
4. Sign the transaction in MetaMask. Back in MetaMask Portfolio, you'll be able to confirm that your transaction is in progress:
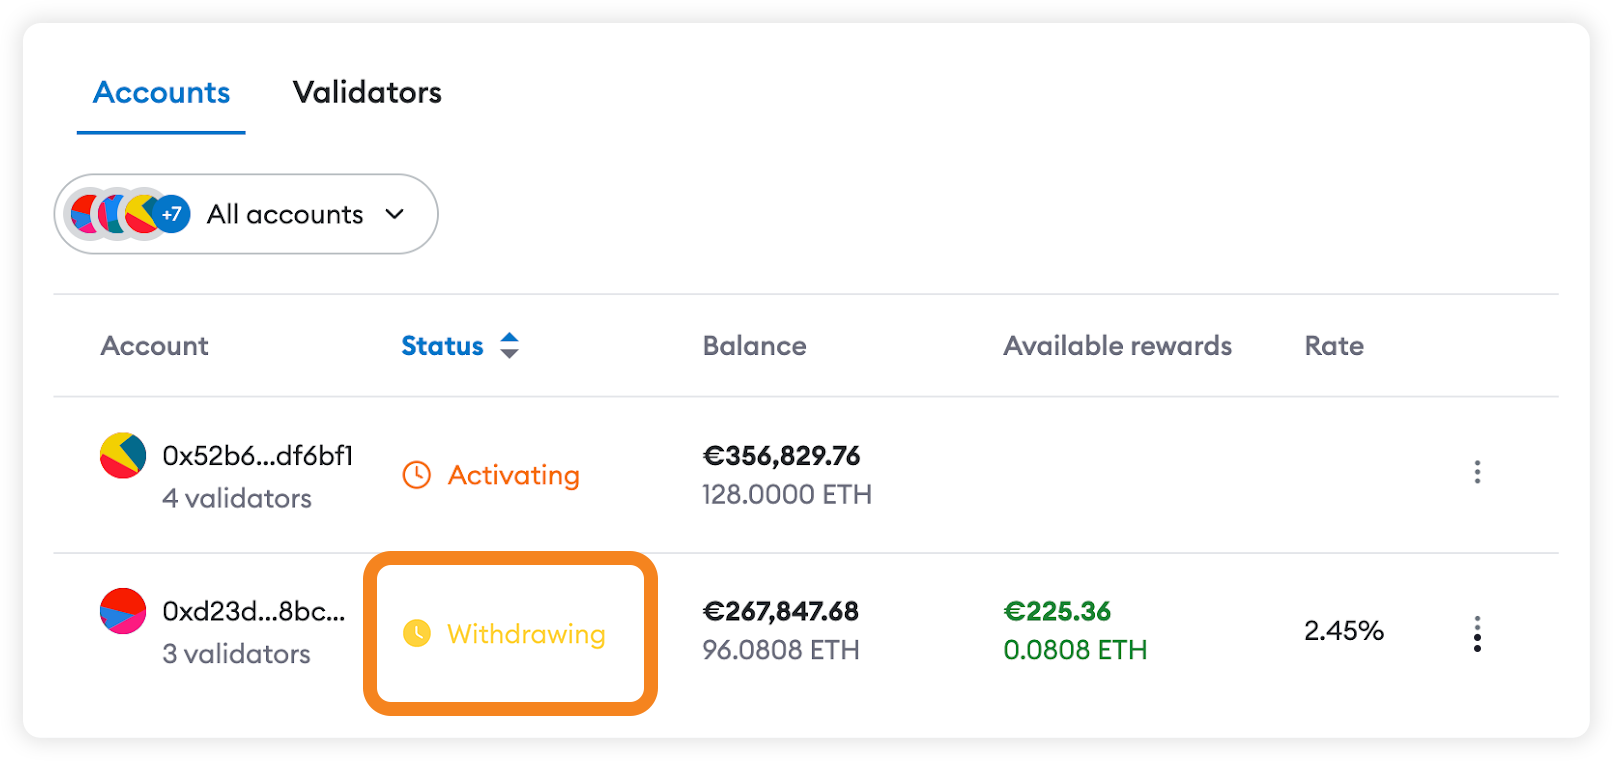
Once the transaction is complete, your validator will enter the exit queue:

The duration of the exit queue depends on network activity — an estimate is displayed after you start the withdrawal, and can also be found at any time by mousing over (or tapping, on mobile) the 'Withdrawing' status displayed next to the listed validator:

5. After the unstaking period, you can return to the staking app to claim your funds. Funds can be claimed once validator's status reads 'Withdrawal complete', and you'll see a 'Claim balance' button:
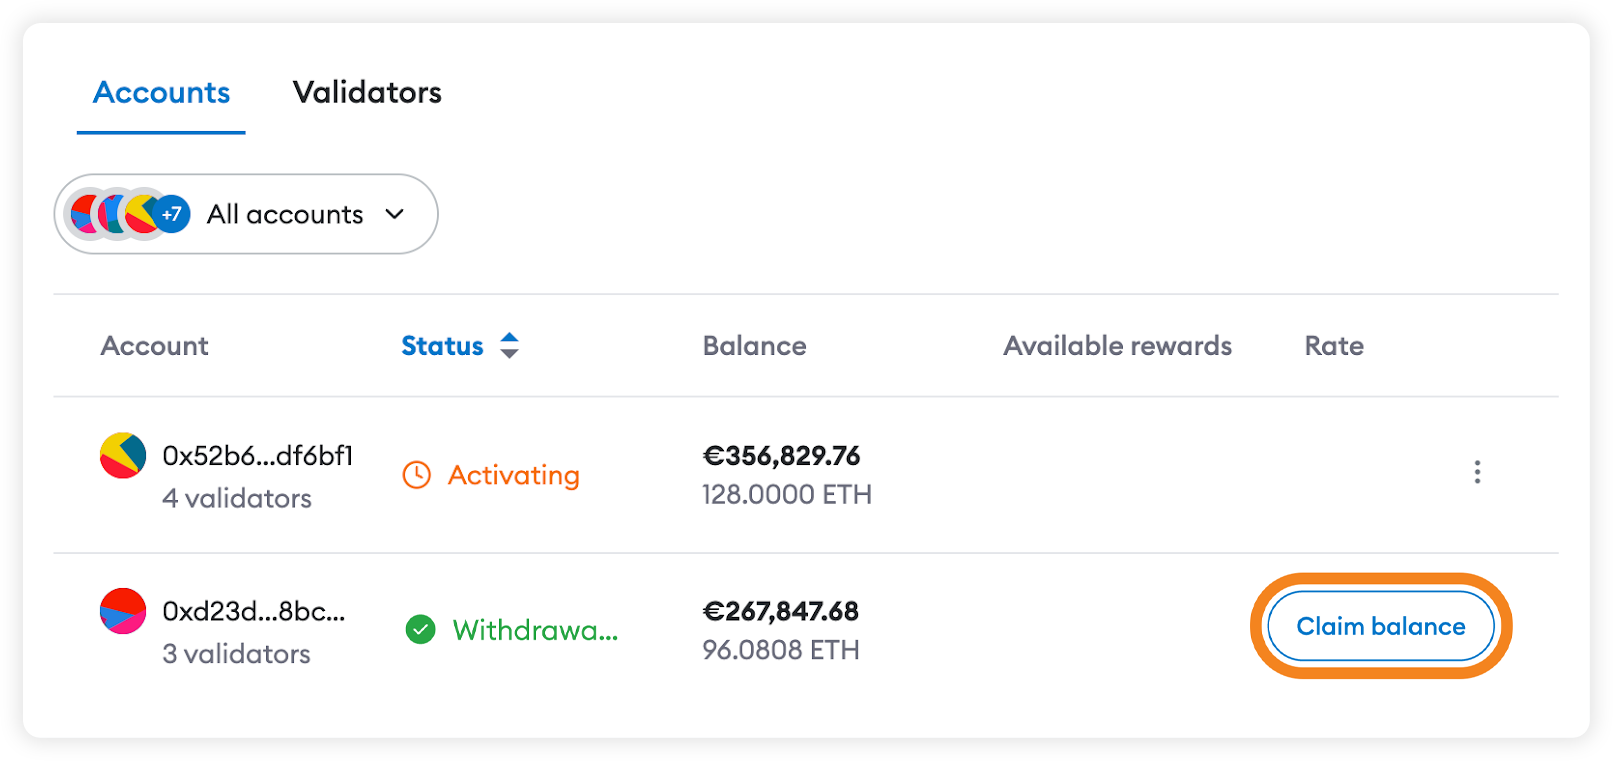
6. Click to review details of the claim, then 'Confirm' to prompt a transaction to sign in your MetaMask:
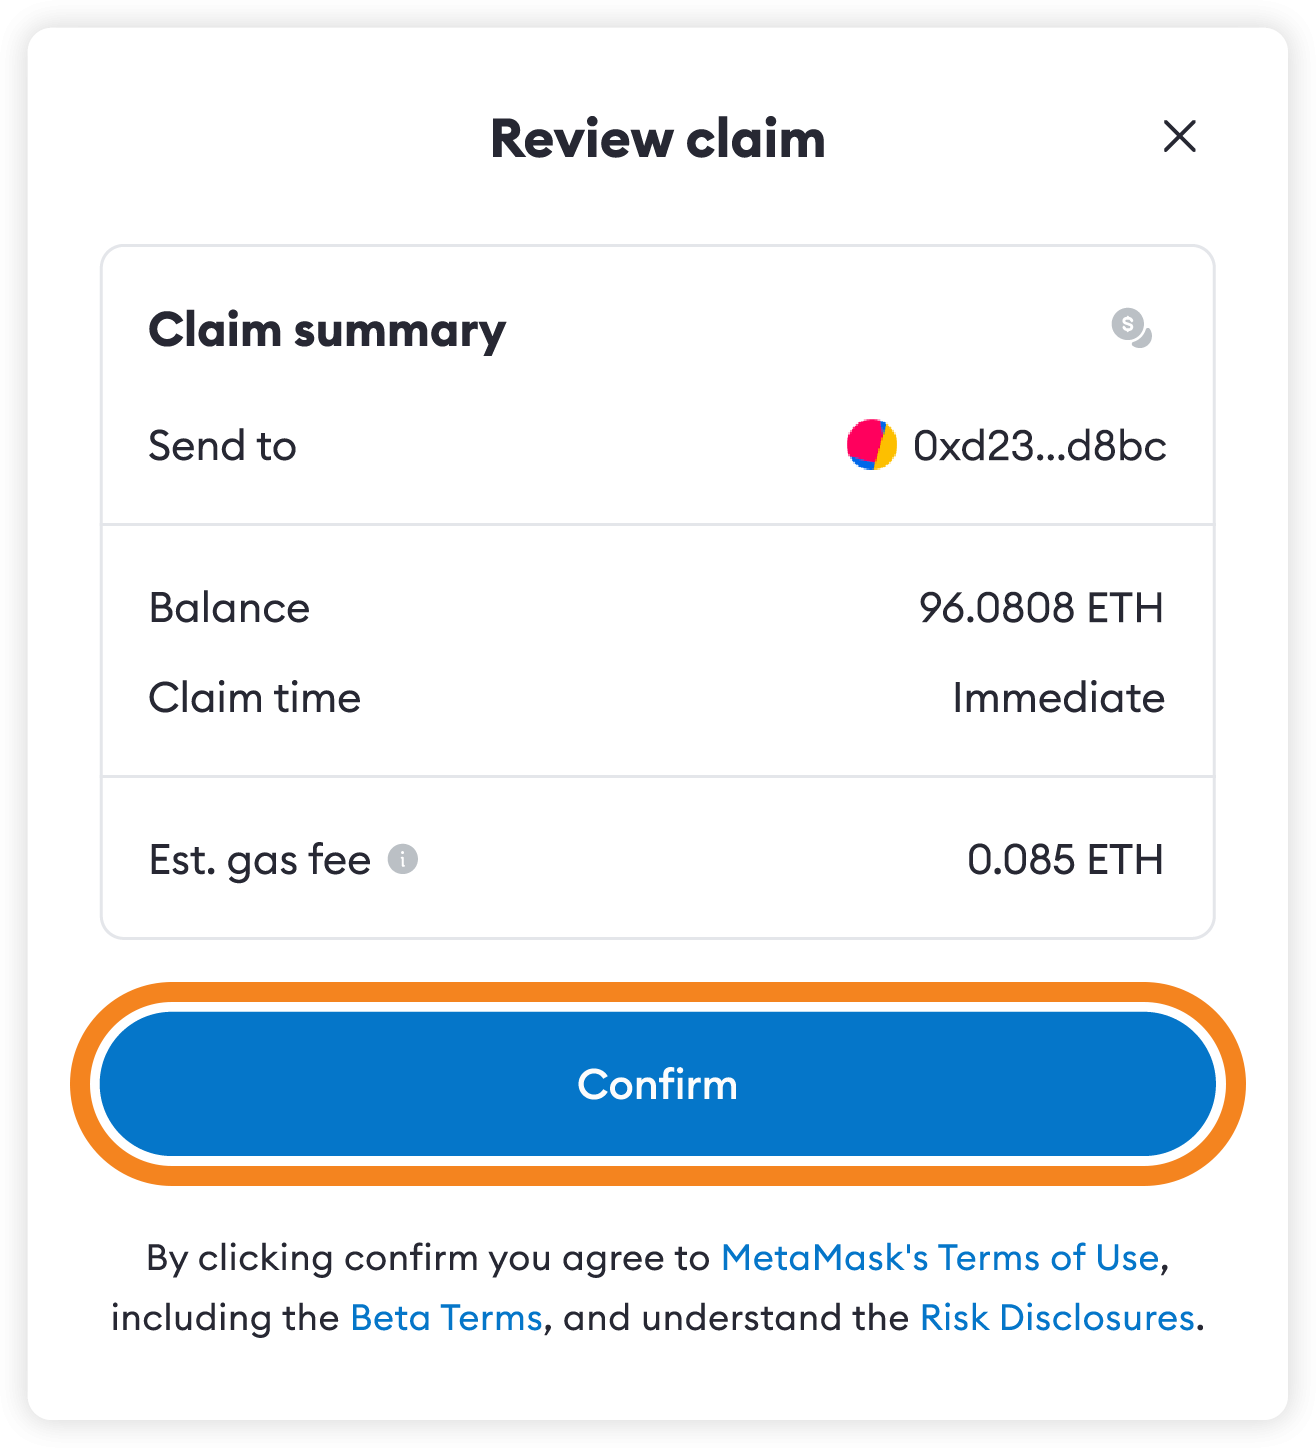
Once the claim transaction is confirmed on chain, your balance and rewards will be in your account.
---
# How do validator staking rewards work?
URL: https://support.metamask.io/trade/earn/stake/validator-staking/rewards-validator-staking/
> Learn more about validator staking rewards.
## How ETH staking rewards work {#how-eth-staking-rewards-work}
'Rewards' refers to the payments Ethereum validators receive from the protocol in return for their contributions to keeping the network secure, stable, and operational. They comprise:
- A base rate, paid to validators who attest blocks. This is frequent because it happens at every block, and;
- Additional rewards paid to the one validator randomly selected to propose the block. Given the total number of Ethereum validators, each validator proposes a block every 140 days on average. Block proposal rewards include a default protocol reward (0.05 ETH) plus additional MEV rewards ("tips"), the amount of which depends on the transactions included in the block.
Since the responsibility for block proposal is assigned to validators randomly, and the rewards for proposing a block depends on the transactions included in the specific block, the amount of rewards earned when proposing a new block varies. If your validator's rewards rate on MetaMask Staking is higher or lower than expected, it's most likely because of this natural variation. See our article on rewards variability [here](/trade/earn/stake/validator-staking/expected-rewards-different).
## How rewards are displayed {#how-rewards-are-displayed}
### Rewards rate {#rewards-rate}
In MetaMask Validator Staking, we display three reward rate data points:
- On the staking widget: the average rewards rate of all Consensys-operated validators over the last seven days, minus the 10% MetaMask fee.
- In your 'Validators' reporting tab: the reward rate of your validator since it became active, minus the 10% MetaMask fee.
- In the 'Accounts' reporting tab: the reward rate of all of your validators since they became active, minus the 10% MetaMask fee.
#### Calculating the rewards rate {#calculating-the-rewards-rate}
The methodology uses a rolling window calculation of total rewards based on the time periods (all-time for your validators and 7 days for Consensys Staking average) up to the latest available day where validator rewards are calculated.
We take into account all rewards (attestation rewards, block rewards and MEV) and penalties that happened during the period, then divide them by the average ETH balance of the validator(s) during that period. And then we extrapolate this timeframe for the 1 year period.
The formula to calculate validator reward rate is:
```
Total ETH rewards / active_stake / time_period * 365 days * 100
```
Where:
- `Total ETH rewards` is the total rewards of active validators in the relevant group. If the formula is applied to your reward rate, this is based on the total ETH you have staked; if it is used to calculate the expected rate in the staking widget, it encompasses all MetaMask Staking validators.
- `active_stake` is the amount of ETH staked, in multiples of 32.
- `time_period` is the duration that your ETH has been staked.
:::note
If you just recently staked, you may not see a rewards rate until we have enough data to provide one, which usually takes less than 48 hours.
:::
To learn more about how validators generate rewards, see _[Why is my validator staking rewards rate higher or lower than I expected?](/trade/earn/stake/validator-staking/expected-rewards-different)_.
### Balance {#balance}
'Balance' reflects the real-time balance of your validator, as it is on the Beacon Chain. Due to the way the Ethereum protocol works, your balance will also include some rewards that are not yet claimable. Rewards are 'swept' out of validators every nine days, and will be removed from your balance at this stage. (Note that these rewards that are not yet in 'Available rewards' have not yet had the MetaMask fee taken.)
As a result of this function, your balance will rise and fall naturally as rewards are 'swept' into 'Available rewards'.
### Available rewards {#available-rewards}
'Available rewards' is exactly as the name suggests: rewards that you can claim. The figure displayed here has already had the 10% MetaMask fee applied.
## FAQs
Will I receive MEV rewards for validator staking?
Yes, you will receive the MEV (maximal extractable value) rewards when your validator proposes a block.
MEV rewards are accounted for in your rewards, along with the rest of the rewards generated by your validator(s), such as attestation rewards and block rewards.
Consensys Staking uses software called “MEV-Boost” to optimize users' MEV rewards. It is connected to multiple MEV "relayers" to ensure that when your validator is selected to propose a block, it proposes the block with the highest MEV reward possible.
To learn more about MEV, head to the Ethereum Foundation docs [here](https://ethereum.org/en/developers/docs/mev/).
Where can I find more detail about my rewards?
The MetaMask Staking team is working on adding more reward reporting and detail into the app itself. Until then, we suggest your follow this guide to help understand your rewards better.
In the 'Validators' tab, click on the more actions button on the right and then 'View on beacon chain':
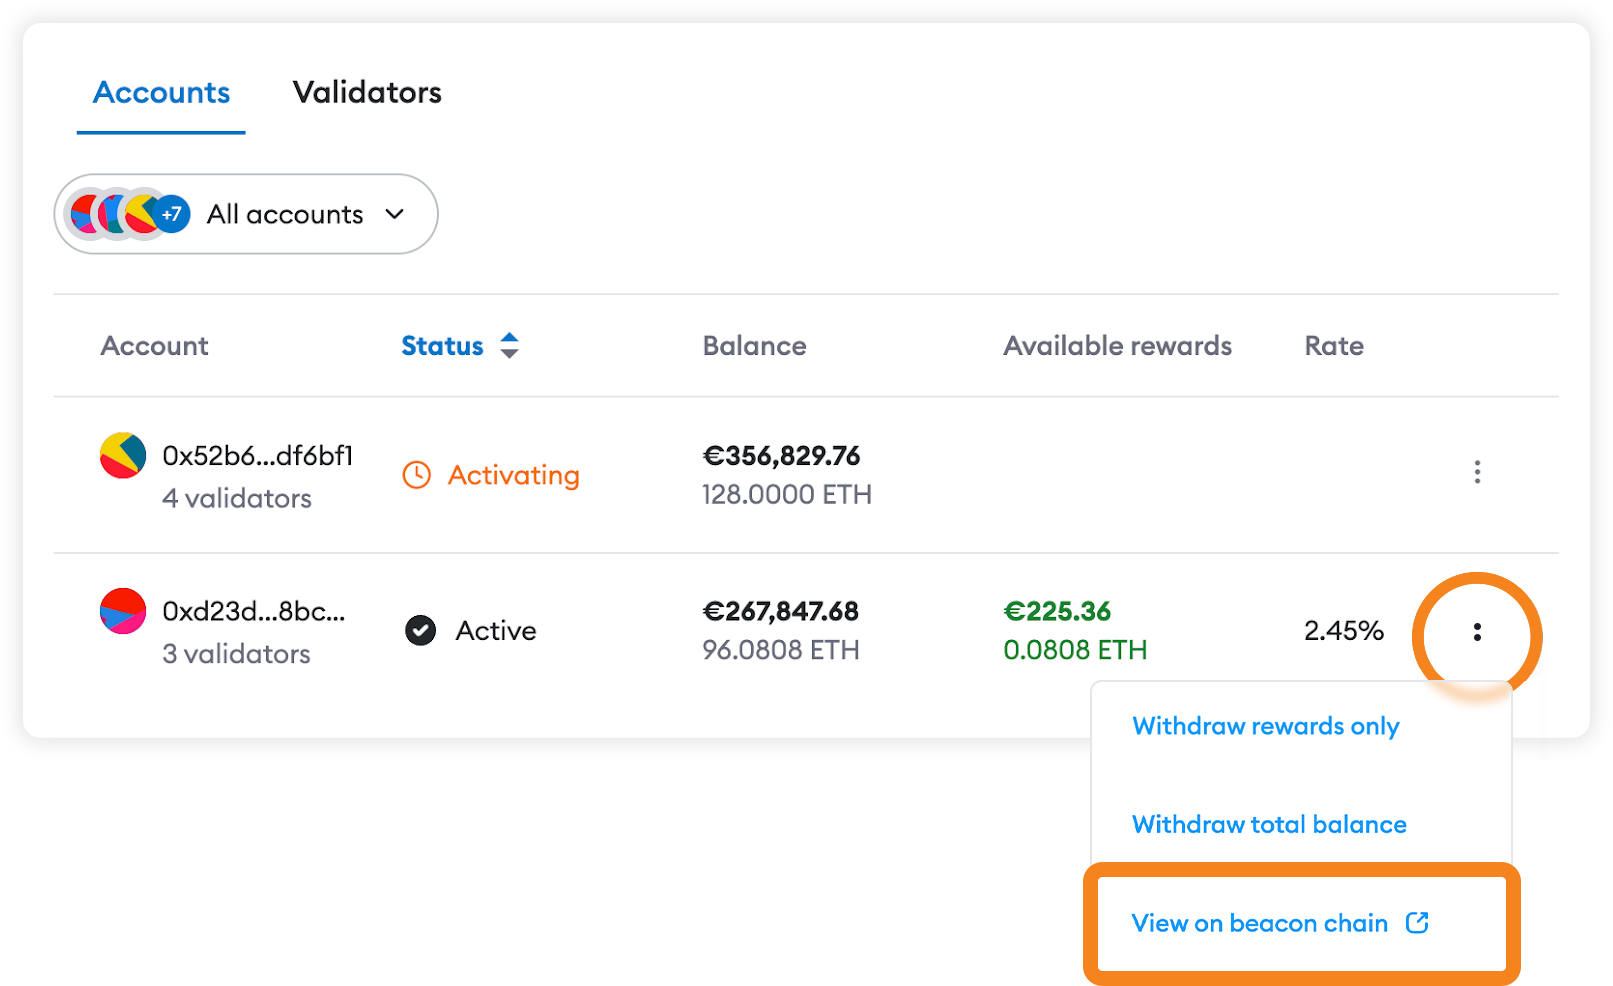
This will open your validator's page in the Beacon Chain explorer, [beaconcha.in](https://beaconcha.in/).
From here, click on the 'Withdrawals' tab, which has an icon resembling a bank note:
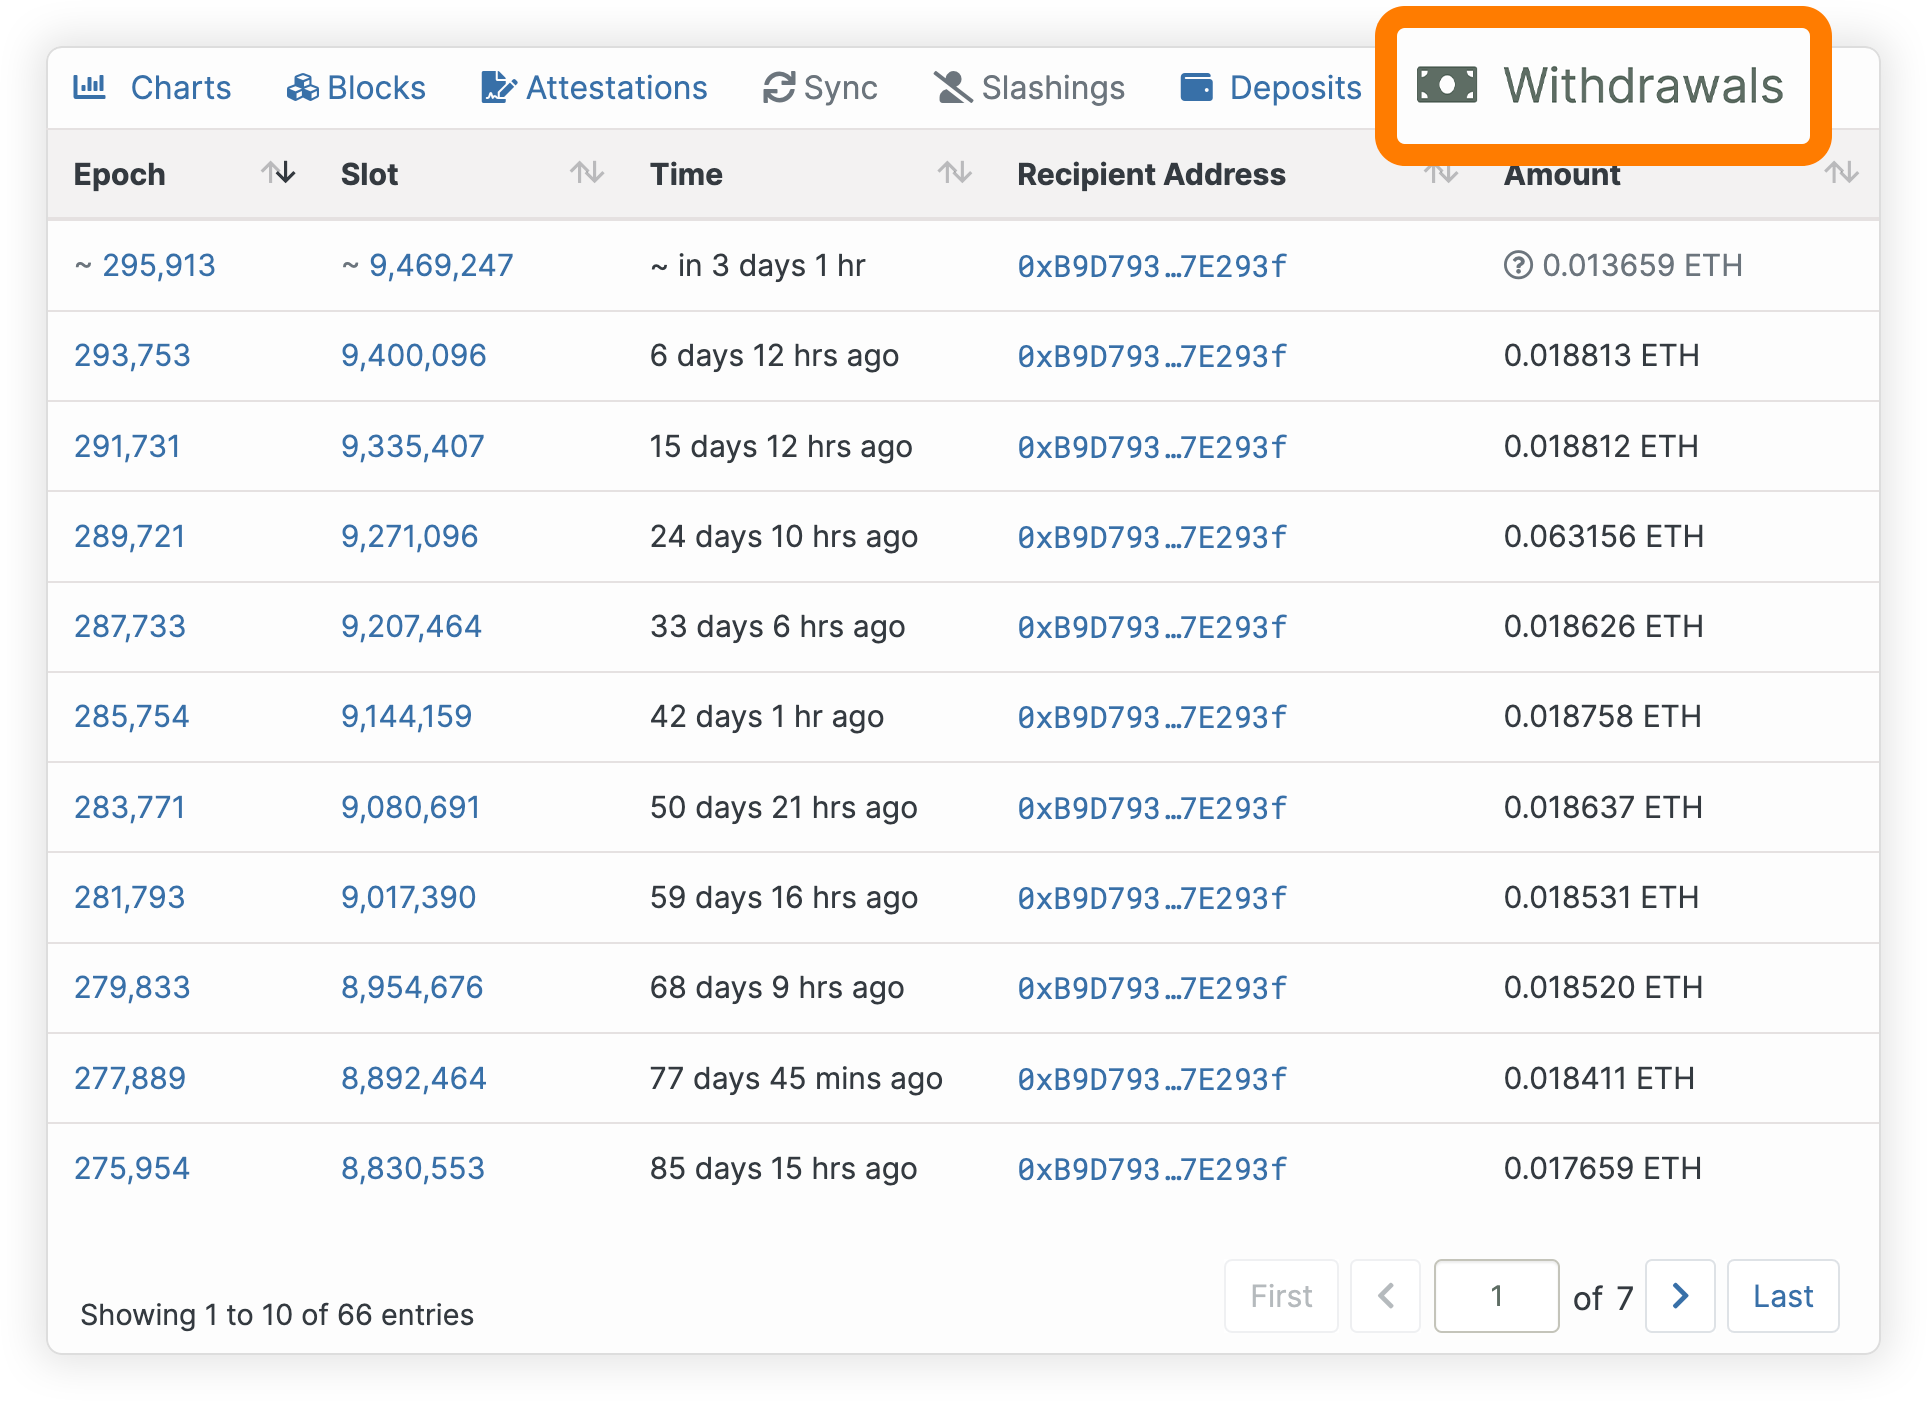
The listed transactions display the rewards that the Ethereum protocol has distributed to your validator.
**The ETH values you see here do not account for the MetaMask fee**, and are therefore higher than the amounts you will receive.
---
# What EL/CL clients are used for my validator?
URL: https://support.metamask.io/trade/earn/stake/validator-staking/validator-clients/
> Learn more about clients used for your validator.
MetaMask and Consensys are committed to client diversity. Towards this end, Consensys is developing an execution layer (EL) client ([Besu](https://besu.hyperledger.org/)) and a consensus layer (CL) client ([Teku](https://consensys.io/teku)).
The Consensys Staking infrastructure powering MetaMask validator staking uses an algorithm to distribute validators across multiple execution layer and consensus layer clients.
**On the consensus layer**, we run two clients for validator duties: Teku and Lighthouse. Our algorithm allocates new validators to Teku or Lighthouse in order to maintain a 50%-50% split between Teku and Lighthouse across the entire platform.
**On the execution layer**, we run two clients for validator duties: Geth and Besu. 58% of validators use Besu, and 42% use Geth.
:::info
Currently, Geth represents a 'supermajority', and is used by more than two-thirds of validators across the Ethereum network. Validators running supermajority clients may face greater risk in the event of a bug in the execution client software than validators running a minority client.
Although Consensys already contributes to client diversity by using a mix of clients, we will continuously evaluate how Geth adoption evolves throughout the ecosystem. If Geth usage does not continue to fall ecosystem-wide, we will take additional actions to further reduce our Geth adoption.
:::
Beyond client diversity, Consensys Staking validators are distributed across two clouds (Azure, AWS) and six regions (two each in the US, Europe, and Asia).
---
# What is validator staking?
URL: https://support.metamask.io/trade/earn/stake/validator-staking/what-is-validator-staking/
> Learn about validator staking.
Validator staking in MetaMask Portfolio allows you to deposit a multiple of 32 ETH and have one or more validators run on your behalf. You receive all of the rewards generated by the validator, minus a MetaMask fee.
:::info
Got less than 32 ETH, but still want to stake? Check out [pooled staking](/trade/earn/stake/pooled-staking) or [liquid staking](/trade/earn/stake/liquid-staking/) instead.
:::
## Staking and its role on Ethereum {#staking-and-its-role-on-ethereum}
Validators are an integral part of the Ethereum network: they attest the validity of transactions and blocks and propose new blocks, receiving rewards in turn. Read more [here](/trade/earn/stake/what-is-staking), or at the [Ethereum Foundation site](https://ethereum.org/en/staking/).
To spin up a validator, you must stake by depositing 32 ETH into an Ethereum smart contract. This sum must remain committed in order for the validator to remain active, generating rewards. The deposit functions as an intentional barrier to entry: since 32 ETH has considerable value, stakers are strongly incentivized to run their validators in good faith, for the benefit of the network. Poorly performing or outright malicious validators risk having their stake “slashed” — that is, have some or all of it taken as punishment.
## Validator staking with MetaMask Portfolio {#validator-staking-with-metamask-portfolio}
Validator staking on MetaMask Portfolio involves depositing 32 ETH to set up a validator, which MetaMask operates on your behalf, maintaining the hardware and software (nodes) that running a validator requires. This service supports you to receive rewards from the protocol for your stake without needing the technical knowledge to run a node. [Consensys Staking](https://consensys.io/staking), a platform that already runs over 33,000 validators, enables MetaMask to deliver this service reliably.
Once active, your validator will remain operational until you choose to withdraw your stake and rewards, a process you can begin at any time.
This contrasts with the other MetaMask staking options: [pooled staking](/trade/earn/stake/pooled-staking) and [liquid staking](/trade/earn/stake/liquid-staking) (via Lido, Rocket Pool, and Stader Labs). These services pool your deposit with others in order to reach the 32 ETH necessary for a validator.
## Why should I use MetaMask Portfolio validator staking? {#why-should-i-use-metamask-portfolio-validator-staking}
If you have the ETH required to run a validator, staking with MetaMask Portfolio offers several advantages:
- **Self-custody**: In contrast to many staking services, running validators with MetaMask Portfolio guarantees that your funds remain in your control throughout every step of your validator's lifecycle. MetaMask does not take custody of your funds at any point.
- **Reliable infrastructure**: Validator staking in MetaMask Portfolio uses backend infrastructure provided by Consensys Staking, who already operate validators totaling over $2 billion of ETH (4% of all staked ETH), achieving 99.9% validator uptime. Validators operated by Consensys Staking have also never been slashed, and are monitored 24/7.
- **Simplicity**: Our system offers the advantages of self-custody validator staking—support and securing the network while receiving regular rewards—without any of the hardware or know-how you need to run nodes yourself. You can rest easy with full peace of mind that your validator is running effectively.
---
# MetaMask Card
URL: https://support.metamask.io/trade/metamask-card/
> Everything you need to know about MetaMask Card
Discover how to use your MetaMask Card. Pay with crypto, convert assets to fiat, make purchases, withdraw cash, manage settings, and troubleshoot.
---
# FAQs
URL: https://support.metamask.io/trade/metamask-card/card-faq/
> Find answers to common questions about MetaMask Card: funding, spending, withdrawals, limits, fees, security, and troubleshooting.
:::note
MetaMask has temporarily paused new Card sign-ups in the United States and the United Kingdom. Existing Card holders are not affected and can continue using their cards as usual. We'll share more details in due course.
:::
## Signing up {#signing-up}
What countries are eligible to sign up for MetaMask Card?
MetaMask Card is only available in certain regions. For a full list of eligible countries, see [here](/trade/metamask-card/what-is-metamask-card#can-i-sign-up-for-metamask-card). We’re working hard to bring MetaMask Card to more people; stay tuned for updates!
Is MetaMask Card a credit card?
No, MetaMask Card is not a credit card. It is a debit card that allows you to spend assets directly from your MetaMask wallet. Because it is _not_ a credit card, there is no credit check.
Can I create more than one card?
No, you can only create one MetaMask Card.
Will I get a physical card mailed to me?
You will not get a physical card mailed to you when you sign up for MetaMask Card. New users receive a Virtual card, and orders for the Metal card have been temporarily paused.
Are there any annual fees or maintenance fees associated with MetaMask Card?
The Virtual card has no annual fees or maintenance fees associated with MetaMask Card. There is a small fee for each transaction, which you can read more about [here](/trade/metamask-card/using/#transaction-fees).
The Metal card has an annual fee of $199.
Does MetaMask Card report any data to local governments?
MetaMask does not keep or report any data to local governments. We have, however, partnered with vetted providers who hold the necessary regulatory authorizations in the jurisdictions where the card is available. Baanx is the provider of the MetaMask Card, Monovate is the card issuer and Mastercard operates the payment network. Together with their local affiliates, Baanx and Mastercard are responsible for ensuring compliance with applicable financial regulations, including legally-mandated data reporting to local governments.
## Spending tokens {#spending-tokens}
What are the tax implications of using MetaMask Card?
MetaMask does not provide financial advice, and you should consult a tax professional. We've partnered with Summ to provide general information in [this article](/manage-crypto/taxes/card-tax-implications).
Is there a limit to how much I can spend?
Check out the [limits and fees](/trade/metamask-card/limits-and-fees/) page for more information on spending limits.
You can also set a spending limit for your MetaMask Card. Read more
[here](/trade/metamask-card/managing/#approve-a-custom-spending-limit).
What tokens are supported for spending?
MetaMask Card currently supports the following tokens on the following networks for users:
- Linea: mUSD, USDC, USDT, wETH, EURe, and GBPe
- Solana: USDC and USDT
- Base: USDC and USDT
- Monad: USDC
:::info[New York and Texas]
Users in New York and Texas can spend supported tokens on Linea and Base. Solana and Monad are not supported in these states.
:::
We’re working hard to expand support to more tokens.
Will using MetaMask Card affect my credit score?
No, using MetaMask Card will not affect your credit score.
Where can I find my card's pin?
To view your card's PIN, head to the 'Manage' tab on your card's web dashboard and click 'View PIN'. A pop-up will appear with your card's four digit PIN code.
For the Virtual card, only users in the United States can view their card's PIN.
Can I spend with MetaMask Card in an ineligible region?
Yes, you can spend with MetaMask Card anywhere Mastercard is accepted. Ineligible regions limit sign-ups, not spending.
Do foreign transaction fees apply when using MetaMask Card?
MetaMask Card currently provides the best foreign exchange rate allowed by MasterCard, and doesn’t charge any additional fees. You can see a breakdown of fees by clicking on a transaction.
Can I withdraw cash from an ATM with my MetaMask Card?
Metal card users and Virtual card users in the United States can withdraw cash from an ATM with their card.
At this time, Virtual card users in other regions cannot withdraw cash from an ATM with their card.
## Benefits {#benefits}
How do I earn benefits?
You can earn benefits by using your Metal or Virtual card to make purchases.
Metal card transactions earn 3% mUSD back on the first $10,000 spent each year (and 1% thereafter). Metal offers additional benefits, such as travel bookings and other perks. For a full list of Metal benefits, see [here](/trade/metamask-card/metal-card).
Virtual card transactions earn 1% mUSD back on all eligible transactions.
How do I earn dining rewards?
All MetaMask Card holders earn 5X $FLY when paying through the Blackbird app. Metal Card holders earn additional benefits like 7X $FLY and can opt in to activate a 90-day Club Regular trial, the second-highest Blackbird reward tier.
To get started:
1. Download the [Blackbird app](https://www.blackbird.xyz/)
2. Add your MetaMask Card as your default payment method
3. Make a reservation anywhere in the network and tap in at the Blackbird puck when you arrive
4. After your meal, let your server know you’re paying with Blackbird and settle the check in the app using your MetaMask Card.
How do I claim my mUSD back rewards?
Navigate to the Card's web dashboard. At the bottom of the 'Overview' tab, you will see a 'mUSD back' section. Click 'Claim' to redeem your mUSD back and add them to your account.
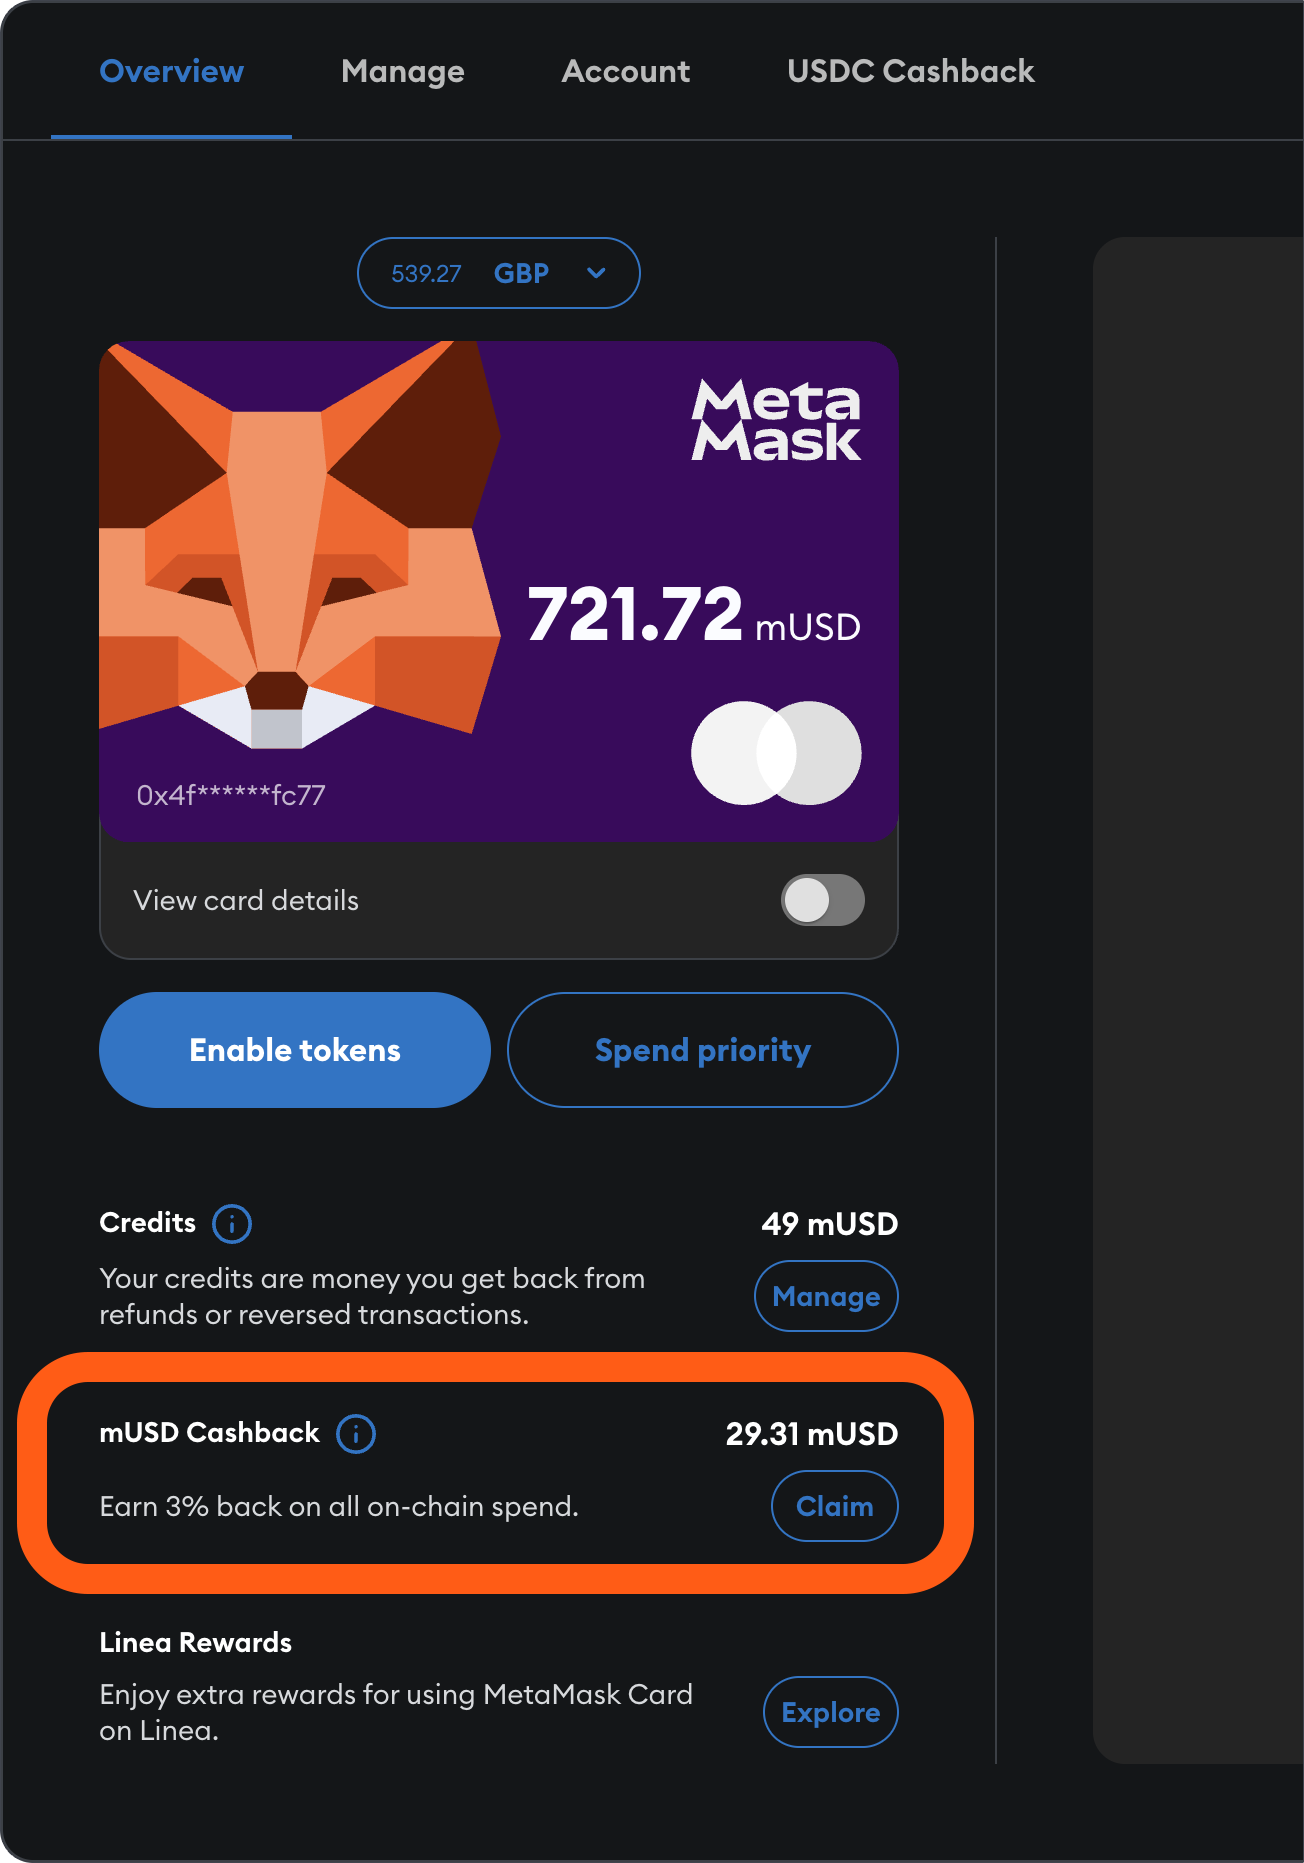
Do I need gas to redeem my mUSD back?
It depends on the network. For most networks, a small amount of gas is required, which will be quoted in the transaction confirmation. However, if your mUSD back is redeemed via Monad, gas is sponsored — you receive the full withdrawal amount with no gas deducted. For example, withdrawing 1.0 mUSD results in exactly 1.0 mUSD received.
## Managing your card {#managing-your-card}
How can I request a refund from a transaction?
You should request a refund with the merchant where the transaction took place. If you have issues getting a refund from the merchant, you can request a chargeback from Crypto Life support at `metamask@cl-cards.com`.
I got a refund. Where did the money go?
Refunds are automatically put into your 'Credits' balance, which is shown on your card’s homepage. When you make your next transaction, MetaMask Card will first draw upon your credit balance for funds, or you can withdraw the funds to your wallet. To withdraw, tap the 'Withdraw' button on the Card home screen in the MetaMask mobile app.
Can I cash out my credit balance?
Yes! If you have an available credit balance, you’ll see a 'Withdraw' button on the Card home screen in the MetaMask mobile app. Where your funds are sent depends on your region and wallet setup:
**Outside the UK:**
- If you **have** a [Money Account](/trade/money-account/) linked, funds are withdrawn as Monad mUSD to your Money Account vault wallet.
- If you **don’t have** a Money Account, funds are withdrawn as Linea mUSD to your priority EVM wallet address.
- If you only have a Solana wallet: withdrawals are not supported.
**UK users:**
- Funds are withdrawn as Linea mUSD to your priority EVM wallet address.
- If you only have a Solana wallet: withdrawals are not supported.
You can also claim credit from the web dashboard by navigating to the 'Overview' tab and selecting 'Claim'.
Note: If your withdrawal is routed via Monad, gas is sponsored — you receive the full amount with no gas deducted.
My MetaMask Card balance is wrong. How can I fix it?
Your MetaMask Card balance reflects the balance of the highest priority token you have set in ‘Manage.’ For example, if you have delegated 5 USDC and 5 USDT to your card, and set USDC as the number one priority, your card balance will show as 5 USDC.
If your balance is still incorrect, confirm your balance in MetaMask and on [Lineascan](https://lineascan.build/) or another network explorer. If your balance in MetaMask or on Lineascan is different than the balance showing, you should try refreshing the page or contacting Crypto Life for more support at `metamask@cl-cards.com`.
How do I close my MetaMask Card?
If you'd like to close your MetaMask Card, contact Crypto Life support at `metamask@cl-cards.com`.
---
# How to fund your card
URL: https://support.metamask.io/trade/metamask-card/funding/
> Learn how to fund your MetaMask Card. Swap tokens to supported networks, enable tokens, and set spending limits.
MetaMask Card uses Linea, Solana, Base, and Monad, so you can choose your preferred network for spending. To learn about swapping tokens to your preferred network, keep reading, or jump to "Enable tokens" if you already have funds on your preferred network.
## Move funds to your preferred network
You can move funds by using MetaMask's native swap feature within Extension and Mobile. Simply click the 'Swap' button, select Linea, Solana, Base, or Monad, and select the token you want to move.
### Gas {#gas}
Each transaction with your card requires a small amount of gas to cover the network fee, which will be taken from the same token you're spending. After a transaction, you can see the gas fee in the transaction details in your card dashboard.
## Enable tokens and accounts {#enable-or-revoke-tokens--accounts}
MetaMask Card allows you to directly spend from your self-custodial MetaMask account. To give MetaMask Card permission to start spending from an account, you will need to set a spending limit. You can set spending limits for multiple accounts and networks by repeating the process.
:::info[Spending limits]
When you set a spending limit, also known as a spending cap, you choose a certain token amount for MetaMask Card to spend from your account. These funds will remain in your account until you spend them, and you can revoke the spending cap at any time.
:::
## Fund your account and enable tokens {#fund-your-account-and-enable-tokens}
You can fund your card on MetaMask Mobile, or on the [web dashboard](https://card.metamask.io/).
You can natively add funds to your card in MetaMask Mobile (version 8.0 or later). Open the mobile app, tap 'Money' in the bottom navbar to open your Money Account, and tap 'Card'.
On the next screen, click 'Add funds'. You can then choose to buy tokens directly from the app, or swap existing tokens into a spendable token on Linea, Base, Monad, or Solana.
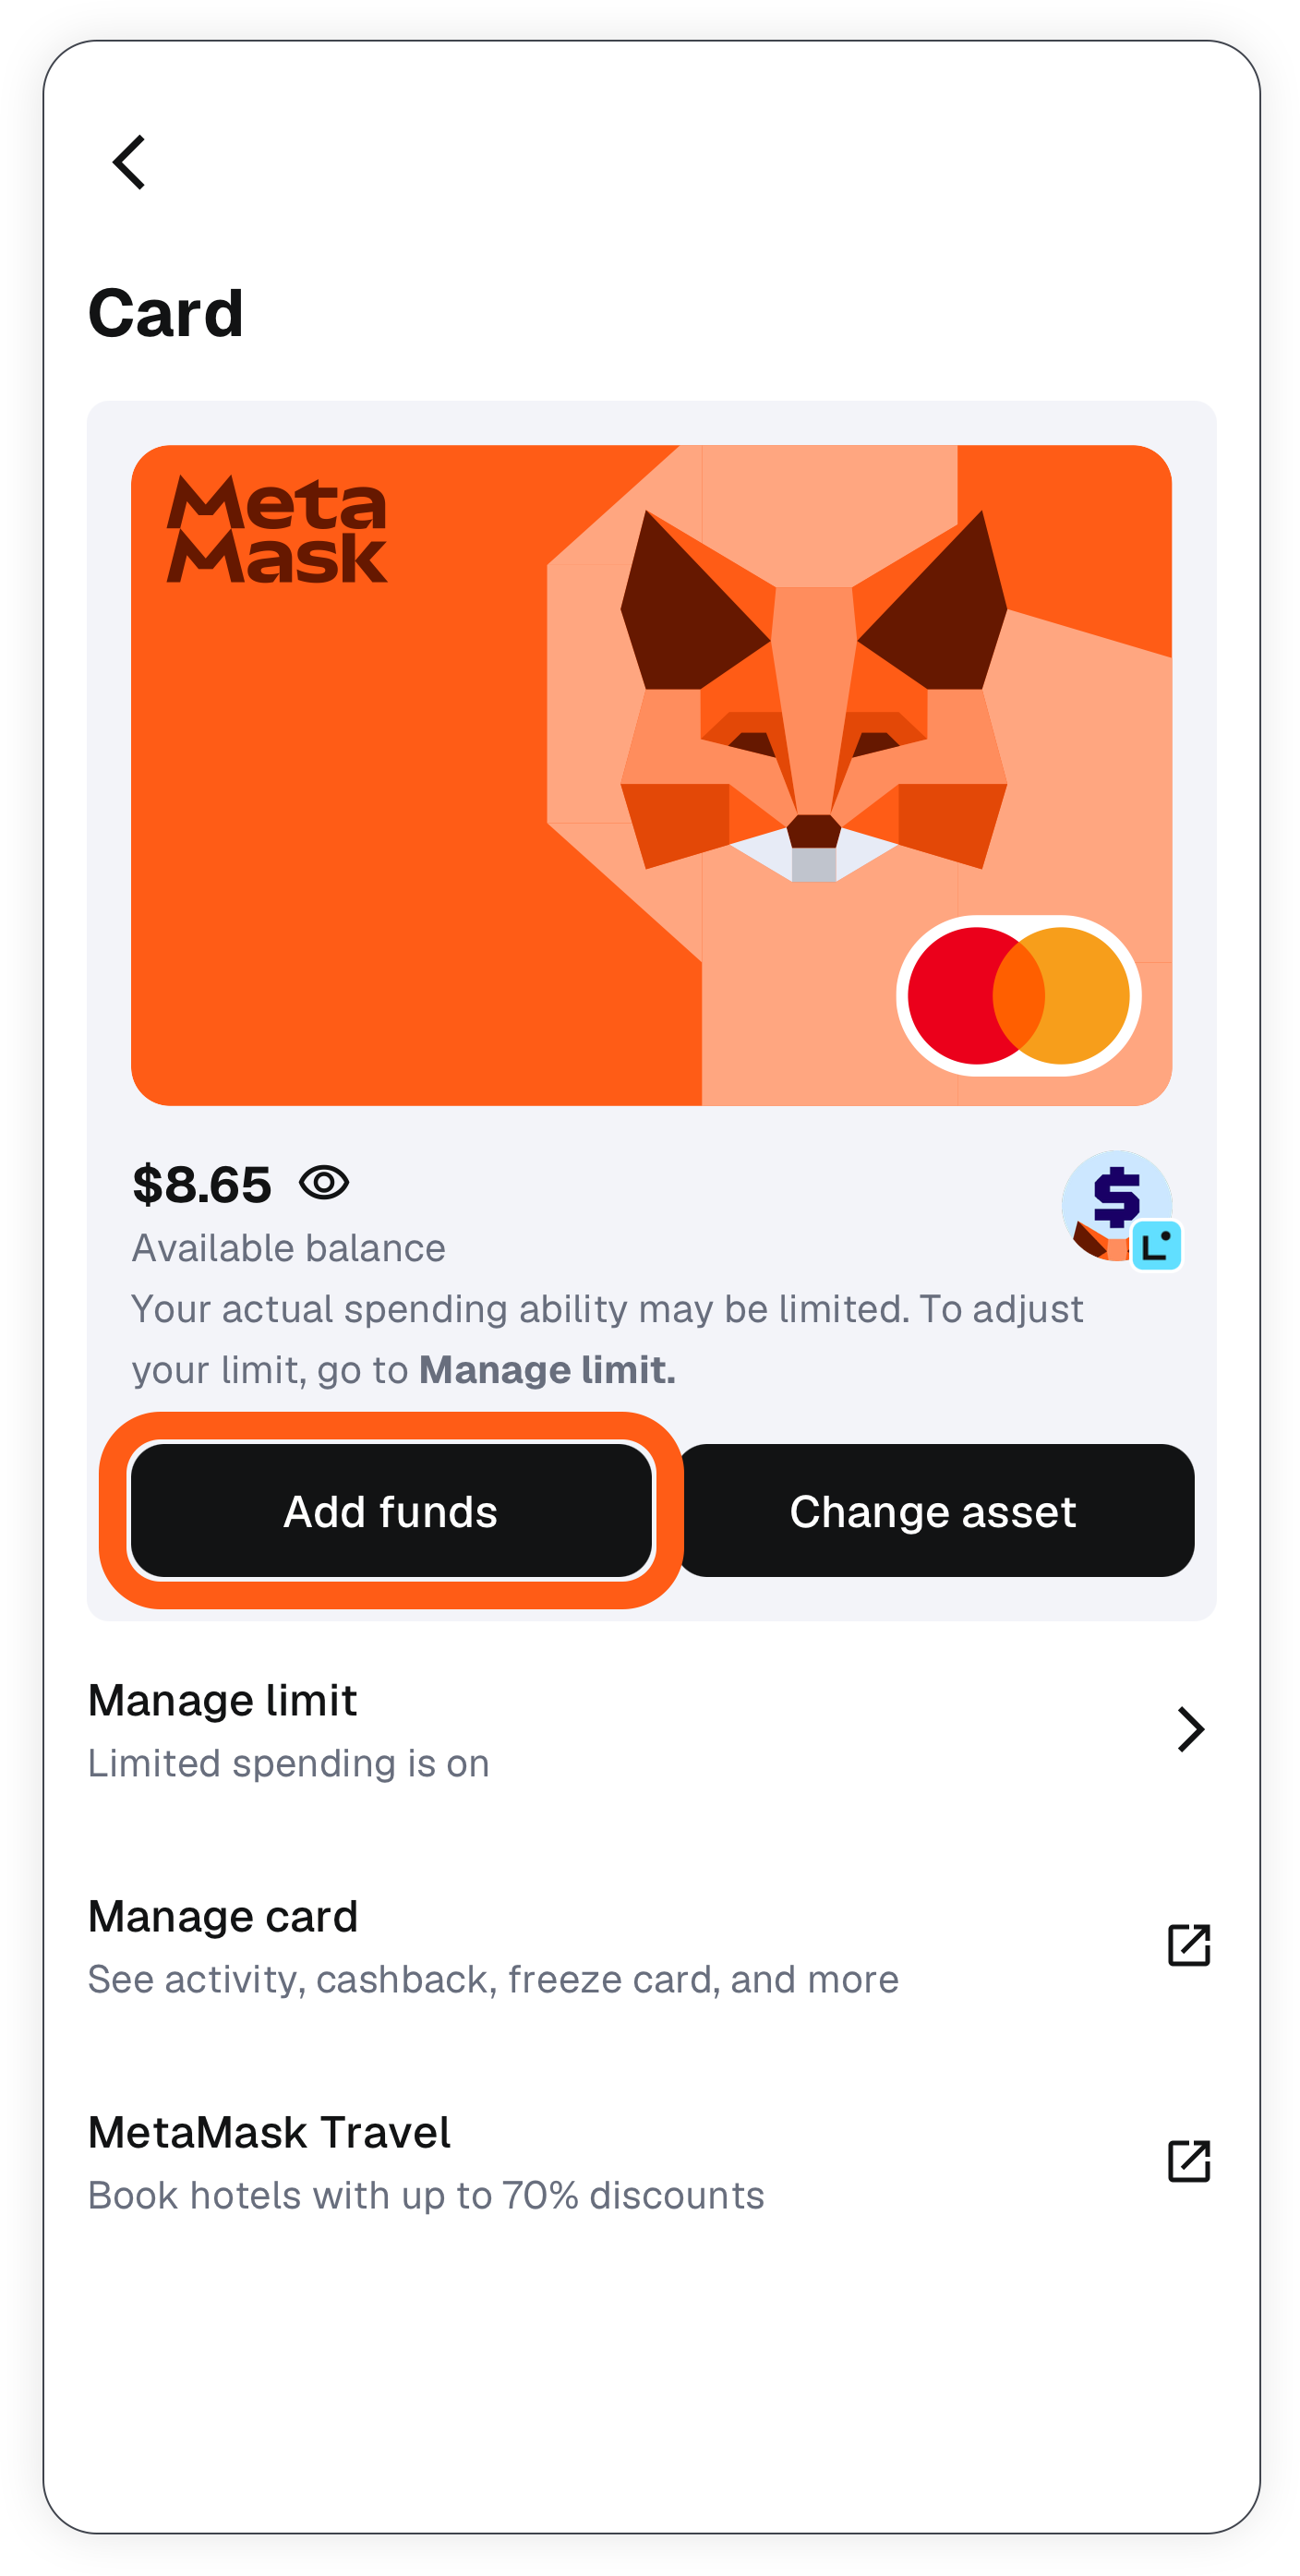
To spend with a different asset, click 'Change asset', and select the asset you would like to spend with. If this asset does not yet have an approved spending limit, you will be taken to the web dashboard to set a spending limit.
Head to the [web dashboard](https://card.metamask.io/) and click 'Enable tokens'.
You can choose to either ‘Approve card spending’, meaning that you allow MetaMask Card to spend as much of a specific token as you have in your account:
Or you can choose to ‘Edit limit’, meaning that you can only spend as much of a specific token as per the limit you’ve set:
Learn more about managing your spending limit [here](/trade/metamask-card/managing/#enable-or-revoke-tokens).
:::info[Spending limit gas]
Each time you set a spending limit, you will have to pay a gas fee to approve the transaction.
If you choose ‘Approve card spending’, you’ll only have to pay a gas fee once to allow MetaMask Card to use this token.
If you choose ‘Edit limit’, you’ll have to pay a gas fee every time you approve a new limit. For example, if you set your initial limit to 20 USDC, and spend that entire limit, you’ll need to set a new limit to keep spending USDC. When you approve a new limit, you’ll have to pay a gas fee again.
:::
You can also delegate multiple tokens for each network; you can then set a priority to decide which tokens should be spent in which order.
### Supported tokens {#supported-tokens}
MetaMask Card currently supports the following tokens on the following networks for users:
- Linea: mUSD, USDC, USDT, wETH, EURe, and GBPe
- Solana: USDC and USDT
- Base: USDC and USDT
- Monad: USDC
:::info[New York and Texas]
Users in New York and Texas can spend supported tokens on Linea and Base. Solana and Monad are not supported in these states.
:::
How do I get Monerium's EURe or GBPe on Linea?
EURe and GBPe are stablecoins issued by Monerium, and you can buy the token directly from Monerium. Currently, you should not swap either token on Linea, due to low
liquidity.
## Set a spending priority {#set-a-spending-priority}
You can set spending limits for MetaMask Card with multiple tokens. You need to set one token that will be spent first; if you do not have enough of this token in your account to complete a transaction, the token next in line will be used instead. Learn more about spending preference [here](/trade/metamask-card/managing).
All set with funding your MetaMask Card? It’s time to [start using it](/trade/metamask-card/using)!
---
# Get started with MetaMask Card
URL: https://support.metamask.io/trade/metamask-card/getting-started-with-card/
> Set up your MetaMask Card. Activate it, fund with crypto, convert to fiat, and learn how to spend or withdraw securely.
:::note
MetaMask has temporarily paused new Card sign-ups in the United States and the United Kingdom. Existing Card holders are not affected and can continue using their cards as usual. We'll share more details in due course.
:::
MetaMask is launching a powerful new way to experience blockchain in your everyday life — the MetaMask Card. With MetaMask Card, your self-custodial MetaMask wallet meets the worldwide accessibility of Mastercard transactions.
MetaMask Card is available as a Virtual card. Users in the US can also order a Metal card. For more information on how to order a Metal card, see our guide [here](/trade/metamask-card/metal-card/).
Eager to get started and earn mUSD back on each transaction? You’re in the right place!
## Get started {#get-started}
Before you can start spending crypto in the real world with your MetaMask Card, you need to set up a few things.
- Set up your MetaMask Card account
- Move funds to your preferred, enabled network (Linea, Solana, Base, or Monad)
- Enable tokens for your card
- Add MetaMask card to your digital wallet
- View your card's PIN
## Set up your account {#set-up-your-account}
Users from an eligible region can sign up natively on MetaMask Mobile (version 8.0 or later). For MetaMask Mobile, tap 'Money' in the bottom navbar to open your Money Account, then tap 'Card' and follow the steps to sign up.
Eligible users can also find their personal sign-up link under the ‘Card’ tab in [MetaMask Portfolio](https://portfolio.metamask.io/card). This link will allow you to set up your account on our web dashboard, hosted by Crypto Life.
:::info[Card tab]
If you don't see the options described above, your region is not yet supported. Instead, you can join the [waitlist](https://portfolio.metamask.io/card) to be the first to know when MetaMask Card is available in your region.
:::
Setting up your account involves adding an email/password, confirming your phone number, and verifying your identity through a secure Know Your Customer (KYC) process.
Crypto Life manages your account and processes your personal information in accordance with their [Privacy Policy](https://secure.baanx.co.uk/BAANX%20-%20Global%20Privacy%20Policy%202025.pdf); your information is never shared with MetaMask. Learn more about your security and privacy with MetaMask [here](/trade/metamask-card/security-privacy).
## Choose your card tier {#choose-your-card-tier}
MetaMask Card is now available as a Virtual card - the Free tier - and a Metal card - the Metal tier. To receive a physical metal card, you will need to place an order. Otherwise, you will receive a free virtual card.
**The Metal tier is currently only available to users in the United States.** For more information on how to order a Metal card, see our guide [here](/trade/metamask-card/metal-card/).
## Swap and enable tokens {#swap-and-enable-tokens}
MetaMask Card uses a few different networks to settle transactions. The following networks and tokens are supported for users:
- Linea: mUSD, USDC, USDT, wETH (wrapped Ether), EURe, and GBPe
- Solana: USDC and USDT
- Base: USDC and USDT
- Monad: USDC
:::info[New York and Texas]
Users in New York and Texas can spend supported tokens on Linea and Base. Solana and Monad are not supported in these states.
:::
When you first set up your card, you'll be prompted to select a network and enable tokens by setting spending limits. You can do these steps later, but you won't be able to spend with MetaMask Card until you have approved tokens and set a spending limit for your chosen network.
You can set spending limits for multiple networks at a time, and then set a priority to decide which tokens on which network should be spent in which order.
To learn about funding MetaMask Card, read more [here](/trade/metamask-card/funding).
:::info[Use MetaMask Mobile to fund your card]
Once you've set a spending limit, you can natively add funds to your card in MetaMask Mobile (version 8.0 or later). Simply open the mobile app, tap 'Money' in the bottom navbar to open your Money Account, and tap 'Card'.
To learn about the funding options, read more [here](/trade/metamask-card/funding).
:::
## Add MetaMask Card to your digital wallet {#add-metamask-card-to-your-digital-wallet}
You can add MetaMask Card to Apple Wallet or Google Wallet for easy, instant transactions. You can learn how to add MetaMask Card to your digital wallet [here](/trade/metamask-card/managing).
## View your card's PIN {#view-your-card-s-pin}
Metal card users and Virtual card users in the United States have a four-digit PIN associated with their card. Virtual card users in other regions do not have a PIN associated with their card.
You may be prompted to enter your card's PIN when completing a transaction, such as ATM withdrawals or other in-person transactions. To view your card's PIN, head to the 'Manage' tab on your card's web dashboard and click 'View PIN'. A pop-up will appear with your card's four digit PIN code.
## Spend and earn {#spend-and-earn}
Now that you’ve set up your account, swapped funds to your chosen network, and delegated tokens to spend using your card, you’re ready to start spending and earning mUSD back! You will earn 1% back in mUSD on each transaction (unless you're using Metal card, which earns 3% back on the first $10,000 spent each year and 1% thereafter).
Head on over to our guide on [spending with your MetaMask Card](/trade/metamask-card/using).
---
# Limits and fees
URL: https://support.metamask.io/trade/metamask-card/limits-and-fees/
> See up-to-date limits and fees for the MetaMask Card. Learn about funding, spending, withdrawal, conversion fees, and regional caps.
# MetaMask Card limits and fees
New to MetaMask Card? [Start here](/trade/metamask-card/getting-started-with-card/).
1*Exception: No fee in Argentina where card denomination is USD.*
2*ATM operator may charge you additional fee.*
3*Using card with merchant located outside of cardholder country.*
4*Subject to fair usage.*
5*Increased Metal limits will become available later this year. Reserve right to increase limits with usage.*
6*ATM may impose a network specific limit at their discretion.*
---
# How to manage your card
URL: https://support.metamask.io/trade/metamask-card/managing/
> Learn how to manage your MetaMask Card. Update card settings, lock/unlock, view transactions, enable tokens, change PIN, and more.
Once you’ve [set up your MetaMask Card](/trade/metamask-card/getting-started-with-card), you can manage your card through a convenient web dashboard. This guide will walk you through managing your card, including how to:
- Freeze your card
- View your card's PIN
- Manage your spending limit
- Add and remove approved accounts
- Add your card to your digital wallet
- View and download your transaction history
- Manage spending preference
:::info[Manage your card in MetaMask Mobile]
You can also fund your card and change your spending assets in MetaMask Mobile (version 8.0 or later). Simply open the mobile app, tap 'Money' in the bottom navbar to open your Money Account, and tap 'Card'.
:::
To reach your web dashboard, navigate to MetaMask Portfolio → click ‘Card’ in the left-hand navigation bar → click ‘Get started’.

:::warning[Check links]
MetaMask Card’s dashboard is accessed through Crypto Life’s website. Make sure you navigate to this external page through the links in MetaMask Portfolio. Once there, you can bookmark the correct page.
:::
Once you are on the MetaMask Card web dashboard, click ‘Manage’ in the top navigation bar.

## Freeze Card {#freeze-card}
To temporarily pause any activity on your card, toggle the ‘Freeze Card’ switch to on, indicated by a blue color.
To unfreeze your card, toggle the switch back to off. This allows you to start making transactions again.
## View PIN {#view-pin}
To view your card's PIN, click the 'View PIN' button. A pop-up will appear with your card's PIN.
Note: For the Virtual card, only users in the United States can view their card's PIN.
## Enable or revoke tokens {#enable-or-revoke-tokens}
You can set spending limits for MetaMask Card to control what tokens the card uses. You can also revoke access to a token that you’ve previously given to MetaMask Card.
### Enable tokens {#enable-tokens}
In the 'Overview' or 'Manage' tab, click ‘Enable tokens’.
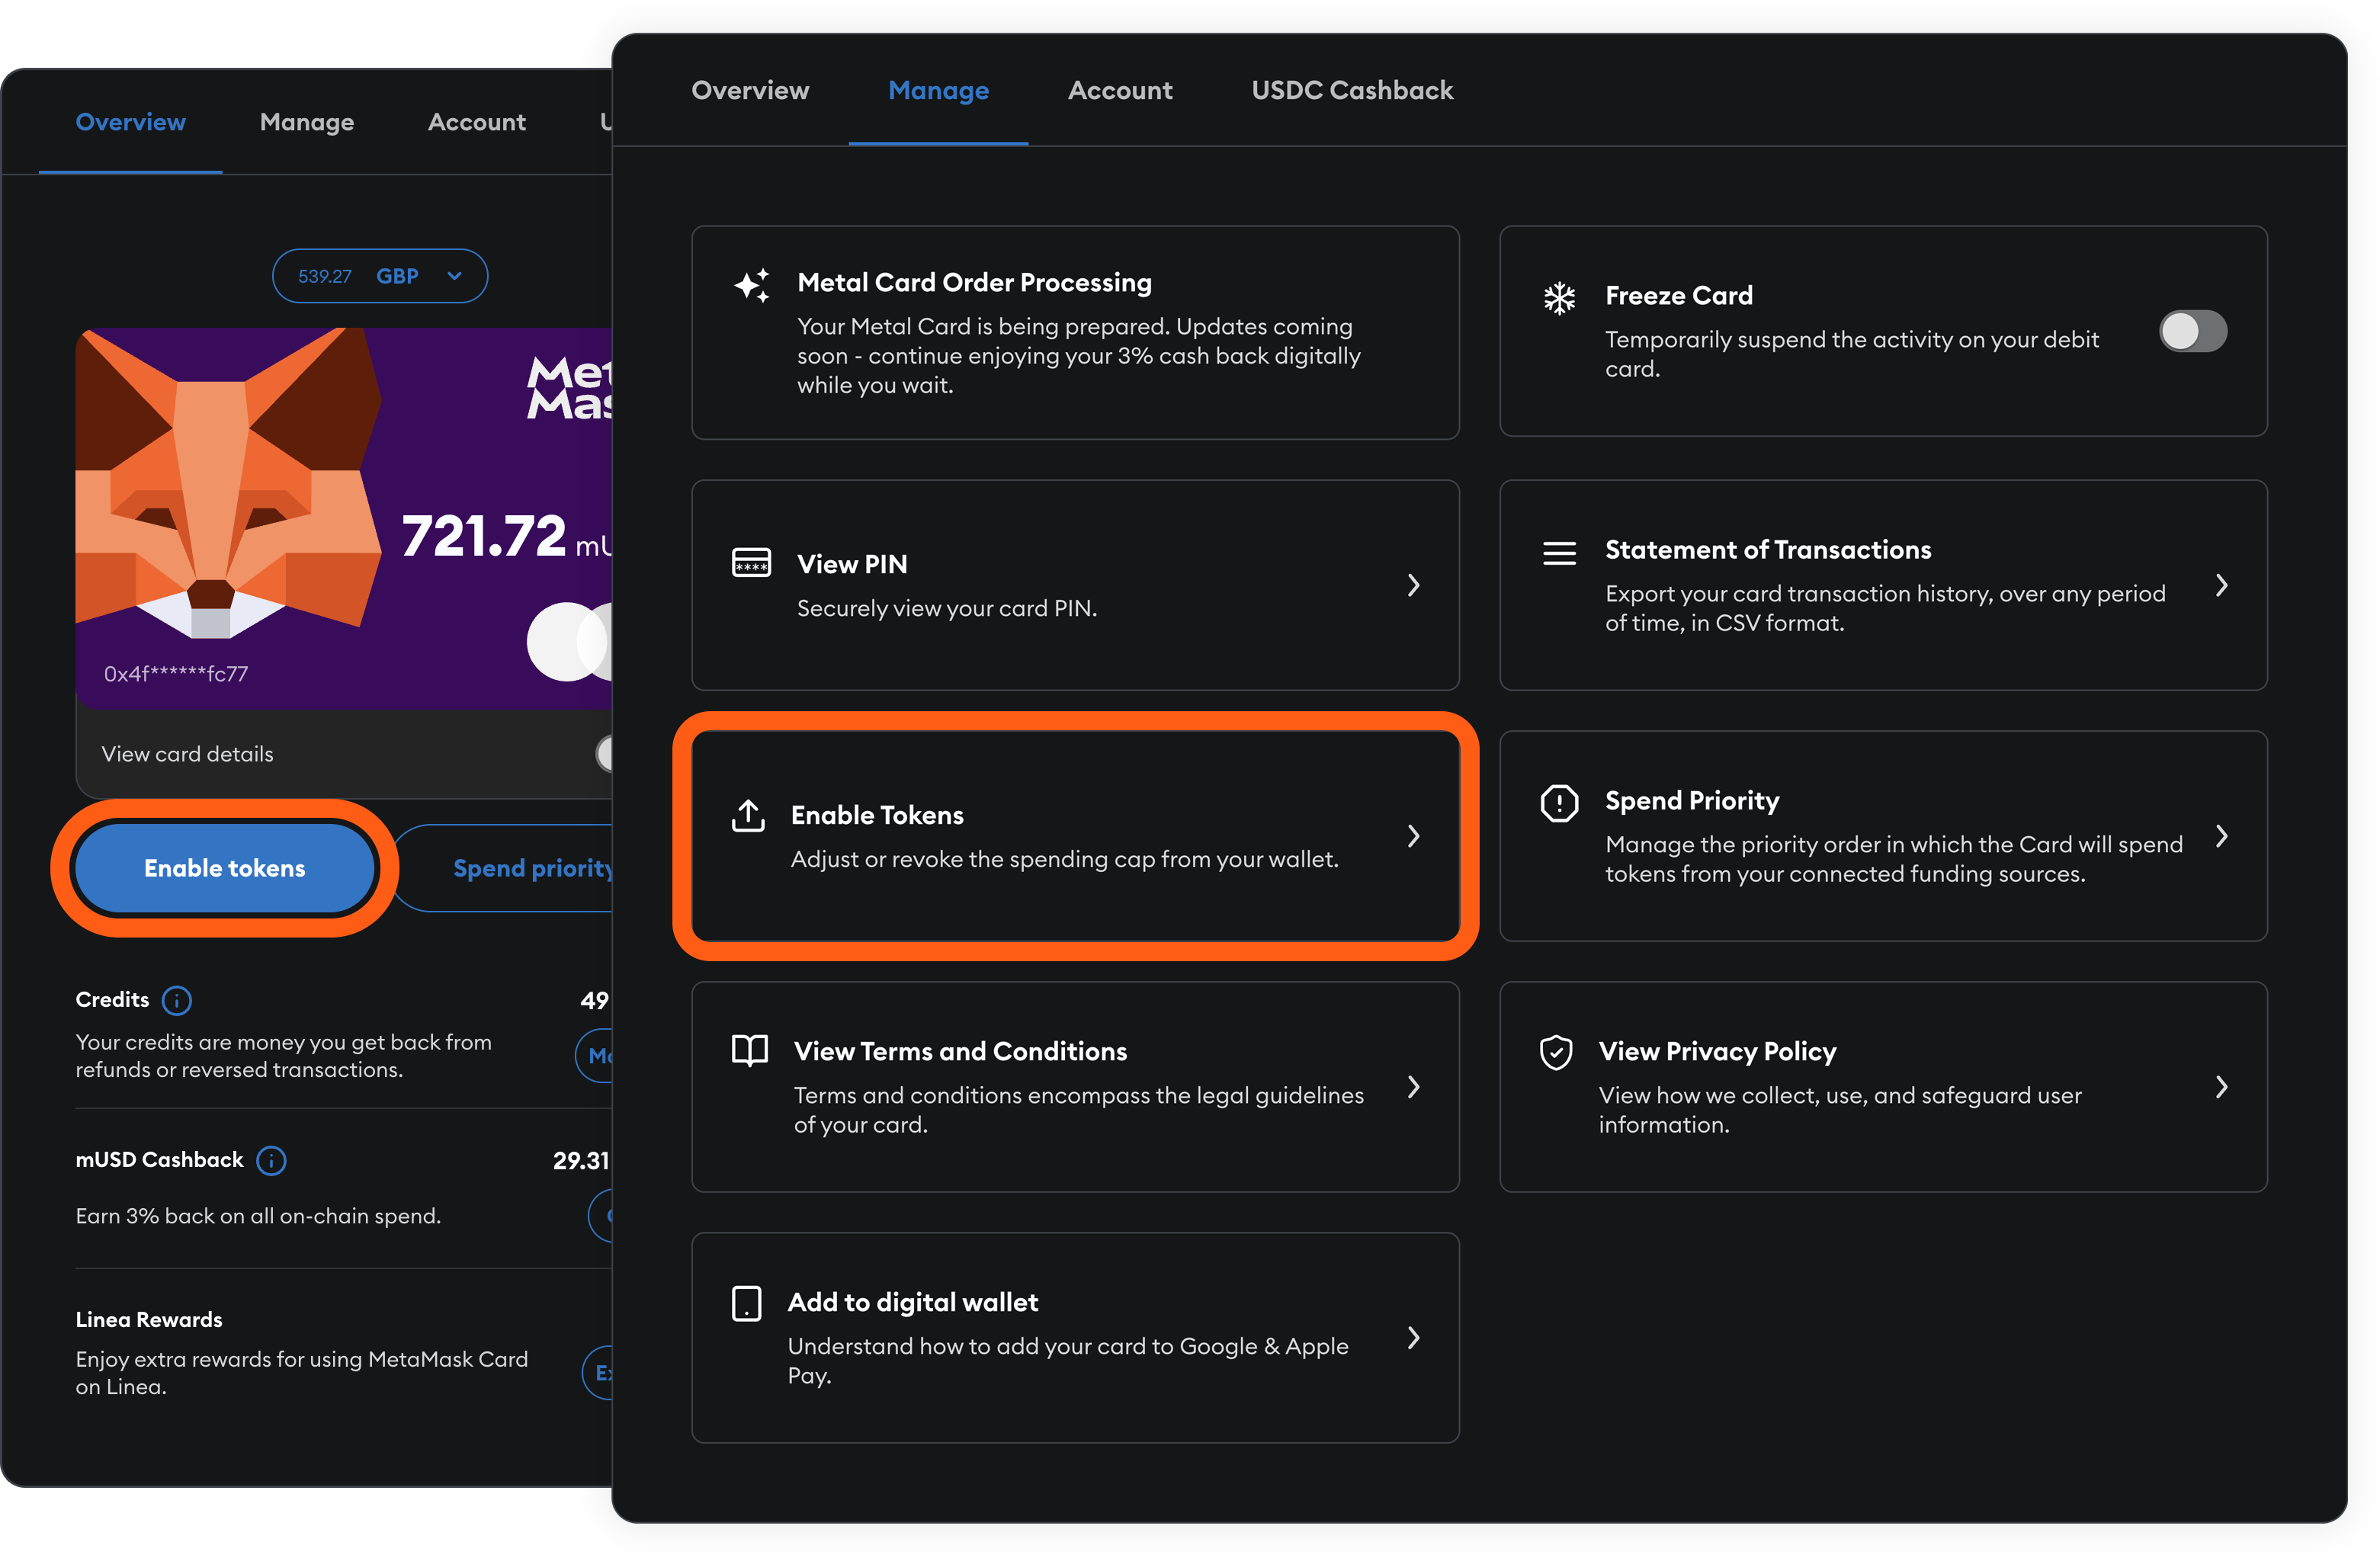
A pop-up will appear that shows available tokens in your region and on the selected network.
To change networks, click on the network selector, and choose between Linea, Solana, Base, and Monad. To change the token, click on the token’s name, and then select the token you’d like to use. As you click on different tokens, you'll see what spending approval you already have set for that token.
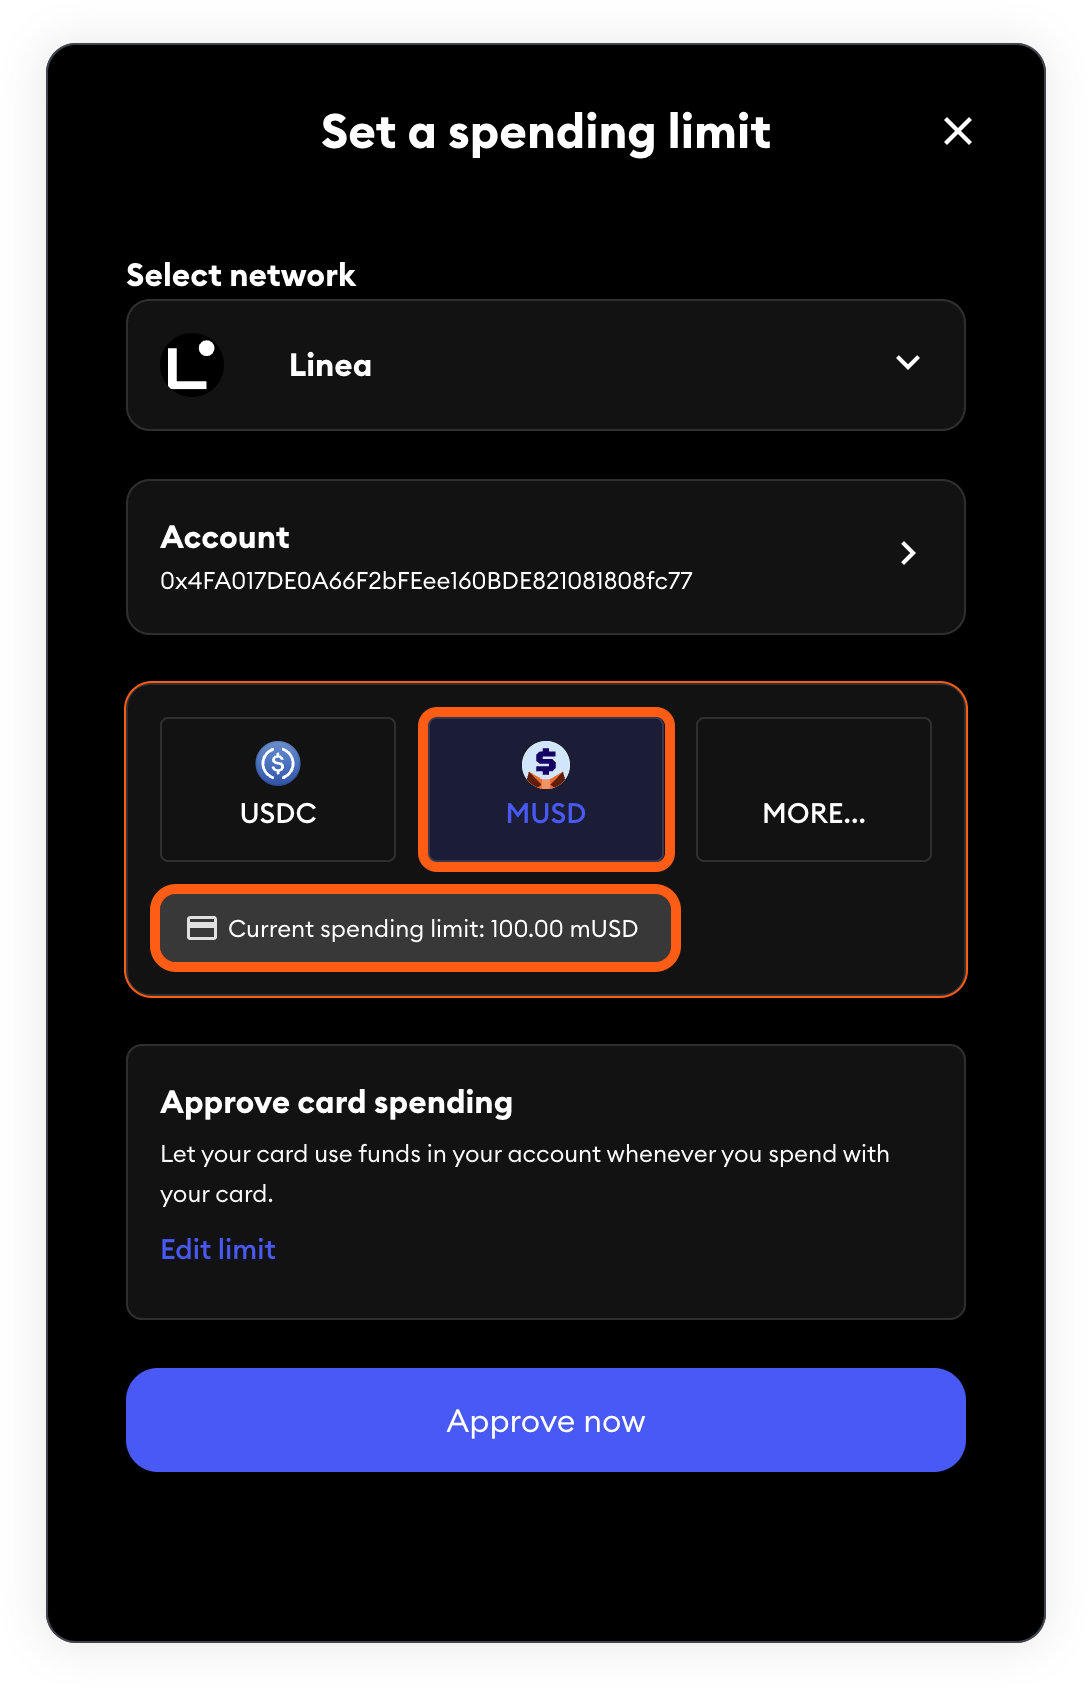
You should also ensure you have the correct account enabled. To manage accounts, click on ‘Account’ and then check all of the accounts you would like MetaMask Card to access.
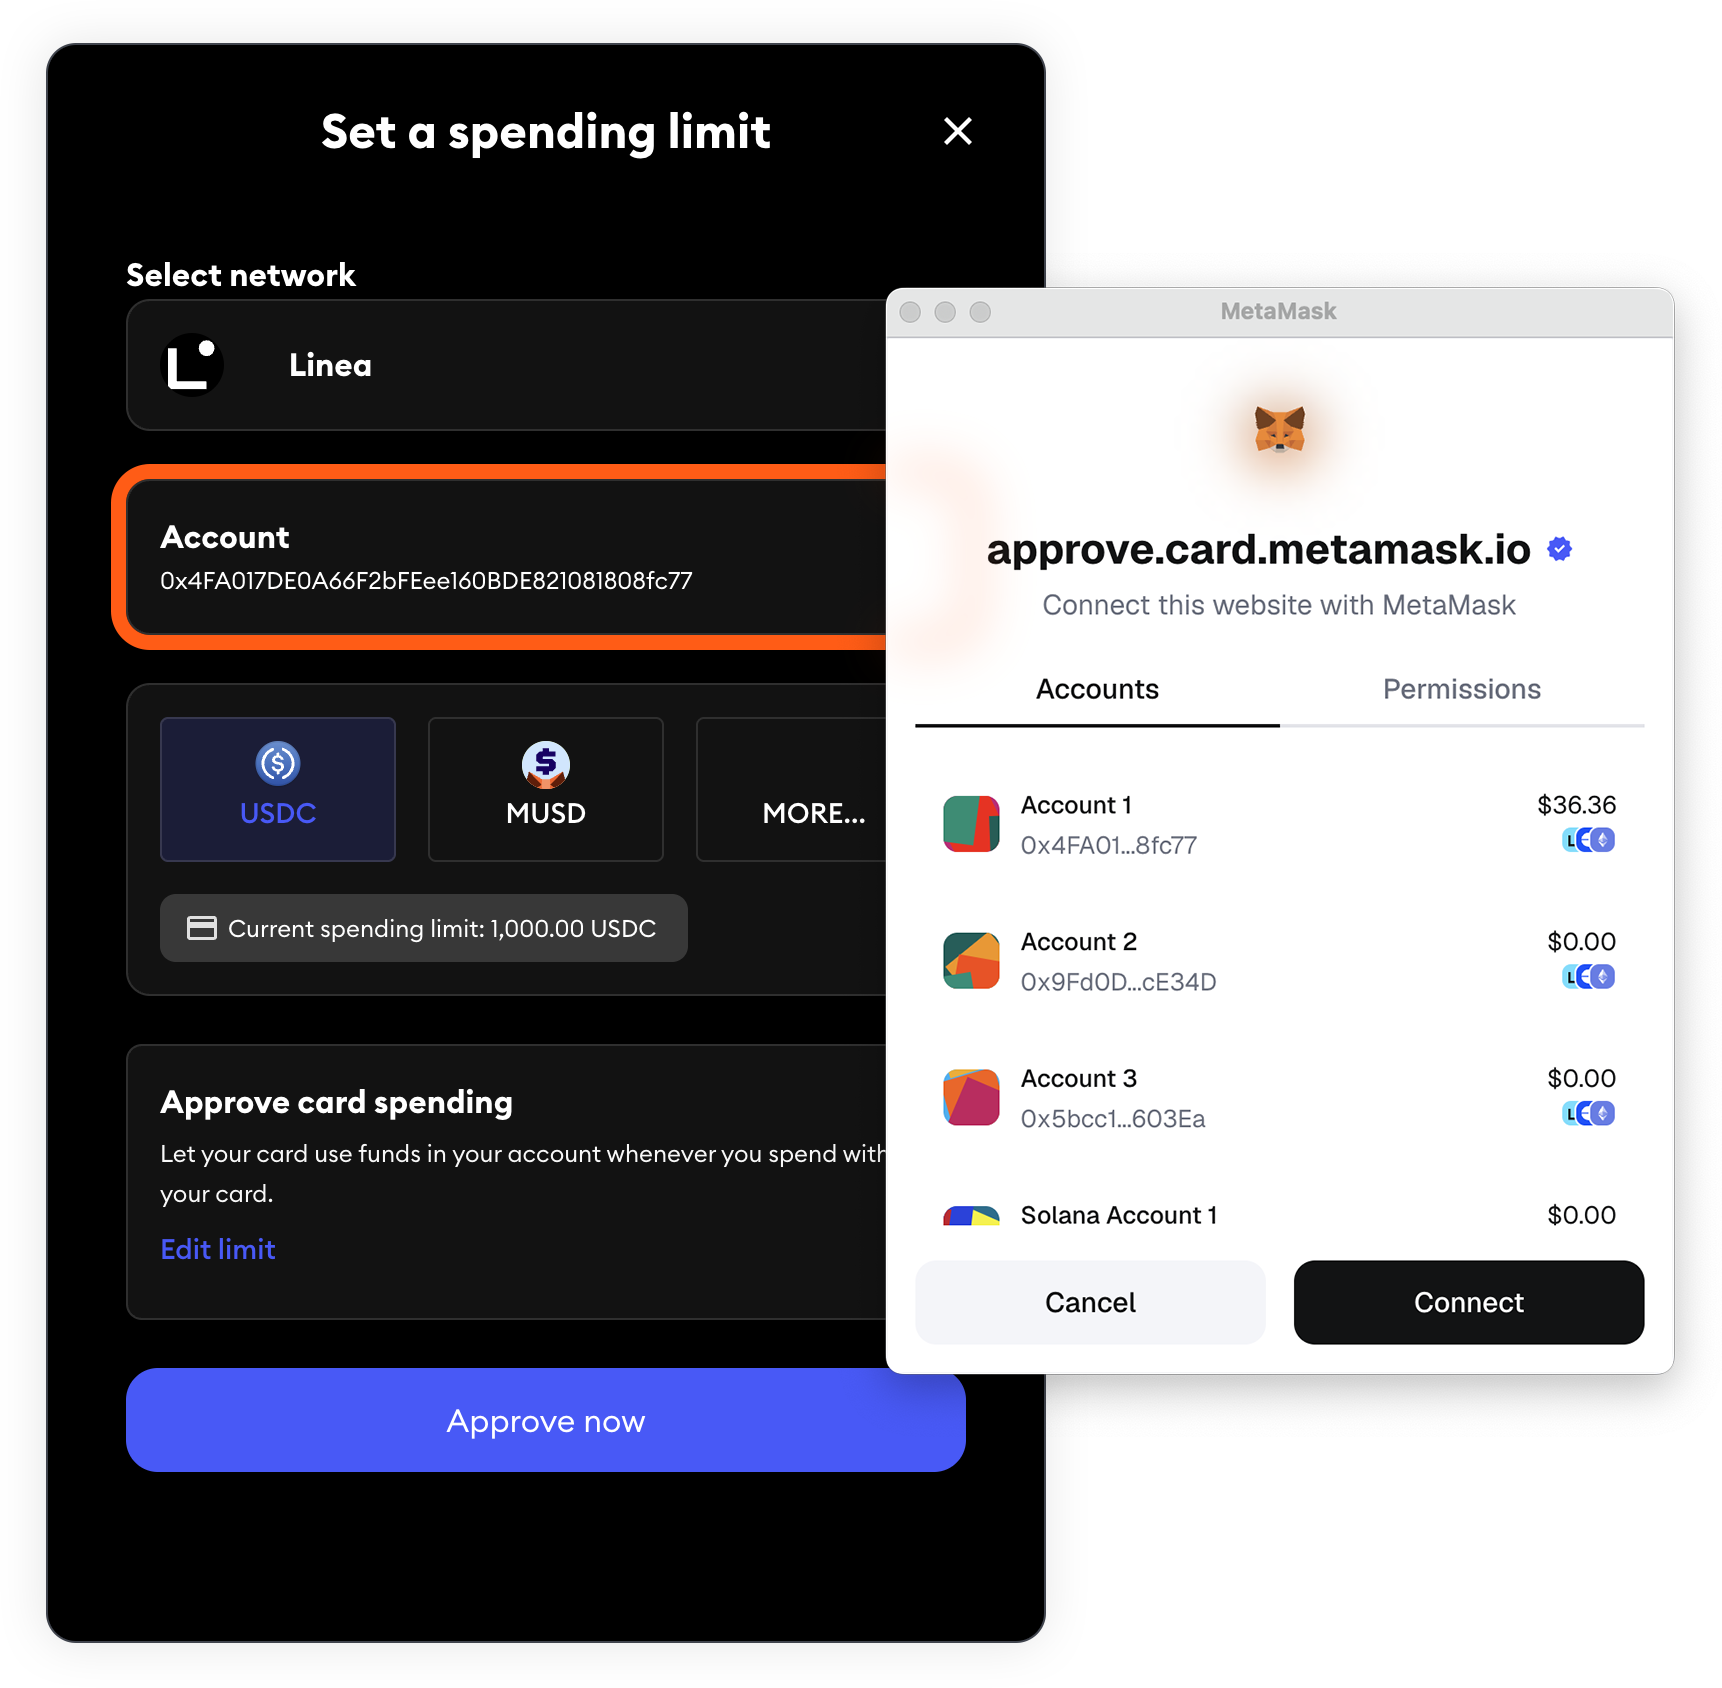
:::info[Eligible tokens]
MetaMask Card currently supports the following tokens on the following networks for users:
- Linea: mUSD, USDC, USDT, wETH, EURe, and GBPe
- Solana: USDC and USDT
- Base: USDC and USDT
- Monad: USDC
Note: Users in New York and Texas can spend supported tokens on Linea and Base. Solana and Monad are not supported in these states.
We’re working hard to expand support to more tokens.
:::
After selecting a token, choose whether you’d like to automatically approve card spending, or if you would like to set a specific limit.
#### Automatically approve card spending {#automatically-approve-card-spending}
The ‘Approve card spending’ option allows MetaMask Card to use as much of the selected token as you have in your account.

For example, to give MetaMask Card access to all your mUSD, you should select ‘Approve card spending’. This option will let MetaMask Card draw upon any mUSD in your account, including any new mUSD that you add to your account later.
Once you’ve selected ‘Approve card spending', your MetaMask will ask you to confirm this decision. On the pop-up signature page, the spending cap will be auto-populated as an impossibly high quantity of that token, effectively providing MetaMask Card with continuous access to the token.
Once you’ve set the spending cap, you should see your new card balance on the ‘Overview’ homepage. This amount will reflect the new token and the amount available for use in your account.
#### Approve a custom spending limit {#approve-a-custom-spending-limit}
Alternatively, the ‘Custom spending limit’ option allows you to give MetaMask Card access to a specific amount of a token.

For example, if you want to give MetaMask Card access to 250 mUSD, you should click 'Edit limit' and enter 250.00 USDC.
MetaMask will then prompt you to approve the amount. You should see the amount you specified, in this case 250 mUSD, as the spending cap amount.
Once you’ve confirmed the amount, you should see your new card balance on the ‘Overview’ homepage.
### Revoke tokens {#revoke-tokens-from-metamask-card}
If you’ve given MetaMask Card access to a token, you can revoke that access by using the same ‘Enable tokens’ feature. In this case, we will revoke the 250 mUSD we previously gave our card access to.
Click ‘Enable tokens,’ and then select the token that you want to revoke access to, like mUSD. Then, click ‘Edit limit,’ and enter 0.
A confirmation will appear in MetaMask, asking if you would like to revoke the spending cap you had previously set. Click ‘Approve.’ This will revoke MetaMask Card’s access to this token.
:::info[Revoke in Portfolio]
You can also revoke token delegation in MetaMask Portfolio. Head to [MetaMask Portfolio](https://portfolio.metamask.io/?tab=spending-caps) and click ‘Revoke’ on the delegated token.
:::
## Add and remove approved accounts {#add-and-remove-approved-accounts}
The process for managing accounts that MetaMask Card can spend from is the same as the process for managing spending limits. Simply add a new spending limit to add a different account, or revoke a spending limit to remove an account.
## Add digital wallet {#add-digital-wallet}
You can add your MetaMask Card to your Apple or Google Wallet for convenient, everyday use.
For Apple Wallets, follow [this guide](https://support.apple.com/en-us/HT204506) to use MetaMask Card with Apple Pay.
For Google Wallets, follow [this guide](https://support.google.com/wallet/answer/12058983?hl=en) to use MetaMask Card with Google Pay.
## View and download transaction history {#view-and-download-transaction-history}
In the ‘Manage’ tab, click ‘Statement of Transactions’ to automatically download a CSV file with your transaction history. This statement includes information about the merchant, time of purchase, tokens used, currency used, and more.
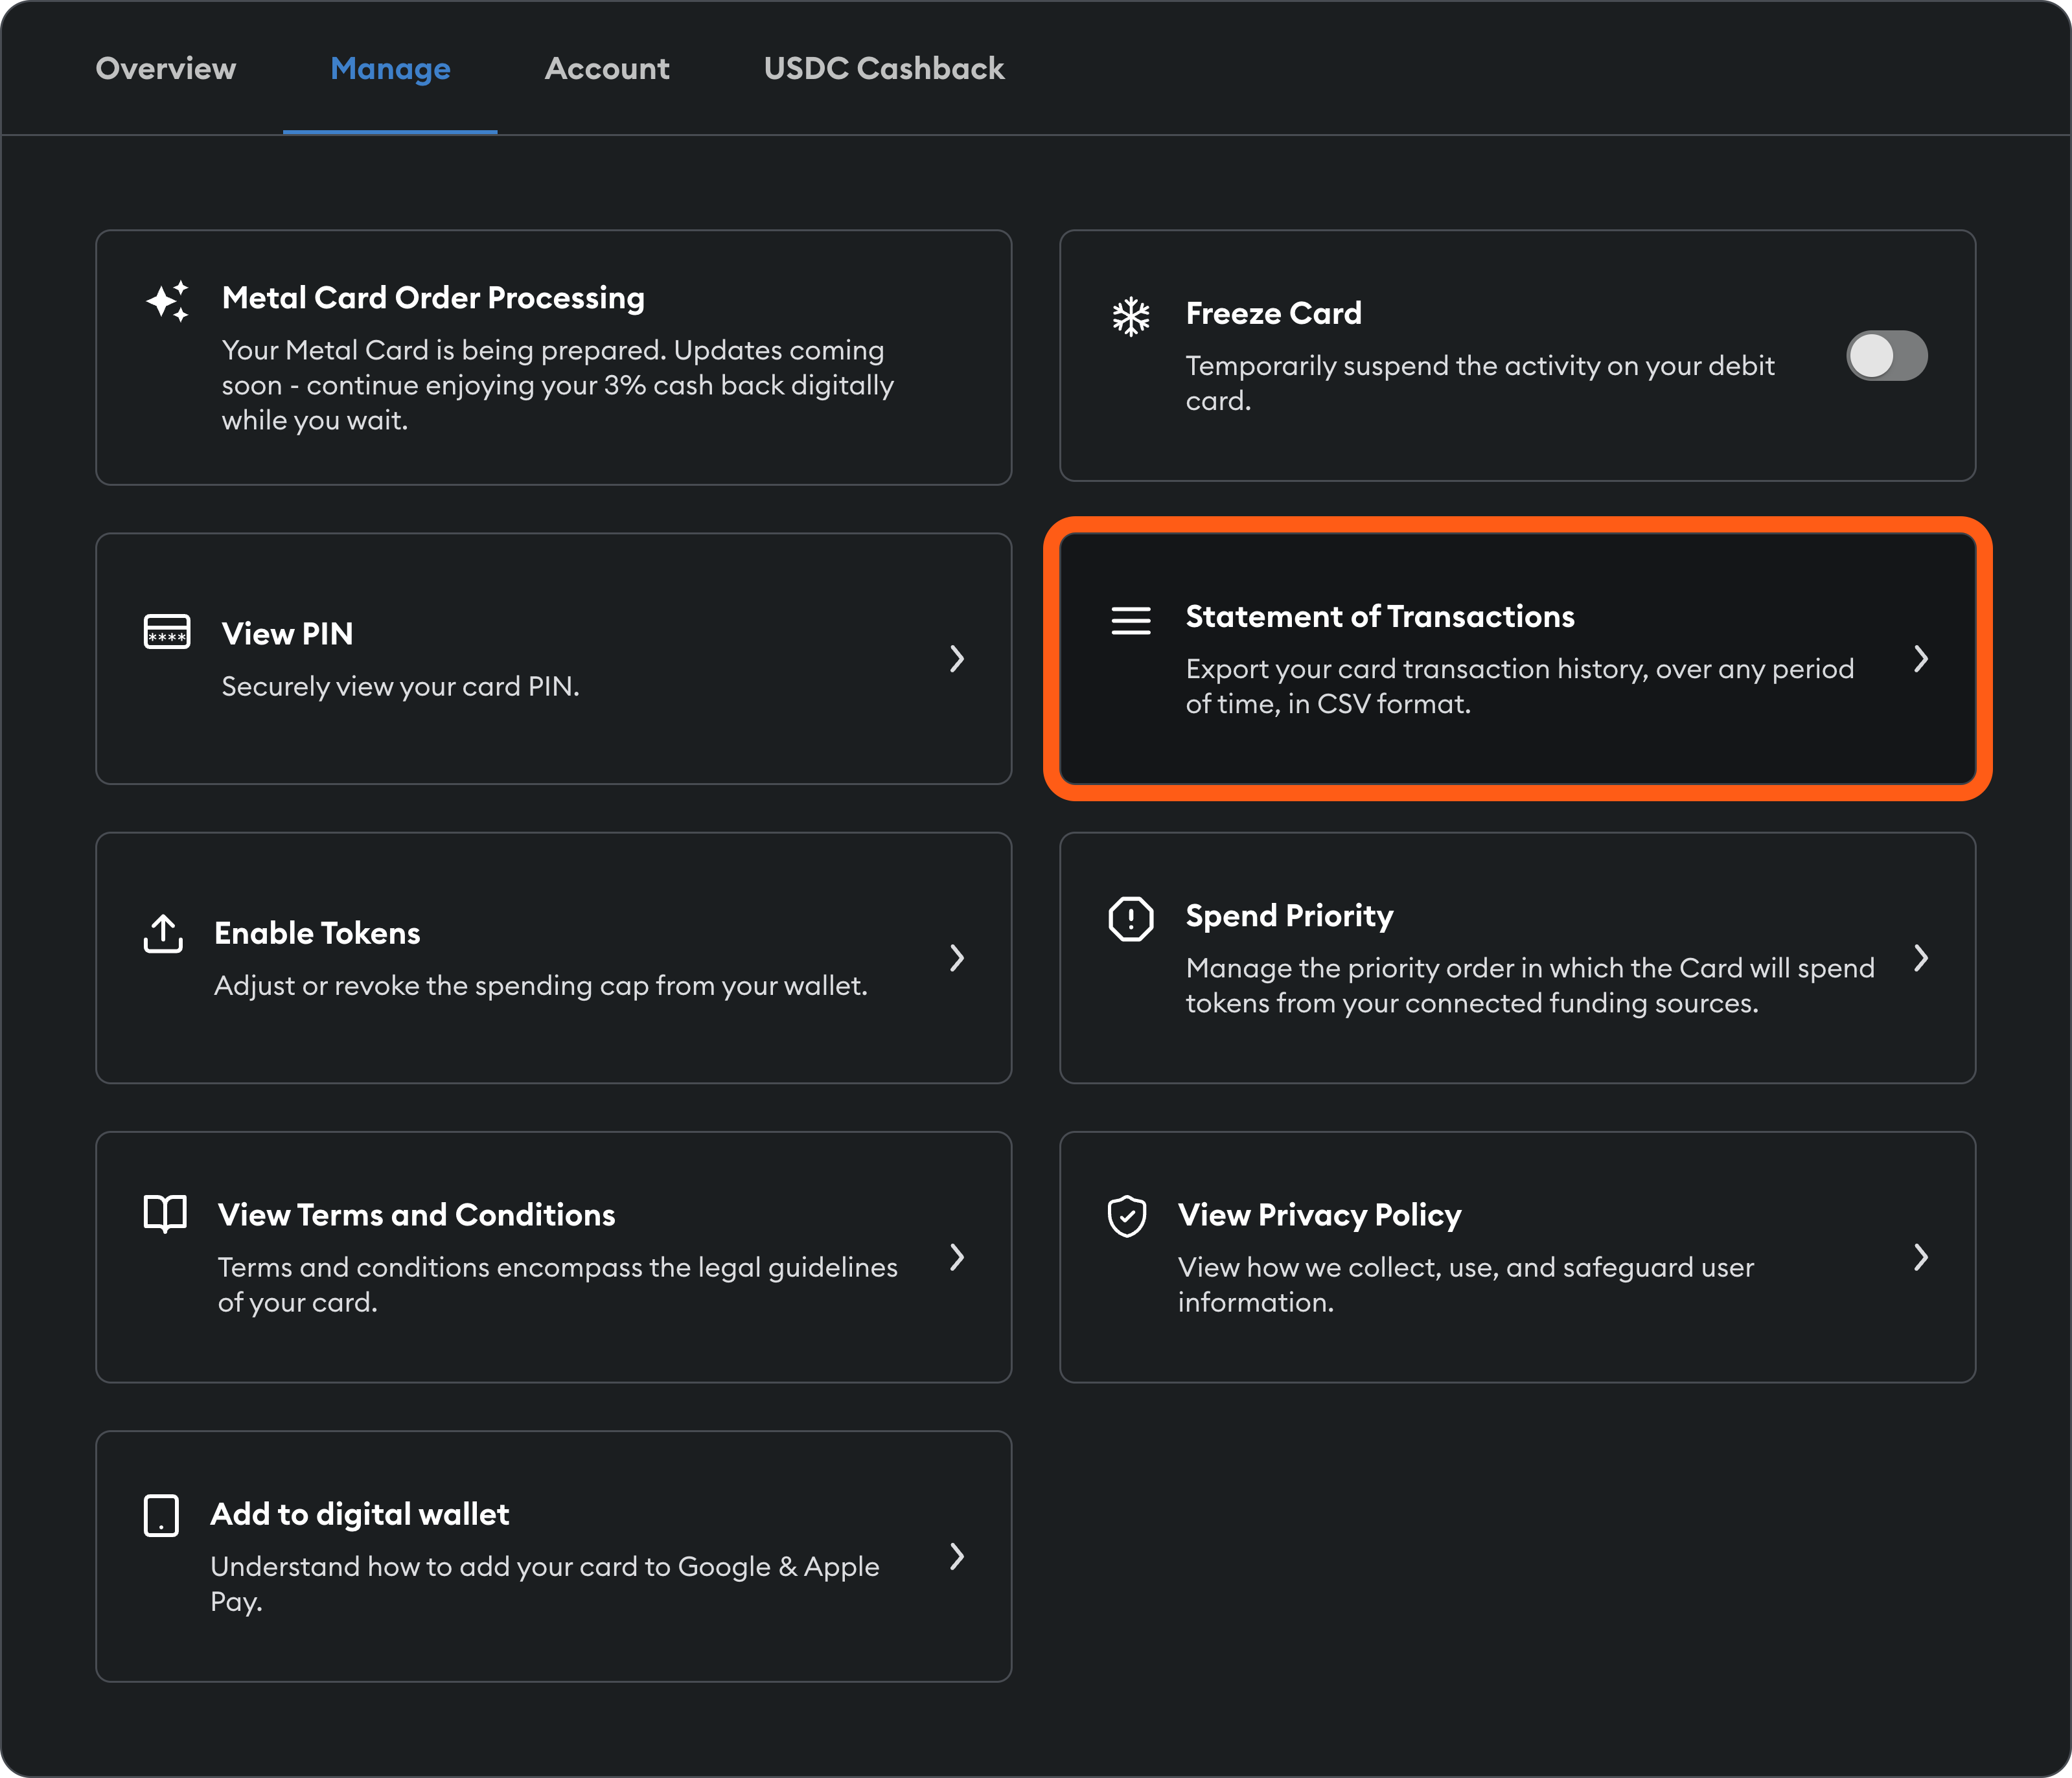
## Spend priority {#spend-priority}
If you have delegated multiple tokens to MetaMask Card, you can set a spend priority, which tells the card which token to spend first. Once you run out of this token, the card will start drawing upon the next token in the priority list.
In the ‘Manage’ tab, click ‘Spend priority’ A pop-up will appear with the list of tokens you’ve given your card access to.
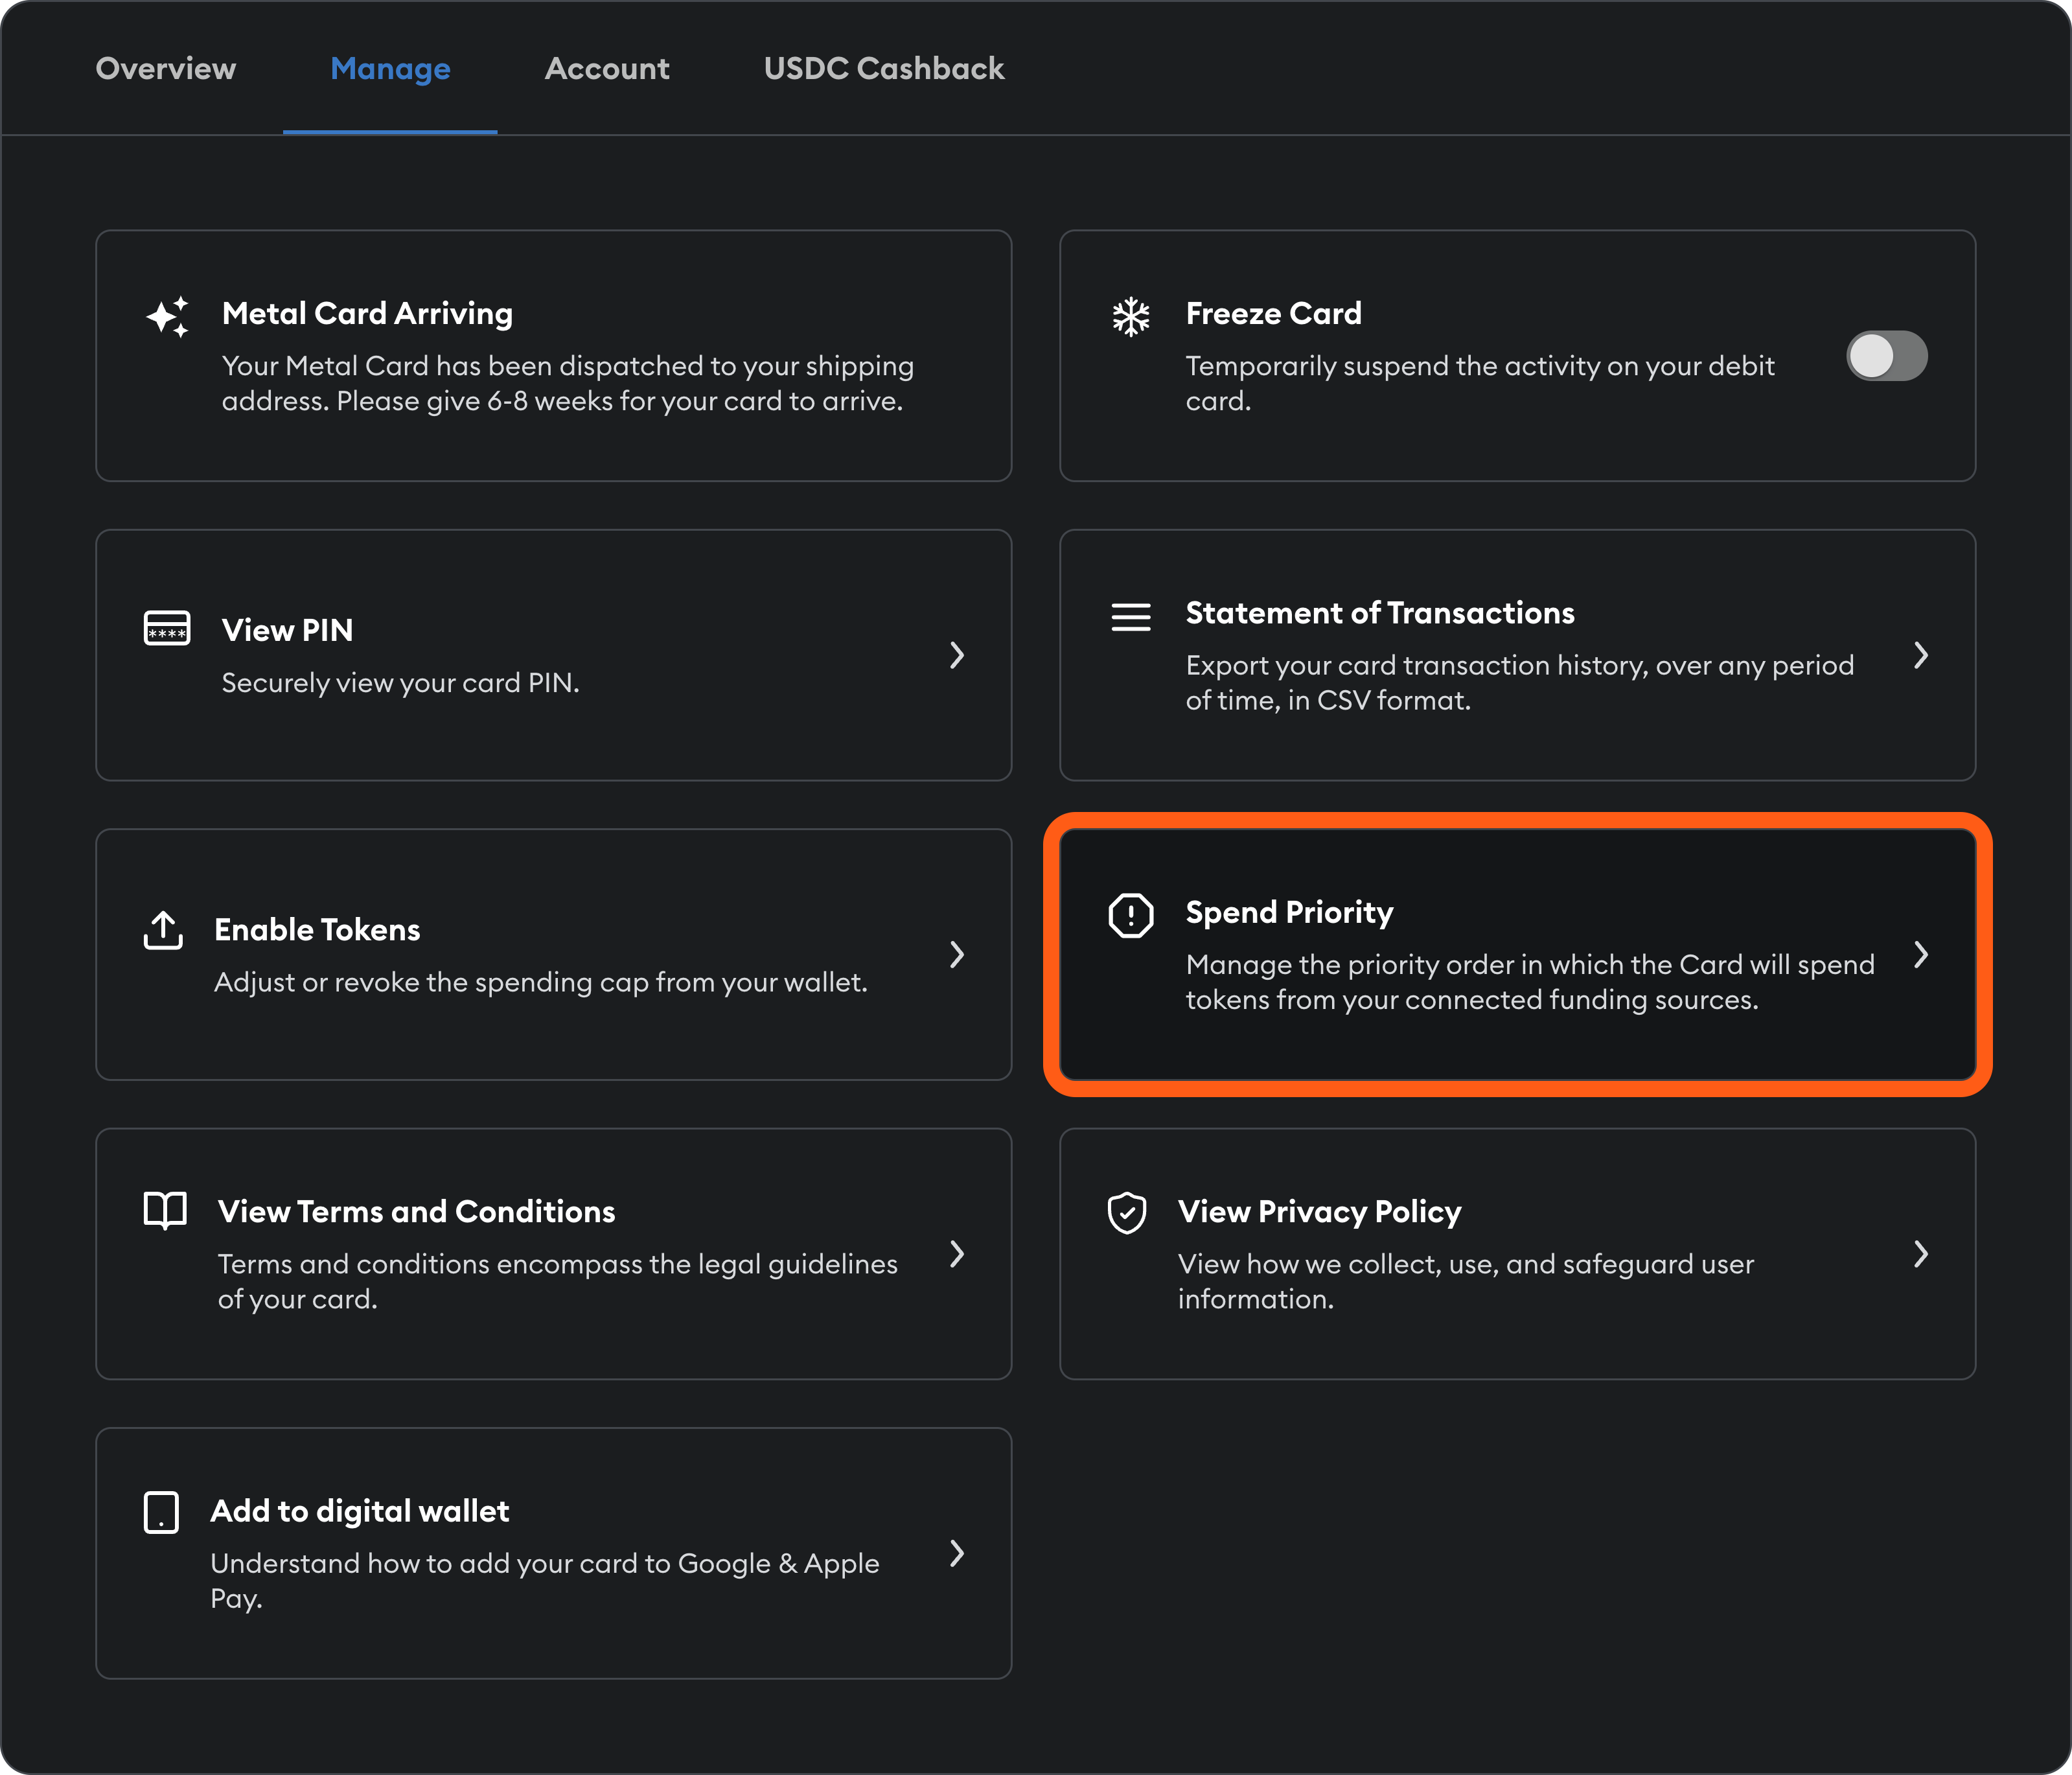
You can reorder token priority by clicking on a token and dragging it to a new position. Remember, the #1 token is the token that will be spent first.
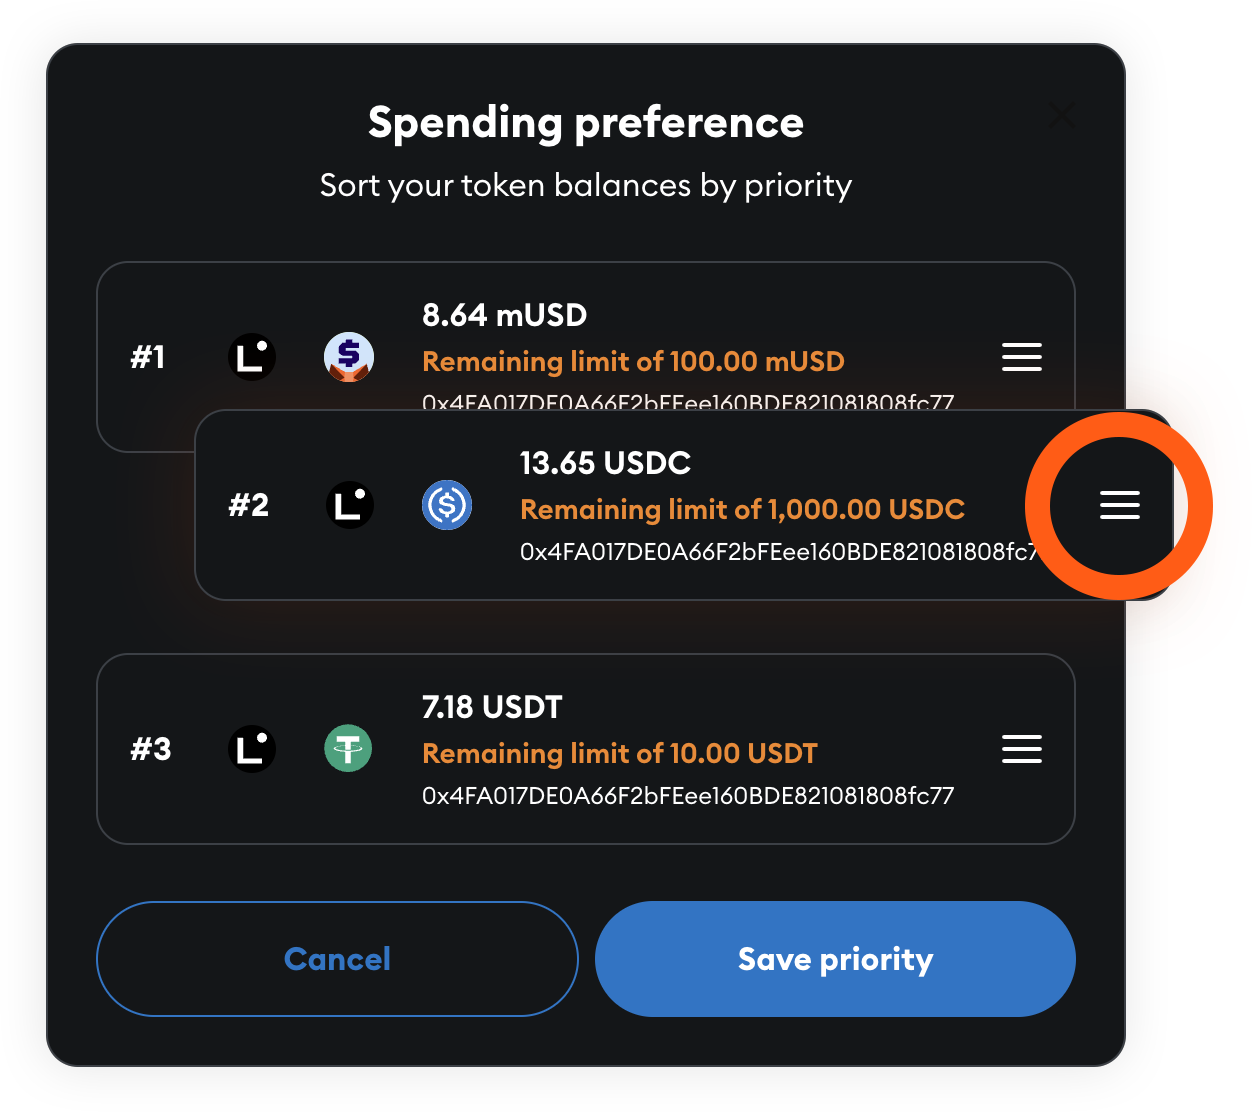
Click ‘Save priority’ when you’re done to save this new order.
---
# MetaMask Metal card
URL: https://support.metamask.io/trade/metamask-card/metal-card/
> Learn about the MetaMask Metal Card. Benefits, pricing, materials, activation, and how it differs from the standard MetaMask Card product.
:::note[Metal Card temporarily unavailable]
Orders for the MetaMask Metal card are temporarily paused as of June 2nd, 2026. Users in [eligible countries](/trade/metamask-card/what-is-metamask-card#can-i-sign-up-for-metamask-card) can sign up for a Virtual card today.
:::
Introducing MetaMask's first premium card — MetaMask Metal card — crafted for users who want real-world utility, enhanced benefits, and a coveted physical card.
The physical card is designed with a chromatic finish, weighs 16 grams, and is **accepted at over 150 million Mastercard-supported merchants worldwide**. The “Metal” experience is a powerful extension of your MetaMask crypto wallet, available while supplies last. Get yours [here](https://card.metamask.io/).
## What is MetaMask Metal card and the Metal tier?
**The MetaMask Metal card is a physical debit card attached to a premium subscription — the Metal tier — that integrates directly with your crypto wallet.** Just like the Virtual card — the Free tier — you can delegate crypto to it and [start](/trade/metamask-card/getting-started-with-card/) spending immediately.
The Metal tier, or the **premium subscription,** is an **annual membership priced at $199.** It features the physical metal card and unlocks additional benefits over the Virtual card. The subscription renews automatically and can be cancelled at any time. [Terms and conditions apply](https://card.metamask.io/card/manage).
## What benefits does the Metal tier offer?
The Metal tier includes several benefits designed to enhance high-usage, global, and daily spending:
- The physical metal card
- 3% mUSD back on the first $10,000 spent each year (and 1% thereafter)
- No foreign transaction fees
- Higher spending and ATM withdrawal limits (see [Card limits and fees](/trade/metamask-card/limits-and-fees/))
- Higher discounts and mUSD back with MetaMask Card Travel -- a partnership with Entravel providing travel discounts and benefits
- Enhanced dining rewards with Blackbird -- a dining loyalty program for over 1,000 independent restaurants in the US -- earning 7X $FLY and activating the second-highest reward tier
- Exclusive access to premium events and surprise perks
## Who is eligible?
New Metal card orders are currently unavailable. Users in [eligible countries](/trade/metamask-card/what-is-metamask-card#can-i-sign-up-for-metamask-card) can sign up for a Virtual card today.
## How do I start spending with MetaMask Metal?
Once you order a Metal card, you will receive a digital version of your card that you can start using immediately. Simply fund your card and start earning Metal tier benefits right away. Follow the instructions [here](/trade/metamask-card/funding/) for more information.
## Will my Metal subscription renew automatically? What happens if I don’t renew?
The Metal subscription **renews automatically** and can be cancelled at any time. You need to have an active subscription for the benefits to remain.
If you don’t renew, the Metal subscription and perks will get downgraded to the Free tier at the end of the subscription period, but you can still use the Metal card until its expiration date.
## What are the transaction limits and fees?
See the "Card limits and fees" page [here](/trade/metamask-card/limits-and-fees/).
## Other FAQs
What is MetaMask Card Travel?
MetaMask Card Travel is a partnership with Entravel providing travel discounts and other perks, such as paying for your travel with crypto. As a MetaMask Card holder, you'll receive extra mUSD back on your travel bookings.
When you book a hotel through MetaMask Card Travel, you automatically receive 4% mUSD back applied directly at checkout. If you use your Metal Card, you receive an additional 3% mUSD back, for a total of 7% mUSD back. Virtual Card users receive an additional 1% mUSD back, for a total of 5% mUSD back.
To get started, head to [MetaMask Portfolio](https://portfolio.metamask.io/) and click the 'Travel' tab.
Will I receive an email confirmation for my Metal card order?
Yes, you should receive an email confirmation for your Metal card order. If you do not see the email, double check
your Spam folder. If you still do not see the email, contact `metamask@cl-cards.com`
for support.
What if I want to cancel my Metal card order?
You can cancel your Metal order within 14 days of the purchase date for a full refund.
Is there a Free tier?
Yes, the Free tier (no physical card) remains free! Learn more and [get started
here](/trade/metamask-card/getting-started-with-card/#set-up-your-account).
Is there an option for a monthly subscription?
There is not currently an option for a monthly subscription to the Metal tier.
---
# Security and privacy
URL: https://support.metamask.io/trade/metamask-card/security-privacy/
> Learn how MetaMask Card keeps your funds safe. Understand card security features, fraud protection, data privacy, and how to safeguard your account.
MetaMask has partnered with Crypto Life and Mastercard to provide MetaMask Card, a seamless, secure way to control and spend your tokens.
:::warning[Check links]
The MetaMask Card homepage is a website managed by Crypto Life. As with all links, carefully verify that you are accessing the correct site.
To securely access the MetaMask Card site, open MetaMask Portfolio → click ‘Card’ on the left-hand navigation menu → ‘Get started’ or 'Login'.

:::
## Security {#security}
MetaMask Card leverages the security of decentralized finance by quickly and safely executing transactions on Linea, Solana, Base, and Monad. As soon as you tap your card, MetaMask Card converts accessible tokens into fiat and executes the transaction.
As MetaMask is a self-custodial wallet, MetaMask Card does not have custody over your tokens. Instead, you decide which tokens MetaMask Card can draw upon, and the card will never go over your spending cap.
### Reporting suspicious activity {#reporting-suspicious-activity}
If you notice suspicious activity on your card, you should report this to Crypto Life at `metamask@cl-cards.com`. In the meantime, [freeze your card](/trade/metamask-card/managing/#freeze-card).
### Reporting a stolen card {#reporting-a-stolen-card}
If you believe your card details or [physical metal card](/trade/metamask-card/metal-card/) have been stolen, you should [freeze your card](/trade/metamask-card/managing/#freeze-card) as soon as possible. Then, send a report to Crypto Life at `metamask@cl-cards.com`.
### What do I do if my MetaMask wallet is compromised? {#what-do-i-do-if-my-metamask-wallet-is-compromised}
If you believe the wallet or account associated with your MetaMask Card has been compromised, follow the steps in [this guide](/stay-safe/protect-yourself/ive-been-hacked-scammed-unauthorized-transactions-on-my-account/) as soon as possible. The security of your card will not be impacted, so it's important to first focus on securing your wallet.
Once you've sent your funds to a new wallet, you'll want to add a new account to MetaMask Card. To do so, head to the 'Manage' tab on the web dashboard and click 'Enable tokens'. From there, connect your new account(s) to your card by setting a spending limit.
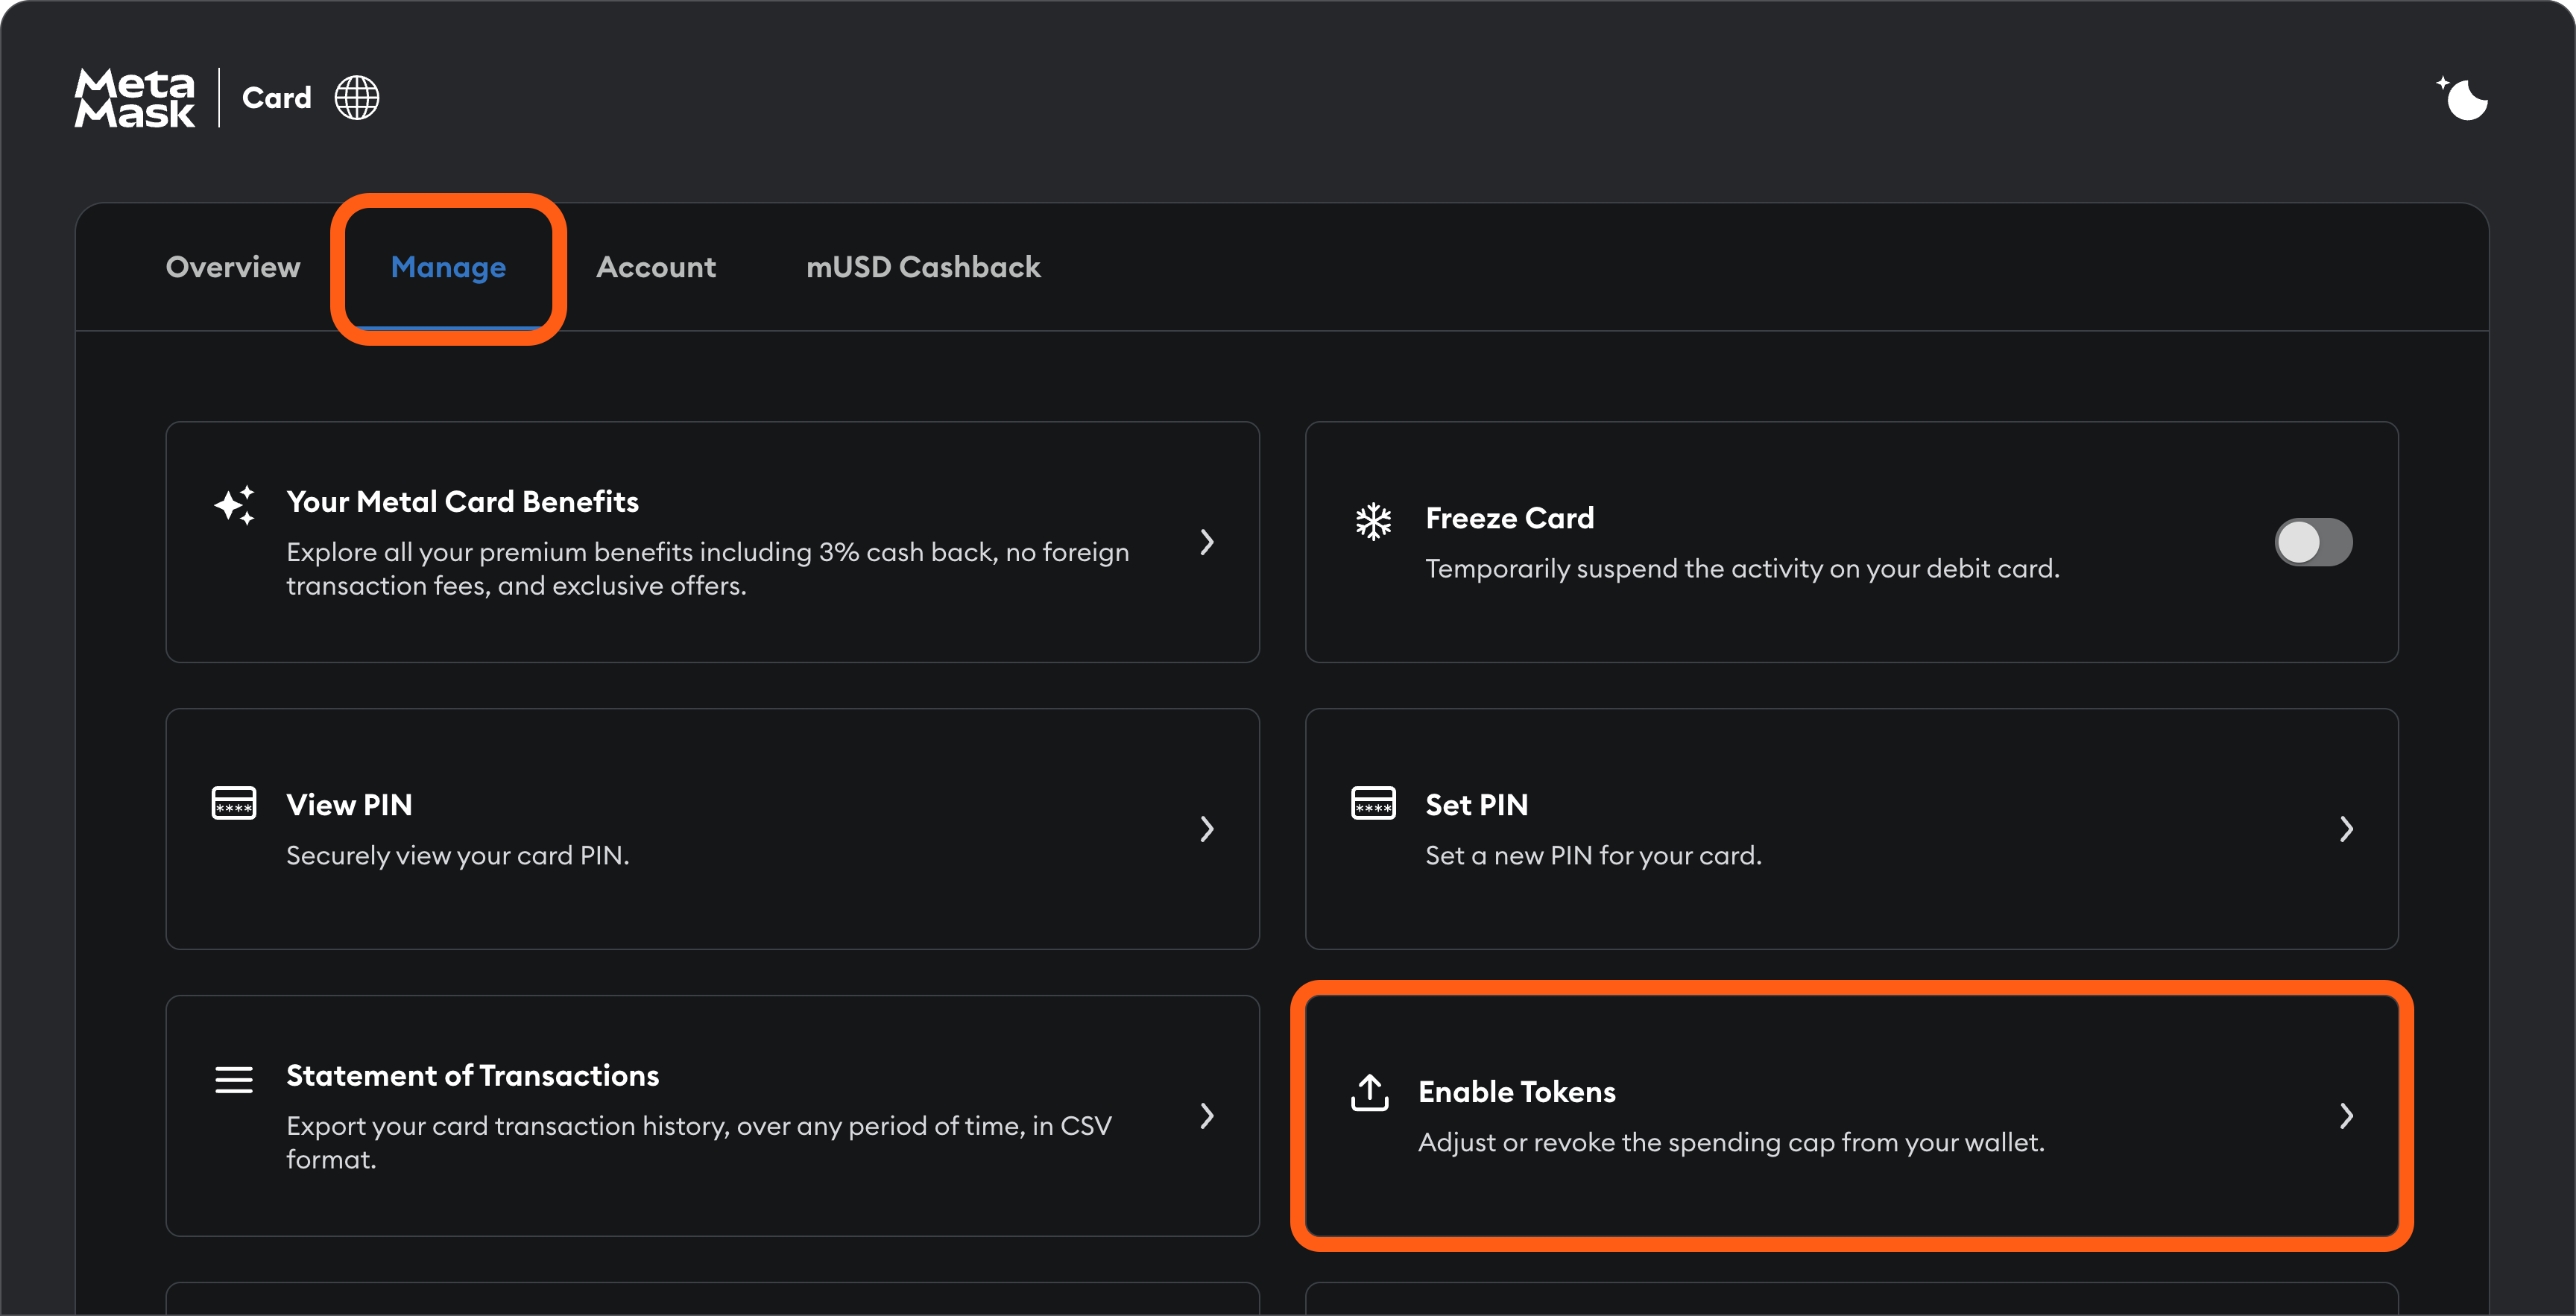
After enabling your new account(s), edit your spending priority by clicking 'Spend priority'. From there, you can set the priority of your new account(s) by dragging and dropping them to the top of the list.
:::info[Compromised wallet and MetaMask Card]
A compromised wallet associated with your MetaMask Card will not impact the security of your card. The compromised wallet and your card are separate entities, and only associated through a spending limit. Anyone with access to the compromised wallet will not be able to spend from your card.
If you believe your card details have been stolen, you should [freeze your card](/trade/metamask-card/managing/#freeze-card) as soon as possible. Then, send a report to Crypto Life at `metamask@cl-cards.com`.
:::
## Privacy {#privacy}
### Crypto Life KYC {#crypto-life-kyc}
Because the MetaMask Card is bridging DeFi and traditional finance, you need to fill out KYC (Know Your Customer) while setting up your MetaMask Card. Crypto Life manages this step and will process any personal information you provide to them in accordance with their [Privacy Policy](https://secure.baanx.co.uk/BAANX%20-%20Global%20Privacy%20Policy%202025.pdf). This information allows Crypto Life to confirm that you are located in an authorized country and are eligible for a MetaMask Card.
MetaMask Card takes your privacy very seriously; Crypto Life uses leading software systems to collect and store your information. Your personal information will never be sold, and MetaMask will not have access to any of the personal details you provide to Crypto Life.
---
# How to use your card
URL: https://support.metamask.io/trade/metamask-card/using/
> Learn how to use your MetaMask Card. Make purchases, withdraw cash, and earn benefits. Full usage guide for cardholders.
Once you’re [all set up](/trade/metamask-card/getting-started-with-card) with your MetaMask Card, it’s time to start spending! You can choose to either use your card details directly online anywhere MasterCard is accepted, or choose to add it to a digital wallet, such as Apple Pay or Google Wallet.
## Spend with MetaMask Card {#spend-with-metamask-card}
You can use your MetaMask Card anywhere MasterCard is accepted, either online or in real-life.
### Use your card details {#use-your-card-details}
In your MetaMask Card dashboard, click the ‘View card details’ toggle to find your card number, expiration date, and CVC. You can use these details on any website that accepts MasterCard as a payment method.
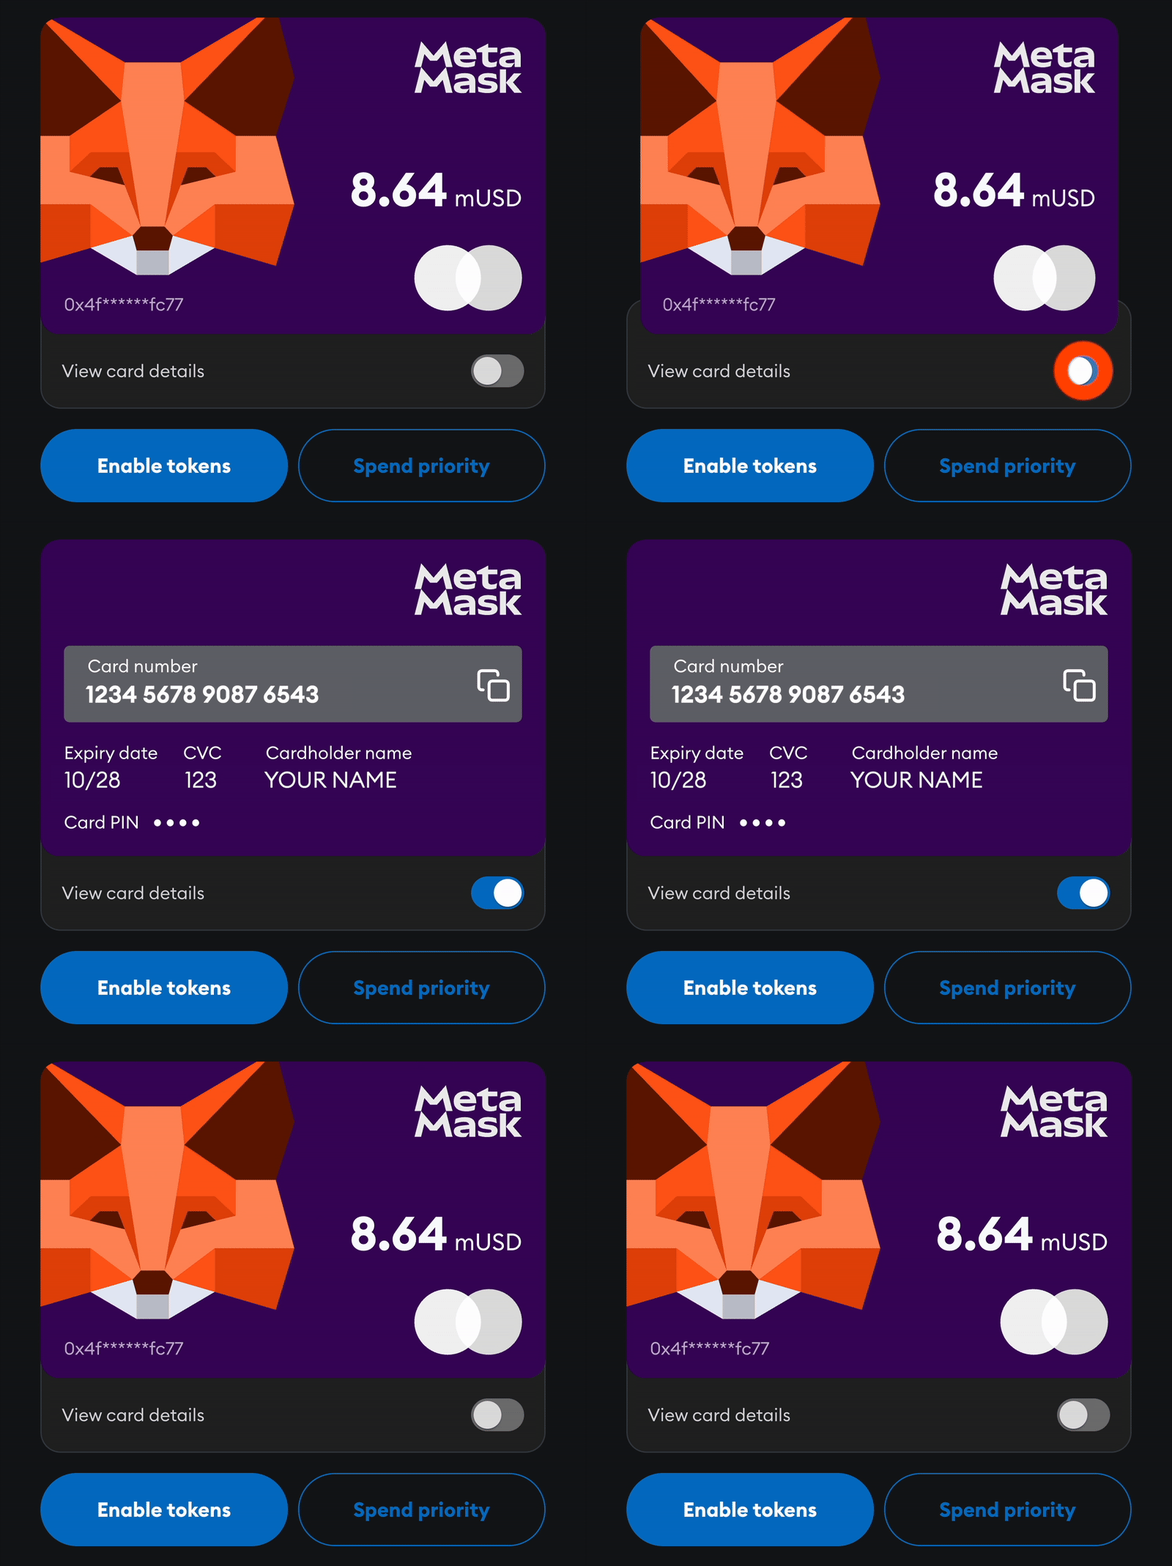
If you need to find your card's PIN, head to the 'Manage' tab on your card's web dashboard and click 'View PIN'. A pop-up will appear with your card's four digit PIN code.
Note: For the Virtual card, only users in the United States can view their card's PIN.

### Use Apple Pay {#use-apple-pay}
You can add your card details to Apple Pay, so you can use your card in physical locations, as well as on any website/app that supports payments through Apple Pay.
Learn more about adding a card to Apple Pay [here](https://support.apple.com/en-us/HT204506). You can add your MetaMask Card by manually adding your card details, or by scanning the card from your camera.
### Use Google Pay {#use-google-pay}
If you are an Android user, you can also add your card details to Google Wallet. You can then use your MetaMask Card in any app that supports Google Wallet, or physically in-store.
Learn more about adding a card to Google Wallet [here](https://support.google.com/wallet/answer/12058983?hl=en). You can add your MetaMask Card by manually adding your card details.
## Card benefits {#card-benefits}
MetaMask Card offers several benefits to help you get the most out of your card. Metal Card holders receive additional benefits, such as extra mUSD back on eligible transactions and travel bookings. For a full list of Metal benefits, see [here](/trade/metamask-card/metal-card).
The following benefits are available to both Virtual and Metal Card holders.
### mUSD back {#mUSD-back}
MetaMask Card offers mUSD back on every eligible transaction. Simply tap your card and earn 1% back in mUSD with Virtual card, or, with Metal card, 3% back on the first $10,000 spent each year and 1% thereafter.
To redeem your mUSD back, navigate to the Card's web dashboard. At the bottom of the 'Overview' tab, you will see a 'mUSD back' section. Click 'Claim' to redeem your mUSD and add them to your connected account.

To see your mUSD back history, navigate to the 'mUSD back' tab. You'll see a list of your recent transactions and the amount of mUSD back each transaction earned.
### MetaMask Card Travel {#metamask-card-travel}
As a MetaMask Card holder, you'll also receive extra mUSD back on your travel bookings through MetaMask Card Travel.
MetaMask Card Travel is a partnership with Entravel providing travel discounts and other perks, such as paying for your travel with crypto. As a MetaMask Card holder, you'll receive extra mUSD back on your travel bookings.
When you book a hotel through MetaMask Card Travel, you automatically receive 4% mUSD back applied directly at checkout. If you use your Metal Card, you receive an additional 3% mUSD back, for a total of 7% mUSD back. Virtual Card users receive an additional 1% mUSD back, for a total of 5% mUSD back.
To get started, head to [MetaMask Portfolio](https://portfolio.metamask.io/) and click the 'Travel' tab.
### Blackbird dining rewards
As a MetaMask Card holder, you can earn accelerated dining rewards through Blackbird.
Blackbird is a dining loyalty program for over 1,000 independent restaurants in the US. When you dine at participating restaurants and pay through the Blackbird app, you earn $FLY, Blackbird’s rewards currency. The more $FLY you earn, the better your access to dining perks and rewards, like priority reservations and invitations to new restaurant openings.
When you use your MetaMask Card in the Blackbird app, you earn 5X $FLY for every dollar you spend. If you’re new to Blackbird, you’ll also receive a 2,000 $FLY welcome bonus.
Metal Card holders earn 7X $FLY for every dollar spent and can opt in to activate a 90-day trial of Blackbird Club Regular status, the second‑highest tier. If you spend $1,000 within the first 90 days, you’ll retain Club Regular status through December 31, 2027.
To get started:
1. Download the [Blackbird app](https://www.blackbird.xyz/)
2. Add your MetaMask Card as your default payment method
3. Make a reservation anywhere in the network and tap in at the Blackbird puck when you arrive
4. After your meal, let your server know you’re paying with Blackbird and settle the check in the app using your MetaMask Card.
## Transaction fees {#transaction-fees}
When you use MetaMask Card, your tokens are instantly converted into fiat, and exchanged to the correct currency. The token’s fiat value and the conversion rate are calculated at the time of the transaction.
You will also be charged a minimal fee for each transaction:
- When you use stablecoins like USDC and USDT on Linea, you’ll be charged the Linea gas fee, which is variable, but typically $0.02.
- When you use a non-stablecoin like wETH on Linea, you’ll be charged the Linea gas fee, which is variable, but typically $0.02. You’ll also be charged a swap fee of 0.875%.
Note: gas fees vary by network. For Monad, you will not be charged a gas fee.
After a transaction is completed, you can check your ‘Statement of Transactions’ in the ‘Manage’ tab to view the details of the transaction, including conversion rate, fee, and how many tokens were used.

---
# What is MetaMask Card?
URL: https://support.metamask.io/trade/metamask-card/what-is-metamask-card/
> Explore MetaMask Card. How it works, supported assets, spending, and how it integrates with your wallet.
:::note
MetaMask has temporarily paused new Card sign-ups in the United States and the United Kingdom. Existing Card holders are not affected and can continue using their cards as usual. We'll share more details in due course.
:::
MetaMask is launching a powerful new way to experience blockchain in your everyday life — the MetaMask Card. With MetaMask Card, your self-custodial MetaMask wallet meets the worldwide accessibility of Mastercard transactions.
## What is MetaMask Card? {#what-is-metamask-card}
With MetaMask Card, you can spend your tokens on everyday transactions, both IRL and online, wherever Mastercard is accepted.
MetaMask Card gives you complete control over your funds. You’ll designate tokens from your MetaMask wallet, set spending limits, and have complete access to your funds until you complete a transaction. At the time of your transaction, the MetaMask Card converts your available tokens into fiat currency (e.g., USD, euros, £).
## Virtual card and Metal card {#virtual-card-and-metal-card}
MetaMask Card is currently available with two different card types:
- The Virtual card - the Free tier
- The Metal card - the Premium tier (available for users in the United States, excluding Vermont)
The Virtual card is free to use, while the Metal card is a premium option you can opt into. Note that you must order a Metal card to receive one; it will not be automatically sent to you. Learn more about the Metal card [here](/trade/metamask-card/metal-card/).
:::note[Metal Card temporarily unavailable]
Orders for the Metal card are temporarily paused as of June 2nd, 2026. Users in eligible countries outside the US can sign up for free for the Virtual card today.
:::
Once your eligible transaction is finalized, you'll earn benefits based on your card tier.
### Supported tokens {#supported-tokens}
MetaMask Card currently supports the following tokens on the following networks for users:
- Linea: mUSD, USDC, USDT, wETH, EURe, and GBPe
- Solana: USDC and USDT
- Base: USDC and USDT
- Monad: USDC
:::info[New York and Texas]
Users in New York and Texas can spend supported tokens on Linea and Base. Solana and Monad are not supported in these states.
:::
Simply designate which tokens you would like to spend, set a spending limit, and tap MetaMask Card for instant payments.
### Partnered with Crypto Life {#partnered-with-crypto-life}
To bring you MetaMask Card, MetaMask has partnered with Crypto Life, a card program manager with Mastercard leading the way on web3 card initiatives.
## Can I sign up for MetaMask Card? {#can-i-sign-up-for-metamask-card}
What countries are eligible to sign up for MetaMask Card?
- Andorra
- Argentina
- Austria
- Bahrain
- Belgium
- Brazil
- Bulgaria
- Canada
- Chile
- Colombia
- Costa Rica
- Croatia
- Cyprus
- Denmark
- Dominican Republic
- El Salvador
- Finland
- France
- Germany
- Gibraltar
- Greece
- Guatemala
- Guernsey
- Hungary
- Iceland
- Ireland
- Isle of Man
- Italy
- Jersey
- Liechtenstein
- Luxembourg
- Malta
- Mexico
- Monaco
- Netherlands
- Norway
- Oman
- Panama
- Poland
- Portugal
- Romania
- Slovakia
- Slovenia
- Spain
- Sweden
- Switzerland
- Uruguay
If you're in an eligible country, you can sign up natively on MetaMask Mobile (version 8.0 or later), or with MetaMask Portfolio. For MetaMask Mobile, tap 'Money' in the bottom navbar to open your Money Account, then tap 'Card' to sign up.
For MetaMask Portfolio, open MetaMask Portfolio, and navigate to [the 'Card' tab](https://portfolio.metamask.io/card). You can start signing up right away. Follow along with our [Getting Started guide](/trade/metamask-card/getting-started-with-card) for more information.

If you are not in an eligible country, don't worry! We're working hard to bring the card to more users. In the meantime, follow this link to join the [waitlist](https://portfolio.metamask.io/card).
---
# Campaigns
URL: https://support.metamask.io/trade/metamask-rewards/how-to-participate-in-rewards/
> Learn about ongoing MetaMask Rewards campaigns.
MetaMask does not have any live campaigns at this time. For information regarding upcoming campaigns, or the last campaign, keep reading.
## Upcoming campaigns
MetaMask Rewards has one upcoming campaign: Money Sweepstakes. Stay tuned for more information on this upcoming campaign by opting into MetaMask Rewards and watching your notifications.
## Previous campaigns
### Predict the Pitch
:::warning[Predict the Pitch has officially ended]
The details below are here for reference purposes only. Winners should follow the MetaMask Mobile in-app directions to claim their prize.
:::
The Predict the Pitch campaign offers up to $75,000 in mUSD prizes for placing predictions on eligible Cup markets. Powered by Polymarket, make eligible trades directly in MetaMask to qualify for the competition.
#### How to participate
Predict the Pitch runs from June 28–July 19, 2026. To get started, you will need to opt into this campaign by opening MetaMask Mobile, clicking the 'Rewards' tab, and clicking on the 'Predict the Pitch' campaign. You will be taken through the details of the campaign. Click 'Opt in' to get started and to agree to the campaign's [terms and conditions](https://insights.consensys.io/hubfs/Predict%20the%20Pitch%20-%20Terms%20and%20Conditions.html).
To participate in the campaign, you must reside in an eligible region, which corresponds to regions where MetaMask Predict is available. For a full list of eligible regions, see [here](/trade/predict/how-to-trade-predictions).
##### Eligible predictions
Eligible predictions must be made on MetaMask Mobile and made during the campaign timeline. You must opt into the campaign itself for predictions to count toward the leaderboard.
To count toward the campaign, predictions must be made in markets with the World Cup tag, and predictions must be a minimum of $10. Eligible predictions will count toward your portfolio ROI (return on investment), used to determine the leaderboard.
To qualify for the leaderboard, you must open $10+ positions across three or more distinct markets.
To make a prediction, visit the campaign details page and click 'Make a prediction', or click 'Trade' in the bottom navigation bar, and then 'Predictions'.
For more information about MetaMask Predict, see our [dedicated support article](/trade/predict/how-to-trade-predictions).
#### Campaign winners and prize pool
Predict the Pitch will have 20 winners at the end of the campaign based on portfolio ROI. At any time during the campaign you can see your position on the leaderboard by visiting the campaign page in MetaMask Mobile.
The total prize pool scales with total trading volume reached during the campaign, starting at a minimum of $10,000 and scaling to a possible $75,000 in mUSD prizes. At any time you can see the current prize pool by visiting the campaign details page.
The prize pool will be divided up amongst the winners proportionally to the total prize amount. If the full $75,000 is reached, the pool will be divided as follows:
- 1st place: $22,500 (30%)
- 2nd: $15,000 (20%)
- 3rd: $7,500 (10%)
- 4th–10th: $3,000 each (4% each)
- 11th–20th: $900 each (1.2% each)
If the full prize pool is not unlocked, the prize amounts will scale proportionally.
Each user can only win once. If you win, follow the instructions in MetaMask Mobile to claim your prize. Winners will need to complete required tax information as set out in the campaign terms before receiving rewards. Consensys will withhold taxes from rewards where required by law.
#### FAQs
What is the timeline for this campaign?
Predict the Pitch runs from June 28–July 19, 2026. Predictions must be made during this time to be eligible for the campaign. Any predictions made before the campaign begins are not eligible.
---
# What is MetaMask Rewards?
URL: https://support.metamask.io/trade/metamask-rewards/what-is-metamask-rewards/
> All about MetaMask's official loyalty program.
MetaMask Rewards is MetaMask's official loyalty program. Earn rewards through your favorite trading activities, and see what other benefits are available to you as a MetaMask user.
MetaMask Rewards primarily runs through campaigns. Campaigns are typically unique, one-time reward incentives that run for a set amount of time. Campaigns can differ in length, timing, rewards, geographical eligibility, rules, and more (please refer to the specific campaign terms). To see what campaigns are running at any given time, check out the 'Rewards' tab in MetaMask Mobile. Click on a campaign to learn more.
You can also see a list of your eligible 'Benefits' in the 'Rewards' tab. These benefits—powered by theMiracle—are exclusive, one-time offers for eligible MetaMask users. Unlike campaigns, you don't need to "earn" a benefit; if you see the benefit, you can already claim it.
Finally, the 'Earn rewards' tab shows ongoing rewards and incentives for MetaMask users, such as MetaMask Card money back.
## How to participate
To participate in MetaMask Rewards, head to MetaMask Mobile and open 'Rewards'.
If it's your first time, you'll need to opt-in to the MetaMask Rewards program by clicking 'Join Rewards'. Opting-in means you agree to the general terms and conditions.
:::note
You will need to opt-in to the MetaMask Rewards program, and then opt-in to individual campaigns. MetaMask Rewards provides the general terms of use, while individual campaigns may have specific rules.
:::
Once you've joined, you'll see three distinct sections:
- Campaigns
- Earn rewards
- Benefits
To make the most of your experience, we recommend connecting multiple accounts to combine progress. To do this, click on the settings wheel in the top right corner.
You will also find your referral code in the top right corner, which can be shared with others to earn bonuses in campaigns. The bonus you receive from referrals varies by campaign. You can find details for each campaign on the dedicated page.
### Campaigns
At the top of the Rewards tab, you'll see Campaigns. Click on the arrow next to 'Campaigns' to view a list of active, previous, and upcoming campaigns.
To learn more about a campaign, click on it. In each campaign's page, you'll find information about:
- Timeline
- Eligibility
- What actions earn rewards
- What rewards you can earn
- Restrictions and terms
- Other rules
If you haven't joined a campaign, click 'Join campaign' on its page. You can participate in multiple campaigns at the same time, based on eligibility and campaign timeline.
Once you join a campaign, your eligible trading and actions will help you earn rewards. While MetaMask Rewards is optimized for the mobile app, trades executed on MetaMask Extension will still count toward a campaign if you are using the same, opted-in account(s). To track your progress in a campaign, head back to the campaign page on the mobile app.
:::note
The rules you find about a campaign in MetaMask Mobile are the official source of truth. Keep an eye out for your in-app notifications for updates and reminders.
:::
You can also learn more about ongoing campaigns in our [Campaigns](/trade/metamask-rewards/how-to-participate-in-rewards/) article.
### Earn rewards
The 'Earn rewards' section lists ongoing rewards available to MetaMask users, such as 3% money back on MetaMask Metal Card, and a 3% bonus for converting stablecoins into mUSD.
Clicking a reward will take you out of the Rewards tab, and directly to the selected reward.
### Benefits
The 'Benefits' section—powered by theMiracle—lists one-time rewards that you are immediately entitled to. If you don't see any benefits, you are not currently eligible for any active benefits at this time. Check back in the future.
To learn about benefits you see, click the arrow at the top of the list. From here, you'll see a list of benefits you can immediately claim. Click on a benefit to learn more and to claim your reward.
Most benefits will take you to a partner's website to claim your benefit. You will need to connect MetaMask to the partner's website to claim the benefit. Make sure you follow the official links in-app.
## Is MetaMask Rewards available everywhere?
No. Because of geographical restrictions, eligibility for Rewards will vary based on campaign and benefit. To check if you can participate in a certain campaign, head to your 'Rewards' tab and click on it. You'll be notified if you are in an ineligible region. If you are in an eligible region, you can sign up.
## I don't want to participate in the current campaign; will that impact future campaigns?
Campaigns are separate from each other. Your rewards and participation in one campaign will not impact others. If you don't like a current campaign, you can wait for one that better suits you in the future.
## FAQs
Is there another season of MetaMask Rewards?
At this time, Season 1 has ended, and there are no concrete plans for future seasons. Instead, MetaMask Rewards is primarily focused on campaigns. There may be multiple campaigns running at once with different rules and rewards.
Past participation in Season 1 or campaigns may or may not be considered for future incentives.
Is MetaMask Rewards the same thing as $MASK?
No. MetaMask Rewards is focused on rewarding you for actions that you already do by partnering with sponsors. At this time, there are no plans for a $MASK token.
What data is collected for MetaMask Rewards?
See the data collection disclosure for [MetaMask Rewards](https://consensys.io/metamask-rewards-disclosures).
Some campaigns may also require additional information for the purpose of distributing rewards. Please refer to a campaign's official rules for more information.
---
# How to access equity markets with MetaMask Perps
URL: https://support.metamask.io/trade/perps/equity-perps/
> Learn what equity perps are and how to trade HIP-3 markets directly from your MetaMask app.
MetaMask Perps now allows you to speculate on tickers in addition to tokens.
:::note
- Perpetual trading isn’t available to users in the following regions: USA, UK, Ontario (Canada), Belgium and countries on the USA sanctions list. Not intended for UK persons.
- Equity perps are a new and experimental market, making it risky. Don’t trade with money you aren’t prepared to lose. Always do your own financial research before deciding if a specific trading technique is right for you.
:::
## What are equity perps?
Equity perpetuals (perps) work like crypto perps: they allow you to speculate on the price movement of assets without actually owning them.
**With equity perps, you can trade price movements of individual stocks** like Tesla ($TSLA), Nvidia ($NVDA), or a basket of companies with XYZ100 (**an index** tracking 100 public companies).
The fundamentals are the same as crypto perps:
- You don’t own the underlying asset, you’re just speculating on its price
- You pick your direction, margin, and [leverage](/trade/perps/leverage-and-liquidation): long if you think the price will go up; short if you think the price will go down
- You pay or receive a funding rate: the mechanism which keeps the perp price in line with the spot price.
If you’re new to perpetual futures, read our *[What is perpetual trading?](/trade/perps/what-is-perp-trading)* explainer.
## Trading hours and market differences
The U.S. stock market operates between 9:30am and 4:30pm EST, Monday through Friday, while crypto markets trade 24/7.
:::info[Trading outside of market hours]
With equity perps, you can speculate on stock prices even when traditional markets are closed. However, **trading outside of market hours carries additional risks like lower liquidity and price volatility.**
:::
## How to trade equity perps on MetaMask
Equity perps work the same way as crypto perps in MetaMask, and are available on both MetaMask Mobile and MetaMask Extension.
- Open the MetaMask mobile app and scroll down to the 'Perps' section
- Open the section and scroll to 'Stocks' to view available markets, tap into the section to see the whole list
- Select the stock you want to trade to view details like 24hr volume and open interest
- Choose your direction and leverage:
- Long if you think the price will go up
- Short if you think it will go down
- Open MetaMask Extension and click on the 'Perps' tab
- Click 'Explore markets' and filter by 'Stocks' to view available markets
- Select the stock you want to trade to view details like 24hr volume and open interest
- Choose your direction and leverage:
- Long if you think the price will go up
- Short if you think it will go down
:::tip
For a full walkthrough on opening, managing, and closing position(s) check out our perps [trading guide](/trade/perps/how-to-trade-perps/).
:::
## How is it possible to trade stock perps in MetaMask?
Merging tradfi and defi can feel complicated as they seem like two different worlds but the mechanics are transparent.
MetaMask Perps are powered by Hyperliquid, a decentralized perpetuals exchange.
Keep in mind:
- You’re trading **contracts, not actual stocks.**
- A **custom oracle and mark price mechanism** adjust for traditional stock market hours, enabling 24/7 perpetual pricing even when stock markets are closed.
- **Funding rates** work to keep prices aligned with the real stock market’s price.
:::note
Equity perps are a new and experimental market, making it risky. Don’t trade with money you aren’t prepared to lose. Always do your own financial research before deciding if a specific trading technique is right for you.
:::
## FAQ
How many stocks can I trade?
New stock markets will appear under the ‘Stocks’ section in the Perps section of MetaMask wallet. Check back often as new tickers are added regularly.
What is an OI cap?
Open interest (OI) represents the total amount of capital active in a market. An OI cap sets a limit on total trading activity allowed for that market. When the cap is reached:
- You can only close or reduce existing positions
- You can’t open new positions until the open interest falls below the cap
How are prices updated?
Builders use a custom oracle and mark price to track stock prices and account for traditional market hours. This ensures equity perps remain tradable 24/7 while staying tied to stock market activity.
---
# How to trade perps in MetaMask
URL: https://support.metamask.io/trade/perps/how-to-trade-perps/
> Everything you need to know about trading perps in MetaMask.
Perpetual trading or “perps” is available in MetaMask Mobile and MetaMask Extension! If you’re new to this, start with our explainer *[What is perpetual trading.](/trade/perps/what-is-perp-trading)* Once ready, open the wallet to trade. This guide covers everything you need from depositing and withdrawing funds, to opening, managing, and closing a position.
Jump to any section:
- [Deposit funds](#deposit-funds)
- [Open a position](#open-a-position)
- [Manage a position](#manage-a-position)
- [Close a position](#close-a-position)
- [Withdraw funds](#withdraw-funds)
- [Questions](#questions)
:::info
- Perpetual trading isn’t available to users in the following regions: USA, UK, Ontario (Canada), Belgium and countries on the USA sanctions list. Not intended for UK persons.
- Trading with leverage can be risky. Always do your own research and understand your risk tolerance before diving in.
:::
## Deposit funds
You can deposit any EVM token to fund your perp account. Your token will automatically be converted to the required USDC on Hyperliquid. MetaMask doesn’t take any fee on deposits.
Depositing funds to your perp account is optional on MetaMask Mobile but allows you to minimize trade execution latency and slippage impact. You can open a position with any top token to trade at any time on Mobile. On Extension, you can only open a position after depositing funds to your perp balance first.
:::tip[perps balance]
Your perps balance is separate from your regular account balance. When you fund perps, you’ll see your token balance decrease, and your perps balance increase by that amount.
:::
- Open MetaMask Mobile and tap the 'Perps' button to start trading.
- Tap 'Add funds'
- Choose the token and amount you want to deposit and tap 'Continue'. You can also select your [Money Account](/trade/money-account#fund-prediction-and-perps-accounts) balance, Apple Pay, or a debit/credit card as the 'Pay with' source.
- The minimum funding value is $10
- Review details and confirm
- This usually takes ~30 seconds, but could take up to a few minutes
- You can check progress within the Activity > Transactions tab
Once complete, you’ll see your available trading balance within the perps section.
- Open MetaMask Extension and click on the 'Perps' tab.
- Click 'Total balance' > 'Add funds'
- Choose the token and amount you want to deposit and click 'Continue'
- The minimum funding value is $10
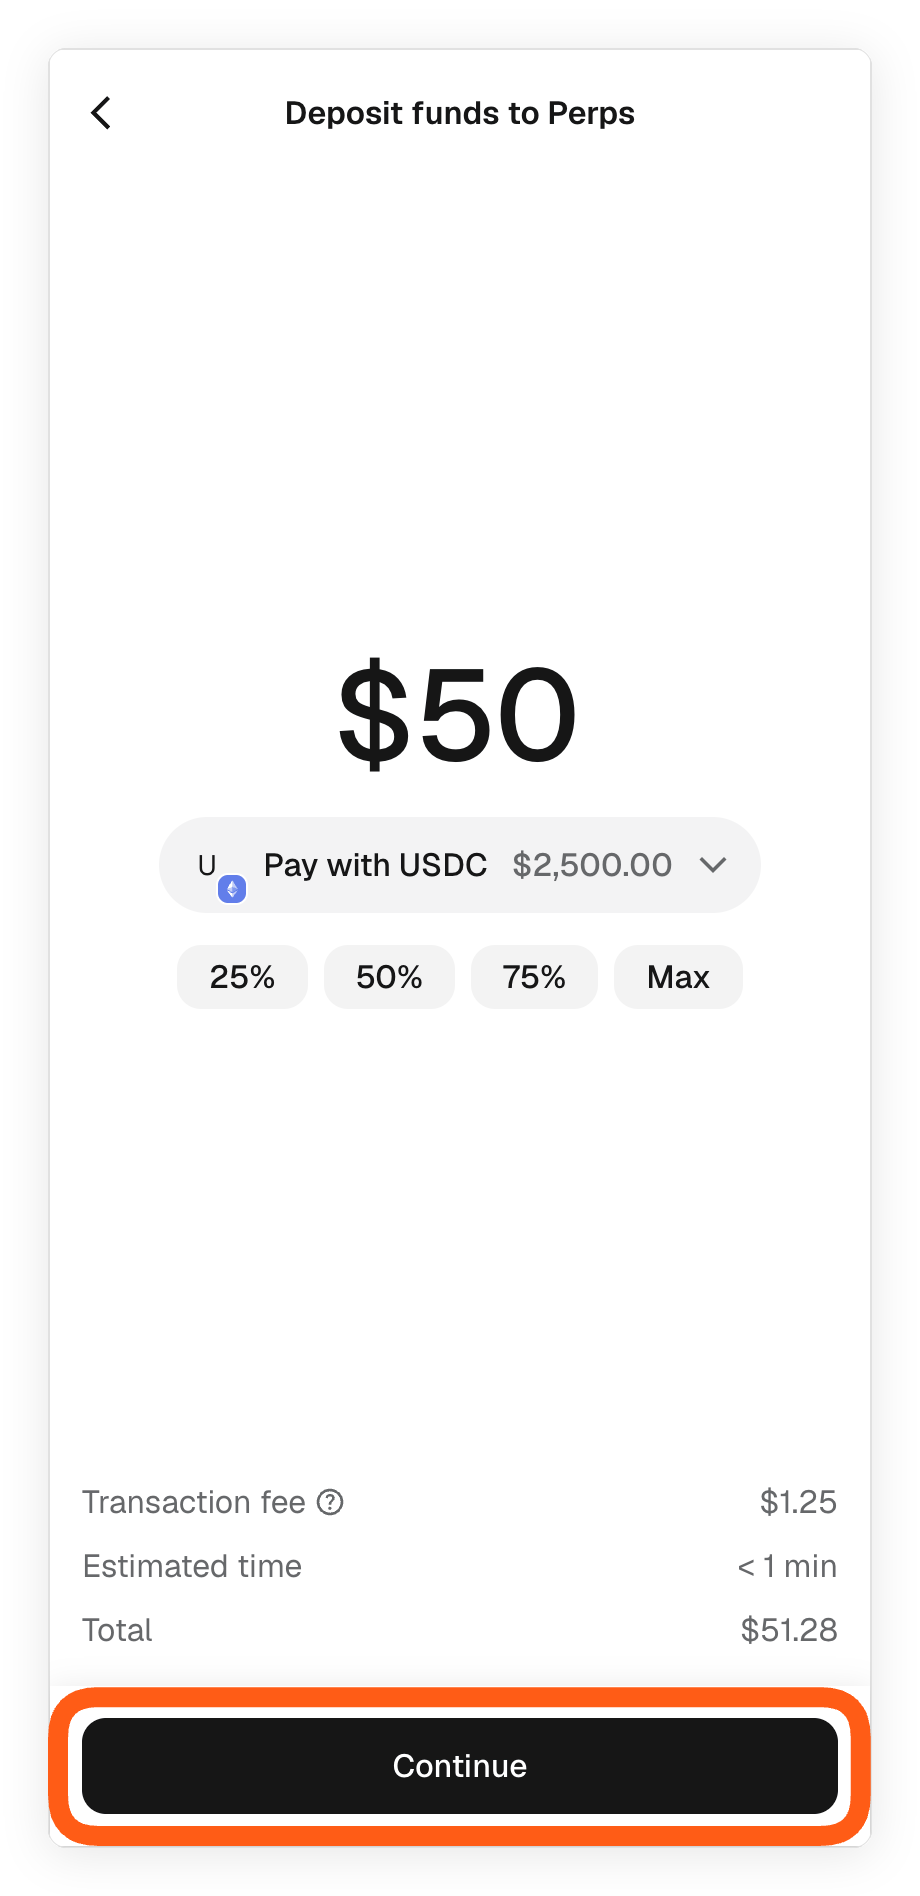
- Review details and confirm
- This usually takes ~30 seconds, but could take up to a few minutes
- You can check progress within the Activity > Transactions tab
Once complete, you’ll see your available trading balance within the perps section.
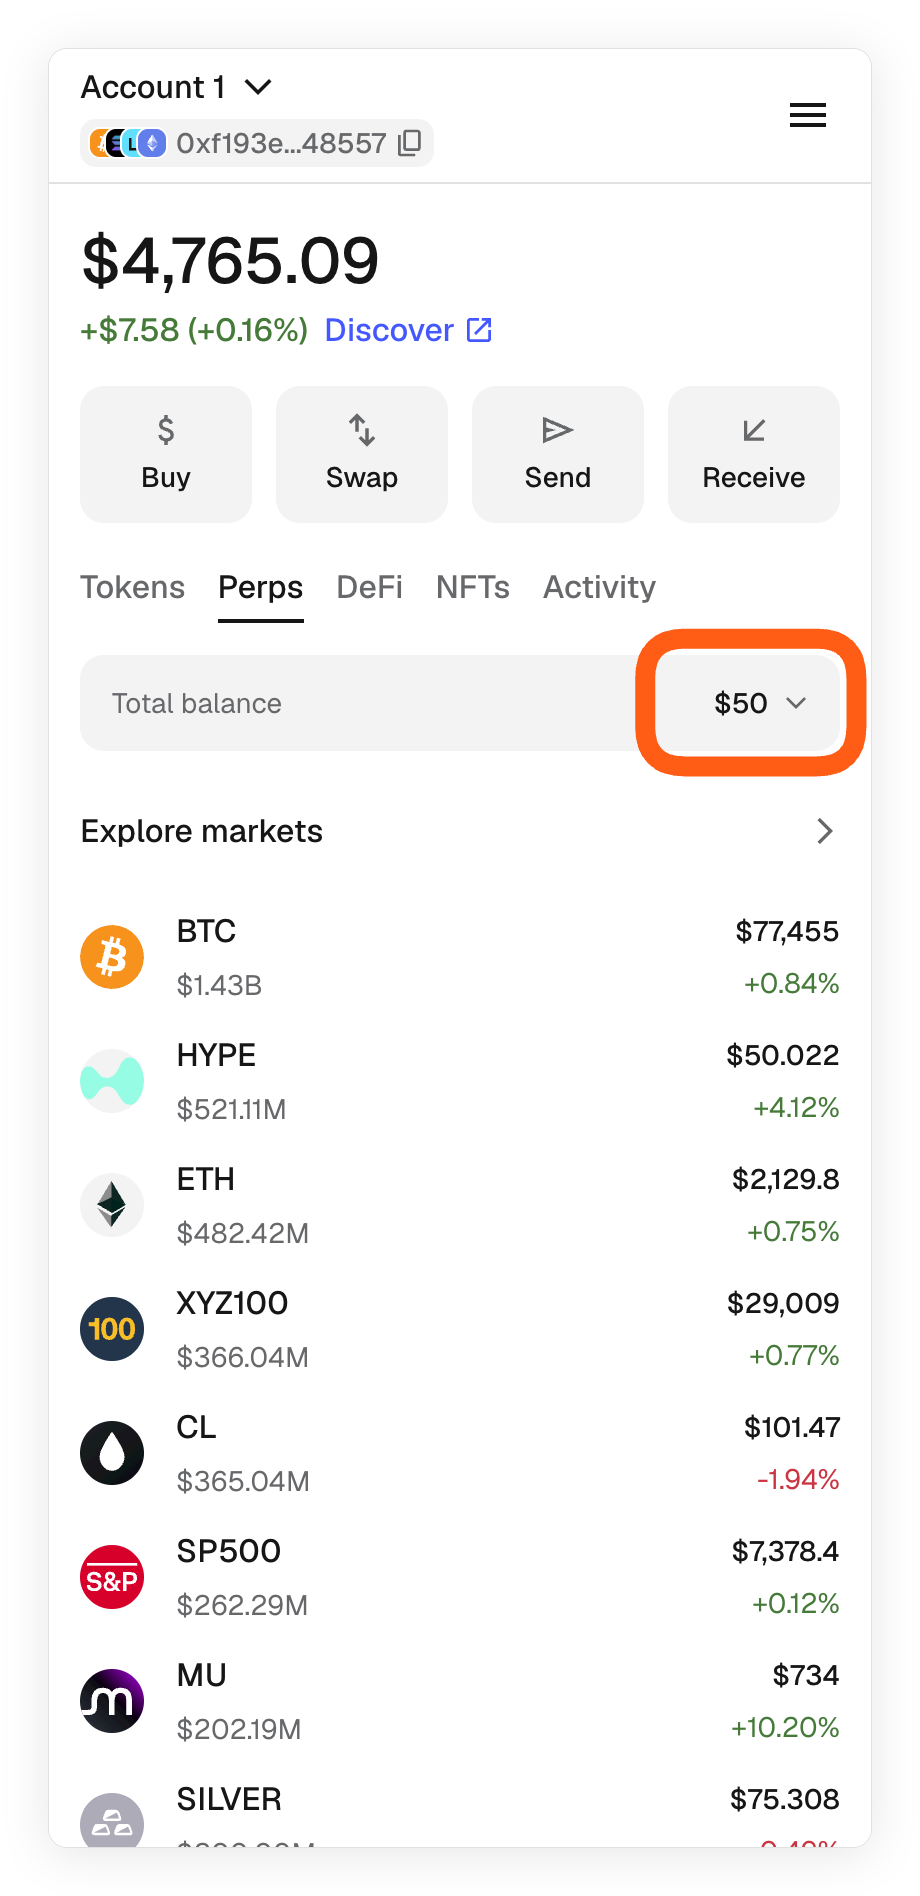
:::info[Pro mode]
MetaMask Mobile offers two trading views: **Lite** (the default, with a streamlined interface) and **Pro** (with order book data, advanced order inputs, click-to-price, and more). Tap the button in the top right of the perps screen to switch between them at any time.
:::
## Open a position
You can start trading anytime, with over 150 contracts across crypto, commodities, stocks, and forex.
:::tip[leverage]
Leverage varies per contract. Each token supports different max leverage levels *(up to 40x for BTC)* ; you can view this in the available list of contracts where the max leverage size is listed next to each token.
:::
- Tap the trade icon in the navigation bar and select 'Perps' or pick a position from the list of available contracts within the 'Perps' section.
- You can also search for your favorite token by tapping on the magnifying glass in the top right
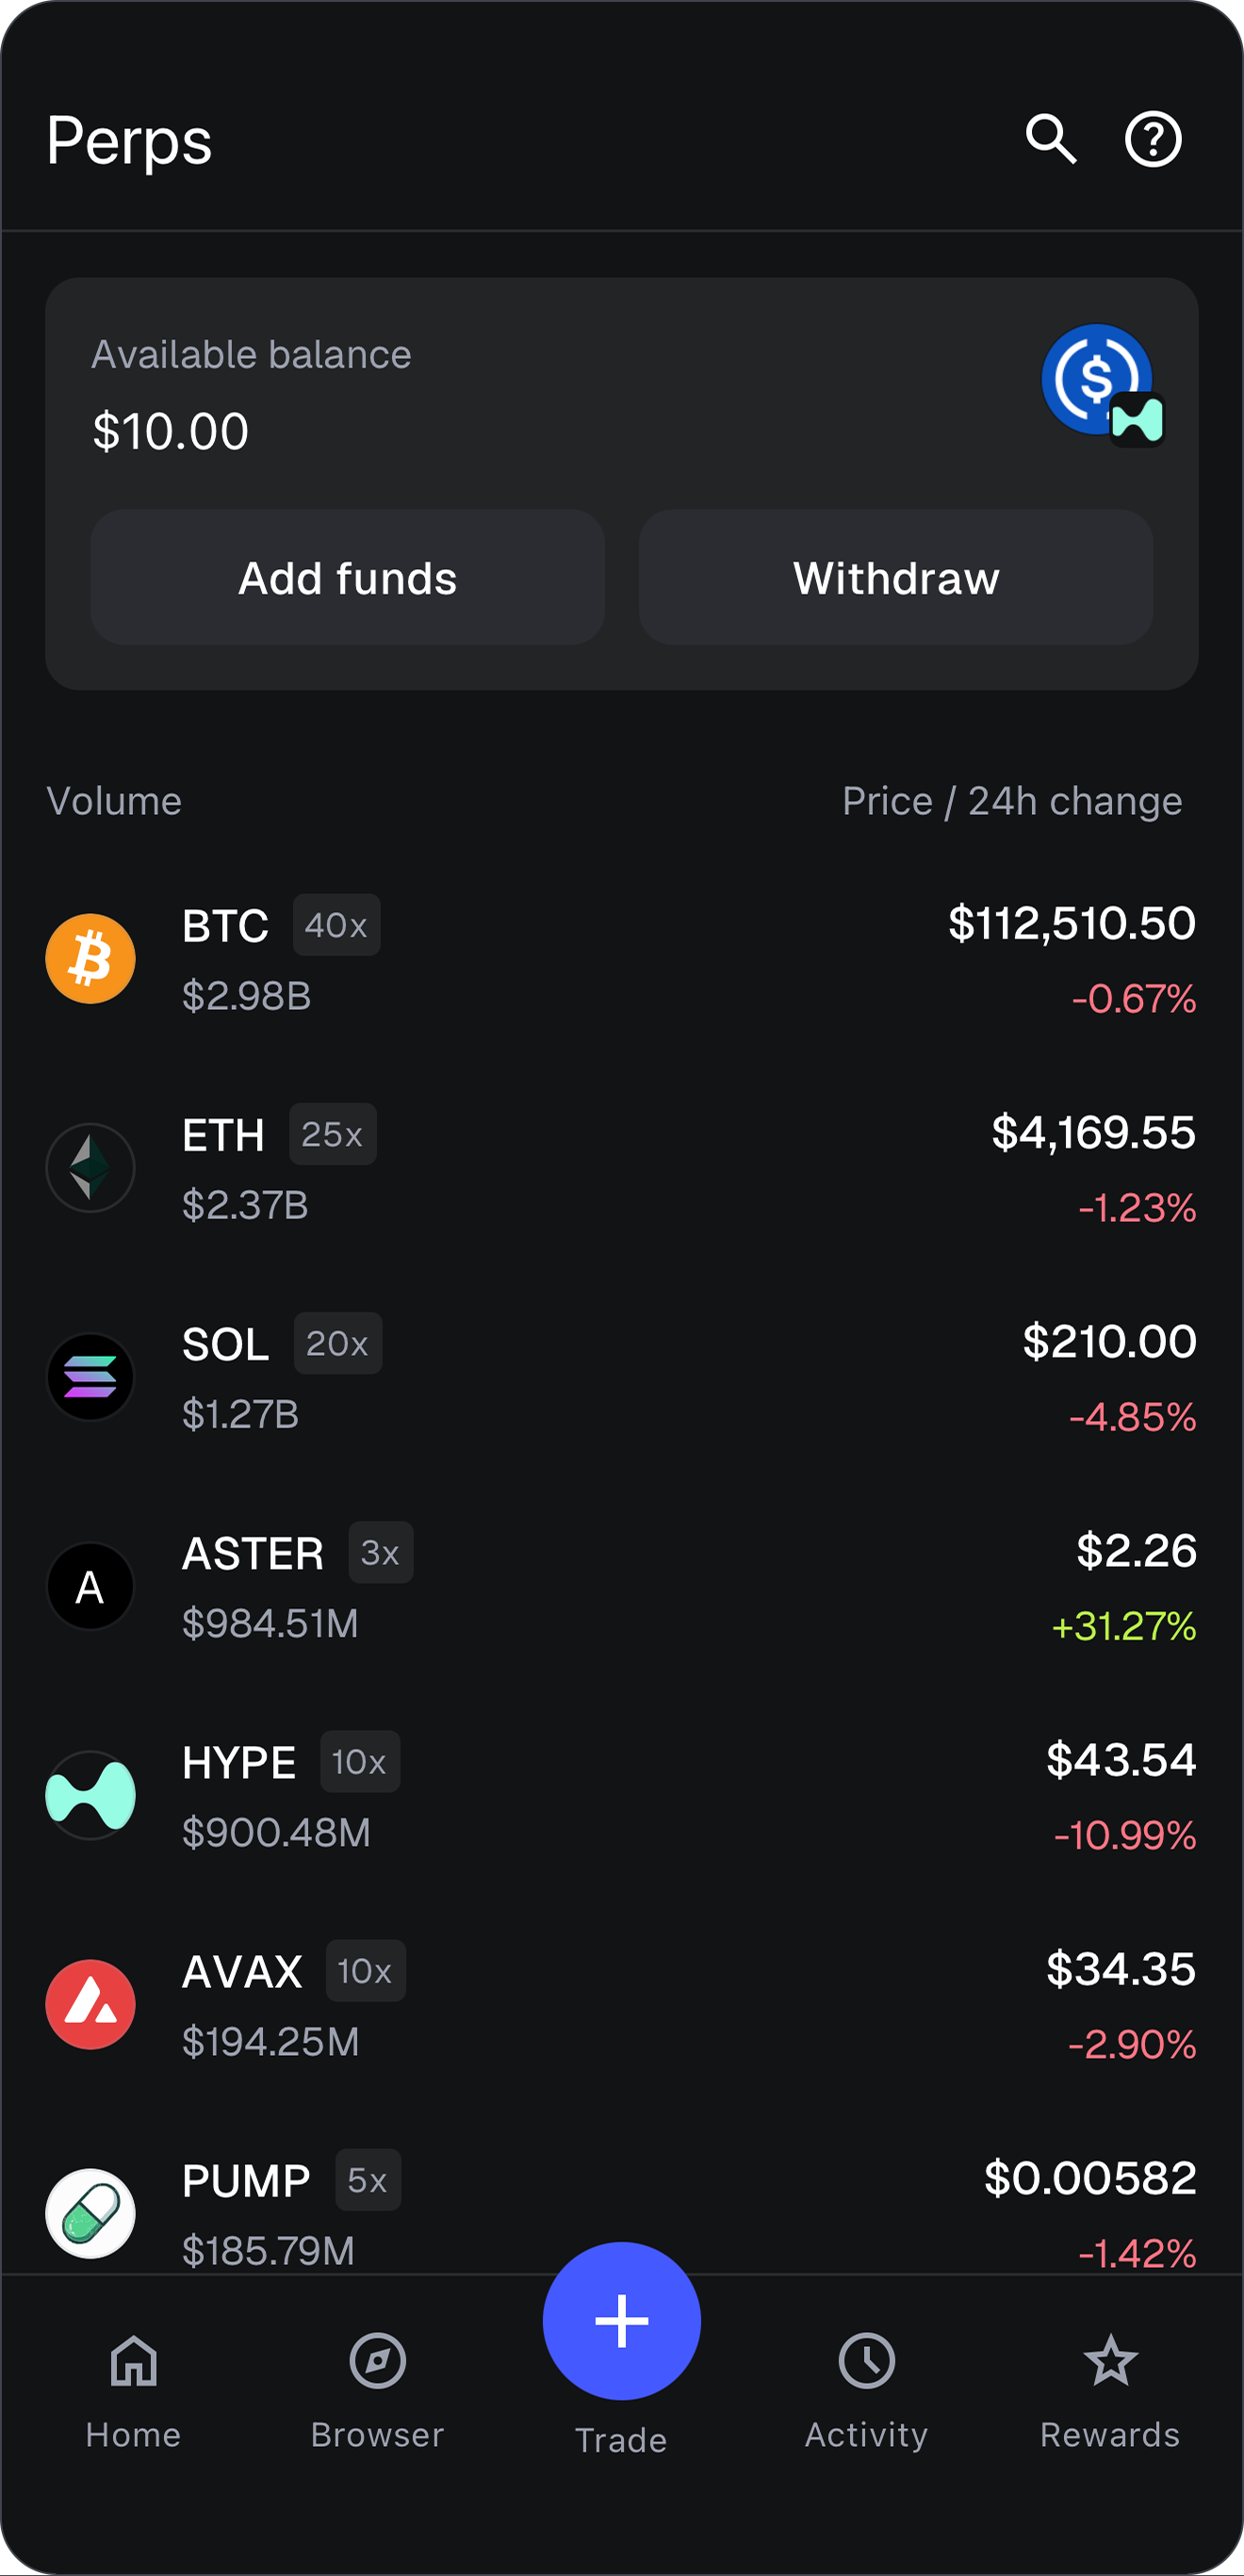
- Choose your direction
- Tap **Long** if you think the price will go up
- Tap **Short** if you think the price will go down
- Drag the slider to set your order size (the “notional value” of your trade)
- Order size = margin x leverage
- Use the slider to choose how much of your trading balance to use
- Set leverage with the slider or presets
- The max leverage varies per market
- Remember: higher leverage = smaller liquidation distance.
- If liquidated, your margin cannot be recovered. Learn more about leverage and liquidation in our guide [here](/trade/perps/leverage-and-liquidation).
- Add 'Auto close' parameters (Take Profit/Stop Loss, or TP/SL) to automatically close your position and help manage risk during fast market moves. This is optional but strongly recommended.
- You can update these parameters anytime, even after your position is open
- Review your order details including margin used, liquidation price and fees. Tap 'Confirm' to continue.
Your order will be executed immediately at the market price.
- Click on the 'Perps' tab and select a position from the list of available contracts or click 'Explore markets' to filter by category and search for your favorite token.
- Choose your direction
- Click **Long** if you think the price will go up
- Click **Short** if you think the price will go down
- Drag the slider to set your order size (the “notional value” of your trade)
- Order size = margin x leverage
- Use the slider to choose how much of your trading balance to use
- Set leverage with the slider or presets
- The max leverage varies per market
- Remember: higher leverage = smaller liquidation distance.
- If liquidated, your margin cannot be recovered. Learn more about leverage and liquidation in our guide [here](/trade/perps/leverage-and-liquidation).
- Toggle 'Auto close' and add Take Profit/Stop Loss (TP/SL) parameters to automatically close your position and help manage risk during fast market moves. This is optional but strongly recommended.
- You can change your auto close parameters anytime, even after your position is open
- Review your order details including margin used, liquidation price and fees and confirm your position to continue.
Your order will be executed immediately at the market price.
### Limit orders
Instead of buying or selling at the current market price, you can also set a limit price at which you want your order executed. This gives you more control, but your order will not be filled immediately. Execution depends on whether the market price reaches your limit price.
- Switch to 'Limit' mode by clicking on the top right corner of the order screen
- Set your limit price and confirm
- If your limit price is reached, the order fills automatically
- If not, the order stays open until canceled
- You can track your limit orders in the perps section or within the order tab on the token’s page
- Limit orders can be canceled anytime by opening the order tab of the token’s page and tapping 'Cancel order'
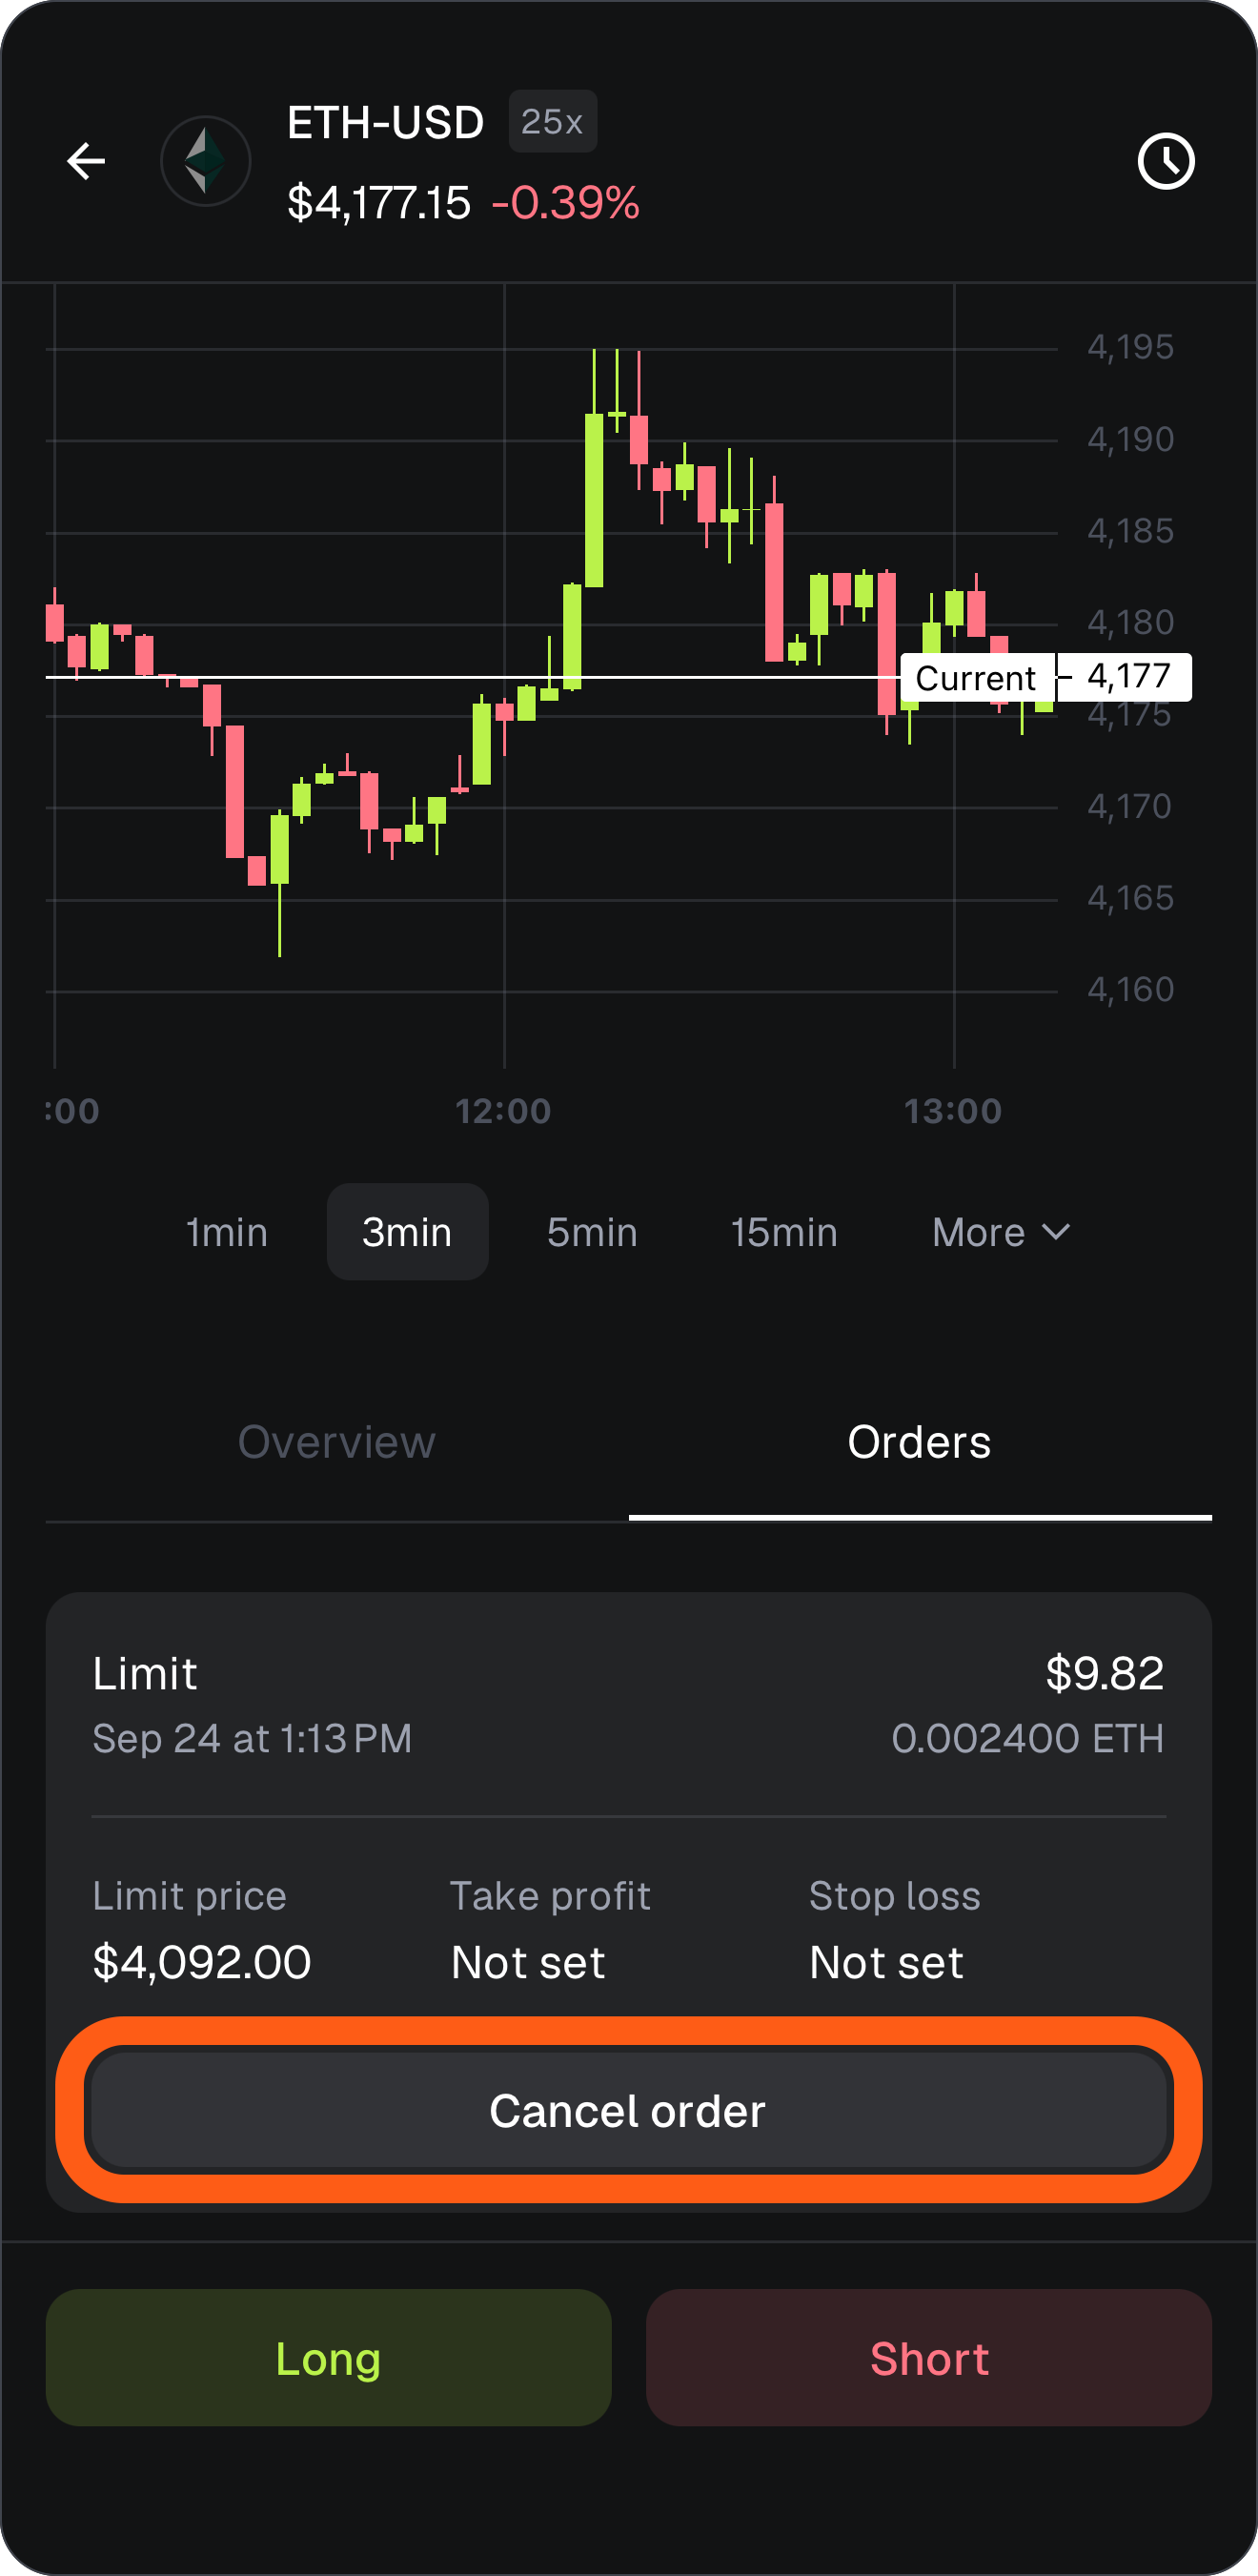
- Switch to 'Limit' mode by clicking 'Limit' on the top of the order screen
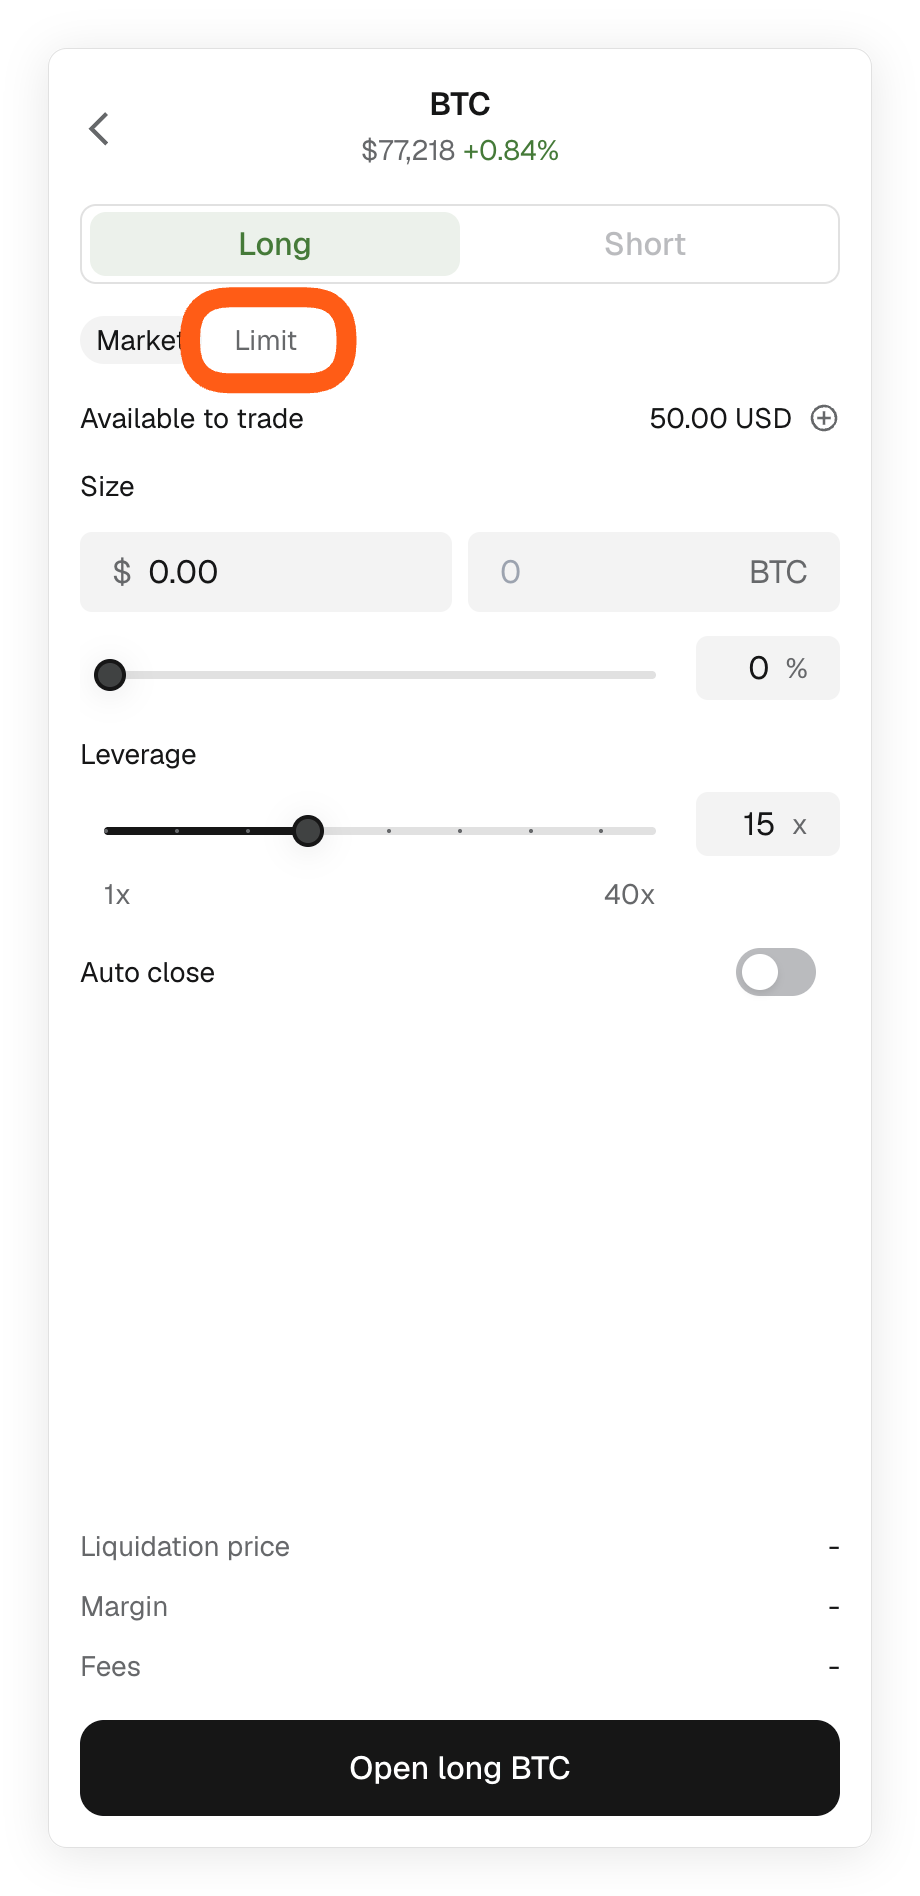
- Set your limit price and confirm
- If your limit price is reached, the order fills automatically
- If not, the order stays open until canceled
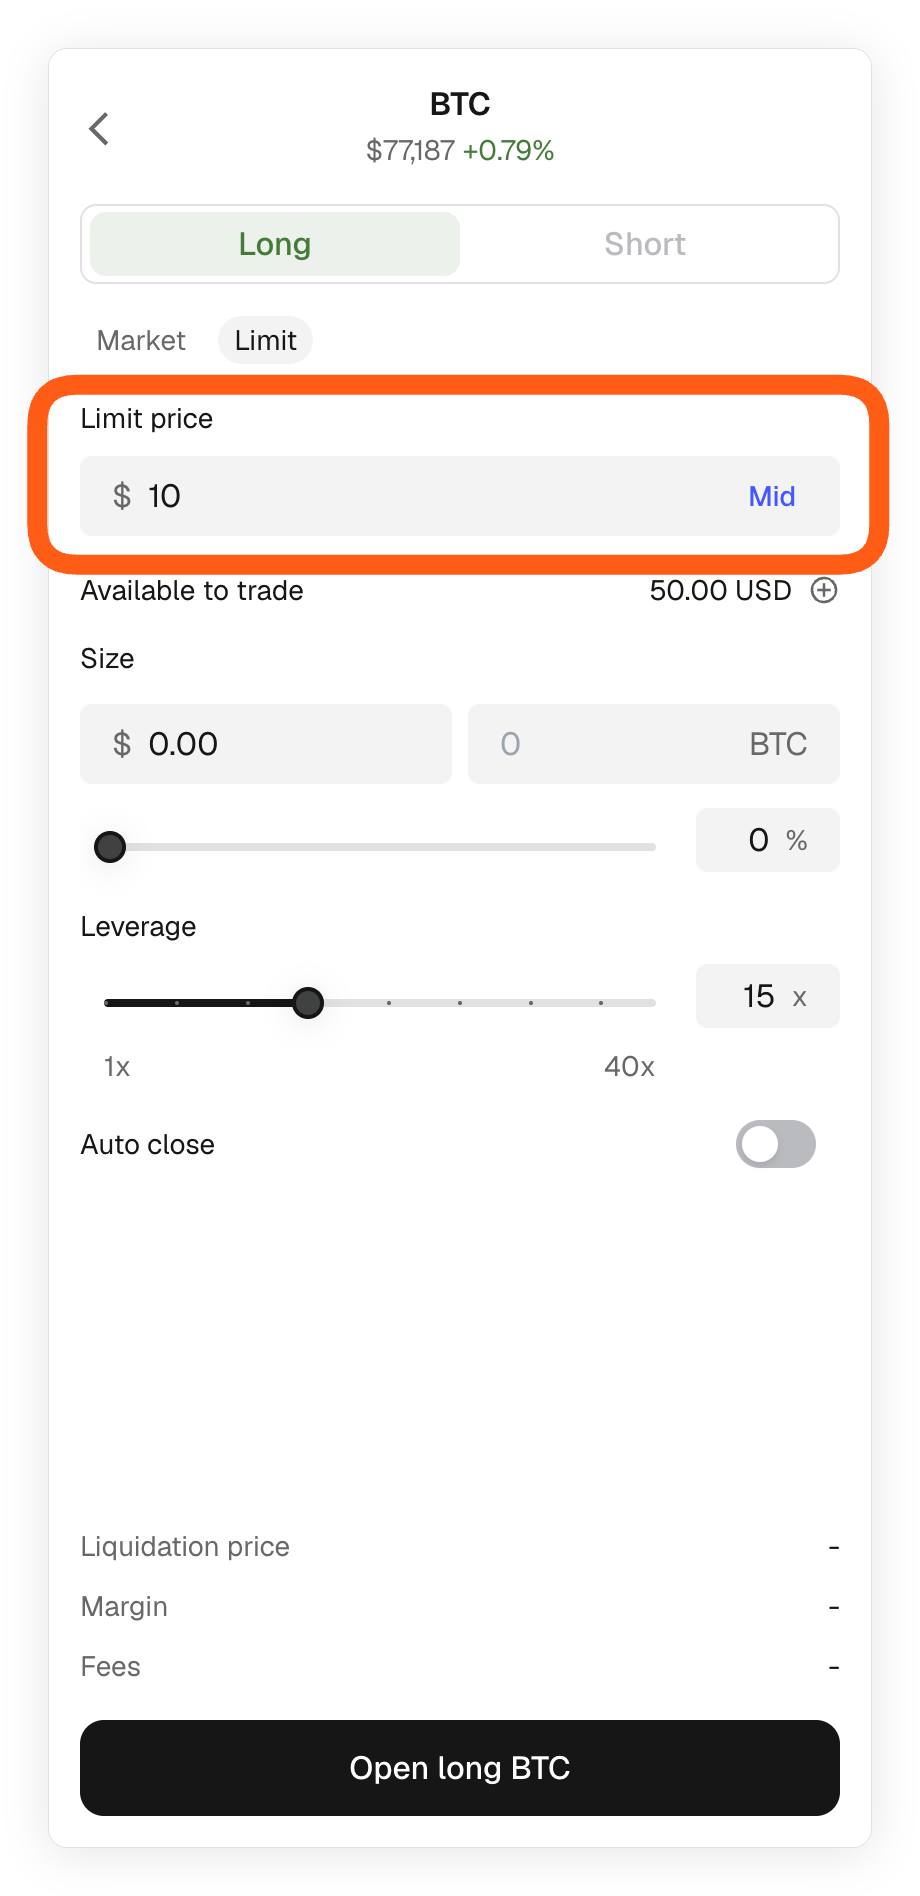
- You can track your limit orders in the perps tab or within the order tab on the token’s page
- Limit orders can be canceled anytime by opening the order tab of the token’s page and clicking 'Cancel order'
## Manage a position
After opening a position, you can monitor it in your homepage. Scroll and click the 'Perps' section to see your open positions or click on the 'Perps' button. You will see:
- Your open position token, leverage, and direction
- Your position size in $ and number of tokens
- Your unrealized PnL in $ and %.
Tap your active position to see details like the price chart, liquidation price, and statistics. You can also update or add your auto close parameters here.
After opening a position, you can monitor it in the 'Perps' tab. You will see:
- Your open position(s), leverage, and direction
- Your position size in $ and number of tokens
- Your unrealized PnL in $ and %.
Click on your active position to see details like the price chart, liquidation price, and statistics. You can also update or add auto close parameters here.
### Auto close or TP/SL
'Auto close' lets you set Take Profit and Stop Loss (TP/SL) levels to help manage risk. You can add or update these parameters at any time. This is strongly recommended to avoid bad surprises.
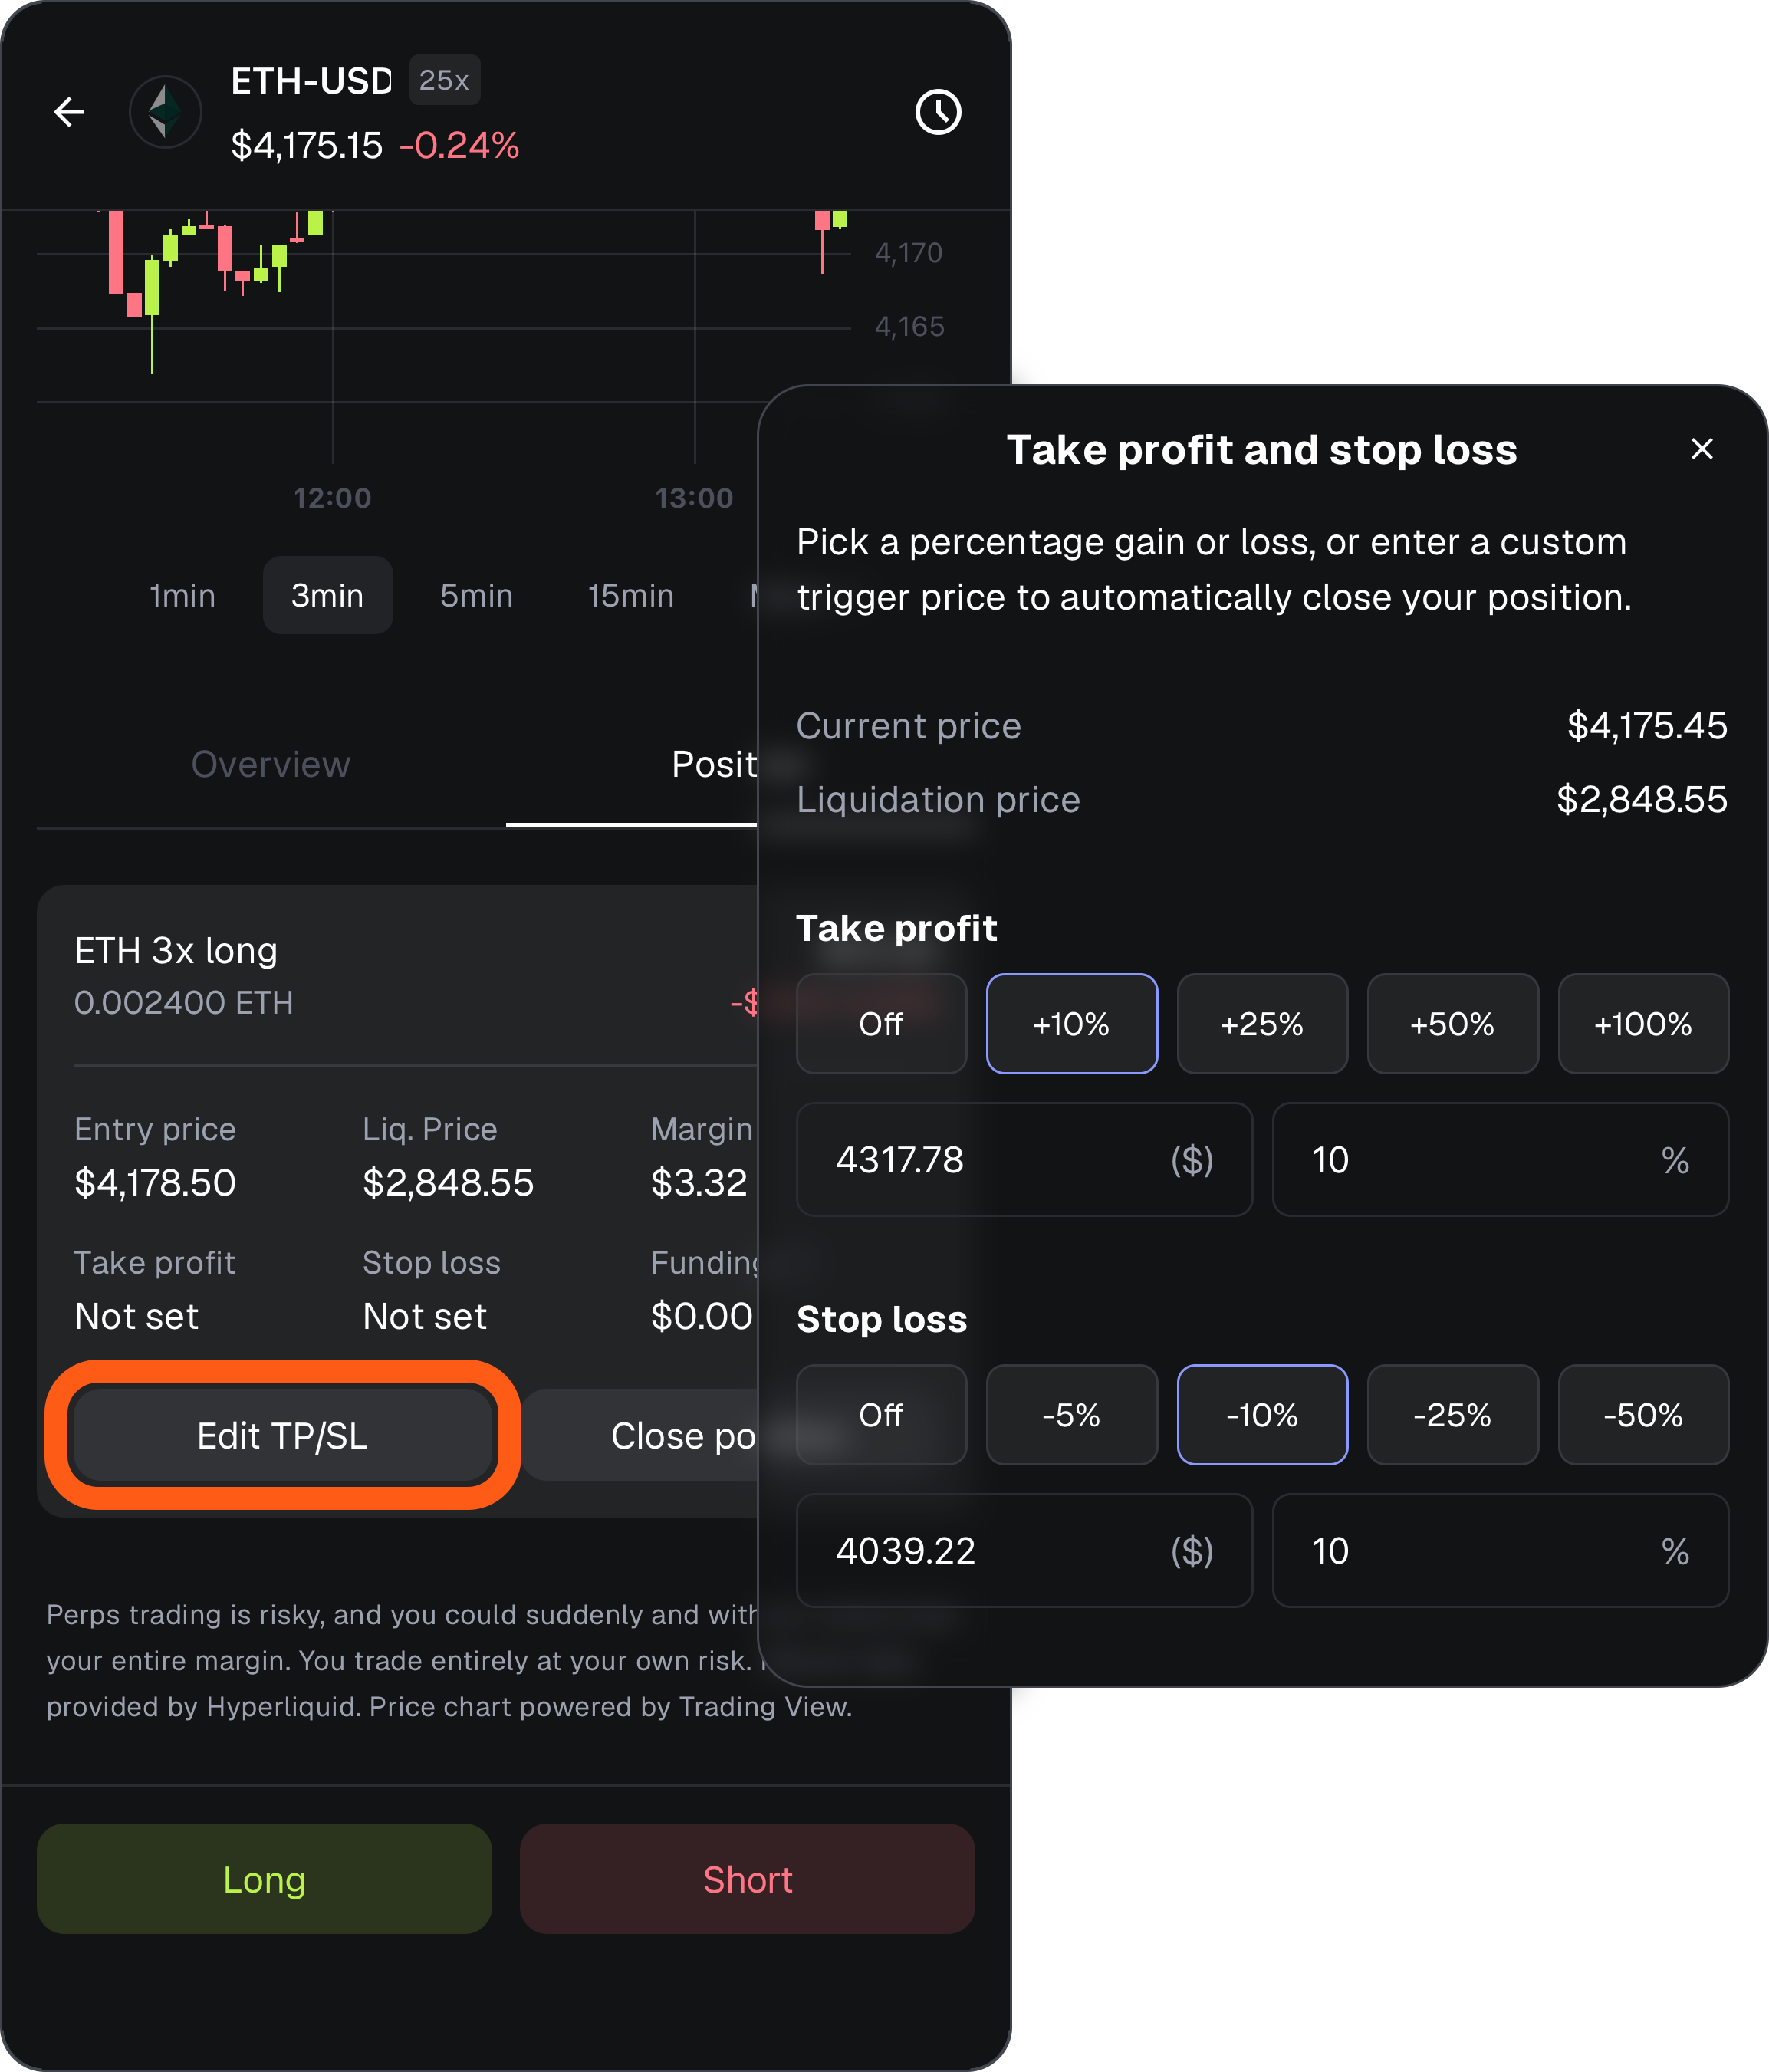
Why auto close may fail
Auto close or TP/SL is not guaranteed to execute at your set price. For example, if the price drops from $120 to $50 in a second and no one is willing to buy your position at $100, your stop loss will execute at $50 instead of $100.
This is unlikely to happen with “blue-chip” tokens (tokens with more volume and liquidity like ETH and BTC) but be cautious when trading “long-tail” tokens (niche memecoins with a tiny market cap). You can see the 24hr trading volume for each token. For more information on how auto close works, scroll down to the [FAQ](/trade/perps/how-to-trade-perps/#questions) section.
### Charts
You can use the candlestick chart to track activity per token and adjust candle intervals from 1 minute to 7 days. You can see both short-term movements and longer-term market trends. Traders often use these patterns for technical analysis.
Candles
Each “candle” represents four key data points:
- Open: The price when the candle started
- Close: The price when the candle ended
- High/Low: The range during that time.
- Color:
- Green = price closed higher than it opened (uptrend)
- Red = price closed lower than it opened (downtrend)
If you press on a candle for ~1 second, this data will be displayed at the top left of the chart.
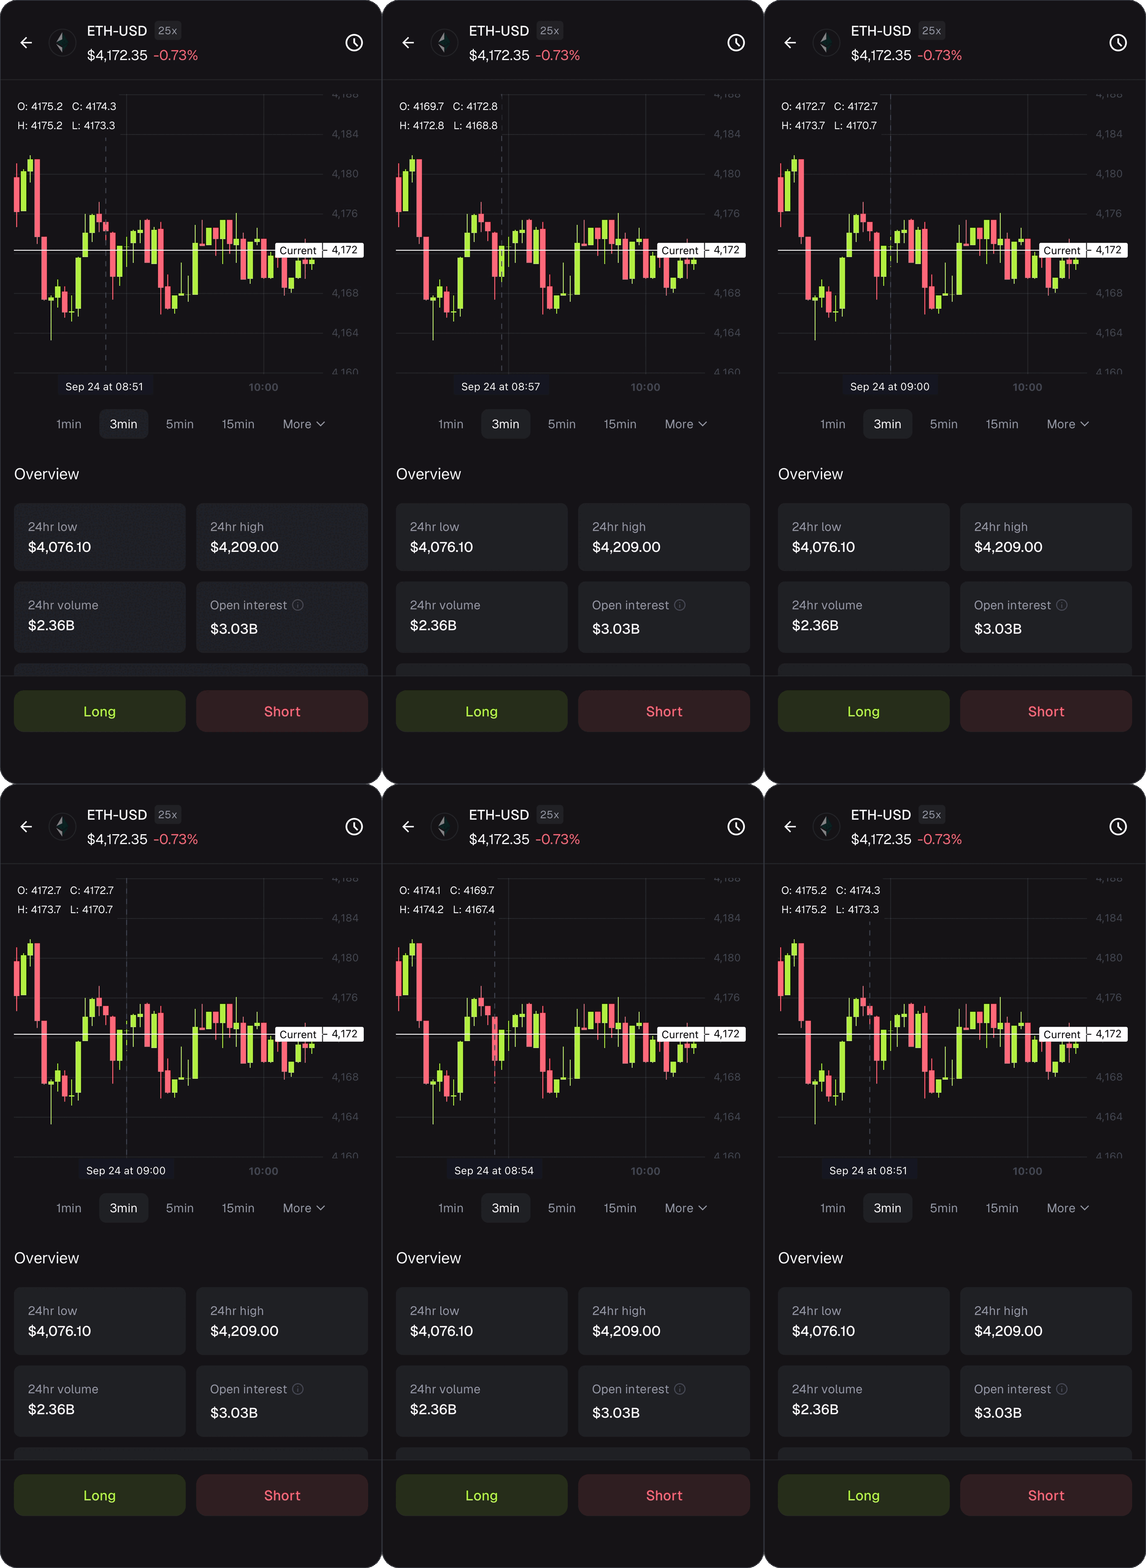
### Modify position exposure
If you want to add, reduce, or reverse your position, you can modify your position on the token's page. Note: You can't use a smaller leverage size than your open position.
- Tap 'Modify' on the order page
- Choose your desired action: 'Add exposure', 'Reduce exposure', 'Reverse position'
- Drag the slider to set your new position if increasing or decreasing margin.
- Save and confirm position
- Click 'Modify' on the order page
- Choose your desired action: 'Add exposure', 'Reduce exposure', 'Reverse position'
- Drag the slider to set your new position if increasing or decreasing margin.
- Save and confirm position
## Close a position
- Select your position within the 'Perps' section
- Tap 'Close position'
- Drag the slider to choose how much of the position to close (partial or full)
- With partial close, your close order must be larger than $10
- Review the order information, including estimated PnL (profit and loss), fees, and amount you will receive
- Tap 'Close position' to confirm
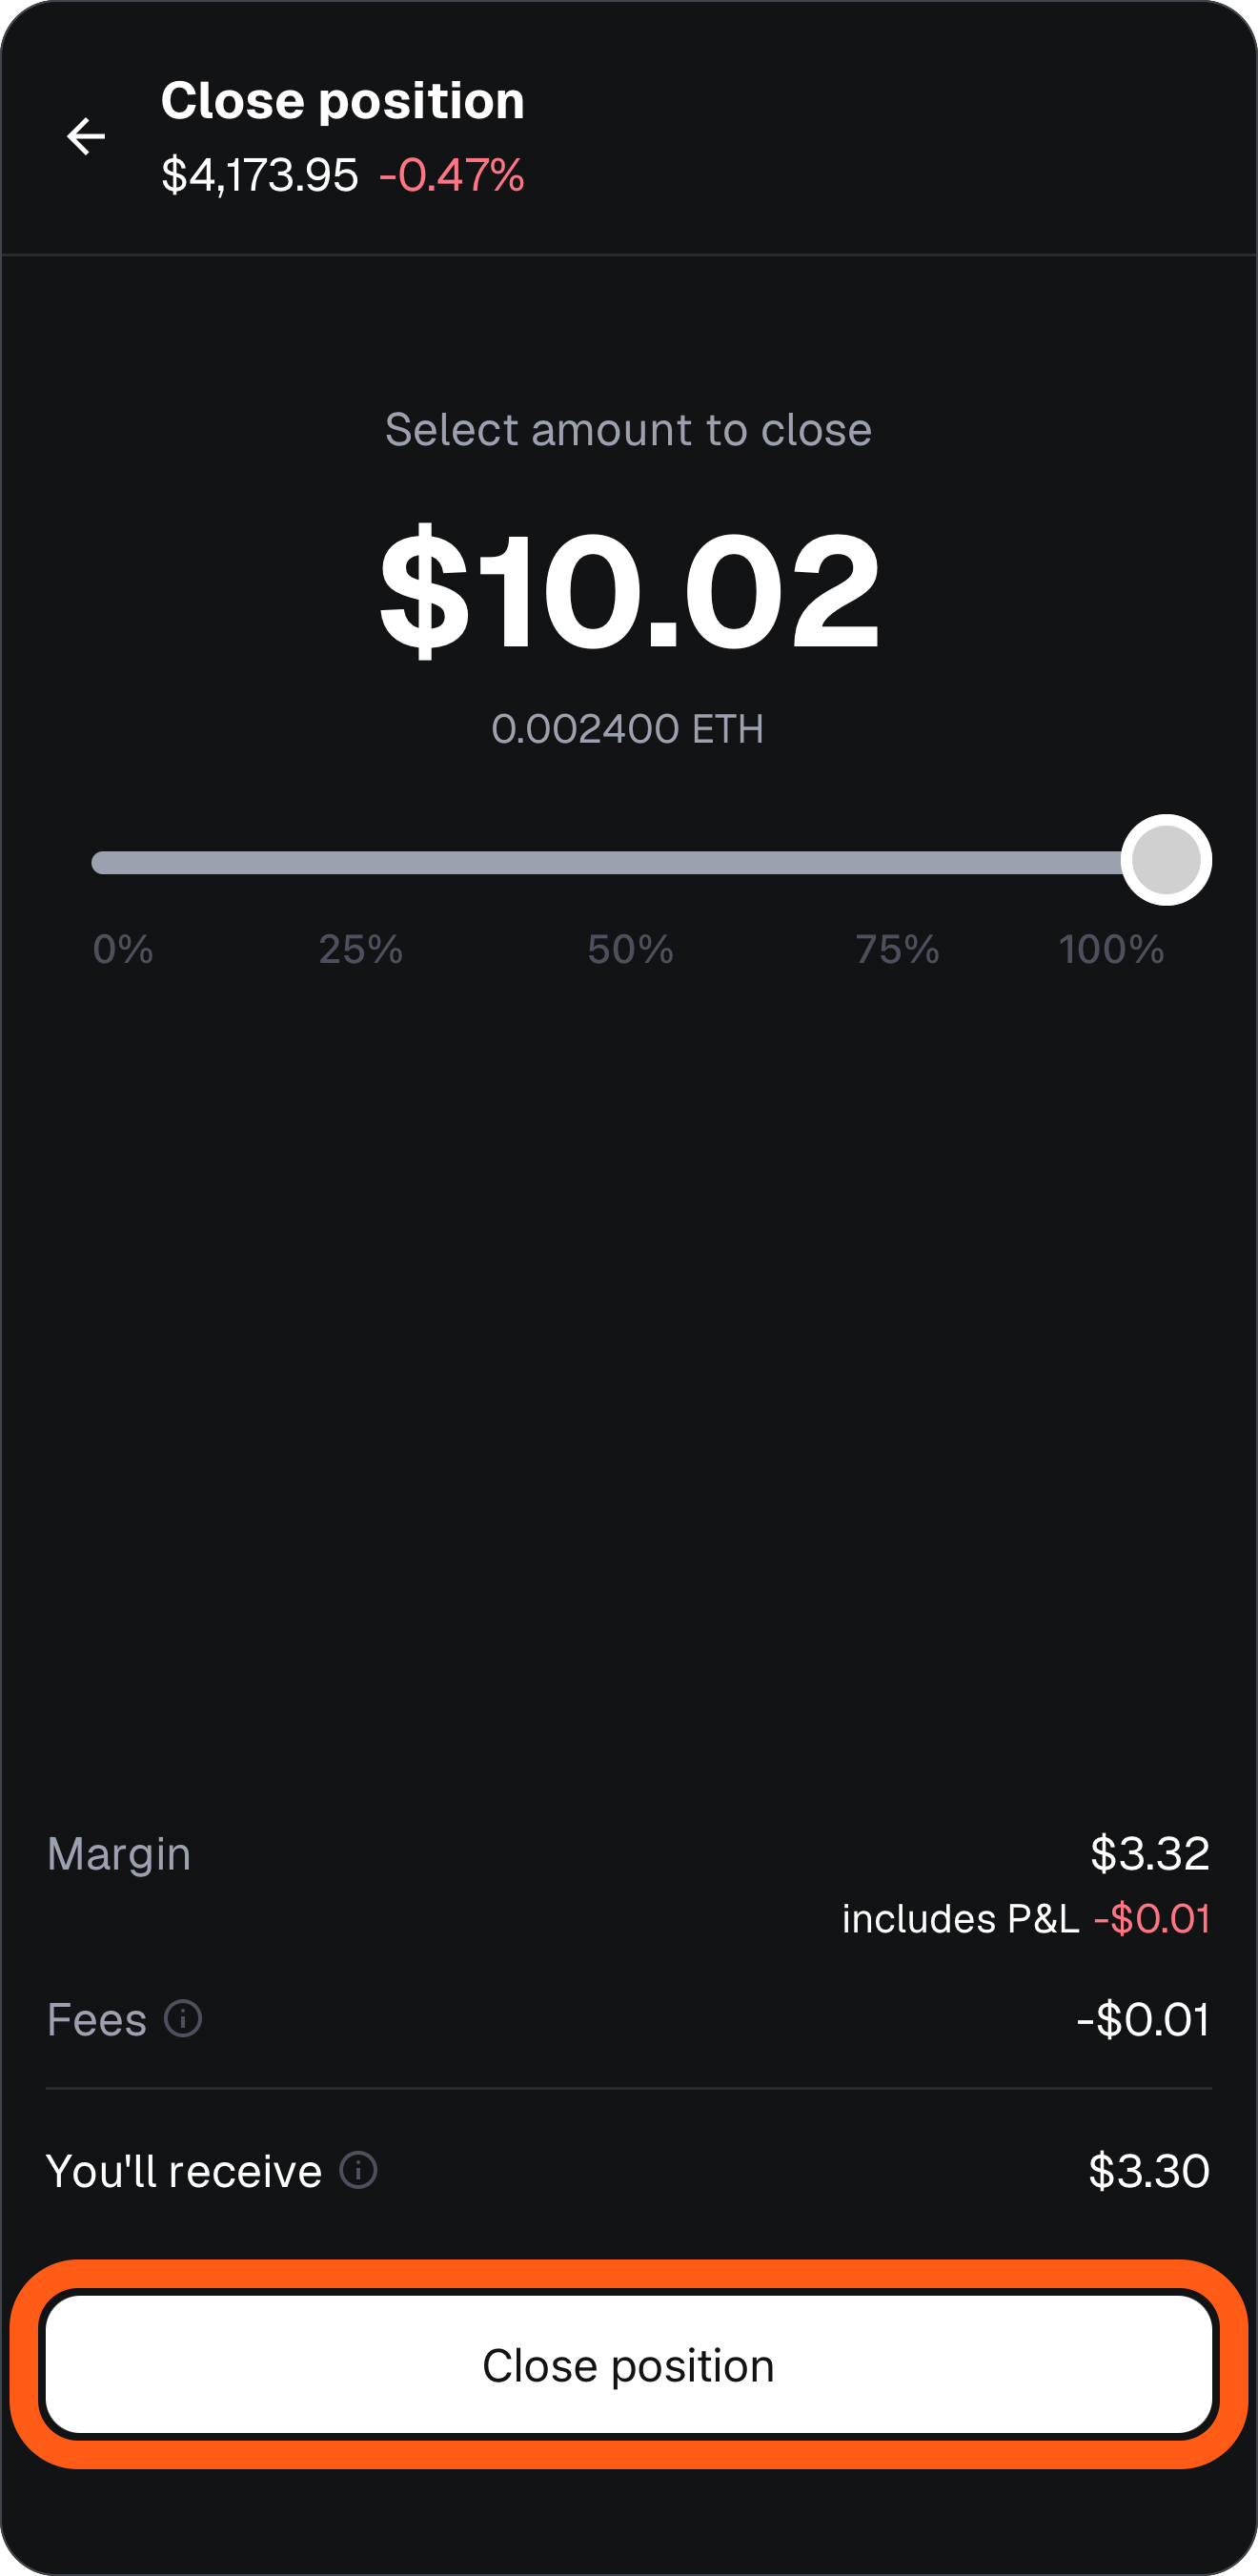
Your position will be closed at the market price.
- Select your position within the 'Perps' tab
- Click 'Close position'
- Drag the slider to choose how much of the position to close (partial or full)
- With partial close, your close order must be larger than $10
- Review the order information, including estimated PnL (profit and loss), fees, and amount you will receive and confirm your position to continue.
Your position will be closed at the market price.
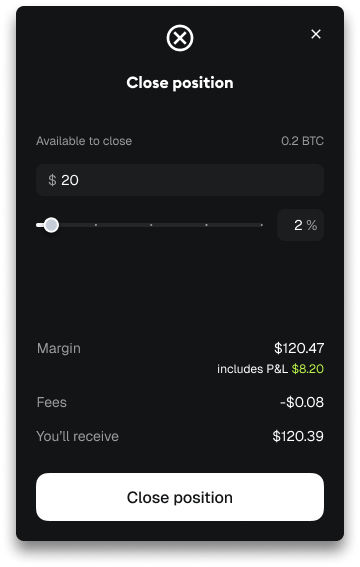
## Withdraw funds
You can withdraw your available perps balance back to your regular account or your [Money Account](/trade/money-account#fund-prediction-and-perps-accounts).
- Navigate to the 'Perps' section and tap 'Withdraw'
- Enter the amount you want to withdraw
- Choose the token and chain you want to receive
- Review details and confirm
- A flat $1 fee is charged by our provider, Hyperliquid
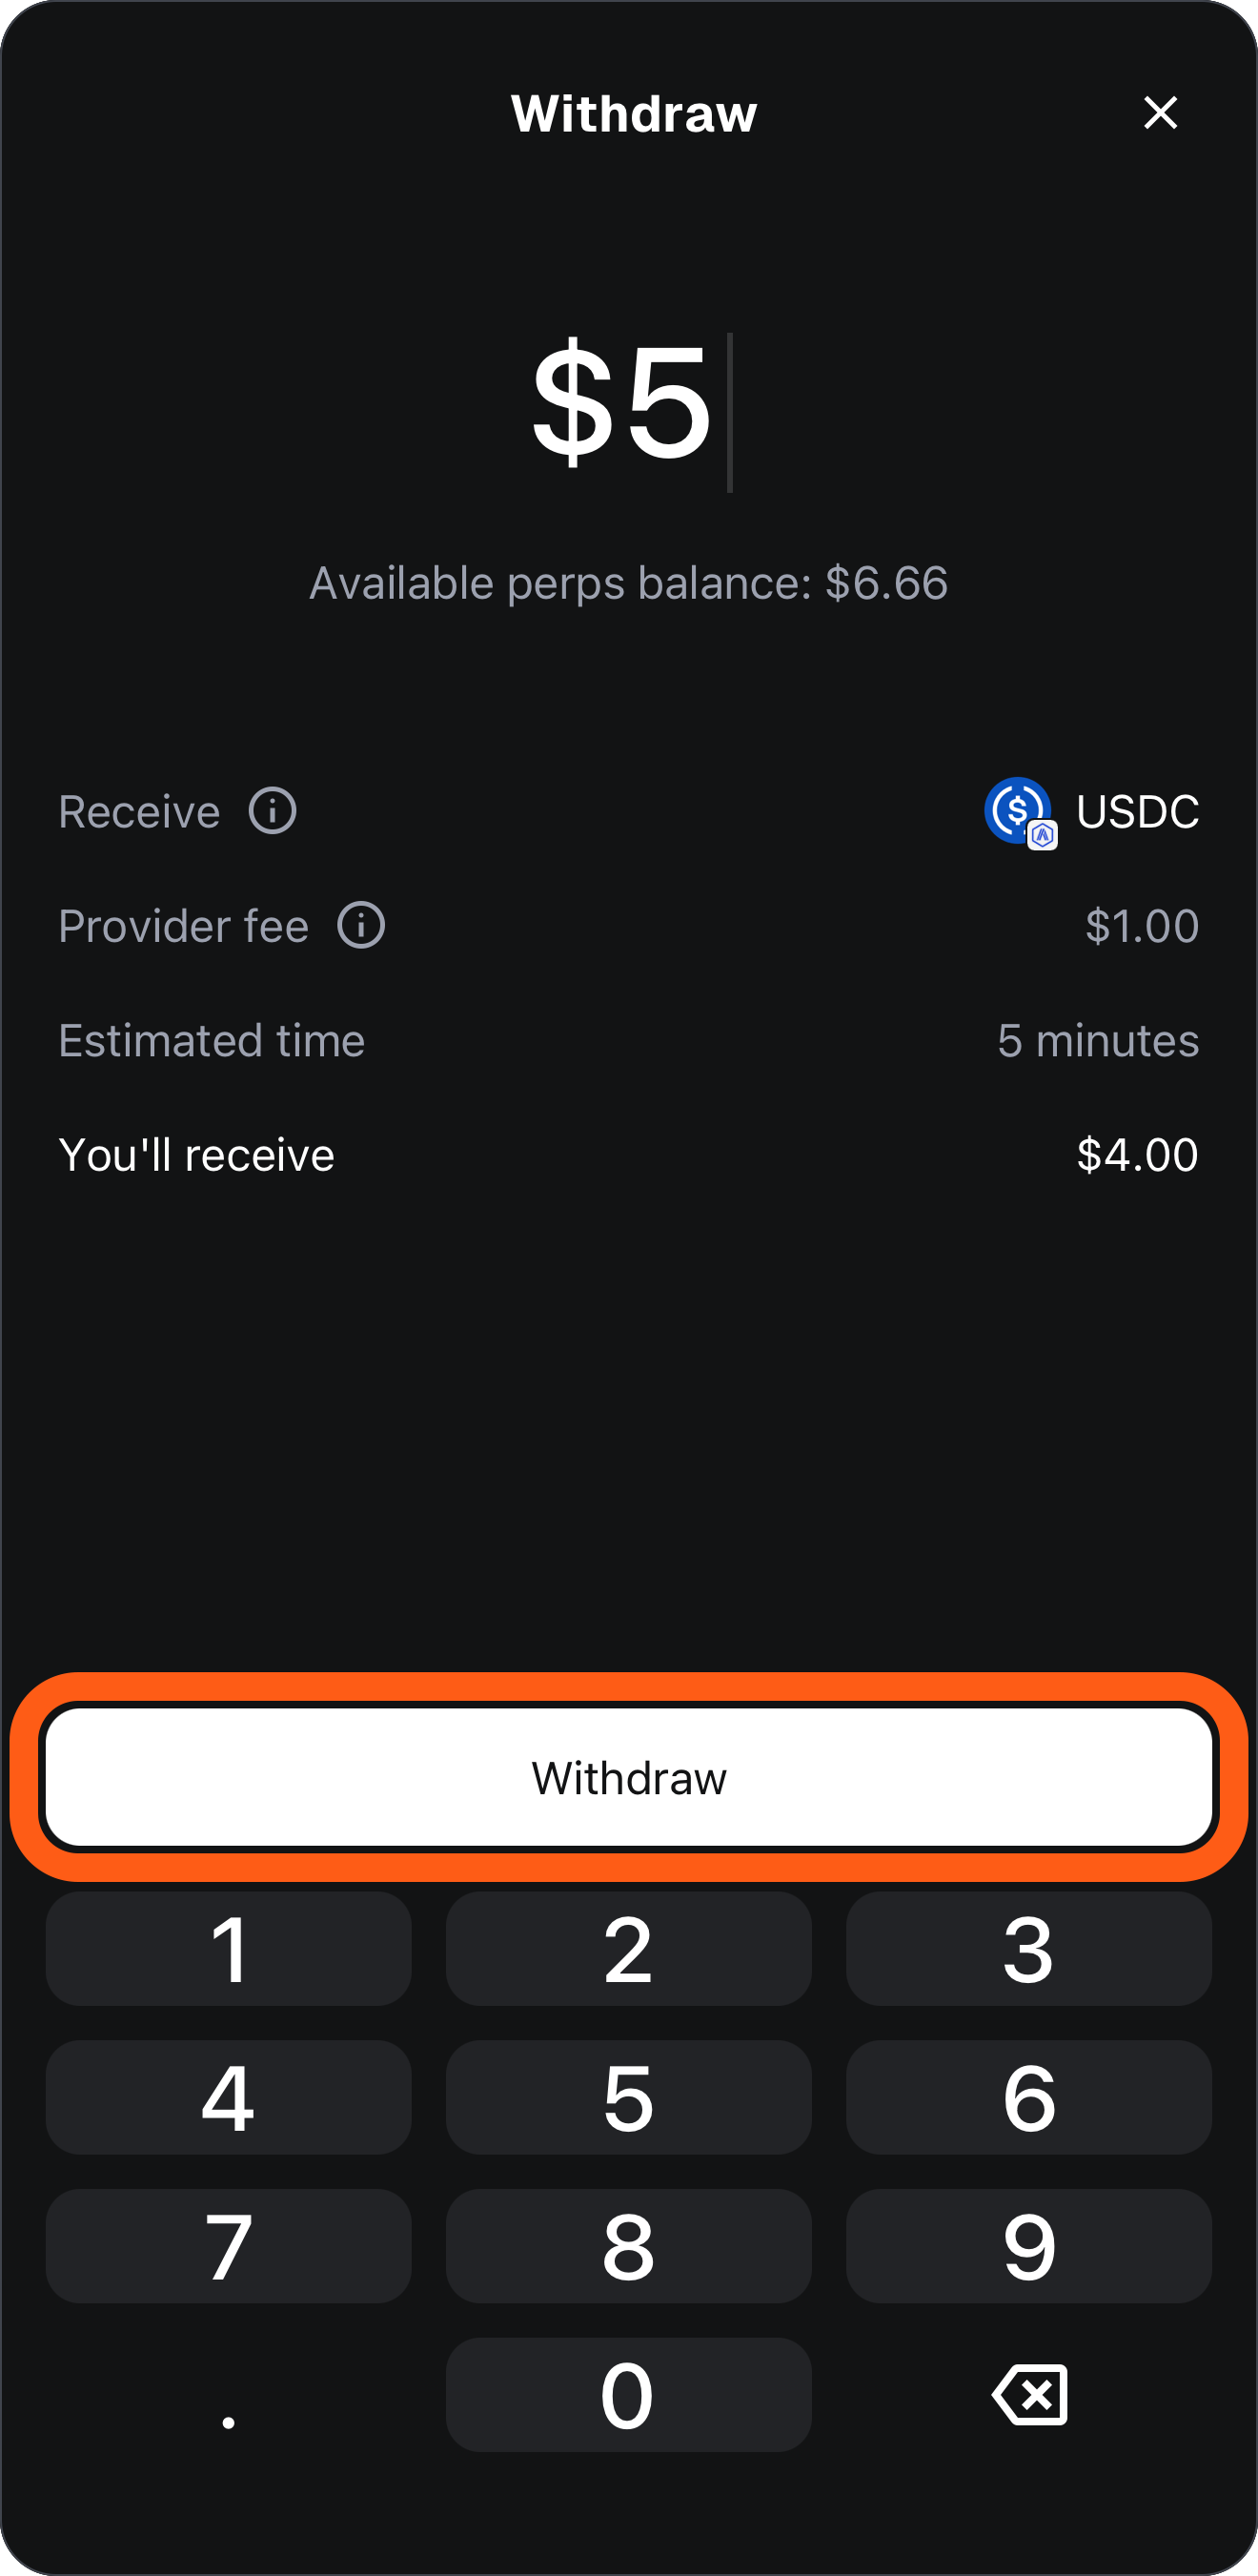
Your funds will be withdrawn to your regular account in your chosen token and chain or your Money Account.
:::info
You’ll receive USDC on Arbitrum when you withdraw. To swap or bridge it afterwards, you’ll need a small amount of ETH on Arbitrum for gas *(~$1 is generally enough)*. If you don’t have any, you can [swap](https://link.metamask.io/swap?sig=AWqgclBcX7wDKXJ-ZbABoRU2pzVS7xQAA5UsIuWEzKVchvqyYos_w0At4zR33_0wJdFAypIJM4VgboiU3ghhUQ) within MetaMask to move tokens from other networks.
:::
- Navigate to the 'Perps' tab and click 'Withdraw'
- Enter the amount you want to withdraw
- Review details and confirm
- A flat $1 fee is charged by our provider, Hyperliquid
Your funds will be withdrawn to your regular account. **When you withdraw, you will receive USDC on Arbitrum.** There is currently no way to receive any other token.
## Fee breakdown
You pay a fee every time you open and close a position, along with a $1 withdrawal fee.
Total perps trading fees vary per [MetaMask Rewards](/trade/metamask-rewards/how-to-participate-in-rewards/) level:
Level1
,
<>
Taker fee2
,
<>
Maker fee3
,
]}
colPresets={['purple', 'blue', 'green']}
colWeights={['normal', 'normal', 'normal']}
colAligns={['left', 'left', 'left']}
>
1, 2, 3
0.1432%
0.1144%
4, 5
0.0932%
0.0644%
6, 7
0.0782%
0.0494%
*1Level: Your MetaMask Rewards level. If you're not opted in to Rewards, you pay the same fees as Levels 1, 2, 3.*
*2Taker fee: The fee charged when you place an order that immediately removes liquidity from the order book (e.g., a market order).*
*3Maker fee: The fee charged when you place an order that adds liquidity to the order book (e.g., a limit order that doesn't fill immediately).*
Other fees you may incur:
- **Network fee**: The required fee (gas) to process transactions on a network. Varies by network.
- **Bridge fee**: The fee charged by bridge providers to move your funds across networks when depositing funds into your perp account. Varies by network.
## Questions
Who is the provider?
All perp trading within MetaMask is powered by **Hyperliquid**, a decentralized perpetuals exchange built on the HyperEVM network.
How many tokens can I trade?
You can trade **all tokens (over 180)** supported by Hyperliquid displayed in the list of available contracts. You can also search for your favorite token by tapping on the magnifying glass at the top right when you open a position.
What tokens can I pay with?
You can pay with/deposit any EVM token to fund your perp account. Solana tokens are not supported yet. On MetaMask Mobile, you can skip the deposit step and open a position directly with tokens like USDT, USDC, mUSD, ETH, BNB, and wBTC anytime. On Extension, you need to deposit funds to your perp account first before you can open a position.
What margin type is used?
All orders use **isolated margin only**. It means that for any given position, only your margin is at risk. There is no risk of loss on your available balance or token balance.
How is unrealized PnL calculated?
PnL stands for Profit and Loss. It's unrealized until you close your position.
- $ unrealized PnL is calculated as (effective margin - initial margin)
- % unrealized PnL is the return on equity. It is calculated as (($PnL ÷ initial margin) - 1) or ((effective margin - initial margin) ÷ initial margin). You can view your total PnL in the perps tab across all open positions.
How does auto close (TP/SL) work?
- **Take Profit (TP)**: Creates a limit order that closes your position once the market reaches your chosen price, locking in gains.
- **Stop Loss (SL)**: Creates a market order that closes your position when the price hits your chosen level, limiting losses.
**How TP/SL behaves with multiple trades:**
- After your first trade, your TP/SL settings automatically follow your position, so you don't need to set a new TP/SL if you open another trade in the same direction.
- But if you do set a TP/SL for your second trade (with an open position on this market), the TP/SL will only apply to the order size of that second trade. Both TP/SL settings will be visible in the 'Orders' tab of the perp asset page.
:::note
Auto close is not guaranteed in extreme market conditions. If liquidity disappears or price gaps past your set level, your order may not execute at the exact price chosen.
:::
When will I receive notifications on my positions?
With **push notifications enabled (you can check in Settings > Notification)**, you will receive notifications when:
- Your take profit is executed
- Your stop loss is executed
- Your limit order is executed
- Your position is liquidated
How is the funding rate calculated and paid?
Funding rates are charged every hour and deducted from your margin. The longer you keep a position open, the more these fees add up. It is taken from your margin.
- If the perp price is above the spot price, **the funding rate is positive: longs pay shorts.**
- If the perp price is below the spot price, **the funding rate is negative: shorts pay longs.**
With Hyperliquid, **the base funding fee is +0.00125% per hour (longs pay shorts).** This is automatically adjusted by Hyperliquid depending on how far the perp price drifts from spot.
What happens when I pay with any token?
Trades on Hyperliquid (our provider) use USDC on HyperCore as collateral. We made this simpler so you can pay with any EVM token:
- When you deposit funds to your perps account, we will swap your selected token into USDC on Hypercore so that you can start trading immediately
- The deposit transaction generally takes less than 30 seconds, but it can take longer if you select a token with low liquidity
- **MetaMask doesn’t charge any swap fee on these deposit transactions**
- Once the deposit transaction is complete, you’ll receive USDC on HyperCore tracked in 'Available balance'.
What are the risks associated with perpetual trading?
**The max loss you can incur is your margin. Higher leverage increases liquidation risk.**
Low-liquidity tokens are also riskier due to higher risk of slippage for market orders, and risk of failed stop losses as there may be no trader willing to act as a counter part to your order.
See our guides: [What is perpetual trading](/trade/perps/what-is-perp-trading) and [Understanding leverage and liquidation](/trade/perps/leverage-and-liquidation). Always do your own financial research before deciding what trading strategy is best for you.
Can I get my margin back if I'm liquidated?
No, once liquidated, your margin cannot be recovered. This is why risk management is important. We recommend playing around with our [leverage and liquidation calculator](/trade/perps/leverage-and-liquidation/#leverage-and-liquidation-calculator) to better understand scenarios.
Why does my account token balance drop when funding my perps account?
Your perp balance is separate from your account token balance. When you add funds to your perp account, your regular account balance will go down but your perp balance will go up by that amount.
What about taxes? How do perp taxes work?
Tax obligations vary depending on your country and individual circumstances. We can’t provide tax advice, so please consult a qualified tax professional. Refer to our [tax guide](/manage-crypto/taxes/tax-obligations/) for general information.
---
# Understanding leverage and liquidation
URL: https://support.metamask.io/trade/perps/leverage-and-liquidation/
> Play around with the calculator to understand leverage, liquidation, and profit and loss scenarios.
Leverage is one of the most powerful features of perpetual futures trading (perps) and understanding it also means understanding liquidation, the risk that comes with it. This guide contains a simple calculator for education purposes to help you understand possible trading outcomes. Always do your own research to understand your trading appetite and remember—the higher the leverage, the higher the chance of liquidation.
## What is leverage?
Leverage is a **multiplier on your capital**. It’s a tool that lets you control a position larger than your margin (collateral). While powerful, it can be risky as **both losses and profits are amplified**.
Each perp contract in MetaMask supports different max leverage levels; you can view this in the available list of contracts to trade where the max leverage size is listed next to each token.
Example: If you open a position on ETH with 5x leverage and $500 margin, your position size becomes $2,500. While your exposure is multiplied, so is your profit and loss. A 5% move in ETH equals a 25% move on your margin. Use the calculator below to get a sense of potential profit and losses *(not including other fees involved in actual perp trading and funding rates)*.
## What is liquidation?
Liquidation occurs **when your margin isn’t sufficient to keep your position open**. At that point, the provider (Hyperliquid) **automatically closes your trade** to prevent your position from going negative.
While leverage allows you to control a larger position, adverse price swings can eat into your margin (collateral). The provider, Hyperliquid, sets a minimum “maintenance margin” you must hold relative to your position size. If losses reduce your margin below this level, your position is liquidated automatically so you don’t owe money. **The max you lose is the margin you put up**.
:::tip[Rule of thumb]
The higher the leverage, the higher the chance of liquidation
:::
This is because crypto markets are volatile, and high leverage leaves very little price cushion. A 10x position has ~10% cushion; a 20x has ~5%; and 40x position has only ~2.5%. Use the calculator below to get a sense of potential profit and losses *(not including other fees involved in actual perp trading and funding rates)*.
## Leverage and liquidation calculator
:::info[Educational model]
This calculator uses simplified assumptions for learning purposes. The model assumes no fees, maintenance margin, or slippage. Real trading includes these factors that can affect actual outcomes.
:::
Ready to trade? Check out our step-by-step [guide](/trade/perps/how-to-trade-perps) or jump to the app to get started.
## What is auto-deleveraging (ADL)?
Auto-deleveraging (ADL) is a rebalancing mechanism perp exchanges use to keep markets stable during extreme volatility. ADL triggers as a last resort in events like liquidity crises and flash crashes when a trader’s losses can’t be fully covered by their margin or by the exchange’s insurance fund.
When ADL happens, the system (like Hyperliquid) **automatically closes or reduces positions from traders on the winning side — starting with those that are highly leveraged, large, or most profitable**. This helps rebalance the market so losing positions don’t owe more than they have, keeping it “zero-sum” where total longs equal total shorts.
The general order of protection during large-scale liquidations:
1. **Regular liquidation**: the exchange first closes the losing position using available market liquidity.
2. **Exchange’s insurance fund**: if that’s not enough, the fund absorbs the remaining losses.
3. **Auto-deleveraging (ADL)**: as a last resort, the system closes some profitable positions to keep the platform solvent.
ADL events are rare, but they ensure all profits and losses stay fully backed, even in fast-moving markets.
:::info[What this means for you]
You could experience ADL in extreme market conditions, especially when using high leverage, even if you’re on the winning side of a trade. To learn more about how Hyperliquid prioritizes traders during ADL, refer to their sorting index [documentation](https://hyperliquid.gitbook.io/hyperliquid-docs/trading/auto-deleveraging).
:::
---
# What is perpetual trading?
URL: https://support.metamask.io/trade/perps/what-is-perp-trading/
> Learn about perpetual futures trading aka perps and how it works.
Perpetual futures, or **perps**, is a form of trading that **lets you speculate on the future price of an asset without owning it**.
With perpetual futures, you can:
- Go **long** if you think the **price will go up**
- Go **short** if you think the **price will go down**
If your bet is correct, you profit; if not, you take a loss. Because perps involve leverage *(explained further below)*, both profits and losses are greatly amplified.
:::info
- MetaMask allows you to trade perpetuals easily within the mobile app and MetaMask Extension. Check out our [tutorial](/trade/perps/how-to-trade-perps) for support.
- Not available to users in the following regions: USA, UK, Ontario (Canada), Belgium and countries on the USA sanctions list. Not intended for UK persons.
:::
## Futures in crypto
Futures contracts are widely used to speculate on price movements and balance against risk.
- In traditional finance, derivatives *(a superset of futures)* often track commodities *(like corn and oil)*, currencies, indexes, or even individual stocks.
- A futures contract is a common type of derivative. It’s an agreement to buy or sell an asset at a set price on a set date in the future. Traders use this to lock in prices or bet on where they think prices will go.
In the world of crypto, futures include perpetual contracts (perps) that let you speculate on the future price of tokens like ETH, BTC, and memecoins without needing to own them directly. Perps also allows you to employ a concept called leverage to gain exposure to a much larger chunk of money than your collateral.
Unlike traditional futures, perps don’t have an expiration date: you can hold a position indefinitely, as long as you meet certain requirements as outlined below.
:::note
Perpetual trading can be risky—don’t trade with money you aren’t prepared to lose. Always do your own financial research before deciding if a specific trading technique is right for you.
:::
Dive into the key features involved in perp trading below:
## No expiration date and token ownership
Unlike traditional futures, perpetual futures like the name implies have no expiration date. You can speculate on the price movement of a token indefinitely as long as you maintain enough collateral (also known as margin) to cover the funding cost, and the price doesn’t reach your liquidation price.
When you trade perps, you aren’t buying or selling the underlying token (like ETH or BTC), instead, you’re entering into a **contract with other traders** speculating on the token’s price.
## Funding rate
The funding rate is a **periodic payment exchanged between traders**. Its purpose is to keep the perp contract price close to the underlying asset’s spot price (the current market price). Funding payments are **added or subtracted from your margin every hour** while your position is open.
- If the perp price is above the spot price, **the funding rate is positive: longs pay shorts**.
- If the perp price is below the spot price, **the funding rate is negative: shorts pay longs**.
Example: If you’re long on ETH and the funding rate is positive, you would pay a periodic fee to traders holding short positions.
### Key details:
- On platforms like Hyperliquid, the base funding fee is +0.00125% per hour (longs pay shorts). This can adjust depending on how far the perp price drifts from spot.
- Over time, funding rates accumulate. The longer you keep a position open, the more funding costs eat into your margin.
- When funding rates are high, it incentivizes some traders to take the opposite position, which helps bring perp prices back in line with spot.
## Leverage
One of the most defining features of perps is leverage. Leverage is a **multiplier that allows you to control a larger position than your deposited collateral** (also known as margin). Leverage amplifies both your gains and losses, making it a powerful yet risky strategy.
Example: With $1,000 margin at 10x leverage, you control a $10,000 position. If the price moves up by 5% and you exit (close your position) then, you would gain 50% on your initial capital, or in this scenario, $500 in profit.
However, the same applies in reverse. If the price drops by 5%, you lose 50% of your initial capital – again, $500. If the price drops by 10%, you would be liquidated and your entire margin is gone. meaning your entire $1,000 margin gets wiped out.
:::tip[Rule of thumb]
The higher the leverage, the smaller the price move needed to wipe out your margin. **Be cautious: start small.**
:::
Check out our [leverage and liquidation guide](/trade/perps/leverage-and-liquidation/#what-is-liquidation) for a deeper understanding and play around with the simple profit and loss calculator for insight into your liquidation threshold.
## Liquidation
Liquidation happens when your losses reach a point **where your margin (collateral) isn’t enough to sustain your position**. At this point, the perps exchange automatically closes your position to prevent your balance from going negative. You lose your entire margin.
Your liquidation price depends on your leverage and entry price. **The higher the leverage, the smaller the liquidation distance**. A 40x leveraged position for example will be liquidated at a mere 2.5% price swing.
Funding rates can also push you closer to liquidation if your margin can’t sustain your open position.
**Once liquidated, your margin cannot be recovered.** That’s why managing your margin, leverage, and risk appetite is important.
Learn more in our [leverage and liquidation guide](/trade/perps/leverage-and-liquidation).
## Spot vs. perps
If you normally just buy, hold, and sell crypto (like most people) — that’s called spot trading *(short for ‘on the spot')*. The table below highlights the differences between spot trading and perpetuals trading with crypto:
Feature,
Spot trading,
Perp trading
]}
widthMode="content"
colPresets={['default', 'purple', 'green']}
colWeights={['bold', 'normal', 'normal']}
>
Ownership
Own underlying token (e.g. ETH, BTC)
No token ownership—you trade contracts tied to price
Requirements to maintain
None, you can hold your tokens indefinitely with no margin or funding rate requirements
Margin and funding rate required to keep position open
Leverage
Not available—you trade what you own without multiplier
Available—you can gain exposure to larger positions with smaller up-front capital
Max loss
The amount you invested in the token
The amount you invested in the position—your margin
Liquidation risk
None, except price of token dropping by 100%
High due to leverage: the higher leverage you use, the more risk you take
Ready to trade? Check out our step-by-step [guide](/trade/perps/how-to-trade-perps) or jump to the app to get started.
---
# How to trade prediction markets
URL: https://support.metamask.io/trade/predict/how-to-trade-predictions/
> Everything you need to know about trading prediction markets in MetaMask.
Prediction markets, powered by Polymarket, are live in MetaMask Mobile! You can trade on real-world outcomes like sports, politics, and crypto directly within the app and earn points for each transaction.
:::info[Not available in all jurisdictions]
Not available to users in the USA, UK, France, Canada, Belgium, Poland, Singapore, Australia, Taiwan, Thailand, Germany, Romania, countries on the USA sanctions list, and **more**. Refer to Polymarket for a full list of [restrictions](https://help.polymarket.com/en/articles/13364163-geographic-restrictions) and their [TOS](https://polymarket.com/tos).
Not intended for UK persons.
:::
If you’re new to this kind of market and want an explainer, refer to *[What are prediction markets?](/trade/predict/what-are-prediction-markets)*.
Once ready, open the app to trade. You will need to be on v 7.73.2 and above. Update your app in the store to the latest version. This guide covers everything you need from depositing and claiming funds, to opening and managing a trade.
Jump to the section you need:
- [Add funds](#add-funds)
- [Place a prediction](#place-a-prediction)
- [Cash out](#cash-out)
- [Claim winnings](#claim-winnings)
- [Withdraw funds](#withdraw-funds)
- [Questions](#questions)
## Add funds
To start trading you need to fund your account. You can **pay with any EVM token or your [Money Account](/trade/money-account#fund-prediction-and-perps-accounts) balance**, your funds will be bridged and ready to trade. A Polymarket account is created for you automatically.
1. Open MetaMask Mobile and scroll down to the 'Predictions' section to start trading > 'Add funds'.
2. Choose the token and amount you want to deposit.
4. Continue and confirm transaction.
You’ll use this balance to buy shares in specific outcomes.
### Existing Polymarket account
If you have a Polymarket account that uses MetaMask as a signer *(or any wallet that can be imported to MetaMask)*, **your balance and activity will automatically sync and appear in the Predictions section in MetaMask.** It’s the same account, you can just continue trading within MetaMask Mobile.
If your Polymarket account was created using email login, it won’t appear in MetaMask. In this case, MetaMask will automatically create a new Polymarket account for you the first time you deposit funds, so you can trade directly in the app.
**[Prediction points](/trade/metamask-rewards/how-to-participate-in-rewards) are only earned on trades placed within MetaMask Mobile, and on markets with fees. Markets without fees will not earn points.**
:::note
Prediction markets carry risks including potential manipulation, biased trading, liquidity constraints, and regulatory uncertainty. Don’t trade with money you aren’t prepared to lose.
:::
## Place a prediction
Once your balance is ready, you can place your first trade.
1. Browse or search markets from the 'Predictions' section.
2. Tap a market to view its details, toggle to the ‘About’ tab to see volume, end date, and rules.
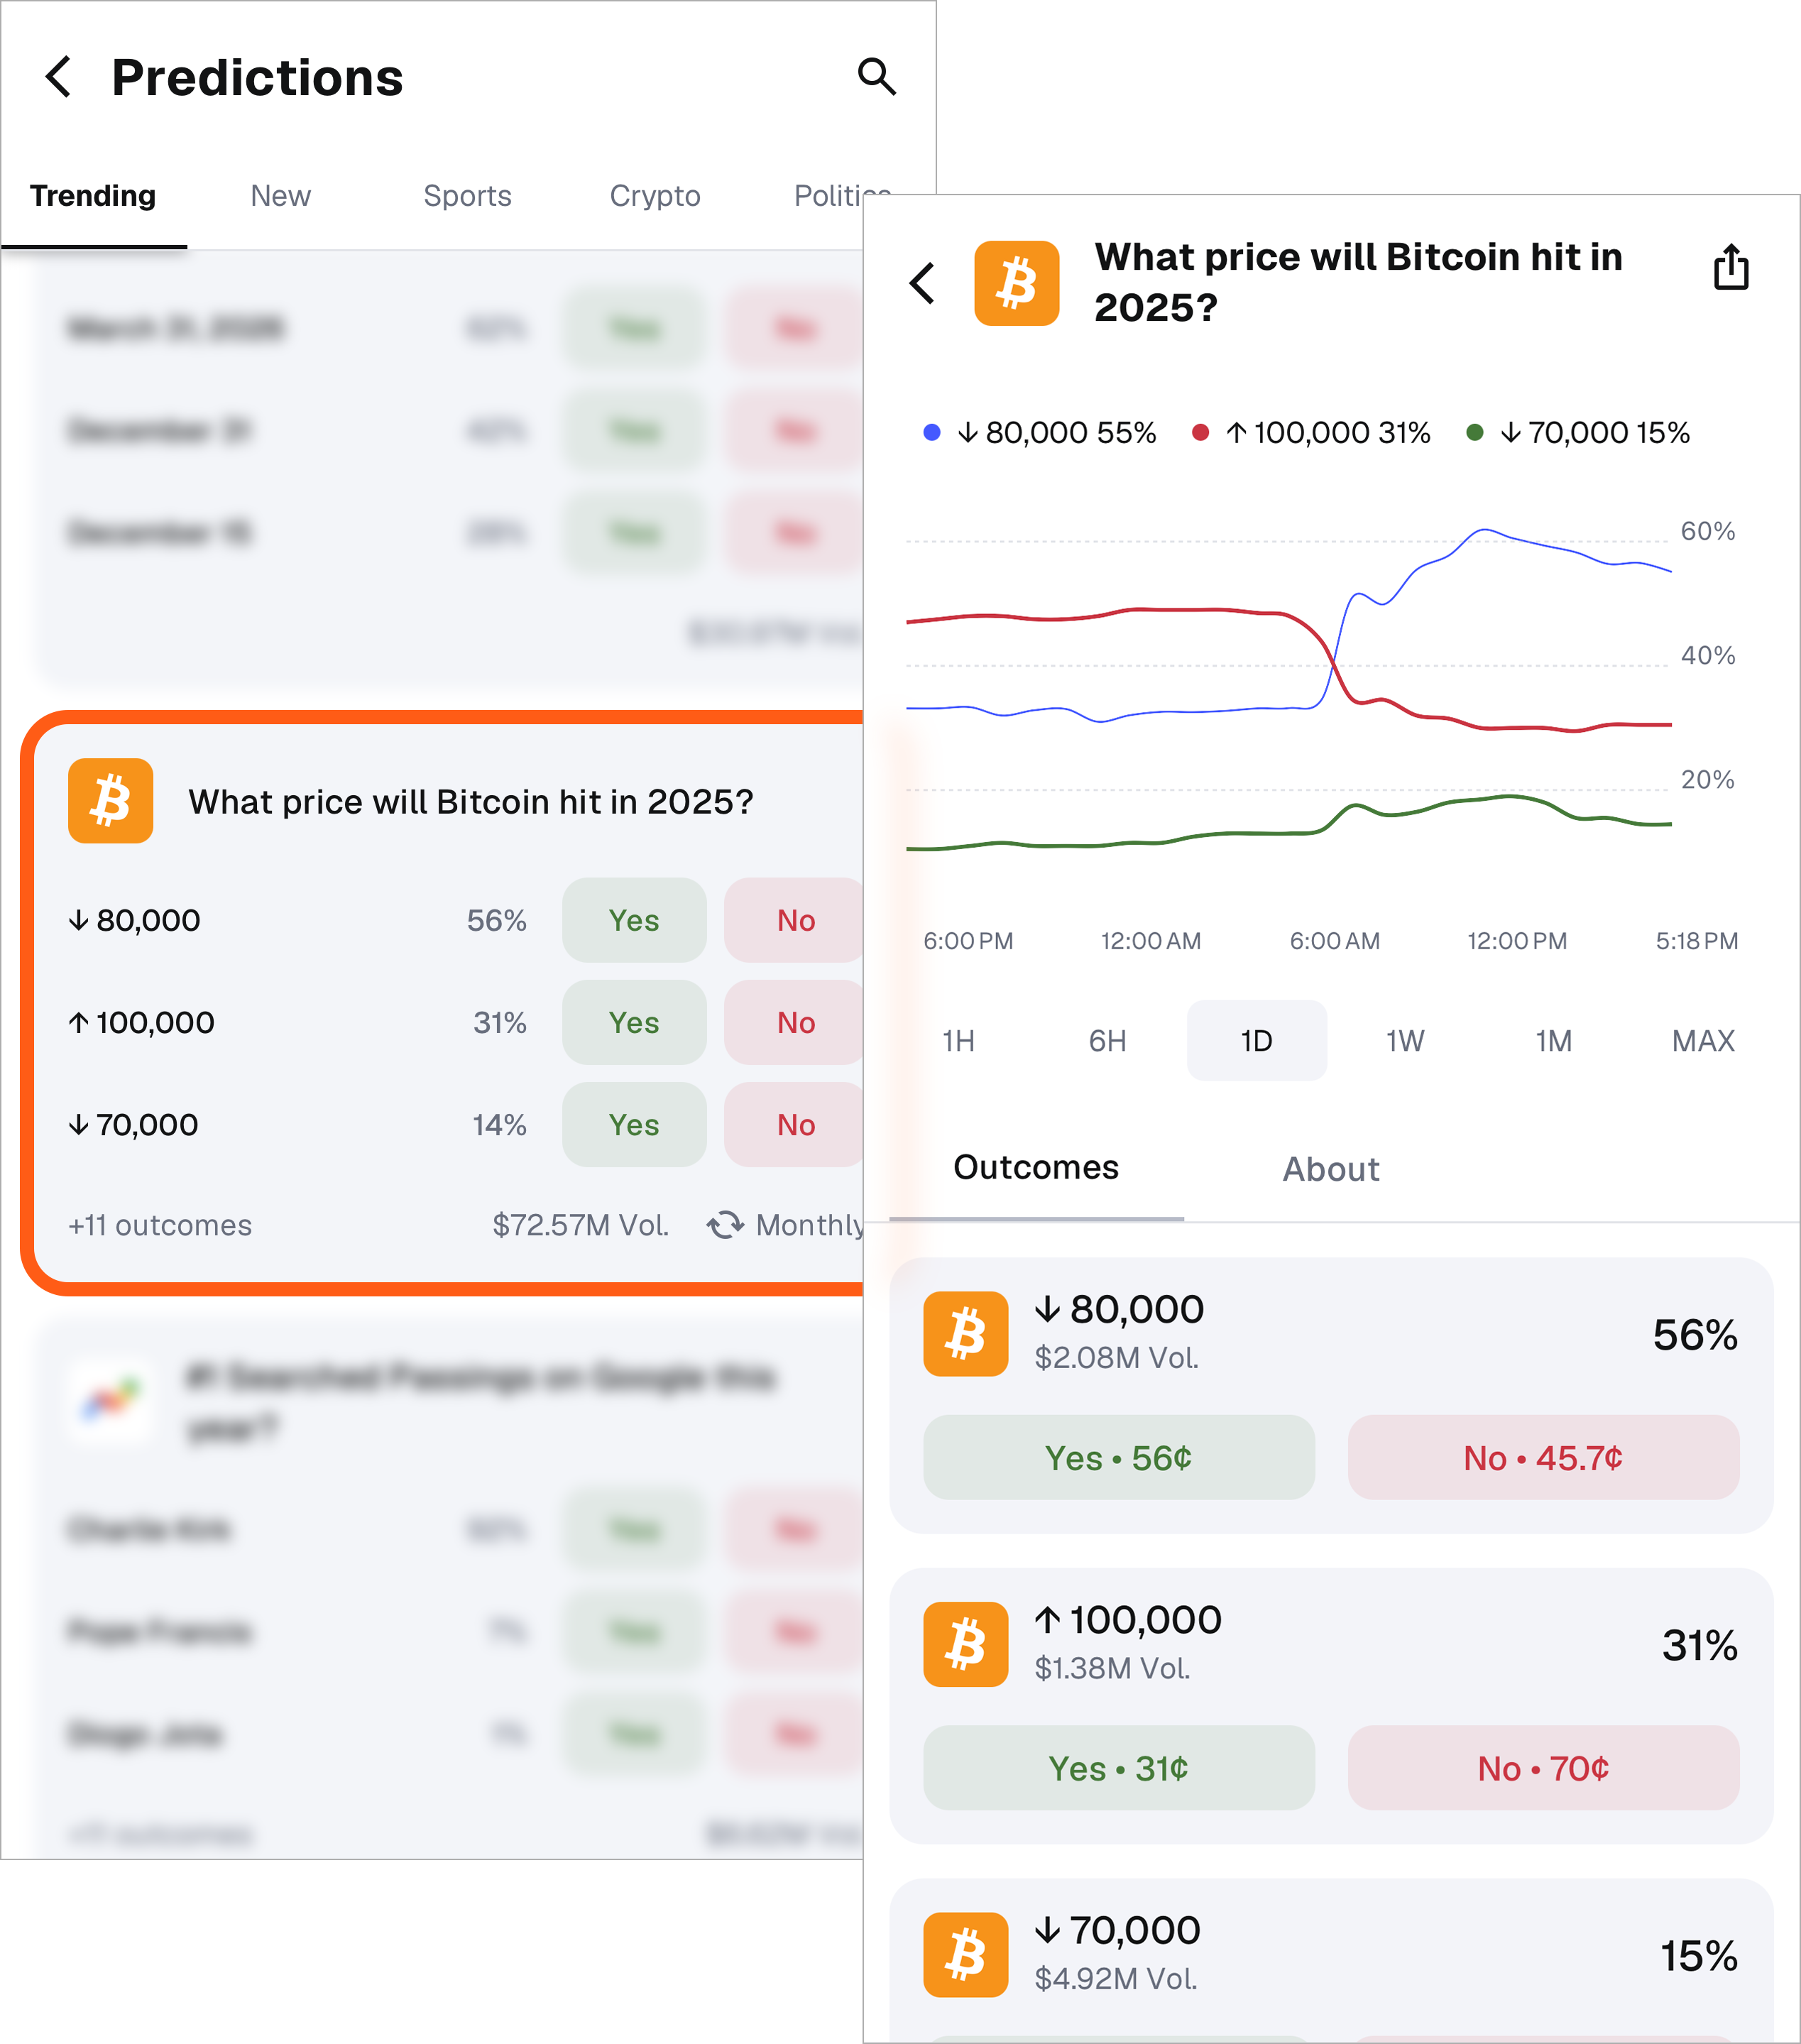
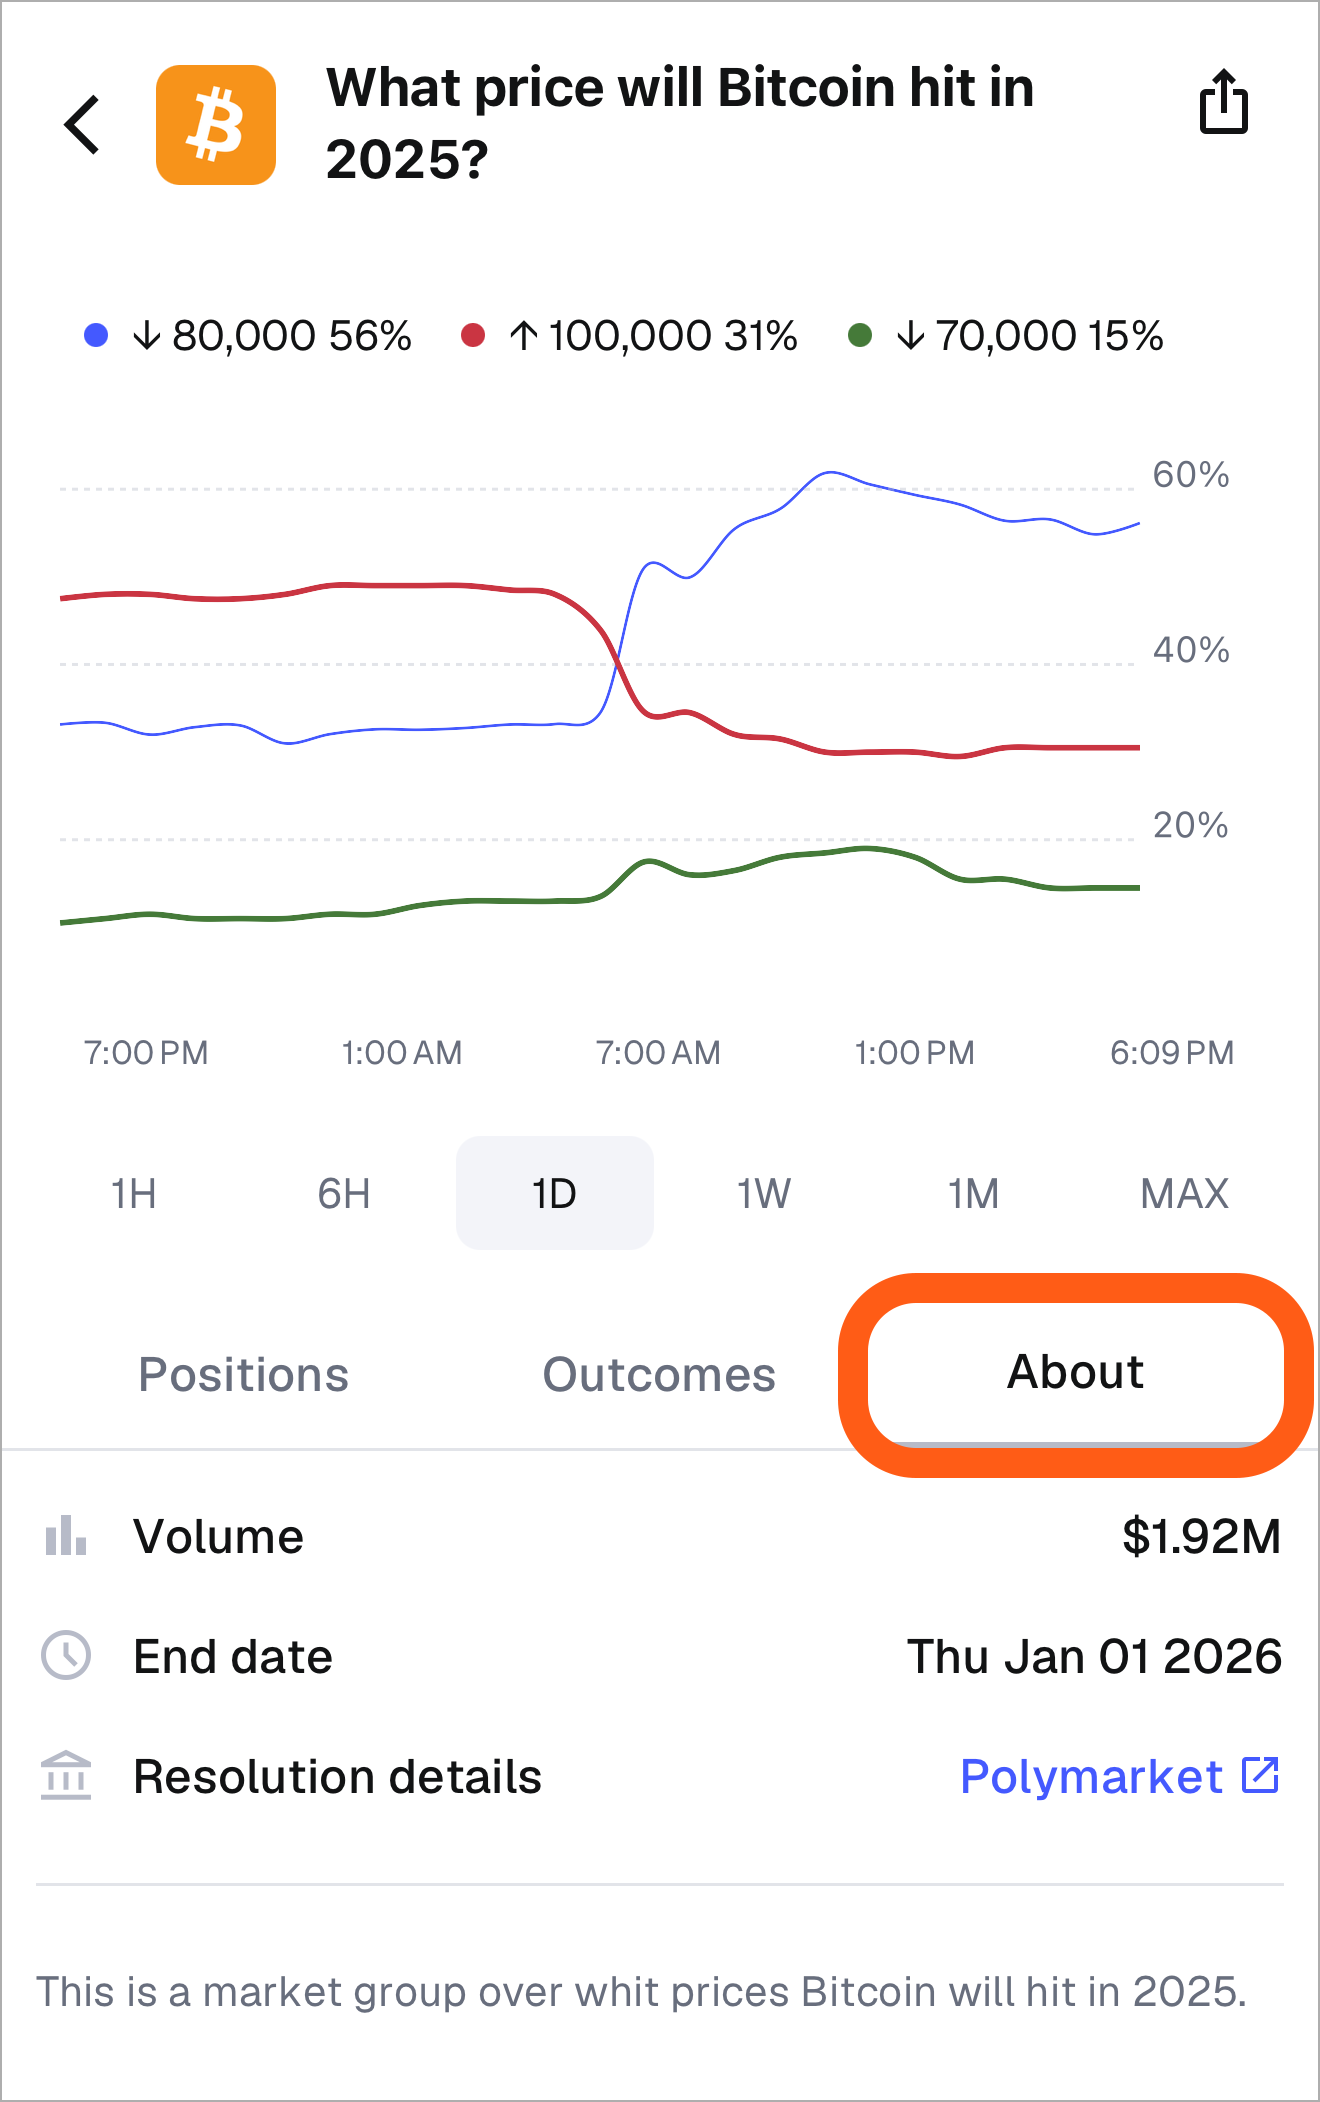
3. Choose your predicted outcome and tap ‘Yes’ or ‘No’. Each share is priced between $0 and $1.
4. Enter the amount you want to stake. You’ll see your potential winnings displayed automatically.
7. Review the details and tap ‘Confirm’ to place your guess.
Your open predictions appear on the homepage. You can start new trades anytime by tapping ‘New prediction’ or add to existing positions by repeating the same steps above.
### Track market movement
After placing your trade, you can monitor how the market evolves in real time. Prices generally reflect collective sentiment, they’ll move as data and liquidity enters/exits the market.
- **Unrealized P&L** shows how much you would make or lose if you cashed out right now on your open position. For a more detailed calculation, see the [Questions](#questions) section below.
- You can **open additional positions** on the same market if you want to adjust your exposure.
- Use the chart to view **market activity** across different time periods and track price shifts as sentiment changes.
## Cash out
You can cash out of any positions before the market resolution date.
1. Tap current position and view estimated profit or loss
2. Tap ‘Cash out’
3. Review your summary and confirm
Your ‘Available balance’ will increase or decrease by that amount based on your profit or loss.
## Market resolution
You can track resolved markets in the Predictions homepage if you scroll all the way to the bottom. Every market has a resolution date. At this point the market closes and you claim your winnings (if any).
**If your prediction is correct, you can redeem each share for $1. If wrong, you receive nothing and lose your original stake.** All payouts happen after the oracle finalizes the outcome.
Learn more about how prediction markets resolve [here](/trade/predict/what-are-prediction-markets/#how-prediction-markets-resolve).
## Claim winnings
1. Navigate to the 'Predictions' section from the homepage
2. Tap the 'Claim' button above your available balance > 'Claim winnings' to confirm
After the claiming process, your available balance will be updated with the new amount.
## Withdraw funds
You can withdraw to your regular MetaMask account or your [Money Account](/trade/money-account#fund-prediction-and-perps-accounts). You’ll receive USDC.e in your regular MetaMask account on the Polygon network or mUSD in your Money Account. You can [swap](https://link.metamask.io/swap?sig=AWqgclBcX7wDKXJ-ZbABoRU2pzVS7xQAA5UsIuWEzKVchvqyYos_w0At4zR33_0wJdFAypIJM4VgboiU3ghhUQ) within MetaMask to move your tokens to other networks easily.
1. Tap on ‘Available balance’ and select ‘Withdraw’
2. Enter the amount you want to withdraw
3. Review details and confirm
## Questions
Who is the provider?
Polymarket, the world’s leading prediction markets platform, is the provider behind MetaMask Predictions.
What are the fees?
To make predictions on MetaMask, you pay a **4% transaction fee** to MetaMask and Polymarket on any trade. No fees are taken on deposits or withdrawals.
There is also a variable fee that Polymarket adds to all buy and sell taker orders, the only order type currently supported by MetaMask. The fee can range from 0% up to 7%, depending on the **type of market** you are trading as well as the **current market price** and the **size of your trade**. The fee calculation is set and calculated by Polymarket. For more details on Polymarket's fees, see their [documentation](https://docs.polymarket.com/trading/fees).
So, to summarize, there are two fees that you need to be aware of:
- **Fixed:** 4% to MetaMask and Polymarket on any trade.
- **Variable:** Taker fee on buy and sell orders.
This, along with your trade volume *(share price and number of shares traded)* will determine the total fee you pay on a trade.
Why can’t I access Predictions?
Predictions may not be available to you due to regional restrictions.
This feature is not available to users in the USA, UK, France, Canada, Belgium, Poland, Singapore, Australia, Taiwan, Thailand, Germany, Romania, countries on the USA sanctions list, and **more**. Refer to Polymarket for a full up-to-date list of [restrictions](https://help.polymarket.com/en/articles/13364163-geographic-restrictions) and their [TOS](https://polymarket.com/tos).
If you’re in a restricted region, you may notice that the Predictions section is missing or that trades are blocked at checkout.
How do I dispute a market result?
MetaMask does not control or resolve prediction market outcomes.
Predictions are powered by Polymarket, which uses UMA’s oracle system to determine market results. If you believe a market has resolved incorrectly, disputes must be raised through this system.
In general:
- Market outcomes are proposed based on predefined resolution criteria. See our explainer [here](/trade/predict/what-are-prediction-markets/#how-prediction-markets-resolve).
- If disputed, the outcome is escalated to UMA’s oracle for review
- UMA token holders evaluate the dispute and determine the final result
To learn how to raise or follow a dispute, visit [Polymarket](https://help.polymarket.com/en/articles/13364551-how-are-markets-disputed) and [UMA](https://docs.uma.xyz/using-uma/disputing-oracle-data).
MetaMask **cannot modify or override market outcomes.**
How is unrealized P&L calculated?
P&L stands for profit and loss. It’s unrealized until you cash out your position.
The ‘Unrealized P&L’ displayed on the Predictions homepage is the total value of all your open positions compared with the amount you originally staked. It shows how much your positions are estimated right now based on current market prices.
Per-position P&L:
- **$ Unrealized P&L** = Current estimated value − Original stake
- **% Unrealized P&L** = ($ P&L ÷ Original stake) × 100
For example:
- Position A: **$3 on Yes** → now valued at **$4** = **+$1 (+33%)**
- Position B: **$5 on Yes** → now valued at **4.50** = **-$0.50 (-10%)**
- Position C: **$2 on Yes** → now valued at **$3** = **+$1 (+50%)**
Your total Unrealized P&L is simply the sum of all positions:
**Total Unrealized P&L** = +$1 – $0.50 + $1 = **+$1.50 (+15%)**
You staked $10 total, and your combined unrealized profit is +$1.50, which equals a 15% gain.
What tokens can I fund my account with?
You can fund your Predict account with **any EVM token** (e.g., ETH, mUSD, USDC, USDT, LINEA, etc.). Solana tokens are not supported yet.
Do I need POL? What if I don’t have any POL on my account?
You don’t need to hold Polygon’s native token, POL, in order to deposit EVM tokens besides USDC.e or withdraw funds from your Predictions account. We help you cover the transaction fee (gas payment) when you claim your winnings and withdraw funds.
---
# What are prediction markets?
URL: https://support.metamask.io/trade/predict/what-are-prediction-markets/
> Learn about prediction markets and how they work.
Prediction markets are platforms that allow you to trade shares on specific outcomes. You place a money-backed guess to predict the outcome of events across sports, politics, economics, pop culture and more.
:::tip
You can access and trade prediction markets [directly inside MetaMask Mobile](https://link.metamask.io/predict?sig_params=&sig=7Li-p0bPvBN5TYpJKAaYF_bwvKksFcaOtUzoCHOq0tRLr7eUqdE7ciEQRt0bTeU9zz7BimRK_zRzBz6cq0NoHQ), powered by Polymarket. This integration lets you easily explore and participate in global markets all from your phone. Refer to our [guide](/trade/predict/how-to-trade-predictions) for a step by step tutorial.
:::
Each market represents a question like:
- *"Which team will win the championship?"*
- *"Will Ethereum hit $5,500 by the end of the year?"*
- *"What will celebrity X wear on the red carpet in March?"*
You can trade shares in each possible outcome and profit if correct. Many people use prediction markets as information markets to gauge how likely major events are to occur based on real-time sentiment.
:::note[Not available in all jurisdictions]
Not available to users in the USA, UK, France, Canada, Belgium, Poland, Singapore, Australia, Taiwan, Thailand, Germany, Romania, countries on the USA sanctions list, and **more**. Refer to Polymarket for a full list of [restrictions](https://help.polymarket.com/en/articles/13364163-geographic-restrictions) and their [TOS](https://polymarket.com/tos).
Not intended for UK persons.
:::
## How do prediction markets work?
Okay, let’s say you’re a super fan or just want to dabble in a [new market](https://link.metamask.io/predict?sig_params=&sig=7Li-p0bPvBN5TYpJKAaYF_bwvKksFcaOtUzoCHOq0tRLr7eUqdE7ciEQRt0bTeU9zz7BimRK_zRzBz6cq0NoHQ). The basic premise is that prediction markets allow you to **trade on information.**
All markets follow a similar lifecycle:
**Market creation** → **Market movement** → **Market resolution**
Market creation and resolution are managed by the prediction market platform *(in MetaMask’s case, Polymarket)* while traders simply focus on choosing and managing their positions.
1. Each outcome (like “Yes/No” or “Team A/B”) is priced between $0 and $1.
2. You purchase shares in whichever outcome you think will occur.
3. Prices shift dynamically as people enter/exit their positions. You can trade your position at any time.
4. When the actual event occurs, the market resolves automatically through an oracle, which reports the verified outcome on-chain.
5. If your prediction is correct, you profit; if not, you lose the amount you staked.
All trades happen peer-to-peer. Each trade deposits funds into a shared pool that guarantees payouts to the winners after resolution.
:::note
Prediction markets carry risks including potential manipulation, biased trading, liquidity constraints, and regulatory uncertainty. Don’t trade with money you aren’t prepared to lose.
:::
## How prediction market prices fluctuate
Each share is priced between $0 and $1, representing the market’s implied probability of an outcome. For example, **if a “Yes” share is $0.65, the market believes there’s a roughly 65% chance that outcome will happen.**
In essence, you’re buying a “discounted dollar”: if your prediction is correct, it resolves to $1; if not, it becomes worthless.
Share prices do not remain constant. **They fluctuate as new traders enter and exit the market or as beliefs change over time.** Common factors include information shocks like news, polls, and credible leaks. Thin markets also mean that traders can greatly influence the price.
Because these prices represent the aggregated belief of many traders, people often use them as **real-time indicators of probability and sentiment.**
You can buy or sell your position anytime before the market ends aka the resolution date. This allows you to:
- **Lock in profits** early if the market moves your way
- **Limit losses** if the market shifts against you
Once prices stabilize or the event concludes, the market moves into the resolution phase.
## How prediction markets resolve
Every market includes a resolution date and a set of rules that define when and how it will be settled. When that date arrives—for example,*“Will Ethereum be above $5,500 on December 31?”*— the market closes and **settles automatically** through an oracle, which reports the verified outcome on-chain. Once the oracle reports the final result, the smart contract **redistributes the collateral to the winners after they claim their winnings.**
### What are oracles?
In prediction markets, oracles are systems that bring real-world information to the blockchain. They act as a **bridge between off-chain reality and on-chain settlement**.
Here’s how it works:
1. The oracle checks trusted data sources and posts the verified outcome to the smart contract
2. The market automatically resolves (“Yes” or “No”)
3. Payouts are distributed based on that result
Some platforms, including Polymarket, allow disputes if the result appears incorrect or ambiguous. If a dispute is upheld, the outcome and payouts are updated.
If your prediction is correct, you can redeem each share for $1. If you’re wrong, you receive nothing and lose your original stake. All payouts happen automatically once the oracle finalizes the outcome.
:::note
Prediction markets carry risks including potential manipulation, biased trading, liquidity constraints, and regulatory uncertainty. Don’t trade with money you aren’t prepared to lose.
:::
## How are prediction markets different from traditional betting?
While both involve staking value on an outcome, prediction markets are built on **open, peer-to-peer models**, not a traditional “house” or bookmaker model.
Prediction markets,
Traditional betting
]}
colPresets={['purple', 'blue']}
colWeights={['normal', 'normal']}
colAligns={['left', 'left']}
>
Peer to peer trading
Betting against the house
Prices move dynamically
Betting on fixed odds
Can trade anytime
Bets are locked in
:::tip
When you’re ready, head over to ‘[Predict’ in the MetaMask Mobile app](https://link.metamask.io/predict?sig_params=&sig=7Li-p0bPvBN5TYpJKAaYF_bwvKksFcaOtUzoCHOq0tRLr7eUqdE7ciEQRt0bTeU9zz7BimRK_zRzBz6cq0NoHQ) to explore markets. Refer to our [guide](/trade/predict/how-to-trade-predictions) for a step by step tutorial.
:::
---
# How to use gasless swaps
URL: https://support.metamask.io/trade/swap/gasless-swaps/
> MetaMask helps you cover the swap's network or gas fee in a different token.
MetaMask offers you the ability to cover a swap's network or gas fee with a different token, without needing to hold the network's native token. This feature is referred to as gasless swaps, and is only available for MetaMask Swaps (swaps through other providers are not supported).
:::info[Gas included transactions]
A similar feature is available for other transaction types, such as Send and dapp transactions. To learn more about this feature, check out ['How to use gas included transactions'](/manage-crypto/transactions/metamask-gas-station/).
:::
Networks like Ethereum Mainnet typically require a small fee to cover the cost of processing your transaction. If you don't have enough of the network's native token, like ETH, to cover this fee, your transaction will fail.
With gasless swaps, MetaMask deducts a small amount of the token you're swapping from to cover the network fee. For example, if you're swapping USDC into mUSD on Ethereum Mainnet, you would typically need to have enough ETH to cover the network fee. However, with gasless swaps, if you don't have enough ETH to cover the network fee, MetaMask will automatically include the network fee in your transaction. In this example, the network fee will be paid in USDC, which is the token you're swapping from.
Gasless swaps are available on the following networks:
- Ethereum Mainnet
- BNB Smart Chain
- Linea
- Base
- Arbitrum
- Polygon
With swaps _originating on Ethereum Mainnet, Linea, or BNB Smart Chain_, you can also use gasless swaps for cross-chain swaps. For example, if you have USDC on Ethereum Mainnet, and want to swap it for mUSD on Linea, you can cover the network fee in USDC with gasless swaps.
To use gasless swaps, you need to have the following:
Smart Transactions enabled
MetaMask versions - version 13.4 or later (Extension) or version 7.62 or higher (Mobile)
’Estimate balance changes’ enabled - this setting is on by default. To find it, go to ‘Settings’ > ‘Transactions’, and toggle ‘Estimate balance changes’ on.
:::info[Gasless swaps on Base, Arbitrum, and Polygon]
Gasless swaps on Base, Arbitrum, and Polygon require a smart account. For convenience, MetaMask will automatically upgrade your account to a smart account if you are using gasless swaps on one of these networks. To learn more about switching to smart accounts, or check what account type you have, check out ['How to switch to or revert from a smart account'](/configure/accounts/switch-to-or-revert-from-a-smart-account/).
:::
## Use gasless swaps
If you don’t have enough of the native token to cover your swap’s network fee, MetaMask includes the fee in your swap quote. To do so, MetaMask uses the token you’re swapping from to process the network fee in your transaction.
Let’s say you want to swap 400 PEPE into USDT, but you don’t have enough ETH to cover the network fee. If the network fee is estimated to be $3.41, that amount is subtracted from the amount of PEPE you are swapping.
Any extra native token from executing the transaction will be added to your wallet following the completion of your transaction.
## FAQs
What tokens can I use gasless swaps with?
You can use most popular tokens for gas included swaps. Tokens you can use include:
- mUSD - USDT - USDC - USDcv - DAI - ETH - wETH - wBTC - wstETH - wSOL
Most popular tokens not listed above (e.g., PEPE, SPX), can be used with gasless swaps, depending on liquidity pairs and depth at the time of the swap.
What if the value of my swap is less than the cost of gas?
You’ll be unable to use gasless swaps if the value of your swap is less than the cost of gas. In this
case, you can always buy more ETH or BNB to cover gas.
Can I use gasless swaps on other networks?
Gasless swaps are only available on Ethereum Mainnet, BNB Smart Chain, Linea, Arbitrum, Base and Polygon. For other networks, MetaMask offers the ability to purchase tokens with fiat via the MetaMask Buy feature,
or you can swap tokens from another network using the bridge. This provides you with a convenient way to top-up your
gas balance and continue with your swap.
Can I use gasless swaps for cross-chain swaps?
Yes, you can use gasless swaps for cross-chain swaps. To do so, your cross-chain swap must _originate on Ethereum Mainnet, Linea, or BNB Smart Chain_ meaning you're swapping a token from Ethereum Mainnet, Linea, or BNB Smart Chain to another network. This feature is available on Extension and Mobile.
Can I use gasless swaps if I have enough gas already?
If you’re using MetaMask Swaps and have enough gas, you will not have the option to use gasless swaps.
Can I use gasless swaps on Solana?
Gasless swaps are not available on Solana, but swaps on Solana with a minimum swap size of $200 in value are eligible for gas sponsorship. To learn more about gas sponsorship, check out ['Understanding gas sponsorship'](/manage-crypto/transactions/gas-sponsorship/).
---
# How to see the price at time of purchase for tokens bought through Swaps
URL: https://support.metamask.io/trade/swap/how-do-i-see-the-price-at-time-of-purchase-for-tokens-bought-through-swaps/
> You can use a block explorer like Etherscan.
If you want to see the price you paid for a token or tokens, say to compare with its current value, you can do so via a block explorer. The price information for transactions displayed on a block explorer covers both the **current values** of a specific transaction but also covers the value on the day of transfer.
You can see this detail using Etherscan.io by looking at the transaction in which you bought the tokens.
We can look at [this Etherscan transaction](https://etherscan.io/tx/0x96d3ff3f5dfd255c9f42732d1dba25aa6f97cd95ac009fb157ac8c6b01ea96d8) as example:
The price that is displayed in Etherscan has 2 levels of detail:
- Displaying current value
- Estimated Value on Day of Transfer.
**You can toggle between these two by clicking directly on the price that is displayed.**
This works for transactions that were already successfully executed on the network.
We recommend that you look at the price that appears next to the full token balance that was transferred between sender and receiver in order to see the exact price (as shown above).
---
# I did a swap, but received fewer tokens or less fiat value than I expected. Why?
URL: https://support.metamask.io/trade/swap/i-did-a-swap-but-received-fewer-tokens-or-less-fiat-value-than-i-expected-why-/
> Troubleshoot with the steps listed here.
:::info[Check here first!]
See the troubleshooting steps [here](/manage-crypto/tokens/what-to-do-when-your-balance-of-tokens-is-incorrect). This advice applies to normal transactions _and_ Swaps transactions, so make sure you've taken a look at them before you attribute the issue to the possibilities listed below.
:::
Please note: this article is for MetaMask Swaps performed with the swap button within our app or extension. **For all other swap inquiries, please contact the third-party swap system you used, as they will have a better understanding of their system's intricacies, nuances, and issues.**
There are two main reasons why a swap might end up with less "value" in terms of dollar (fiat) amount.
1. **Price slippage:** Every swap has a preset price slippage limit. This limit prevents the swap from completing at an unfavorable price if the price changes after your order is submitted. Let's say the slippage is set to 5%, and you bought 100 tokens. The price could change, but you will not receive fewer than 95 tokens. If you want to change your slippage tolerance, head to Advanced Options while you're configuring the swap.
2. **Price difference (or price impact):** Before approving a swap quote, check to see if there is a price difference warning. This warning generally appears if there is low liquidity for a given token, and/or if your order size is large. For more detail on how this phenomenon works, see our [blog post](https://consensys.net/blog/metamask/price-impact-the-first-gotcha-of-defi-markets/). It is important to review this warning to see the difference in the value of the token you currently hold and the value of the token you are swapping to. Our warning for this will look something like this:
MetaMask Swaps fetches multiple quotes from various DeFi protocols. When you execute a swap through MetaMask, you interact directly with the liquidity source that offered the best price for your requested trade. MetaMask does its best to optimize each transaction before the swap is submitted.
However, MetaMask cannot guarantee that every transaction will be successful because the market and network conditions can vary dramatically, especially when highly volatile assets are traded.
---
# How to quickly buy or sell a token in MetaMask Mobile
URL: https://support.metamask.io/trade/swap/quick-buy-sell/
> Tap the lightning icon to quickly buy or sell a token.
MetaMask Mobile lets you quickly buy or sell a token when navigating the app. Just look for the **lightning icon** in the search results or on an asset's details page. Tap it to quickly acquire or sell a token without going through the full swaps flow.
:::note
This feature is available on **MetaMask Mobile v8.0.0 and above only**.
:::
## Buy or sell a token from its details page
1. Navigate to an asset's details page by tapping any token on your homescreen.
2. Tap the **lightning icon** in the bottom navigation bar.
3. Toggle to switch between buying and selling.
4. Use the slider to set the amount you want to buy or sell.
5. Tap **Pay with** or **Receive** to select the token you want to spend or receive.
6. Review the quote and confirm the transaction.
## Buy a token when searching in Explore
1. Tap the **Explore** tab.
2. Search for the token you want to buy.
3. Tap the **lightning icon** next to the token in the search results.
4. Use the slider to set the amount you want to buy.
5. Tap **Pay with** if you want to change the token you want to spend.
6. Review the quote and confirm the transaction.
:::info
For general information about swapping tokens in MetaMask, see [User Guide: Swaps](/trade/swap/user-guide-swaps).
:::
---
# User guide: swaps
URL: https://support.metamask.io/trade/swap/user-guide-swaps/
> All you need to know about swapping one token for another in MetaMask.
**MetaMask Swaps** is a feature available on MetaMask Extension and Mobile that allows you to swap one token for another. It's super convenient and straightforward, reducing the number of steps and third-party smart contracts needed in order to obtain tokens that interest you.
If you want to sell multiple tokens into a stablecoin in one go, see [Batch Sell](/trade/batch-sell).
:::tip[Supported networks]
Ethereum • Bitcoin • Linea • Base • Solana • Tron • Polygon • BNB Chain • Arbitrum • Monad • Robinhood Chain • OP • Sei • Avalanche • zkSync Era • MegaETH • HyperEVM • Tempo
:::
Bridging (transferring assets between networks) can now be done easily through MetaMask Swaps on Extension and Mobile. Just click the 'Swap' button and select the network and token you want to exchange.
:::note
When you use MetaMask Swaps, remember that MetaMask is acting as an **information aggregator**: we pull together quotes so you can find the most advantageous one.
From there, you can decide whether or not to proceed with the transaction with the platform or liquidity provider at
hand. MetaMask does not provide the liquidity, execute the trade, or give you any advice whatsoever as to what tokens
you should swap.
:::
You can also **access real-world assets (RWAs) like tokenized stocks and ETFs directly from MetaMask Swaps** if eligible. Simply search for the asset ticker and select the tokenized version, example $GOOGLon (Ondo Tokenized). Learn more about tokenized stocks [here](/trade/real-world-assets).
### How to swap {#how-to-swap}
It doesn't matter whether you're on MetaMask Extension or Mobile, getting the tokens you want is only a few clicks—or taps—away.
:::tip
On MetaMask Mobile, you can skip the full swap flow by tapping the lightning icon next to any token in search or on its asset details page to buy or sell instantly. [Learn more.](/trade/swap/quick-buy-sell)
:::
1. On the main MetaMask screen, **click the 'Swap' button**.

2. **Select the token you want to exchange** *(and from what network, if swapping across chains)* (Example: ETH on Ethereum)
3. **Select the token you want to receive** *(and to what network, if swapping across chains)* (Example: SOL on Solana)
4. **Enter the amount** you want to exchange.
5. Review quote and **confirm transaction**.
Behind the scenes
Swaps is searching across decentralized token exchanges and token swapping protocols to find you the most advantageous exchange rate.
At the same time, it's running test transactions, checking to make sure that if you do end up submitting a transaction, that it's likely to go through — and if not, those options are filtered out.
**MetaMask is saving users here from the pain of a failed transaction**: with Ethereum Mainnet gas fees and the complexity of token smart contracts, a failed transaction adds a significant financial injury to the insult of an incomprehensible error code. Swap's failure rate is very low, and improvements are in the works to make it almost nonexistent.
### Gas fees {#gas-fees}
Within MetaMask Swaps, you’ll see a value—network fee—which is the transaction fee. Depending on network activity, the gas fee can fluctuate.
To learn more about gas fees, please visit this [guide](/more-web3/learn/user-guide-gas/).
#### What if I don't have enough gas? {#what-if-i-dont-have-enough-gas}
Don’t have enough gas to cover your swap? Don't worry – MetaMask now offers gasless swaps, allowing you to fill up on gas and swap your tokens in one transaction. This feature is only available on Ethereum Mainnet, BNB Smart Chain, Linea, and Arbitrum and Base (Extension only).
Smart Transactions enabled
MetaMask versions - version 12.6 or later (Extension) or version 7.43 or higher (Mobile)
’Estimate balance changes’ enabled - this setting is on by default. To find it, go to ‘Settings’ > ‘Transactions’, and toggle ‘Estimate balance changes’ on.
Note: Gasless swaps on Base has slightly different prerequisites. For more information, check out ['How to use gasless swaps'](/trade/swap/gasless-swaps/).
If your swap meets these prerequisites, we will automatically include gas costs in the quote you receive.
**If you're ready to go, click the Swap button!**
:::info[Why haven't my swapped tokens shown up in my account?]
As with all blockchain transactions, it's not instantaneous, but you should see your tokens in your account soon. If they're uncommon tokens, or for whatever reason they're not showing up in your account, follow our instructions [here](/manage-crypto/tokens/how-to-display-tokens-in-metamask) to add them.
:::
## Questions
How are fees calculated?
The fee structure is broken down into:
- **Quote rate**: the exchange rate for the tokens
- **Network fee**: gas to execute the swap
- **MetaMask fee**: 0.875%
What aggregators and bridges do you use?
We source bridging options through aggregators (Li.fi and Socket) and providers (Hop, Celer cBridge, Polygon PoS Bridge, Squid (Axelar), Across, Stargate, Relay, Mayan, and CCTP).
I haven't received my tokens in the time I should have. What should I do?
The time we quote is an estimate, and delays can happen for several reasons, such as a change in network conditions. In most cases, the transfer is just delayed and will still go through automatically.
:::info[MetaMask Swaps support]
**Our support articles are for MetaMask Swaps only**. In other words, MetaMask provides support for the swaps that happen through the use of the MetaMask Swaps button. If you are performing swaps directly on a different platform or another DEX, MetaMask may provide some general orientation or guidance, but **it should not be considered definitive**; reach out to the support team or community for the exchange or platform where you are swapping for assistance.
:::
## Other resources
[Why are some tokens missing from MetaMask Swaps?](/trade/swap/why-are-some-tokens-missing-from-metamask-swaps)
[How do I see the price at time of purchase for tokens bought through MetaMask Swaps](/trade/swap/how-do-i-see-the-price-at-time-of-purchase-for-tokens-bought-through-swaps)
[Why did my MetaMask swap fail?](/trade/swap/why-did-my-metamask-swap-fail)
[Why is the MetaMask Swap button unavailable / greyed out?](/trade/swap/why-is-the-metamask-swap-button-unavailable---greyed-out)
[I did a swap, but received fewer tokens or less fiat value than I expected. Why?](/trade/swap/i-did-a-swap-but-received-fewer-tokens-or-less-fiat-value-than-i-expected-why-)
[Error fetching quote](/configure/troubleshooting/user-guide-errors)
---
# Why are some tokens missing from MetaMask Swaps?
URL: https://support.metamask.io/trade/swap/why-are-some-tokens-missing-from-metamask-swaps/
> When tokens have liquidity on DEXs, they are typically available to swap in MetaMask. Try checking back later.
MetaMask Swaps automatically offers many tokens available on underlying decentralized exchanges. When tokens have liquidity on those systems, they will automatically become available on MetaMask Swaps. There are some tokens that are not approved on MetaMask Swaps, or do not work with our swaps.
If you do not see your token, check back later.
---
# Why did my MetaMask swap fail?
URL: https://support.metamask.io/trade/swap/why-did-my-metamask-swap-fail/
> The main reason why your swap might have failed is likely to be slippage.
Please note, this article is for MetaMask swaps performed with the Swap button within our app or extension (as shown below). **For all other swap inquiries, please contact the third-party swap system you used, as they will have a better understanding of their system's intricacies, nuances, and issues.** For general information regarding transactions, [see here](/manage-crypto/tokens/user-guide-transactions-and-failed-transactions).

MetaMask Swaps fetches multiple quotes from various defi protocols. When you execute a swap through MetaMask, you interact directly with the liquidity source that offered the best price for your requested trade. MetaMask does its best to optimize each transaction before the swap is submitted. However, just like any on-chain transaction, transaction success is not guaranteed.
The main reason why your swap might have failed is likely to be **slippage**. When you perform a swap, you are agreeing to a price quote. **If the price of the swap goes outside of the allowed slippage set (typically 2-3%), it will fail**, in order to prevent you from seeing a huge variance in value when completed. There is a higher risk of slippage if you're trading a pair that includes a volatile asset, as its price is more likely to change while the transaction is processing.
If your swap fails, you can retry the swap, but this time, input a higher slippage percentage. Here's how to do so:
When you're inputting the details of your swap, hit the 'settings' icon and adjust slippage tolerance. If you want to increase it above 3%, you'll need to click 'Custom' and input your preferred tolerance.
When you navigate to the Swaps screen, look to the bottom-left corner, where it says 'Max slippage 2%' (with 2% being the default). Tap this text to adjust it.
Please be aware that this means the swap will still complete even if the price of the token changes more drastically during the pending/confirmation time.
If the swap still won't execute, you can [contact our support team](/start/how-to-contact-metamask-support) so we can investigate the underlying DEXs and assets to ensure it is due to slippage each time.
When a swap fails, **some gas (ETH) will still be spent**. This ETH goes to the network validators and not to MetaMask. This is unavoidable and part of the nature of blockchain.
---
# Why is the MetaMask Swap button unavailable / greyed out?
URL: https://support.metamask.io/trade/swap/why-is-the-metamask-swap-button-unavailable---greyed-out/
> It's likely because the network you're on doesn't support Swaps.
:::note
This article is for MetaMask swaps performed with the swap button within our app or extension. **For all other swap inquiries, please contact the third-party swap system you used, as they will have a better understanding of their system's intricacies, nuances, and issues.**
:::
MetaMask Swaps is not available on every network. If it is available on a network, the button will allow you to proceed. The team is investigating options on a path forward for additional networks. If and when that time comes, you will automatically see it reflected in the app and extension.
If you are on a network on which Swaps is available, but are unable to click the Swap button, try restarting your browser, or try a different network connection entirely. Sometimes toggling networks (switch from one network back to the network you were using) helps.
---